Embracing the Unknown: My Journey of Experimentation in Abstract Art
Discover how my abstract art thrives on experimentation, happy accidents, and the courage to embrace uncertainty in the studio. A personal, candid look into my creative process.

The Role of Experimentation in My Abstract Art: Embracing the Unknown
It’s funny, isn’t it? We spend so much of our lives trying to control things, trying to predict the outcome, trying to stick to a plan. And then there's art, my abstract art specifically, which often feels like the exact opposite. For me, the studio isn't just a place to make things; it's a dedicated laboratory for trying things, for failing gloriously, and for stumbling upon unexpected beauty. It's about shedding the fear of the unknown and diving headfirst into the glorious mess that is artistic experimentation.
Joan Miró: The Ultimate Experimenter
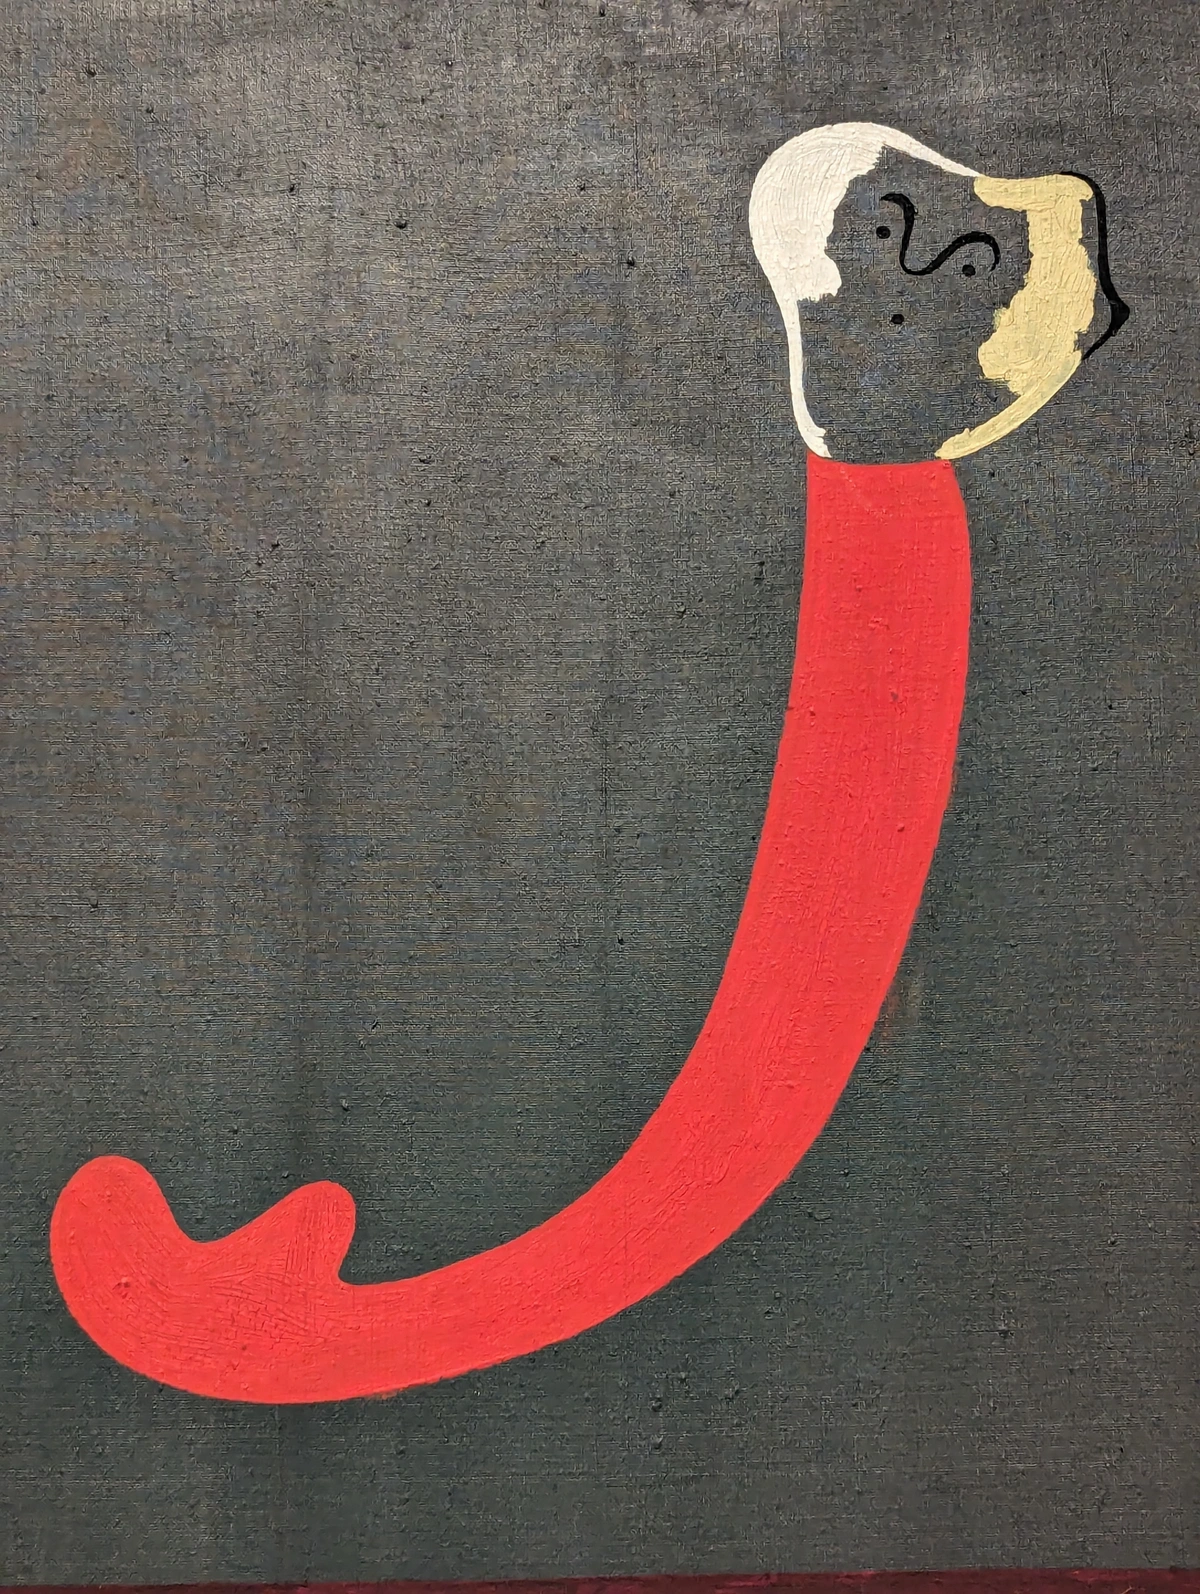
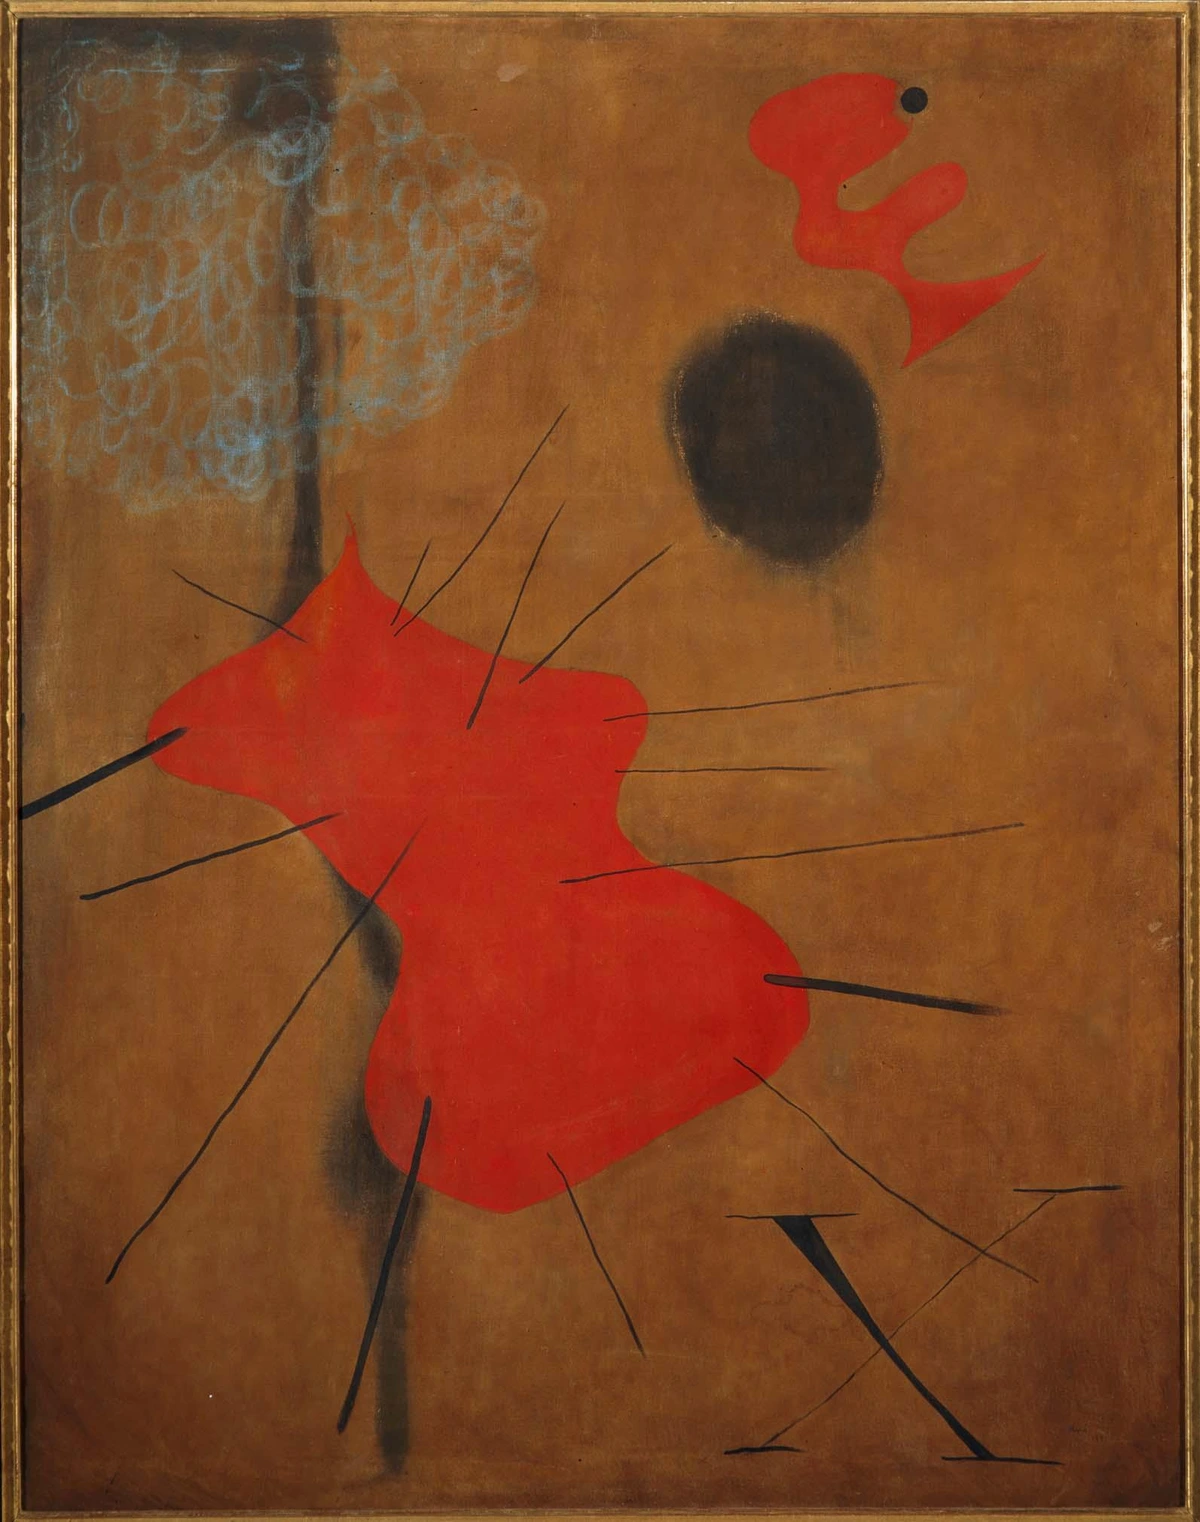
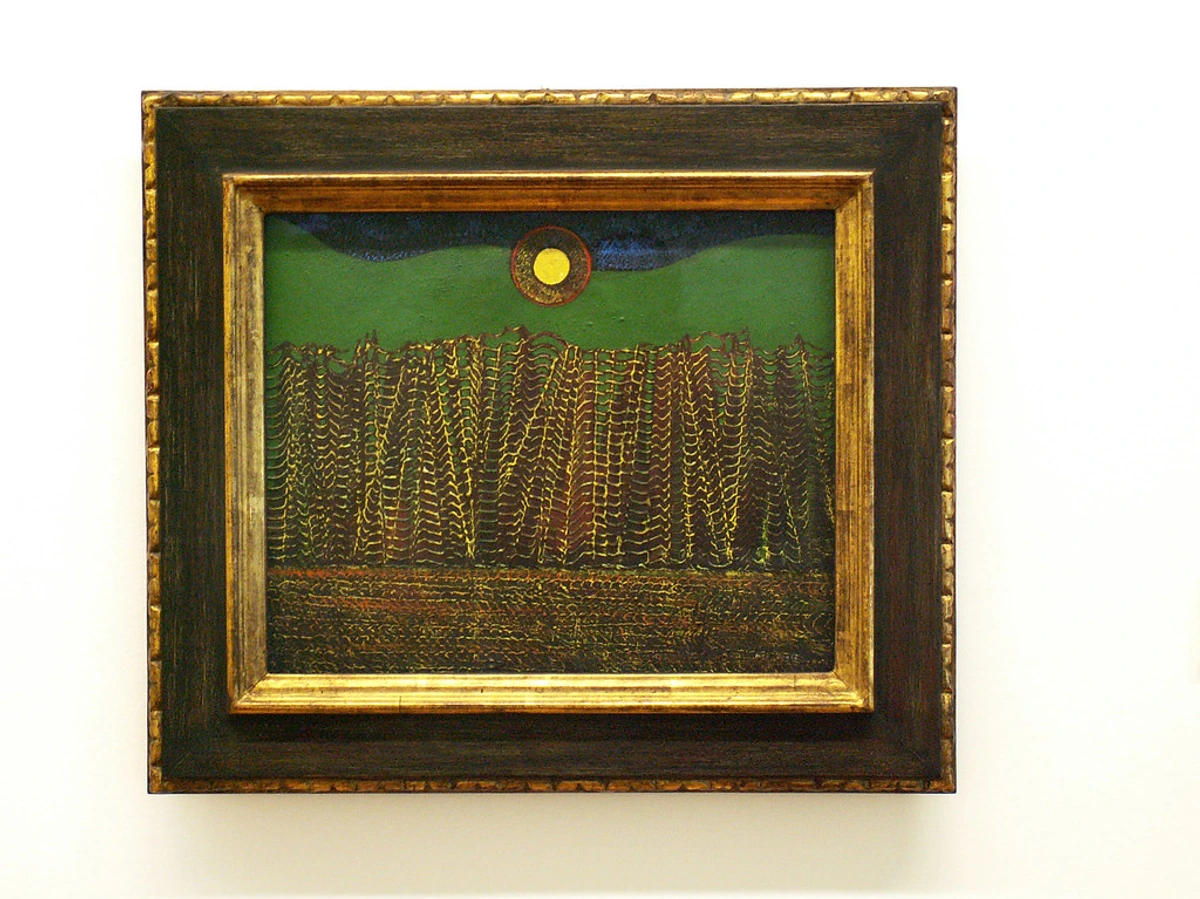
Joan Miró's work represents the perfect embodiment of experimental spirit in abstract art. His 1938 painting shown here demonstrates several key experimental principles that I've discussed:
- Surrealist exploration: Miró consistently pushed the boundaries between representation and abstraction
- Childlike spontaneity: He approached painting with the curiosity and freedom of a child
- Symbolic experimentation: Creating a personal visual language through playful combinations
- Material exploration: Using various surfaces and techniques to achieve unique textures
What truly sets Miró apart as an experimenter was his systematic approach to playfulness. He didn't just randomly splash paint around - he developed entire methodologies for accessing his subconscious while maintaining artistic control. For instance, his "automatic drawing" technique wasn't about losing control entirely, but about creating a framework where his hand could move freely within specific boundaries. This balance between structure and spontaneity is something I've found crucial in my own experimental practice. Miró would often start with automatic marks, then step back to analyze what emerged, identifying shapes and symbols that resonated with him before developing them into more intentional compositions. This process of intuitive creation followed by conscious refinement creates work that feels both deeply personal and universally accessible.
Miró's Experimental Techniques in Detail
Miró's approach was methodical yet spontaneous. He would often begin with automatic drawing, letting his hand move without conscious direction across the canvas. This initial phase was about unlocking the subconscious and bypassing the critical mind. From these automatic marks, he would then identify shapes and symbols that resonated with him, developing them into more intentional compositions.
What made Miró particularly experimental was his willingness to combine seemingly contradictory approaches:
- Structured spontaneity: While his marks appeared childlike and random, they were carefully composed within balanced compositions
- Color psychology: He used color not just aesthetically but to evoke specific emotional responses
- Scale manipulation: Playing with the relationship between small, delicate details and large, bold shapes
- Cultural fusion: Incorporating elements from Catalan folk art, primitive art, and contemporary European movements
This synthesis of approaches created a unique visual language that was both deeply personal and universally accessible.
Miró's career shows how sustained experimentation can lead to a distinctive, recognizable style while maintaining constant innovation. His work reminds us that the experimental journey isn't about finding a single "right" way, but about continuously expanding the possibilities of what art can be.
My Studio: A Lab of Happy Accidents
I sometimes joke that my studio is less a pristine art space and more a controlled chaos zone. There are brushes I've never used, paints in every imaginable hue (and some unimaginable ones), and always, always a blank canvas daring me to do something new. That dare is often met with a hesitant first stroke, a curious mix, or even a completely bizarre technique I’ve just dreamed up.
One time, I tried painting with a kitchen sponge. Not a fancy artist sponge, mind you, but the kind you use for washing dishes. My initial thought was, "This is going to be terrible," and for a good five minutes, it was. The texture was all wrong, the paint spread unevenly, and I almost gave up. But then, as I was about to wipe it off, something shifted. The way the sponge absorbed and released the paint created these unexpected, organic patterns, a kind of subtle depth I hadn't achieved with a brush. That "failed" experiment ended up being the foundation of a whole new series, proving that sometimes the best discoveries hide just beyond the point of giving up.
Tools of Discovery: Beyond Traditional Brushes
My "kitchen sponge incident" wasn't an isolated fluke—it opened my eyes to the world of unconventional tools. Now, I regularly experiment with:
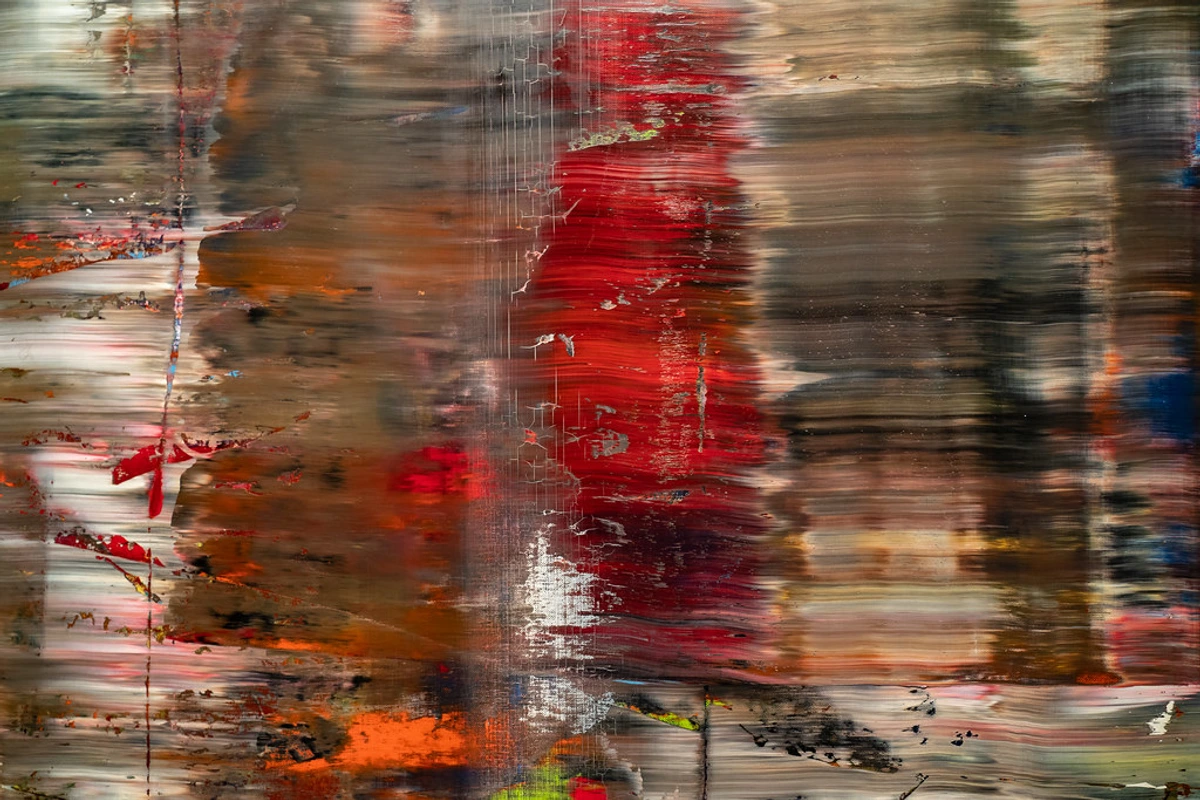
- Household items: Sponges, credit cards, dish brushes, and even vegetables (carrots make great stamping tools!)
- Natural elements: Twigs, leaves, and feathers for creating organic textures
- Architectural tools: Scrapers, putty knives, and trowels for creating bold geometric marks
- Industrial materials: Wire brushes, sandpaper, and steel wool for creating dramatic texture contrasts
The key isn't just using these tools randomly; it's understanding how each tool interacts with different paint viscosity, surface texture, and application method. A sponge works differently with acrylic versus oil paint, and the result changes dramatically depending on how much water or medium you add.
Understanding Material Interactions
The science behind material interactions is fascinating and crucial for successful experimentation. Each combination of tool, medium, and surface creates unique chemical and physical reactions:
- Paint viscosity: Thicker paints (impasto) respond differently to scraping tools than thinner washes
- Surface absorbency: Canvas absorbs paint differently than wood, metal, or paper
- Drying time: Acrylics dry quickly, allowing for immediate layering; oils remain workable for days
- Chemical compatibility: Some mediums react with certain paints (e.g., oil over acrylic can cause issues)
Advanced Material Interaction Principles:
I've developed several systematic approaches to understanding material interactions:
The Interaction Matrix Method: I maintain a detailed matrix documenting how different materials interact with each other. For each combination, I note:
- Visual results (texture, color mixing, transparency)
- Physical properties (drying time, flexibility, adhesion)
- Chemical reactions (bubbling, separation, curing issues)
- Application challenges (difficulty, unpredictability, cleanup)
Controlled Variable Testing: When exploring new material combinations, I isolate variables to understand their individual effects. For example, I might test one tool with three different paints on the same surface, or one paint with three different tools on the same surface.
Environmental Factors: Temperature, humidity, and air circulation dramatically affect material behavior. I've learned to keep detailed environmental logs during experiments, noting how 70°F with 40% humidity produces different results than 80°F with 60% humidity.
The Material Reaction Scale: I categorize material interactions on a scale of 1-10: 1-3: Predictable, consistent results 4-6: Moderate variation, some unpredictability 7-8: Highly reactive, requires careful control 9-10: Explosive reaction, use with extreme caution
Chemical Compatibility Chart:
Paint Type  | Compatible Mediums | Incompatible Mediums | Special Considerations |
|---|---|---|---|
| Acrylic | Gel mediums, water-based varnishes | Oil-based mediums, shellac | Fast drying, water cleanup |
| Oil | Linseed oil, turpentine, alkyd | Acrylic underpainting | Slow drying, requires ventilation |
| Watercolor | Gum arabic, honey | Acrylic gesso | Transparent layering, reactivates with water |
| Encaustic | Dammar resin, beeswax | Water-based materials | Heat application, fumes |
| Latex | Water-based additives | Oil-based products | Fast drying, easy cleanup |
I keep a detailed experiment journal where I document these interactions—what works, what doesn't, and unexpected results. This systematic approach to experimentation helps me build a knowledge base I can draw from when creating new work.
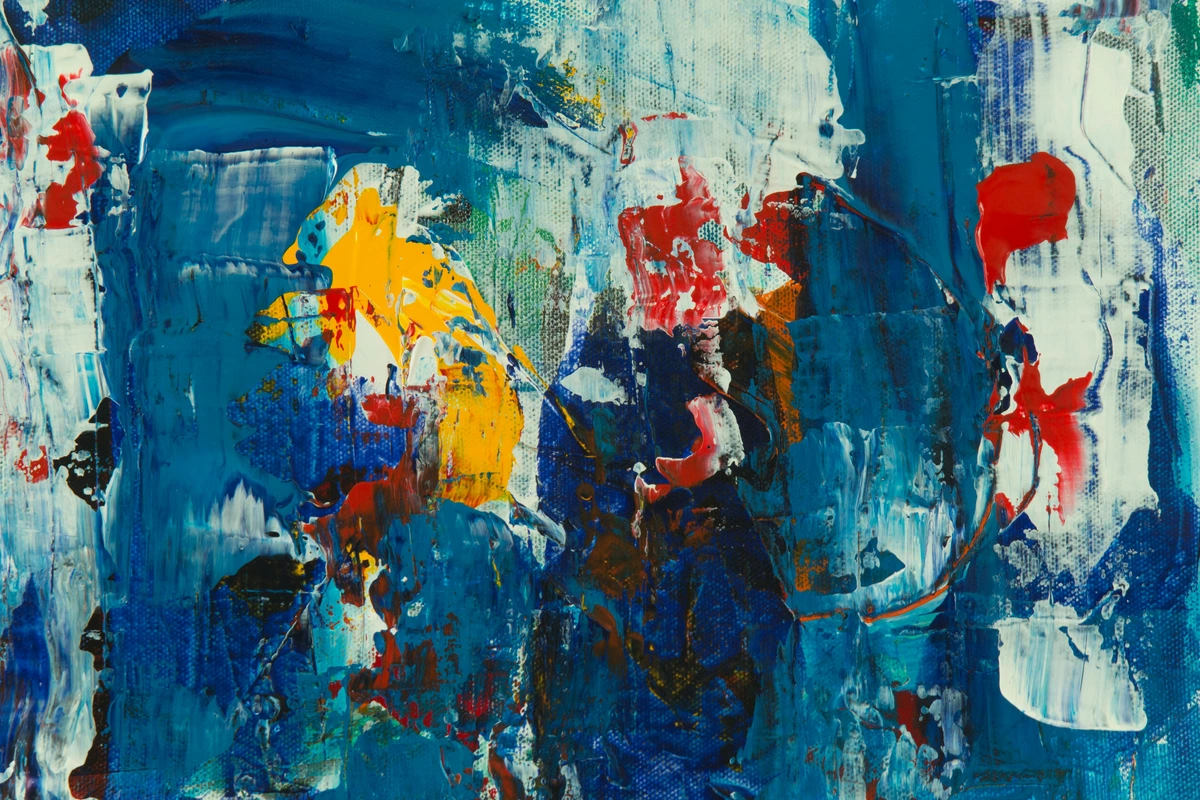
Experimental Tool Kit Essentials
If you're looking to build your own experimental tool kit, here are my essentials:
Tier 1: Must-Have Basics (Under $20)
Tool | Cost | Primary Use | Secondary Uses |
|---|---|---|---|
| Kitchen sponge | $2-5 | Texture creation | Blending, smoothing |
| Credit cards | Free | Sharp lines, scraping | Edge effects, squeegeeing |
| Toothbrushes | $1-3 | Splatter effects | Detail work, dry brushing |
| Cotton swabs | $2-4 | Precision work | Color mixing, cleanup |
| Old towels/cloths | Free | Texture creation | Wiping, blending |
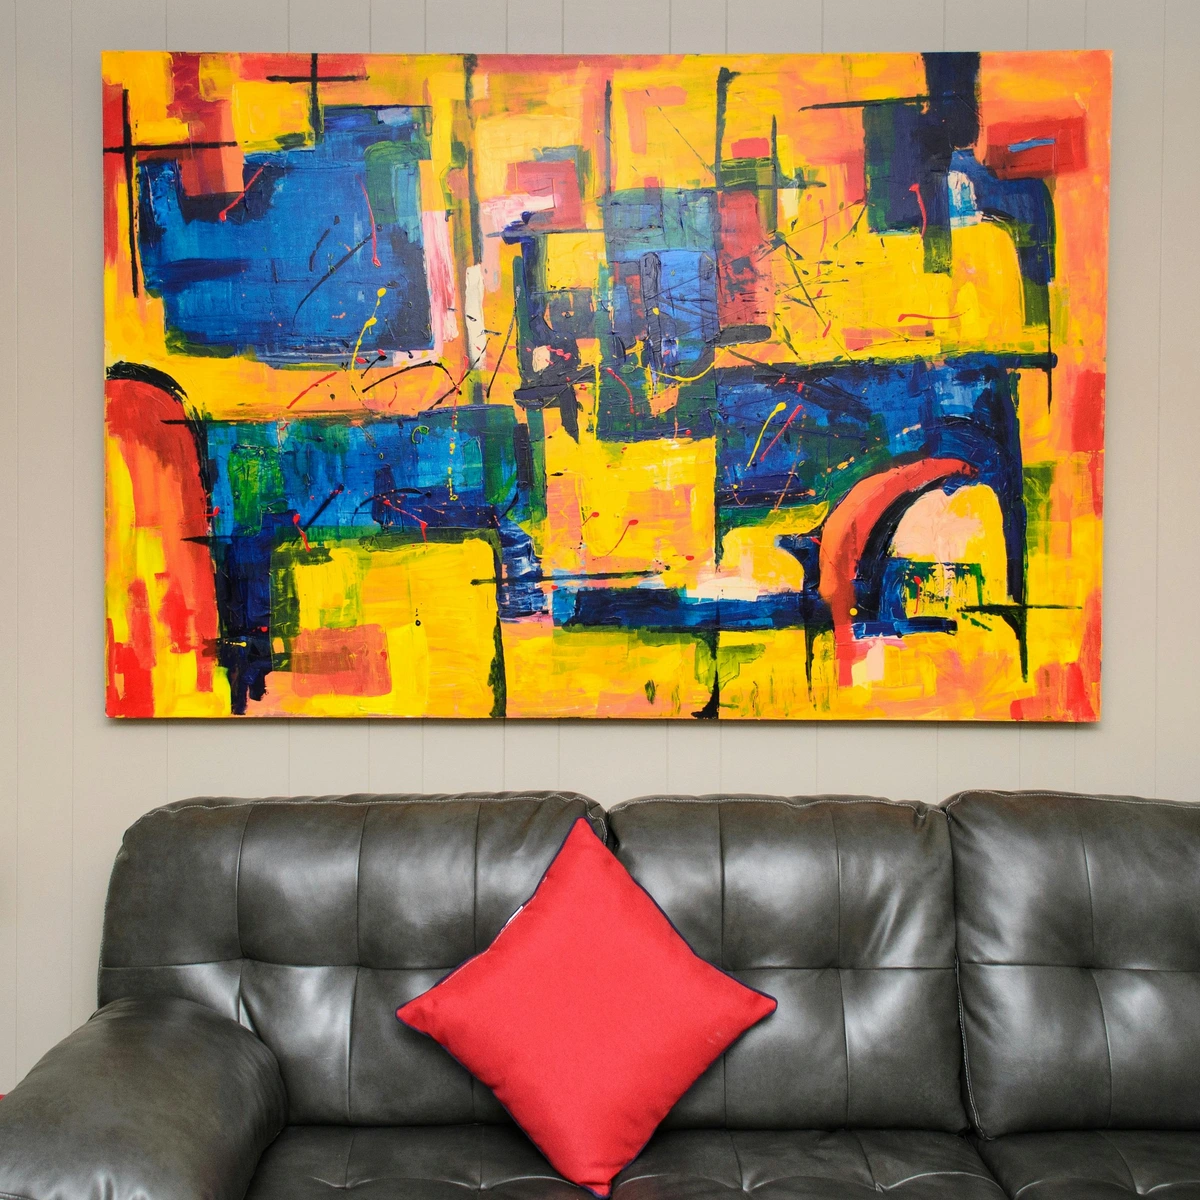
Tier 2: Intermediate Tools ($20-50)
Tool | Cost | Primary Use | Secondary Uses |
|---|---|---|---|
| Palette knives | $10-20 | Thick application | Scraping, mixing |
| Various sponges | $5-10 | Different textures | Stamping, blending |
| Found objects | $0-15 | Unique marks | Stamping, impression |
| Basic brushes | $15-25 | Traditional use | Detail work |
| Small containers | $5-10 | Mixing | Storage, palettes |
Tier 3: Advanced Tools ($50+)
Tool | Cost | Primary Use | Secondary Uses |
|---|---|---|---|
| Airbrush kit | $100+ | Smooth gradients | Detail work, effects |
| Professional scrapers | $30-50 | Texture creation | Edge definition |
| Specialized rollers | $25-40 | Patterns backgrounds | Texture application |
| Electric tools | $50+ | Specialized effects | Speed, precision |
| Professional encaustic iron | $100+ | Smooth blending | Texture creation |
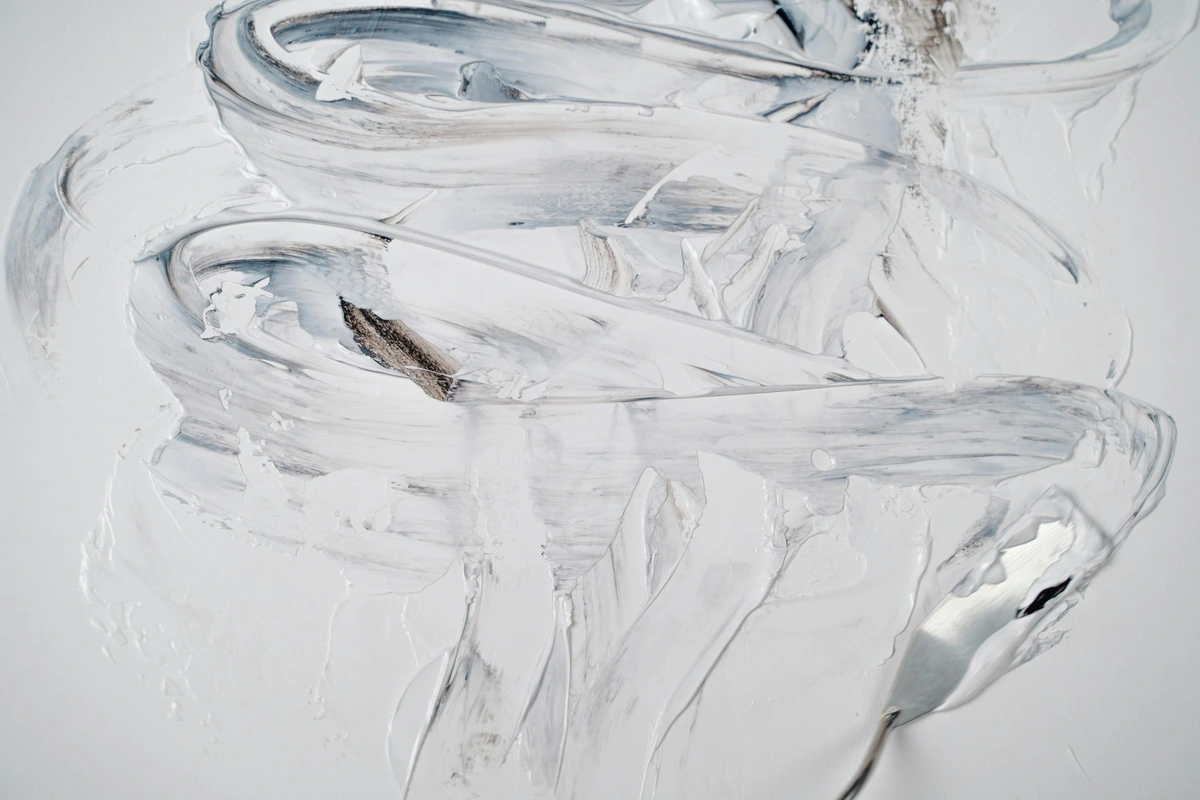
Essential Unconventional Tools:
- Credit cards: Perfect for creating sharp, geometric lines and scraping effects
- Sponges: Various types (natural, synthetic, kitchen) for different texture effects
- Palette knives: Not just for mixing paint—excellent for applying thick, expressive strokes
- Found objects: Anything with interesting texture or shape can become a painting tool
- Textured rollers: For creating consistent patterns and backgrounds
Tool Application Techniques:
- Dragging: Pulling a tool across wet paint to create directional marks
- Stamping: Using objects to create repeated patterns
- Scraping: Removing paint to create texture and reveal underlying layers
- Dabbing: Creating small, concentrated areas of color and texture
- Wiping: Using rags or paper towels to remove paint selectively
The beauty of experimental tools is that many of them are either free or very inexpensive, making experimentation accessible to artists at all levels of experience and budget.
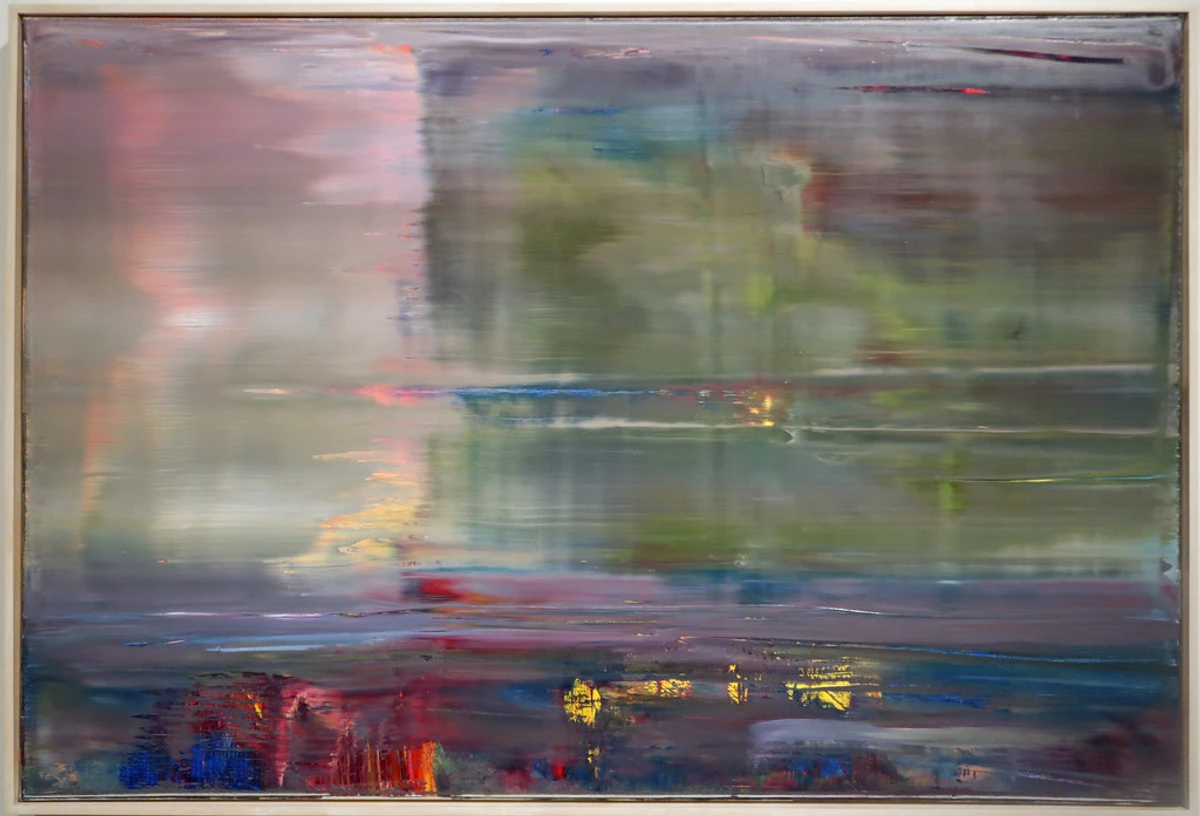
It’s this kind of playful exploration that keeps my passion alive. It’s why I’m always keen to explore new ways to blend materials for abstract expression, a journey you can read more about my journey with mixed media. From unconventional tools to surprising combinations of pigments, every canvas is an opportunity for a fresh discovery.
https://live.staticflickr.com/65535/53064827119_1b7c27cd96_b.jpg, https://creativecommons.org/licenses/by-nc-nd/2.0/
Time Management for Experimental Artists
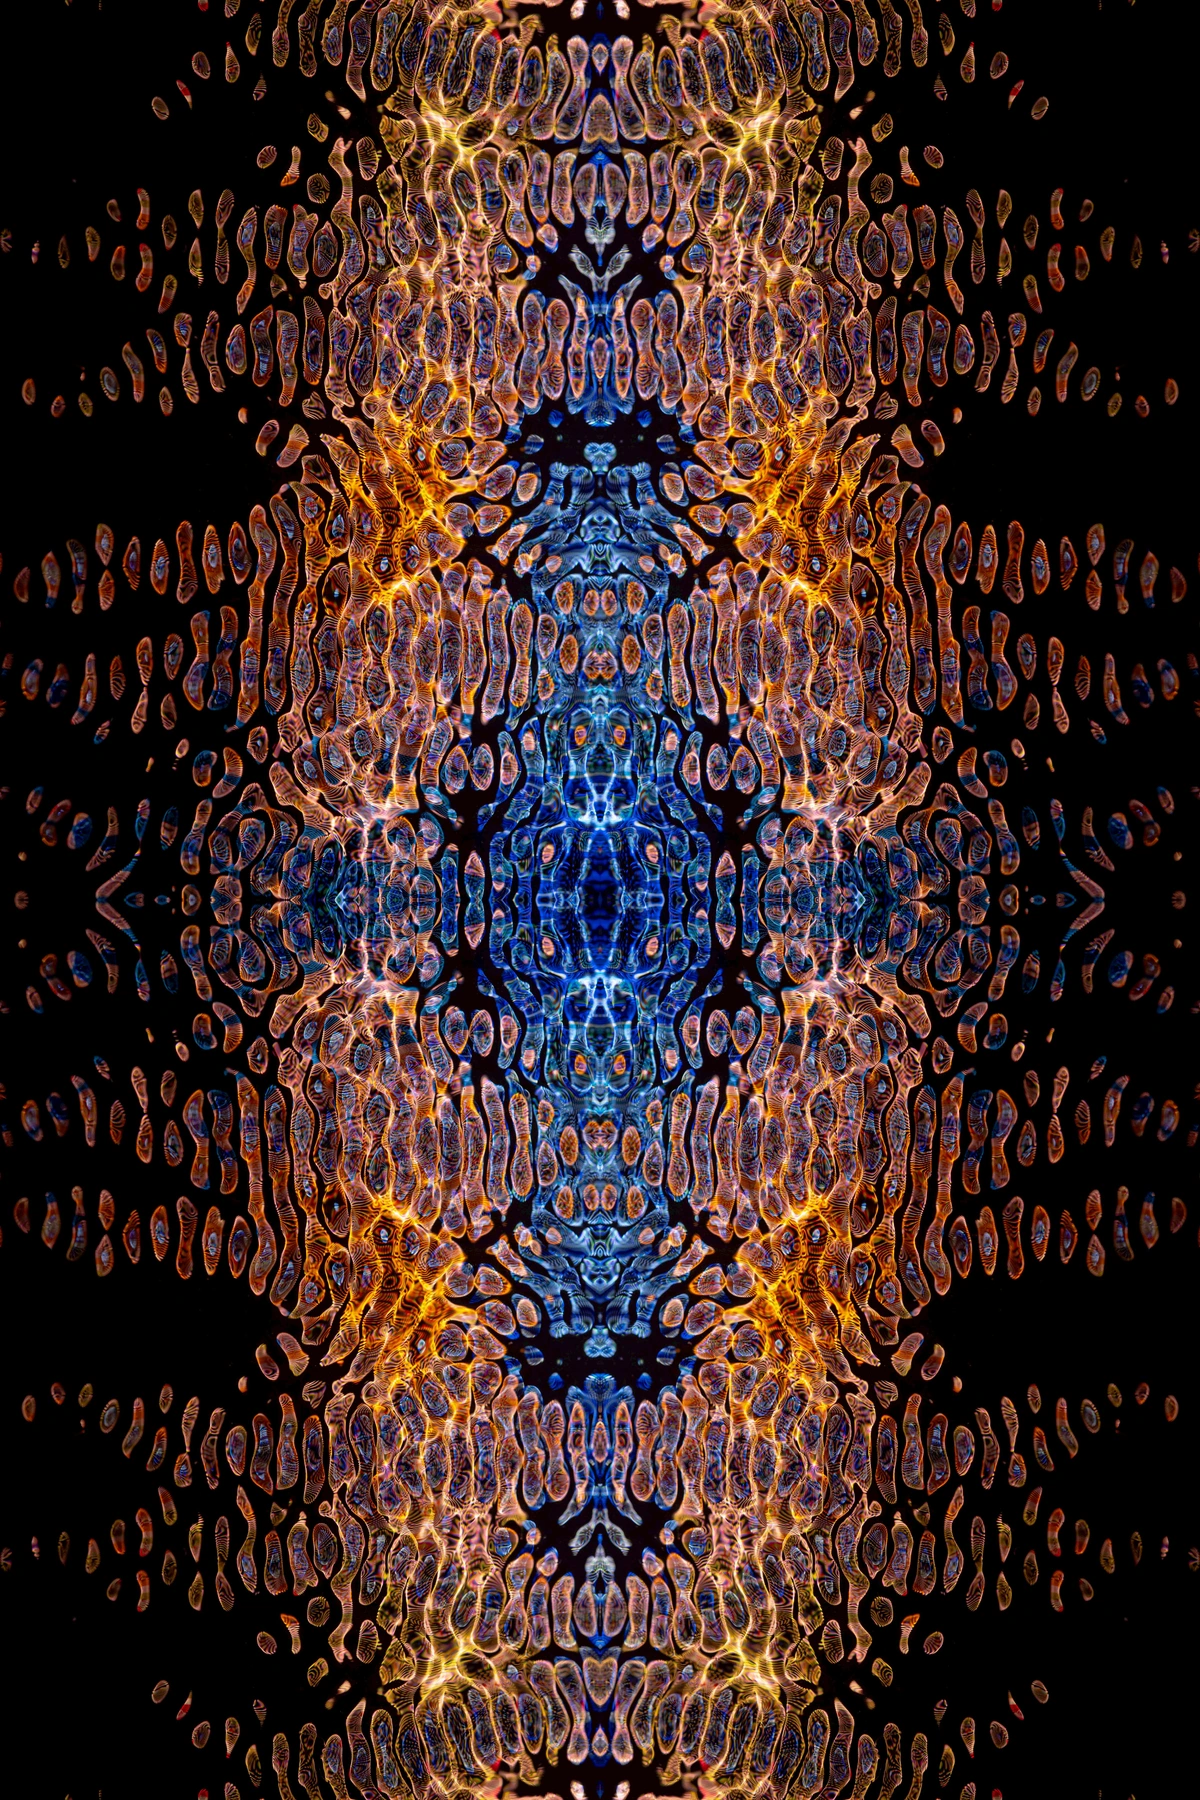
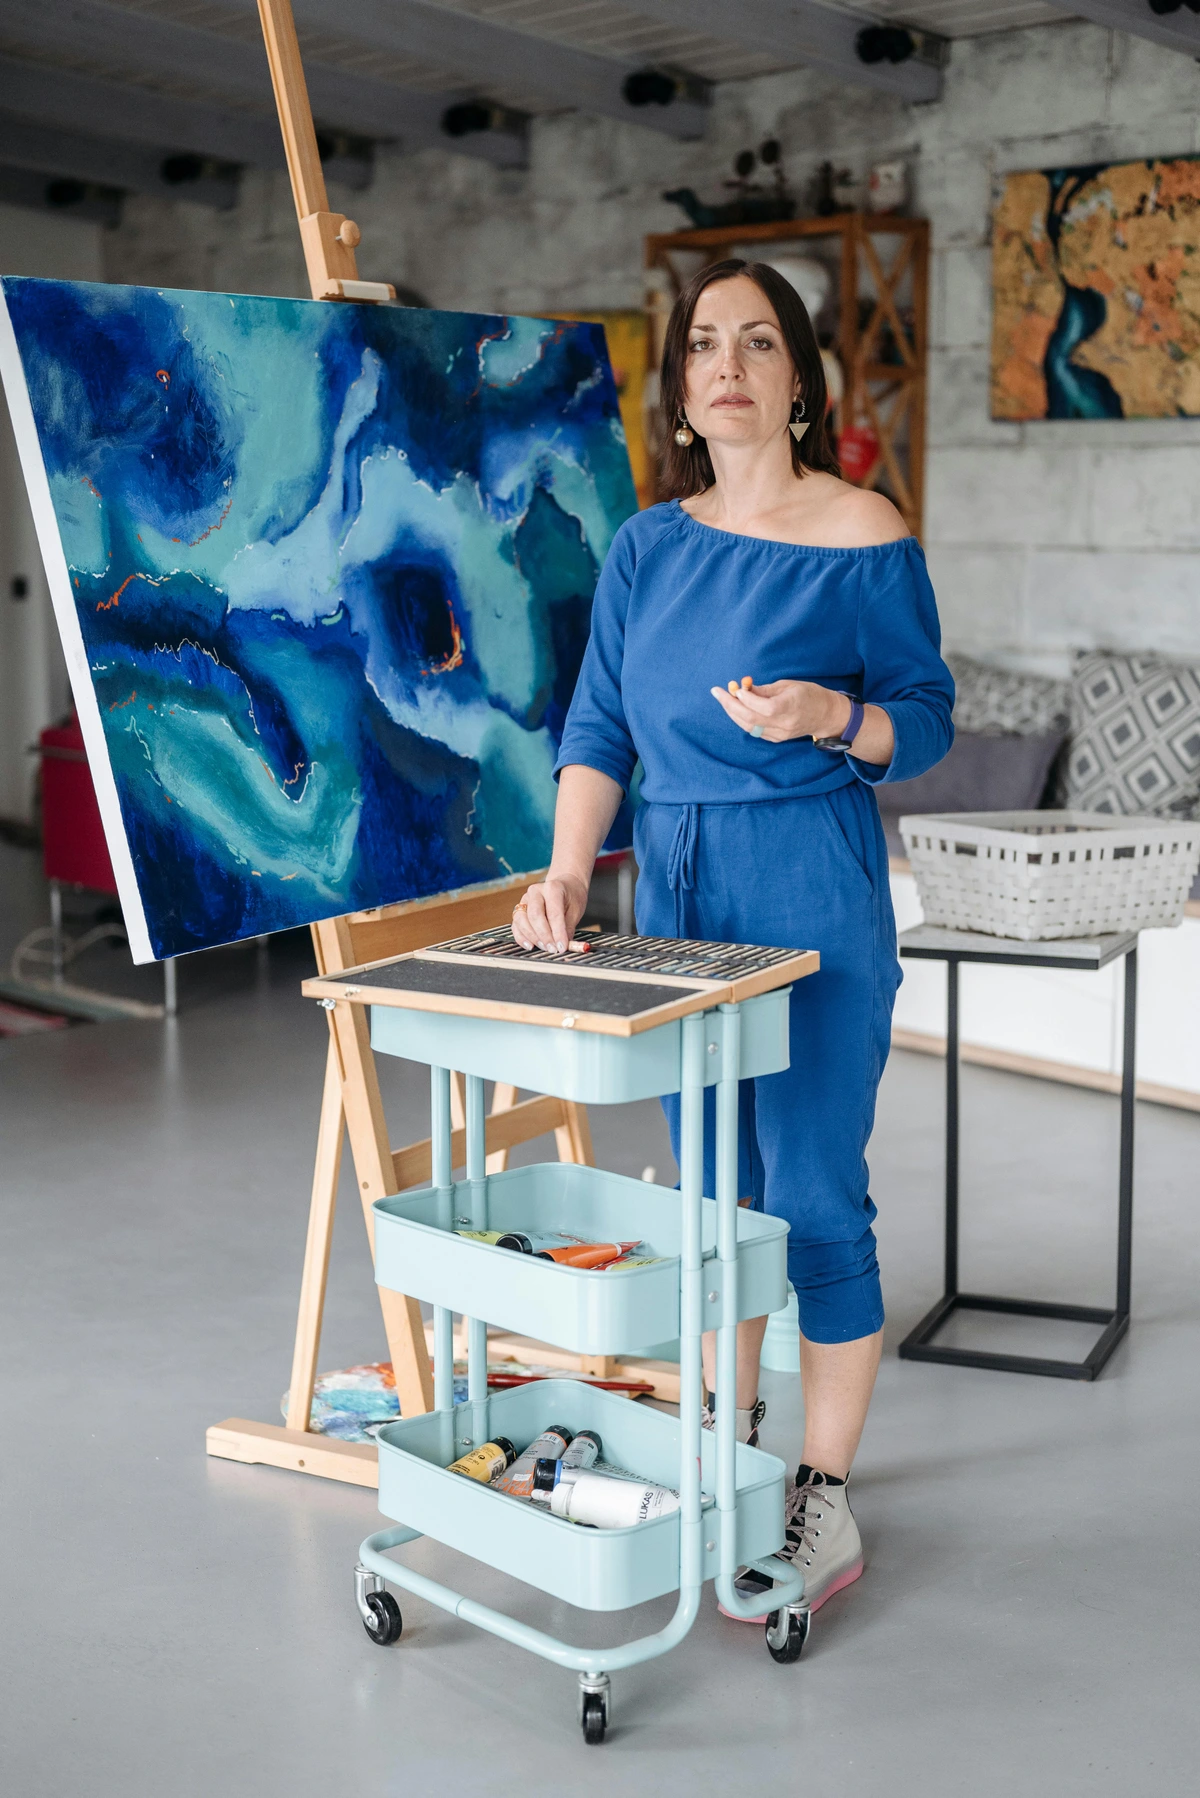
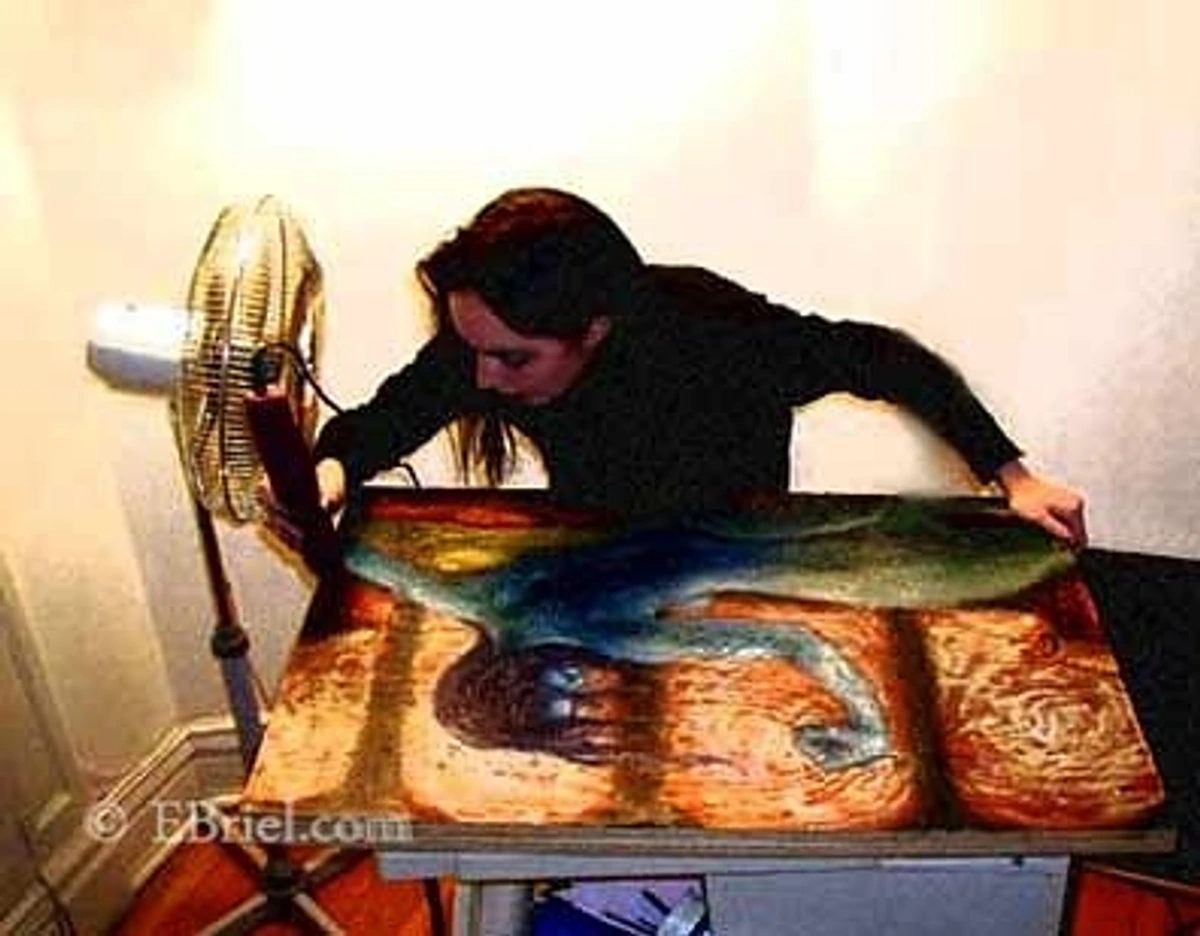
This image represents the challenge that many experimental artists face: balancing the open-ended nature of experimentation with the practical demands of making art consistently. Time management is crucial for maintaining both creative freedom and productivity:
The Experimental Time Budget System:
I've developed a time budgeting approach specifically for experimental work:
Time Allocation | Purpose | Examples |
|---|---|---|
| 20% Pure Experimentation | Unstructured exploration | Trying new tools, random color mixing |
| 30% Structured Experimentation | Goal-directed testing | Developing specific techniques |
| 40% Production Time | Creating finished work | Executing planned pieces |
| 10% Documentation & Analysis | Recording results | Jotting notes, taking photos |
Weekly Experimental Schedule Template:
Day | Morning (9am-12pm) | Afternoon (1-4pm) | Evening (6-9pm) |
|---|---|---|---|
| Monday | Production work | Structured experiment | Documentation |
| Tuesday | Pure experimentation | Production work | Research |
| Wednesday | Production work | Structured experiment | Documentation |
| Thursday | Pure experimentation | Production work | Research |
| Friday | Production finish | Gallery/client work | Planning |
| Saturday | Long experiment | Studio cleanup | Social/art community |
| Sunday | Rest/inspiration | Light experimentation | Personal projects |
Time-Saving Experimental Strategies:
- Batch Processing: Group similar experiments together to maximize efficiency
- Template Setup: Create reusable experimental setups for common techniques
- Material Pre-mixing: Prepare color mixes and mediums in advance
- Documentation Shortcuts: Use templates for experiment notes
- Environment Optimization: Set up your space to minimize setup/teardown time
The 15-Minute Experiment: Not all experiments need to be major undertakings. I keep a "quick experiment station" set up with basic materials so I can squeeze in productive 15-minute sessions whenever I have spare time. These small, frequent experiments often lead to surprising breakthroughs.
Structuring Experimental Time:
- Dedicated experimentation sessions: Set aside specific times purely for experimentation
- Project-based experimentation: Tie experiments to specific projects or goals
- Routine variation: Change your routine to stimulate new ideas
- Seasonal experimentation: Adjust your experimental focus based on your energy levels
Balancing Experimentation with Production:
- The 80/20 rule: 80% production, 20% experimentation
- Phased approach: Experimental phase followed by production phase
- Parallel processes: Working on experimental and production pieces simultaneously
- Weekend experimentation: Using weekend time for more experimental approaches
Overcoming Time Barriers:
- Small experiments: Finding time for quick experimental bursts
- Batch processing: Grouping similar experiments together for efficiency
- Time tracking: Understanding how you actually spend your creative time
- Eliminating distractions: Creating focused time for both experimentation and production
Long-term Time Strategies:
- Annual experimentation plan: Planning experimental focus areas for the year
- Skill development schedule: Balancing skill-building with creative output
- Creative cycle awareness: Working with your natural creative rhythms
- Rest and recovery: Building in time for rest and reflection
Effective time management doesn't mean limiting your experimentation—it means creating the structure that allows for both creative freedom and consistent productivity. The goal is to find the balance that works for your unique creative process.
Digital Experimentation: Bridging Traditional and Contemporary
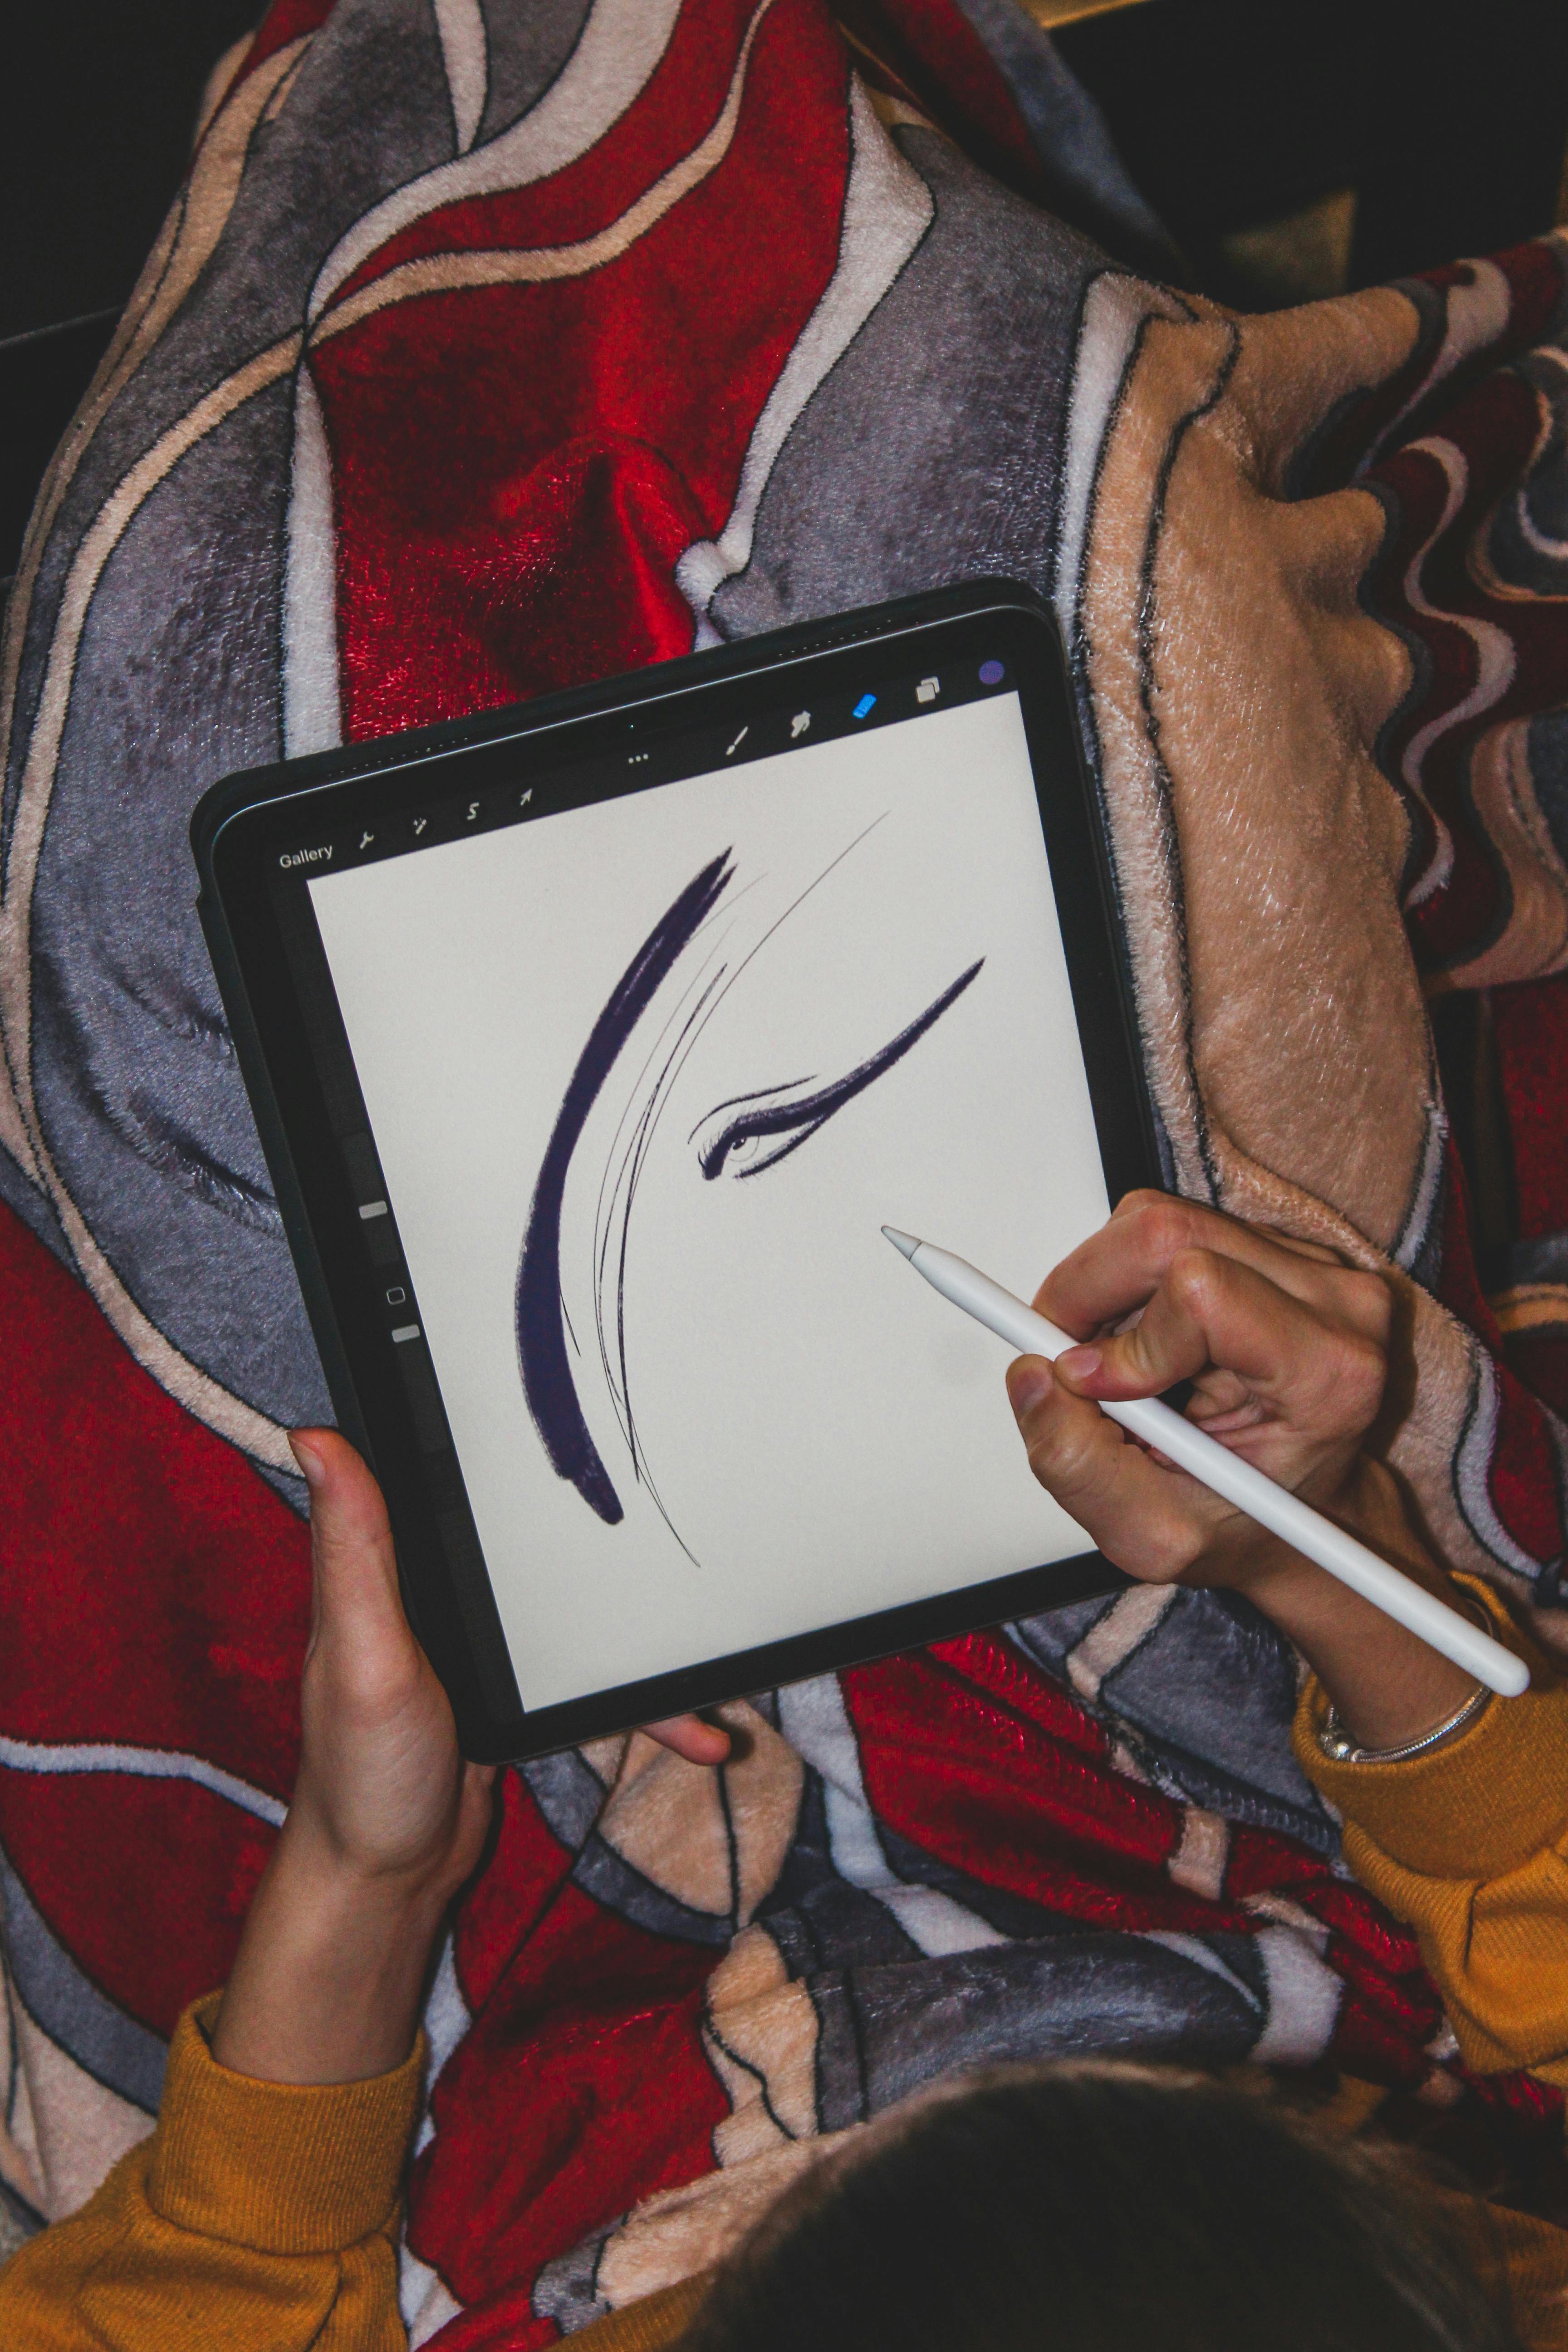
While the focus of this article has been on traditional painting techniques, it's worth noting that experimentation in the digital realm offers fascinating possibilities for abstract artists. Digital tools can:
- Speed up the experimental process: Try multiple variations quickly without material waste
- Enable impossible techniques: Create effects that would be difficult or impossible with traditional media
- Facilitate collaboration: Share experiments instantly with artists worldwide
- Provide instant feedback: See results immediately and iterate rapidly
- Bridge physical and digital: Combine traditional painting with digital elements
Advanced Digital Experimental Techniques
Generative Art Programming: Learning basic programming can unlock entirely new creative possibilities. I started with Processing, a Java-based language designed for visual artists, and was amazed at how code could create complex, evolving patterns that would be nearly impossible to reproduce by hand.
AI-Assisted Creation: AI tools can serve as creative collaborators rather than replacements. I use AI to generate starting points, explore color palettes I wouldn't consider, and even create texture maps that I can then manipulate physically. The key is using AI as a springboard, not an end product.
Digital-Physical Hybrid Workflows: My favorite experimental approach involves combining digital and physical elements:
- Create digital textures and patterns
- Print them on various materials (canvas, paper, metal)
- Apply traditional painting techniques over the digital base
- Scan the result back into digital space for further manipulation
Real-Time Interactive Art: Using tools like TouchDesigner, I've created installations that respond to viewer movement and presence. This adds a temporal dimension to abstract art that traditional painting can't achieve.
Digital Sculpture and 3D Printing: Abstract 3D forms can be designed digitally and then realized through 3D printing, allowing for impossible physical geometries that can then be painted and finished traditionally.
Digital Tools and Techniques for Experimental Artists
The digital landscape offers an incredible array of tools for experimental artists. Here's a breakdown of what's available and how to integrate these tools into your practice:
Software and Applications:
- Adobe Photoshop: Industry standard for digital painting, photo manipulation, and experimental effects
- Procreate: iPad-based app popular for its intuitive interface and powerful brushes
- Blender: 3D creation software that can be used for experimental 3D art and installations
- Processing: Programming language for creating generative art and interactive installations
- TouchDesigner: Visual programming environment for real-time interactive media
Digital Experimental Techniques:
- Generative art: Using algorithms and code to create art that evolves and changes
- AI-assisted creation: Using AI tools to generate ideas, suggest compositions, or create starting points
- Digital collage: Combining traditional scanned elements with digital manipulation
- Interactive installations: Creating art that responds to viewer input and movement
- Virtual reality art: Creating immersive experiences that viewers can step into
Hybrid Approaches:
- Digital planning: Using digital tools to plan traditional pieces before executing them
- Mixed media integration: Printing digital elements and incorporating them into physical artworks
- Documentation and sharing: Using digital tools to document and share your experimental process
- Community building: Participating in online experimental art communities and challenges
Getting Started with Digital Experimentation:
- Start simple: Begin with basic digital painting tools to understand the interface
- Experiment with brushes: Explore the vast array of digital brushes and their effects
- Learn layering: Master digital layering techniques for complex compositions
- Explore filters and effects: Experiment with digital effects that have no physical equivalent
- Combine with traditional work: Print digital elements and incorporate them into physical pieces
The key is to approach digital experimentation with the same curiosity and openness you bring to traditional mediums. Don't be intimidated by technology—embrace it as just another set of tools in your experimental toolkit.
The Dance of Intuition and Intent: When to Push, When to Pull
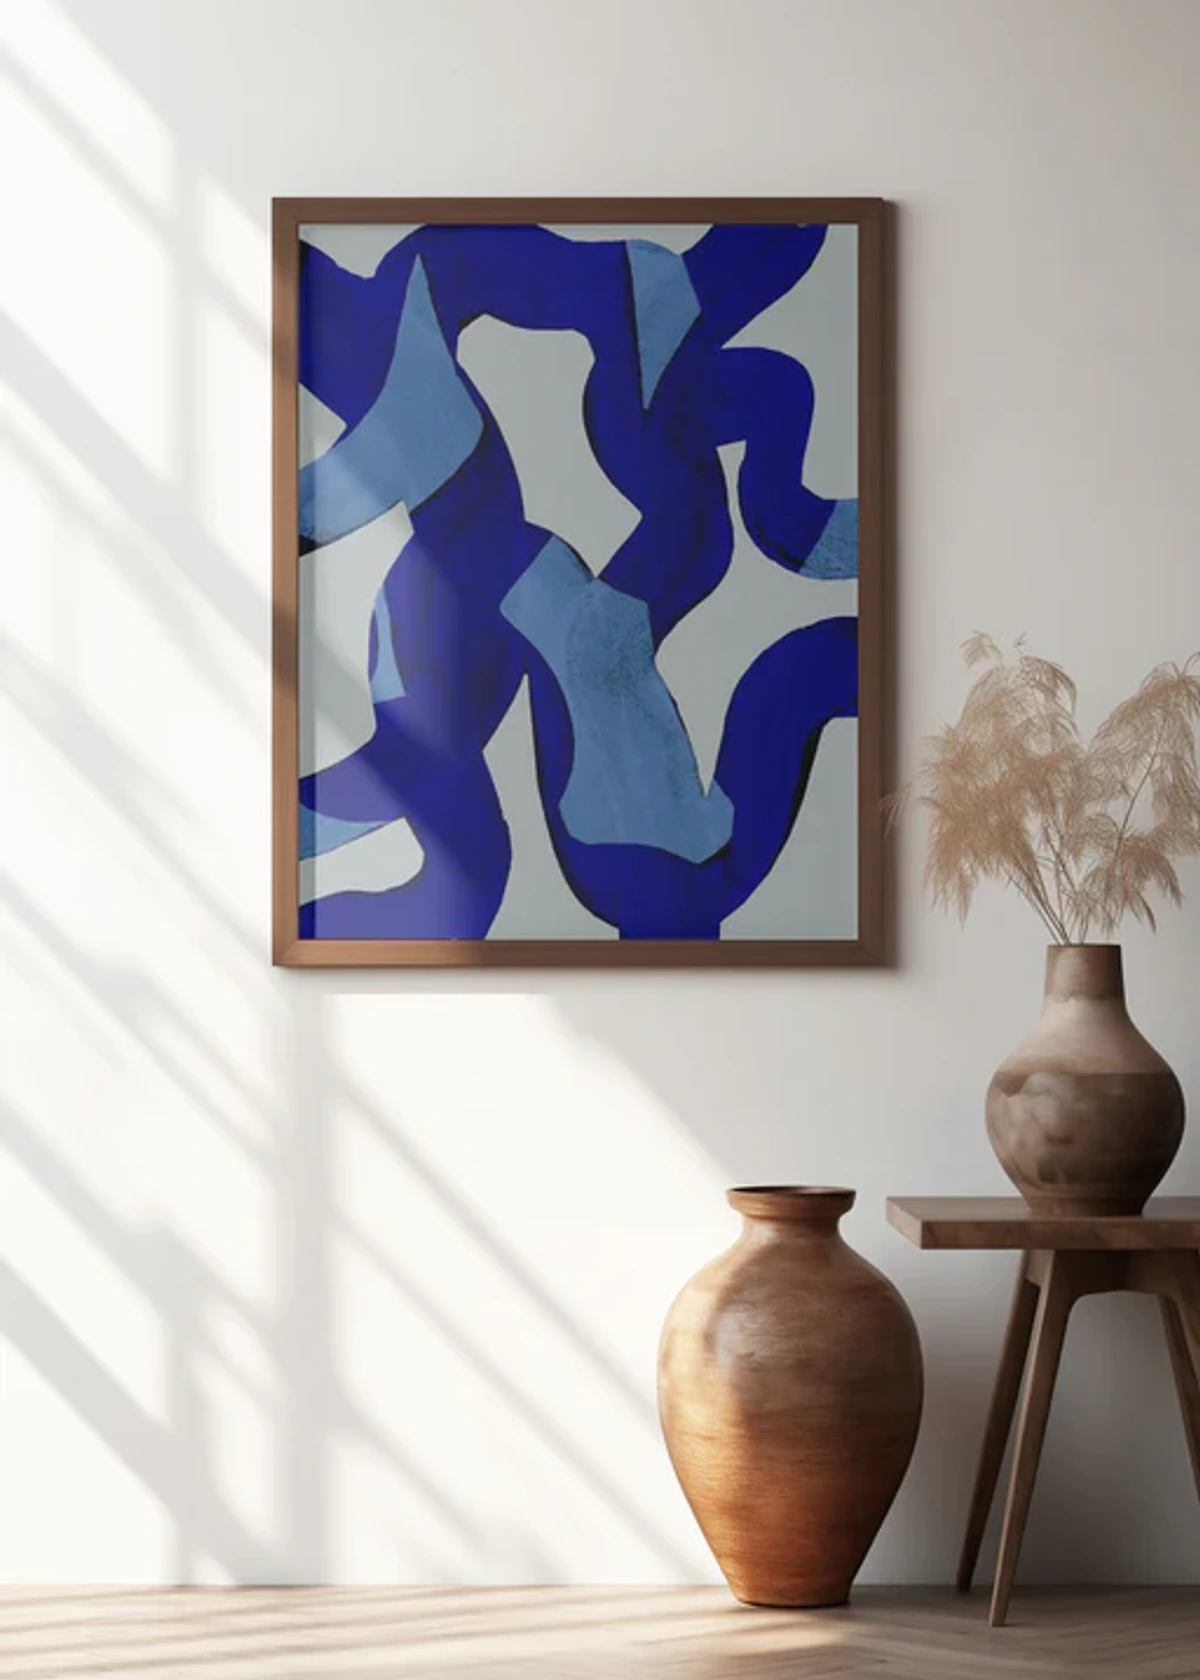
Experimentation isn't just about throwing paint at a canvas and hoping for the best (though sometimes, it feels a bit like that!). It's a delicate dance between intuition and intent. There's a moment when you intuitively feel a direction, a color, a mark, but then there's the intentional act of pushing that idea further, seeing how far it can go before it breaks. Or, perhaps, before it transforms into something entirely new.
I've discovered that this dance follows specific patterns that I can recognize and work with:
The Intuitive Spark Phase: This is the moment of pure inspiration - when I'm not thinking about technique or outcome, just responding to the materials and my internal state. During this phase, I try to minimize self-criticism and just let the process unfold naturally.
The Deliberate Push Phase: Once I have something that resonates, I deliberately push it further. This might mean applying more of a certain technique, intensifying colors, or adding complexity. I ask myself, "How far can I take this before it breaks?"
The Critical Assessment Phase: At some point, I step back and assess what's happening. I ask questions like: Is this working? Does it feel authentic? What could improve it? This is where I balance intuition with critical thinking.
The Strategic Pull Phase: Sometimes the piece needs to be pulled back from the brink of over-complexity. I might remove elements, simplify colors, or reduce texture. This "artistic subtraction" is as important as addition.
The Intuitive Resolution Phase: Finally, I return to intuition for the finishing touches. This often involves small, subtle adjustments that can make a huge difference in the overall impact of the piece.
Recognizing the Transition Points: Learning to recognize when to move from one phase to the next is crucial. I use physical sensations as cues - when my shoulders tense up, it's time for a break; when I feel excitement rather than anxiety, I'm on the right track; when I start getting bored, it's time to push further or pull back.
Understanding Your Creative Rhythm
Every artist has a unique creative rhythm—a balance between spontaneity and control that feels authentic to their process. I've identified several distinct phases in my own experimentation:
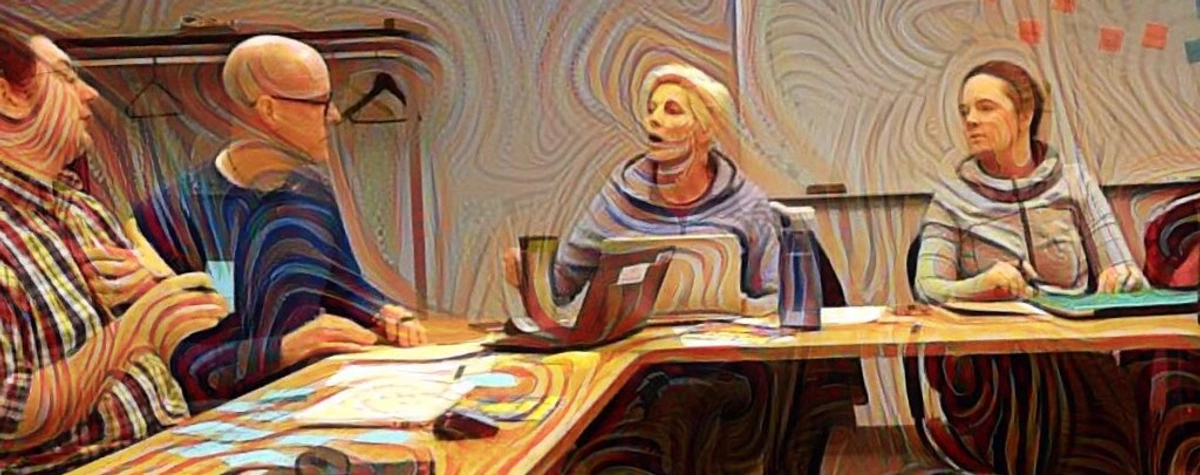
- The Exploratory Phase: Pure intuition, no rules, just playing with materials and ideas
- The Structured Experimentation Phase: Beginning with an intuitive spark but applying some deliberate constraints
- The Refinement Phase: Moving from experimentation toward a more intentional composition
- The Letting Go Phase: Returning to intuition for final adjustments and discoveries
The most powerful pieces often emerge when I consciously move through these phases rather than staying stuck in one approach. Sometimes I'll spend days in the exploratory phase just to loosen up, then deliberately shift into structured experimentation to build on those discoveries.
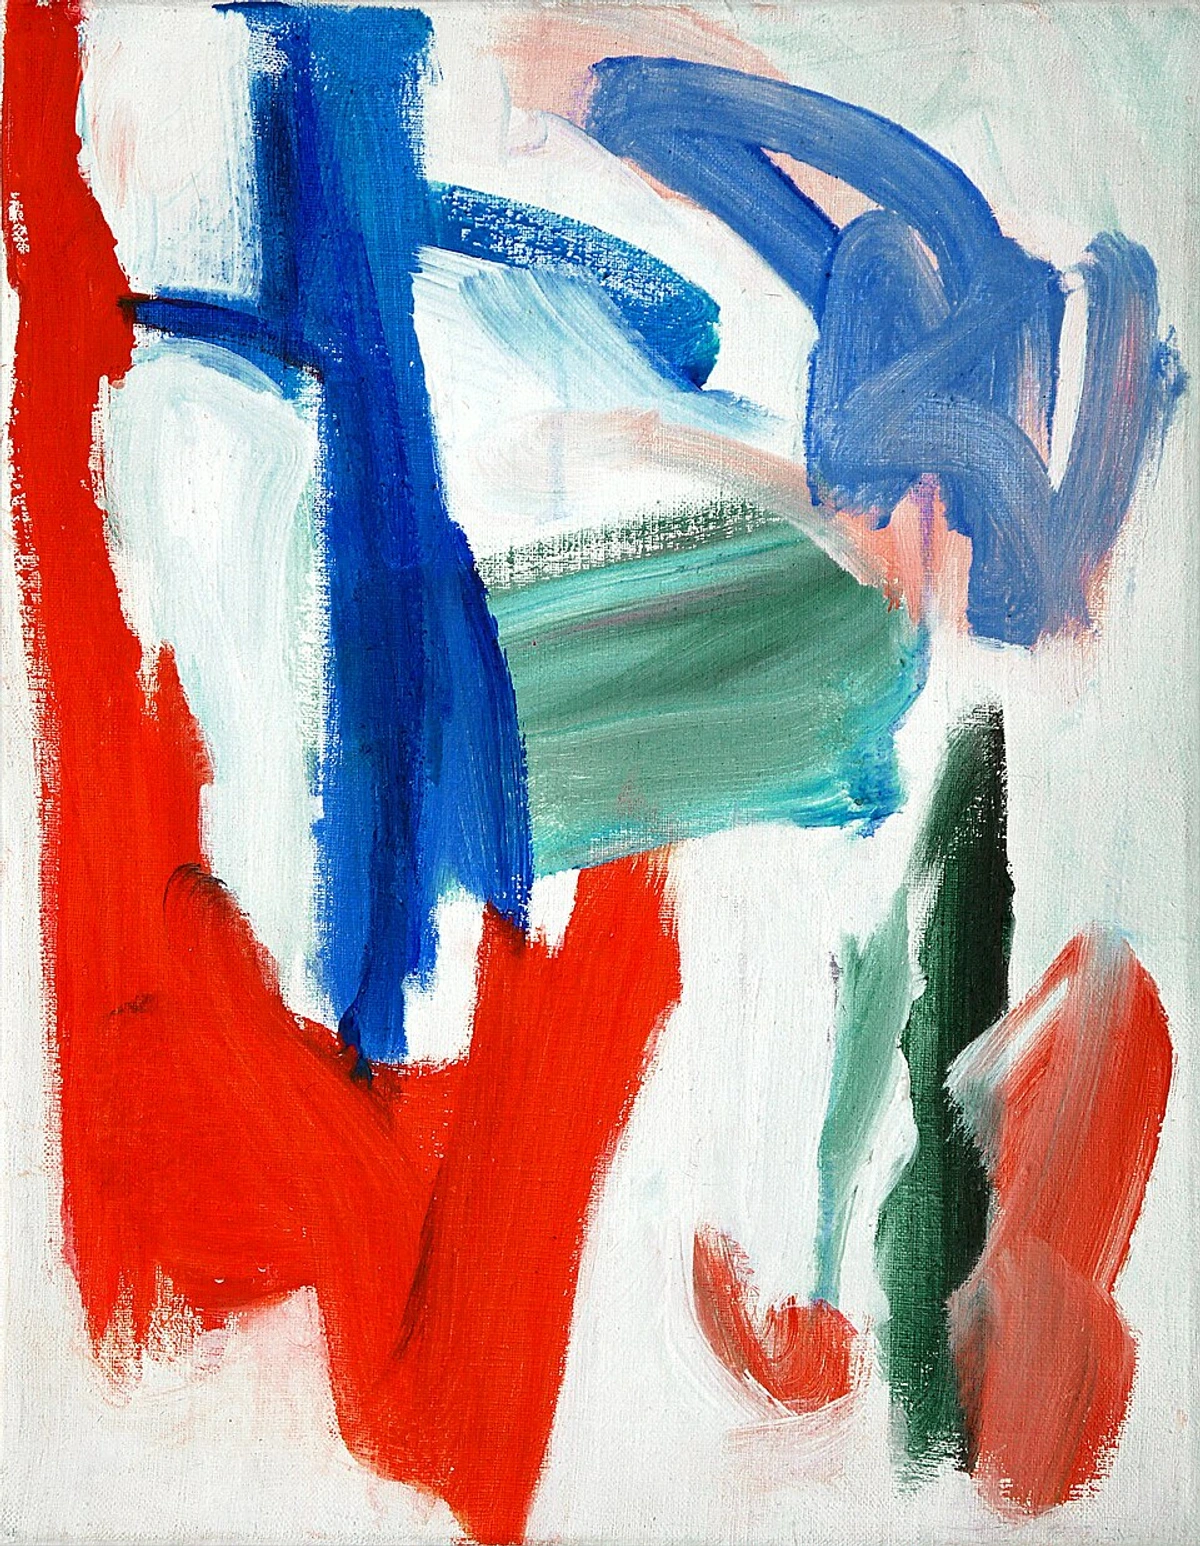
I often find myself in a rhythm where I let my hand move freely, embracing the spontaneity that comes from intuitive painting. Then, I step back. I observe. I ask, "What if?" What if I add another layer here? What if I scrape this off? What if I introduce a completely contrasting color? This is where the real magic happens, in the space between the initial spark and the deliberate, often risky, intervention. It's a continuous process of observation, reaction, and daring to try something different. This interplay, this constant dialogue between what I plan and what emerges, is truly the heart of my creative flow. It’s an ongoing conversation with the canvas, a push and pull that reveals hidden depths and unexpected harmonies.
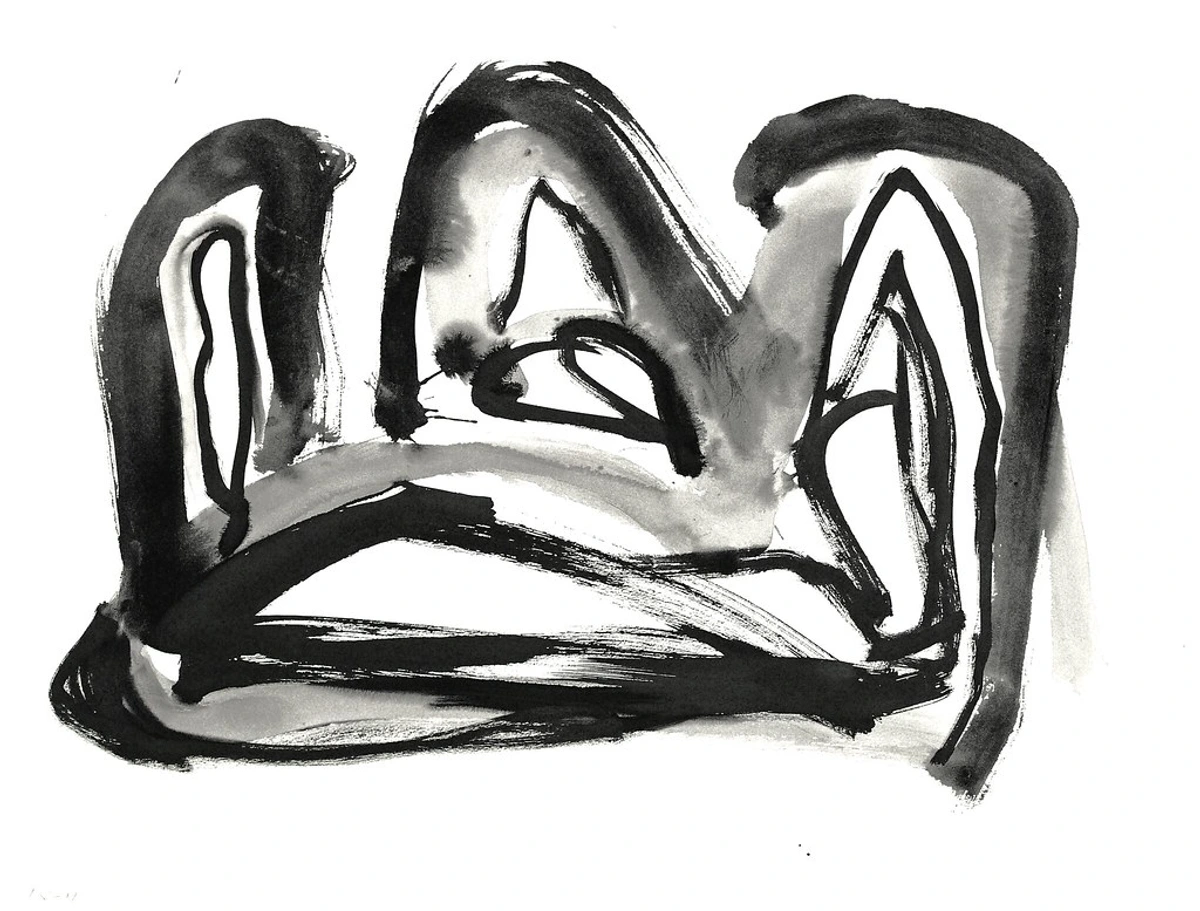
Embracing Imperfection: The Beauty in What "Goes Wrong"
Let's be honest, not every experiment yields a masterpiece. Some end up scraped off, painted over, or even (gasp!) thrown out. But even in these "failures," there’s a lesson. Every attempt, successful or not, informs the next. It teaches me about the properties of my materials, the limits of my techniques, and the surprising resilience of a canvas.
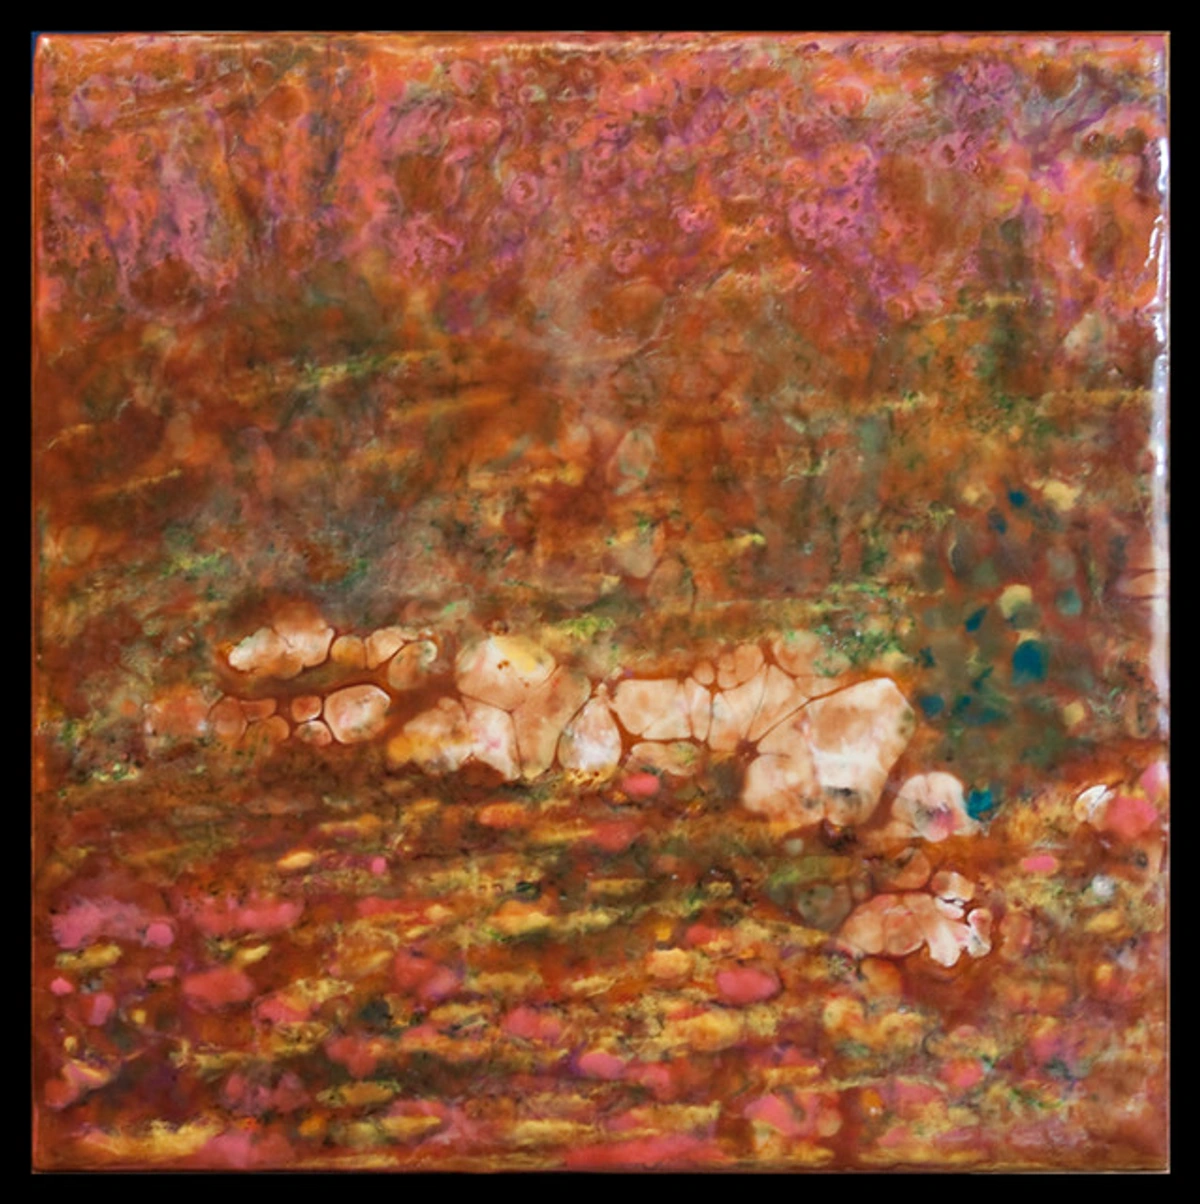
This embracing of imperfection has been a profound shift in my artistic journey. I used to strive for a kind of unreachable perfection, a flawless execution of a preconceived idea. Now, I understand that the true beauty often lies in the imperfections, the unexpected textures, the drips that weren't planned, the areas where the paint rebelled. This philosophy is deeply ingrained in my approach, a belief that the unexpected beauty of imperfection is where the real soul of the art resides. It’s in these moments of letting go that the most authentic expressions emerge.
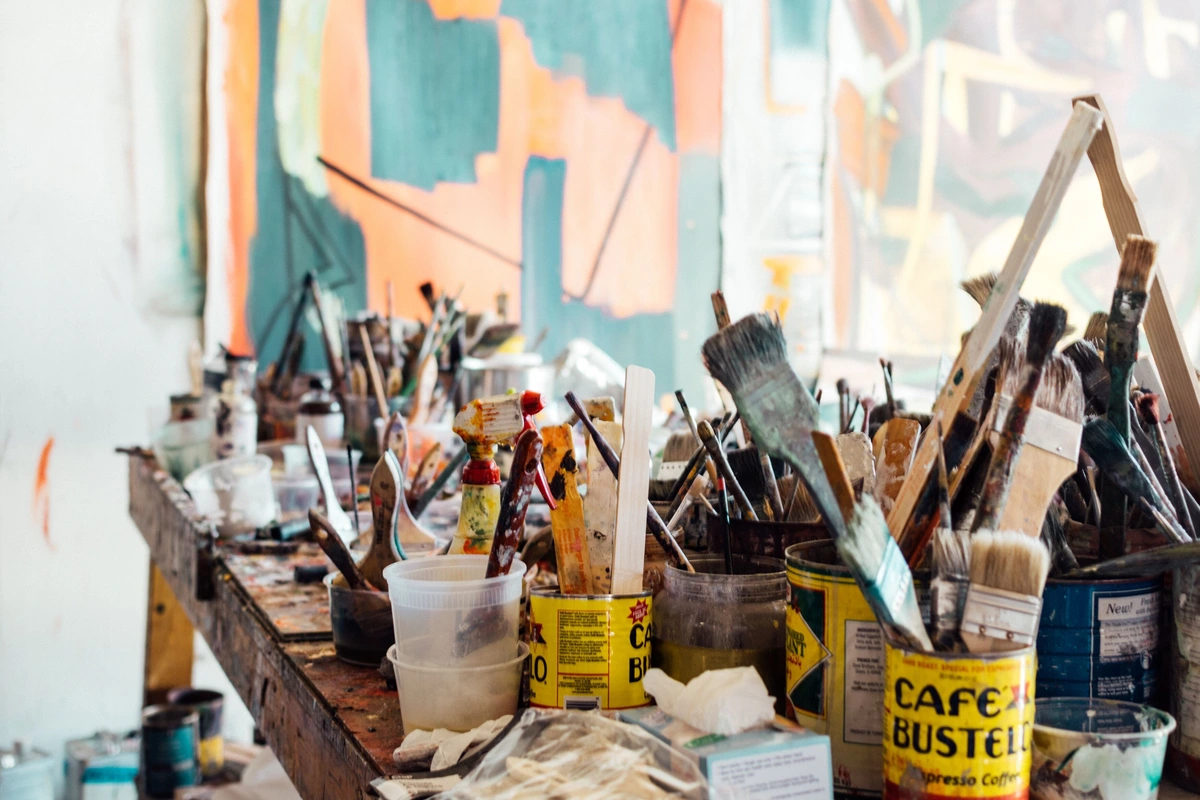
The Organized Chaos of Creative Discovery
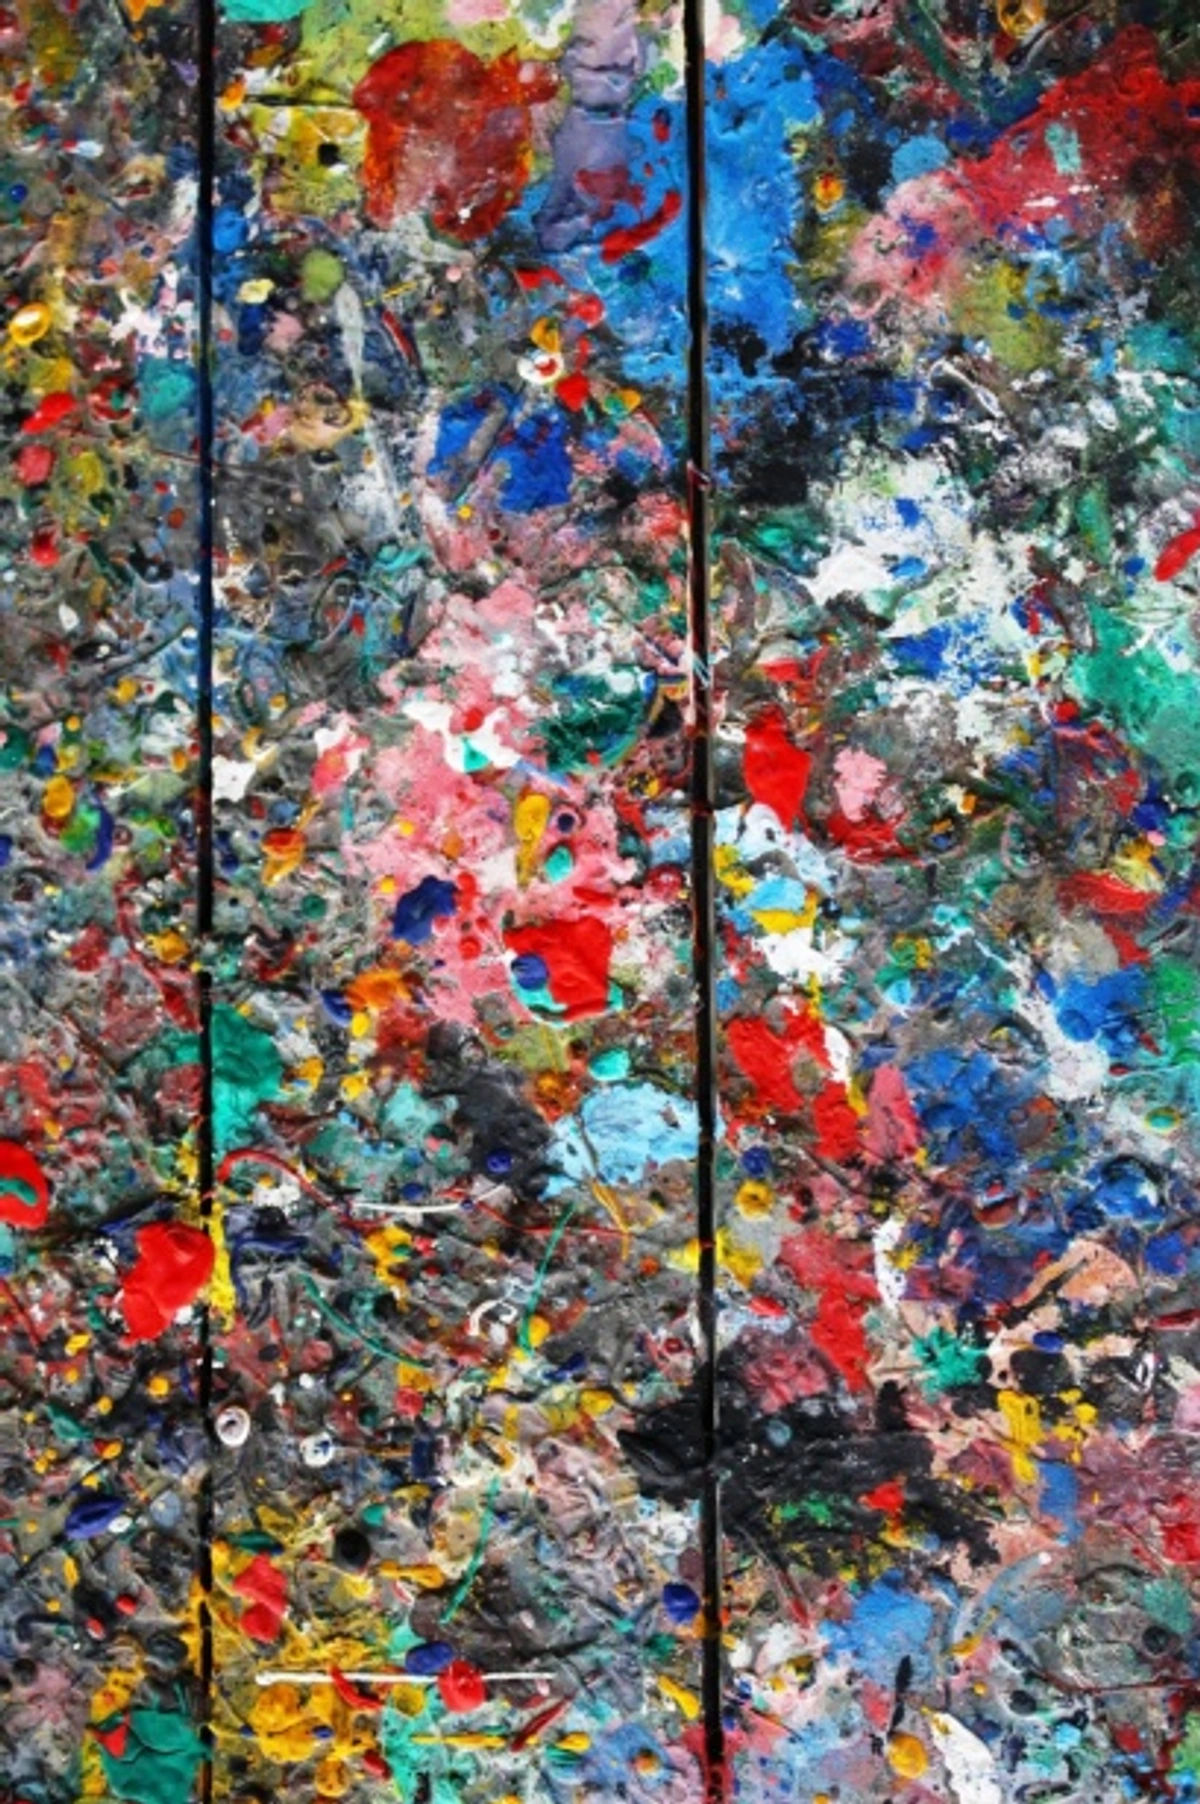
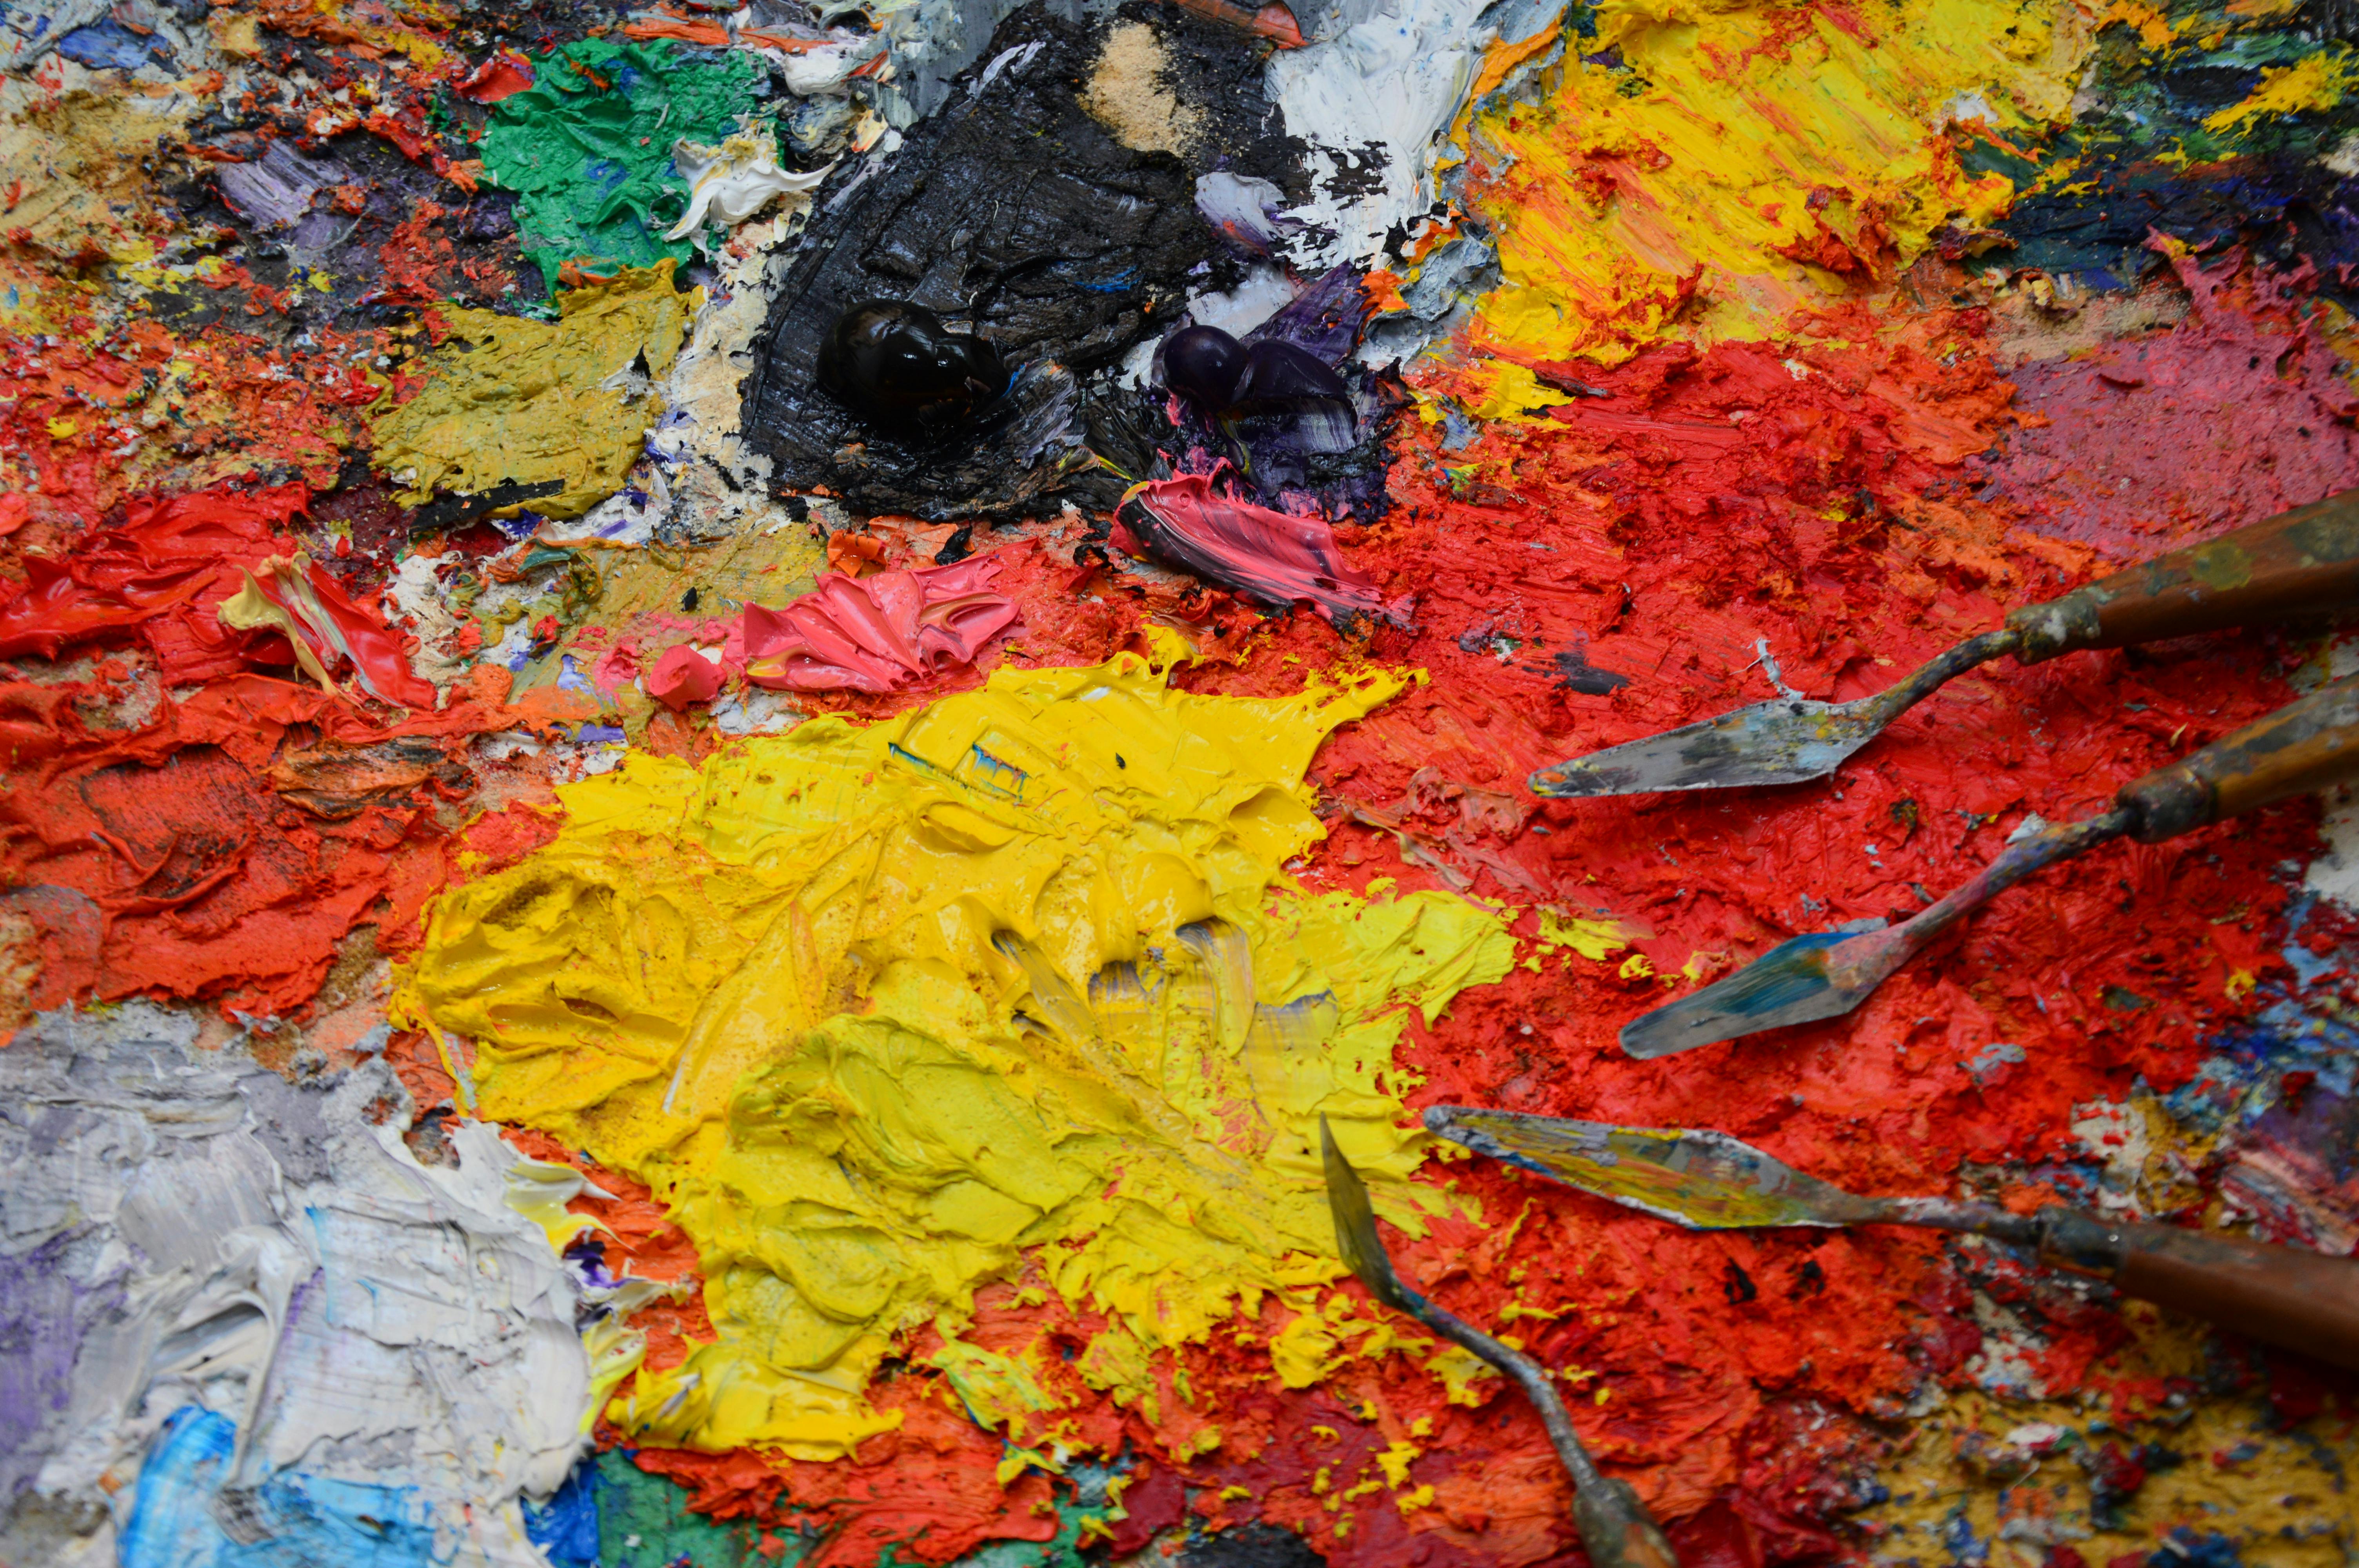
This workbench represents what I call "organized chaos"—the sweet spot between structure and spontaneity that characterizes many creative spaces. While it may look messy to an outsider, this environment is actually optimized for experimentation:
The Psychology of Creative Space: Research in environmental psychology shows that slightly messy, stimulating environments can enhance creativity by suggesting unexpected connections. My studio is deliberately designed to trigger associative thinking - when I see an old toothbrush next to a palette knife next to some dried leaves, my brain starts making connections between these disparate elements.
Zoned Chaos System: While the overall space might appear chaotic, different zones serve specific purposes:
Zone | Purpose | Visual Cues | Psychological Effect |
|---|---|---|---|
| Color Lab | Color mixing and testing | Multiple small containers | Focused experimentation |
| Tool Arsenal | Application tools | Organized but diverse | Readiness for anything |
| Material Archive | Previous experiments | Layers and samples | Historical continuity |
| Inspiration Zone | Objects and references | Varied textures and colors | Creative stimulation |
| Production Zone | Finished pieces | Clean, focused area | Completion mindset |
The Creative Flow State: This organized chaos helps me enter "flow states" more easily. When everything I might need is within reach and visible, I can move smoothly between different experimental approaches without breaking my concentration. The key is having enough structure to find things when I need them, but enough openness to allow unexpected combinations to emerge.
- Proximity: Different materials are close enough to suggest unexpected combinations
- Visual variety: The mix of textures, colors, and shapes stimulates creativity
- Accessibility: Everything is within reach for quick experimentation
- History of process: Layers of previous experiments remain visible, providing inspiration
- Tools for exploration: A variety of application methods available at a glance
Studio Organization for Maximum Creativity
The key to managing this kind of creative chaos is having systems in place—specific areas for different types of materials, clear storage solutions, and regular organization sessions. This allows you to enjoy the benefits of a stimulating environment without becoming overwhelmed by it.
The Studio Organization Matrix:
Category | Storage Solution | Frequency of Use | Accessibility |
|---|---|---|---|
| Current Projects | Open easels, visible | Daily | Immediate |
| Frequently Used Tools | Wall-mounted, labeled | Daily | Easy reach |
| Paints & Mediums | Palette system | Weekly | Organized |
| Experimental Materials | Clear bins, labeled | Monthly | Accessible |
| Archived Work | Flat files, boxes | Quarterly | Stored |
| Reference Materials | Bookshelves, folders | As needed | Organized |
| Documentation | Digital + physical files | Weekly | Easy access |
The 10-Minute Tidy Ritual: I start and end each work session with a 10-minute tidy-up. This prevents chaos from accumulating and ensures I can always find what I need. During these sessions, I also do a quick mental review of what worked well and what didn't during the previous session.
Seasonal Studio Reset: Every three months, I do a major studio reset. This involves deep cleaning, reorganizing, and evaluating what materials and tools I actually use. This prevents me from accumulating supplies that never get used and keeps my space optimized for my current creative focus.
My Studio Organization System:
Zone | Purpose | Examples |
|---|---|---|
| Wet Work Area | Active painting sessions | Easels, palettes, current projects |
| Dry Storage | Completed works and materials | Dried paintings, unused canvases |
| Tool Station | Application tools | Brushes, knives, unconventional tools |
| Color Lab | Color mixing and testing | Small containers, mixing surfaces |
| Reference Library | Inspiration and research | Books, sketches, inspirational objects |
| Scrap/Recycle | Materials for repurposing | Leftover paint, interesting scraps |
This system allows me to maintain creative flow while keeping my space functional. The key is flexibility—these zones aren't rigid boundaries but fluid areas that can expand and contract depending on my current projects.
https://live.staticflickr.com/7275/7548168124_243d637c75_c.jpg, https://creativecommons.org/licenses/by-nc-nd/2.0/
The Business of Experimental Art
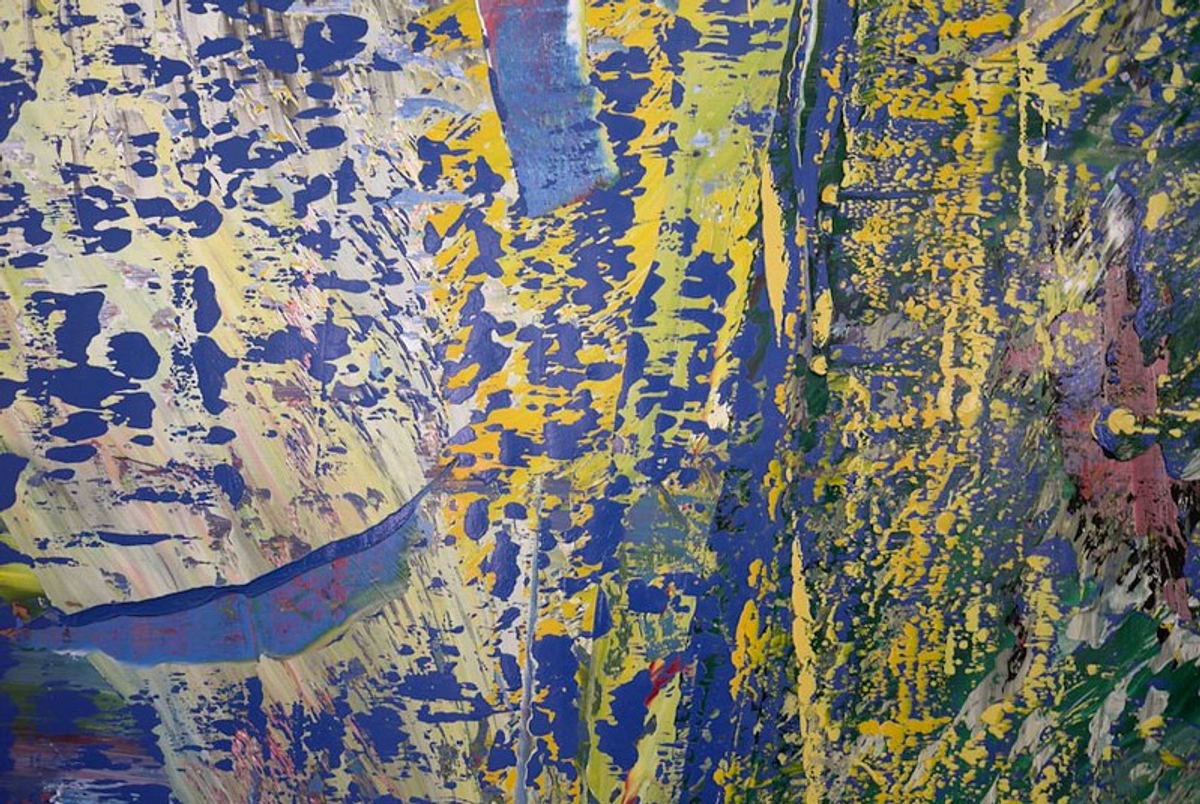
This image touches on an important practical aspect of artistic experimentation that many artists struggle with: how to make a living while pursuing experimental practices. The business side of experimental art requires its own kind of experimentation and innovation:
Experimental Business Models:
Just as I experiment with materials and techniques, I experiment with different ways to monetize my art:
Business Model | Description | Best For | Challenges |
|---|---|---|---|
| Limited Edition Experiments | Create small editions of experimental work | Collectors who want rarity | Production consistency |
| Commissioned Experiments | Create experimental work based on client briefs | Building client relationships | Balancing freedom with client expectations |
| Experimental Process Demonstrations | Document and sell your experimental process | Educating other artists | Time-intensive |
| Material Innovation Products | Develop and sell experimental tools/materials | Other artists | Product development |
| Experimental Workshops | Teach your experimental techniques | Community building | Teaching complex concepts |
Pricing Experimental Art: Pricing experimental work requires a different approach than traditional art. I consider:
- The learning and development time that went into the techniques
- The uniqueness and rarity of the approach
- The time invested in the piece itself
- The potential future value of the experimental technique
Building Your Experimental Brand: Your experimental practice is part of your artistic brand. I document my experimental process extensively through:
- Before/after sequences showing the evolution of pieces
- Detailed notes on techniques and materials used
- Time-lapse videos of complex experimental processes
- Written reflections on what worked and what didn't
This documentation not only helps with future work but also provides valuable content for marketing and educational purposes.
Finding Your Market:
- Target the right audience: Experimental art appeals to collectors who appreciate innovation and process
- Build your story: Document and share your experimental journey to create collector connections
- Educate your audience: Help potential buyers understand and value experimental approaches
- Network strategically: Connect with galleries, curators, and collectors who appreciate experimental work
Pricing Experimental Art:
- Value process: Consider the time, experimentation, and learning that went into the piece
- ** rarity**: Experimental pieces are often unique or part of small editions
- Market research: Look at how similar experimental artists price their work
- Tiered pricing: Different price points for different types of experimental work
Exhibition Strategies:
- Non-traditional venues: Consider alternative spaces that appreciate experimental approaches
- Solo exhibitions: Focus on showing process and development alongside finished pieces
- Group shows: Participate in exhibitions featuring other experimental artists
- Online presence: Use digital platforms to reach global audiences
Income Streams Beyond Selling Art:
- Teaching experimental techniques: Workshops and classes on your experimental approaches
- Commissions: Experimental approaches to client-based work
- Licensing: Licensing experimental designs for various products
- ** residencies**: Teaching and creating in institutional settings
- Grants and fellowships: Funding for experimental projects
The key to making experimental art work financially is to be both creative and strategic. The same experimental mindset that drives your art can be applied to building a sustainable artistic career.
Collaborative Experimentation: Learning from Others
This image represents another important aspect of experimental practice: collaboration. While much of experimentation happens in solitude, sharing your experiments with others can multiply your learning exponentially. Collaborative experimentation includes:
- Group experimentation sessions: Working alongside other artists to exchange ideas and techniques
- Cross-disciplinary collaboration: Working with artists from different mediums to expand your approach
- Teaching and learning: Teaching your experimental techniques to others while learning theirs
- Online communities: Participating in digital communities focused on artistic experimentation
- Mentorship relationships: Learning from more experienced experimenters while mentoring those newer to the practice
The collective wisdom of artistic communities often accelerates individual experimentation, providing feedback, inspiration, and support that can be difficult to achieve in isolation.
Beyond the Canvas: Experimentation as a Way of Life
You might think this talk of experimentation is just for artists, locked away in their studios with paint splatters on their faces. But I've found that this philosophy, this willingness to try new things and embrace the unknown, extends far beyond my canvases. It's about being open to new experiences, new ideas, new ways of thinking in life itself.
The Experimental Mindset in Daily Life:
Applying the experimental approach to everyday life has been transformative. I now see problems as opportunities for experimentation rather than obstacles to overcome. This mindset shift has made me more adaptable, creative, and resilient in all areas of life.
Problem-Solving Through Experimentation: When faced with challenges, I approach them like art experiments:
- Define the problem clearly (like defining the canvas size and medium)
- Generate multiple potential solutions (like trying different techniques)
- Test the most promising options (like applying paint to see how it looks)
- Analyze the results (like stepping back to assess the composition)
- Refine or try a new approach (like adding more layers or changing direction)
This systematic approach to problem-solving has helped me navigate everything from household repairs to career decisions with more confidence and creativity.
The Psychology of an Experimental Mindset
Research in psychology suggests that people who embrace experimentation tend to be more resilient, creative, and satisfied with their lives. This isn't just about art—it's about developing a cognitive flexibility that serves you in all areas:
- Cognitive flexibility: The ability to switch between different concepts and think about multiple perspectives simultaneously
- Growth mindset: Believing that abilities can be developed through dedication and hard work
- Tolerance for ambiguity: Comfort with uncertainty and the ability to find meaning in chaos
- Intrinsic motivation: Being driven by internal satisfaction rather than external rewards
These psychological traits don't just happen—they're cultivated through regular practice of experimentation. That's why I believe that developing an experimental approach to art actually makes you a better, more adaptable person in every aspect of life.
Experimental Life Practices
The experimental mindset I've cultivated through my art practice has transformed how I approach everyday life. I now consciously apply these principles to various aspects of my existence:
Personal Growth Experiments:
- New skill challenges: Learning something completely unrelated to art each year
- Habit experimentation: Testing different routines and systems to improve productivity and well-being
- Perspective shifts: Consciously trying to see situations from alternative viewpoints
- Comfort zone expansion: Regularly doing things that feel slightly intimidating
Relationship Experiments:
- Communication approaches: Testing different ways to express needs and listen to others
- Quality time experiments: Trying new activities with loved ones to deepen connections
- Conflict resolution methods: Exploring different approaches to disagreements
- Appreciation practices: Experimenting with ways to express gratitude more meaningfully
Creative Lifestyle Integration:
- Environmental experimentation: Rearranging spaces to stimulate creativity and flow
- Routine variation: Breaking patterns that have become stagnant
- Sensory exploration: Intentionally seeking out new sounds, tastes, textures, and smells
- Cross-pollination: Bringing insights from one area of life into another
A 30-Day Life Experiment Challenge
If you're ready to bring the experimental mindset into your daily life, here's a structured challenge I've developed based on my own experience:
Week 1: Sensory Awareness
- Days 1-3: Document 3 new sensory experiences each day (a new taste, sound, texture, smell, sight)
- Days 4-7: Change one daily routine completely (take a different route to work, eat breakfast for dinner, etc.)
Week 2: Skill Acquisition
- Days 8-10: Learn a completely new skill using only online resources (juggling, basic coding, origami)
- Days 11-14: Teach yourself something practical that you've always wanted to know
Week 3: Relationship Deepening
- Days 15-17: Try a new communication approach with someone close to you
- Days 18-21: Initiate a conversation with someone outside your usual social circle
Week 4: Integration and Reflection
- Days 22-24: Combine insights from previous weeks into one "experimental day"
- Days 25-27: Document your learnings and identify patterns in your experimental approach
- Days 28-30: Share your experience with someone else and get their perspective
This challenge helps build the experimental habit in a structured way, making it easier to continue beyond the initial 30 days.
These life experiments aren't about constant change for its own sake—they're about staying awake and engaged with your experience, finding new ways to grow and connect, and maintaining the sense of wonder that makes life feel fresh and meaningful.
Experimentation in Daily Practice
The experimental mindset I've developed through my art practice has fundamentally changed how I approach everyday challenges. I now consciously apply artistic experimentation principles to:
- Problem-solving: Instead of seeking the "right" answer immediately, I generate multiple potential solutions and test them
- Relationship building: Trying different communication approaches and observing what works best
- Skill development: Embracing the beginner's mind and being willing to look foolish while learning something new
- Personal growth: Regularly stepping outside my comfort zone and trying activities that feel unfamiliar or intimidating
One of my most powerful personal experiments was committing to trying one completely new thing each week—whether it was a new recipe, a different walking route, or a conversation with someone from a different background. These small experiments accumulated to create significant shifts in my perspective and creativity.
Just as a new pigment might revolutionize my palette, a new perspective or an unexpected turn in my personal journey can enrich my understanding of the world. My own artist's timeline is full of these experimental leaps, moments where I dared to try a different path, to see what would happen. It's often in these moments of uncertainty, when I’m unsure of the outcome, that I find the most growth and the most profound revelations, both in my art and in my life. And who knows, maybe the next great piece of art, perhaps even one available for purchase, is just around the corner, waiting for me to take another experimental leap.
FAQ: Your Burning Questions on Artistic Experimentation
Q: What if an experiment "fails"?
A: First, define "failure." In my studio, a "failure" is usually just data. It tells me what doesn't work, or what works in an unexpected way. Sometimes, the most beautiful breakthroughs come from what initially seemed like a total disaster. Don't be afraid to navigate artist's block by simply experimenting your way out of it.
My Failure Recovery Process:
- Immediate Documentation: Take photos and notes before making any changes
- Emotional Check-in: Acknowledge disappointment but don't dwell on it
- What Went Wrong Analysis: Be specific about what didn't work
- What Unexpectedly Worked: Look for positive elements to salvage
- New Hypothesis Formulation: What would I do differently next time?
- Small Test Experiment: Try the new approach on a small scale
I once created a piece that was a complete disaster - colors clashed, textures were wrong, composition was off. Instead of scraping it, I turned it into a learning exercise. I documented everything that went wrong, then used the canvas as a testing ground for new techniques. The resulting "study" piece ended up being more interesting than what I originally intended, and I learned more from that "failure" than from many successful experiments.
Q: How do you budget for experimental materials?
A: This is a practical concern many artists share. My approach has evolved over time:
- Dedicated experimentation budget: Set aside a small percentage of your art supply budget specifically for experiments
- Repurposing materials: Use leftover paint from other projects for experimental work
- Low-cost experimentation: Start with inexpensive materials and tools to test concepts before investing in expensive ones
- Collaborative experimentation: Share materials and costs with other artists
The Experimental Material Budget Calculator:
Month | Total Art Budget | Experimental Budget % | Experimental Budget | Allocation Strategy |
|---|---|---|---|---|
| January | $500 | 15% | $75 | Focus on texture tools |
| February | $400 | 15% | $60 | Try new color palette |
| March | $600 | 20% | $120 | Surface experimentation |
| April | $450 | 15% | $67.50 | Digital tools trial |
| May | $550 | 15% | $82.50 | Mixed media exploration |
Cost-Effective Experimental Strategies:
The Material Swap Meet: I organize quarterly material swaps with other artists. We bring leftover paints, tools, and materials we no longer use and trade them. This not only saves money but also introduces us to new materials we might not have tried otherwise.
The Experimentation Subscription Box: I subscribe to a monthly art subscription box that introduces new materials and techniques. While this costs money, it's a structured way to experiment with professionally curated materials.
Bulk Material Sharing: I go in on bulk purchases of experimental materials with other artists. Things like large quantities of unusual additives, unique papers, or specialty tools are much more affordable when shared.
Q: What are the most cost-effective experimental materials for beginners?
A: You don't need expensive materials to experiment effectively. Here are some of my favorite budget-friendly options:
The $10 Experimental Starter Kit:
Material | Cost | Primary Use | Creative Potential |
|---|---|---|---|
| Kitchen sponge | $2 | Texture creation | Organic patterns, blending |
| Credit card | Free | Sharp lines, scraping | Geometric shapes, edge effects |
| Basic acrylic set | $8 | Foundation colors | Layering, mixing experiments |
| Mixed media paper pad | $6 | Various surfaces | Testing techniques, small studies |
Found Object Artillery: Some of the most interesting experimental tools are things you already have around your house:
Household Item | Experimental Use | Expected Effect | Difficulty Level |
|---|---|---|---|
| Toothbrush | Splatter effects | Textured surfaces | Easy |
| Fork | Linear patterns | Rhythmic marks | Easy |
| Plastic wrap | Texture creation | Organic, wrinkled effects | Medium |
| Aluminum foil | Reflective surfaces | Shimmering effects | Medium |
| Coffee grounds | Texture, color | Earthy, organic | Easy |
Nature's Experimental Palette: The outdoors provides endless free experimental materials:
Natural Material | Use | Effect | Seasonal Availability |
|---|---|---|---|
| Leaves | Stamping, impressions | Organic shapes | Spring-Fall |
| Twigs | Drawing tools | Linear, scratchy marks | Year-round |
| Sand | Texture, mixing | Granular, gritty texture | Year-round |
| Flower petals | Natural pigments | Soft, translucent colors | Spring-Summer |
| Bark | Rubbings | Textural surfaces | Year-round |
Under $5 Materials:
- Kitchen sponges and scrubbers
- Credit cards and gift cards
- Old toothbrushes
- Natural materials (twigs, leaves, stones)
- Household items (forks, spoons, bottle caps)
$5-10 Materials:
- Basic craft acrylics in small tubes
- Mixed media paper pads
- Inexpensive canvas boards
- Basic palette knives
- Found objects from thrift stores
$10-20 Materials:
- Student-grade acrylic sets
- Various brush types and sizes
- Gesso and mediums
- Small containers for mixing
- Basic drawing tools
The key is to start small and build your experimental toolkit gradually. Some of my most innovative work has come from materials that cost next to nothing.
Q: How do you know when an experiment is over?
A: Good question! Often, it's when I feel I've learned all I can from that specific approach, or when the piece itself starts to take on a life of its own and demands a different kind of attention. It's an intuitive feeling, really, a subtle shift from "trying" to "refining." I've developed several indicators that help me recognize when an experiment has served its purpose:
The Experiment Completion Checklist:
Indicator | Description | Action to Take |
|---|---|---|
| Diminished Returns | Each new attempt yields less interesting results | Stop the current approach, move on |
| Natural Conclusion | The piece feels complete in its experimental phase | Finalize the piece, document learnings |
| Learning Plateau | No new insights emerging from the approach | Analyze what you've learned, apply elsewhere |
| Creative Pull | Drawn to move on to new techniques | Follow the inspiration, document the shift |
| Technical Mastery | Can reproduce the results consistently | Add to your technique repertoire |
The "Three Day Rule": I give myself three days with a new experimental approach before deciding whether to continue or abandon it. Day 1 is about exploration and discovery. Day 2 is about refinement and pushing the boundaries. Day 3 is about evaluation - can I see this developing into something meaningful, or has it reached its natural conclusion?
The Emotional Barometer: Pay attention to how you feel when working on an experiment. If you start feeling excited and engaged, it's worth continuing. If you feel bored, frustrated, or drained, it might be time to try something new. Your emotional response is often the best indicator of whether an experiment is still fruitful.
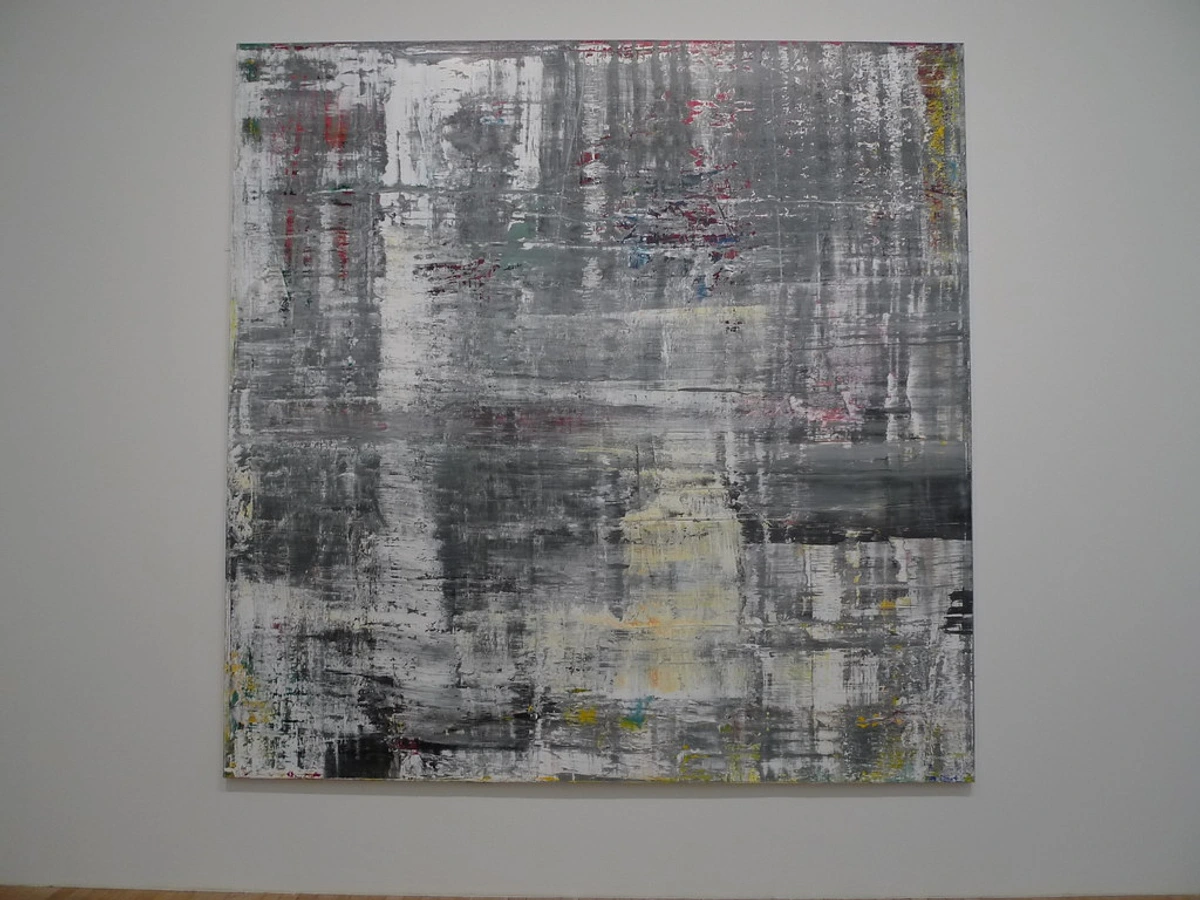
- Diminished returns: Each new attempt yields less interesting results than the previous one
- Natural conclusion: The piece feels complete in its experimental phase
- Learning plateau: I'm no longer discovering new insights from the approach
- Creative pull: I'm drawn to move on to a new technique or idea
Sometimes I'll deliberately continue an experiment beyond its natural conclusion just to push it further and see what happens, but most of the time, recognizing when to stop is as important as knowing when to start.
Q: Is experimentation just random?
A: Not entirely. While there's a huge element of spontaneity and embracing the unplanned, it's often guided by a curiosity or a question. "What if I use this color next to that texture?" "What happens if I apply paint with this tool?" It's structured curiosity, if you will. The unexpected discoveries often build upon previous insights, much like how the language of layers works in abstract acrylics.
The Method to the Madness:
My experimentation follows a structured process that balances randomness with intention:
- Question Formulation: Start with a specific "what if" question
- Hypothesis Development: Make an educated guess about the outcome
- Controlled Testing: Create conditions to test the hypothesis
- Observation and Documentation: Record what actually happens
- Analysis and Learning: Extract insights from the results
- Iteration or Pivot: Continue, modify, or move to a new approach
Curiosity Mapping: I maintain a "curiosity map" - a document where I brainstorm experimental questions and track which ones I've explored. This prevents me from repeating experiments and helps me build on previous discoveries.
The 10% Random Rule: While most of my experimentation is purposeful, I reserve about 10% for pure randomness. This might involve closing my eyes and grabbing random materials, or intentionally breaking my own rules. These completely random experiments sometimes lead to the most surprising breakthroughs.
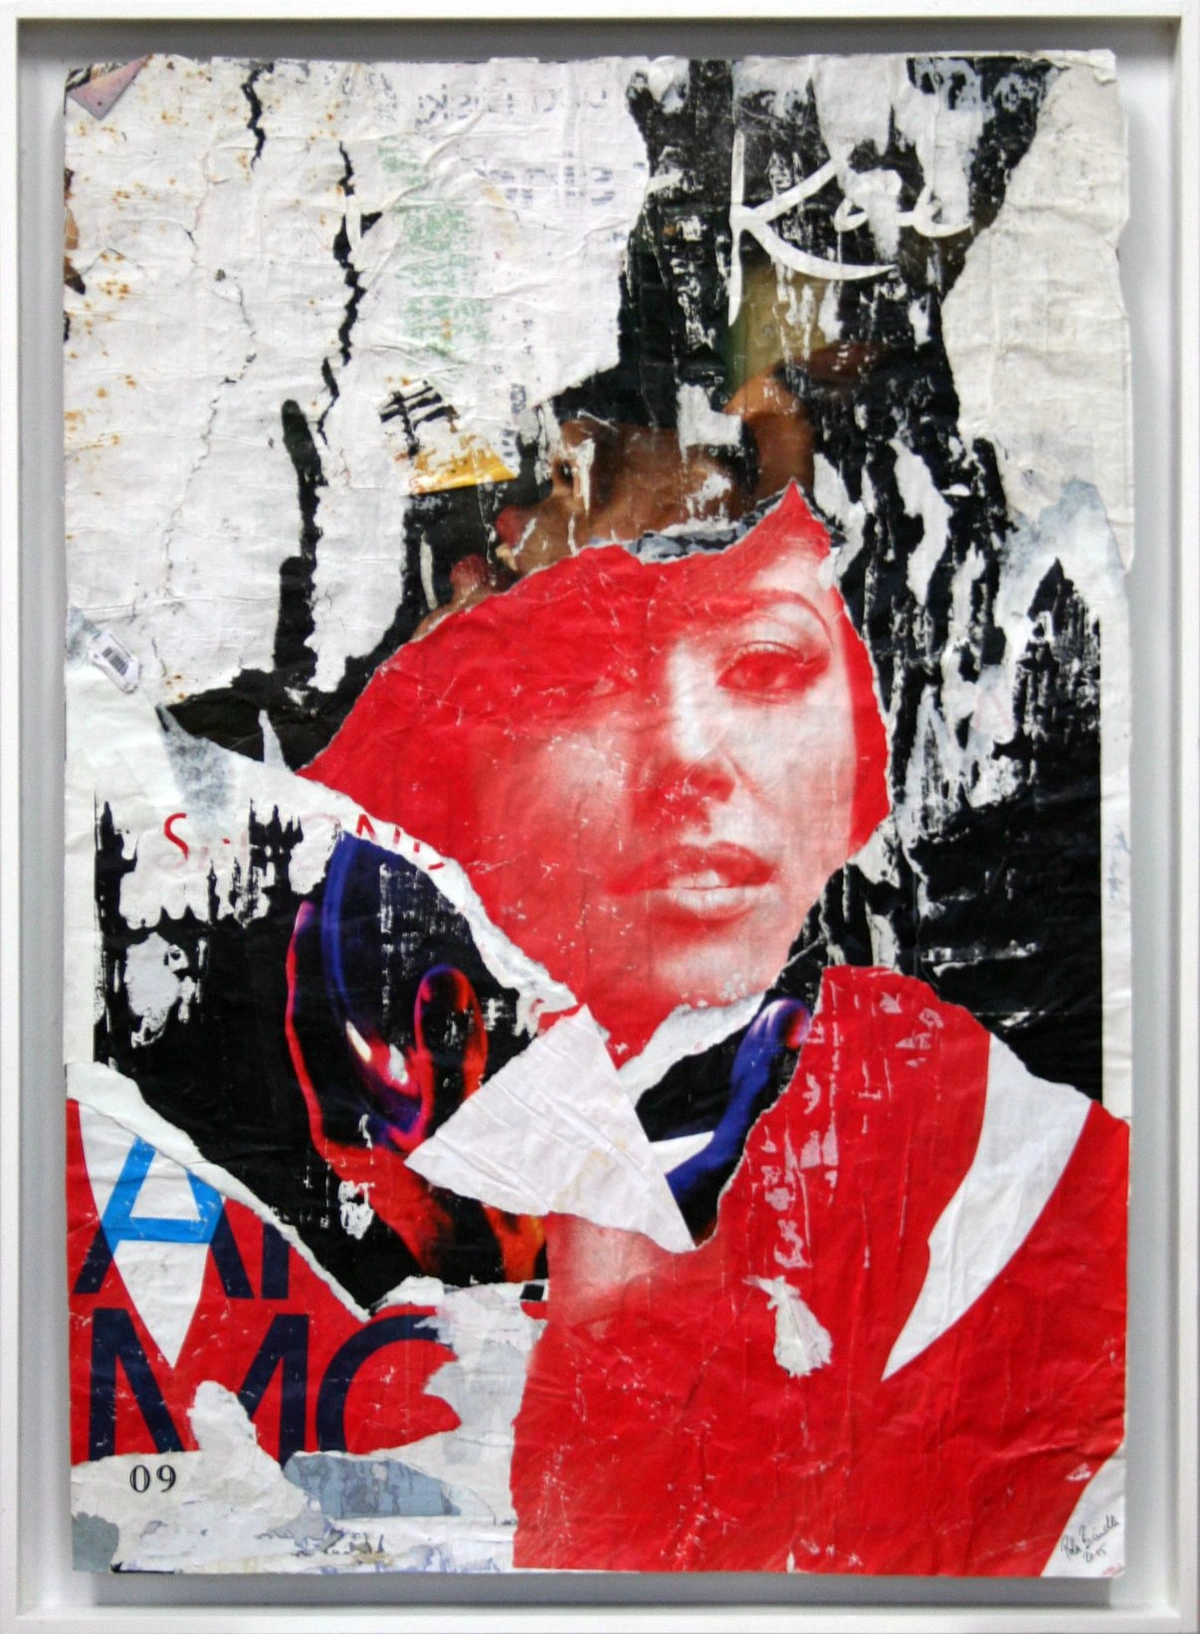
Q: How do you balance experimentation with developing a consistent style?
A: This is perhaps the most common concern I hear from artists. The fear is that too much experimentation will lead to inconsistency and lack of recognition. My experience has been the opposite: experimentation is what actually builds a stronger, more authentic style.
Think of it like developing your artistic vocabulary. Each experiment adds new words, techniques, and concepts to your repertoire. Over time, you develop preferences and patterns—certain colors that resonate, textures you enjoy creating, compositions that feel satisfying. These preferences emerge from the experimental process itself.
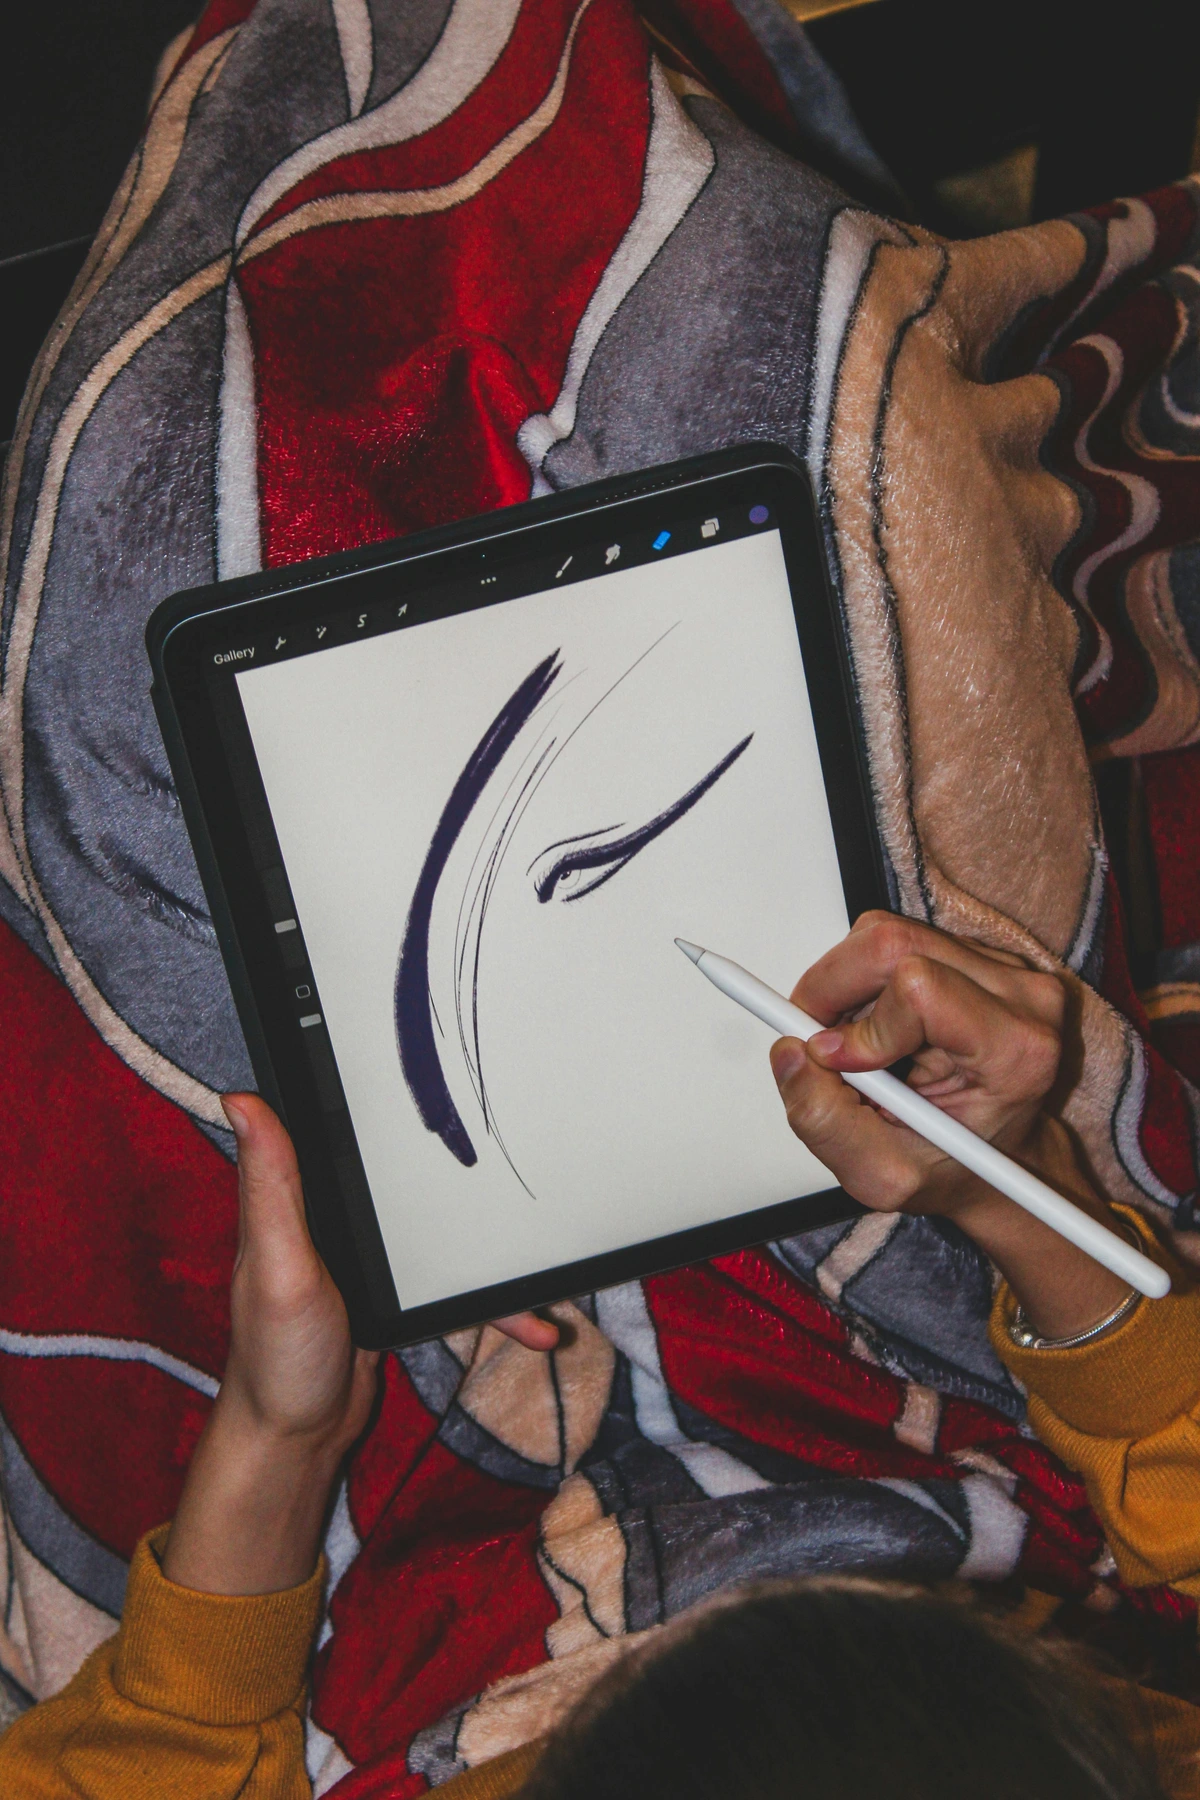
I recommend the 80/20 rule: spend 80% of your time developing and refining your core style, and 20% experimenting with completely new approaches. This balance allows you to grow while maintaining continuity in your body of work. Some of my most recognizable stylistic elements emerged from brief experimental periods.
Style Development Through Experimentation:
Experimental Phase | Style Contribution | Time Investment | Expected Outcome |
|---|---|---|---|
| Color Exploration | Develop personal palette preferences | 1-2 months | Signature color relationships |
| Texture Mastery | Identify preferred surface treatments | 2-3 months | Distinctive tactile quality |
| Composition Studies | Find balanced, satisfying arrangements | 1-2 months | Personal compositional rhythm |
| Tool Specialization | Discover optimal application methods | Ongoing | Signature mark-making |
| Subject Matter Focus | Identify compelling visual themes | 3-6 months | Thematic coherence |
The Evolutionary Style Framework:
My style has evolved through distinct phases, each building on the last:
- Foundation Phase: Learning basic techniques and materials
- Exploration Phase: Trying many different approaches
- Synthesis Phase: Combining successful elements from exploration
- Refinement Phase: Polishing and perfecting the emerging style
- Innovation Phase: Introducing new elements while maintaining core identity
Style Consistency Strategies:
- Document Everything: Keep records of successful experiments to reference
- Create Series: Develop bodies of work that explore variations on a theme
- Establish Visual Threads: Use recurring elements (colors, shapes, textures)
- Set Personal Rules: Define boundaries within which to experiment
- Regular Style Review: Periodically assess what's working and what's not
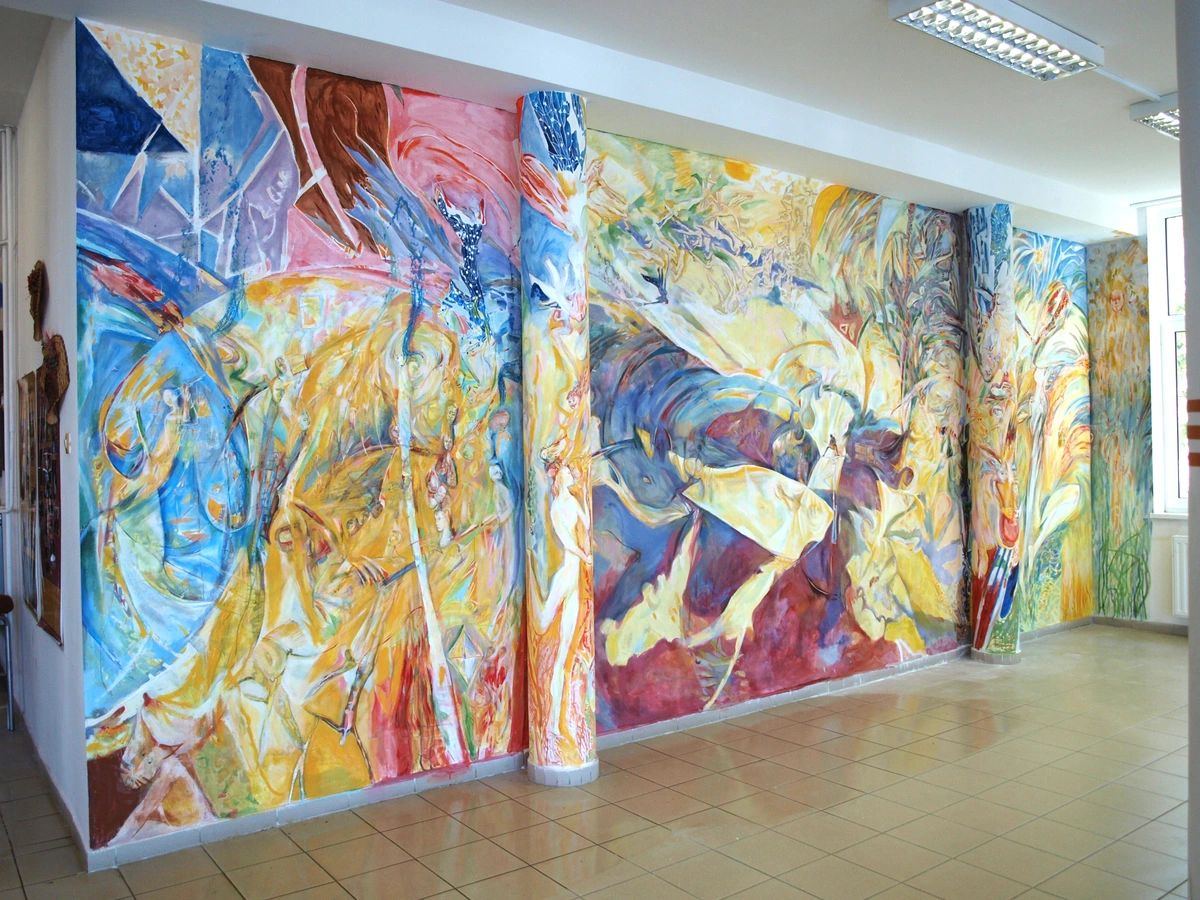
Medium Experimentation: Traditional Techniques in Contemporary Context
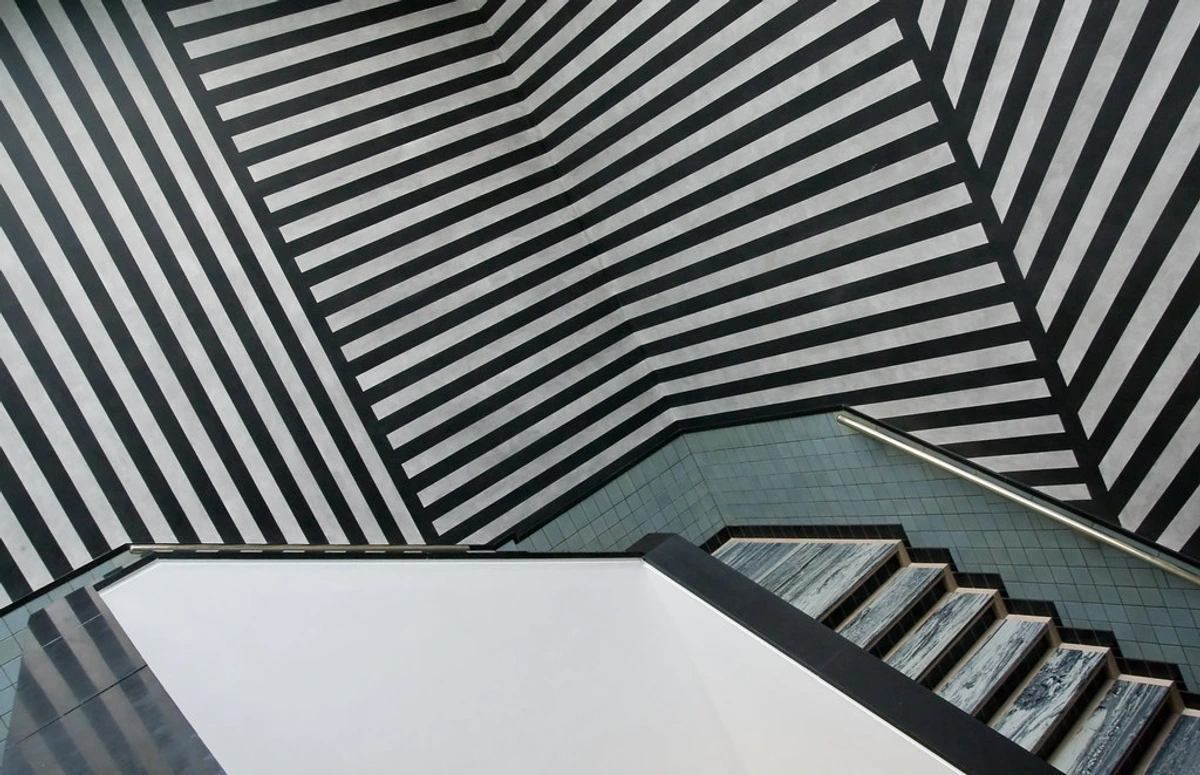
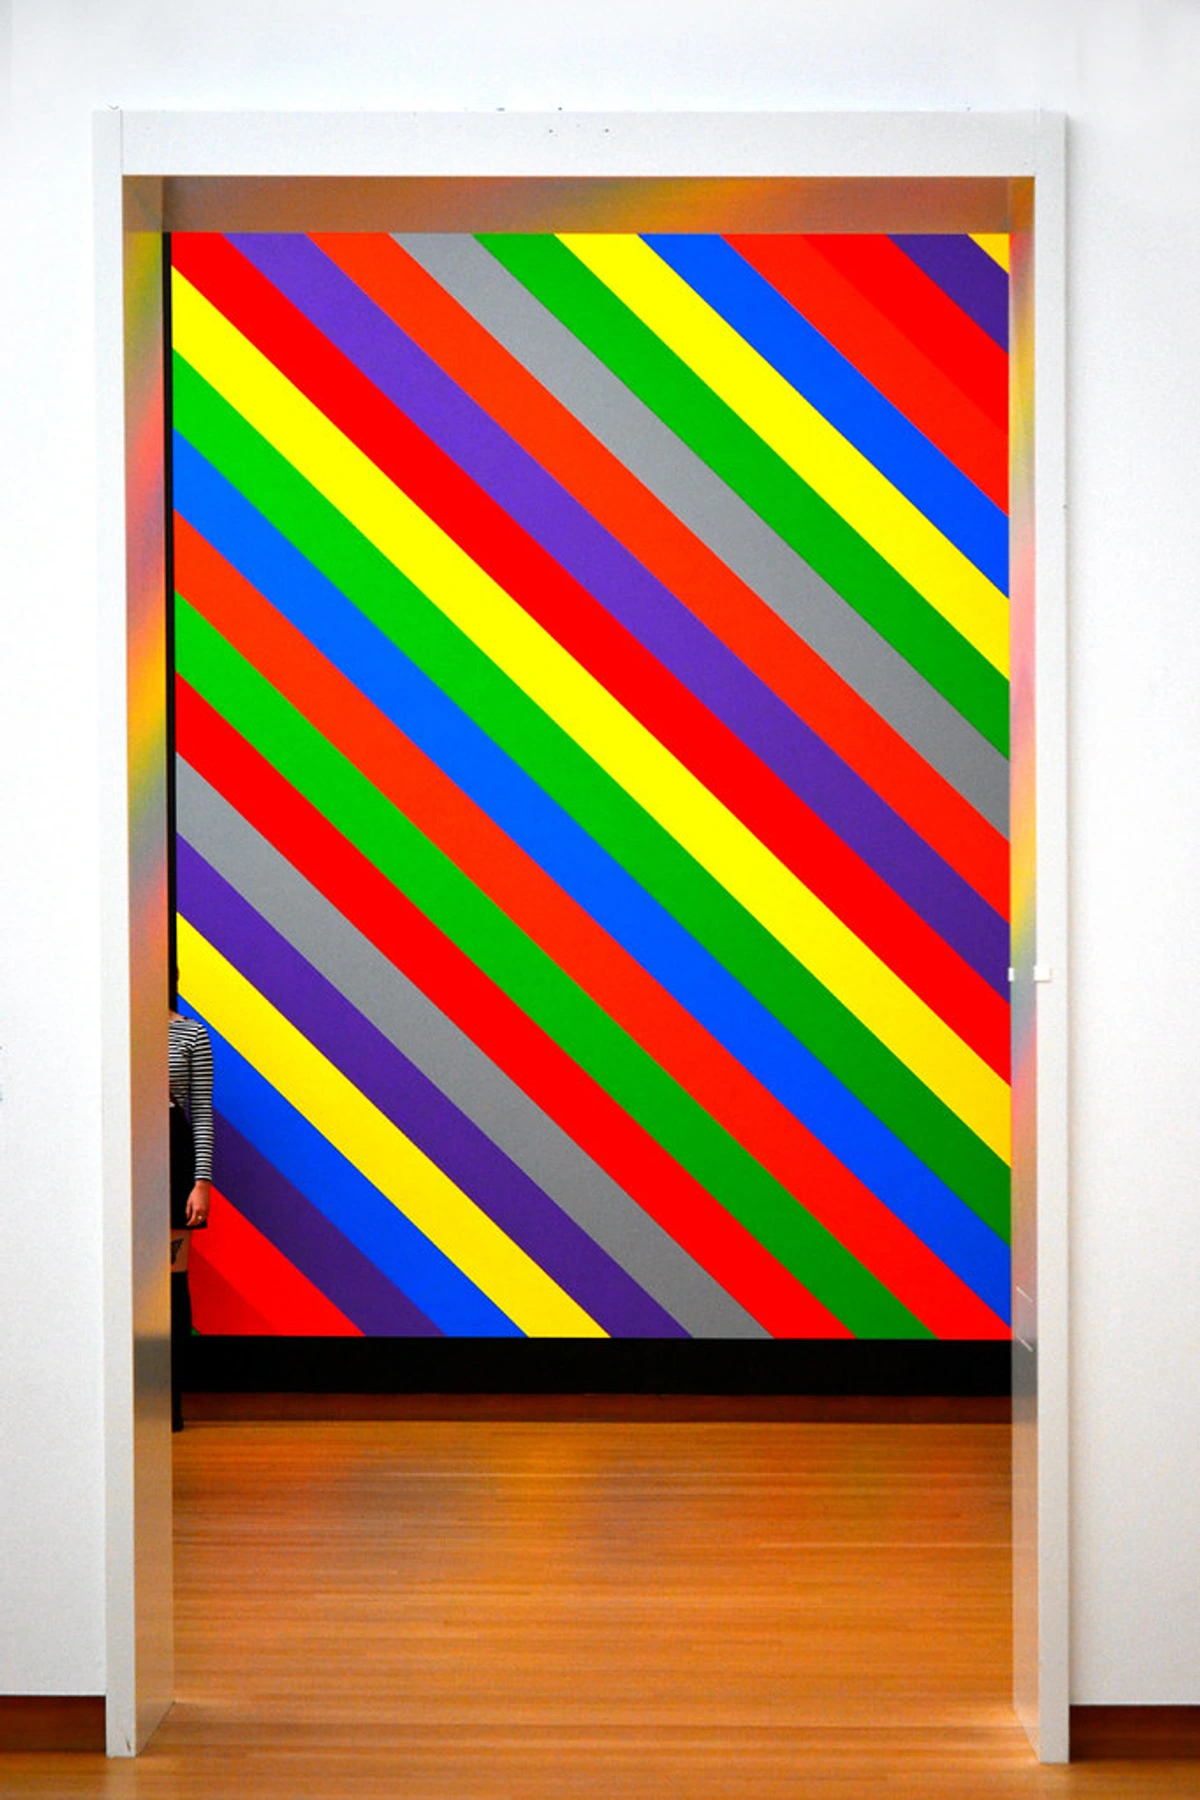
This fresco mural demonstrates how traditional techniques can be reimagined through an experimental lens. Fresco painting—one of the oldest painting techniques—has been adapted by these modern artists to create contemporary abstract work. This kind of medium experimentation shows how:
- Historical techniques can be revitalized: Ancient methods can find new expression in modern contexts
- Constraints breed innovation: Working within the limitations of a specific medium can lead to breakthroughs
- Cultural fusion: Combining traditional approaches with contemporary aesthetics creates unique results
- Material knowledge matters: Understanding the properties of your chosen medium is crucial for successful experimentation
Cross-Cultural Experimentation
Artistic experimentation becomes even more powerful when you incorporate techniques and influences from different cultural traditions. This cross-cultural approach can lead to truly unique and meaningful work.
Exploring Cultural Art Traditions:
Cultural Tradition | Key Techniques | Contemporary Applications | Experimental Potential |
|---|---|---|---|
| Japanese Sumi-e | Brush control, ink flow, minimalism | Abstract expression, ink wash effects | Combining with color, modern subjects |
| African Adinkra | Symbolic patterns, stamping techniques | Contemporary graphic design, texture work | Digital adaptation, mixed media |
| ** Indigenous Australian** | Dot painting, spiritual storytelling | Contemporary abstraction, layered textures | New color palettes, modern interpretations |
| Mexican Folk Art | Bright colors, intricate patterns, symbolism | Bold abstract compositions, graphic elements | Fusion with other traditions, new formats |
| European Renaissance | Glazing, sfumato, perspective | Modern interpretations, traditional techniques | Digital adaptation, contemporary subjects |
Cultural Respect vs. Appropriation: When experimenting with cultural techniques, it's crucial to approach them with respect and understanding:
- Research: Learn about the cultural context and significance
- Credit: Acknowledge the cultural origins of techniques
- Understanding: Don't just copy symbols without understanding their meaning
- Transformation: Create work that shows you've engaged with, not just appropriated
- Dialogue: Consider cultural exchange rather than one-way borrowing
The Cultural Fusion Process:
- Study Deeply: Learn not just the technique, but its cultural context
- Practice Authentically: Master the traditional technique properly
- Find Personal Connection: Identify what resonates with your own artistic voice
- Transform Thoughtfully: Adapt the technique in ways that honor its origins
- Create Dialogue: Work that bridges cultural traditions meaningfully
Examples of Successful Cultural Fusion:
- Anselm Kiefer: Combines German romantic landscape traditions with contemporary abstract elements
- Yinka Shonibare: Uses traditional African textiles and patterns in contemporary installations
- Julie Mehretu: Blends various cultural architectural and historical references into layered abstract compositions
- Kara Walker: Reinterprets historical narratives through contemporary lens using silhouette techniques
Cultural Experimentation Projects:
Project | Cultural Focus | Experimental Approach | Expected Outcome |
|---|---|---|---|
| Ink Fusion | Japanese Sumi-e + Western abstraction | Combine traditional ink with acrylics | Contemporary East-West fusion |
| Pattern Language | African + Islamic geometric patterns | Digital manipulation + traditional techniques | Cross-cultural pattern exploration |
| Spiritual Landscapes | Indigenous Australian dot painting + contemporary abstraction | Modern subjects, traditional techniques | Cultural storytelling in new context |
| Color Stories | Mexican folk art + minimalist abstraction | Bold colors, simplified forms | Cultural celebration through abstraction |
Traditional Mediums Reimagined
Let's explore some traditional painting techniques and how they can be experimentally applied to contemporary abstract art:

Encaustic Painting (Ancient Technique)
- Traditional: Used in ancient Egypt for coffin portraits and Fayum mummy portraits
- Experimental Application: Layering molten wax with pigments, creating translucent layers that can be carved, scraped, and re-melted
- Modern Twist: Combining encaustic with digital prints, collage elements, and unconventional supports
Tempera Painting (Renaissance Technique)
- Traditional: Egg-based paint used by Renaissance masters like Botticelli
- Experimental Application: Using egg tempera with acrylics, creating unique drying and textural effects
- Modern Twist: Tempera on non-traditional surfaces like metal, plastic, or found objects
Oil Glazing (Baroque Technique)
- Traditional: Multiple thin transparent layers creating luminous depth
- Experimental Application: Using glazing techniques with contemporary color palettes and abstract compositions
- Modern Twist: Combining traditional glazing with modern mediums and incorporating textural elements
Watercolor (Traditional Landscape Medium)
- Experimental Application: Using watercolor techniques for abstract work, focusing on flow, bleeding, and transparency
- Modern Twist: Watercolor with resist techniques, salt effects, and mixed media collage
The key to successful traditional-medium experimentation is understanding both the historical context and the material properties, then finding contemporary applications that feel authentic to your artistic voice.
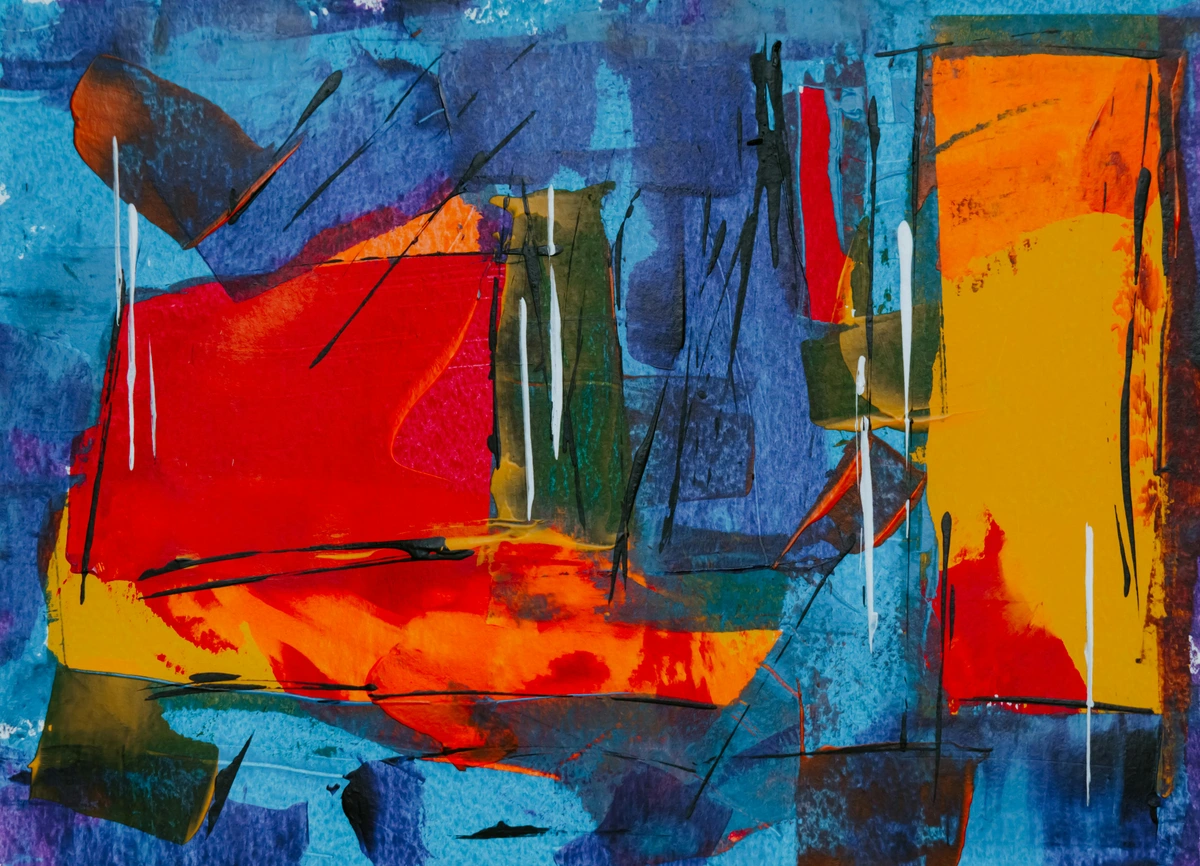
Medium Experimentation Strategies:
- Cross-medium exploration: Try techniques from one medium in another (watercolor techniques in acrylic, for example)
- Surface experimentation: Work on non-traditional surfaces (wood, metal, fabric, found objects)
- Material combination: Mix different media (paint with collage, sculpture with painting)
- Process innovation: Develop new application methods for traditional materials
- Environmental adaptation: Consider how your materials respond to different environments and conditions
Medium experimentation expands your technical vocabulary and opens entirely new possibilities for artistic expression.
Conclusion: The Unending Journey of Discovery
The role of experimentation in my abstract art isn't just a technique; it's a philosophy. It's a commitment to staying curious, to never settling, and to always believing that there's more to discover, both on the canvas and within myself. It's an exhilarating, sometimes frustrating, but ultimately deeply rewarding journey into the unknown. And honestly, I wouldn't have it any other way. It's the very heartbeat of my artistic expression and the engine that drives my evolving abstract artistic style.
The Experimental Mindset as a Life Practice:
What I've discovered through years of artistic experimentation is that this approach to creativity translates to every aspect of life. The willingness to embrace uncertainty, to try new approaches, to learn from "failures," and to continuously evolve - these aren't just artistic principles, they're life principles.
When I approach challenges in my personal life, business decisions, or even relationships with the same experimental mindset I bring to my art, I find that I become more adaptable, more creative, and more resilient. The fear of failure diminishes when you see every attempt as data rather than a definitive judgment.
The Ripple Effect of Creative Courage:
Every time I step into my studio and try something new - whether it's a bizarre tool combination, an unusual color scheme, or a completely different approach to composition - I'm not just creating art. I'm practicing courage. I'm strengthening my creative muscles. I'm expanding my definition of what's possible.
This courage ripples outward. It makes me more willing to try new recipes, take different routes to work, strike up conversations with strangers, and approach problems from unexpected angles. The experimental mindset becomes a way of being in the world.
Your Invitation to the Experiment:
If you've read this far and felt even a spark of curiosity about experimenting more in your own practice - whether you're an artist, a writer, a musician, or someone who just wants to bring more creativity to daily life - I encourage you to start small. Pick one thing: a new tool, a different color, an unusual surface. Give yourself permission to not know the outcome. Document what happens. Learn from it. Try something else.
The journey of artistic experimentation is never truly complete. There will always be new materials to try, new techniques to master, new combinations to explore. And in that endless possibility lies the real beauty - not in arriving at a destination, but in the act of discovery itself.
So here's to happy accidents, unexpected discoveries, and the courage to keep experimenting. Your next breakthrough is waiting, just beyond the edge of what you already know. What will you try today?
The Long-Term Impact of Experimental Practice
Looking back at my career, I can see how years of consistent experimentation have fundamentally shaped who I am as an artist. What began as a way to overcome creative blocks has become the core of my artistic identity. The experimental mindset has taught me that:
- Growth happens at the edge of your comfort zone: True progress requires embracing uncertainty
- Constraints breed creativity: Limitations often lead to the most innovative solutions
- Process matters as much as outcome: The journey of discovery is valuable in itself
- Community enhances experimentation: Sharing experiments with others multiplies learning
Starting Your Own Experimental Journey
If you're reading this and feeling inspired to embrace experimentation in your own practice, here's my advice:
- Start small: Choose one familiar material and try three different ways to use it
- Set aside guilt-free time: Give yourself permission to "waste" materials on experiments
- Document everything: You'll learn more from reviewing your experiments than from making them
- Embrace the beginner's mind: Approach each experiment with curiosity, not expectation
- Share your discoveries: Talk about both successes and failures with fellow artists
Experimental Documentation and Analysis
One of the most overlooked aspects of artistic experimentation is systematic documentation. Without proper records, it's difficult to learn from your experiments or reproduce successful results.
The Experiment Journal Template:
Field | Purpose | Example |
|---|---|---|
| Date & Time | Track environmental conditions | October 15, 2023, 2:30 PM, 68°F, 45% humidity |
| Hypothesis | What you're trying to test | "Credit cards will create sharper lines than palette knives" |
| Materials Used | Exact list of supplies | Heavy body acrylic, credit card, canvas board |
| Process Steps | Detailed procedure | 1. Apply thick acrylic 2. Drag credit card at 45° angle 3. Repeat with varying pressure |
| Results | What actually happened | Sharper lines than expected, some tearing of canvas |
| Unexpected Findings | Surprising outcomes | Lines varied dramatically with pressure changes |
| Learnings | What you discovered | Credit cards work best with thin applications |
| Next Steps | Future experiments | Try with different viscosities, other tools for comparison |
Digital Documentation Tools:
Tool | Best For | Features |
|---|---|---|
| Quick sharing, community feedback | Photo/video, hashtags, engagement | |
| Visual inspiration, technique collection | Boards, categories, visual search | |
| Notion | Comprehensive experiment tracking | Databases, templates, rich media |
| YouTube | Process documentation, teaching | Video tutorials, time-lapse |
| Blog/Website | Detailed analysis, portfolio building | Long-form content, SEO |
The Experiment Analysis Framework:
After completing an experiment, I analyze it using this framework:
- Technical Analysis: What techniques worked, what didn't, and why?
- Aesthetic Analysis: What visual elements emerged, and how effective were they?
- Emotional Response: How did the process and result make me feel?
- Learning Transfer: What can I apply to other projects or techniques?
- Future Development: Where could this lead next?
Creating Your Experimental Database: Over time, these documented experiments become a valuable resource. I organize mine by:
- Material type (acrylic, oil, mixed media)
- Technique (texture, color, composition)
- Success level (high, medium, low)
- Date completed
- Potential for future development
This database allows me to quickly reference past experiments when starting new ones, preventing me from repeating failures and building on successes.
Creating Your Personal Experimental System
Beyond these basic principles, I recommend creating a systematic approach to experimentation that works for your personality and goals:
Personal Experimentation Framework:
- Identify your curiosity gaps: What aspects of your practice do you feel curious about exploring?
- Set experimental parameters: Define the scope, materials, and time limits for each experiment
- Create feedback loops: Build in ways to evaluate and learn from each experiment
- Document systematically: Use a consistent method for recording experiments and insights
- Integrate learnings: Figure out how to apply what you learn to your main practice
The Experimental Project Planner:
I use this template to structure my experimental projects:
Project Element | Details | Timeline | Resources Needed |
|---|---|---|---|
| Project Title | Clear, descriptive name | Creation date | - |
| Core Question | What do I want to discover? | Research phase | Books, online resources |
| Materials List | Exact supplies needed | Preparation phase | Budget, shopping list |
| Hypothesis | What I expect to happen | Planning phase | Previous experience |
| Testing Process | Step-by-step procedure | Execution phase | Workspace, tools |
| Success Criteria | How I'll measure results | Evaluation phase | Documentation tools |
| Learning Goals | What skills/knowledge to gain | Integration phase | Practice time |
| Next Steps | How to continue or pivot | Follow-up phase | Resources, timeline |
Building Experimental Momentum:
Strategy | Implementation | Benefits |
|---|---|---|
| Create Routines | Set regular experimental sessions | Builds creative muscle memory |
| Track Progress | Maintain experiment database | Shows growth over time |
| Connect with Others | Join experimental art communities | Multiplies learning through sharing |
| Celebrate Discoveries | Acknowledge breakthroughs | Maintains motivation |
| Stay Curious | Always ask "what if?" | Keeps creativity fresh |
The Experimental Mindset Continuum:
I visualize my experimental approach as a continuum:
Structured Experimentation ← Balanced Approach ← Pure Exploration
- Structured: Clear goals, measurable outcomes, systematic approach
- Balanced: Mix of planned exploration and intuitive discovery
- Pure Exploration: No expectations, complete freedom, open-ended
Most successful experimental periods for me occur when I start with structured exploration and gradually move toward more open-ended play as I build confidence and discover interesting directions.
Seasonal Experimental Focus Areas:
Season | Experimental Theme | Materials Focus | Expected Energy Level |
|---|---|---|---|
| Spring | Renewal, Growth | Light colors, fresh techniques | High energy, optimistic |
| Summer | Expansion, Boldness | Bright colors, large formats | High energy, expansive |
| Autumn | Depth, Complexity | Rich textures, layered techniques | Medium energy, reflective |
| Winter | Introspection, Refinement | Dark colors, detailed work | Lower energy, focused |
Building Experimental Momentum:
- Create routines: Regular experimental sessions build the experimental muscle
- Track progress: Keep a record of your experimental journey and growth
- Connect with others: Share your experiments and learn from fellow artists
- Celebrate discoveries: Acknowledge and celebrate both small and large experimental breakthroughs
- Stay curious: Maintain a beginner's mindset and stay open to new possibilities
Remember that experimentation is not a destination but a ongoing practice. The more you experiment, the more you'll discover about yourself, your materials, and the infinite possibilities of creative expression.
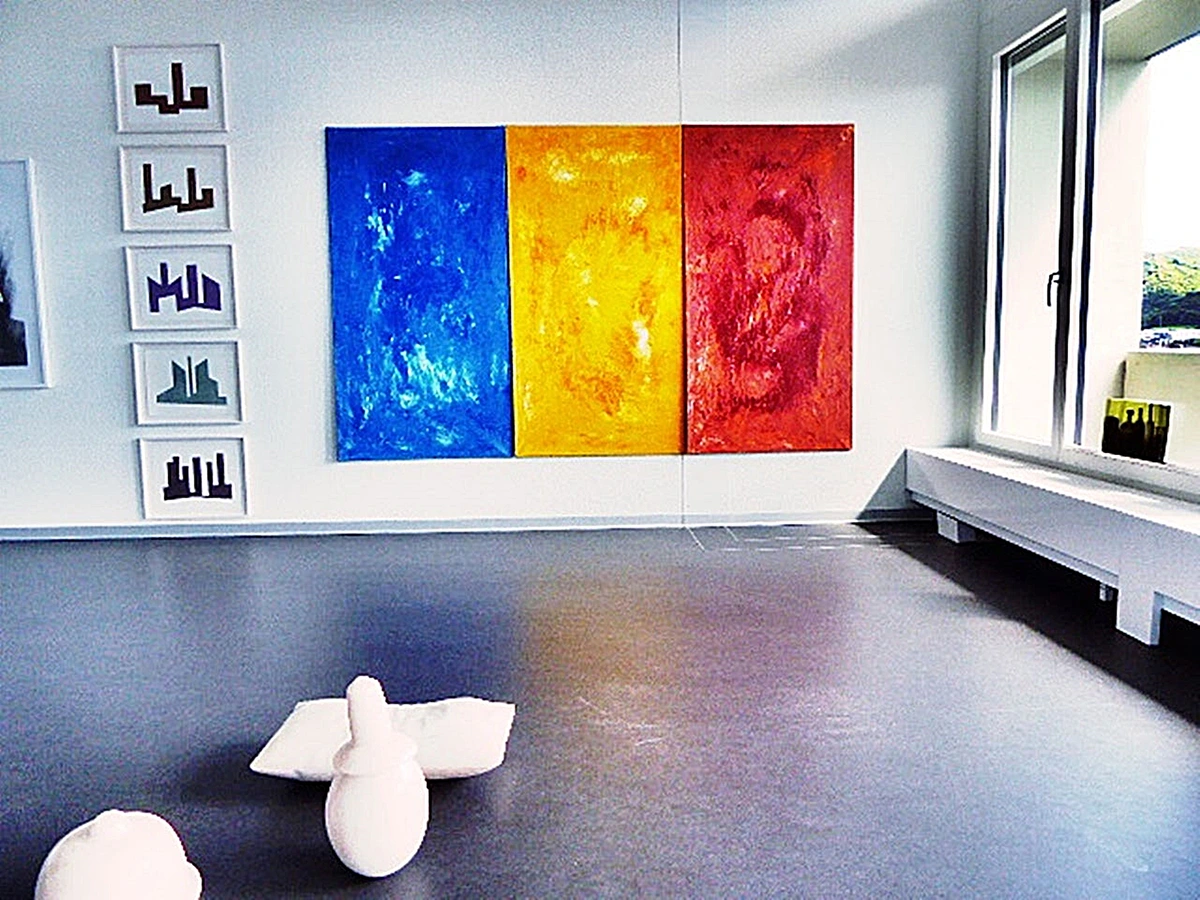
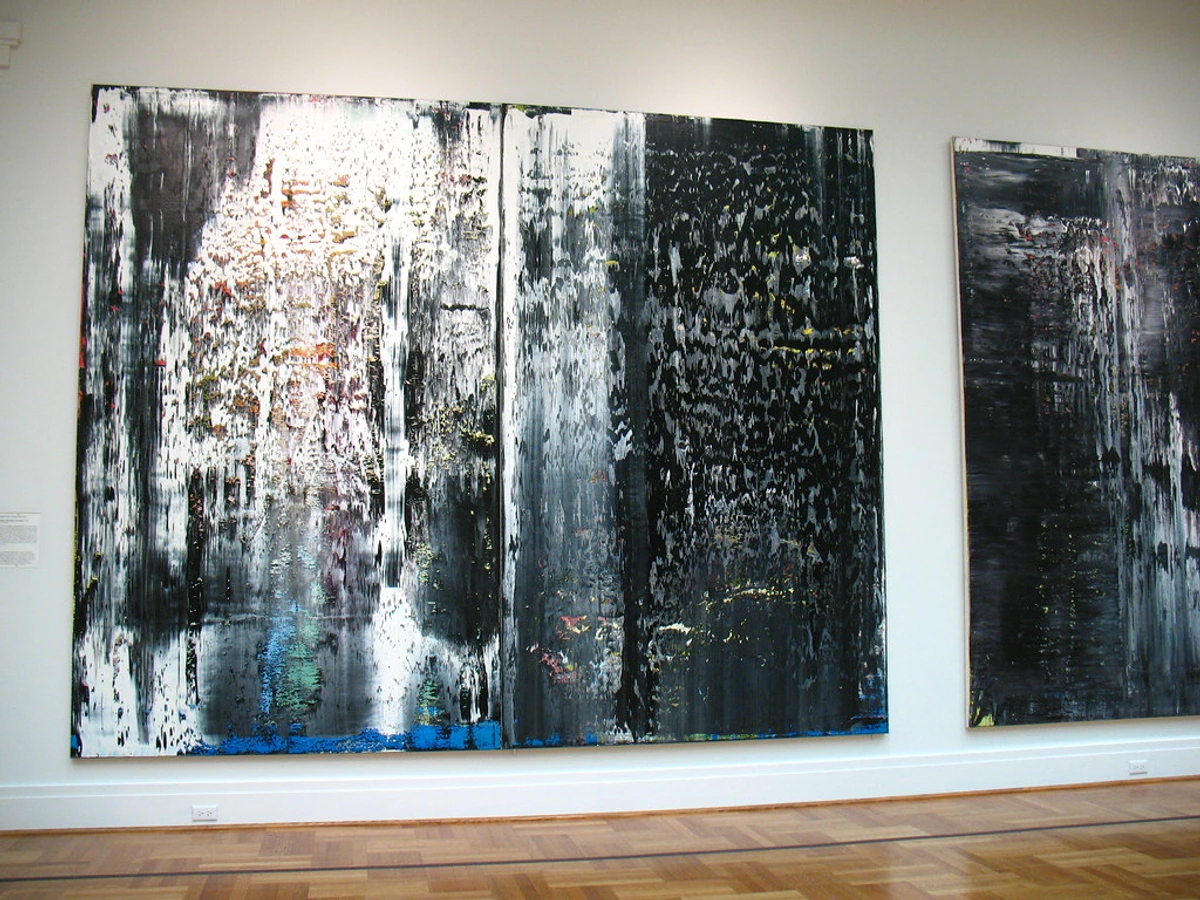
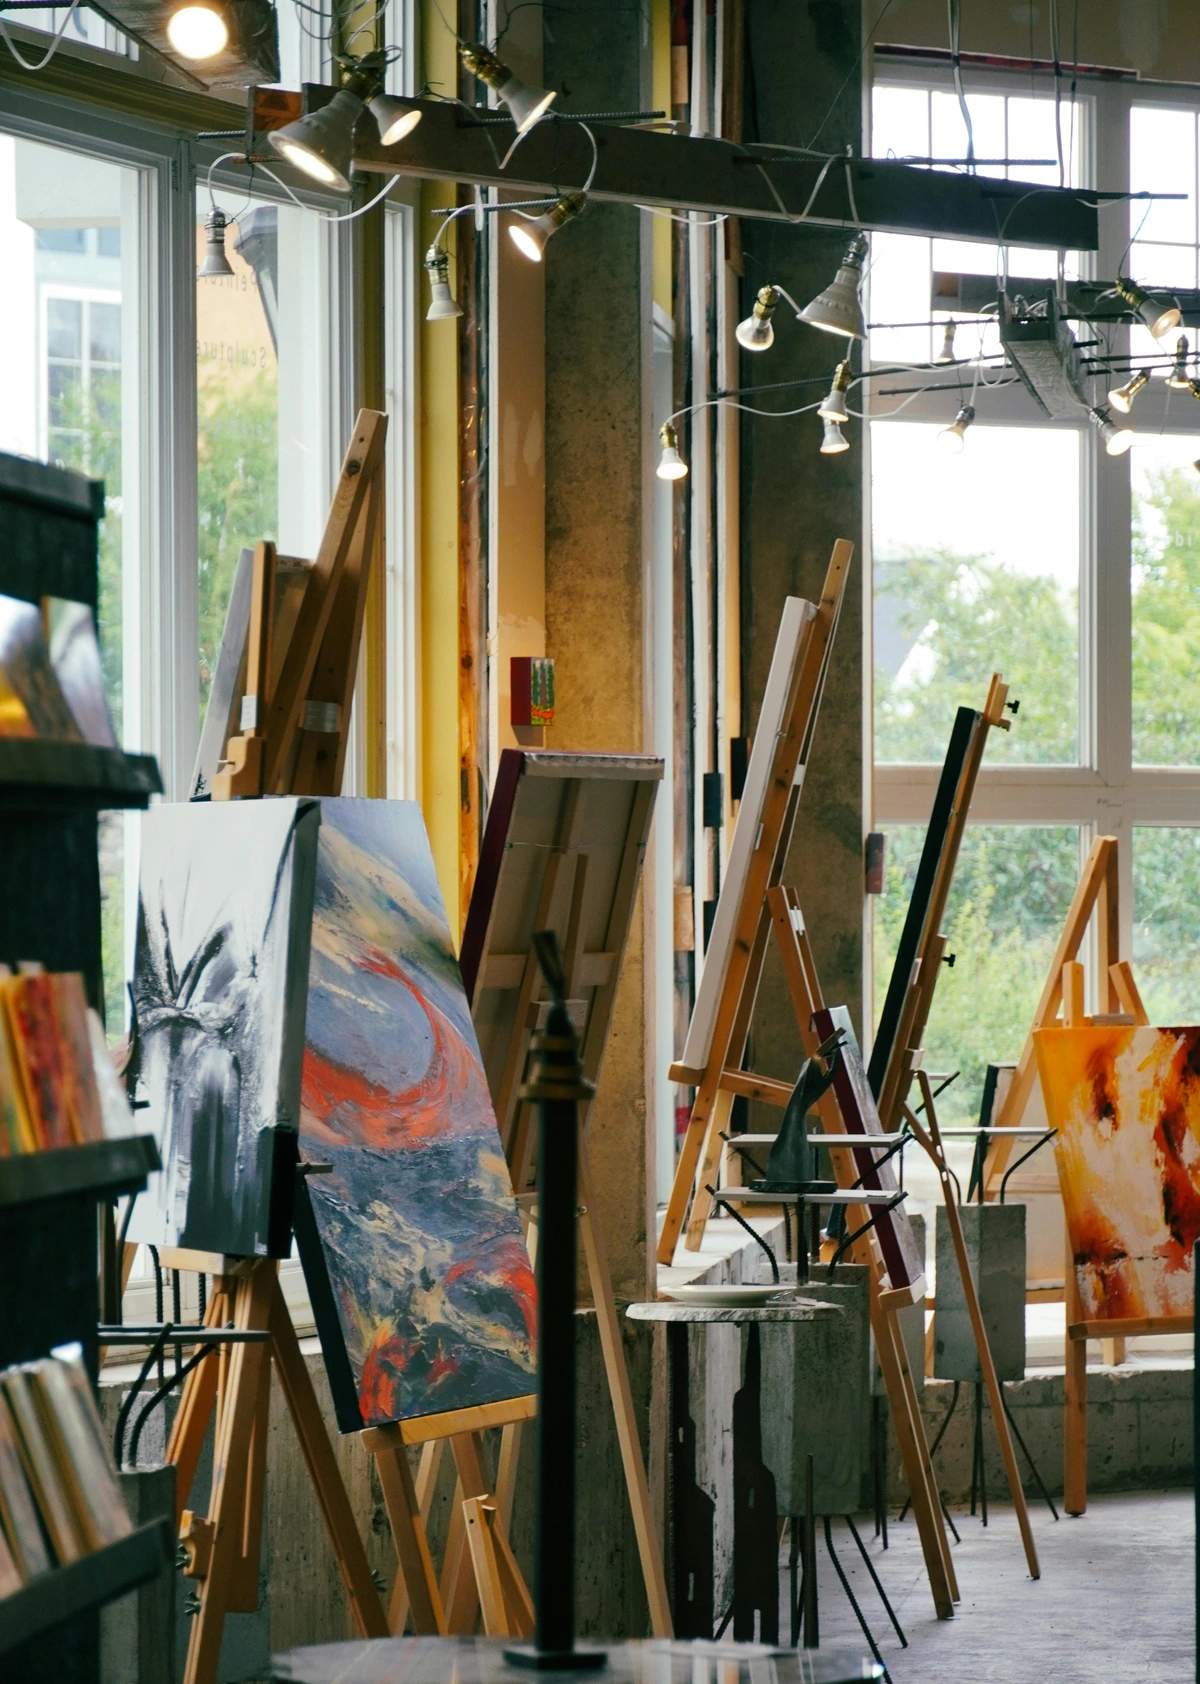
Surface Experimentation: Beyond Traditional Canvas
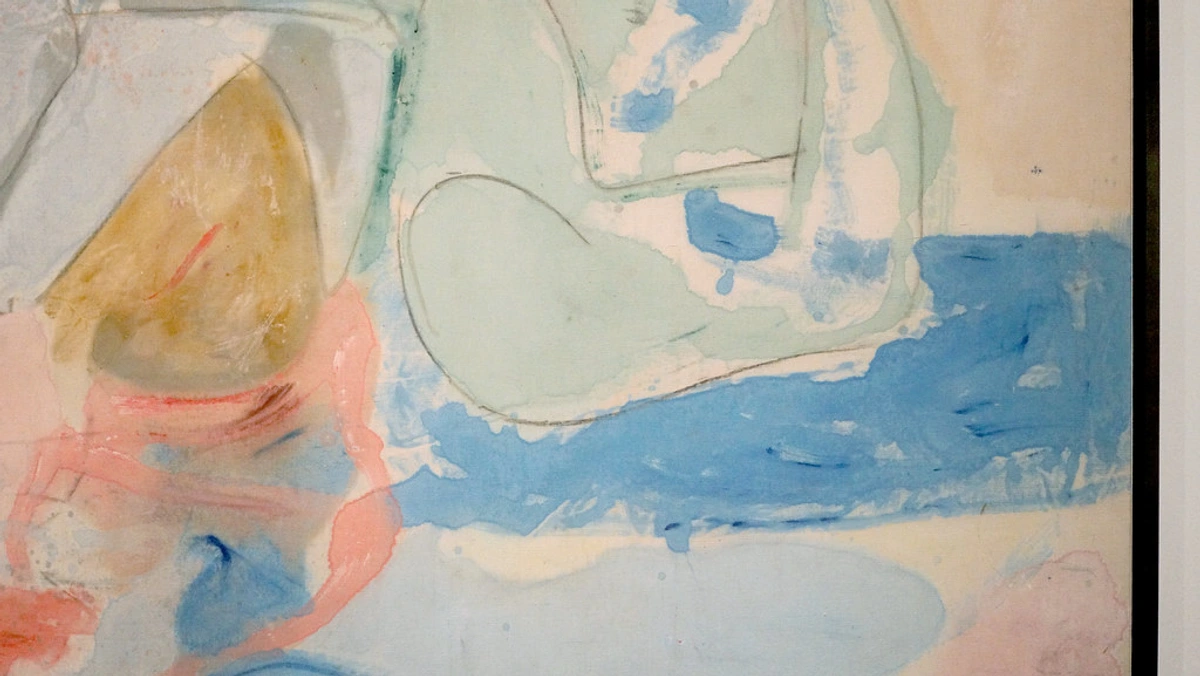
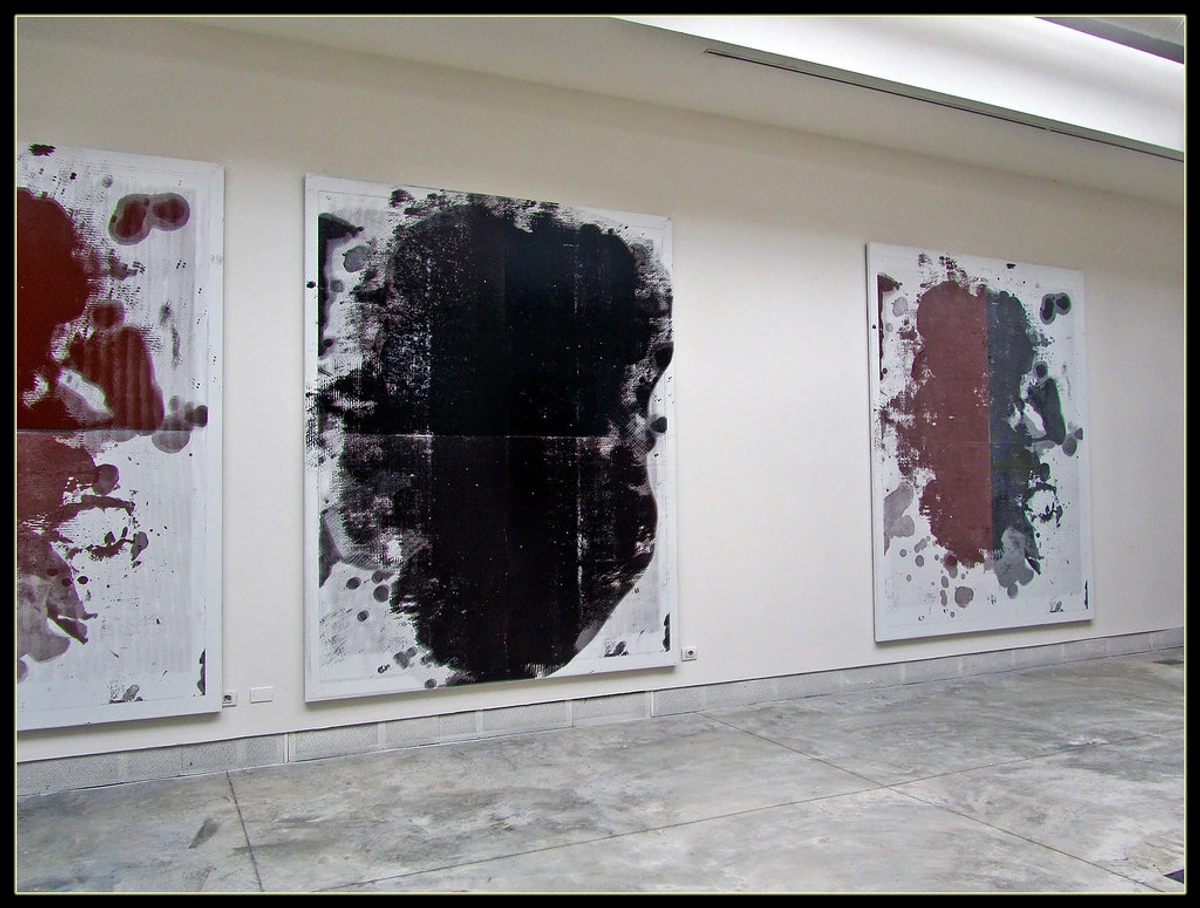
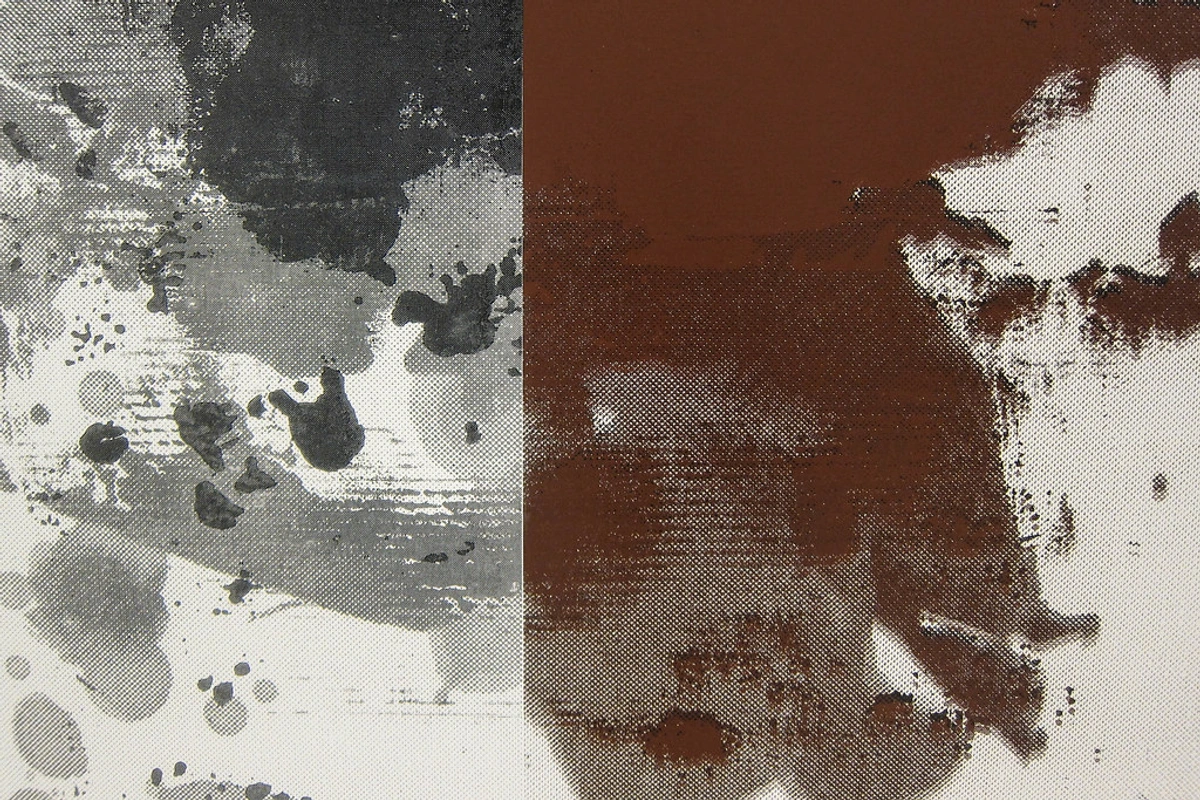
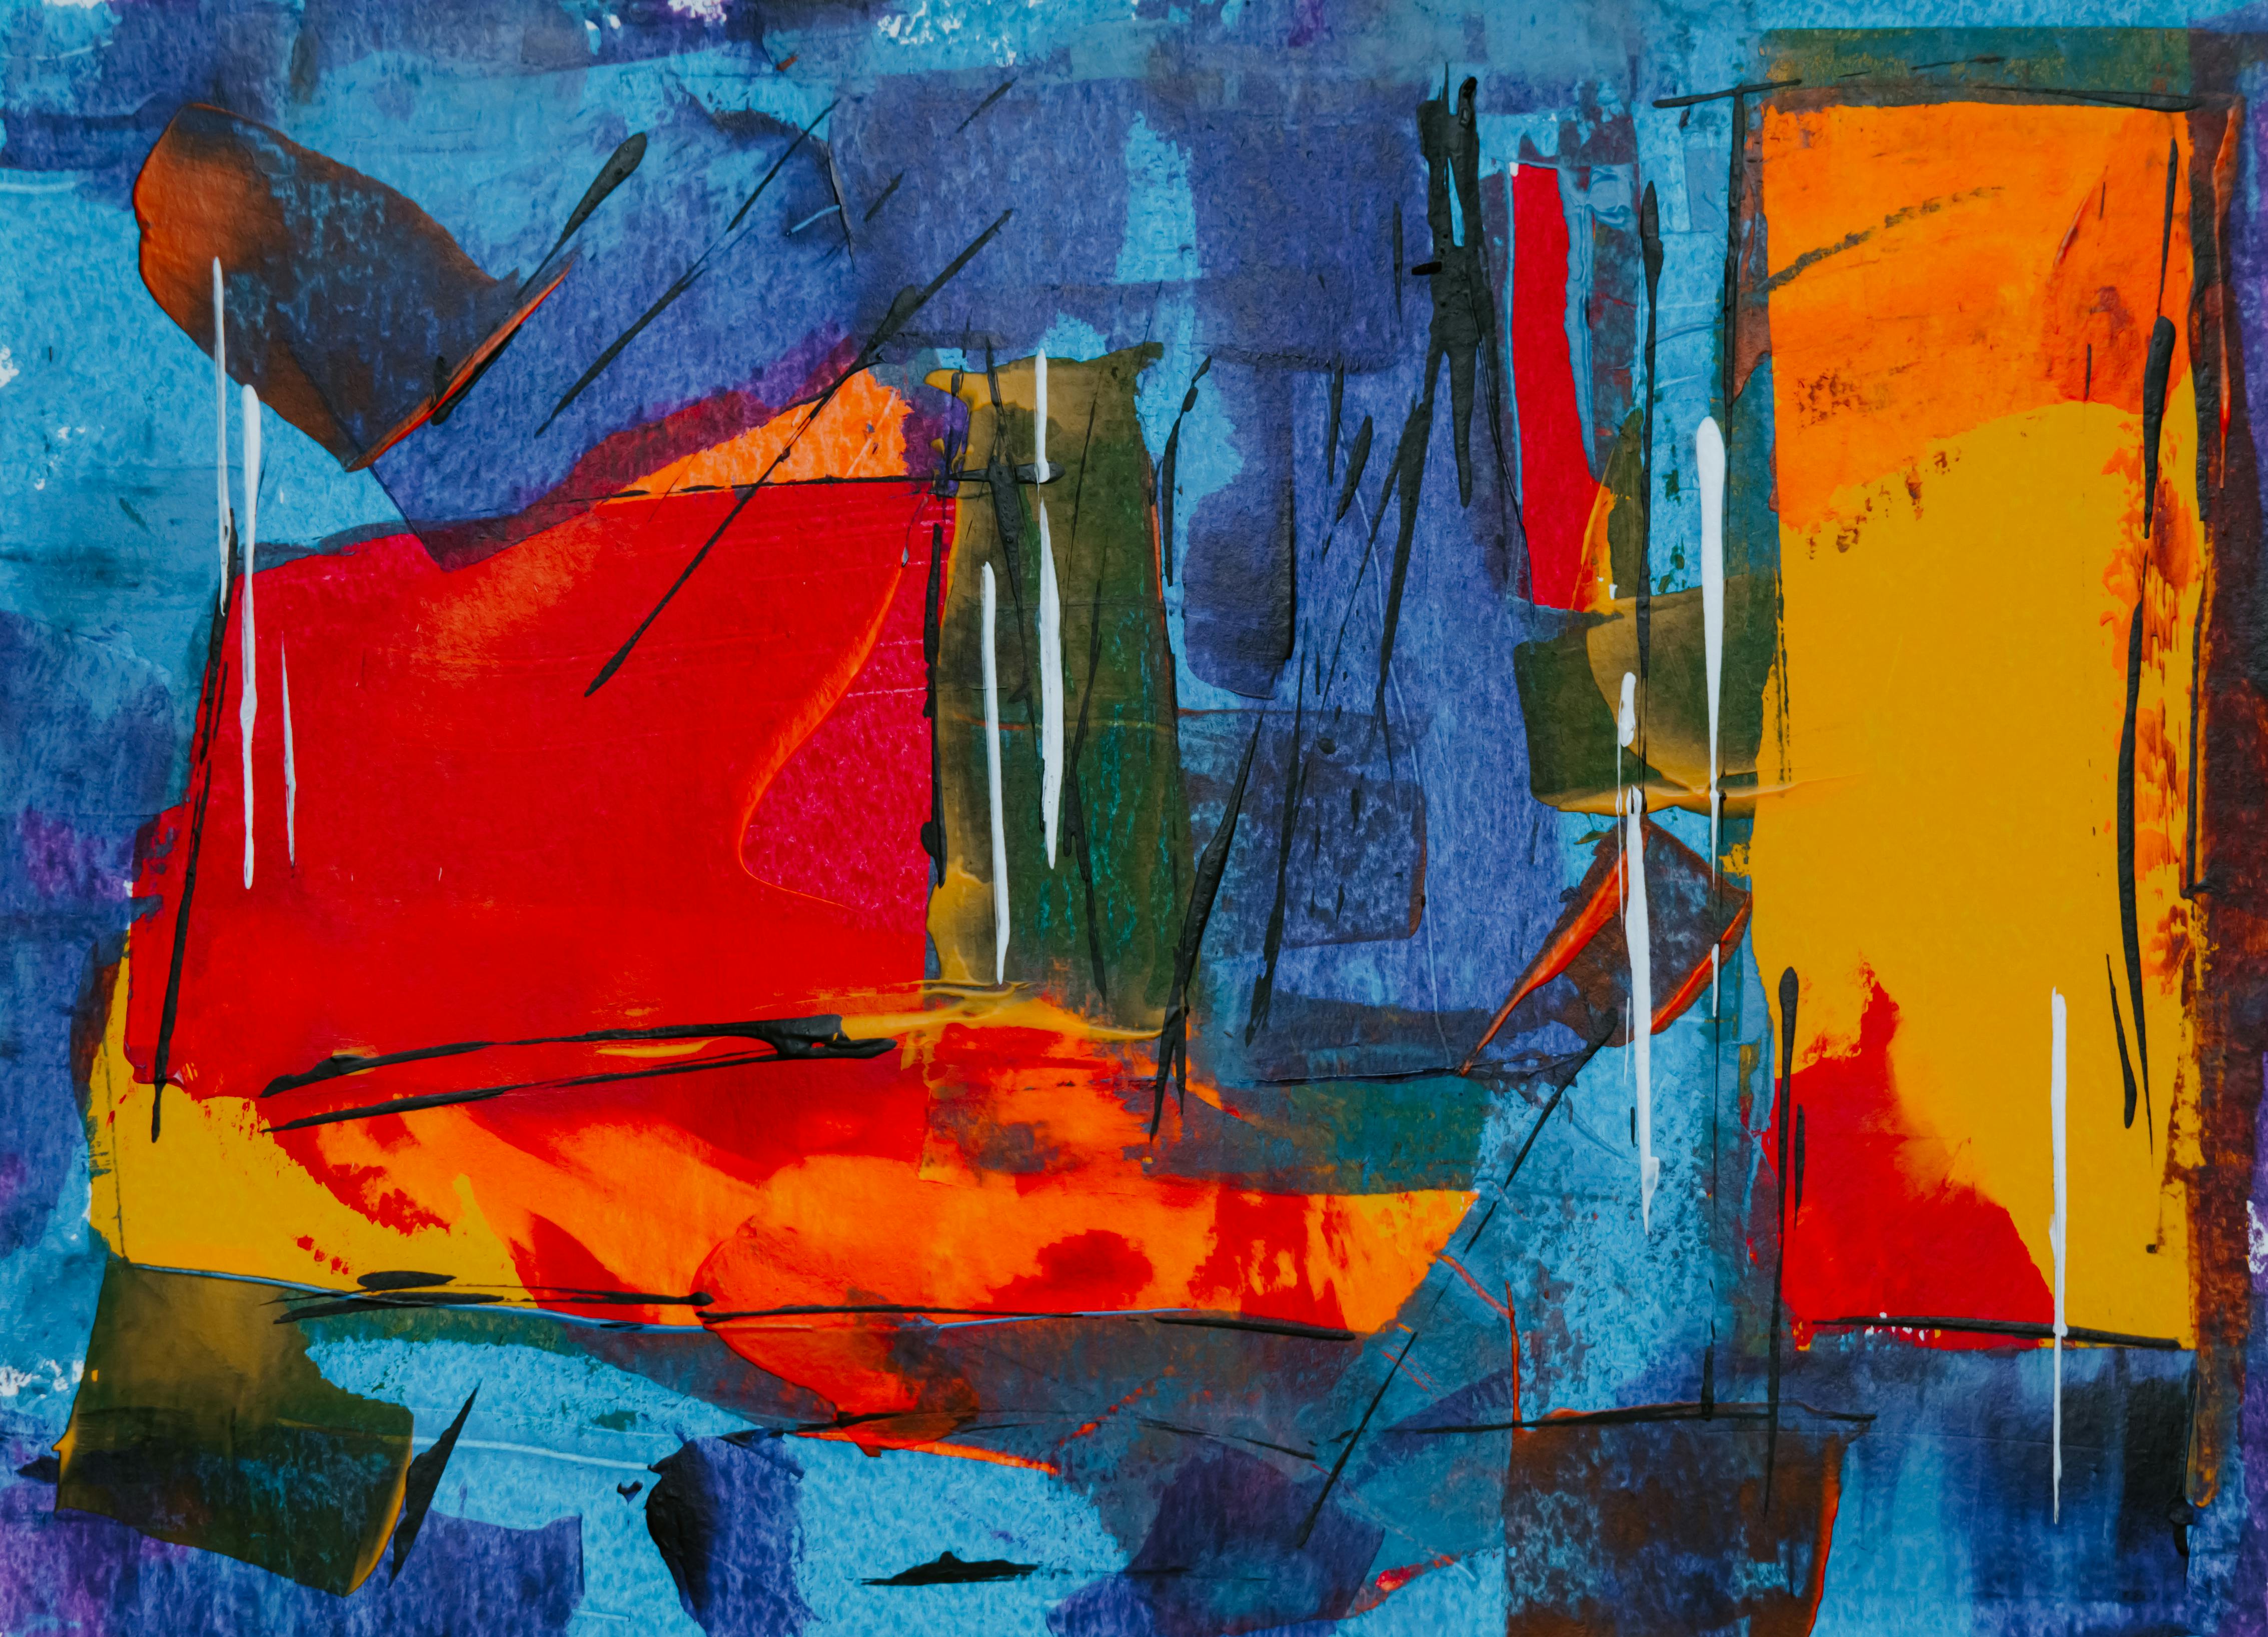
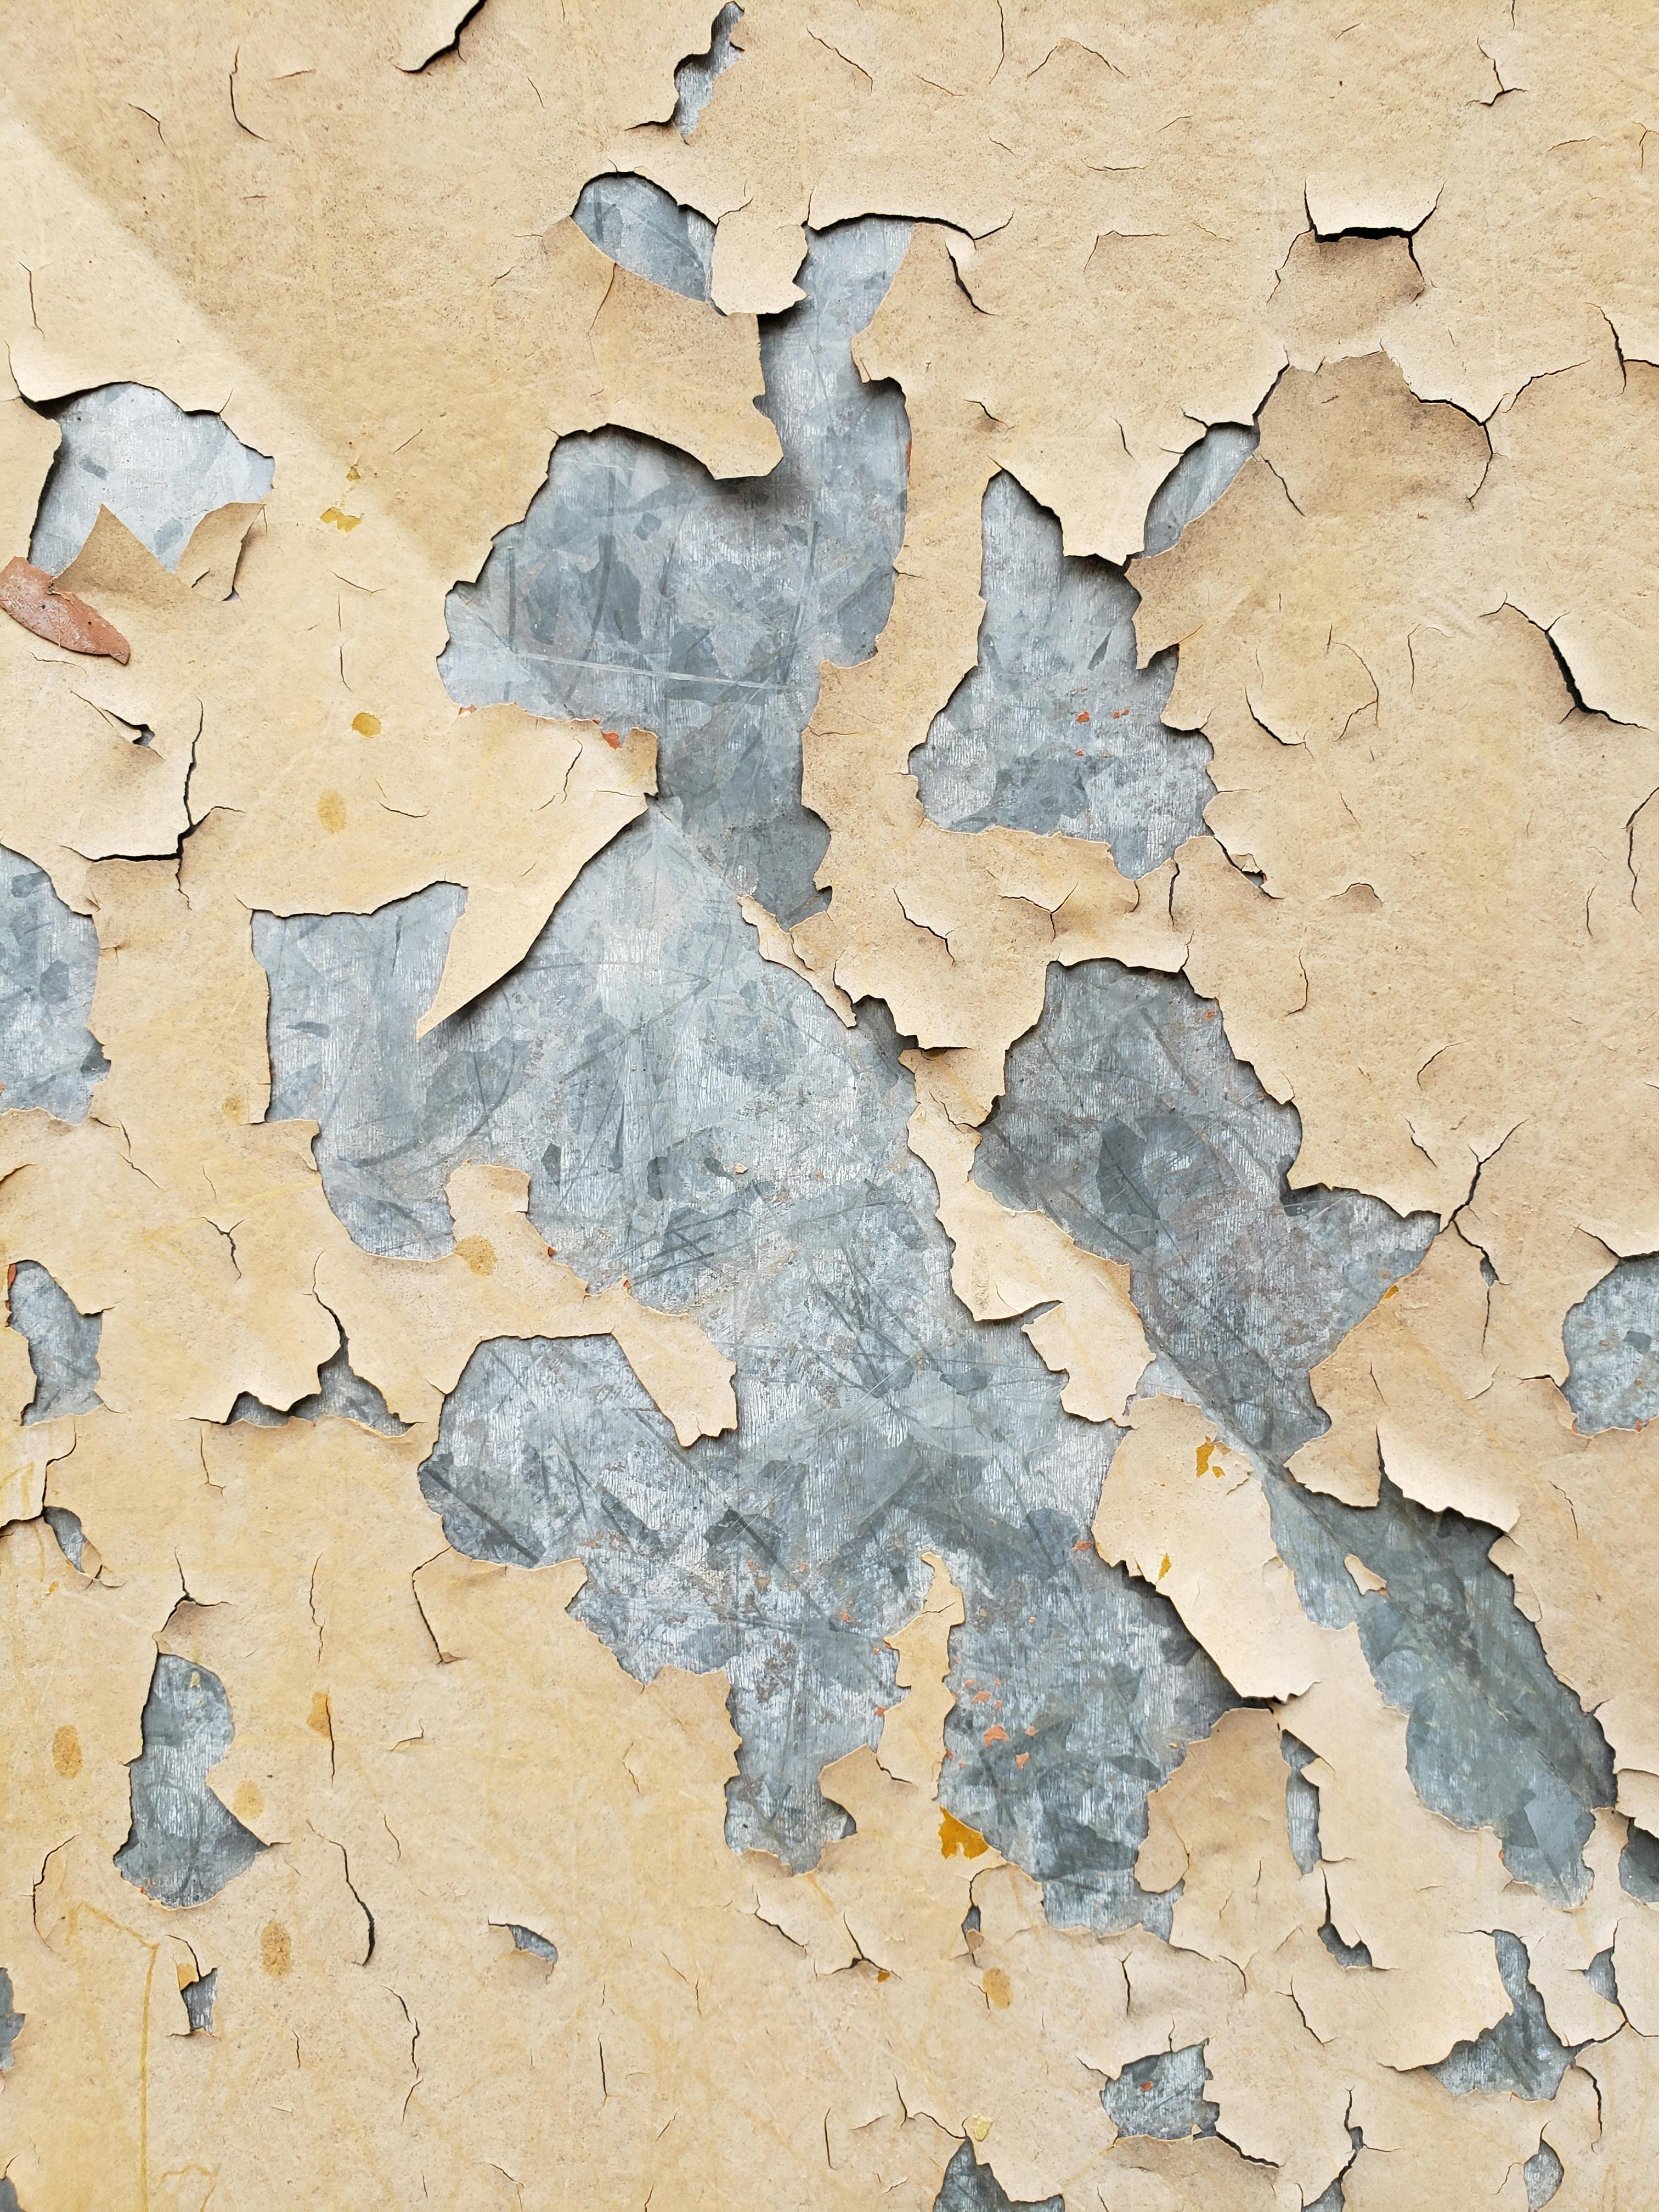
This piece demonstrates the exciting possibilities of surface experimentation—working on non-traditional supports that can dramatically change how paint and materials behave. Exploring different surfaces can open up entirely new creative possibilities:
Advanced Surface Exploration Techniques:
Surface Type | Preparation Requirements | Best Experimental Techniques | Special Considerations |
|---|---|---|---|
| Wood Panels | Sanding, sealing, primer | Layering, scraping, burning | Warping potential, natural grain |
| Metal Sheets | Rust prevention, primer | Patination, reflective techniques | Weight, rust issues, heat sensitivity |
| Fabric Textiles | Stretching, mounting, sealing | Stitching, embroidery integration | Flexibility, durability concerns |
| Found Objects | Cleaning, stabilization | Assemblage, 3D integration | Structural integrity, balance |
| Digital Screens | Specialized coatings | Programming, interactive elements | Power requirements, technical complexity |
| Natural Materials | Preservation, stabilization | Organic integration, decay processes | Fragility, environmental factors |
Surface-Texture Interaction Matrix:
Texture Type | Best Surface Types | Experimental Combinations | Visual Effects |
|---|---|---|---|
| Smooth | Glass, metal, plastic | Glazing, reflective elements | Sleek, modern, reflective |
| Rough | Concrete, burlap, wood | Heavy impasto, scraping | Textured, organic, tactile |
| Porous | Paper, unprimed canvas | Washes, bleeding effects | Soft, blended, atmospheric |
| Reflective | Metal, mirror, foil | Light play, shadows | Dynamic, changing, interactive |
| Translucent | Vellum, acetate, thin plastic | Layering, backlighting | Ethereal, layered, luminous |
The Surface Experimentation Toolkit:
Tool | Surface Applications | Special Effects | Difficulty Level |
|---|---|---|---|
| Heat Gun | Melting, blistering, texturing | Organic, dramatic effects | Advanced |
| Pressure Washer | Removing layers, creating texture | Weathered, aged appearance | Intermediate |
| Laser Cutter | precise patterns, cutting | Geometric, intricate details | Advanced |
| UV Light | Reactive materials, aging | Color changes, patination | Intermediate |
| Chemical Etchants | Metal surfaces, glass | Controlled corrosion, patterns | Advanced |
Environmental Surface Considerations:
Environment | Surface Impact | Experimental Opportunities | Protection Needed |
|---|---|---|---|
| High Humidity | Warping, mold growth | Organic decay processes | Sealing, mold prevention |
| Direct Sunlight | Fading, heat damage | Solar reactive materials | UV protection |
| Extreme Temperatures | Cracking, expansion | Thermal stress effects | Acclimatization |
| Outdoor Exposure | Weathering, erosion | Natural aging processes | Weatherproofing |
| Indoor Climate Control | Stability, predictable behavior | Long-term material studies | Monitoring |
Creating Interactive Surfaces:
Some of the most exciting experimental surfaces respond to viewer interaction:
- Thermochromic surfaces that change color with touch
- Photochromic surfaces that react to light exposure
- Kinetic surfaces that move or change shape
- Sound-reactive surfaces that vibrate or change with audio
- Digital-analog hybrids that blend physical and digital elements
Alternative Surface Options:
- Wood panels: Different types of wood with unique textures and absorbencies
- Metal sheets: Smooth surfaces that reflect light and create different effects
- Fabric and textiles: Canvas alternatives with different drapes and textures
- Found objects: Three-dimensional surfaces that challenge traditional painting
- Digital surfaces: Screens, projectors, and other electronic displays
Surface Considerations for Experimentation:
- Absorbency: How quickly the surface absorbs materials
- Texture: The physical quality of the surface that affects application
- Durability: How well the surface holds up to various techniques
- Flexibility: Whether the surface can bend, fold, or move
- Reactivity: How the surface interacts with different materials
Techniques for Different Surfaces:
- Wood: Sanding, staining, layering, incorporating natural grain
- Metal: Priming, rusting, patination, reflective techniques
- Fabric: Stretching, mounting, stitching, incorporating textile techniques
- Found objects: Assembling, combining, altering, preserving
- Digital: Programming, interactive elements, time-based media
Benefits of Surface Experimentation:
- Fresh perspective: Working on unfamiliar surfaces can break creative ruts
- Material discovery: New surfaces reveal unexpected material behaviors
- Technical growth: Learning to adapt techniques to different supports
- Unique presentation: Creating work that stands apart from traditional formats
Surface experimentation reminds us that art can happen on and through anything. This approach expands your definition of what constitutes a "canvas" and opens up infinite possibilities for creative expression.









Your Experimental Journey Begins Now
If you're feeling inspired to embrace experimentation in your own practice, don't wait for the "perfect" moment or the "perfect" set of materials. The best time to start is right now, with what you have. Here's a simple 30-day experimental challenge to get you started:
Week 1: Observation and Awareness
- Day 1-3: Document 3 things in your environment that spark curiosity
- Day 4-7: Try using your primary medium in 3 completely different ways
Week 2: Material Exploration
- Day 8-10: Combine your medium with 2 unexpected materials or tools
- Day 11-14: Create daily experiments using only 3 colors
Week 3: Process Innovation
- Day 15-17: Work on a piece without planning anything in advance
- Day 18-21: Create 3 small pieces using the same starting technique but different ending approaches
Week 4: Integration and Reflection
- Day 22-24: Combine techniques from previous weeks into one experimental piece
- Day 25-27: Document what you've learned and identify patterns
- Day 28-30: Share your favorite experiment with another artist and get feedback
Advanced Experimental Challenges
Once you've completed the basic 30-day challenge, you might want to try these more advanced experimental approaches:
Constraint-Based Experiments:
- Work with only one primary color plus black and white
- Create a piece without using your dominant hand
- Use only tools you find in your kitchen
- Create art without planning, letting each decision emerge from the previous one
Collaborative Experiments:
- Exchange materials with another artist and create something new
- Start a piece and have someone else finish it
- Create a series of pieces where each artist responds to the previous one
- Participate in online experimental art challenges and communities
Cross-Disciplinary Experiments:
- Apply techniques from music to your visual art (rhythm, harmony, dissonance)
- Use mathematical concepts (fractals, symmetry, chaos theory) as inspiration
- Incorporate storytelling elements into abstract compositions
- Explore the intersection of science and art through visual representation of natural phenomena
These advanced challenges push the boundaries of what you think is possible and can lead to breakthrough moments in your artistic development.