Prismacolor Premier Pencils: The Ultimate Artist's In-Depth Mastery Guide
Dive deep into Prismacolor Premier colored pencils. This ultimate guide for artists covers history, wax vs oil, advanced blending, lightfastness, troubleshooting & tips for vibrant mastery.
Prismacolor Premier Colored Pencils: The Artist's In-Depth Guide to Unlocking Vibrant Potential and Mastery
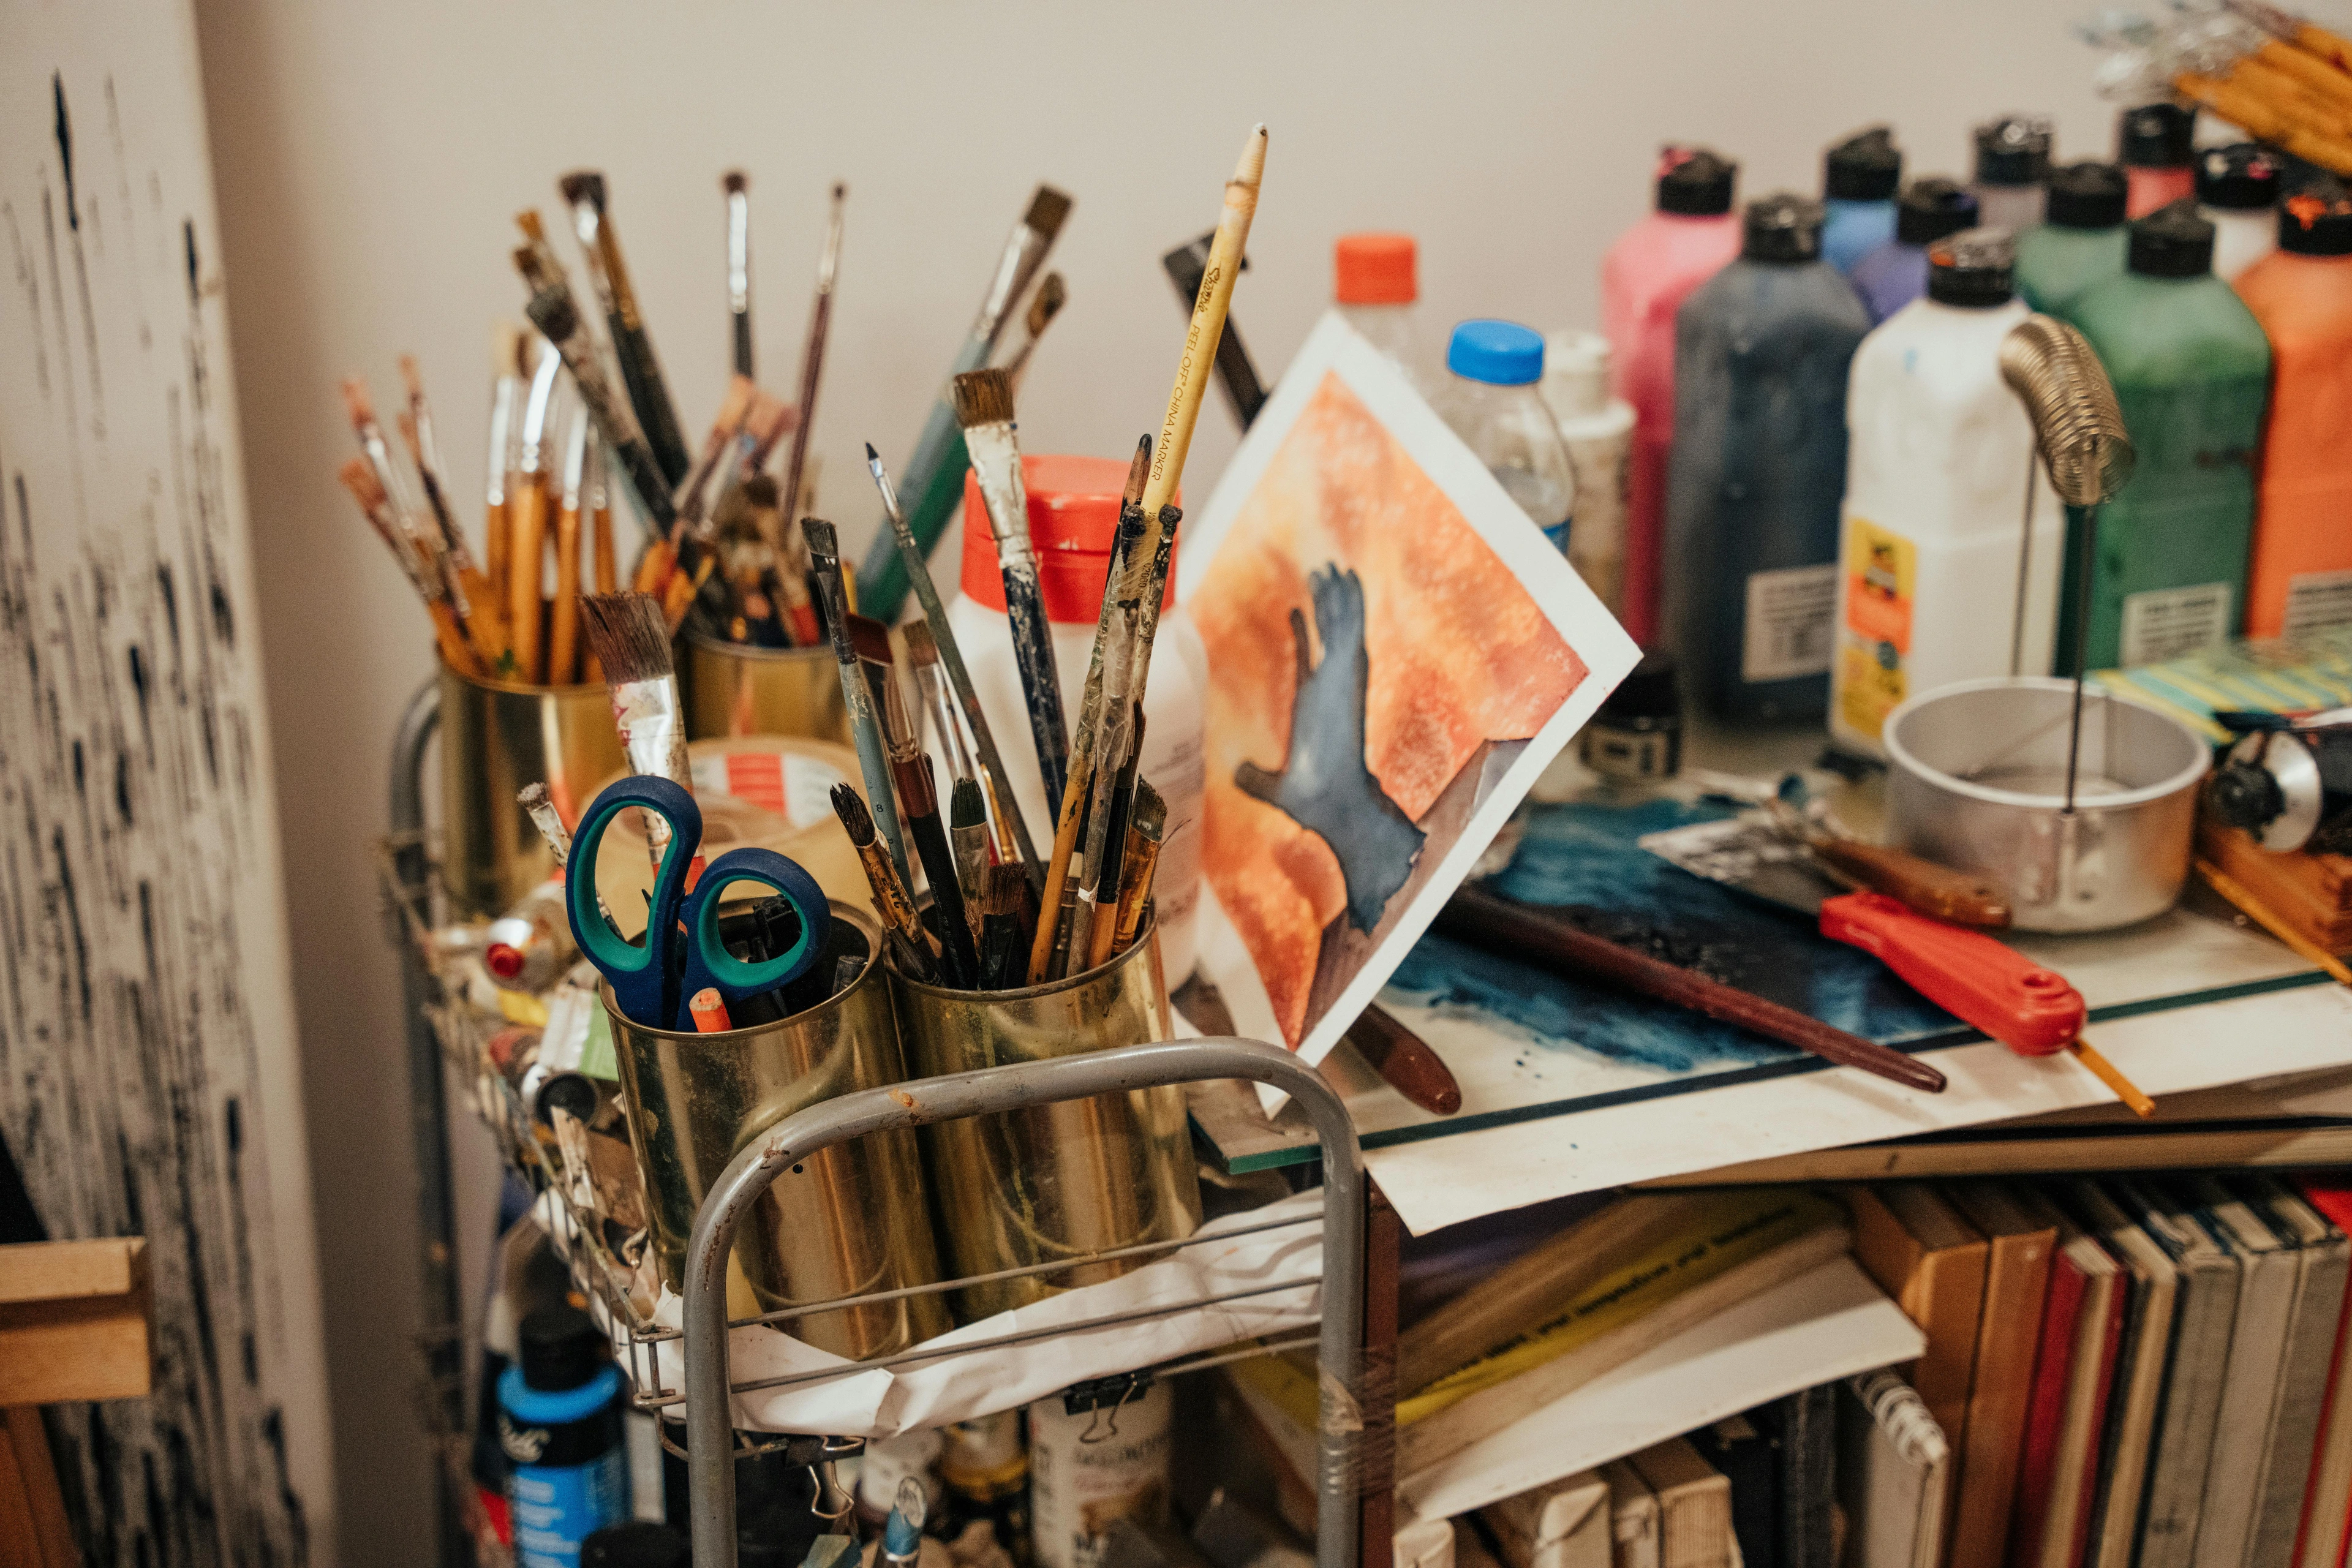
Okay, let's talk about a confession. My studio is a glorious, chaotic wonderland of paints, brushes, and the occasional rogue glitter explosion, but my quiet, enduring obsession? Prismacolor Premier colored pencils. I know, I know, it might seem a bit... traditional for someone who spends a lot of time wrestling with abstract concepts and bold acrylics. But trust me, these aren't just for kids' coloring books; they’re a revelation, a soft, vibrant whisper in my otherwise boisterous artistic journey. I remember the sheer frustration of trying to capture the delicate blush on a portrait with stiff, unyielding pencils, only to discover the impossible smoothness of Prismacolor Premiers – it was like finding a hidden key to a new dimension of expression. Come closer, let me tell you why they've earned a permanent spot on my workbench. Over the next few minutes, we'll peel back the layers on what makes these pencils so uniquely powerful, delve into specific techniques that leverage their strengths, troubleshoot their occasional quirks, and ensure you're equipped with solid strategies to achieve the vibrant effects you crave. We'll even explore their fascinating history and how they compare to other premium art tools, making sure you truly master these beloved pencils.

The Buttery Core: Prismacolor's Secret for Unrivaled Softness and a Historical Journey
The moment I first pressed a Prismacolor Premier to paper, it wasn't a scratch or a drag; it was a glide. Seriously, it felt like butter on warm toast, a rich, creamy laydown of pigment. This is all thanks to their incredibly soft, wax-based core. Unlike harder, oil-based pencils that can feel stiff and require significant pressure to achieve intensity, the wax binder in Prismacolors allows for a much lower melting point and a creamy, pigment-rich consistency. This means they surrender their color with effortless grace, requiring minimal pressure to achieve intense saturation. It's like they're eager to share their vibrant secrets with you, right out of the box.
This isn't just a happy accident; it's the culmination of a fascinating historical journey. The story of modern colored pencils is truly a tale of innovation born from artistic need. In the late 19th and early 20th centuries, as art evolved and artists experimented beyond traditional graphite and charcoal, there was a growing desire for drawing tools that could offer rich color, blendability, and a softer feel. Early pioneers and manufacturers, including companies like Eagle Pencil Co. and Eberhard Faber, began developing wax-based cores to meet this demand. These innovations allowed for a smoother laydown of pigment and easier blending than their oil-based predecessors.
Prismacolor Premiers, first introduced in 1938 by the Eagle Pencil Company, weren't just another colored pencil; they were a significant leap forward, designed specifically to meet the burgeoning needs of commercial artists, illustrators, and fine artists who craved intense, blendable color in a portable format. The initial range, though smaller than today's vast selection, immediately set a new standard for wax-based pencils. Over decades, the brand underwent various changes, notably becoming part of Sanford, which had previously acquired Eberhard Faber. This consolidation brought together a wealth of expertise, continually refining the wax binder formula and pigment quality. It's truly fascinating to trace how a simple desire for more expressive tools led to such a sophisticated product, a seamless bridge between the precision of a pencil and the expressive freedom of a brush, evolving through a rich tapestry of corporate shifts and artistic demands.
For someone like me, who often thinks in terms of how artists use color to evoke deep emotions in abstract art, this immediate payoff is invaluable. The way a deep, layered indigo can transition to a stormy violet with just a few strokes allows me to articulate melancholy in a way that a flat wash simply cannot. It allows for spontaneous expression, capturing a fleeting thought or an intense hue without fighting the medium. It's a different beast than working with, say, the definitive guide to paint types for artists; with paints, you contend with drying times and solubility, but with pencils, it’s all about controlled, immediate deposition. Yet, the core principle of laying down color to evoke feeling remains.
Wax-Based vs. Oil-Based Cores: A Crucial Distinction
While Prismacolor Premiers are celebrated for their buttery wax-based cores, it’s helpful to understand their counterparts: oil-based pencils. This isn't about one being "better" than the other; it's about understanding which tool suits which task.
Feature | Prismacolor Premier (Wax-Based) | Oil-Based Pencils (e.g., Faber-Castell Polychromos) |
|---|---|---|
| Feel/Application | Creamy, smooth, soft laydown; intense color with light pressure. | Firmer, drier feel; requires more pressure for intensity, but can achieve very fine points. |
| Pigment Load | High pigment concentration, easily transferable. | High pigment concentration, often ground more finely. |
| Blending | Exceptional for seamless blending and layering due to wax binder's pliability. | Excellent for blending, often with less wax bloom, allows for strong layering but can feel "drier". |
| Layering | Can build many layers (5-7+) for rich, complex colors. | Builds layers effectively, but might reach a "wax bloom" equivalent (wax bloom is usually less pronounced or absent depending on the brand/binder). |
| Sharpness | Achieves a decent point, but prone to breaking if sharpened aggressively or dropped due to softness. | Holds a very fine, durable point, ideal for intricate details. |
| Wax Bloom | Prone to wax bloom with heavy application. | Generally less prone to wax bloom. |
| Paper Interaction | "Grabs" paper tooth well, filling it quickly for smooth coverage. | Pigment sits more on the surface, allowing paper texture to show through more easily. |
| Ideal For | Smooth gradients, painterly effects, bold color, quick saturation. | Fine detail, crisp lines, mixed media with solvents, artists who prefer a harder feel. |
Understanding this distinction helps you choose your weapon wisely. For me, the unparalleled blendability and immediate vibrancy of Prismacolors are often the winning combination, but I respect what a good oil-based pencil can do for precision.
Mastering the Art of Layering and Blending: Crafting Depth and Emotion
This soft core isn't just about vibrancy; it's a blending powerhouse. I'm endlessly fascinated by how different layers interact, whether I'm working with mixed media or just a handful of pencils. With Prismacolors, you can build up color gradually, creating incredible depth and subtle transitions that other pencils simply can't achieve. You can literally layer five, six, even seven colors, watching them meld into a unique hue. It's like a quiet dance of pigments, each contributing to the overall harmony. To create the illusion of a sun-drenched skin tone, for example, I might layer Cadmium Yellow, Peach, and a hint of Rose Madder, then blend them until they melt into a soft, luminous glow. This process reminds me a lot of how I approach the alchemy of layers: my secret to creating depth and narrative in abstract paintings in my paintings, building complexity stroke by stroke, whether with opaque acrylics or translucent wax.
But let's talk about more than just smooth transitions. For those craving specific effects, Prismacolors are incredibly versatile. Try scumbling – applying light, circular strokes to create a soft, textured haze of color, almost like a whisper of pigment, perfect for depicting mist or the delicate fuzz on fruit. Or stippling, using tiny dots to build up tone and saturation, which can create surprisingly vibrant optical mixes that seem to shimmer, making it ideal for pointillist effects or textured surfaces. For crisp details or subtle variations within a block of color, I sometimes employ sgraffito, gently scratching back through a top layer with a sharp tool – like a craft knife, embossing stylus, or even a needle – to reveal the color beneath, creating fascinating textures or fine lines that seem to glow from within. And when it comes to color mixing, think beyond just blending existing colors. To create a truly deep, rich black, I layer Indigo Blue, Dark Umber, and a touch of Crimson Red. For a vibrant forest green, I might start with Chartreuse and layer it with True Green and a hint of a deep blue. To capture the fiery heart of a sunset, I blend brilliant oranges and reds with deep purples at the horizon line. It's a magical transformation that lets you achieve painterly effects with the precision of a pencil. When I consider how artists use color, Prismacolors excel in allowing me to apply color in highly specific, controlled areas while still achieving the soft, diffused look often associated with brushwork – a true game-changer for detailed, abstract gradients and intricate illustrations alike.
Advanced Blending & Textural Techniques
Pushing beyond the basics of layering reveals even more of Prismacolor's hidden potential.
- Wax Resist Magic: Ever tried drawing with a white or light-colored Prismacolor before applying a watercolor wash or diluted ink? The wax repels the water-based medium, creating striking "resist" effects. This is fantastic for preserving highlights, creating textured areas that pop, or adding delicate patterns that shimmer through a wash. It's like painting with a secret shield.
- Controlled Solvent Glazes: While Gamsol is my go-to, exploring other solvents like rubbing alcohol (isopropyl alcohol, applied very sparingly with a brush or cotton swab) can produce different effects. Rubbing alcohol tends to dissolve the wax binder more quickly and aggressively, creating more fluid, paint-like washes and intense glazes, often drying faster. Always test on a scrap first, as too much can damage your paper! This technique demands a light hand, almost like working with actual glazes in oil painting.
- Heat-Activated Blending: A subtle application of heat, perhaps from a heat gun on its lowest setting held far away, or even carefully using a warm iron over a protective sheet, can melt the wax binder, allowing colors to merge even more seamlessly into a smooth, almost enameled surface. This is a delicate operation, truly for the adventurous artist, but the results can be stunningly polished.
- Beyond the Blender Pencil: While the colorless blender is indispensable, consider experimenting with a tortillon (a tightly rolled paper stump) for precise blending in small areas, or a chamois cloth for broad, soft blending over large surfaces. Each tool offers a slightly different texture and control, so don't be afraid to find your personal favorites. A kneaded eraser can also be used gently to lift pigment and blend, especially for highlights or softening edges.
Honest Appraisal: The Brilliance and The Bumps
No art supply is perfect, and my beloved Prismacolors are no exception. Here’s my honest take after years of working with them, highlighting both their undeniable strengths and a few quirks you'll want to navigate:
Pros | Cons | Best For |
|---|---|---|
| Unparalleled Vibrancy: Colors are incredibly rich and saturated; they practically hum off the page, offering a saturation that rivals high-quality pastels or even some acrylics, but with a unique velvety texture. | Core Breakage: This is the infuriating, occupational hazard, a tiny tax on buttery smoothness – like having a talented but slightly dramatic dance partner, amazing when in sync, but prone to the occasional, infuriating stumble that leaves you with a tiny, broken nub. The soft, fragile core is prone to shattering if dropped or sharpened aggressively, often internally, deep within the wood casing. | Achieving bold, saturated color, adding rich velvety texture. |
| Buttery Smooth Application: Effortless laydown, reducing hand fatigue and encouraging fluid expression, echoing the gestures I often explore in the art of mark-making: expressive lines and gestures in abstract painting – allowing for long, uninterrupted sweeps of color. | Wax Bloom: Hazy, whitish film can appear on heavy layers due to wax migration. It's the wax from the binder coming to the surface, and it can subtly dull your vibrant work if not managed. It's like your pencils decided to wear a faint, hazy veil of 'mystery,' but you can easily remove it. This is distinct from pigment dust, which is loose, finely ground color particles. | Smooth, even coverage, effortless color transfer. |
| Superior Blending & Layering: Their superpower; allows for seamless transitions and deep, nuanced colors that are indispensable for my abstract work. Building up five, six, even seven layers is entirely possible, creating unique, complex hues that sing with life. | Price Point: A significant investment, certainly. A full set of 150 pencils can run you into the hundreds of dollars, but in my humble opinion, the quality justifies the cost for serious artists. This isn't just about the name; it's about the finely ground, lightfast pigments, the consistent, creamy binder, and the rigorous quality control that ensures each pencil performs consistently from tip to core. It’s the difference between a tool that fights you and one that dances with you, and for me, that's worth every penny. | Creating gradients, complex color mixes, building depth in illustrations. |
| Extensive Color Range: Up to 150 colors for exploring complex and nuanced palettes. From a modest 12-count for beginners to the full 150-color spectrum, you're spoiled for choice. It’s a dream for achieving subtle shifts in hue and creating precise color narratives. | Dust/Residue: Softer core produces more pigment dust than harder pencils, which can sometimes smudge your work or create a slightly messy workspace. It's not a deal-breaker, but it does require mindful cleanup to prevent fine particles from migrating to other projects or muddying your current one. My personal ritual involves keeping a soft drafting brush or a dedicated, dry microfiber cloth nearby to gently sweep away excess dust as I work, and making sure I'm in a well-ventilated area. It's a small habit, but it makes a world of difference in maintaining crisp, clean lines and vibrant colors. | Broad palette choice for specific color matching, intricate details. |

The Archival Question: Lightfastness and Longevity
That's a super important question for any artist, especially if you plan to sell or display your work long-term. Prismacolor Premier pencils generally have good to excellent lightfastness ratings, meaning their pigments are resistant to fading when exposed to light over time. For professional artists, understanding lightfastness is crucial. These ratings often refer to standardized tests like the ASTM D-6901 (American Society for Testing and Materials) or the Blue Wool Scale, which meticulously measure how well a pigment resists fading under specific light conditions over time. Think of it like a sunscreen rating for your pigments; the higher the number or rating, the more protection against the sun's (or gallery light's) damaging rays. For example, a color with an ASTM rating of I (Excellent) or a Blue Wool Scale rating of 7 or 8 is considered highly permanent, meaning it should show negligible fading for over 100 years under museum conditions.
While Prismacolor generally uses high-quality, archival pigments, it’s always a good practice to check the individual lightfastness ratings (often marked on the pencil barrel or found in online charts) for any colors you plan to use in commissions or gallery pieces. For instance, Indigo Blue, Dark Green, and Crimson Red tend to have excellent lightfastness and are reliable choices for enduring works. However, some lighter purples like Parma Violet or vibrant pinks such as Process Red and Neon Pink have historically been noted to be less lightfast and might be better reserved for studies or pieces not intended for long-term display. Certain brighter yellows or oranges can also be a mixed bag, so a quick check is always worth it. It’s one of the reasons they're trusted by professional artists for pieces that need to stand the test of time, but a little vigilance goes a long way. Ultimately, a quality fixative and appropriate framing with UV-protective glass will extend the life of any artwork.
Investment vs. Value: Comparing Premium Colored Pencils
Yes, Prismacolor Premiers are an investment, but I truly believe they are worth the cost, especially if you're serious about colored pencil art or want to add a vibrant, blendable medium to your toolkit. Think of it as investing in tools that genuinely elevate your work, enabling specific artistic outcomes – like achieving incredibly smooth gradients or rich, layered depth – that are simply harder to reach with cheaper alternatives. For me, the quality of pigment and blending capabilities far outweigh the higher price point for most artists.
But how do they compare to their high-end rivals? Faber-Castell Polychromos, for example, are oil-based, offering sharper points and less wax bloom, ideal for intricate detail and highly textured papers. They excel in sharp lines and controlled layering without the same risk of breakage. Caran d'Ache Luminance, another top-tier choice, boasts exceptional lightfastness across its entire range and a smooth, rich application similar to Prismacolor but with a firmer core, often favored for its buttery yet robust performance. Then there are Holbein Artists' Colored Pencils from Japan, known for their unique square barrels and incredibly soft, almost pastel-like application, with a very high pigment load that allows for vibrant layers, though they can be even softer and more prone to breakage than Prismacolor. For those seeking slightly harder, yet still professional-grade, wax-based options, Derwent Coloursoft offer good blendability with a bit more structural integrity. These are all professional-grade tools, far surpassing the capabilities of student-grade pencils that often contain less pigment and more filler, leading to duller colors and less blendability. Each high-end brand has its strengths, but for buttery smoothness, intense vibrancy, and unparalleled blending, Prismacolor Premiers carve out their own indispensable niche in my studio. It's about finding the dance partner that best complements your unique artistic rhythm.
Taming the Beast: My Essential Tips for Mastering Prismacolors
Working with Prismacolor Premier pencils is a bit like learning to dance with a very talented, but sometimes clumsy, partner. Here’s what I’ve learned to make the most of them and navigate their quirks:
- Sharpening: Your First Defense Against Breakage: Invest in a good quality, sharp manual pencil sharpener. Electric sharpeners can be too aggressive and cause breakage, creating those frustrating internal lead shatters. I personally love the small, hand-held ones with a fresh blade – and trust me, a fresh blade is crucial for soft cores because it creates a cleaner cut and less friction, reducing heat build-up and internal breakage. My go-to is usually a KUM or Derwent manual sharpener; they just seem to get the soft core and create a long, fine point without scraping. And here's a little trick I learned: don't twist the pencil itself, twist the sharpener around the pencil. It feels counter-intuitive, almost like performing a tiny magic trick, but trust me, it makes a world of difference because it applies even pressure around the casing, reducing the chance of snapping the delicate core. Aim for a long, gradual point rather than a steep, blunt one, as a finer point minimizes the pressure needed for detailing and reduces tip breakage. Troubleshooting internal breaks: If you suspect an internal break (you sharpen, and the tip keeps falling out), try warming the pencil gently by holding it in your hands or placing it in a warm, sunny spot for a few minutes. This can soften the wax binder and sometimes re-adhere the core. Then, try sharpening with a fresh blade again, very slowly and gently. Patience is key here.
- Layering: The Gentle Approach for Depth and Less Bloom: For deep, rich colors, build up layers gradually with light to medium pressure. This gives you more control, significantly reduces wax bloom, and helps prevent that dreaded core breakage. This approach allows the wax to bond more gently with the paper and each layer, building up color smoothly and minimizing the risk of bloom and breakage. It's about patience and understanding the medium, much like developing the definitive guide to understanding line in abstract art from gestural marks to geometric forms – building up complexity from simple marks. Remember, the beauty of Prismacolors lies in their ability to build; don't rush it! And don't press too hard with the initial layers; think of it as a delicate dance, gradually increasing pressure as you build saturation.
- Embrace the Blender: Your Magical Tool for Seamless Gradients: A colorless blender pencil is your best friend for smooth transitions. Just go over your layered colors with the blender, and watch them merge magically. You can use it with a light touch to soften edges, or with more pressure to create a polished, almost enamel-like finish. You can also use a cotton swab, a paper stump, or even a soft synthetic brush for softer blending. For truly painterly effects, I often reach for a touch of solvent, like Gamsol (odorless mineral spirits), applied with a synthetic brush or cotton swab. It melts the wax, allowing for incredibly fluid, paint-like blends and beautiful soft washes – just be sure to apply it sparingly to avoid oversaturating the paper and always test on a scrap piece first! (And yes, pigment dust can sometimes transfer to your blender pencil, so periodically wipe it clean on a scrap paper to avoid muddying colors.)
- Manage Wax Bloom: Keeping Your Colors Clear: If you encounter wax bloom, that hazy, whitish film that can subtly dull your vibrant work, remember it's a surface phenomenon, not a permanent change in the pigment itself. Gently wipe it away with a soft cloth or tissue. It's like your pencils decided to wear a faint, hazy veil of 'mystery,' but you can easily remove it. For heavy applications, a light spray of workable fixative can also help seal the layers and prevent bloom. The fixative essentially creates a barrier and binds the wax on the surface, making it less likely to migrate further. It's a small extra step, but worth it for preserving your vibrant work. Alternatively, some artists use a small piece of nylon stocking or a microfiber cloth to gently buff the surface and remove the bloom, which can sometimes even bring out a subtle sheen.
- Choosing Your Canvas: Paper Matters More Than You Think: The paper you choose significantly impacts your results. For smooth blending and vibrant color laydown, look for papers with a slight tooth (texture) that can grab the pigment, like Bristol Vellum, Stonehenge, or even a good quality drawing paper with a subtle grain. Smoother papers (like Bristol Smooth or hot press watercolor paper) are great for fine details and precise lines, but offer less grip for heavy layering, potentially leading to more wax bloom. Conversely, very textured papers (like cold press watercolor paper) can create interesting, granular effects but also consume more pigment and make fine detail difficult. My advice? Keep a sketchbook just for testing new paper/pencil combinations. You'll be amazed at the different effects you can achieve just by changing your surface. They can even be used lightly on gesso-primed canvas for preliminary sketches or on wood panels for unique mixed media effects, though always test for adhesion and blending first!
- Store Them Smartly: Preventative Care for Your Tools: Because of that lovely soft core, they can be fragile. Storing your Prismacolor pencils lying flat in a tray or a dedicated case (like a roll-up canvas wrap) significantly reduces the chance of internal lead shattering from gravity or those inevitable little bumps. Avoid storing them standing upright in a cup, as the constant downward pressure and jostling can stress the core.
- Handle with Care: Beyond Storage: While storing them flat is crucial, how you handle your pencils during a session also matters. Avoid pressing down excessively hard, especially when layering, as this not only risks core breakage but can also lead to premature wax bloom. When picking up pencils, avoid gripping them too tightly near the tip. And when transporting them, always use a protective case; throwing them loose into a bag is an open invitation for shattered cores. Treating these tools with a little reverence prolongs their life and ensures they perform at their best. Consider the subtle ergonomic design of the wood casing itself – it's designed for comfortable grip during long creative sessions, another small detail that contributes to their premium feel.
Troubleshooting Common Artistic Hurdles with Prismacolors
Even with the best techniques, challenges can arise. Here are a couple of specific issues and how I tackle them:
- When Colors Go Muddy: Over-blending, especially with too much pressure or using too many similar mid-tones, can sometimes lead to a muddy, lifeless patch of color. My solution? First, step back and let your eyes rest. Often, it's not as bad as you think. Second, try using a kneaded eraser to gently lift some of the pigment, essentially "resetting" the area. Then, reintroduce layers with lighter pressure, focusing on clear color separation. Sometimes, a final, thin layer of a bright, clean color (like a pale yellow or white) applied very lightly can bring back vibrancy and push muddied tones into the background.
- Working on Non-Traditional Surfaces: While paper is king, Prismacolors can be surprisingly versatile.
- Wood Panels: Lightly sanded and gesso-primed wood panels offer a firm, slightly textured surface. Apply Prismacolors lightly, building up layers gradually. They adhere well, and the wood grain can offer interesting underlying texture. A workable fixative is highly recommended for preservation.
- Fabric (Carefully): For decorative purposes (not wash-fast), Prismacolors can be used on certain fabrics like canvas or unbleached cotton. The fabric texture will significantly impact the laydown, creating a more granular, diffused effect. Test * extensively* on a scrap first, as pigment adherence varies wildly, and fixative is essential.
- Treated or Primed Surfaces: On surfaces primed with clear gesso or a sanded pastel ground, Prismacolors can really shine, offering an extra "tooth" that grips the wax pigment beautifully. This can open up possibilities for mixed media pieces, offering a unique texture and blendability. Always remember to test your chosen pencil and surface combination on a small, inconspicuous area before committing to your main artwork.
Beyond the Basics: Expanding Your Prismacolor Horizons
While I primarily use Prismacolors in my abstract work, their versatility extends to a vast array of artistic disciplines. These pencils are cherished by botanical illustrators for their ability to capture delicate textures and precise color shifts; by concept artists in animation and gaming for quick, vibrant studies and dynamic character designs; and by architects for rendering precise, yet expressive, plans that convey mood as well as structure. Their blendability makes them excellent for achieving painterly effects in realism, while their control allows for intricate detail in line art, proving they're truly a medium for every artistic ambition.
A Symphony of Materials: Embracing Mixed Media with Prismacolors
These pencils play well with others! I often use them for detailing over watercolor washes, or to add texture and emphasis in some of my my journey with mixed media: blending materials for abstract expression experiments. For instance, I'll often use a deep Umber Prismacolor to sketch foundational lines over a loose watercolor wash, then build up form and texture with brighter hues, letting the watercolor bleed through in places for a luminous effect. They can layer beautifully over dry acrylic or gouache for added detail, or even be used lightly with oil pastels for specific textures.
For a truly unique effect, try using them for foundational color studies that later inform a digital painting – bridging the gap between traditional and digital art, or even as underpainting for oil or acrylic pieces to establish value and initial color saturation. Just be mindful that heavy application of water or alcohol-based solvents directly over heavy wax layers can sometimes cause issues, so always test first! The possibilities are truly endless, a true symphony of materials.

The Future of Colored Pencils: Innovation and Sustainability
As the art world continues to evolve, so too do our tools. While digital art offers incredible flexibility, the tactile joy and unique aesthetic of traditional mediums like Prismacolor pencils remain irreplaceable. I'm always curious to see how brands like Prismacolor might innovate further—perhaps with even more lightfast pigments across the entire range, or more rigorously tested eco-friendly casing materials and manufacturing processes. Maybe even new wax formulations that further minimize wax bloom without sacrificing that signature buttery feel. The demand for sustainable art supplies is growing, and I'd love to see more transparency and innovation in this area from all major brands. Regardless of what the future holds, the fundamental appeal of a tool that offers both precision and painterly expression ensures that Prismacolor Premiers will continue to be a beloved staple in artists' studios worldwide.
My Enduring Love Affair and Your Next Masterpiece
So, there you have it. My not-so-secret love affair with Prismacolor Premier colored pencils. They're temperamental, a little high-maintenance, and occasionally frustrating, but utterly, wonderfully rewarding. For me, they represent that quiet corner of creativity where precision meets passion, and a world of vibrant color unfolds. Many of my initial sketches, especially those exploring the nuanced gradients of a sunset or the soft contours of a figure, begin with these pencils. Sometimes, a particularly compelling color study done with Prismacolors becomes the seed for a large-scale abstract canvas that you might eventually see at my den bosch museum, or even browse for sale. I've found them indispensable for adding those final, intricate details that truly bring a piece to life, whether it's for an exhibition or a new addition to my timeline of artistic exploration. Their unique blend of control and painterly expression means they often serve as the foundation for exploring complex color narratives that later translate into bolder acrylic strokes or nuanced mixed media pieces. What's not to love about a tool that challenges you but ultimately rewards you with such expressive power?
If you've been on the fence about trying them, perhaps it's time to take the plunge. Grab a small set, experiment, and prepare to be surprised. You might just find your own little piece of buttery, blendable joy and unlock a new level of vibrancy in your work. And who knows, maybe they'll inspire your next masterpiece, or at least a really satisfying drawing session. Have you used Prismacolors before? Share your own tips or favorite color combinations in the comments below! Happy creating!


