Transform Your Walls: Creative Interior View Ideas for Art Display
Discover unique interior art display concepts that transform your space. From gallery walls to unexpected placements, elevate your home with artist-approved techniques.

Transform Your Walls: Creative Interior View Ideas for Art Display
You know that feeling when you bring home a piece of art that makes your heart skip a beat, only to stand there staring at a blank wall for an hour? Yeah me too. We've all been there - holding a vibrant abstract print or a colorful original wondering if it should "live" above the sofa, in the hallway, or propped against a bookshelf like it’s casual furniture. Displaying art isn't just physics; it’s psychology. It’s about creating visual conversations between the artwork and the people who inhabit the space.
I remember this one time I tried recreating a "perfect" gallery wall I saw in a design magazine. Within a week, I was bumping into the corner frames every morning like some sort of art-wielding piñata. Turns out, the magazine’s model home had three times the square footage and zero sleepy humans stumbling through. Lesson learned: art placement needs to work with your life, not against it.
Why Your Art Placement Needs Strategic Thought
Art placement is silent interior design. It orchestrates how you experience a room in ways you might not even notice:
- Flow: How your eyes travel through a space changes when art acts as visual waypoints
- Mood: Cooler pieces in corners create calm; warm abstractions above sofas feel inviting
- Scale: A tiny piece on a giant wall gets lost; oversized art in small spaces becomes claustrophobic
- Narrative: Grouping pieces tells stories - your story
- Emotional Resonance: Art placement affects how you feel daily—what you see first thing in the morning can set your entire mood
- Cognitive Engagement: Strategic placement creates visual interest that keeps your mind engaged with your environment
- Spatial Perception: How art is hung can actually change how we perceive room size and proportions
- Social Connection: Art placement influences how guests experience and interact with your space
- Cultural Expression: Strategic placement can reflect your heritage, values, and personal journey
- Productivity Boost: Studies show that well-placed art can increase workplace productivity by up to 15% and reduce decision fatigue
- Therapeutic Benefits: Certain art placements can reduce stress and anxiety, creating calming environments in high-stress areas
- Educational Value: Strategic placement can create learning opportunities by grouping related themes or educational content
- Seasonal Adaptability: Thoughtful placement allows for easy rotation of seasonal collections without major rearrangement
- Investment Protection: Proper placement and hanging techniques prevent damage and preserve artwork value
- Personal Growth: Regularly changing art displays encourages fresh perspectives and creative thinking
Think of it like this: your walls are stages where your art performs. Would you put a solo violinist in a concert hall designed for a full orchestra? The arrangement can elevate or diminish the work.
But here's the secret most designers won't tell you: the "perfect" placement isn't static. It evolves with your life, your mood, and even the time of day. An art arrangement that feels perfect in daylight might feel completely different by candlelight.
Your relationship with your art should be dynamic, not rigid. What speaks to you on a Monday morning might feel overwhelming on a Friday evening. What works for dinner parties might not suit quiet reading nights. The most successful art installations are those that grow and change with you - becoming more meaningful over time rather than becoming background noise.
Key Concepts Before You Hang a Nail
Before we dive into ideas, let’s ground ourselves in fundamentals:
1. The Viewer’s Perspective
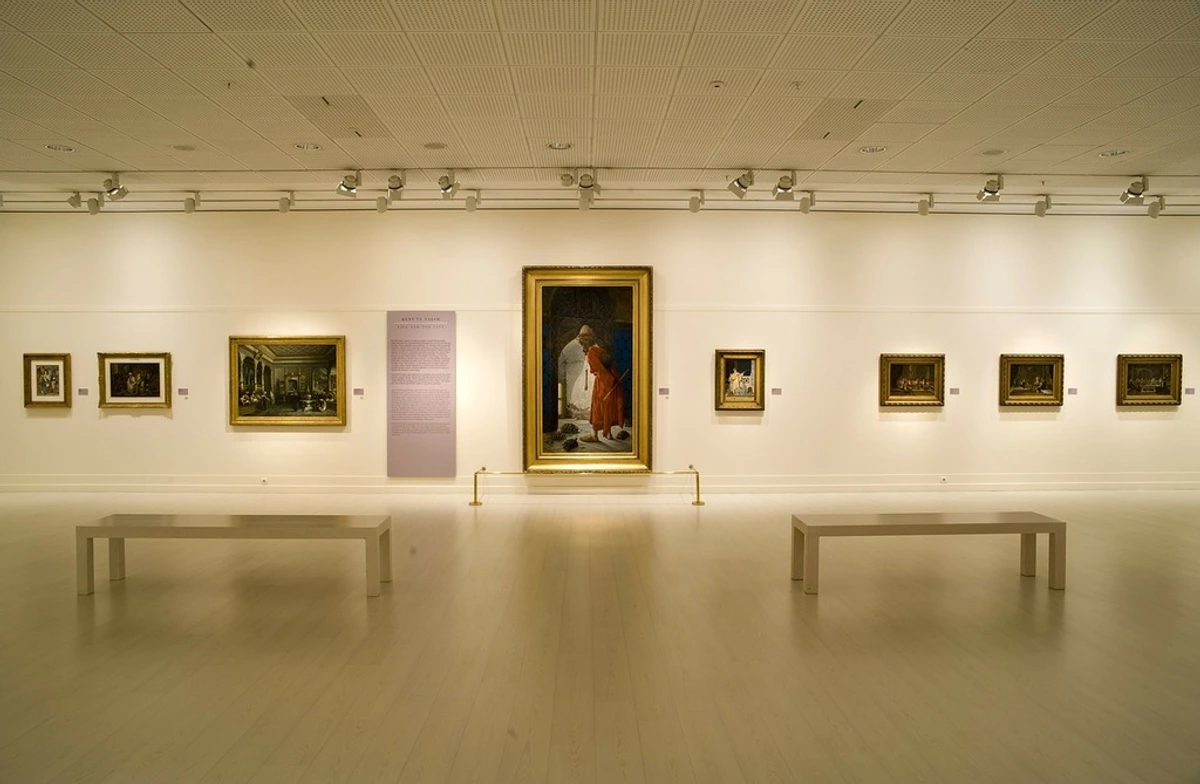
Interior view means seeing art from dentro (inside) the room - not just a museum-style view from one angle. Ask yourself:
- Where do people naturally pause in this room?
- Where do you sit, stand, or walk repeatedly?
- What views will the art block or enhance?
2. Lighting is Your Co-Curator
Natural light changes art throughout the day. Track how sunlight hits walls:
- Direct sunlight fades pigments long-term
- Evening shifts require thoughtful artificial lighting
- Dark rooms need illumination that doesn’t glare
3. Scale & Context
Element  | Too Small | Just Right | Too Large |
|---|---|---|---|
| Wall Space | Looks lost, lacks impact | Creates intentional focus | Overwhelms the room |
| Furniture Proximity | Floating near furniture | Complements furniture | Makes furniture look tiny |
| Room Size | Insignificant in large room | Balanced proportion | Feels crowded |
| Ceiling Height | Gets lost in vertical space | Proportionate to room | Creates visual pressure |
| Viewing Distance | Requires squinting | Comfortable at eye level | Overwhelms close viewers |
| Architectural Features | Ignores room character | Enhances existing elements | Fights with room design |
The 57-60" Eye Level Rule: The standard "center at 57-60 inches from floor" works for most situations, but I've learned to trust my eye more than a tape measure. When you're considering placement, stand where you'd naturally view the art and ask yourself: "Does this feel comfortable?" If you're constantly craning your neck or feeling like you need to step back, the height is probably wrong.
The Golden Ratio in Art Placement: The most pleasing arrangements often follow the 60/30/10 rule: 60% of your wall space dedicated to your main focal piece, 30% to secondary pieces, and 10% to accent elements. This creates visual hierarchy without overwhelming the space.
Room Character Integration: Your art should enhance, not fight with, your room's existing architecture. Think about how your art relates to:
- Window placements: Use them as natural frames
- Door locations: Art can create transitions between spaces
- Ceiling height: High ceilings allow for vertical arrangements
- Floor materials: Hard floors might need heavier framing
- Existing architectural details: Corners, moldings, and niches offer display opportunities
The Golden Ratio in Art Placement: The most pleasing arrangements often follow the 60/30/10 rule: 60% of your wall space dedicated to your main focal piece, 30% to secondary pieces, and 10% to accent elements. This creates visual hierarchy without overwhelming the space.
Interior View Ideas That Actually Work
1. The Relaxed Gallery Wall
Ditch the grid. Overlap frames casually like they’re in conversation. The trick? Start with the largest piece as an anchor, then build asymmetry around it. I once created one using mismatched frames - some thrifted brass, others sleek white. The contrast made the cohesive abstract pop.
2. Architectural Integration
Use physical space as part of the display:
- Niche Fillers: Set art back 6-12" for depth perception
- Corner Play: Diagonal placement in corners creates dynamic interest
- Archways: Frame openings with art to transition spaces
- Ceiling Lines: Use art to define ceiling height or create visual continuity
- Baseboard Integration: Art that "sits" on or near baseboards can ground a space
- Window Relationships: Create dialogue between art and natural light sources
- Door Frame Accents: Use doorways as natural frames for strategic art placement
Detailed Architectural Integration Techniques:
Niche and Alcove Display:
- For shallow niches (4-6" deep), use thin-profile frames or canvas wraps
- For deeper spaces (12+"), consider creating a small "gallery" with multiple pieces
- Add accent lighting within the niche to make the art "glow"
- Use mirrors behind art in deep niches to create the illusion of more space
Corner Dynamics:
- Diagonal placement (45° angle) creates energy and movement
- Corner placement works especially well with vertical pieces or triangles
- Consider "corner clusters" - 2-3 smaller pieces arranged in a triangular formation
- For sharp corners, round frames or organic shapes soften the harsh angles
Archway and Entryway Integration:
- Use archways as natural "frames" by placing art that fills the archway space
- Create symmetry by placing identical pieces on either side of archways
- Use contrasting art styles to mark transitions between different spaces
- Entryway art should make a strong first impression - choose pieces with immediate visual impact

3. Floor-to-Ceiling Verticality
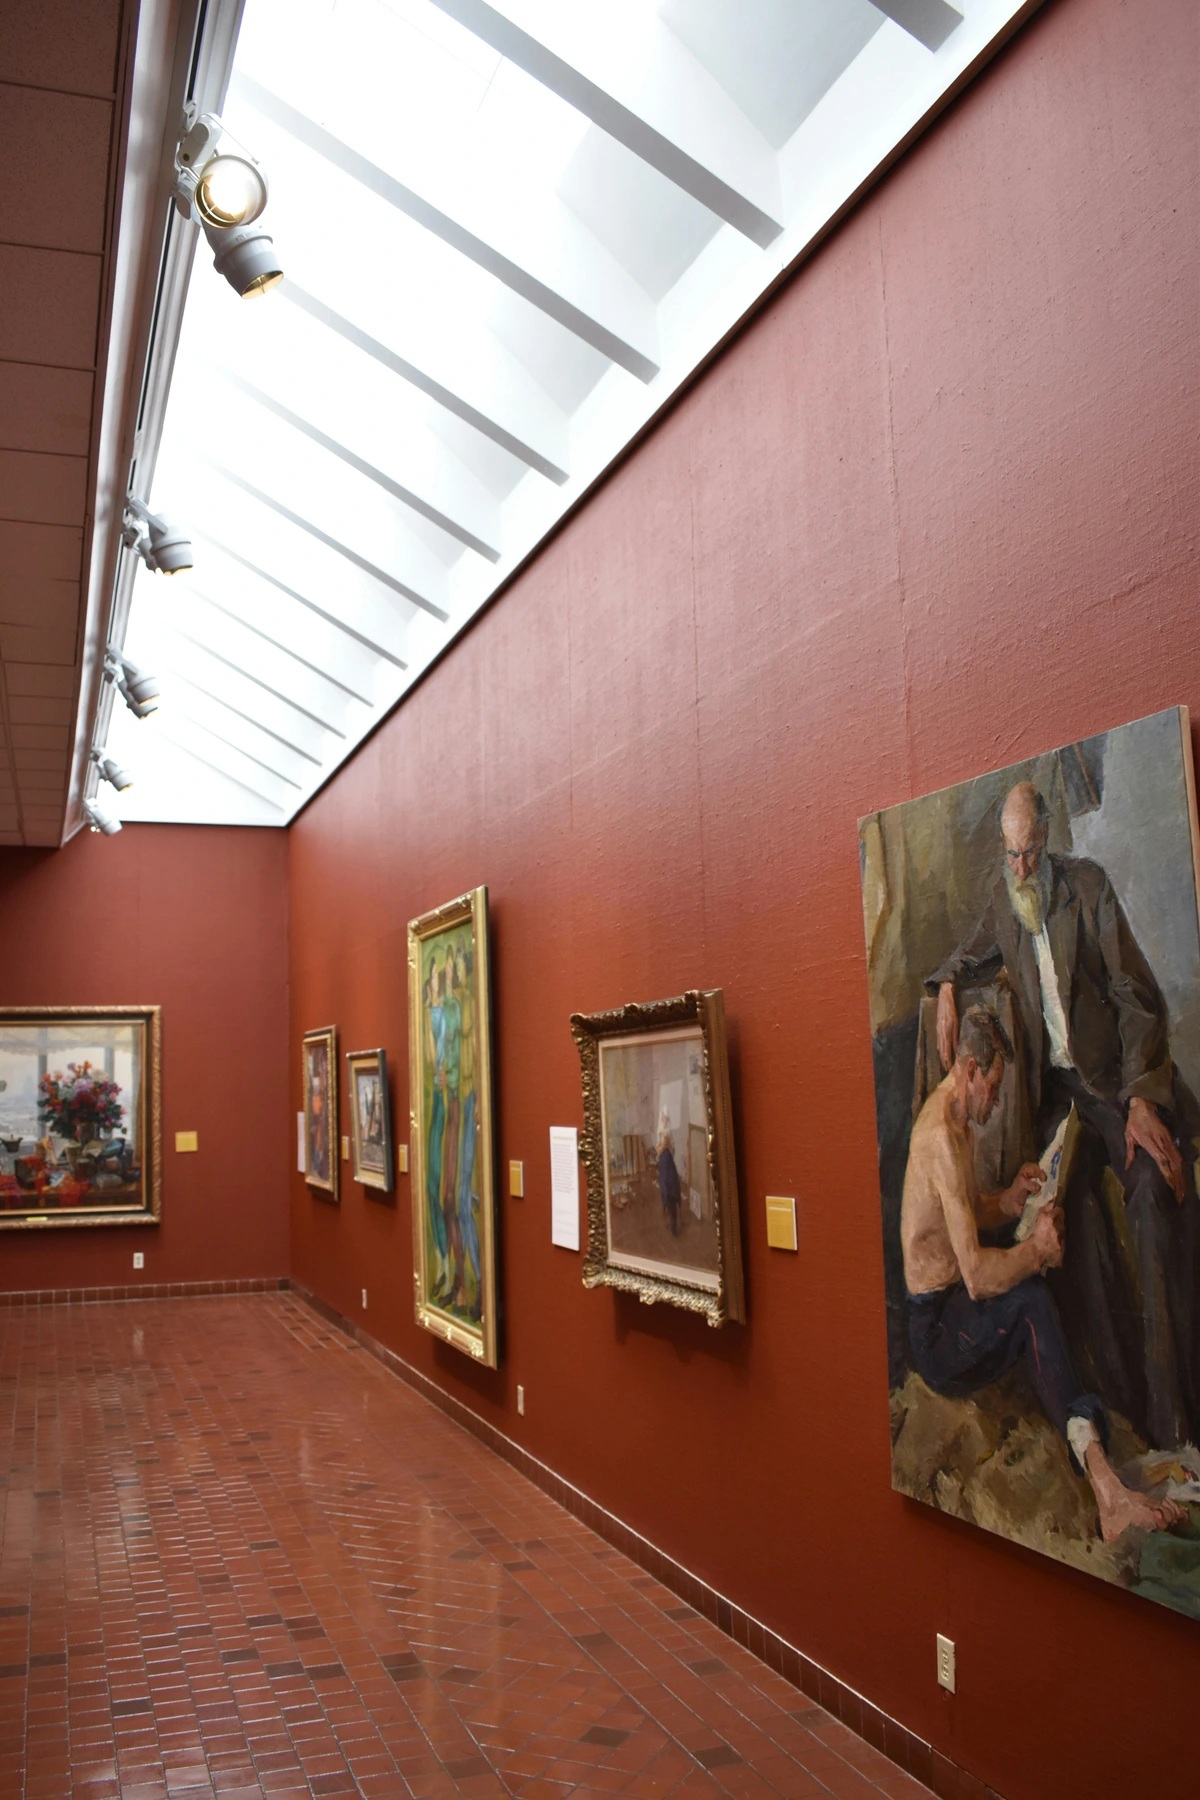
Especially impactful with narrow rooms or high ceilings. Stack smaller pieces vertically to draw the eye upward, creating the illusion of height. Perfect for hallways or beside staircases. Works beautifully with vertical landscapes or abstract compositions.
Vertical Arrangement Techniques:
- Progressive Scaling: Start larger at bottom, tapering upward for visual flow
- Color Gradation: Create movement through color transitions from bottom to top
- Theme Cohesion: Group pieces by subject matter for narrative continuity
- Spacing Rhythms: Use consistent spacing between pieces for harmony
- Anchor Points: Include one striking piece at eye level to create connection
- Reflection Play: If you have reflective surfaces, use them to double the visual impact
I once transformed a boring 8-foot hallway into a journey through color theory by arranging abstracts in a rainbow progression from floor to ceiling. It became my favorite feature in the house.
4. Furniture-Forward Placement
Don’t just set art above furniture - make it interact with it:
- Behind Sofas: Hang 6-12" above for breathing room
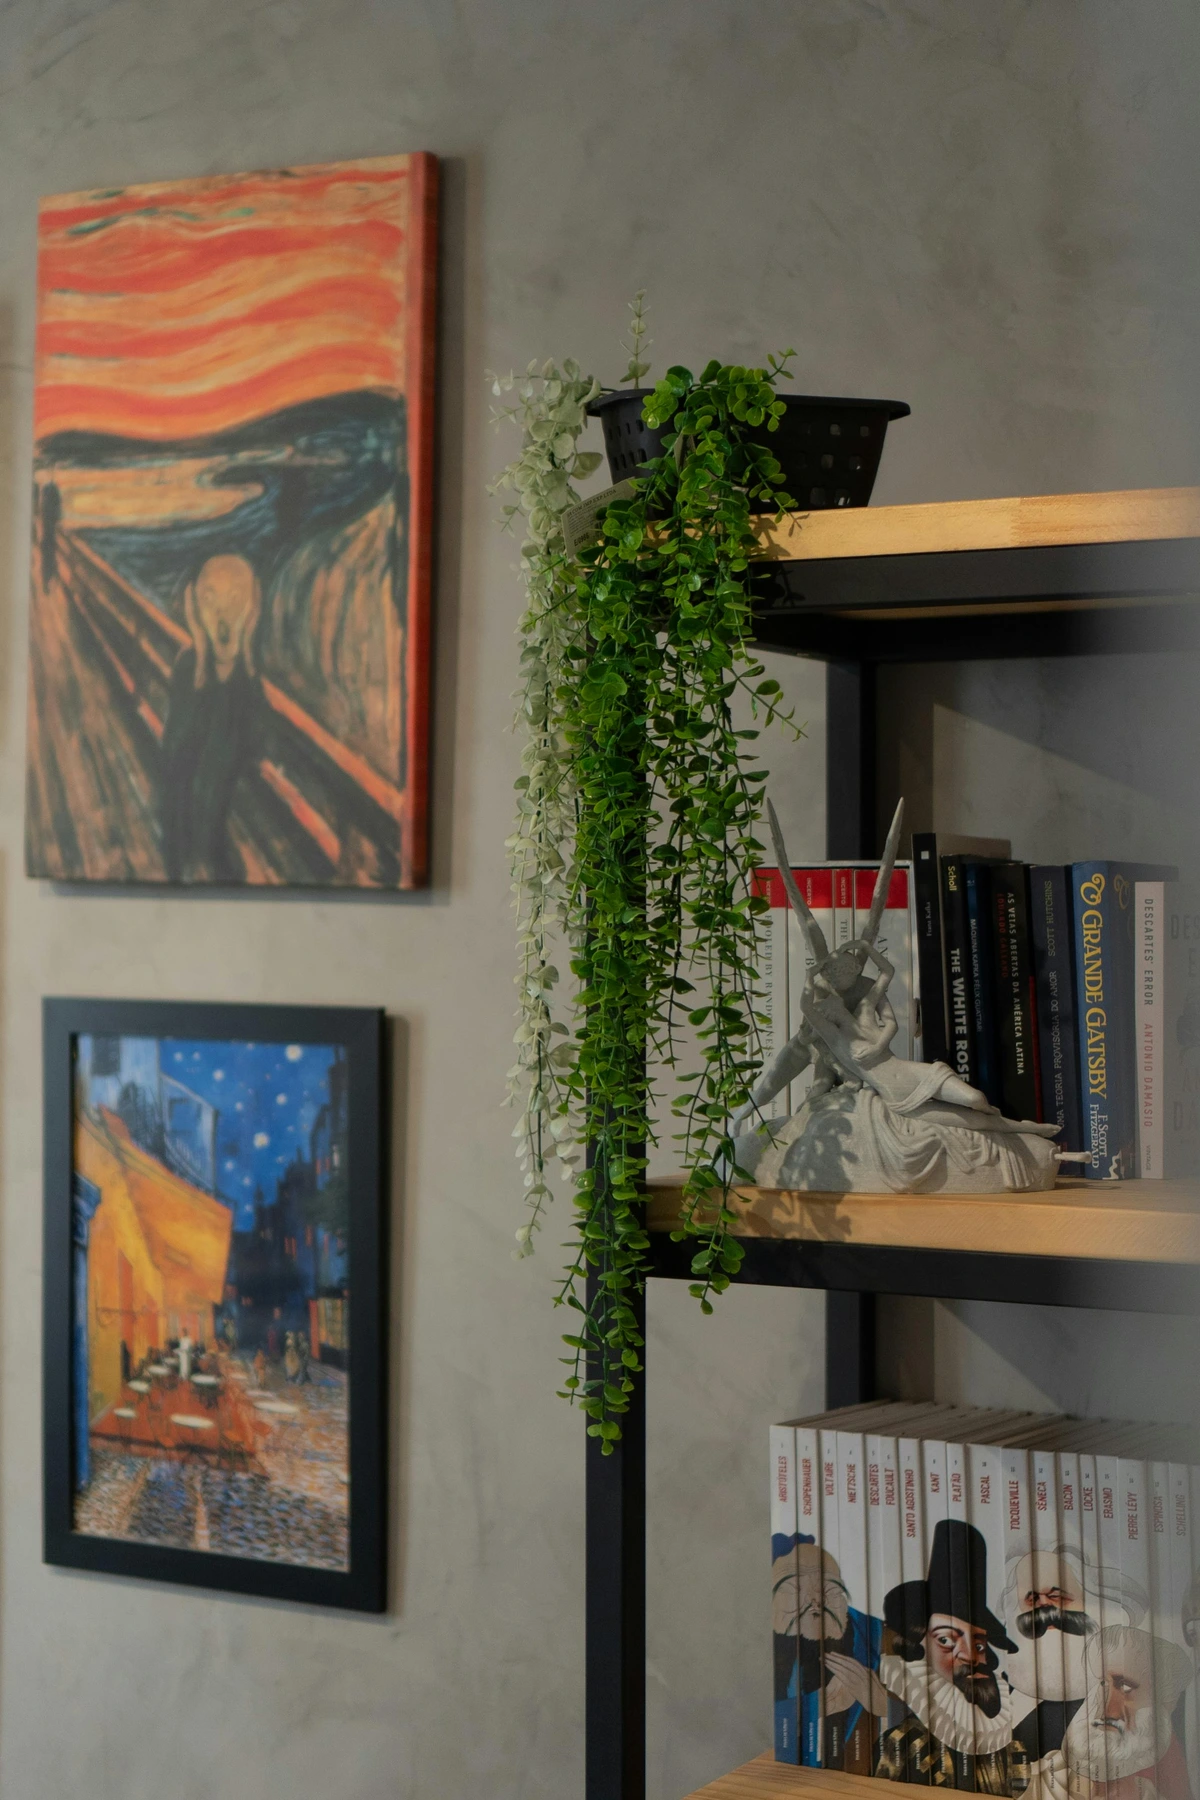
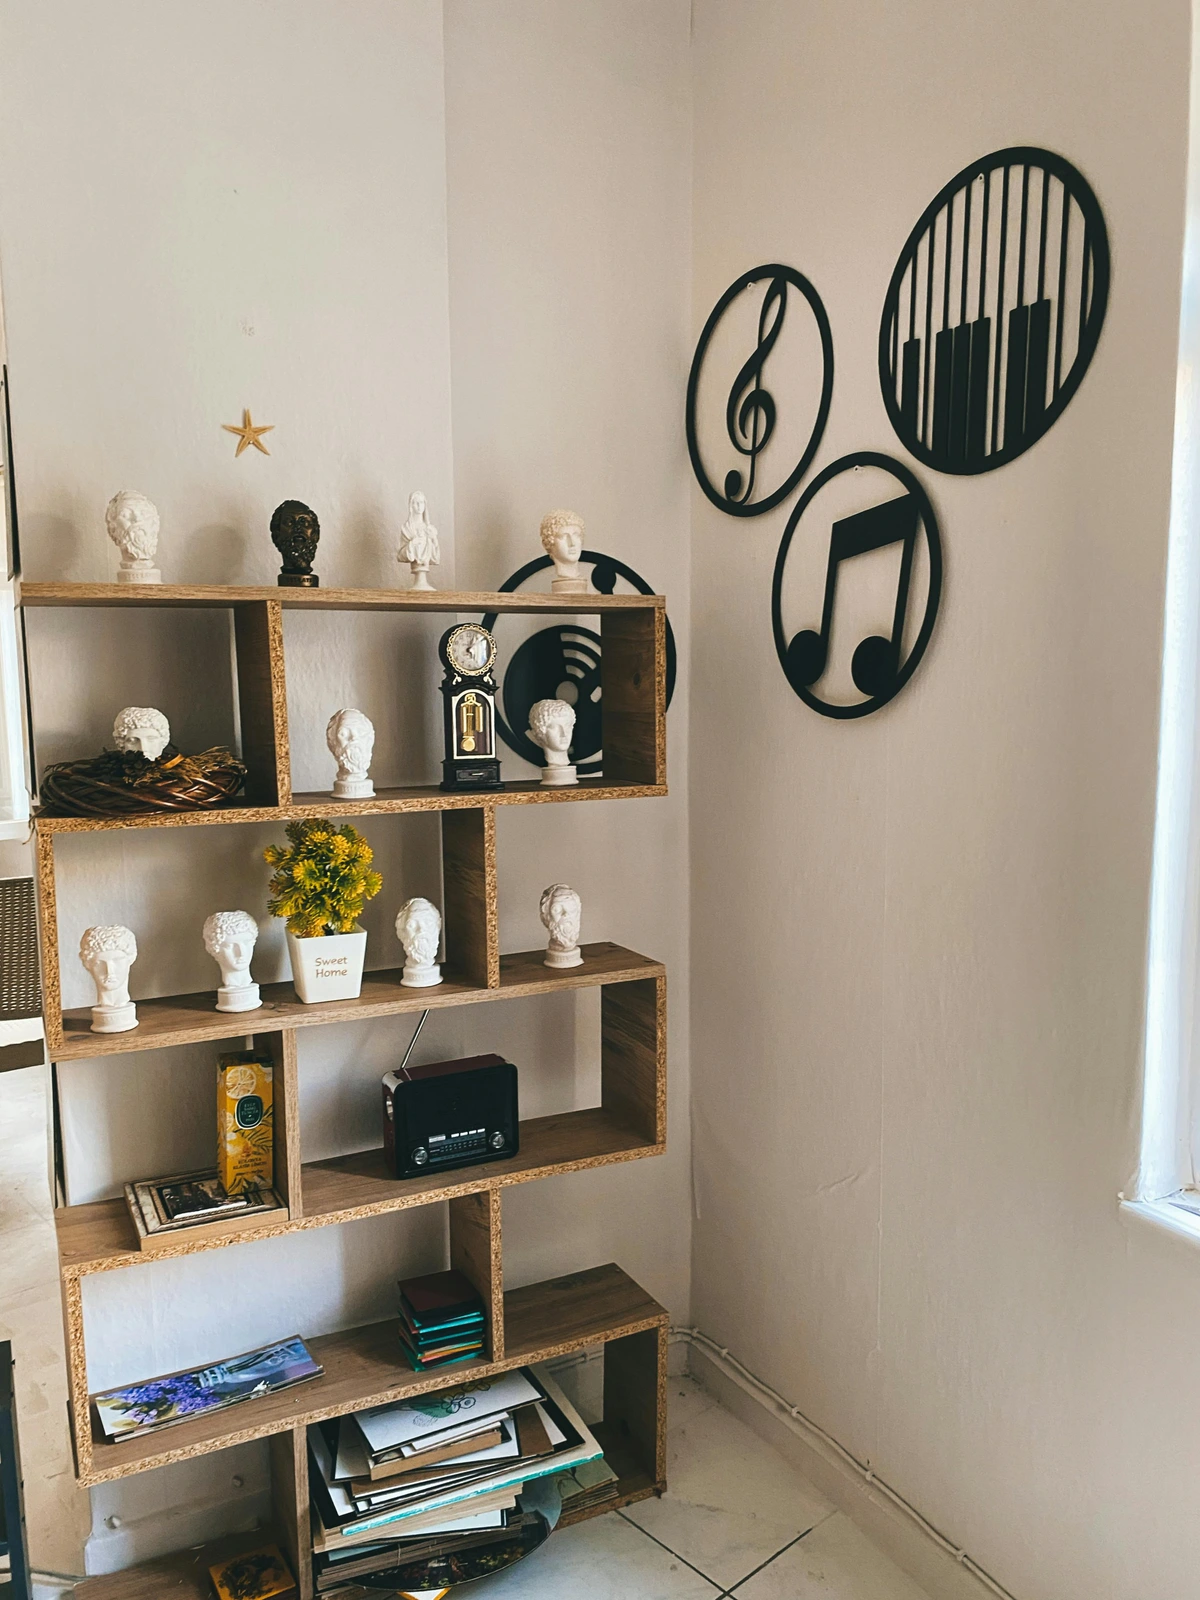
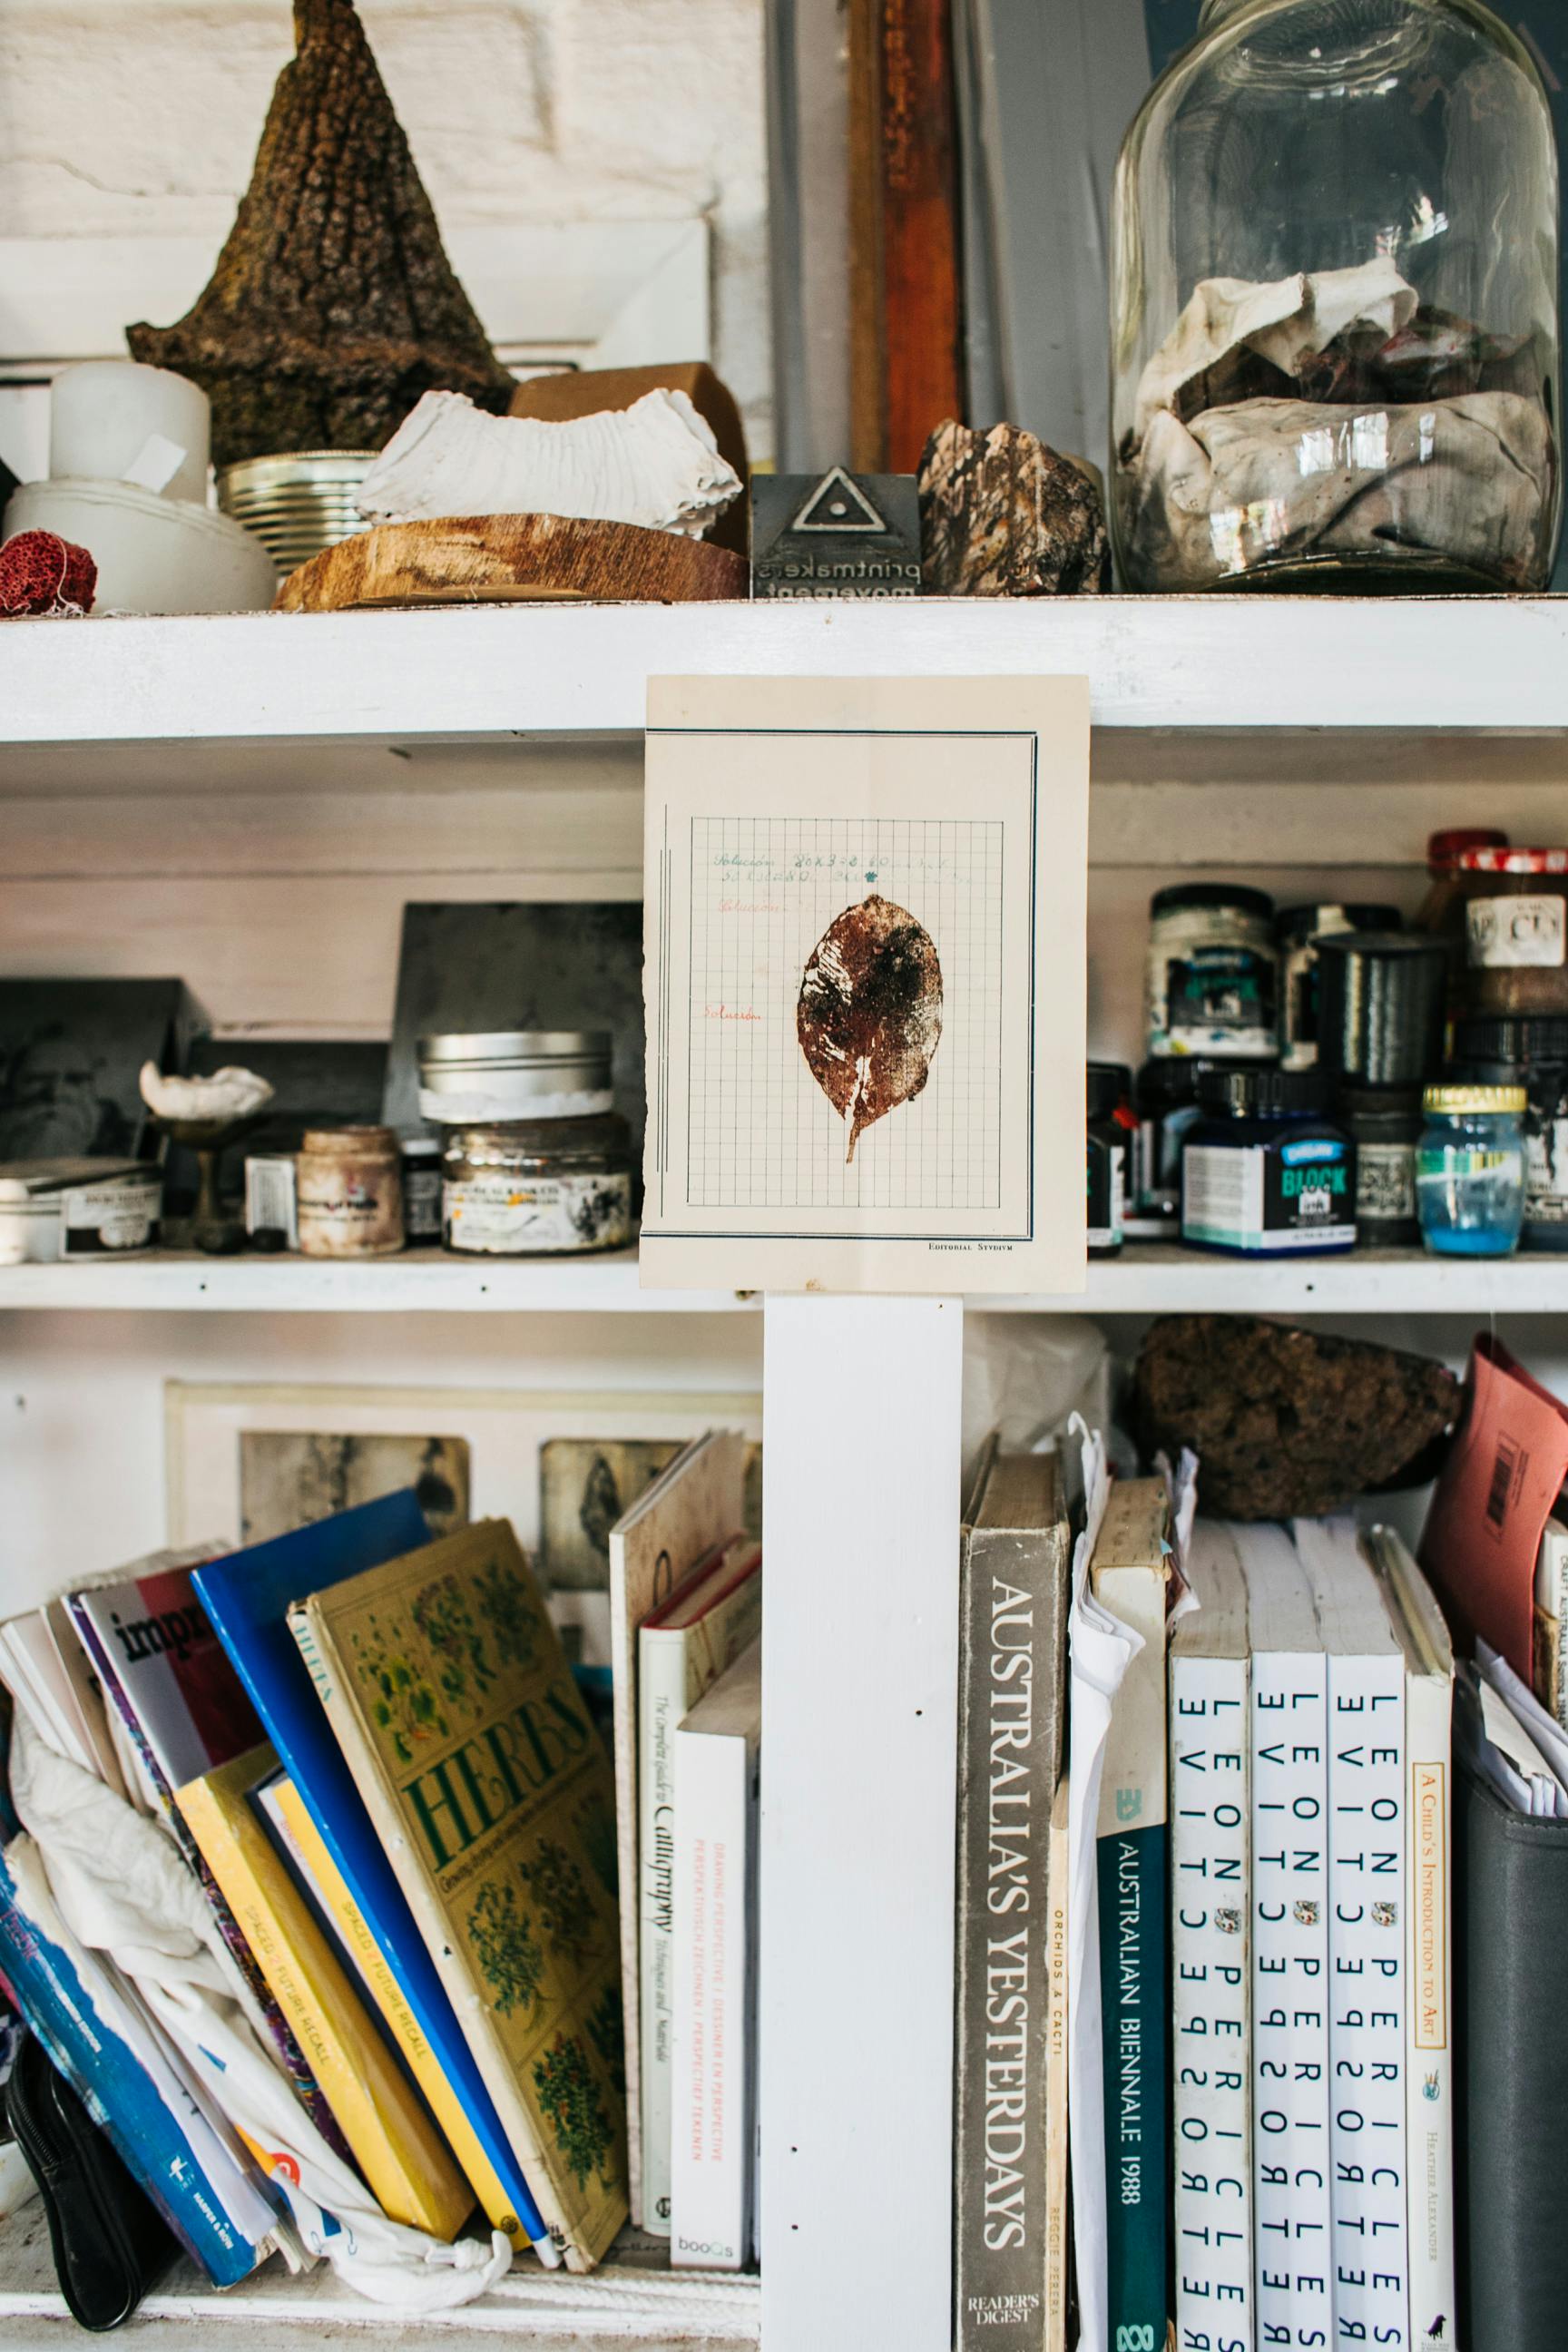
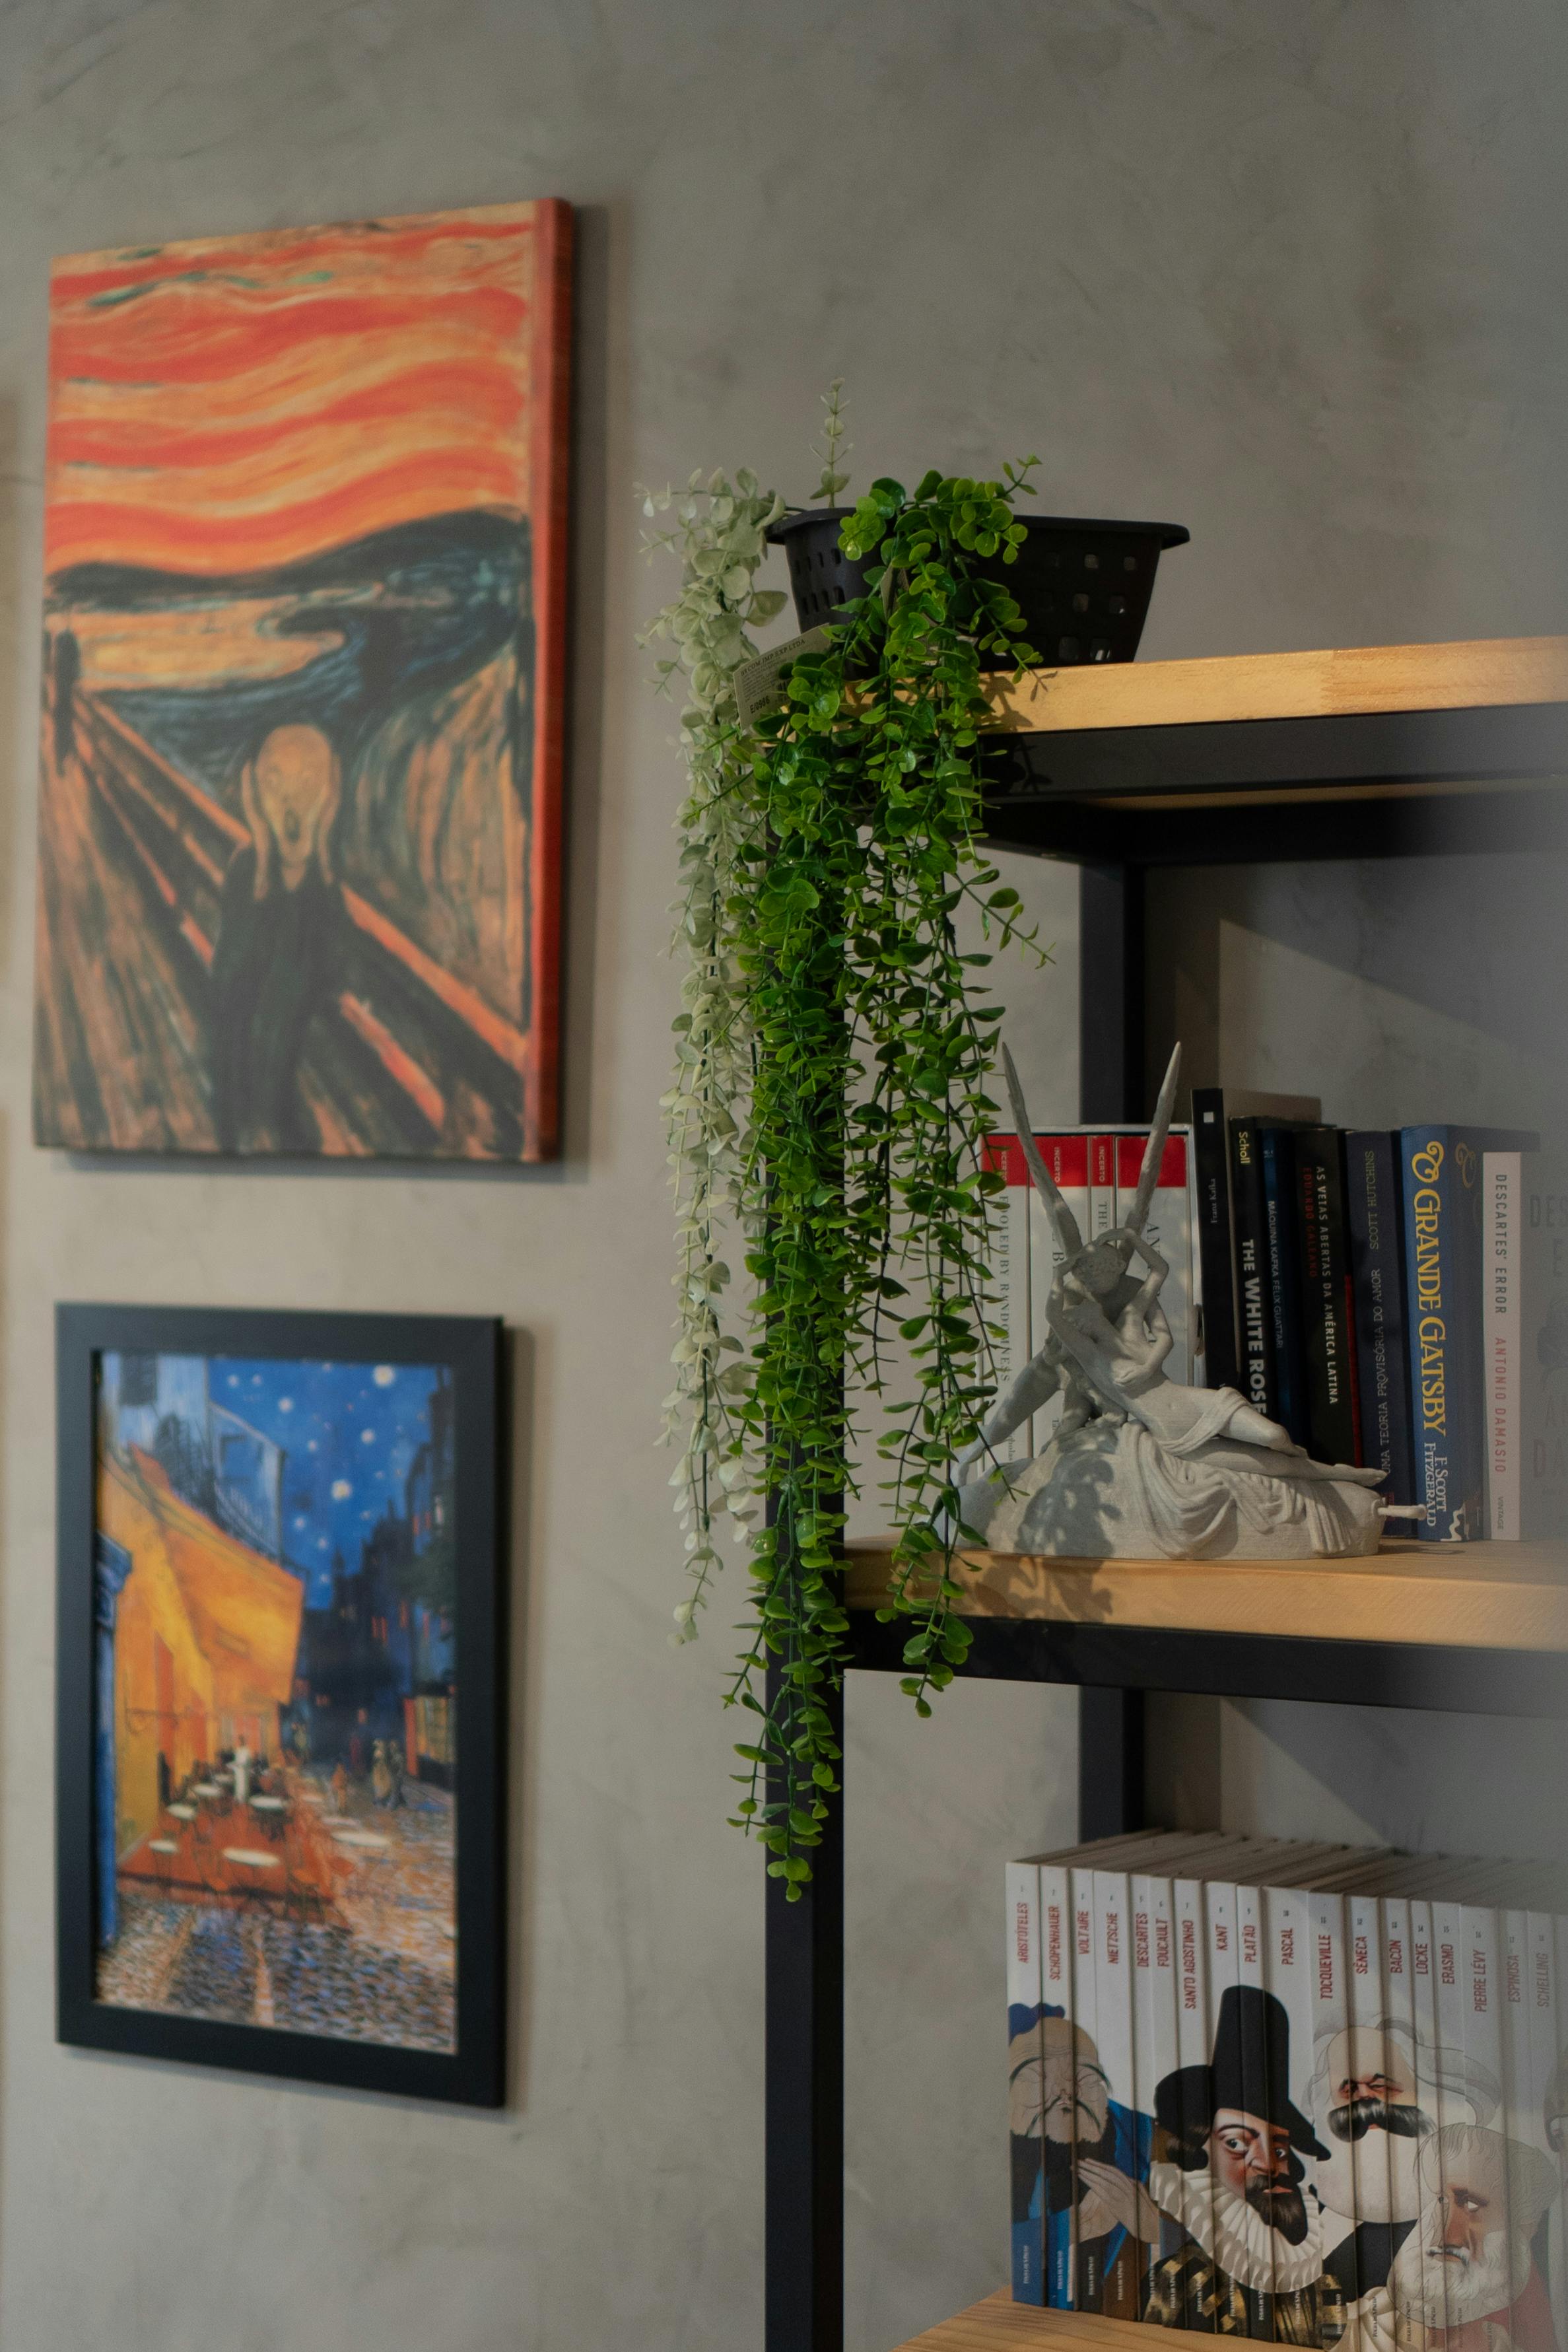
- Bookshelf Accents: Lean smaller works between books
- Tabletops: Use easels or floating ledges for rotating displays
5. Unexpected Locations
Challenge conventional placement:
- Bathroom Walls: Moisture-resistant pieces near tubs create spa vibes
- Kitchen Nooks: Place art near dining areas for conversation starters
- Closet Doors: Reveal personality in functional spaces
- Floor Leaning: Rest large canvases casually against walls
- Under Stairs: Transform dead space into unexpected art galleries
- Ceiling Corners: Suspended art creates three-dimensional interest
- Bathroom Mirrors: Art reflected in mirrors creates layered illusions
- Refrigerator Art: Yes, even the fridge can be part of your gallery!
- Pantry Doors: Hidden art surprises in everyday spaces
- Laundry Rooms: Make functional spaces unexpectedly beautiful
Unexpected Location Deep Dive:
Bathroom Art Display:
- Material Considerations: Use acrylic, sealed canvas, or specially treated paper for moisture resistance
- Placement Strategy: Avoid direct water contact; focus on walls away from shower/tub areas
- Size Guidelines: Small to medium pieces work best - large art can feel overwhelming in small spaces
- Theme Ideas: Spa-like abstracts, botanical prints, or serene landscapes for relaxation
- Lighting: Ensure proper lighting since bathrooms often have limited natural light
- Maintenance: Choose pieces that can be easily cleaned with a damp cloth
Kitchen Integration:
- Safety First: Avoid placing art directly behind stoves or in areas exposed to grease
- Conversation Starters: Place art where guests can see it while dining or socializing
- Size and Scale: Smaller pieces work well in kitchens - consider the visual noise level
- Theme Suggestions: Food photography, abstracts with kitchen colors, or inspirational quotes
- Easy-Clean Options: Use framed pieces with glass or acrylic protection
- Rotational Displays: Magnetic boards or picture rails for easy art changes
Under-Stair Transformations:
- Space Analysis: Measure the exact dimensions - under-stair spaces are often irregular
- Custom Solutions: Consider built-in niches or floating shelves for perfect fit
- Lighting Integration: Add LED strip lighting to make the space feel intentional
- Art Selection: Smaller pieces or create a collection of miniatures
- Safety Considerations: Ensure installation doesn't interfere with structural elements
- Accessibility: Make sure art placement doesn't create hazards when using the stairs
The Joy of Discovery: Art in unexpected places creates moments of delight throughout your day. I have a small print above my washing machine that turns a chore into a moment of beauty. These "secret art spots" make your home feel alive with personality in places you'd never expect.
6. Dynamic Rotation Systems
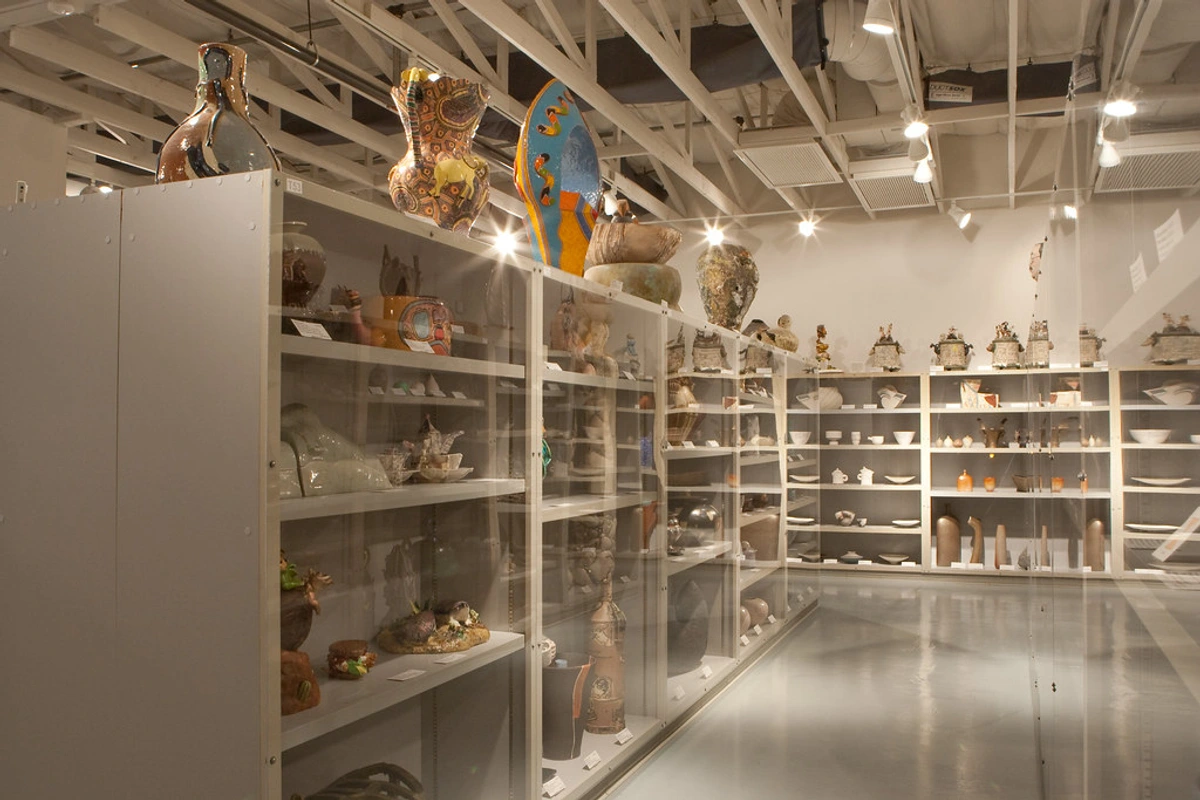
Make your walls living exhibits:
- Movable Tracks: Ceiling systems with adjustable cables
- Ledge Displays: Deep shelves for changing arrangements
- Curated Collections: Rotate seasonal themed displays
- Picture Rails: Classic European system allowing endless reconfiguration
- Magnetic Walls: Modern solution for easy rearrangement
- Rotating Frames: Double-sided frames that offer two art experiences
- Digital Frames: Blend traditional display with digital art possibilities
- Seasonal Themes: Create collections that change with the seasons or holidays
- Mood Boards: Rotating displays that reflect your current emotional state
- Guest Curated: Let visitors bring their own temporary art to display
Dynamic Rotation Systems Guide:
Professional Picture Rail Systems:
- Installation: Mounted 12-18" below ceiling with continuous track
- Hardware: Use adjustable cord systems with picture hooks
- Weight Capacity: Most systems support 15-30 lbs per hook
- Spacing: Place hooks 12-24" apart depending on art size
- Height Adjustment: Easily change art height without new holes
- Style Options: Available in brass, steel, or finishes to match decor
- Cost Range: $50-200 per 8-foot section plus hardware
Modern Magnetic Solutions:
- Wall Types: Works with steel-backed walls or magnetic primer-painted surfaces
- Frame Options: Use magnetic frames or attach magnetic strips to existing frames
- Weight Limits: Typically supports up to 10-15 lbs per magnet
- Installation: Apply magnetic strips to wall or use magnetic paint
- Cost: $20-100 for magnetic strips, $50-200 for magnetic paint
- Best For: Temporary renters, frequent rearrangers, modern spaces
Digital Integration:
- E-Ink Frames: Battery-powered displays that show changing artwork
- Smart Frame Systems: Wi-connected frames with app control
- Projector Art: Temporary digital projections on walls
- Tablet Integration: Use iPads or tablets in custom stands for rotating art
- Subscription Services: Monthly digital art rotation services
- Cost Range: $200-800 for digital frames, $10-50/month for subscriptions
The Living Gallery Concept: Your home shouldn't be a static museum—it should be a living, breathing space that evolves with you. Dynamic rotation systems allow your art to respond to your changing moods, seasons, and interests. I rotate my "winter collection" (cool blues and whites) with my "summer collection" (vibrant oranges and greens) each year, keeping my space feeling fresh and responsive.
Special Challenges & Solutions
Small Spaces
Use mirrors to bounce light, create vertical focus with narrow pieces, or group 3-4 small works to mimic one large statement piece. Corner placement magically expands visual perception.
Small Space Art Strategies:
Strategy | Implementation | Best Art Types | Expected Impact |
|---|---|---|---|
| Vertical Emphasis | Tall, narrow pieces hung vertically | Landscapes, abstracts, photography | Creates height illusion, draws eye upward |
| Gallery Walls | Multiple small pieces clustered together | Mixed sizes, cohesive theme | Maximum visual impact without overwhelming |
| Mirror Integration | Place mirrors behind or beside art | Any art, especially colorful | Doubles visual space, reflects light |
| Furniture Integration | Use furniture with built-in display | Small pieces, photos | Combines function with art display |
| Glass Surfaces | Acrylic prints or lightweight frames | Any medium, especially photography | Feels lighter, less imposing |
| Monochromatic Schemes | Single-color palettes throughout | Abstracts, minimalist pieces | Creates cohesive, open feeling |
| Minimal Frames | Thin or no-frame options | Contemporary art, prints | Reduces visual weight, feels modern |
| Strategic Lighting | Well-lit small art can have big impact | Any art, especially textured | Makes small pieces feel more substantial |
| Ceiling Hangings | Suspended art creates visual interest | Mobiles, lightweight pieces | Adds dimension without wall space |
| Multi-Functional Art | Pieces that serve dual purposes | Mirrors with art, functional decor | Saves space while adding beauty |
| Corner Groupings | 2-3 pieces arranged diagonally | Mixed sizes, complementary colors | Uses unused space, adds dynamic energy |
| Stacked Arrangements | Pieces arranged in vertical columns | Same theme or color family | Creates visual height, maximizes wall usage |
| Ledge Displays | Deep shelves for leaning art | Various sizes and styles | Easy rotation, no wall damage |
| Door Integration | Art on closet or cabinet doors | Themed pieces, personal photos | Functional spaces become artistic |
| Window Treatments | Art combined with curtains/blinds | Light-filtering pieces | Combines two decorative elements |
The Small Space Paradox: Small spaces often benefit from more art, not less. A well-curated collection creates focal points that make a room feel larger and more intentional. The key is choosing pieces that scale appropriately and arranging them thoughtfully to maximize visual impact. I've seen a tiny studio apartment transform from feeling cramped to feeling expansive simply by adding 4-5 strategically placed small pieces that created depth and visual interest.
High-Traffic Areas
Opt for acrylic-covered prints or canvases with protective coatings. Place higher than eye level to avoid accidental bumps or smudges.
High-Traffic Art Solutions:
- Acrylic Protection: Clear acrylic covers prevent scratches and smudges
- Canvas Wraps: Thick canvas wraps are more durable than paper prints
- Elevated Placement: Install art at least 66" from floor to avoid contact
- Corner Guards: Add protective corner pieces to frame edges
- Lamination: For paper pieces, consider professional lamination
- Digital Displays: Screens that show art without physical damage risk
- Rotating Displays: Easy-to-change systems that protect investment pieces
- Child-Friendly Height: Lower, protected art for children's areas
- Pet-Resistant Materials: Choose durable materials for pet-accessible areas
- Easy-Clean Frames: Wipeable surfaces for inevitable fingerprints
The Family-Friendly Gallery: High-traffic areas don't mean you have to sacrifice beauty. I've learned that strategic placement plus protective materials can create stunning displays that withstand daily life. The key is choosing pieces you won't mind touching up occasionally—part of the charm of a lived-in home.
Renters & Temporary Solutions
- Adhesive Strips: Heavy-duty removable options like Command Picture Hanging Strips
- ** leaning Systems**: Easels or bookends without nail holes
- **Freestanding Displays: Room dividers or screens with built-in hanging
Renter-Friendly Art Display Systems:
- Removable Hooks: Damage-free picture hanging systems that leave no trace
- Tension Rods: Adjustable rods that fit between walls without hardware
- Adhesive Picture Rails: Stick-on rails for hanging multiple pieces
- Magnetic Strips: For metal-framed art or use with metal plates
- Command Strips: Heavy-duty versions for larger pieces
- Lean-and-Display: Simple leaning against walls or furniture
- Book Integration: Art displayed within bookshelves
- Clothing Rods: Using closet rods for hanging lightweight art
- Window Sills: Natural display surfaces near natural light
- Temporary Murals: Removable wallpaper or decals for temporary impact
The Art of Temporary Beauty: Being a renters doesn't mean you can't have beautiful walls. I've created entire gallery systems using nothing but adhesive strips and careful planning. The trick is to think "temporary but intentional"—make your art display feel permanent even when it's designed to come down easily.
Digital Art Display Considerations
While some digital platforms offer blockchain-based NFTs for "authenticity", I personally approach these with caution. The art world is still navigating how these digital experiences translate into physical interiors. For now, I recommend high-quality prints that capture the vibrancy intended by the artist - tangible pieces that interact with real-world light and shadow.
Digital Display Options:
- High-Resolution Prints: Giclée prints on archival paper for museum-quality reproduction
- Digital Frames: E-ink displays that show changing digital art collections
- Projector Art: Temporary projection of digital images onto walls
- Tablet Displays: Integration with smart home systems for rotating art
- Smart TVs: Using high-resolution art as screensavers or permanent displays
- Interactive Displays: Touch-enabled screens that respond to viewer presence
- Augmented Reality: Apps that overlay digital art onto physical spaces
- Digital-to-Physical Hybrids: Physical frames with digital content capability
- Subscription Services: Rotating digital art collections for monthly refreshes
- Blockchain Verification: Digital certificates of authenticity for physical prints
The Digital-Physical Bridge: The line between digital and physical art continues to blur, and smart homeowners are finding ways to have both. High-quality digital displays can offer the flexibility of changing artwork without buying new pieces, while still providing the visual impact of traditional art. The key is choosing technology that enhances rather than overwhelms your space.
Advanced Art Display Techniques
The Psychology of Color in Art Placement
Color isn't just about aesthetics—it's about emotion and perception. Understanding color psychology can transform how your art affects your space:
- Warm Colors (Reds, Oranges, Yellows): Energize spaces, stimulate conversation, work well in social areas like living rooms and dining rooms
- Cool Colors (Blues, Greens, Purples): Calm and soothe, ideal for bedrooms, bathrooms, and meditation spaces
- Neutral Colors (Grays, Beiges, Browns): Create balance and sophistication, work in any room
- High-Contrast Combinations: Create drama and visual energy, perfect for feature walls
- Monochromatic Schemes: Create elegant, sophisticated spaces with subtle variations
Detailed Color Psychology Guide:
Color Family | Psychological Impact | Best Room Applications | Art Style Recommendations | Placement Strategy |
|---|---|---|---|---|
| Reds | Energy, passion, excitement | Dining rooms, entryways, creative spaces | Abstracts, bold statements | Central placement as focal point |
| Oranges | Warmth, creativity, sociability | Living rooms, kitchens, social areas | Contemporary art, energetic pieces | Above seating areas or social zones |
| Yellows | Happiness, optimism, mental clarity | Hallways, kitchens, home offices | uplifting abstracts, cheerful photography | Entry areas, high-visibility spots |
| Blues | Calm, trust, focus | Bedrooms, bathrooms, offices | Serene landscapes, minimalist pieces | Relaxing corners, meditation spaces |
| Greens | Balance, growth, harmony | Living rooms, bedrooms, wellness spaces | Botanical art, nature photography | Multiple placements for flow |
| Purples | Luxury, spirituality, creativity | Bedrooms, meditation spaces, luxury areas | Mystical abstracts, elegant pieces | Intimate viewing areas, subtle lighting |
| Neutrals | Balance, sophistication | Any room, especially transitional spaces | Minimalist art, photography, monochromes | Flexible placement anywhere |
Color Flow Considerations: Think about how colors flow between rooms. A blue abstract in your living room might connect beautifully with a green piece in your dining room if they share undertones. Create color "pathways" through your home by using related colors in adjacent spaces.
Color Flow Considerations: Think about how colors flow between rooms. A blue abstract in your living room might connect beautifully with a green piece in your dining room if they share undertones.
Creating Themed Art Collections
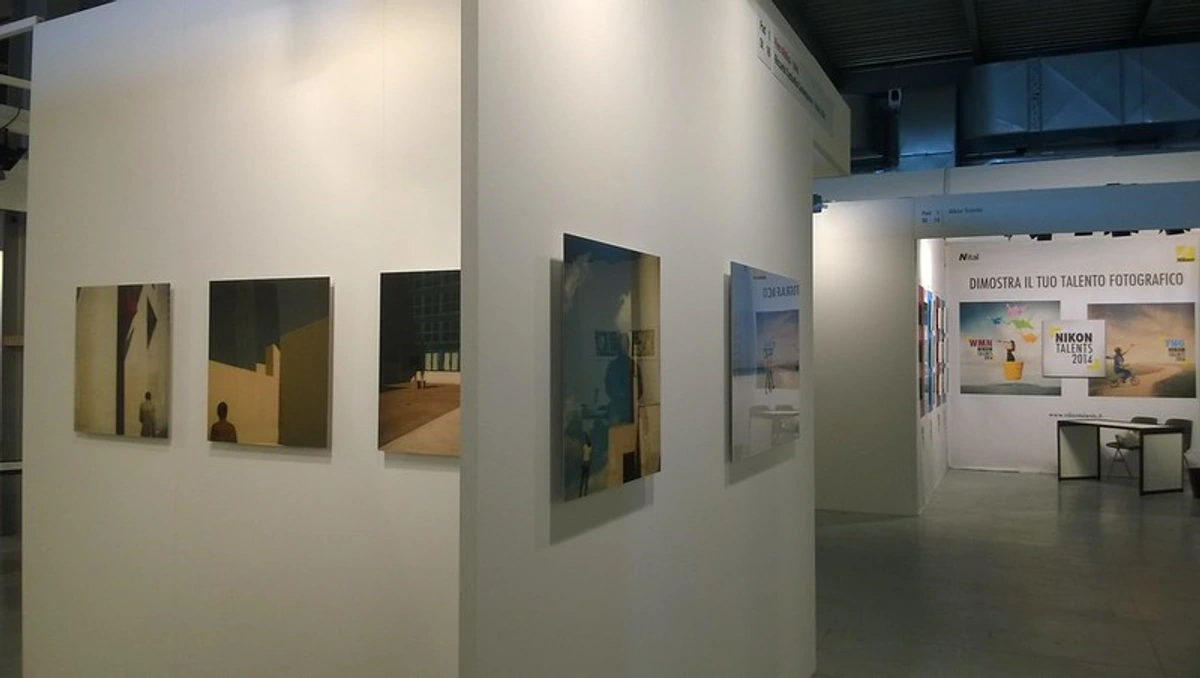
Themed collections can create powerful visual statements and tell cohesive stories:
Nature-Inspired Collections:
- Botanical prints and watercolors
- Landscape photography and paintings
- Wildlife art and natural abstracts
- Earth-toned color palettes
Abstract Expression Collections:
- Bold, energetic compositions
- Geometric and organic shapes
- Vibrant color experiments
- Mixed media pieces
Cultural Heritage Collections:
- Art from specific regions or traditions
- Pieces that reflect your personal heritage
- Folk art and indigenous works
- Historical reproductions with modern relevance
Seasonal Rotation Themes:
- Spring: Pastels, florals, renewal imagery
- Summer: Bright colors, beach scenes, outdoor themes
- Fall: Warm tones, harvest imagery, transitional pieces
- Winter: Cool colors, cozy indoor scenes, peaceful compositions
Themed Collection Building Guide:
Start with Your Story: Personal themed collections should reflect who you are. Consider:
- Travel Collection: Art from places you've visited or dream of visiting
- Personal History: Family photos, inherited pieces, milestone memories
- Hobbies & Passions: Sports, music, literature, or other interests visualized
- Life Journey: Pieces that represent different phases of your life
- Future Dreams: Art that represents aspirations and goals
Collection Development Strategy:
Collection Type | Sourcing Strategy | Display Approach | Maintenance Level |
|---|---|---|---|
| Travel | Local artists from destinations, photography, souvenirs | Map wall integration, world-themed grouping | Medium - dust regularly |
| Personal History | Family photos, scanned memorabilia, custom commissions | Chronological arrangement, digital frames | Low - archival quality |
| Hobby-Based | Sport/team art, music-themed pieces, literary works | Dedicated hobby spaces, integrated display | Medium - rotate as interests change |
| Life Journey | Pieces from significant life events, milestone gifts | Timeline arrangement, story wall | Low - mostly permanent |
| Dream Collection | Inspirational art, motivational pieces, future visions | Vision board style, high-visibility placement | High - update regularly |
Thematic Display Techniques:
- Color Coordination: Even within themes, maintain color harmony
- Size Variation: Mix large and small pieces within the theme
- Frame Consistency: Use similar frames or colors to unify the collection
- Spacing Rhythm: Create visual flow between related pieces
- Storytelling: Arrange pieces to tell a visual story or narrative
- Lighting Enhancement: Use lighting to highlight key pieces in themed collections
Lighting Techniques for Maximum Impact
Lighting can make or break your art display. Here are professional techniques:
Accent Lighting:
- Picture lights create focused illumination on individual pieces
- Adjustable track lighting allows for precise positioning
- Recessed lights provide clean, unobtrusive illumination
- Dimmers control intensity and create mood
Ambient Lighting:
- General room lighting should complement, not compete with art
- Warm bulbs (2700K-3000K) enhance most artwork
- Avoid harsh overhead lighting that creates glare
- Layer multiple light sources for even illumination
Natural Light Considerations:
- Track sunlight patterns throughout the day
- UV-filtering glass protects art from fading
- Shear curtains can diffuse harsh direct sunlight
- Consider room orientation when placing light-sensitive pieces
Smart Lighting Integration:
- Wi-connected bulbs allow for customizable art lighting
- Motion sensors activate lights when someone enters viewing areas
- Timers adjust lighting throughout the day for optimal viewing
- Voice control allows hands-free lighting adjustments
- Scene presets create different moods for various times of day
Displaying 3D Art and Sculptures
Traditional wall displays are just the beginning. Three-dimensional art requires special consideration:
Sculpture Display Strategies:
- Pedestal Placement: Use appropriate height pedestals for eye-level viewing
- Wall Mounting: Secure brackets and stands for wall-mounted sculptures
- Shelf Integration: Deep shelves or niches for freestanding pieces
- Lighting Enhancement: Spotlighting to create dramatic shadows and depth
- Grouping Arrangements: Create sculptural installations with multiple pieces
Material Considerations:
- Weight Distribution: Ensure proper support for heavy pieces
- Safety First: Secure installations to prevent accidents
- Environmental Factors: Consider humidity, temperature, and sunlight exposure
- Cleaning Accessibility: Choose display locations that allow for easy dusting
Professional Lighting Technical Guide:
Lighting Type | Best For | Installation Tips | Bulb Recommendations | Cost Range |
|---|---|---|---|---|
| Picture Lights | Individual focal pieces | 12-18" from art, direct beam | 2700K-3000K, 30-50W | $50-300 each |
| Track Lighting | Gallery walls, multiple pieces | 8-12" from ceiling, adjustable heads | 3000K, 20-30W per bulb | $200-800 system |
| Recessed Lights | General illumination | 24-36" from wall, even spacing | 2700K-3000K, 15-25W | $100-300 per fixture |
| Sconces | Hallways, accent lighting | 60-66" height, 6-8" from wall | 2700K-3000K, 40-60W | $100-400 each |
| LED Strip Lights | Backlighting, accent features | Recessed in shelves, behind art | 2200K-2700K, 5-10W/ft | $20-100 per ft |
| Pendant Lights | Dining areas, statement pieces | Varying heights over art | 2700K-3000K, 60-100W | $150-600 each |
Advanced Lighting Strategies:
Layered Lighting Approach:
- Ambient: Overall room lighting (recessed, track, ceiling fixtures)
- Task: Specific activity lighting (reading, cooking, working)
- Accent: Focused art lighting (picture lights, spotlights)
- Decorative: Style-enhancing lighting (chandeliers, decorative sconces)
Color Temperature Effects:
- 2700K (Warm White): Creates intimate, cozy atmosphere - best for most art
- 3000K (Neutral White): Bright, clean light - good for contemporary spaces
- 4000K (Cool White): Daylight simulation - good for color-critical work
- 5000K+ (Daylight): Clinical feel - can make colors appear harsh
Lighting Control Systems:
- Smart Dimmers: Adjust lighting throughout the day for optimal viewing
- Timers: Automate lighting changes based on time of day
- Motion Sensors: Activate art lighting when someone enters the room
- Scene Presets: Save different lighting moods for various occasions
- App Control: Adjust lighting from your phone for perfect art viewing anytime
Art Placement for Different Room Types
Each room type has unique considerations for art display:
Living Rooms:
- Above sofas and fireplace mantels create natural focal points
- Gallery walls work well for entertainment areas
- Consider sight lines from seating arrangements
- Larger pieces can define conversation areas
Bedrooms:
- Placement should be visible from bed
- Choose calming, personal pieces for intimate spaces
- Consider night lighting for evening viewing
- Smaller, intimate arrangements work best
Detailed Room-Specific Art Placement Guide:
Living Room Art Strategy:
Placement Zone | Recommended Art Size | Height Guidelines | Mood Considerations | Lighting Needs |
|---|---|---|---|---|
| Above Sofa | 2/3 to 3/4 sofa width | 60-66" center height | Conversational, engaging | Adjustable picture lights |
| Fireplace Mantel | 50-75% mantel width | Eye level when seated | Elegant, focal point | Ambient + accent lighting |
| Entry Wall | Large statement piece | 66-72" center height | Welcoming, impressive | Track or recessed lighting |
| Gallery Wall | Multiple mixed sizes | Varying heights, rhythm | Personal, eclectic | General ambient lighting |
| Side Walls | Medium to large pieces | 60-66" eye level | Supporting, decorative | Wall sconces or track lighting |
Bedroom Art Considerations:
- First Visibility: Art should be visible from bed without straining
- Intimate Scale: Smaller pieces create peaceful, personal atmosphere
- Night-Friendly: Consider glow-in-the-dark or backlit options for evening viewing
- Theme Consistency: Choose art that matches your bedroom's overall mood
- Placement Options: Above nightstands, headboard wall, or opposite bed
- Lighting: Soft, warm lighting that won't interfere with sleep
- Content: Avoid overly stimulating or controversial images in bedrooms
Dining Room Art Display:
- Conversation Starters: Place art where guests can see and discuss it
- Reflection-Free: Avoid placement where lighting will create glare on glass
- Size Considerations: Medium pieces work best - not so large they dominate meals
- Theme: Food-related art, calming abstracts, or conversation pieces
- Height: Eye level for seated viewing, typically 54-60" from floor
- Lighting: Chandeliers should not interfere with art visibility
Kitchen Art Integration:
- Safety Zone: Avoid areas exposed to steam, grease, or heat
- Easy-Clean: Use protective glass or acrylic finishes
- Size: Small to medium pieces that don't overwhelm functional space
- Theme: Food photography, botanicals, or cheerful abstracts
- Placement: Near eating areas, away from major cooking zones
- Material: Moisture-resistant prints, canvas wraps, or sealed pieces
Dining Rooms:
- Art should complement mealtime ambiance
- Consider lighting reflections on art surfaces
- Pieces at eye level create pleasant conversation starters
- Avoid overly distracting pieces that compete with dining experience
Kitchens:
- Moisture-resistant pieces near cooking areas
- Small, easily cleanable art in high-traffic zones
- Art near dining areas for conversation enhancement
- Consider smoke and grease resistance
Bathrooms:
- Moisture and humidity-resistant materials
- Art that can withstand temperature fluctuations
- Placement away from direct water spray
- Consider lighting changes from steam
Home Offices:
- Art that inspires creativity and focus
- Strategic placement to reduce eye strain
- Pieces that complement work atmosphere
- Consider screen reflections for digital work
Budget-Friendly Art Display Solutions
Beautiful art display doesn't require a huge budget:
Affordable Art Sources:
- Local artists and craft fairs
- Print-on-demand services
- Thrift store frames with new prints
- Student and emerging artist sales
- Art subscription boxes
- Digital art printed at home
- Photography from local enthusiasts
- DIY art projects and crafts
Cost-Effective Display Methods:
- DIY picture hanging systems
- Repurposed materials as frames
- Print your own digital art
- Use washi tape for temporary arrangements
- Create your own gallery walls with affordable pieces
- Mix expensive and inexpensive pieces strategically
- Rotate budget pieces to keep things fresh
Investment Strategy:
- Start with one or two quality pieces
- Build your collection gradually over time
- Focus on pieces that truly speak to you
- Consider both visual appeal and investment potential
- Mix contemporary and timeless pieces
Budget Art Display Planning Guide:
Budget Tier | Investment Level | Art Sources | Display Strategy | Timeline |
|---|---|---|---|---|
| Under $100 | Entry level | Prints, DIY, thrifted | Single statement piece, small gallery | Immediate |
| $100-500 | Developing | Local artists, sales | Small collection, mixed media | 3-6 months |
| $500-1500 | Established | Mid-range artists, curated | Themed collection, professional hanging | 6-12 months |
| $1500+ | Collector quality | Established artists, originals | Comprehensive gallery, rotation systems | 1+ years |
Money-Saving Art Strategies:
Print Quality Without High Cost:
- Giclée Prints: Affordable digital printing that rivals traditional quality
- Canvas Wraps: More durable than paper, often more cost-effective for larger pieces
- Print-At-Home Services: Use professional printing services for high-quality results
- Sales Timing: Holiday sales, end-of-season clearance, and artist promotions
- Group Purchases: Buy multiple pieces from the same artist for volume discounts
- Subscription Services: Monthly art delivery for rotating fresh content
DIY Display Solutions:
- Custom Frames: Build your own frames from reclaimed wood or molding
- Picture Rails: Install simple wooden rails for hanging flexibility
- Magnetic Strips: Create removable hanging systems for renters
- LED Lighting: Install affordable picture lights with battery-powered options
- Digital Frames: Use tablets or monitors with art display apps
Smart Investment Approach: Start with foundational pieces that work in multiple locations, then add accent pieces as your budget allows. Focus on quality over quantity - one excellent piece is better than several mediocre ones. Consider the long-term value of both the artwork and the display system itself. Remember that good framing and proper hanging can significantly extend the life and impact of your art investment.
Frequently Asked Questions (FAQ)
How high should I hang art? The "57 and 60" rule (center 57-60" from floor) works for most pieces. But adjust if your ceilings are high or low. The real test: does it feel at eye level when you stand where you'd typically view it?
Advanced Height Guidelines:
- Standard Rooms: Center at 57-60" from floor
- High Ceilings (10'+): Consider 66-72" center height or create vertical arrangements
- Low Ceilings (8' or less): Try 48-54" center height to avoid feeling cramped
- Over Furniture: 6-12" above the piece for breathing room
- Hallways: Vary heights to create visual interest along the path
- Bathrooms: 54-60" for comfortable viewing from various positions
- Bedrooms: 60-66" for visibility from bed without straining
What if I change my mind about placement? Start with washi tape or painters tape to outline positions. Live with the tape outlines for a few days before committing to holes. Track paper templates work well too.
Professional Testing Methods:
- Paper Templates: Cut paper to exact size and arrange on wall
- Digital Preview: Use AR apps to see how art will look
- Temporary Adhesives: Use removable hooks or strips for trial placement
- String Method: Measure and mark with string before final placement
- Multiple Viewpoints: Check placement from various room angles
- Different Times: Observe how placement looks at different times of day
- Get Feedback: Ask others for their honest opinion on potential placements
How do I balance multiple pieces? Treat like a puzzle. Lay pieces on the floor first. Start with the anchor strongest visual element, build around it with complementary sizes/colors. Step back to see the composition as a whole before hanging.
Gallery Wall Creation Guide:
- Gather Your Collection: Choose 5-15 pieces that work together
- Create Paper Templates: Cut paper to exact size of each piece
- Arrange on Floor: Test different arrangements before hanging
- Find Your Anchor: Choose one dominant piece as your focal point
- Create Visual Balance: Distribute sizes, colors, and frame types evenly
- Establish Spacing: Use consistent gaps (2-4") between pieces
- Start Hanging: Begin with your anchor piece, work outward
- Step Back Frequently: Check composition from across the room
- Final Adjustments: Fine-tune spacing and alignment
- Add Lighting: Consider accent lighting to enhance the display
Common Gallery Wall Mistakes to Avoid:
- Too Uniform: Avoid perfect grids - embrace some asymmetry
- Random Sizes: Don't mix wildly different sizes without a plan
- Clashing Frames: Keep frame styles consistent or intentionally complementary
- Poor Spacing: Inconsistent gaps create visual chaos
- Wrong Height: Gallery walls should generally be at eye level
- Ignoring Room Flow: Consider how the wall relates to the rest of the space
Can I mix art styles in one room? Absolutely! The key is consistency elsewhere - unify through frame types (all wood, all black) or space between pieces. Abstract watercolors can coexist with geometric prints if the color palette converses.
Style Mixing Strategies:
- Unified Frames: Use identical frame styles to tie different pieces together
- Color Harmony: Ensure all pieces share at least one common color
- Theme Consistency: Group pieces by subject matter or concept
- Size Variation: Mix different sizes to create visual interest
- Texture Play: Combine different mediums (canvas, paper, metal) for depth
- Era Blending: Mix contemporary and traditional pieces for eclectic charm
- Geographic Fusion: Combine art from different cultures or regions
- Medium Diversity: Include photography, paintings, prints, and sculptures
When Style Mixing Works Best:
- Eclectic Spaces: Bohemian, maximalist, or collected-home styles
- Large Rooms: More space allows for diverse arrangements
- Personal Collections: When pieces have personal significance
- Conversation Spaces: Where different styles can spark discussion
When to Keep it Consistent:
- Minimalist Spaces: Clean lines work best with unified styles
- Small Rooms: Too many styles can feel overwhelming
- Formal Areas: Bedrooms or dining rooms may prefer cohesion
- Resale Preparation: Consistent styles appeal to broader audiences
What size art works above a sofa? The general guideline is 2/3 to 3/4 the sofa length in width. But a single large piece above a small couch can create a fantastic imbalance that feels intentional. Trust your eye over rigid rules.
Sofa Art Size Guidelines:
Sofa Length | Recommended Art Width | Height Considerations | Placement Strategy |
|---|---|---|---|
| Under 6 feet | 4-5 feet wide | Center at 60-66" | Single large piece or small group |
| 6-8 feet | 4-6 feet wide | Center at 60-66" | Large piece or 2-3 smaller pieces |
| 8-10 feet | 5-7 feet wide | Center at 60-66" | Large piece or 3-4 piece arrangement |
| Over 10 feet | 6-8 feet wide | Consider 66-72" | Large statement piece or substantial grouping |
Placement Considerations:
- Sofa Depth: Deeper sofas need taller art to avoid getting lost
- Ceiling Height: Higher ceilings allow for taller arrangements
- Room Scale: Match art scale to overall room proportions
- Furniture Style: Traditional sofas may suit classic arrangements, modern sofas work with bold statements
- Viewing Distance: Ensure art is visible from seating areas without neck strain
Extended FAQ Collection:
Hanging & Installation:
Q: What tools do I need for basic art hanging? A: Essential tools include: level, measuring tape, pencil, hammer, picture hanging nails or hooks, stud finder (for heavy pieces), and optionally a laser level for precision. For heavy art (over 50 lbs), use wall anchors and appropriate hardware.
Q: How do I find wall studs for secure hanging? A: Use an electronic stud finder for accuracy. If you don't have one, tap the wall and listen for a solid sound (studs are typically 16" apart on center). Mark the stud locations with a pencil before drilling.
Q: What's the best way to hang heavy artwork? A: For pieces over 30 lbs, use wall anchors and toggle bolts. Locate wall studs whenever possible and use heavy-duty picture hangers. Consider using two hooks for balance with large, wide pieces.
Q: How do I prevent art from tilting forward on the wall? A: Use picture hanging wire with proper tension (don't make it too loose). For very large pieces, use D-rings and picture hooks instead of wire. Consider using clear adhesive dots on the back corners to prevent movement.
Q: What's the best way to hang art in stairwells? A: Follow the stair angle for a cohesive look, or create contrast by hanging pieces horizontally across the stairs. Use a level to ensure each piece is properly oriented relative to the stairs. Start with the landing piece as your anchor point.
Q: How do I create symmetry with multiple pieces? A: Measure carefully and mark center points. Use a laser level for precision. When hanging multiple pieces, treat them as one unit - measure the total width and find the center point, then work outward from there.
Style & Design:
Q: How do I choose art that matches my decor style? A: Consider your existing color palette and furniture style. For modern spaces, look for clean lines and abstract pieces. For traditional homes, consider landscapes and classic subjects. When in doubt, choose art that resonates with you personally - you'll live with it daily.
Q: Should I match frame colors to my room? A: Not necessarily! You can either match frames to create cohesion, or intentionally contrast them for visual interest. Black frames work well with almost any decor, while white frames feel fresh and modern. Wood frames can complement existing wood tones in your furniture.
Q: How many pieces should be in a gallery wall? A: There's no magic number, but 5-15 pieces typically works well. The key is visual balance - you want enough pieces to create impact without overwhelming the space. Start with fewer pieces and add more as needed.
Q: Can I hang art over wallpaper or textured walls? A: Yes, but be extra careful with placement. Use adhesive hanging strips or special picture hooks designed for textured surfaces. Avoid nails that might tear the wallpaper. Test hanging methods in inconspicuous areas first.
Maintenance & Care:
Q: How often should I clean my artwork? A: Light dusting every 3-6 months is usually sufficient. Use a soft, dry cloth or feather duster. For framed pieces with glass, clean the glass carefully with appropriate cleaners. Avoid harsh chemicals that could damage the artwork itself.
Q: How do I protect art from sunlight fading? A: Use UV-filtering glass or acrylic when framing pieces. Hang art away from direct sunlight, or use window treatments (UV-blocking films, curtains) to reduce exposure. Consider rotating pieces if they receive direct sun for part of the day.
Q: What's the best way to store unframed artwork? A: Store flat in a dry, climate-controlled environment. Use acid-free paper or tissue between pieces. Avoid plastic that can trap moisture. For long-term storage, consider professional art storage facilities with controlled temperature and humidity.
Q: How do I know when art needs professional restoration? A: Signs that restoration may be needed: visible tears, yellowing or discoloration, mold or mildew growth, or significant fading. Consult with a professional conservator who can assess the artwork and recommend appropriate treatment.
Practical Concerns:
Q: What's the best way to arrange art in a long hallway? A: Create a visual journey down the hallway. Use a mix of sizes and styles, but maintain some consistency (color theme, frame style). Space pieces evenly, considering sight lines from both ends. Consider adding a focal point piece at the end of the hallway.
Q: How do I hang art in a room with cathedral ceilings? A: Take advantage of the height! Create vertical arrangements that draw the eye upward. Use large-scale pieces that can handle the expansive space. Consider grouping several pieces at different heights to create visual interest and fill the vertical space.
Q: Can I hang art over a bed? A: Yes, but be careful about placement and safety. Hang art securely so it won't fall, and position it so it won't hit someone sitting up in bed. Typically, art should be 12-18" above the headboard and centered for best effect.
Q: What's the best way to arrange family photos with art? A: Create a balanced mix by treating family photos as art pieces. Use consistent frames and mats to unify the collection. Consider creating separate "zones" - one area for family photos and another for fine art, or intersperse them throughout your space.
Q: How do I start collecting art on a budget? A: Start small! Look for prints rather than originals. Visit local art fairs and student shows. Consider art subscription services that deliver rotating pieces. Most importantly, buy what you love - you can always upgrade to larger or more expensive pieces as your budget grows.
Seasonal Art Display Strategies
Art shouldn't stay static year-round - it should evolve with the seasons and reflect the changing rhythms of your life. Seasonal rotations keep your space feeling fresh and responsive to your emotional needs throughout the year.
Spring Awakening Collection:
- Theme: Renewal, growth, fresh beginnings
- Color Palette: Soft pastels, fresh greens, gentle blues
- Art Styles: Botanical prints, watercolor florals, light abstracts
- Placement: Entryways, living rooms, spaces where you want to start fresh
- Lighting: Take advantage of increased natural light with lighter, brighter pieces
I once created a spring collection featuring delicate cherry blossom prints and abstract watercolors in soft pinks and greens. The transformation was immediate - my living room felt like a gentle awakening after winter's gray.




Summer Energy Display:
- Theme: Vibrancy, outdoor living, adventure
- Color Palette: Bold blues, sunny yellows, ocean greens, sunset oranges
- Art Styles: Beach photography, tropical scenes, energetic abstracts
- Placement: Patios, porches, kitchen/dining areas for summer entertaining
- Special Considerations: Use UV-protected pieces for areas with direct sunlight
Autumn Warmth Gallery:
- Theme: Harvest, coziness, transition
- Color Palette: Rich oranges, deep reds, warm browns, golden yellows
- Art Styles: Fall landscapes, textured abstracts, harvest-themed pieces
- Placement: Living rooms, dining areas, spaces where you gather with family
- Lighting: Warmer bulbs to enhance the cozy, intimate feeling
Winter Serenity Collection:
- Theme: Peace, reflection, indoor comfort
- Color Palette: Cool blues, deep purples, soft whites, muted grays
- Art Styles: Snow scenes, abstract winter landscapes, calming minimalist pieces
- Placement: Bedrooms, bathrooms, meditation spaces
- Special Touch: Consider adding subtle backlighting or glow-in-the-dark elements for winter evenings
Seasonal Rotation System:
Season | Focus | Timing | Rotation Strategy |
|---|---|---|---|
| Spring | Renewal | March-May | Light, airy pieces that welcome in warmer weather |
| Summer | Energy | June-August | Bold, vibrant art that matches outdoor activities |
| Autumn | Coziness | September-November | Rich, warm pieces that create intimate gathering spaces |
| Winter | Serenity | December-February | Calming, reflective art for indoor contemplation |
Smart Seasonal Storage: When rotating seasonal collections, proper storage is crucial:
- Use acid-free paper or tissue between pieces
- Store in climate-controlled areas away from direct sunlight
- Consider archival boxes for long-term protection
- Label collections for easy rotation next year
- Take photos before storing to remember arrangements
I've found that seasonal art rotation does more than just change decor - it actually helps me mentally transition between different times of year. There's something magical about putting away summer pieces and bringing out winter ones that creates a sense of ritual and renewal in your home. Ultimately, displaying art is deeply personal. It’s less about perfection and more about pieces that spark daily joy. I’ve learned that the "wrong" placement can sometimes reveal new perspectives - like when a piece leaned sideways against a wall created accidental shadows that shifted its entire vibe throughout the day.
Don’t be afraid to experiment. Shift things. See what changes. Let your walls tell your story in color, texture, and arrangement. After all, your home isn’t a museum - it’s a living space where art shouldn’t just exist; it should belong.
Ready to discover pieces that speak to you? Explore colorful works that transform atmospheres or see how display ideas come to life in our artist’s studio. For a deeper dive into creative journeys, explore our artistic timeline.