
The Gilded Touch: A Modern Artist's Guide to Applying Gold Leaf
Discover how to master gold leaf application in contemporary art with this comprehensive guide covering techniques, materials, and creative applications.

The Gilded Touch: A Modern Artist's Guide to Applying Gold Leaf
Imagine standing before your canvas, brush in hand, contemplating that moment of transformation. Your abstract composition comes alive with vibrant colors and dynamic textures, but something’s missing. Then it hits you: what if... gilded edges? Not the traditional, ornate kind, but something unexpected – a subtle gleam that contradicts the chaos, a whispered luxury that says, 'look closer'. That’s the journey we’re embarking on today: how to apply gold leaf not as an artifact of the past, but as a bold statement in contemporary art.
I’ve spent countless hours experimenting with this. There’s something magical about the way light catches those fragile sheets, creating moments of unexpected serenity amid controlled chaos. It’s ironic, really – the material screamed 'ancient temple' to me at first, but when paired with acrylic pours and spray paint? That’s when the magic happens. This guide will walk you through everything you need to know, whether you’re a complete beginner or looking to refine your technique. Let’s dive in.
What Exactly Is Gold Leaf, Anyway?
You’ve probably seen it: those impossibly thin sheets of gold adorning everything from medieval manuscripts to modern luxury goods. But what is it?
At its core, gold leaf is hammered into sheets thinner than a human hair – typically between 0.1 to 0.2 microns. That’s 1/250,000 of an inch! It’s so delicate that artists often pick it up with specialized tools, like gilding knives and static brushes. There are two main types you’ll encounter:
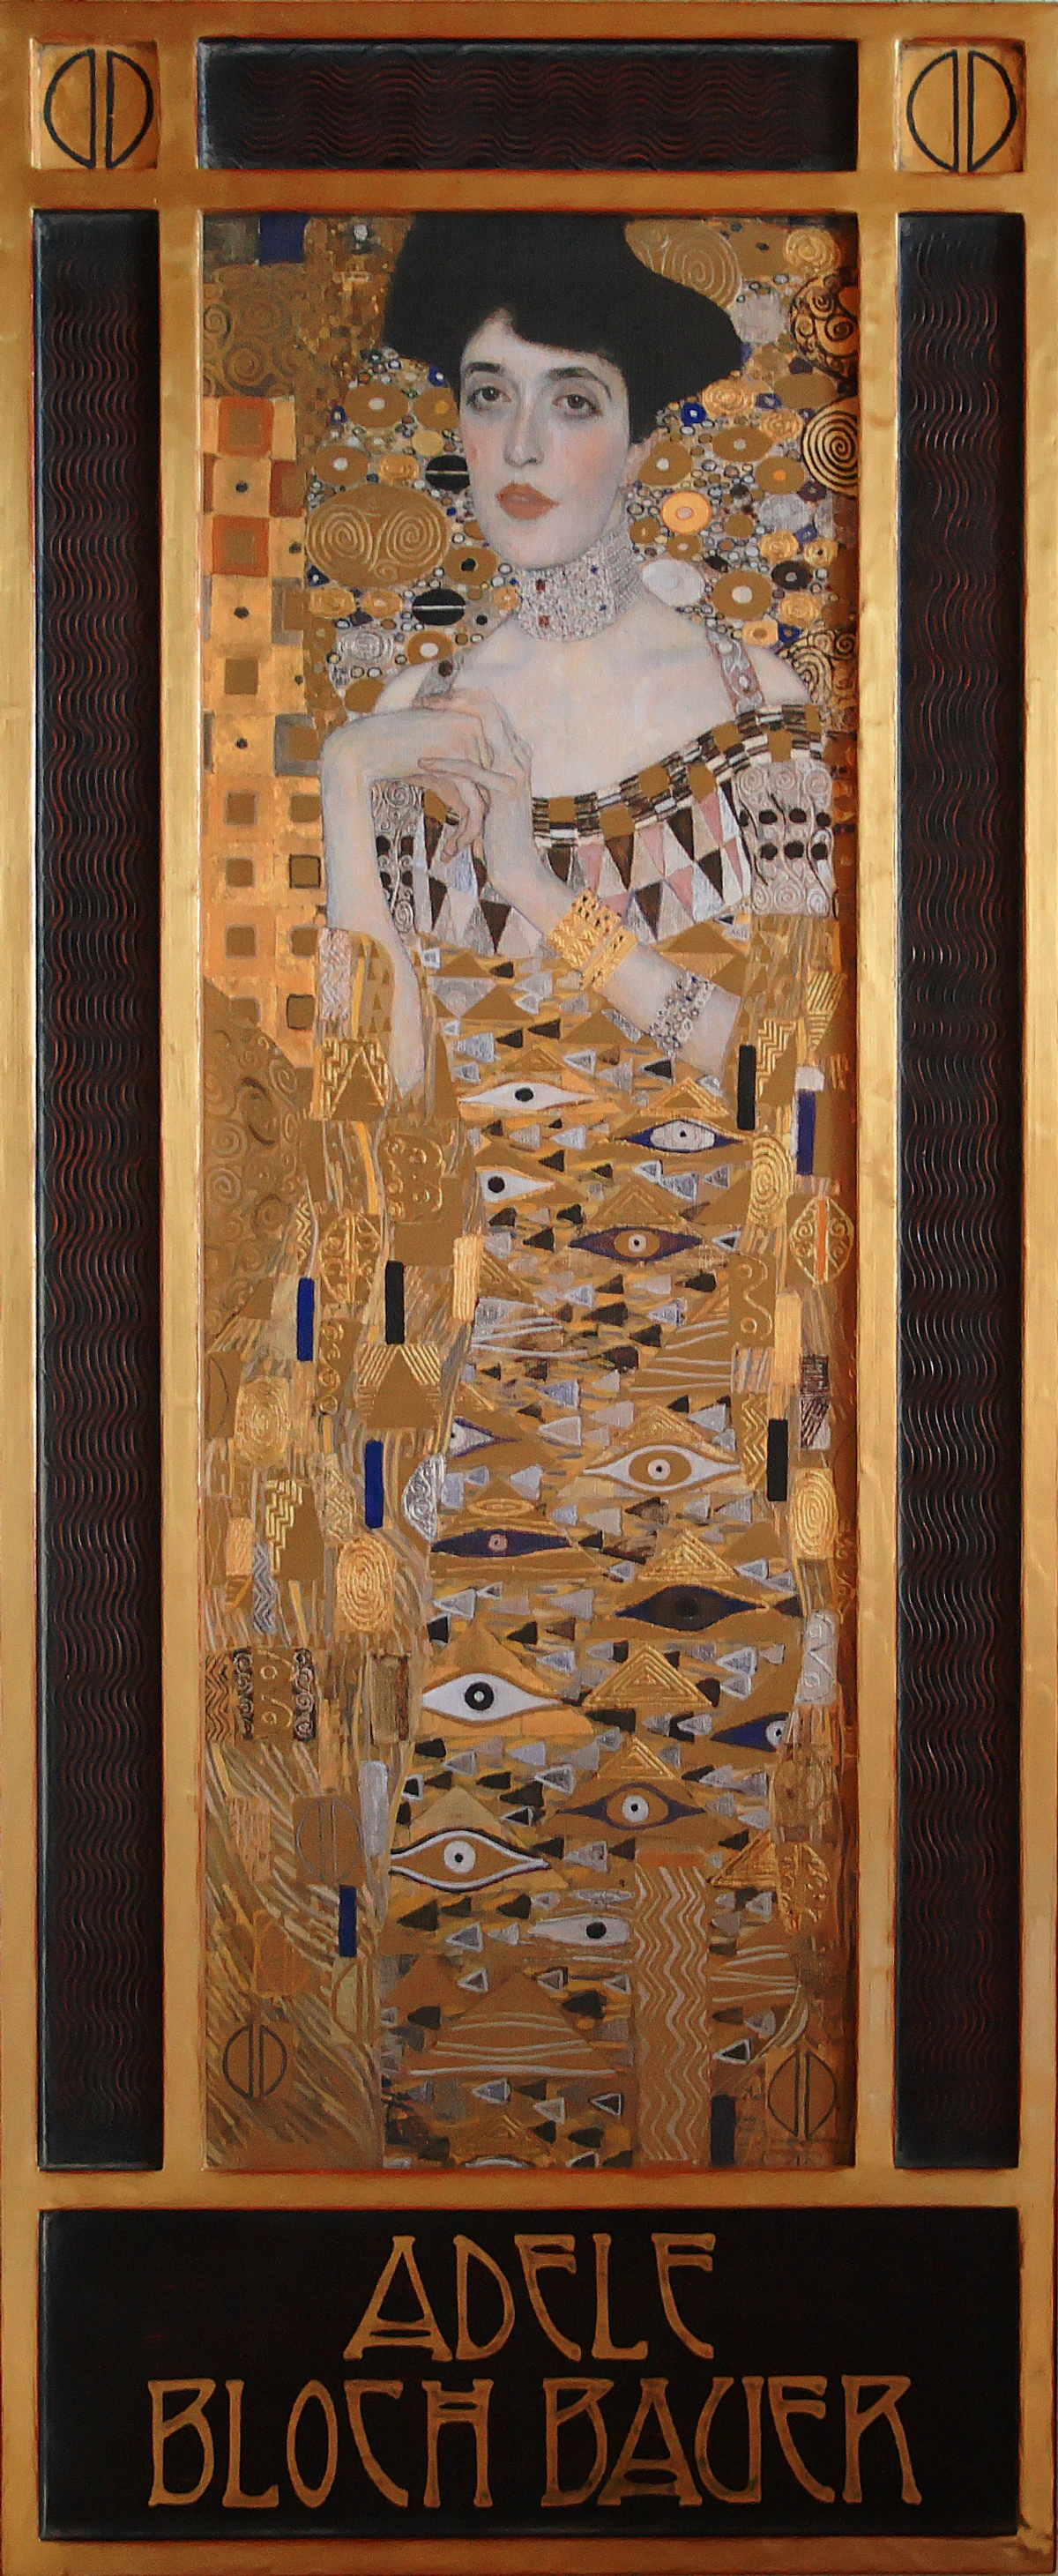
- ** Imitation Gold Leaf**: Actually copper or brass alloys. More affordable but tarnishes over time
For contemporary art, I lean heavily toward genuine leaf – its permanence and luminosity justify the cost. The way it ages gracefully, developing a subtle patina, tells a story that alloys just can’t match. Plus, that moment your brush accidentally picks up three sheets instead of one? Pure art accident right there.
Why Should You Apply Gold Leaf in Modern Art?
I’ll admit – my first attempt felt sacrilegious. What if I ruined such an expensive material by splashing it with neon spray paint? But that hesitation was exactly the point. Gold leaf’s power today comes from that tension:

- Contrast Engine: It makes abstract bursts pop against metallic grounds. Light becomes a dynamic sculpture on your wall
- Texture Play: Crackle under leaf, peeling edges – it creates history where flat color once stood
- Value Shift: One small detail can elevate entire pieces from craft to gallery conversation
- Permanence: Unlike glitter that flakes off, real gold lasts centuries
When I applied a fractured gold pattern over a deep indigo swirl at Den Bosch Museum, it wasn't just decoration. It created visual metaphors for found beauty in decay – the whole concept clicked. That’s the modern gold leaf approach: not ornamentation, but conversation.
Essential Materials & Workspace Setup
Before we touch gold, let’s talk preparation. This isn't like acrylic painting where mistakes can be painted over. You’ll need precision tools and a system. Here’s my non-negotiable checklist:
The Artist's Toolkit
Material  | Purpose | Professional Tip |
|---|---|---|
| Genuine gold leaf (22k best for art) | The star performer | Buy books, not loose sheets for efficiency |
| Gilding size | Adhesive that stays 'tacky' (oil-based for exterior, water-based for interior) | Test tackiness – should be 'not-dry' sticky |
| Gilding knife | To cut and transfer leaf | Keep sharp, never touch metal with fingers |
| Squirrel brush | For picking up delicate leaf without tearing | Natural bristles only – synthetic eats leaf |
| Static brush | To gently lift leaf onto surface | Anti-static! No surprises |
| Gold cushion | Soft leather-like pad for cutting leaf | Must be very clean – dust ruins sheets |
| Talcum powder | Prevents leaf from sticking to unintended surfaces | Spritz lightly before handling |
| Bullion snips | For precise cutting of metal leaf | Essential for intricate geometric patterns |
| Agate burnisher | For creating mirror finishes (traditional approach) | Use sparingly for selective highlights |
| Isolation varnish | Protective clear coat over gold | UV-resistant for longevity |
| Patina solutions | For creating aged, verdigris effects on gold | Test on scrap first! |
Workspace Reality Check
I learned this the hard way: draft windows + gold leaf + light breeze = crying in your studio. Here’s the non-negotiable setup:
- Isolate the Area: Work in a small, enclosed space. Cover surfaces with poster paper
- Control Airflow: Close windows, turn off fans. Gold leaf behaves like a feather in a hurricane
- Lighting: Use warm, diffused light. Harsh shadows make leaf placement impossible
- Humidity: 40-60% is ideal. Too dry = static disasters; too humid = size won't cure
- Personal Prep: Wear cotton gloves, tie back long hair. One stray hair can ruin a sheet
Pro move: Keep a small spray bottle of distilled water nearby. When static attacks? Lightly mist your cushion – it neutralizes the charge instantly. Yes, I keep one in my paint-splattered smock.
Step-by-Step: Applying Gold Leaf Like a Contemporary Artist
Alright, let’s get our hands dirty. This is where theory meets texture. I’ll walk you through my modified technique – it skips the traditional burnishing for a more organic, modern finish.
Preparation: Your Canvas Matters
Gold leaf bonds only to porous, non-oily surfaces. No slick acrylics underneath unless you add a special gesso primer. For my abstract pieces, I:
Surface Preparation Techniques
- Finalize Base Layers: Let acrylics fully cure 7-14 days. Even 'dry' paint can trap moisture
- Apply Size: Using a soft brush, coat areas where gold will go. Less is more – thick size leads to slow drying and cracking
- Wait Patiently: Size needs to be just right. Too wet = sinks into paint; too dry = won't bond. Test gently – your finger shouldn't stick
- Mark Boundaries: Use low-tack tape for straight edges (like geometric compositions)
Advanced Surface Treatments
For different effects, consider these surface preparation methods:
- Textured Gesso: Apply gesso with palette knives for interesting texture that will show through the gold
- Collage Integration: Embed paper, fabric, or other materials before applying size for multi-dimensional effects
- Acrylic Grounds: Use specialized acrylic grounds designed for gilding for superior adhesion
- Sanding: Lightly sand between coats for better tooth and adhesion
- Cleaning: Wipe surfaces with alcohol to remove any oils or contaminants
I've experimented with creating textured backgrounds using modeling paste mixed with tiny glass beads. When gold leaf is applied over this, it creates incredible depth and sparkle. The key is to let the texture cure completely before applying size – otherwise the moisture will bubble the gold.
My confession: One time I got impatient and applied gold to semi-wet size. The sheets looked like they were drowning. Weeks later, they started peeling in beautiful, irregular patterns that actually worked for some pieces! Sometimes 'mistakes' become signature techniques.
The Application Dance
Here’s where magic begins. For optimal control, work methodically:

- Cut the Leaf: Place sheet on gold cushion. Use your knife to divide into manageable squares
- Pick it Up: Lightly whisk your static brush over the gold surface. Electrostatic charge does the lifting!
- Position Carefully: Hover leaf over sized area, then gently release with brush. It will settle like water
- Fill Gaps: Overlap sheets slightly for continuous coverage. Small voids? Add tiny fragments
- Blow Gently: Use a bulb blower (not mouth air – moisture ruins day) to settle sheets
- Remove Excess: Once dry, brush away surplus leaf with your softest brush
The Modern Finish: Beyond Tradition
This is where contemporary art diverges. Traditionalists burnish with agate for mirror shine. I? Embrace the raw:
- Fractured Look: Before size dries, gently poke with tweezers for cracks. Gold highlights texture
- Organic Edges: Don’t cut perfectly! Let irregular shapes add dynamism
- Matte Topcoat: Apply isolation varnish (spar varnish) for protection without gloss.
- Selective Gilding: Leaf only highlights or edges, leaving base paint visible
One of my favorites: applying uneven patches over graffiti-style layers. It’s like finding gold in urban decay. That contrast between grit and luxury? It's pure storytelling.
Creative Gold Leaf Techniques for Contemporary Spaces
Let's think beyond canvases. How can gold leaf elevate unexpected art forms? Here are approaches that redefine the material:
Artist Spotlight: Gold Leaf Innovators
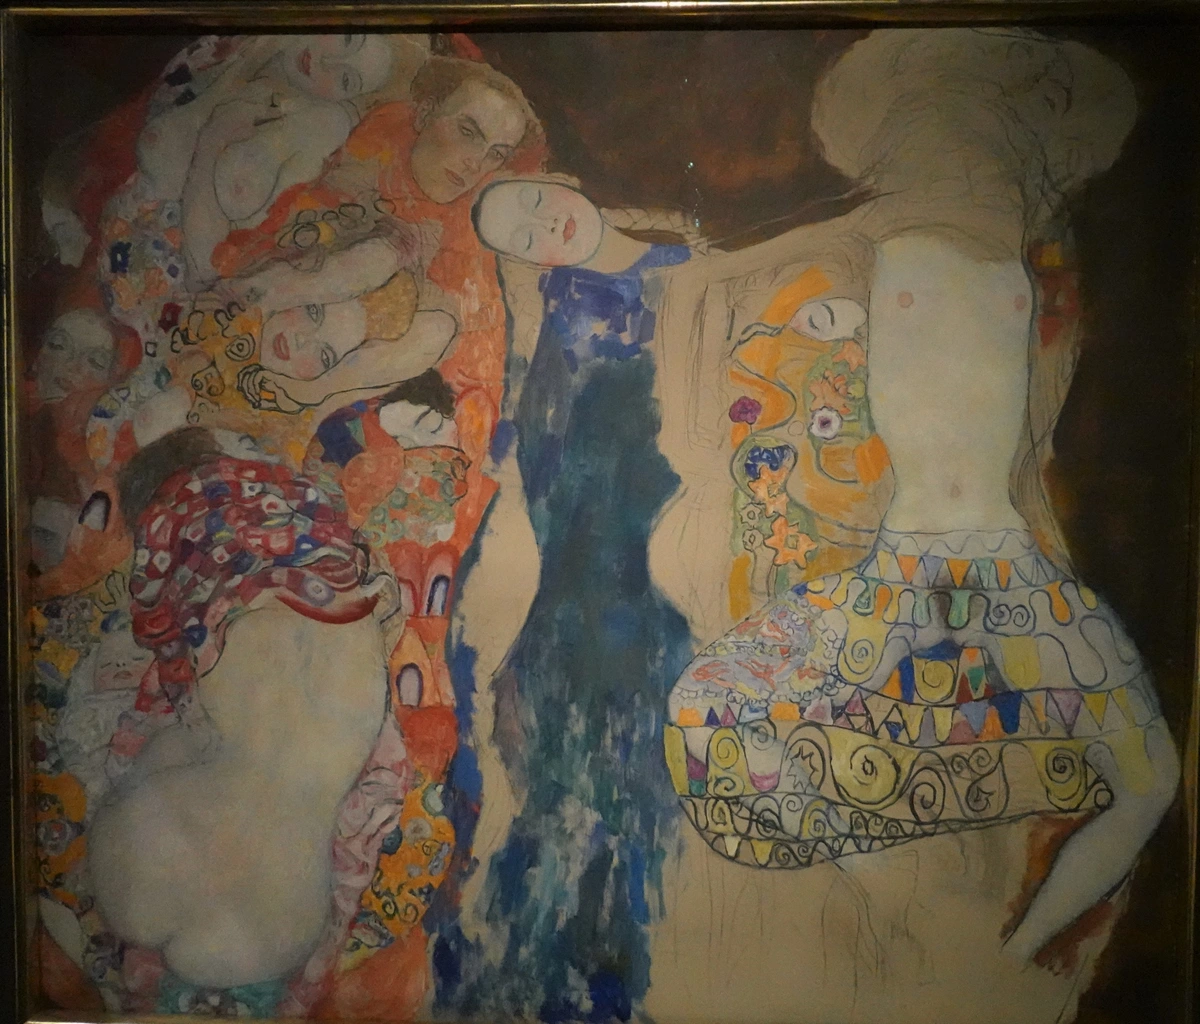
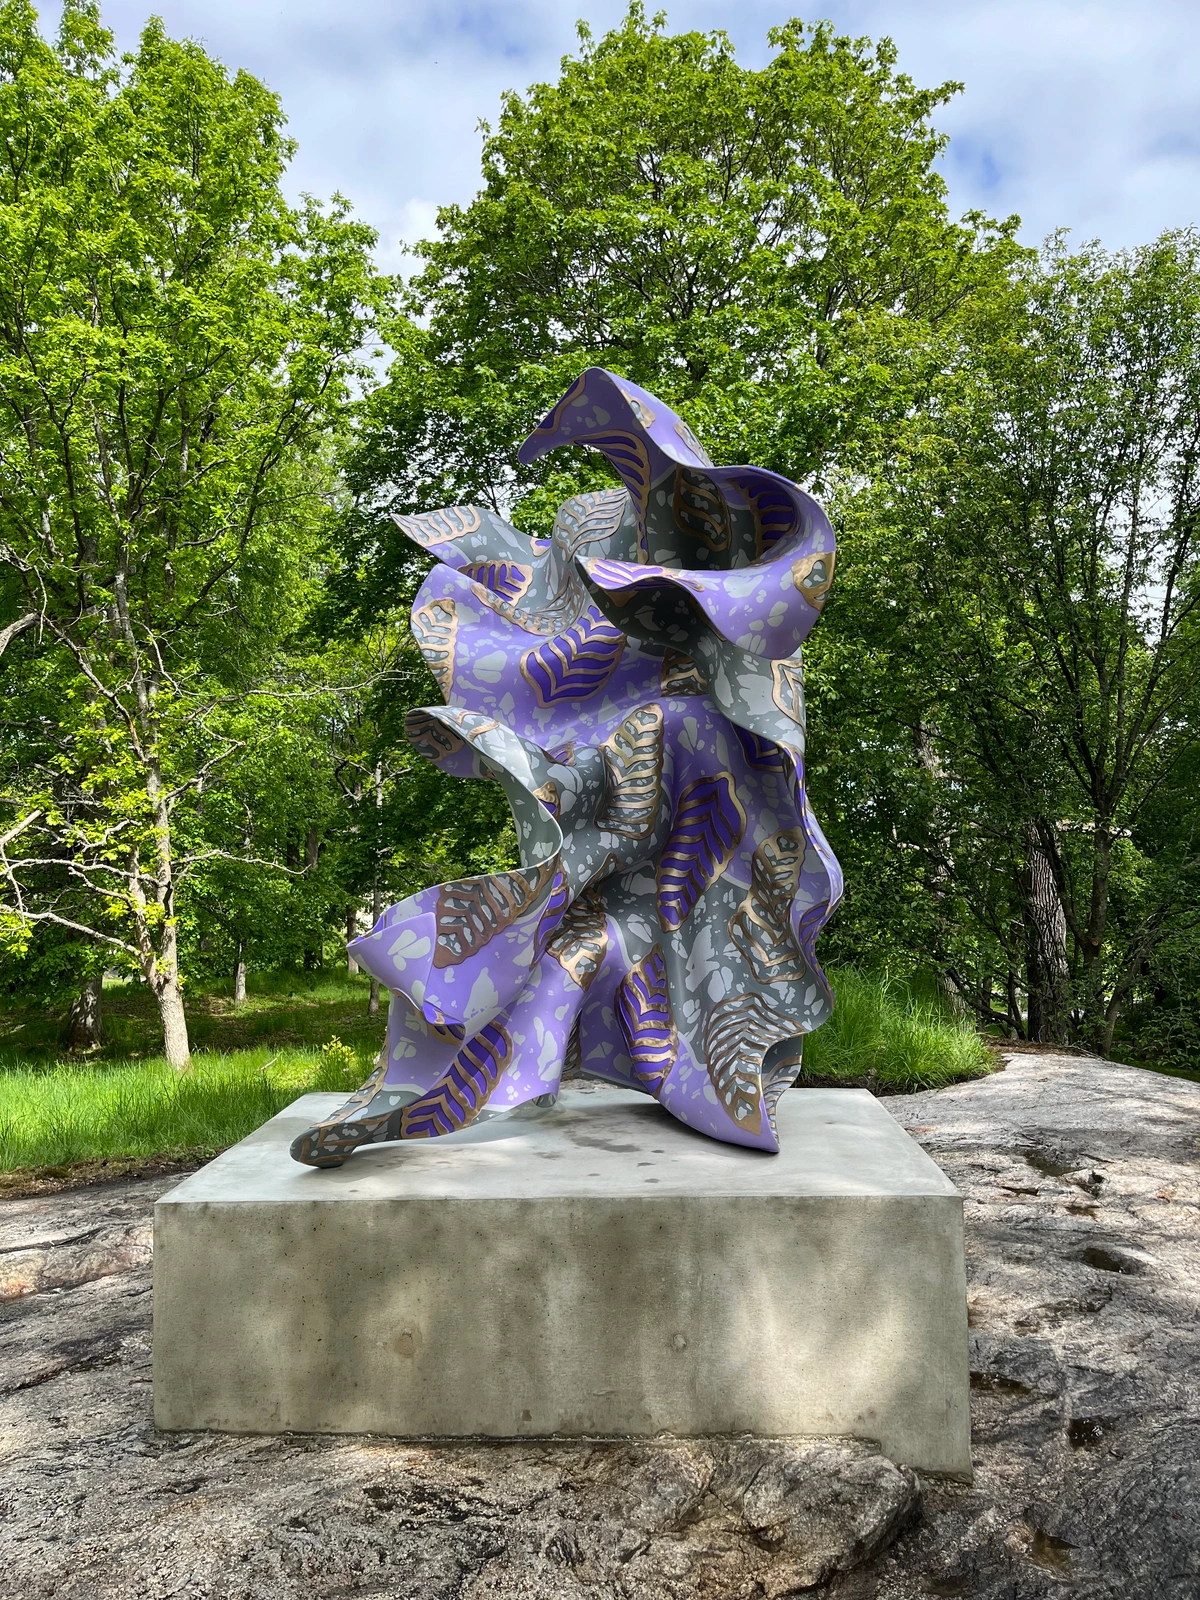
Yinka Shonibare CBE: The British-Nigerian artist uses Dutch wax fabric patterns with gold leaf to explore cultural identity and colonialism. His work shows how gold can carry contemporary social commentary.
Anselm Kiefer: The German master creates monumental pieces incorporating gold leaf with industrial materials like lead and ash. His work suggests both destruction and transcendence.
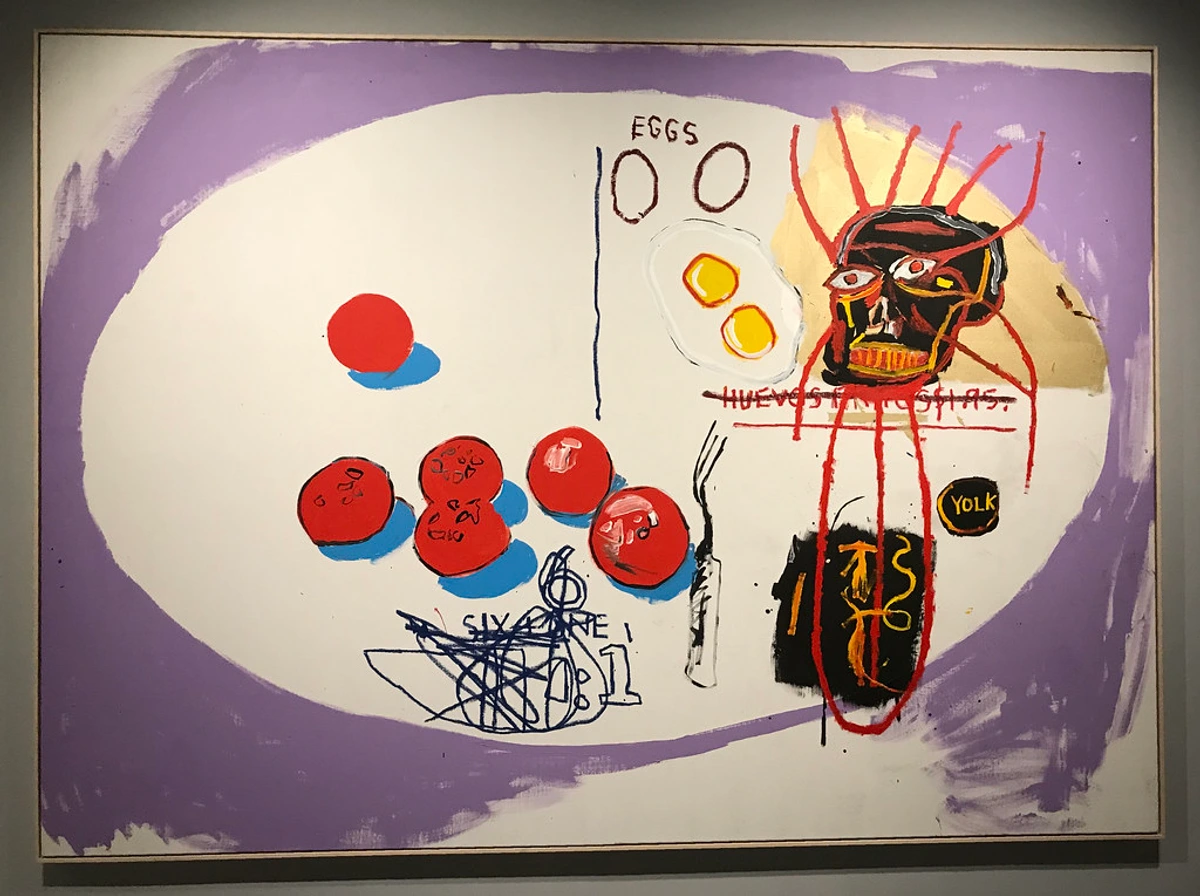
Jean-Michel Basquiat: Though not primarily a gilder, Basquiat's use of metallic elements shows how traditional materials can create street-level luxury in contemporary art.
Kiki Smith: Known for her delicate, ethereal works, Smith incorporates gold leaf in ways that feel both spiritual and feminist.
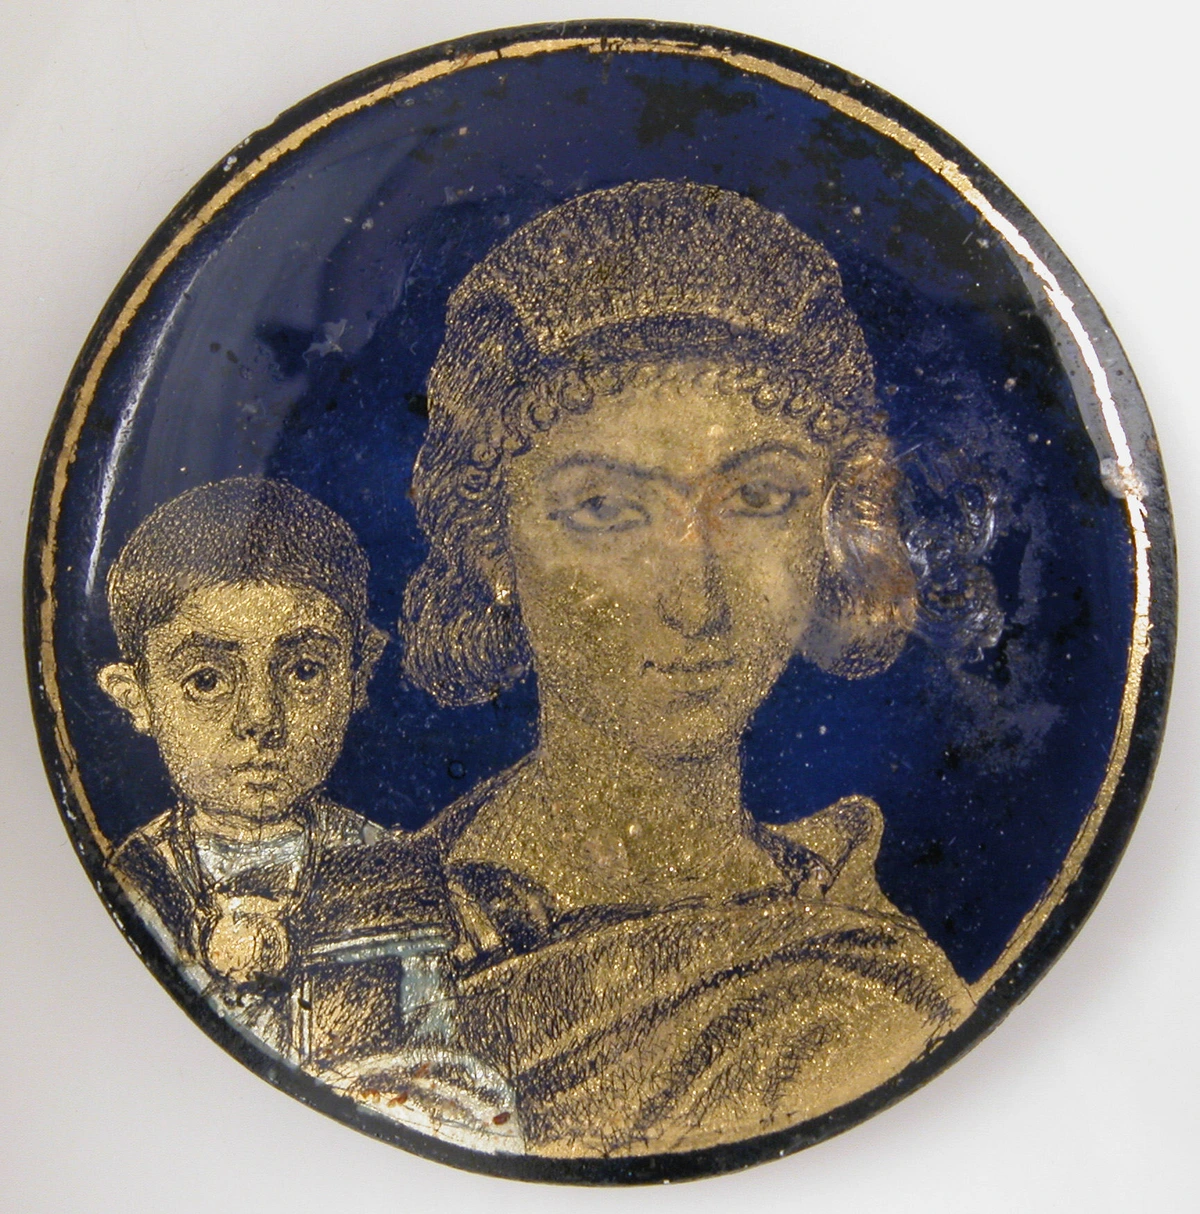
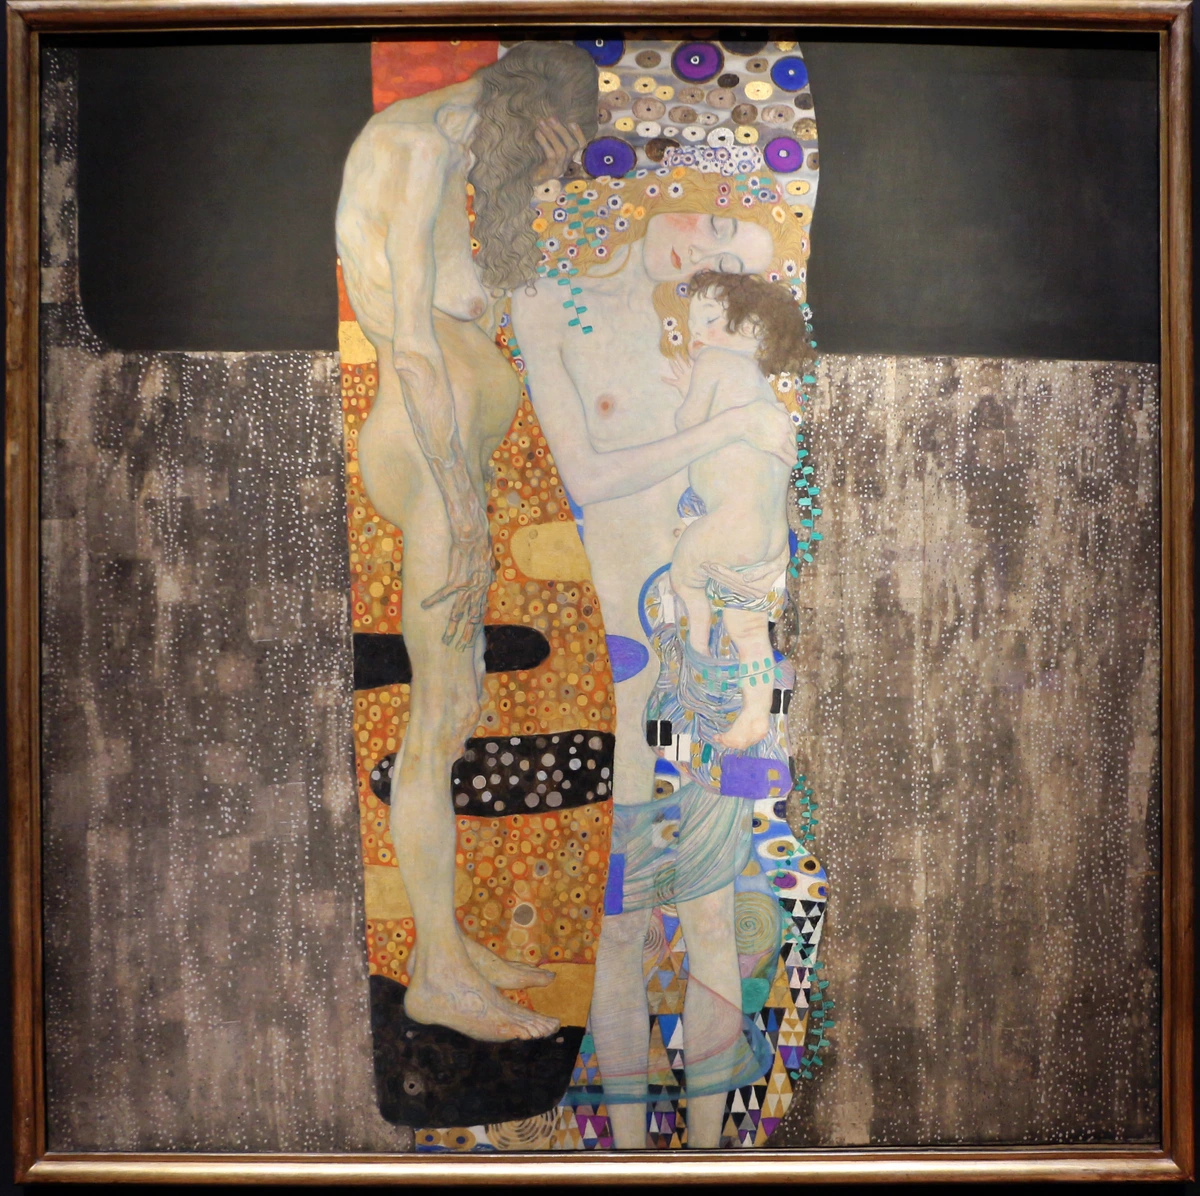
These artists prove that gold leaf isn't just decorative – it's a powerful tool for contemporary expression.
Mixed Media Masterpieces
Combine gold with unconventional materials:
Innovative Material Combinations
- Paper & Collage: Apply leaf handmade papers, then tear edges for fractured effects
- Textured Substrates: Rough wood, concrete, or old book pages create gripping surfaces
- Layer Transfers: Leaf between painted layers then sand partially through (test scrubbiness!)
- 3D Objects: Coat ceramic sculptures, fabric pieces, or found metal
- Digital Integration: Print digital patterns, apply gold leaf, then scan back into digital workflow
- Sound Elements: Embed speakers behind gold leaf areas for interactive installations
- Botanical Inclusions: Press real leaves or flowers under gold for organic patterns
- Recycled Materials: Use old circuit boards, metal scraps, or industrial waste as substrates
The Epoxy Gold Technique
I remember experimenting with leaf and epoxy resin – the depth created when light hits gold through clear resin was breathtaking. It felt like capturing sunlight in amber. Here's how I do it:
- Apply gold leaf to prepared surface
- Mix epoxy resin according to manufacturer instructions
- Pour thin layers over gold, letting each layer partially cure
- Add inclusions between layers (glitter, mica, tiny objects)
- Final pour creates crystal-clear protective barrier
- Sand and polish edges for professional finish
The result is three-dimensional depth that changes as you move around the piece. It's particularly effective for abstract compositions where you want to create the illusion of infinite space.
Abstract Expressionist Approaches
Forget precise applications. Let accidents guide you:
- Splatter Technique: Charge your brush with size, flick it onto canvas, then apply leaf
- Pour Companions: Pour acrylic, while wet add gold bits. They'll drift like lily pads
- Negative Space: Paint around gold shapes instead of directly on them
- Spray Paint Synergy: Use spray paint as first layer, then select gold accents
Practical note: Spray paint can eat through leaf. Test combinations! I prefer Montana Gold or Montana Black for compatibility.
Durability for Long-Term Living
Will it survive? Absolutely. But it needs care:
- UV Protection: Apply UV-resistant varnish (like Gamblin) if displayed in sunlight
- Handling: Frame under glass with acid-free barriers. No touching the gold!
- Cleaning: Feather dusters only. No chemicals – they dissolve leaf
- Storage: Keep flat in dark, dry place. Avoid stacking pressure
For outdoor work, use oil size and multiple varnish coats. I’ve seen murals endure five years in Dutch rain with this treatment. Art that laughs at the elements? Yes please.
Troubleshooting: When Gold Fights Back
Even the best artists have moments where gold seems determined to ruin your day. Here are the top pain points and fixes:
Comprehensive Problem-Solving Guide
Problem | Cause | Solution |
|---|---|---|
| Leaf won't stick | Size too dry, or dusty | Reapply fresh size in thin layer |
| Torn holes in sheet | Rough brush, static | Use softer brush, talcum powder |
| Wrinkled/patchy finish | Uneven size application | Apply size with foam brush for smooth coat |
| Discoloration | Oils from skin/touching | Always use gloves, work tools |
| Peeling edges | Inadequate topcoat | Apply isolation varnish after curing |
| Static electricity | Dry environment, synthetic fabrics | Use talcum powder, humidify workspace, cotton clothing |
| Uneven adhesion | Inconsistent surface preparation | Clean surface thoroughly, apply uniform size layer |
| Gold tarnishing | Exposure to sulfur compounds | Use pure gold (24k), avoid polluted environments |
| Size cracking | Thick application, rapid drying | Apply thin coats, extend drying time |
| Leaf floating away | Air currents, vibrations | Control environment, work in still conditions |
| Adhesion failure | Oil contamination on surface | Clean with alcohol, ensure surface is completely dry |
Emergency Rescue Techniques
When things go wrong, don't panic – get creative:

The Patch Method: For small holes or tears, carefully trim a matching piece of gold leaf and apply it over the damaged area using a tiny drop of size underneath.
The Overlap Technique: If edges are peeling, carefully apply new gold leaf overlapping the damaged areas, then blend with the original.
The Re-gild Approach: For larger areas, carefully remove damaged gold with soft brush, reapply fresh size, and regild the entire section.
The Creative Fix: Sometimes the 'damage' becomes the most interesting part. I once had a client who loved the accidental crackle patterns that formed when size dried too quickly – they requested that effect in future pieces!
That time my studio mate leaned on my half-finished piece? The handprint became part of the artwork. Some 'mistakes' become the most interesting features. Document everything – tomorrow's inspiration.
Frequently Asked Gold Leaf Questions
Expert Answers for Common Concerns
Q: Is genuine gold leaf really worth the cost? A: For gallery work, absolutely. It doesn't tarnish like imitations, lasts indefinitely, and its luminosity is unmatched. For practice? Start with imitation leaf. The technique is identical.
Cost-Benefit Analysis: A single book of 25 genuine gold sheets (22k) costs around $150-200. This might seem expensive, but consider:
- One book can cover multiple medium-sized pieces
- The value of the artwork increases significantly with genuine materials
- The permanence means no future restoration costs
- The visual impact is simply unmatched by imitations
Q: Can I use acrylic gesso as size? A: Only specialized gilding gesso. Regular gesso is too porous and will crack. Think of it like asking regular glue to hold emergency surgery stitches – not happening.
Size Alternatives: If you can't find traditional gilding size, consider:
- Polymer Mediums: Some acrylic mediums work for temporary pieces
- Hide Glue: Traditional size used for centuries, requires preparation
- Commercial Size: Pre-mixed gilding size available from art suppliers
- DIY Size: Not recommended for beginners – consistency is key
Q: How long does it take to learn? A: First attempts will frustrate you (mine did). Expect:
- Day 1-3: Fumbling sheets, static disasters
- Week 1: Manageable application, some success
- Month 1: Confident control, developing style Consistency beats speed. Practice on cheap substrates like cardboard first.
Learning Curve Breakdown:
- First 10 Hours: Pure frustration, but understanding the basics
- First 50 Hours: Developing muscle memory and control
- First 200 Hours: Finding your personal style and technique
- Expert Level: 1000+ hours of dedicated practice
Q: Will gold leaf affect the colors underneath? A: Actually, it enhances them! Gold refracts light, making surrounding colors appear more vibrant. Deep blues and reds next to gold? Spectacular. Pair gold leaf with navy acrylic in your next piece – thank me later.
Color Psychology with Gold: Gold has interesting effects on surrounding colors:
- Cool Colors (blues, greens): Create sophisticated, luxurious contrast
- Warm Colors (reds, oranges): Intensify energy and vibrancy
- Neutrals (grays, blacks): Provide dramatic, modern contrast
- Pastels: Create elegant, ethereal combinations
Q: Can I apply gold over spray paint? A: Yes, if the paint is fully cured (minimum 72 hours). Use matte spray finish – glossy creates a barrier that rejects the size. Test a corner first!
Spray Paint Compatibility: Different brands behave differently:
Brand | Cure Time | Compatibility | Best For |
|---|---|---|---|
| Montana Gold | 24-48 hours | Excellent | Detailed work, fine lines |
| Montana Black | 48-72 hours | Good | General applications |
| Rust-Oleum | 5-7 days | Fair | Heavy coverage, textured effects |
| Krylon | 3-5 days | Good | Budget-friendly projects |
Additional Expert Questions:
Q: What's the best gold for outdoor pieces? A: Use 23k or 24k gold with oil-based size and multiple coats of marine varnish. Higher karat gold is more corrosion-resistant.
Q: Can I gold leaf on curved surfaces? A: Absolutely! Use flexible substrates like canvas or thin wood. For 3D objects, work in small sections and use your fingers (gloved!) to conform the leaf to curves.
Q: How do I create antique/aged gold effects? A: After sealing, apply patina solutions (verdigris, liver of sulfur) selectively. Or oxidize with natural methods like vinegar fumes for authentic aged appearance.
Q: Is gold leaf safe for children's art projects? A: Yes, but with precautions. Use non-toxic size and seal thoroughly. For young children, consider imitation leaf to avoid cost concerns. Always supervise gold leaf work.
Final Thoughts: Your Gilded Journey Awaits
Let me be vulnerable: I almost gave up on gold leaf twice. The first sheet floated away and landed in my coffee. The second attempt ended with a tapestry of tears on my studio floor. But pushing through that frustration led to the technique that now defines my most popular pieces available for purchase here.
What I’ve learned is this: gold leaf isn’t a material – it’s a dialogue. It’s the silent partner in your composition that argues with chaos, whispers luxury, and makes viewers pause inches from your work. In an age of digital creations, there’s something deeply human about handling a material that’s existed for millennia and making it feel radically new.



So go ahead – disrupt expectations. Let gold be your wildcard in abstract explosions. Start small, experiment wildly, and don't fear the static. The most breathtaking contemporary art often begins with a moment of beautifully executed chaos. Your gilded touch is waiting.