
Encaustic Painting: Your Ultimate Guide to Luminous Wax Art
Unlock the magic of encaustic wax painting. Discover its ancient history, essential tools, techniques, safety, and how to create stunning, luminous abstract art. Your authoritative guide to molten beeswax.

Encaustic Painting: Your Ultimate Guide to Luminous Wax Art
What if your art could literally glow from within, whisper tales of ancient techniques, and feel undeniably alive under your fingertips? This isn't just a hypothetical artistic dream; it's the very essence of encaustic painting, a medium that truly captured my imagination and transformed my creative journey. For years, I found comfort in the familiar world of acrylics, creating pieces that, while technically competent, often left me searching for something more. They felt flat, lacking that visceral 'oomph,' that soulful connection I craved. I felt like I was searching for a missing piece in my artistic timeline, a way to bridge the chasm between the contemporary and the timeless. And then, as often happens with the most resonant discoveries, I stumbled upon encaustic wax purely by accident. It was a revelation, a medium that felt both brand new and thousands of years old, embodying an unparalleled depth and luminosity.
This article isn't just my story; it's your comprehensive guide to unraveling the magic, embracing the challenges, and discovering the sheer joy of working with molten wax. Don't worry, I'll walk you through everything, even the bits that initially made me think, "Is this even worth the fire hazard?" (Spoiler alert: it absolutely is, with the right precautions, and I'll make sure you know them). Consider this your definitive resource for understanding, exploring, and truly mastering the luminous world of encaustic art.
What Exactly is Encaustic Painting? The Alchemy of Wax and Resin
So, what is encaustic, this intriguing art form that feels intensely modern yet profoundly ancient? At its heart, it's painting with molten beeswax, infused with rich pigments and a crucial touch of damar resin. It sounds a bit wild, doesn't it? Because fundamentally, it's painting with heat. The very word comes from the Greek, meaning "to burn in," and believe me, there's a constant, alchemical dance between melting and fusing involved. This isn't some fleeting trend; we're talking about a medium with a documented pedigree stretching back millennia, a process where the wax and resin undergo a unique molecular bond. Think of it less like gluing sheets together and more like a molecular weld, creating an incredibly robust and enduring material – a permanent, microscopic fusion that transforms separate components into a single, uniquely stable, and luminous matrix.
Imagine the scene: the ancient Egyptians, those master innovators, used encaustic for their incredibly vivid Fayum mummy portraits. They chose it not just for its lifelike qualities, but for its astounding durability, which allowed these portraits to retain their depth of expression and vibrant colors for thousands of years – a testament to the medium's inherent stability and the meticulous work of those artists. The Romans also utilized encaustic for ship painting and elaborate wall decorations, prizing its exceptional weather resistance and archival stability. Beyond these, historical records hint at its use in Byzantine icons and even in illuminated manuscripts, showcasing its versatility across different cultures and applications. If you're curious about its origins, I've actually written a bit more about the history of encaustic painting before. It's truly fascinating how resilient and timeless this art form is, with its innate ability to produce artworks that boast incredible archival stability.
When I first considered new mediums, I found myself instinctively weighing their unique properties. Encaustic, I quickly realized, stands dramatically apart. It's a medium that demands respect for its heat, its speed, and the initial investment in tools, but it rewards you with unparalleled luminosity and texture. Here's a quick comparison to give you a sense of its distinct character, especially focusing on what makes it so unique:
Feature  | Encaustic Wax | Oil Paint | Acrylic Paint | Watercolor |
|---|---|---|---|---|
| Primary Binder | Molten Beeswax (with damar resin) | Linseed oil or other drying oils | Acrylic polymer emulsion | Gum arabic |
| Texture | Highly textured, sculptural, layered, luminous | Smooth to impasto (thick application), can be textured | Smooth to highly textured, versatile | Flat washes, subtle textures, transparent |
| Drying Time | Instant cooling (hardens immediately), requires fusing | Slow (days to weeks) | Fast (minutes to hours) | Fast (seconds to minutes) |
| Luminosity | Deep, translucent glow from layered wax (light refracts through wax/resin matrix) | Rich, vibrant, can be translucent or opaque | Vibrant, can be opaque or transparent | Transparent, delicate, luminous if layered thinly |
| Layering | Fused layers, can carve into/build up many | Wet-on-wet, glazes, opaque layers | Opaque, transparent, wet-on-wet | Washes, glazes, lifting |
| Heat Required | Yes, for melting and fusing | No | No | No |
| Substrate | Rigid, absorbent surfaces (e.g., wood panels) | Canvas, wood, metal | Canvas, wood, paper, fabric | Paper |
| Tactile Quality | Highly tactile, inviting touch, sculptural, uniquely smooth or rough | Smooth or brushstroke-defined | Smooth, sometimes plastic-like | Paper texture |
Damar resin, by the way, is absolutely crucial to this process. It's a natural tree resin that, when mixed with beeswax (typically an 8:1 ratio of beeswax to damar by weight), does some truly transformative things. It significantly hardens the beeswax, which is essential because pure beeswax alone would be too soft and fragile for durable art. It raises its melting point, making the final artwork more robust in varying temperatures and less prone to brittleness. Crucially, damar makes the wax wonderfully translucent, allowing light to penetrate and refract through the multiple layers, creating that signature luminous depth that encaustic artists adore; without it, the light refraction would be far less dramatic. And importantly, it helps prevent a common phenomenon called wax bloom – that hazy, milky film that can appear on the surface of wax, much like the subtle haziness you might see on an older beeswax candle. While 8:1 is the standard ratio, some artists experiment slightly with 9:1 or even 7:1 for subtle differences in hardness and translucency, but for reliability and archival quality, sticking close to the 8:1 benchmark is highly recommended. Without damar, the wax would be too soft, sticky, and fragile for painting, and it simply wouldn't have that incredible, luminous depth.
The Tactile Allure: Working with Molten Wax and Heat
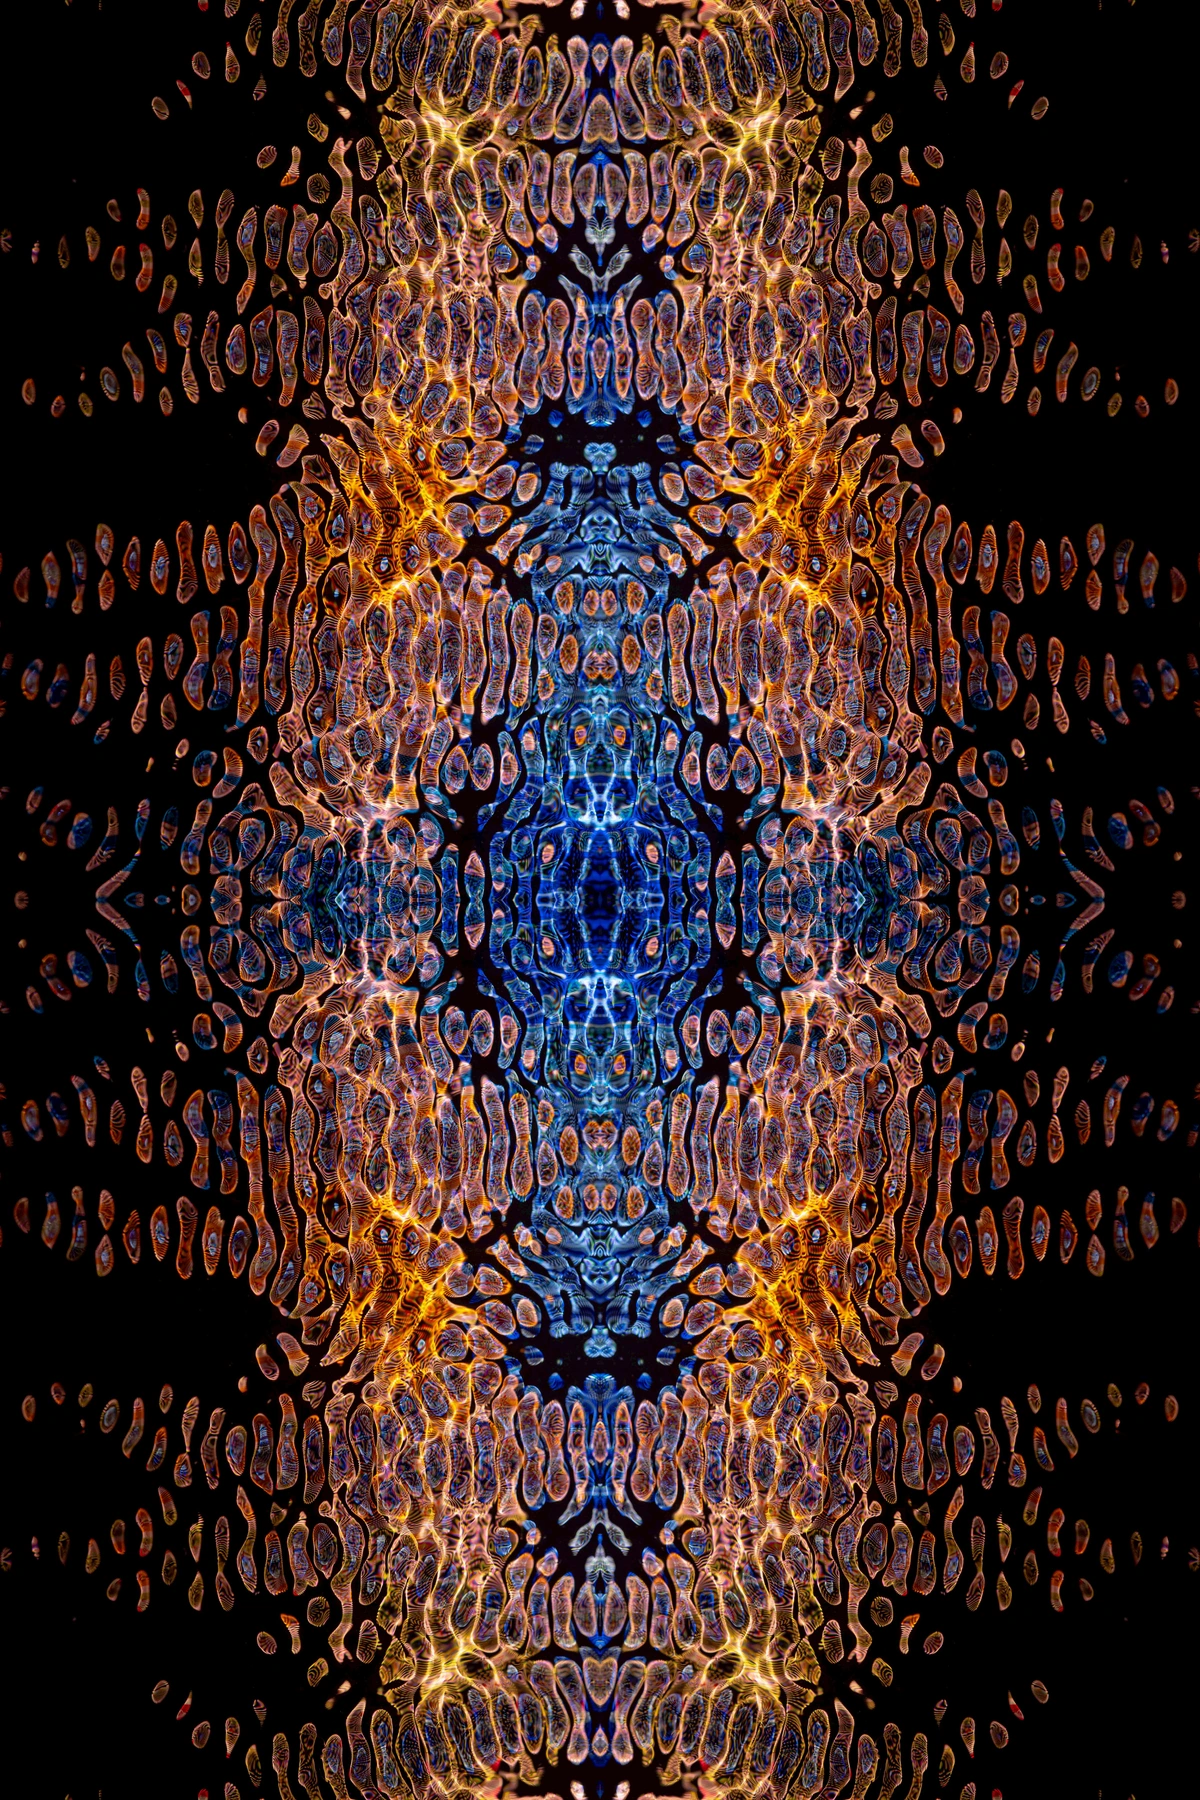
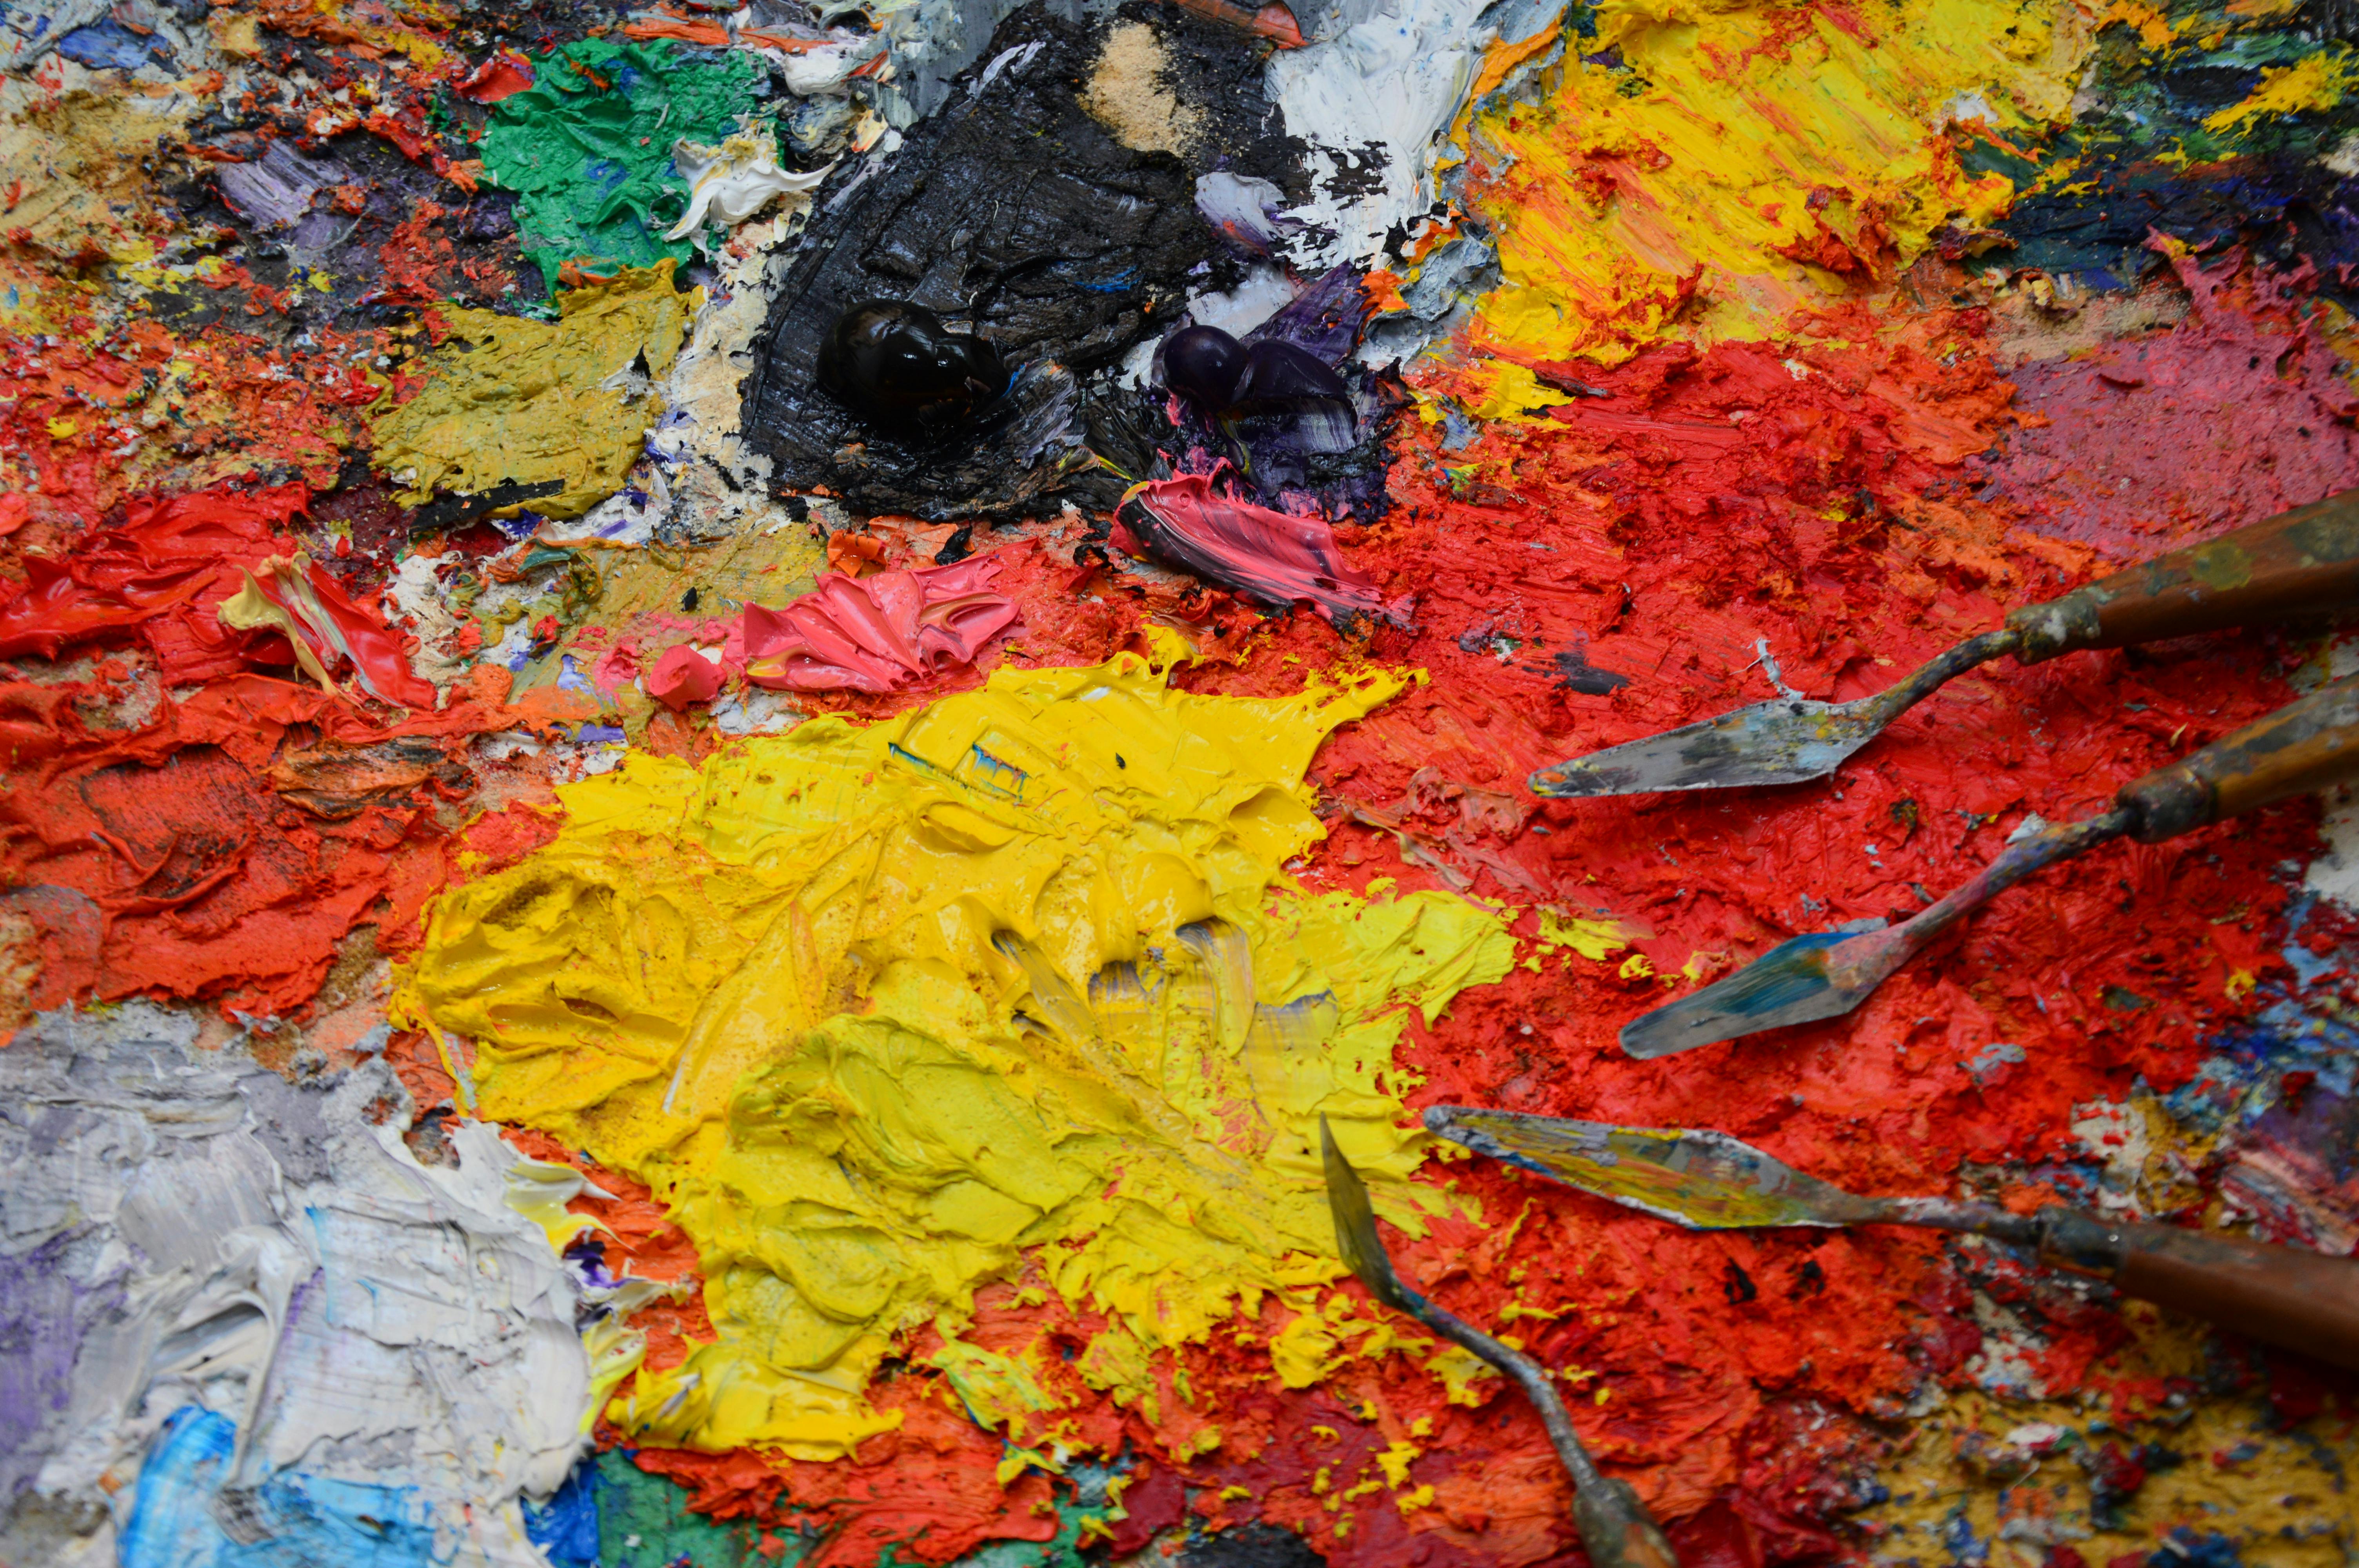
What truly captivated me, what drew me into this ancient craft, was the sheer physicality of it all. There's nothing quite like working with a material that shifts from solid to liquid and back again, right before your eyes, often with a subtle, almost crackling sound as it fuses. The studio often carries a faint, glorious scent of honey and warm beeswax, but the real magic, for me, is in the texture. Oh, the texture! You can build up layers that feel almost sculptural, carve into them to reveal hidden strata, and then, most spectacularly, fuse them with a heat gun or torch. For more intricate details and smoothing, a heated palette knife is indispensable; it glides through the warm wax with a silken touch. I've also experimented with heated styluses for delicate lines, precise markings, or creating subtle textures, and even a controlled soldering iron for deep etching and more dramatic, sculptural effects. Each tool offers a nuanced control over the molten wax, from broad, flowing fusion to incredibly fine detail, creating a truly rich and complex surface. This tactile exploration felt like a natural extension of my ongoing interest in exploring texture in my abstract paintings.
Of course, it's not all sunshine and honey scents. Working with heat demands a different kind of focus, a certain quickness. The wax cools fast. And sometimes, despite your best intentions, you melt a perfect section you just loved a little too much. I remember one particular afternoon, meticulously building up a delicate, almost ethereal blue layer in a piece I was planning to call 'Whispers of the Deep.' I was so pleased with the luminous quality, the way light seemed to get trapped in its depths. Only to get a little too zealous with the heat gun. Poof, it just melted right into the layer below, creating an entirely new, unexpected swirl of color and texture. My heart sank for a moment, a momentary pang of loss, like watching a tiny, perfect cloud dissipate. But then, a "happy accident" revealed itself – a deeper, more complex hue emerged that I could never have planned. It's a constant negotiation with the material, a dance between control and letting go, and this alchemical transformation of solid to liquid to solid is, for me, deeply compelling. This embracing of the unexpected, this willingness to evolve, is a lesson I've also deeply explored in the power of imperfection in my abstract art. It's a good reminder that art, much like life, rarely follows a perfectly straight line.
My Encaustic Process: Layers of Intuition and Discovery
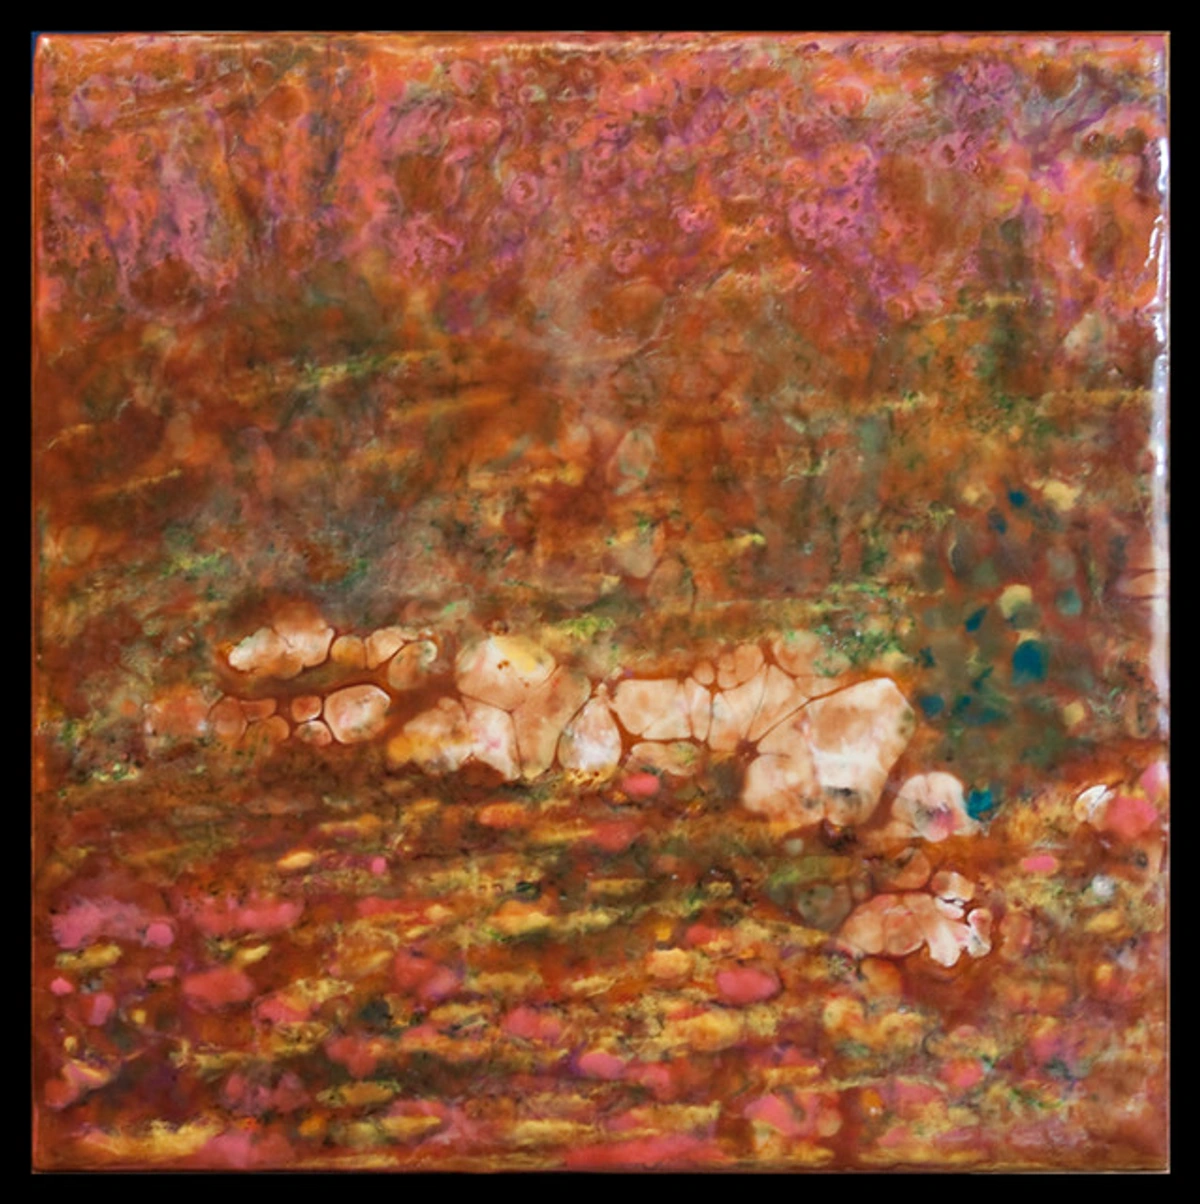
When I embark on an encaustic piece, it's usually with a vague idea, a resonant feeling, or a particular color palette calling to me. Much like my approach to starting an abstract painting, intuition is my primary guide. I apply thin, often translucent, layers of pigmented wax, meticulously fusing each one to the last. This fusing isn't merely about adhesion; it's a critical process of gently re-melting and blending the newly applied wax into the previous layer. Think of it less like gluing sheets together and more like welding them into one continuous, luminous surface. This ensures the layers bond chemically and physically, creating a single, monolithic, and incredibly durable surface that will not delaminate (where layers separate) over time. It's about forging one solid, luminous slab of wax, rather than merely stacking fragile sheets.
Sometimes I'll embed collage elements between the layers, integrating thin, absorbent papers (like delicate mulberry paper, kozo paper, or rice paper, which absorb the wax beautifully without becoming pulpy or losing detail), natural threads, or even small, non-flammable organic materials like very thin dried leaves or pressed flower petals. (A critical note on natural materials: always test small samples for flammability first by applying heat to a coated piece away from your artwork. Safety first, always!). These elements are carefully coated and sealed with subsequent layers of molten wax. They aren't just decorative; they create hidden narratives, subtle textural shifts, and moments of discovery that only reveal themselves upon closer inspection. Embedding a fragment of a faded map, for instance, might subtly allude to memory and place, while delicate threads could symbolize connection or fragility within a broader, abstract landscape. I've even used snippets of old handwritten letters, sealing in secrets and untold stories within the wax. The beauty of it is how a sheer, translucent layer of wax can almost make a delicate piece of tissue paper disappear into the background, creating an ethereal depth, while a thicker layer might highlight a thread in sharp relief. This layered approach is something I deeply explore in building depth and narrative in mixed media.
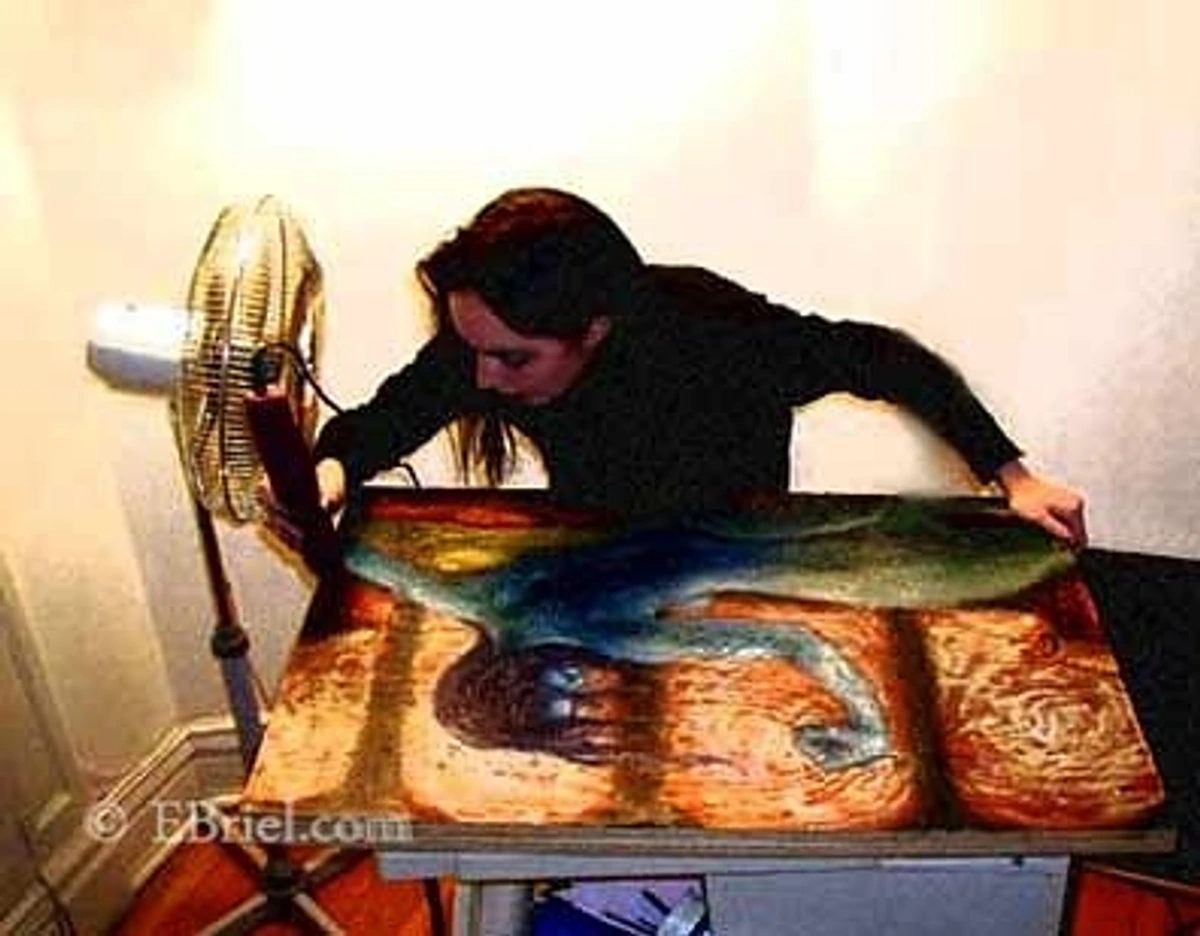
There's an undeniable meditative quality to the entire process. The rhythmic application of wax, the gentle hum of the heat gun, the distinct, calming smell of honey – it all draws me into a state of deep creative flow. I remember one afternoon, completely lost in the subtle blues and greens of a piece, building layer upon layer. The studio was quiet except for the gentle buzz of my tools. Hours passed like minutes, and when I finally stepped back, a landscape of the mind had emerged, a testament to pure, unadulterated creative presence. It's so easy to lose myself in that state, to simply be with the material, but it's also a constant challenge to know when to stop, to resist the urge to add 'just one more layer.' It's not about rendering a perfect image; it's about allowing the material to speak, to guide my hand. I find myself lost in the subtle shifts of light as the wax builds, each stroke adding to the inherent luminescence.
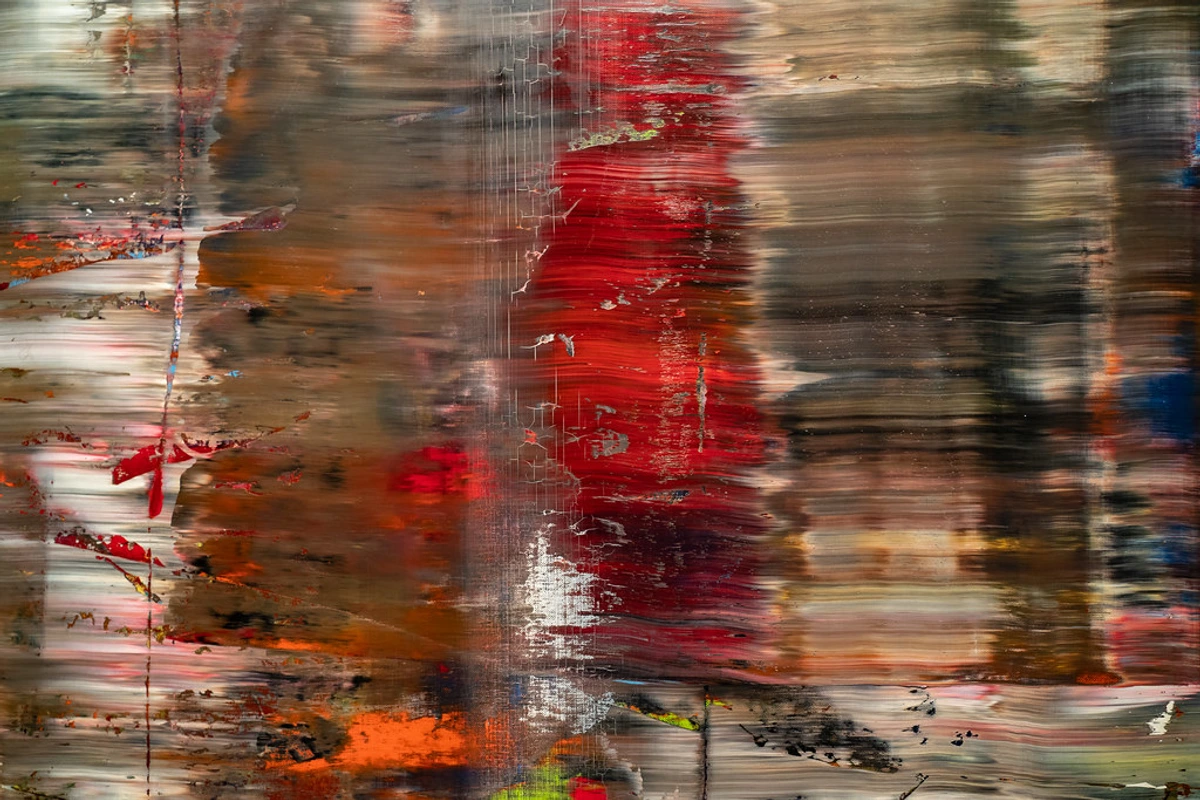
credit, licence
A Medium for Abstract Expression: Luminous Worlds Within Wax
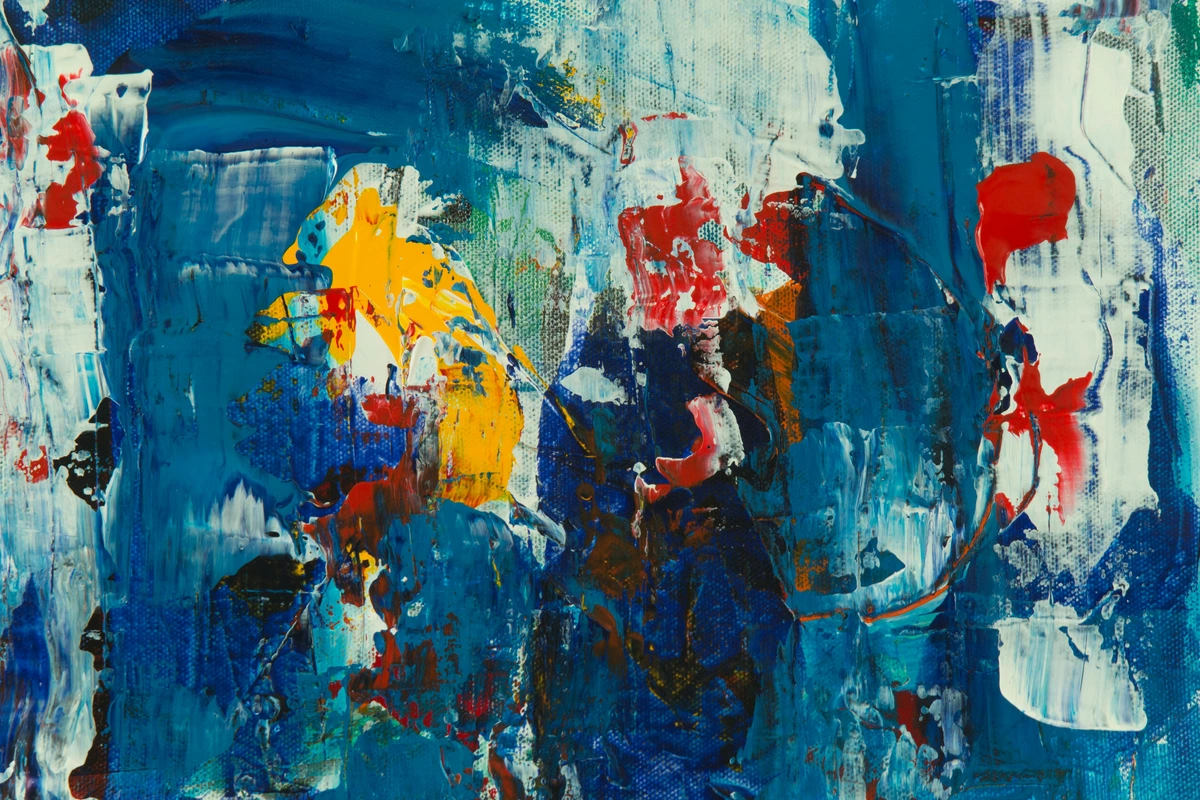
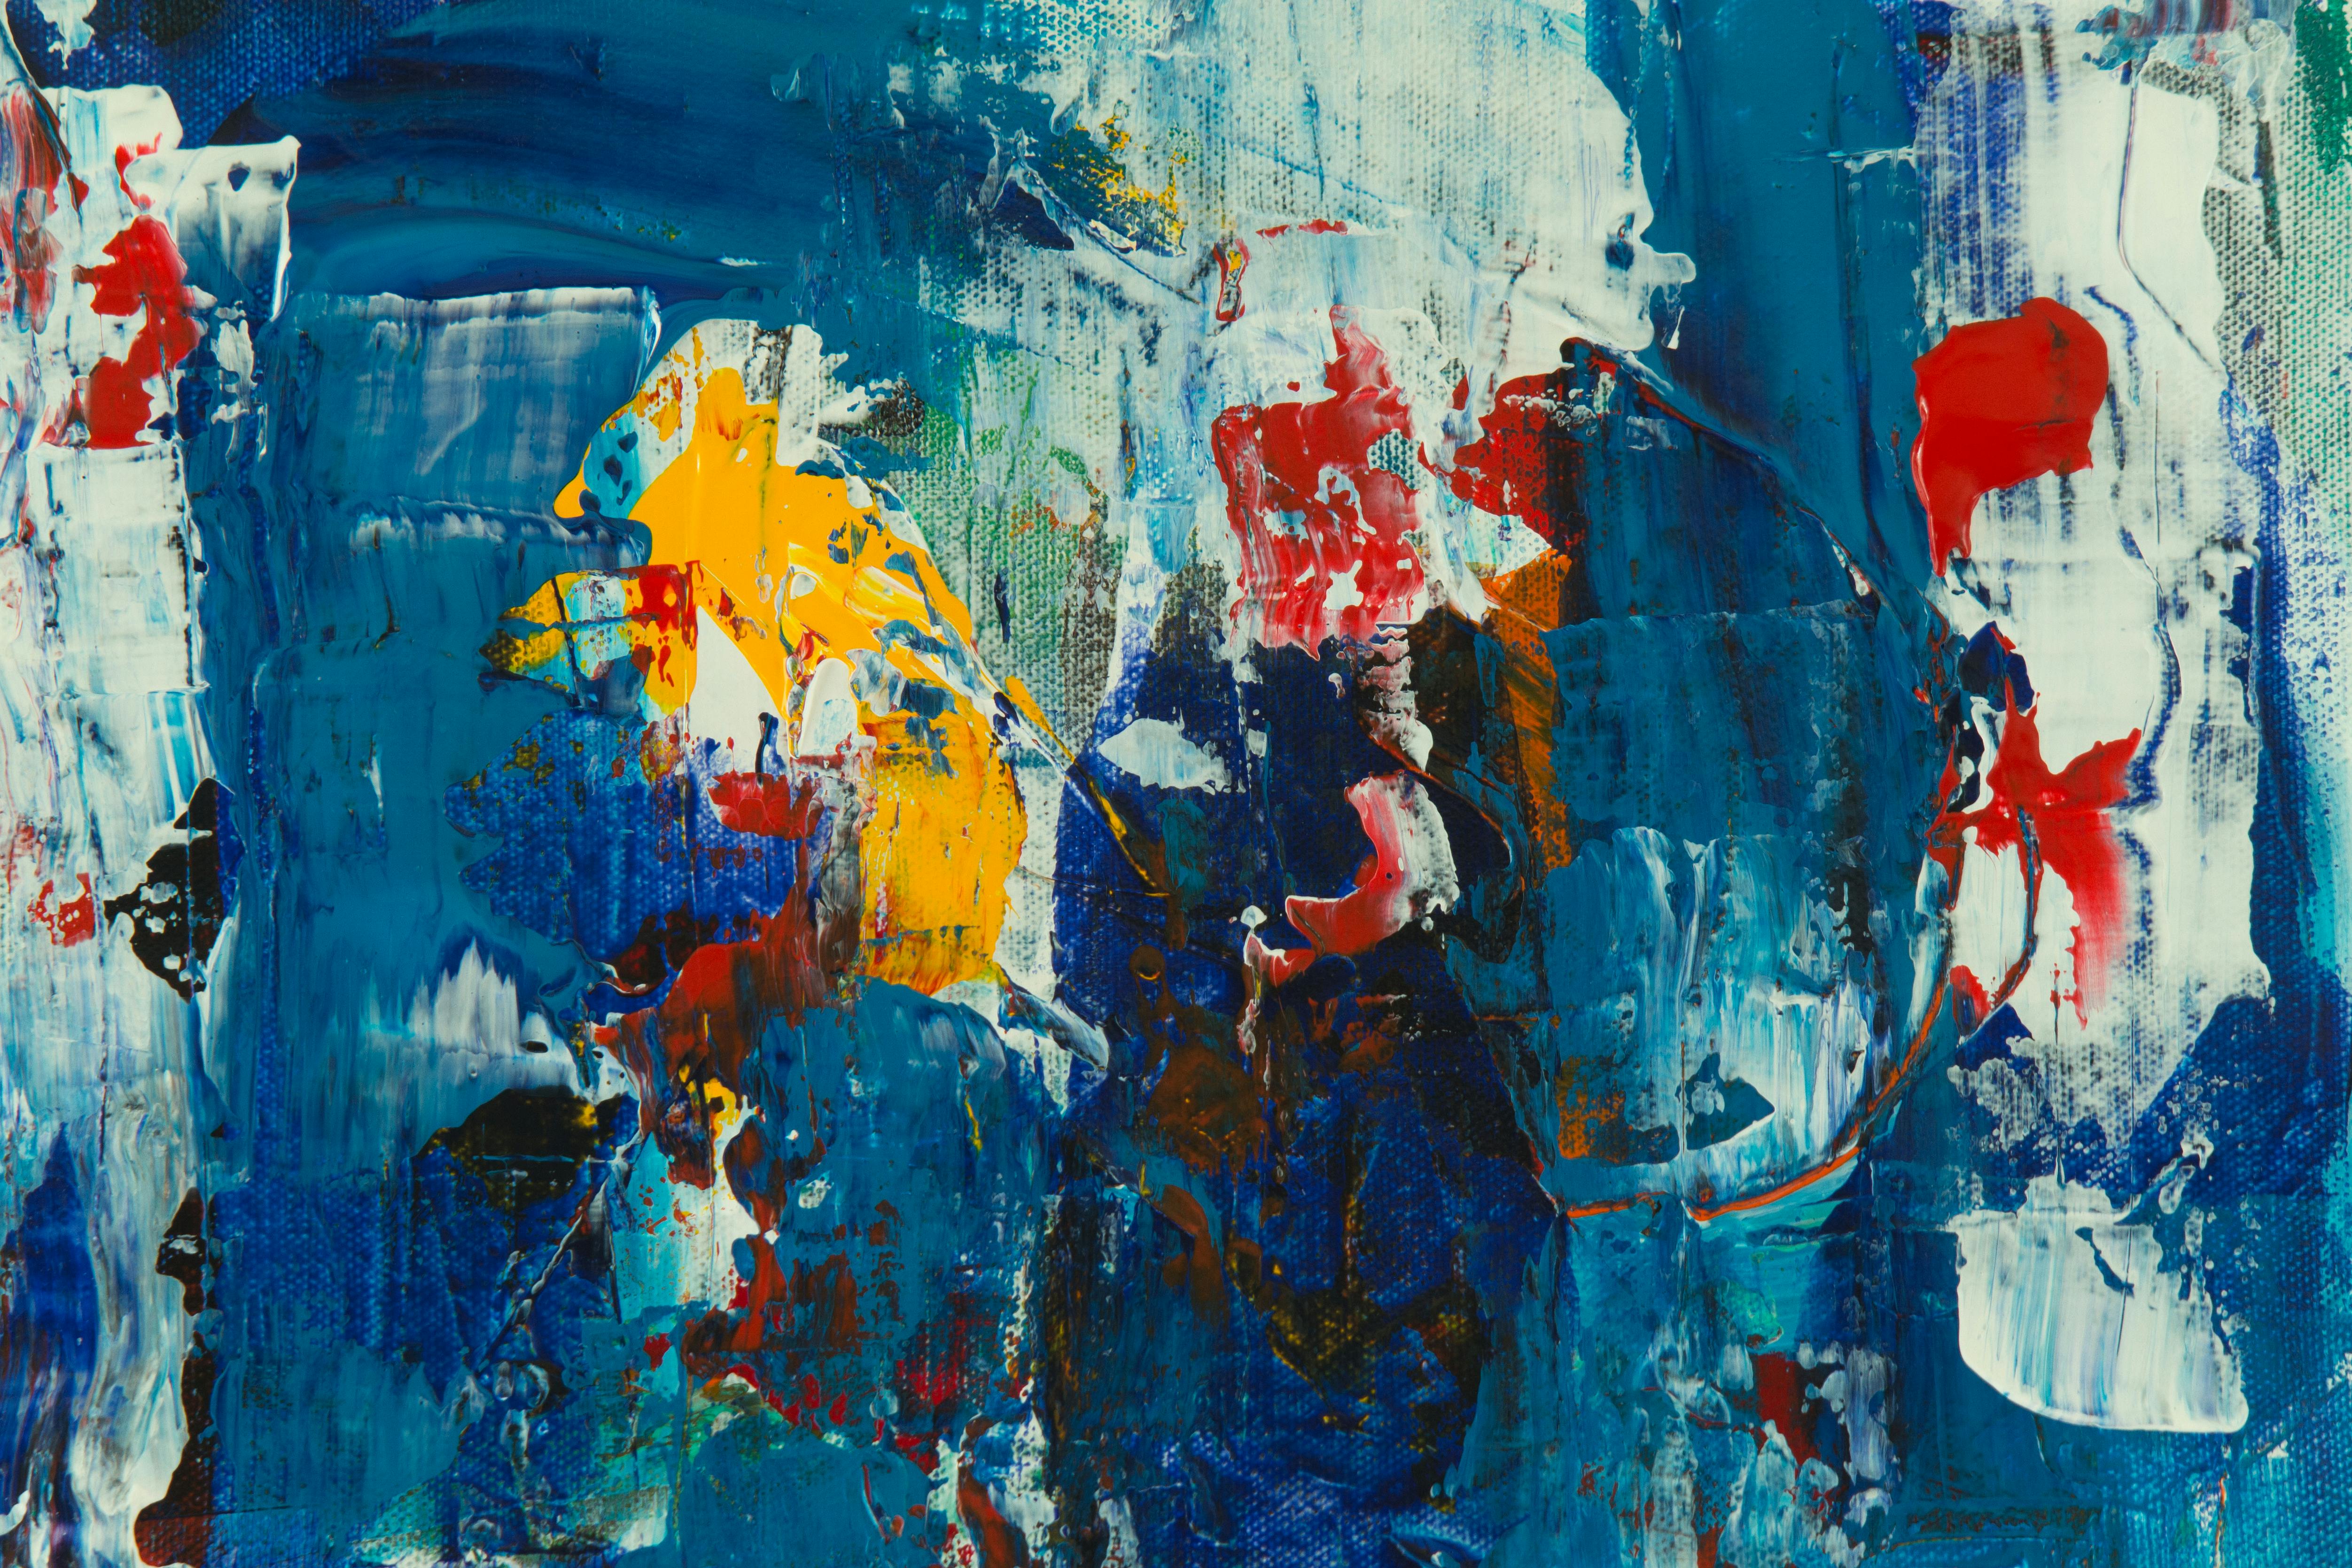
Honestly, for me, I can't imagine a better medium for abstract art. The unique fluidity of the wax, the way colors blend and resist, the ability to build up and then dramatically scrape away – it's all exquisitely suited for expressing raw emotion without direct, literal representation. Translating emotion into abstract art is the very core of my practice, and encaustic offers an unparalleled vocabulary for this. Its inherent luminosity and deeply tactile nature can effortlessly evoke states of tranquility (through soft, blended layers where light seems to get trapped), raw energy (with bold, scraped marks that reveal underlying chaos), profound mystery (achieved by obscuring elements beneath translucent wax, inviting contemplation), or a sense of deep, boundless space (created by the atmospheric perspective of many thin, fused layers that mimic horizons or ethereal expanses).
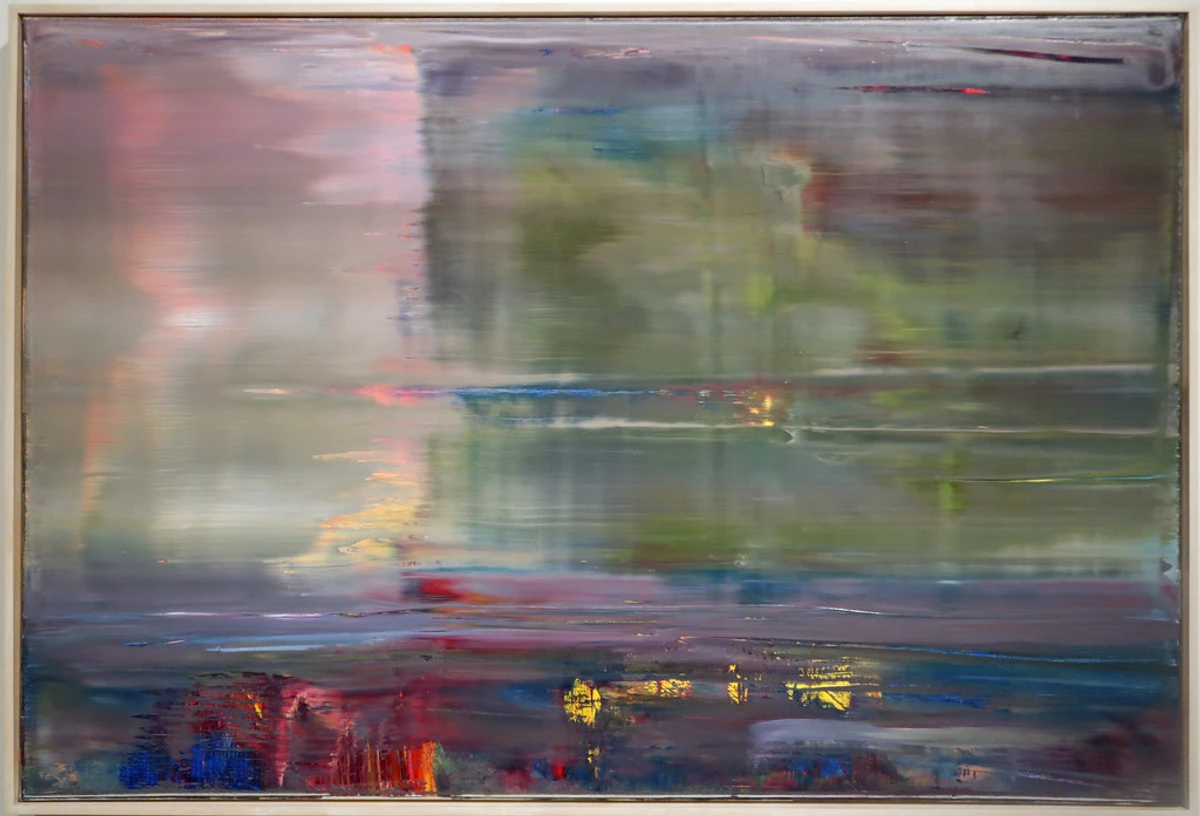
Through layering transparent and opaque waxes, I can create dreamlike landscapes, swirling internal narratives, and vibrant bursts of feeling that feel deeply rooted yet entirely ethereal. It's in these subtle, fused layers that a powerful atmospheric perspective can be built, creating a sense of infinite depth. Or, conversely, where bold, opaque forms can stand stark and present against translucent veils of color, inviting the viewer to look both into and through the surface. This interplay of light and substance is what gives encaustic its magical quality, transforming a flat panel into a living, breathing world. The translucency of the wax itself can mimic natural atmospheric effects, almost like looking through fog or water, while the physical act of building and scraping layers directly translates to the embodied experience of emotion – the push and pull, the hidden depths, the raw surface.
That luminous quality, in particular, truly sets it apart. The light penetrates and reflects off the multiple layers of wax, creating a glow that seems to emanate from within the painting itself. It's not just a surface; it's a world you can almost step into, a portal to a different dimension. This kind of depth and luminosity is precisely why I paint abstract in the first place—to invite viewers into a space of contemplation and personal interpretation, to feel a connection without needing a literal translation. It's about feeling, not just seeing.
For compelling examples of its versatility, look at contemporary encaustic artists like Betsy Eby, celebrated for her lyrical, almost musical abstract compositions that often create ethereal, cloud-like forms through masterful translucent layering. Or Michelle Stuart, who often embeds earthy textures and natural ephemera, connecting the ancient origins of the medium with modern ecological concerns. You also have artists like Jeff Hirst, known for his bold geometric abstractions that harness wax's texture for architectural precision, or Lorraine Glessner, who masterfully integrates mixed media and intricate mark-making within her encaustic work to create bold, textural narratives. They, along with countless others, demonstrate the expansive and truly limitless possibilities encaustic offers for expressive abstraction, pushing the boundaries of abstract expression well beyond traditional methods. And for those curious about other wax-based mediums, it's worth noting that while encaustic is worked hot, cold wax painting utilizes a wax medium mixed with oil paint at room temperature, offering a different set of textural and layering possibilities without the need for heat. It's a fascinating counterpart, but lacks encaustic's unique deep luminosity.
Getting Started with Encaustic: Your First Steps into Wax
If my journey has sparked even a flicker of curiosity, you might be wondering how to even begin. While it might seem daunting with all the heat involved, the initial setup is surprisingly manageable, and I promise you, the creative rewards are immense. Don't be afraid to start your abstract art journey with this wonderfully tactile medium! I certainly made my fair share of initial fumbles, but those often lead to the most interesting discoveries, much like my own process.
Essential Supplies: The Foundation, Color, and Canvas
This is where the magic begins – the very substance you'll be shaping.
The Foundation: Beeswax & Medium
- Beeswax & Damar Resin (or Encaustic Medium): The absolute foundation. You can buy pure, refined beeswax (ensure it's artist-grade and filtered for purity) and damar resin separately, then mix them yourself (typically 8:1 beeswax to damar resin by weight, heated gently in a double boiler until dissolved, with good ventilation!). However, for beginners, I wholeheartedly recommend starting with convenient pre-mixed encaustic medium. It takes the guesswork out and lets you jump straight into the fun. Encaustic medium is essentially the perfect blend of beeswax and damar resin, pre-prepared for optimal working consistency and archival quality, meaning you don't have to worry about ratios yourself.
Adding Color: Pigments
- Pigments: For color, you have a few options, each with its own character:
- Dry Pigments: These offer the most intense color concentration and cost-effectiveness. A little goes a very long way. When mixing dry pigments, aim for a smooth, creamy consistency, adding them gradually to the molten wax on your heated palette using a palette knife or stir stick, until a uniform color is achieved. As a rough starting point, try adding 10-20% pigment by weight to your wax, then adjust to your desired intensity. Crucially, be mindful of pigment safety when heating: Always check manufacturer's safety data (SDS), especially for heavy metals like cadmiums, cobalts, or lead-based pigments, as they can release harmful fumes when heated to encaustic temperatures. Always wear a respirator when handling dry pigments, even before heating, to avoid inhaling fine particles.
- Oil Sticks: These are fantastic for drawing directly into cooled wax, adding a rich, buttery line or for color blocking. They contain pigment suspended in a wax/oil binder. Be sure to use artist-grade oil sticks for best results.
- Encaustic Paints: These are commercially available, pre-pigmented encaustic mediums, offering convenience and consistent color. They're essentially ready to melt and paint, making them ideal for beginners.
The Canvas: Rigid, Absorbent Substrate
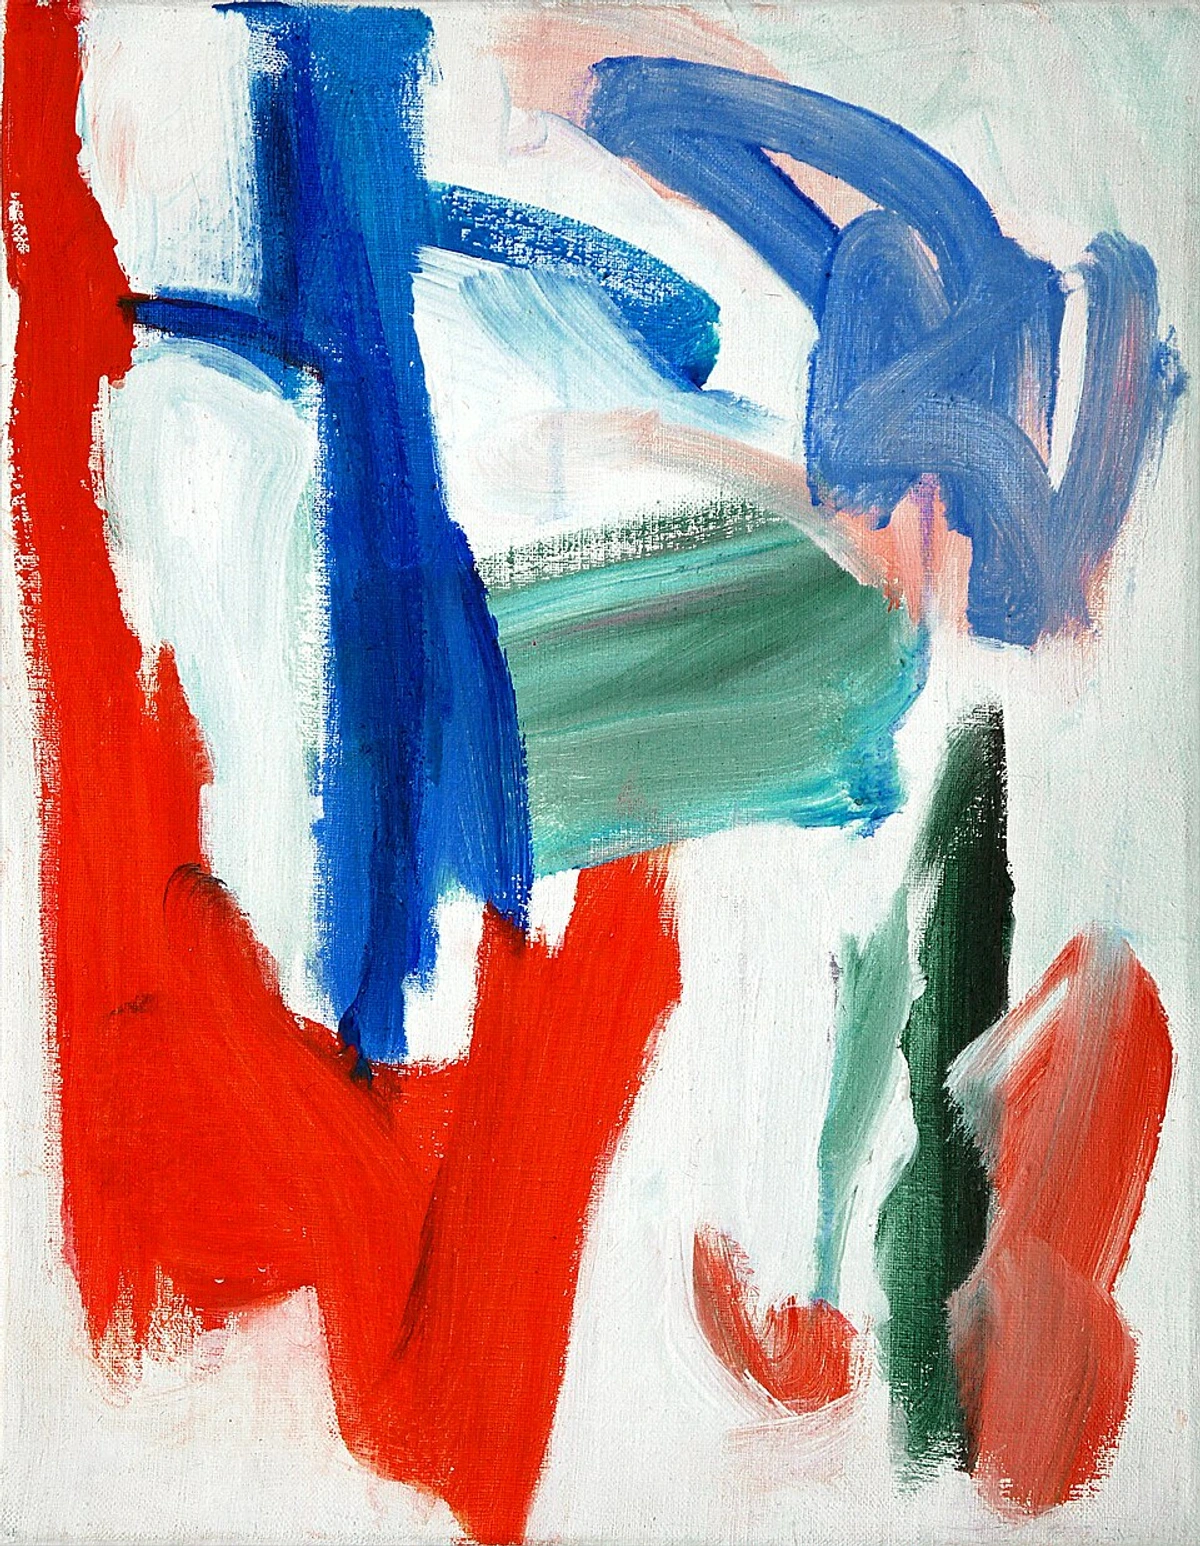
- Rigid, Absorbent Substrate: This is non-negotiable! Wood panels (like birch or maple plywood) are ideal. The key is rigid and absorbent. You can use unprimed wood for maximum absorbency and direct wax saturation, or panels pre-primed with encaustic gesso (which is a clear, absorbent gesso specifically formulated for wax, offering a uniform, slightly smoother, yet still absorbent base). Cradled panels are fantastic as they provide built-in support for larger works. While less common, some artists explore alternatives like aluminum composite material (ACM) or even rigid insulation boards, but these often require specific surface preparations for wax adhesion. Canvas, however, is far too flexible; as the wax cures and the canvas flexes, the rigid wax layers will inevitably crack and delaminate (where layers separate) over time, creating a heartbreaking mess down the line. Avoid at all costs! For context, here's why stretching canvas is so different.
Essential Tools: Coaxing and Shaping the Molten Wax
Now for the implements that help you coax and shape the molten wax.
- Heated Palette: This is crucial. It keeps your wax molten, your pigments mixed, and acts as your primary workspace for the wax itself. Mine is almost like an extension of my painting hand. Look for one with precise temperature control, as different waxes or effects might benefit from slightly varied heat levels, and a good surface area. Consistency in temperature is key to smooth application.
- Natural Bristle Brushes: Natural bristle brushes (like hog hair or hake brushes) are essential, as synthetic ones will melt! Keep separate brushes for different colors to avoid muddying your palette. Clean them by wiping off excess wax and reheating them gently on the palette. Always better to have a few extra brushes than a muddy masterpiece, believe me, I've learned that lesson!
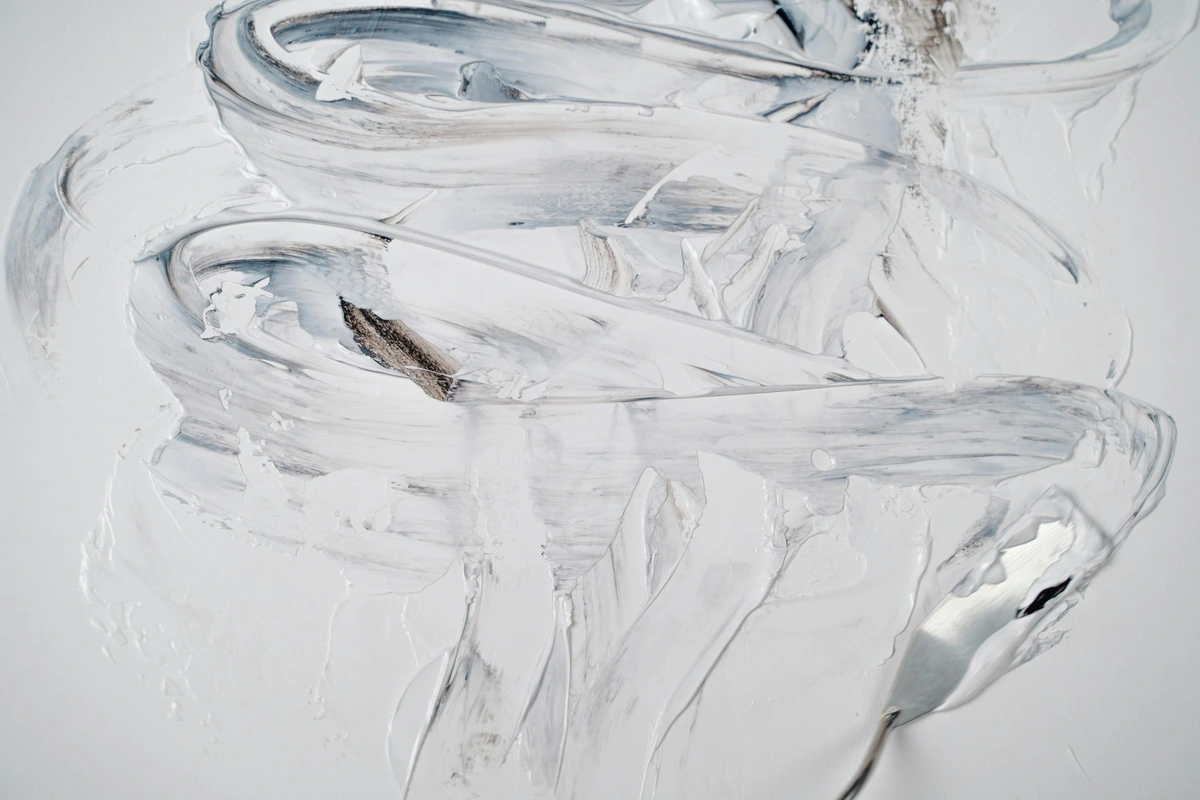
- Heat Gun or Torch: Absolutely essential for fusing layers. A craft heat gun (like those used for embossing) is a good, gentle start for smaller works; a propane torch offers more heat and speed for larger areas and deeper fusion. Always use a proper torch head that offers a broad, soft flame and keep it moving! You don't want to scorch the wax. You're aiming for a gentle kiss of heat, not a fiery embrace.
- Heated Tools: A heated stylus or palette knife can be incredibly useful for details, incising lines, creating texture, or smoothing areas. A temperature-controlled iron (like a small craft iron) can also be used for broader smoothing or applying wax to larger areas. These tools offer precise control, from creating delicate, thread-like lines with a stylus to carving deep grooves for bold textural statements with a heated blade, adding to the sculptural quality of the work.
- Scrapers: Metal or plastic scrapers are invaluable for leveling surfaces, creating texture, or revealing underlying layers. I often find myself scraping back into a piece, almost like an archaeological dig, revealing the history of previous layers.
Fundamental Techniques to Explore: Your First Steps
Ready to get your hands (carefully!) into the wax? Here's a streamlined approach for your first foray into encaustic:
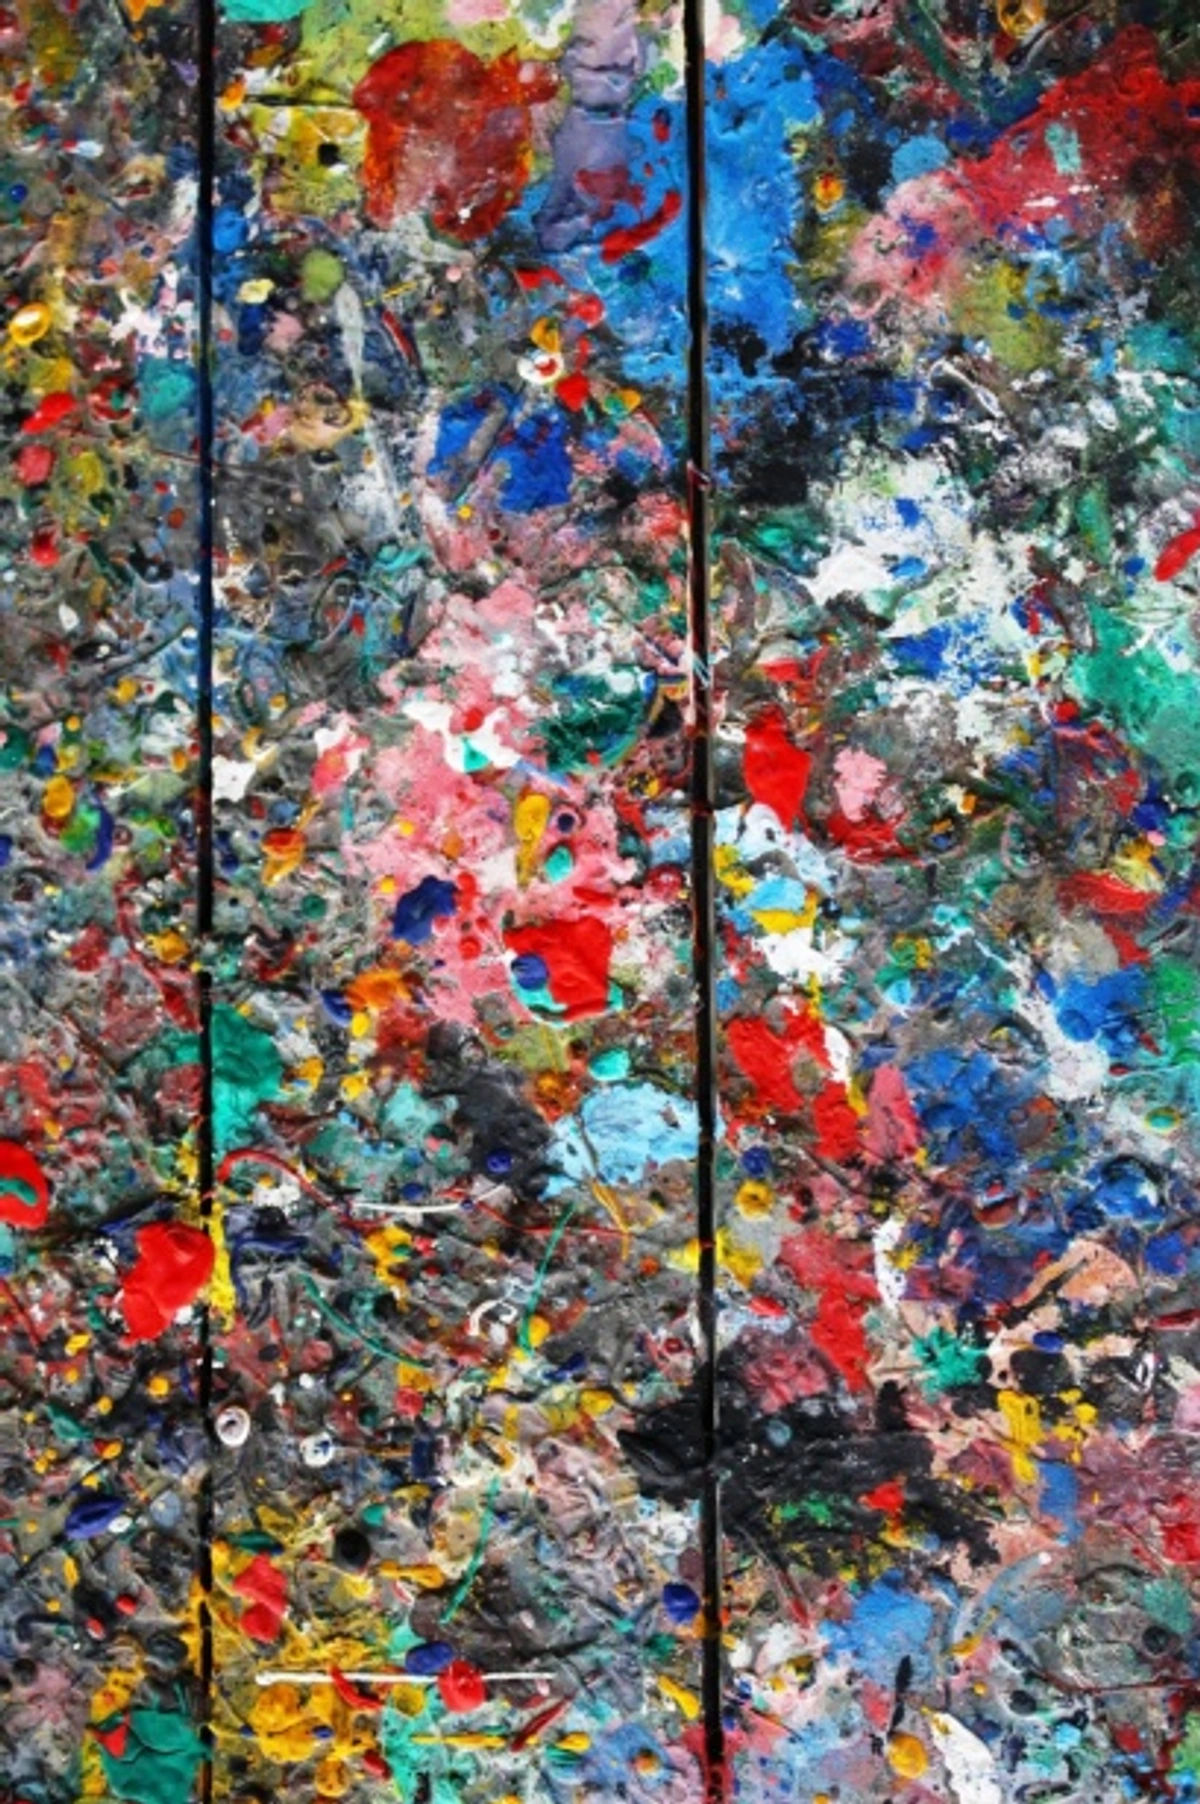
- Melting and Applying Your First Layers: Start by melting your encaustic medium and pigmented wax on your heated palette. Using your natural bristle brushes, apply thin, even layers to your rigid substrate. Remember, thin layers are key to preventing future cracking and ensuring proper fusion. Think of them like delicate glazes, building up luminosity.
- Fusing: The Alchemical Heart of Encaustic: This is the most crucial step! After each layer (or every few layers, once they've slightly cooled), use your heat gun or torch to gently fuse the wax. This doesn't just reheat; it re-melts the new layer into the previous one, ensuring a strong chemical and physical bond and creating that durable, monolithic surface. Think of it like welding the wax, not just gluing it. You'll know it's fusing when the surface becomes visibly soft, wet-looking, and slightly glossy. If you're unsure, fuse a little more! Err on the side of caution – insufficient fusing is the biggest pitfall.
- Layering & Texturing: Now you can truly begin to build. Create incredible depth and luminosity by building up multiple transparent or opaque layers. Experiment with varying opacities to create atmospheric effects or focus the viewer's eye. You can also build up significant texture through multiple thick layers (remembering to fuse each one thinly!), or use a scraper to remove wax, revealing colors beneath, creating a sense of history or excavation.
- Carving, Incising & Etching: Once a layer has cooled, the wax offers opportunities for detailed mark-making. You can carve into it with various tools (from a simple wooden stylus, dental tool, linocut tools, or an awl) to reveal underlying colors or textures. This is like chiseling into a soft stone. Incising creates fine lines by dragging a sharp tool through the wax, like drawing with a needle. While etching with heated tools can involve deeper removal for more dramatic effects, allowing you to draw into your painting, almost like relief sculpture. Each method offers a unique sculptural quality to the surface.
- Collage & Embedding (A Taste of Mixed Media): For those ready to explore, embed thin, natural, absorbent papers, threads, or other small, non-flammable materials (like carefully pressed botanicals, fine metallic leaf) between layers. Remember to fuse each step carefully to seal the embedded elements securely within the wax. This creates unexpected visual narratives and tactile discoveries, aligning beautifully with my mixed media practice.
Common Pitfalls and How to Overcome Them:
Even with the best intentions, we all make mistakes. Here are some of the most common ones I've encountered (and occasionally still do!), along with how to avoid them:
- Not Fusing Enough: This is the absolute number one cause of delamination (layers separating) and cracking. Always fuse until the layers visibly become one solid surface. If you're unsure, fuse a little more! Err on the side of caution. Thin, fused layers are your best friends. Remember that analogy of welding, not gluing.
- Too Much Wax in One Layer: Thick layers are prone to cracking and crazing as the wax cools and contracts. Keep your layers thin, building up density gradually over many passes. Trust me on this one; patience is key. My own impatience has led to more than a few fractured surfaces! (A lesson learned, and often re-learned).
- Working on Flexible Supports: As mentioned, canvas is a definite no-go. Stick to rigid panels to prevent cracking and delamination as the artwork ages. A rigid panel offers the structural integrity the wax needs.
- Wax Bloom: That hazy, milky film. This happens when fatty acids in the beeswax migrate to the surface and crystallize. It's easily remedied! Simply buff the cooled and cured surface gently with a soft, lint-free cloth. This polishes the surface and removes the bloom, restoring its luminosity. It's like a gentle wake-up call for your painting, and typically appears within the first few weeks or months as the wax settles.
- Pitting & Air Bubbles: Small craters or holes in the surface, often from trapped air or uneven, excessive heating. Try fusing a little longer and more evenly to allow bubbles to rise, or gently scrape the pitted surface flat when cool and re-fuse. Consistent, gentle heat is better than bursts of high heat, which can actually cause more bubbles.
- Sticky Surface: If your finished piece feels tacky or sticky, it's usually a sign of too much pure beeswax and not enough damar resin in your medium mixture. Ensure your medium has the correct ratio (8:1 beeswax to damar by weight), or use a good quality pre-mixed encaustic medium. Sometimes, insufficient fusing or prolonged exposure to high humidity, or even using too much heat for too long during the fusing process (which can break down the wax/resin bond), can also contribute to tackiness by not allowing the wax to fully harden and polymerize.
The Role of Color Theory in Encaustic: Beyond the Surface
Working with encaustic isn't just about applying color; it's about harnessing light. Because of its inherent translucency (thanks, damar!), encaustic demands a different approach to color theory than opaque mediums like oils or acrylics. Light doesn't just reflect off the surface; it penetrates through the layers, bouncing and refracting within the wax-resin matrix. This means that an underlying color can profoundly influence a translucent layer placed on top of it, often creating optical mixes and a luminosity that feels impossible with other paints.
Consider how warm hues like reds and yellows can seem to glow with an inner fire when layered thinly, or how cool blues and greens can create an illusion of infinite depth. By varying the opacity of your layers – from sheer veils to solid blocks of color – you can control how light interacts with your composition, building powerful atmospheric perspective or creating shimmering effects. This unique interaction allows for palettes that are both vibrant and deeply subtle, evolving as the viewer's position or the ambient light changes. It's a truly dynamic medium where color isn't just pigment, but illuminated substance.
Safety First! A Crucial Conversation
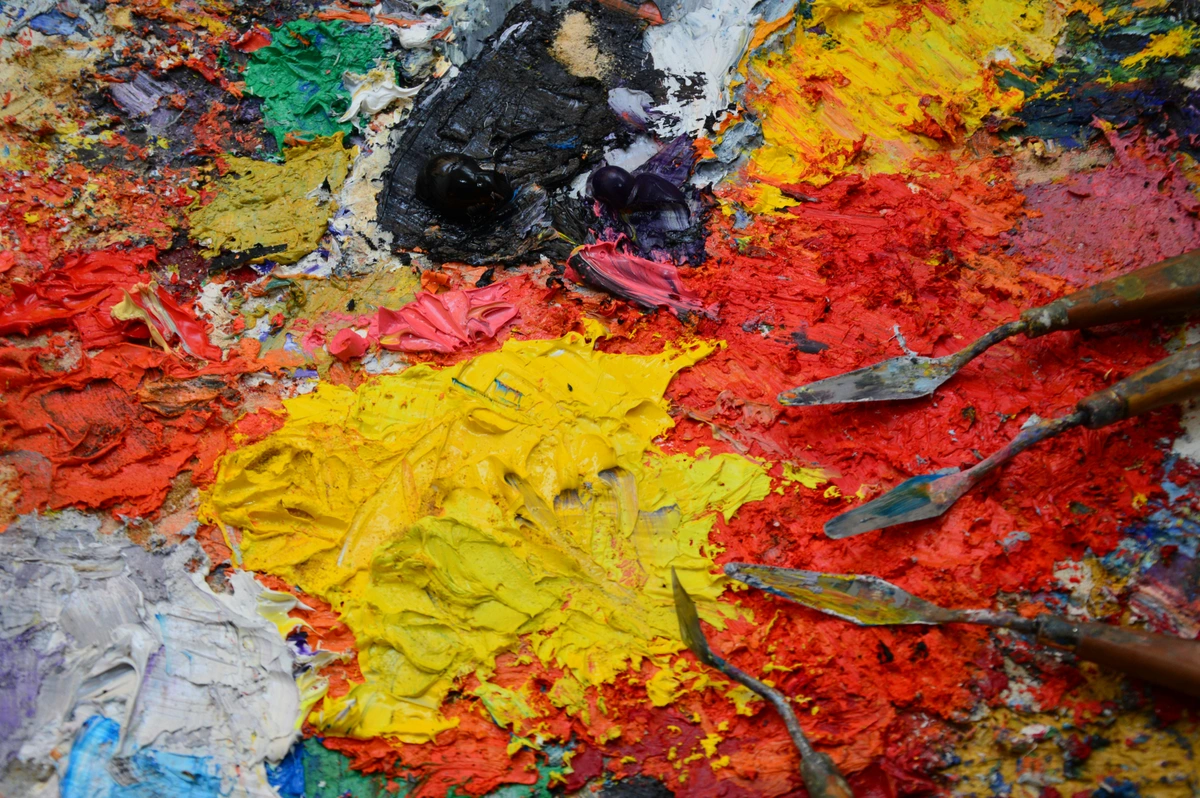
Working with molten wax and heat means safety isn't just a suggestion; it's paramount. It's about respecting the medium and its tools. Please, always ensure you prioritize these steps. I've had a few close calls, and they're not fun! One time, I got a little too focused and almost touched a heated palette knife – a quick reminder that vigilance is always necessary.
- Excellent Ventilation: This is absolutely essential and non-negotiable! While pure beeswax itself is relatively benign and has a pleasant, honey-like aroma, wax fumes can be irritating to the respiratory system. More importantly, pigments can release toxins when heated. Pigments, especially those containing heavy metals (like certain cadmiums, cobalts, or lead-based compounds), can emit harmful fumes. Always work in a well-ventilated space, ideally with an extractor fan that vents directly outdoors. An open window and a fan are a bare minimum. When handling dry pigments, you must wear a proper respirator (N95 or P100 rated particulate mask) and consult the manufacturer's Safety Data Sheets (SDS) for each pigment. These sheets will detail specific hazards and necessary precautions. Your lungs will thank you; believe me, a headache from poor ventilation is a swift teacher.
- Fire Extinguisher: A small ABC-rated fire extinguisher nearby is always a good idea. Molten wax can ignite if it gets too hot (the flashpoint of beeswax is around 204°C or 400°F), especially when using a torch. Better safe than sorry! Know where it is and how to use it. Never leave molten wax unattended; walk away only after everything is cooled and off.
- Heat-Resistant Gloves: Protect your hands from hot tools, hot drips of wax, and the heated palette itself. I've learned this the hard way more times than I care to admit. Always better to be cautious. (My burnt fingertips have quite a story to tell).
- Stable, Heat-Resistant Workspace: Minimize spills and accidents by having a clear, stable, and truly heat-resistant work surface. Cover your workspace with something non-flammable like a metal sheet, ceramic tiles, or a silicone mat. Always work in an uncluttered space to avoid knocking over tools or wax.
- Appropriate Attire: Avoid loose clothing or dangling sleeves that could accidentally catch fire or dip into molten wax. Natural fibers like cotton are safer than synthetics, which can melt and stick to skin. Tie back long hair, too! It's not a fashion show; it's a workshop.
Maintaining Your Encaustic Artwork
Encaustic paintings are surprisingly durable and, given their ancient origins (remember those Fayum portraits that have survived millennia?), incredibly robust. Once fully cured, the wax is exceptionally stable and actually gains hardness and vibrancy over time, becoming incredibly tough! Think of it developing a beautiful, unique patina, much like antique furniture.
- Curing vs. Drying: It's important to understand the difference. While the wax cools and hardens almost instantly (what we might call 'drying'), encaustic takes time to fully cure, anywhere from 6 months to a year, or even longer for very thick pieces. During this curing period, the wax continues to stabilize its molecular structure, becoming increasingly hard and durable. You might notice some minor wax bloom appearing as the wax settles and crystallizes, but this is normal.
- Cleaning and "Deblooming": Over time, encaustic paintings might attract a fine layer of dust, or develop that slight hazy wax bloom I mentioned earlier. Simply buff the surface gently with a soft, lint-free cloth (like an old cotton t-shirt or microfibre cloth) after the piece has fully cooled and cured. This not only cleans but also brings out the beautiful natural sheen of the wax and removes any bloom, restoring its luminosity. It's deeply satisfying, like polishing a treasured piece of furniture.
- Protection: Unlike oil or acrylic paintings, encaustic artworks do not need to be varnished or placed under glass. The wax itself acts as a robust, protective layer, enhancing their unique tactile appeal. In fact, glass can sometimes dull their luminosity, robbing the piece of its inner glow.
- Temperature Sensitivity: Just keep them out of direct, intense sunlight or extreme heat (like inside a hot car, or next to a very hot radiator), as the wax can soften or melt. Pure beeswax's melting point is around 62-64°C (144-147°F), and the addition of damar resin raises this slightly, making the medium more robust. Conversely, extreme cold can make the wax brittle, so avoid storing them in unheated spaces like garages in winter. Stable room temperature environments, generally between 18-24°C (65-75°F), are always best. The wax's molecular structure becomes less rigid when heated and more brittle when significantly cooled, so consistency is key. A good rule of thumb is to treat it like a fine wood furniture piece – avoid extremes. For more detailed tips, you can always find information on how to clean and care for encaustic art here.
Encaustic and Sustainability: A Natural Choice
As an artist increasingly mindful of my materials, I've come to appreciate another aspect of encaustic: its inherent connection to sustainability. Beeswax, when sourced responsibly, is a natural, renewable resource, a byproduct of beekeeping. Damar resin, too, comes from trees, a natural exudate. The longevity and archival stability of encaustic artworks mean they are built to last for generations, resisting decay and fading far better than many modern mediums. This permanence, in itself, is a form of sustainability – creating art that endures, rather than contributing to a culture of disposability. It feels good to work with materials that not only create beauty but also connect me to nature's cycles and a tradition of enduring craftsmanship.
While some contemporary artists explore digital avenues for provenance or sale, occasionally linking physical works to NFTs, I tend to be a bit skeptical. For me, the enduring value and tactile experience of the original encaustic artwork remain the primary focus and ultimate delight for both artist and collector alike. The true magic, I believe, lies in the physical, luminous object itself, not in a digital certificate.
Frequently Asked Questions about Encaustic Wax
Perhaps you're considering dabbling yourself, or just curious about the nitty-gritty. Here are a few questions I often get asked, or that I asked myself when I started:








Q: Is encaustic painting difficult to learn for a beginner? A: Like any medium, it has its learning curve. The biggest challenge is really getting comfortable with the heat and the speed at which the wax cools. But with a few basic tools and some patience, it's incredibly rewarding. I'd say the freedom it offers outweighs the initial fumbling – which, by the way, often leads to the most interesting discoveries, much like my own process (remember that 'Whispers of the Deep' story?). Don't be afraid to start your abstract art journey with this! I promise, those initial fumbles often lead to the most interesting discoveries.
Q: What kind of surfaces can you paint on with encaustic? A: You absolutely need a rigid, absorbent surface. Wood panels (like birch or maple plywood, or even cradled panels) are most common because they can withstand the heat and provide a stable base for the wax layers. Canvas is far too flexible, and as the wax cures and the canvas flexes, the rigid wax layers can crack and separate from the support – a process we call delamination.
Q: What are the typical costs associated with starting encaustic painting? A: The initial investment can be higher than, say, acrylics, mainly due to the specialized heated palette and fusing tools. For a basic, entry-level setup, you might expect to spend a few hundred dollars, while a professional setup with a larger heated palette and more tools could run into thousands. However, starter kits are readily available, and you can build your collection of waxes and pigments over time. Think of it as investing in specialized tools for a unique craft rather than just buying paints; it's an investment in a truly distinctive artistic experience.
Q: Can encaustic be combined with other art mediums? A: Yes, but with specific considerations! Oil paints can be mixed into molten wax, and oil sticks can be embedded or drawn directly on the surface. However, water-based mediums like acrylics or watercolors must be completely dry before being incorporated, and ideally, sealed with a thin layer of clear encaustic medium to prevent moisture from being trapped. Ensure these water-based layers are completely dry, then apply one or two very thin coats of clear encaustic medium using a brush, fusing each layer gently. This approach aligns well with my mixed media practice where I'm constantly experimenting with combining different materials.
Q: What are some common mistakes beginners make? A: The usual suspects are not fusing enough (leading to delamination), applying too much wax in one thick layer (which can lead to cracking), not having proper ventilation, or attempting to work on flexible supports like canvas. Patience and thin, well-fused layers are truly your best friends! But don't let these scare you off; every artist makes these mistakes, and they're a natural, valuable part of the learning process. I certainly have a graveyard of early encaustic experiments that taught me these lessons the hard way!
Q: What about historical figures or movements in encaustic art? A: While ancient Egyptians are famed for their Fayum mummy portraits, the medium saw a significant revival in the 20th century. Artists like Jasper Johns famously brought it back into prominence, drawn to its unique textural possibilities and historical resonance, using it in his iconic flag and target paintings, where he layered wax for rich, textured surfaces that challenged conventional painting. Karl Zerbe, a key figure in the Boston Expressionist movement, extensively explored figurative and mythological subjects with a distinct, rich depth, employing encaustic to create expressive, almost sculptural forms. The influential Abstract Expressionist Hans Hofmann, known for his vibrant "push-pull" color theories, also experimented with encaustic, appreciating its unique expressive potential through its ability to convey profound depth and light. Today, a new generation of artists, including many of those pushing the boundaries of Abstract Expressionism, continue to explore and expand its possibilities, making it a vibrant and constantly evolving field. It's fascinating how a medium can span millennia and still feel utterly fresh and relevant, especially in a contemporary art world increasingly interested in materiality and process.
Q: Do encaustic colors fade over time? A: Not at all! In fact, encaustic colors are remarkably stable and exceptionally archival. As the wax cures and hardens over months, the pigments become locked securely within the wax matrix. The natural translucency of the wax often allows the colors to deepen and gain an even richer luster over time, enhancing their vibrancy. Regular, gentle buffing can help maintain this unique glow. It's a medium that truly improves with age, much like a good wine.
Q: What about the smell when working with encaustic? Is it toxic? A: The smell of pure beeswax is quite pleasant – a warm, natural, honey-like aroma that many artists find delightful and even meditative. It's generally considered non-toxic when heated. However, when working with pigmented waxes and especially dry pigments, it's crucial to ensure excellent ventilation to disperse any fumes that might arise from heated pigments, as some can be irritating or even toxic (refer back to the Safety First! section and the importance of SDS for specific pigments). While most find the beeswax aroma pleasant, some individuals are more sensitive, making ventilation even more critical. A good ventilation system ensures a safe and pleasant working environment. It's always best to err on the side of caution and protect your respiratory health.
Q: What is the shelf life of encaustic paints or mixed mediums? A: This is one of the beauties of encaustic! Unlike many other mediums, encaustic paints and mediums have an extremely long shelf life. Because they are wax-based, they don't "dry out" or harden in their containers like acrylics or oils. You can melt them, use a portion, let them cool and solidify, and then reheat them again weeks, months, or even years later without any degradation in quality. Just ensure they are stored in a dust-free environment. It's an incredibly forgiving medium in that regard.
My Connection to the Ancient and the Modern
There's something profoundly satisfying about working with a medium that effortlessly connects me to artists thousands of years ago, yet simultaneously allows me to create something utterly contemporary and abstract. It's a tangible bridge across time, a silent conversation with history, but always articulated with my own distinct voice. Each piece feels like a fragment of eternity, infused with the warmth, luminosity, and vibrant energy of life itself. If you're interested in seeing some of these pieces, you can always browse my art for sale or visit my museum in s'Hertogenbosch if you're ever in the Netherlands.
This journey with encaustic has truly enriched my artistic practice, pushing me to think differently about color, texture, and light in ways I never anticipated. It's a powerful reminder that sometimes, the oldest paths lead to the newest, most surprising discoveries. And sometimes, those discoveries are molten, luminous, and smell vaguely of honey, offering endless possibilities for abstract expression. So, if you're feeling that creative whisper for something more, for a medium that truly breathes with light and history, perhaps it's time to take your own first step into the alchemical dance of encaustic wax. Maybe start with a small abstract study, focusing just on building texture through layers. Your own luminous world is waiting to be created.