Oil Painting Supplies for Beginners: Your Comprehensive & Honest Guide
Feeling overwhelmed by oil painting? This comprehensive and honest guide cuts through the jargon, detailing essential paints, brushes, mediums, surfaces, and tools you *truly* need to start. Plus, learn 'fat over lean,' brush care, and beginner techniques for success.
Getting Started with Oil Painting: Essential Supplies for Beginners (My Honest & Comprehensive Take)
Welcome, fellow art adventurer, to the wonderfully messy, sometimes frustrating, but always incredibly rewarding world of oil painting! I still vividly remember standing in the art supply store for the very first time, utterly bewildered. Tubes of paint in every shade, brushes of every conceivable shape, weird-smelling liquids… it was like being dropped into a foreign land without a map. And trust me, the cashier wasn't much help beyond pointing me to the most expensive options. "Essential oil painting supplies for beginners," I'd mumbled to myself, but the seemingly endless shelves just mocked me with their abundance. But amidst that initial confusion, there was also a powerful flicker of pure excitement, the promise of all the beautiful things I could create. That's the feeling I want to get you to, fast.
So, if you're feeling that same delightful mix of excitement and mild panic, you've absolutely come to the right place. Fear not, because I've navigated that overwhelming initial stage, made more than my share of mistakes, and I'm here to be your guide. This isn't just a generic list; it's a peek into my own studio, my honest take on what works (and what doesn't), and the things I genuinely rely on. We'll cut through the jargon – those confusing terms like 'pigment load,' 'lightfastness,' and 'fat over lean' – and get you set up to create some beautiful art. Because really, the sooner you have the right tools, the sooner you can stop stressing and start painting – and truly enjoy the incredible, sometimes glorious, journey that is oil painting. Throughout this guide, we'll cover everything from the vibrant world of paints and the extensions of your creative hand, brushes, to the secret sauce of solvents and mediums, the canvases you'll paint on, and all those invaluable supporting accessories that truly make a difference.
The Paints: Where Color Comes to Life (But Don't Go Crazy Yet!)
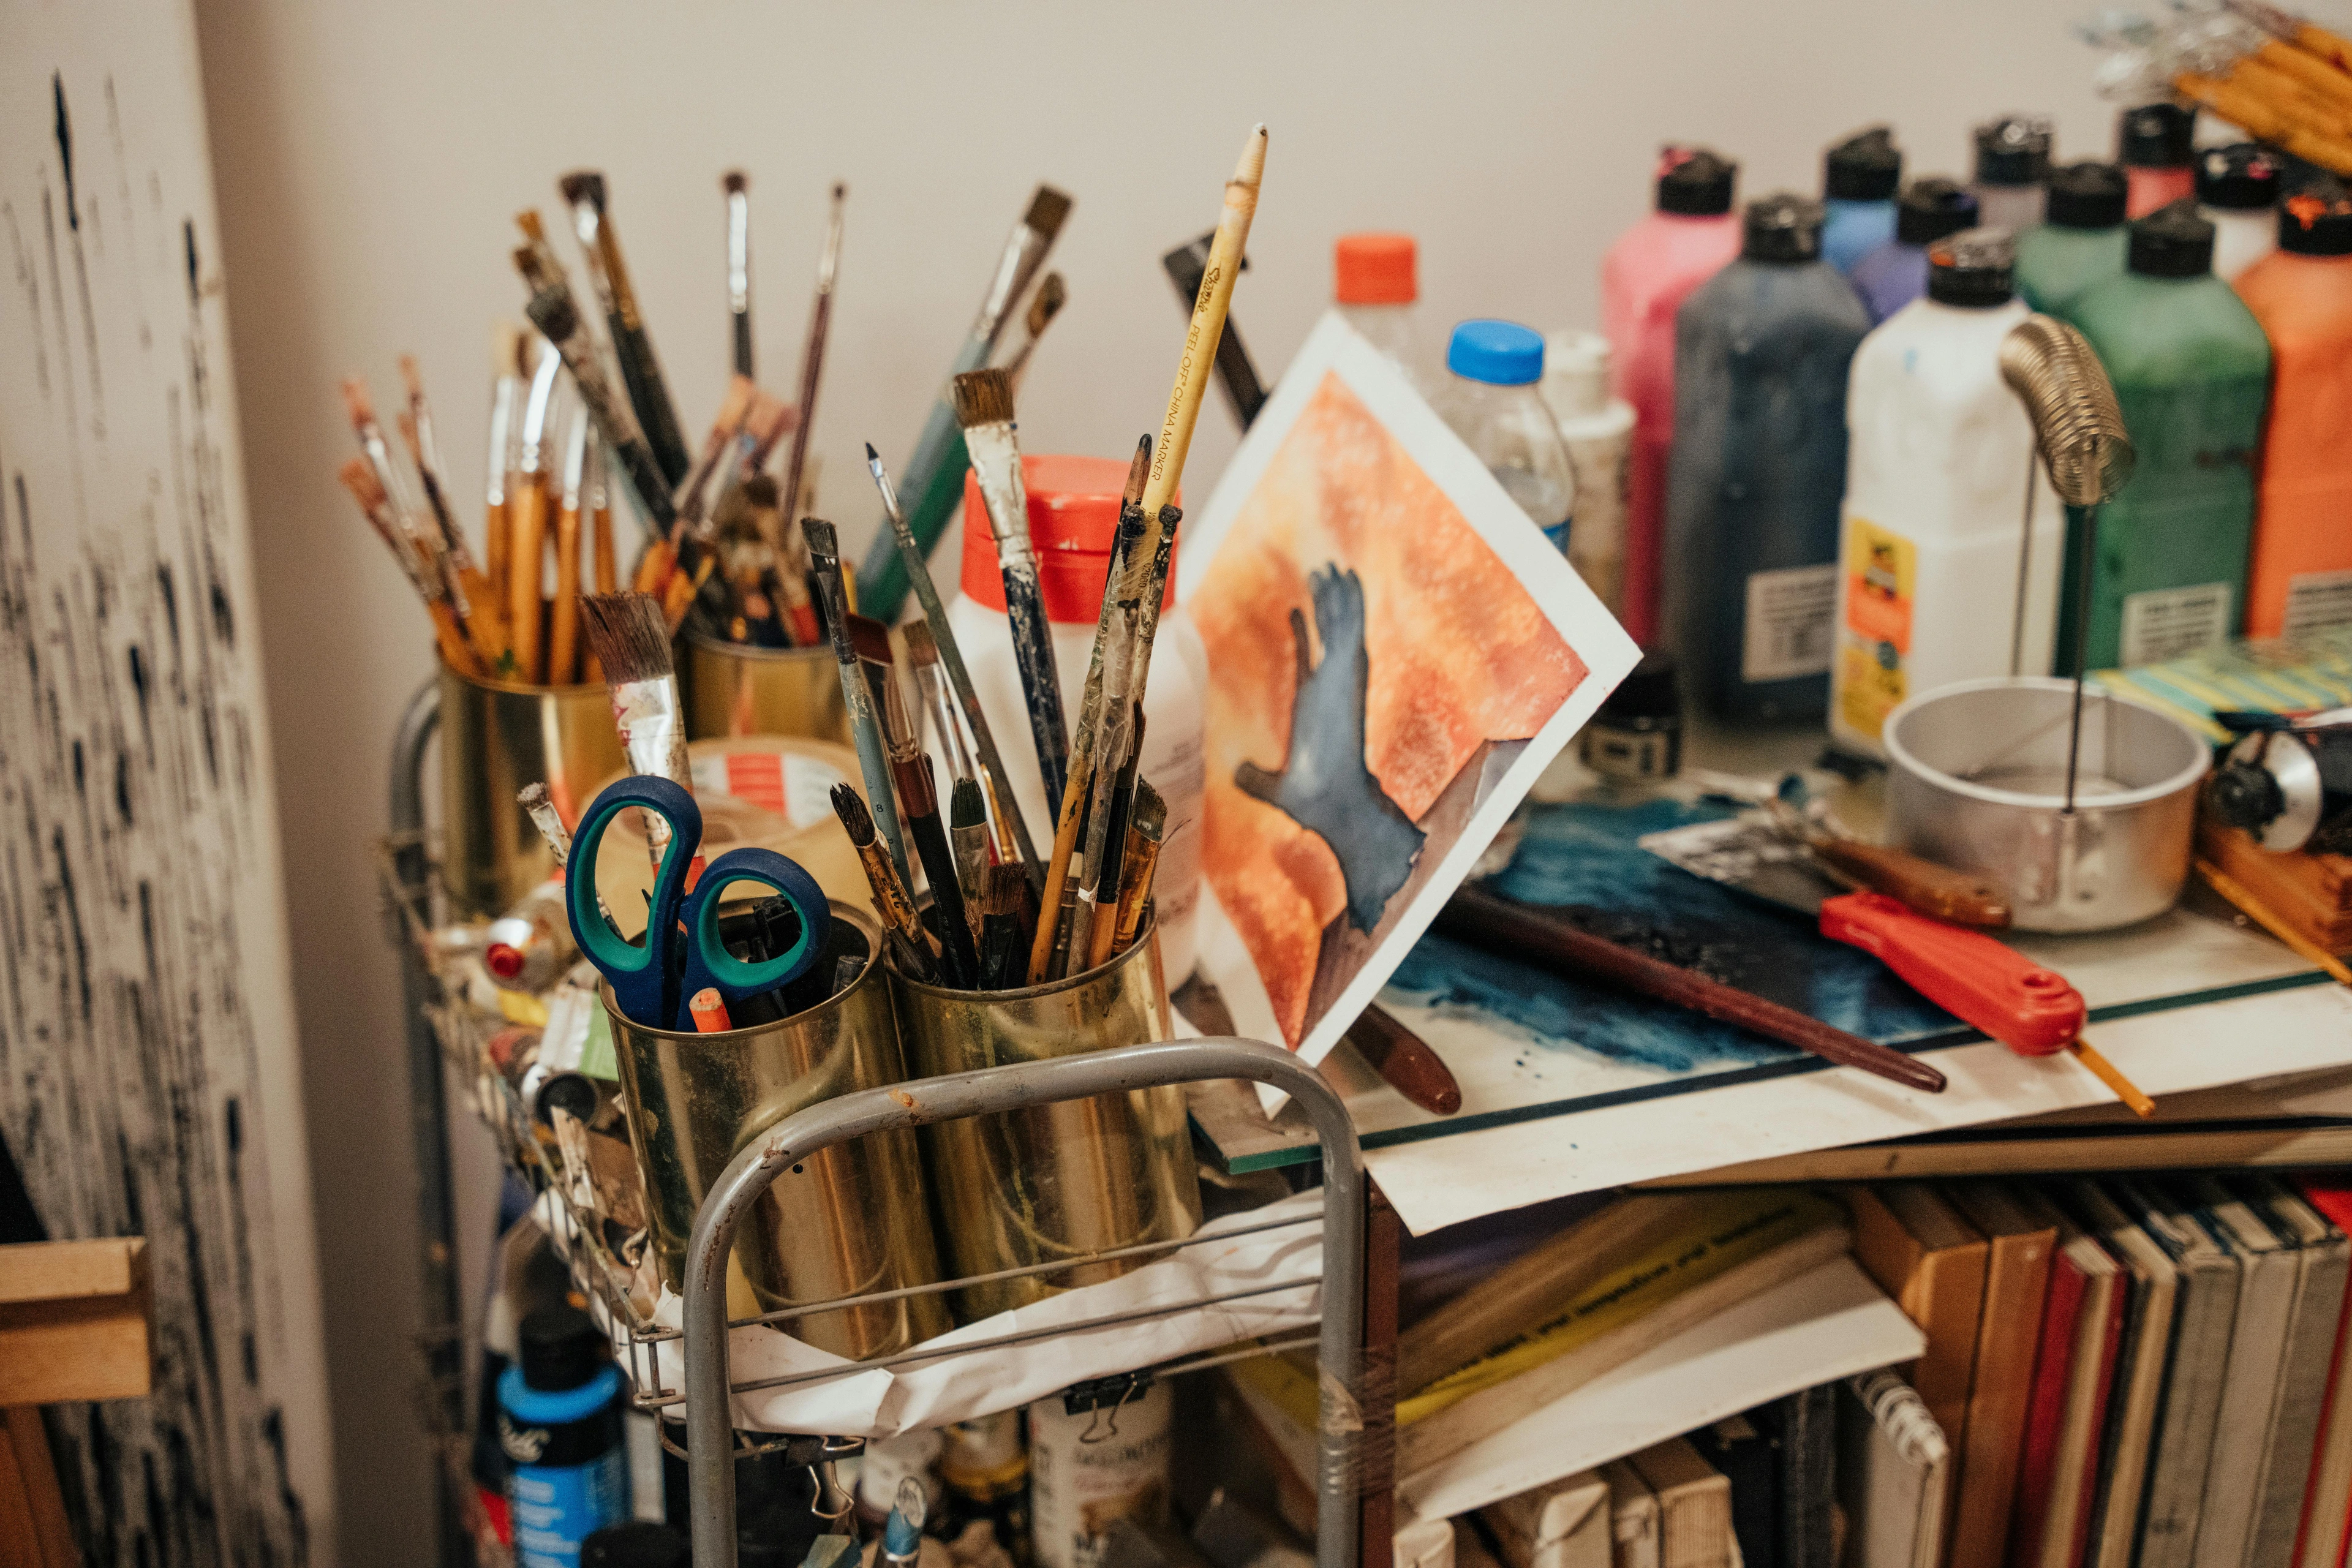
Okay, first things first: the paint itself. It's tempting to buy every color under the sun, isn't it? Resist that urge! For beginners, a limited palette is your absolute best friend. It forces you to learn color mixing, which is an invaluable skill that will serve you throughout your artistic life. Even after years, I still find myself returning to a core set of colors, often for the sheer joy of mixing. It reminds me of those early lessons in how artists use color, where understanding the fundamentals of primaries and secondaries – and the concepts of hue (the pure color itself), value (how light or dark a color is), and saturation (the intensity or purity of a color) – really makes all the difference in creating compelling art.
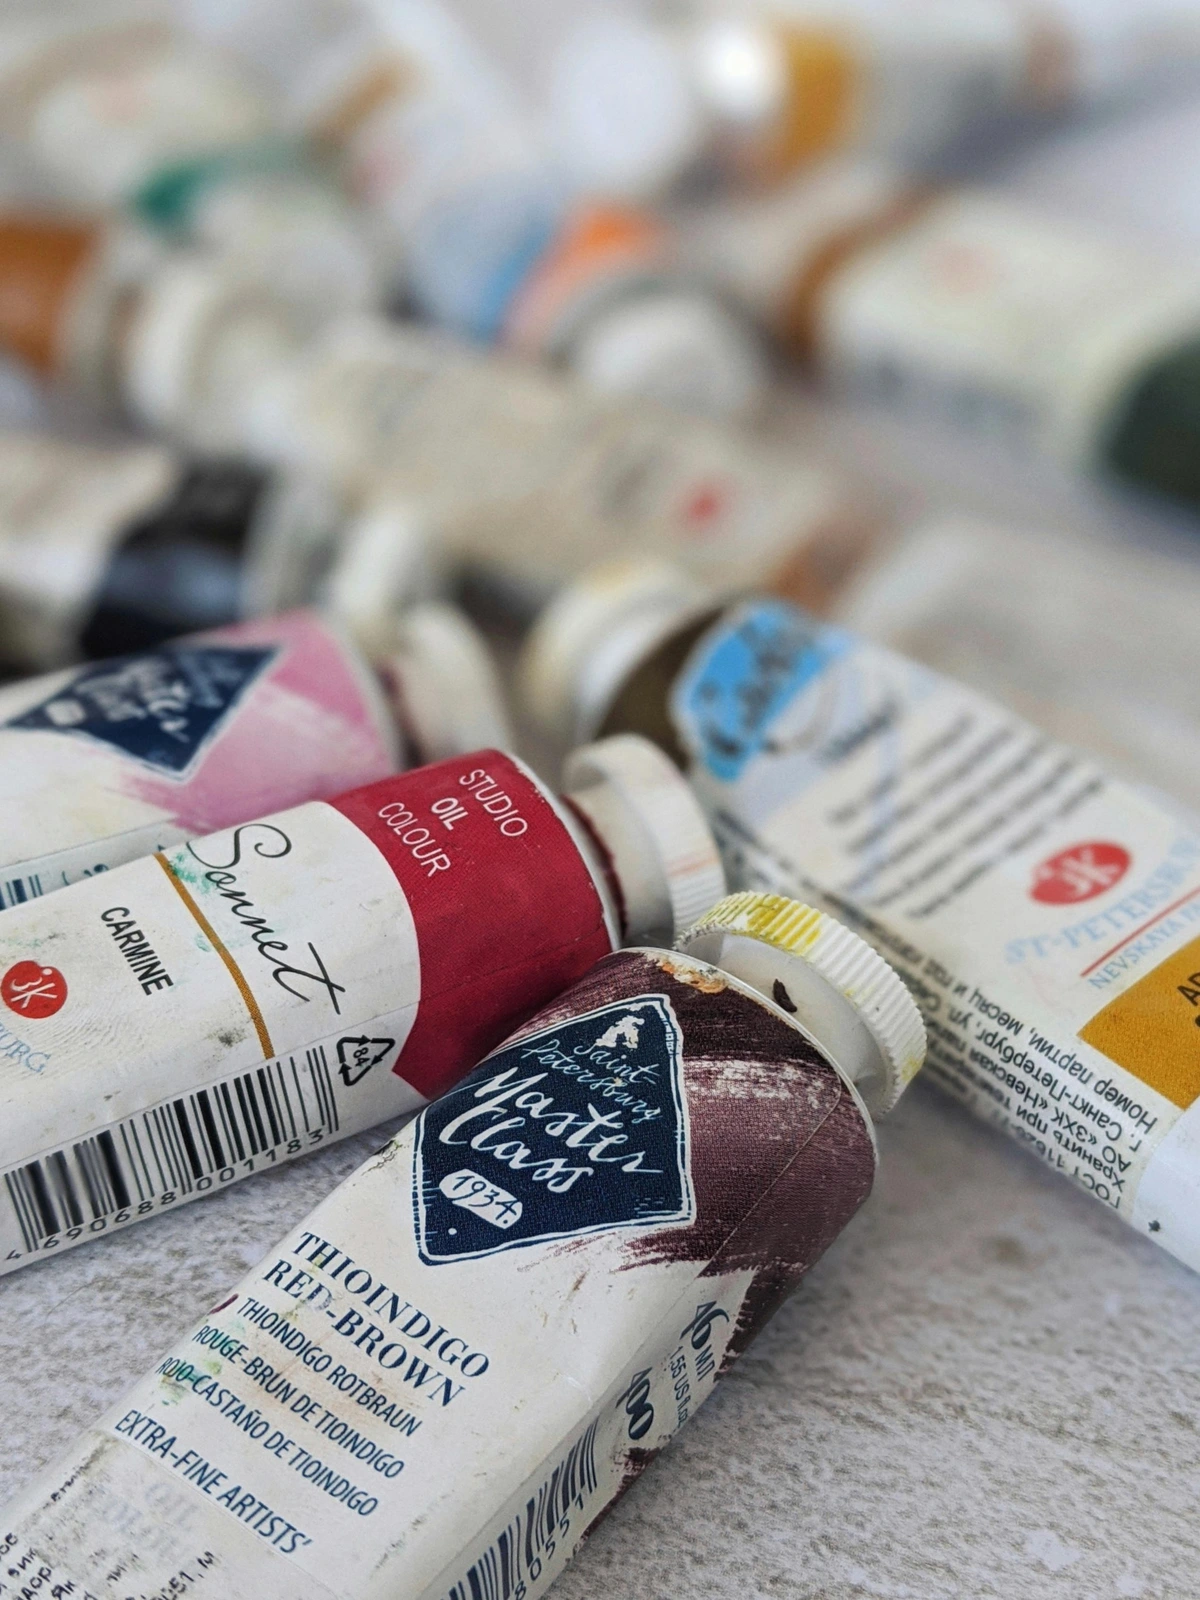
credit, licence
What do you actually need to start?
- Primary Colors (Red, Yellow, Blue): A Cadmium Red (or a good cadmium-hue alternative if you're sensitive to pigments), a Lemon Yellow, and an Ultramarine Blue are fantastic starting points. These are your foundational hues, capable of mixing an astonishing array of other colors. Why these specific colors, you ask? Well, Cadmium Red is my go-to for a punchy, warm red that just sings when mixed. It's incredibly vibrant, highly opaque, and excellent for strong mixtures and adding fire to your palette, often used by masters for its intense presence. Lemon Yellow is a bright, cool yellow, giving you punchy greens and clear oranges – imagine those vibrant spring landscapes or the zest of a freshly peeled lemon! And Ultramarine Blue? It's a deep, rich, slightly transparent blue, incredibly versatile for everything from tranquil skies to mysterious shadows, and mixes beautifully to create nuanced purples. Historically, these pigments have been cornerstones in artists' palettes for centuries. These three offer a broad spectrum of mixing possibilities without overwhelming you with choices. They teach you to create variety from scarcity – for instance, combining Ultramarine Blue and Lemon Yellow can yield a surprisingly wide range of greens, from earthy to vibrant, depending on their ratio and the addition of other colors. This skill truly pays dividends.
- White: You'll use a lot of this. Seriously, grab a big tube of Titanium White. I once bought a ridiculously large tube that took me years to finish, but it taught me a lesson about always having enough! Titanium White is wonderfully opaque and strong, perfect for bold highlights and lightening colors significantly. Its opacity comes from its efficient light-blocking properties. Zinc White is more transparent and good for mixing subtle tints and glazes without losing too much vibrancy, thanks to its more delicate pigment particles. It allows light to pass through, creating luminous, layered effects. For a beginner, a big tube of Titanium White is the priority, but remember Zinc White for later explorations into glazing.
- Black (Optional but handy): Ivory Black is a classic. Some artists swear off black, preferring to mix their own darks (often from Ultramarine Blue and Burnt Umber), but for a beginner, it's perfectly fine to have on hand for quick, deep shadows. Just use it judiciously; direct black can sometimes flatten a painting.
- Earth Tones (Optional but useful): Burnt Umber or Raw Sienna can be incredibly versatile for grounds, muted tones, and for mixing those natural, earthy colors. Think landscapes, portraits, or just toning down overly bright mixtures.
My hot take: Don't splurge on the 'artist grade' paints right away. Student-grade paints are perfectly adequate for learning. The main differences? Artist-grade typically has a much higher pigment load (more pure pigment, less filler), resulting in more vibrant, intense colors, better tinting strength (more influence on mixtures), and superior lightfastness (resists fading over time). They also use more refined binders for greater longevity and a smoother texture. However, student-grade paints sometimes have a slightly different hue shift when mixed compared to artist-grade (meaning a color might lean more towards yellow or blue when mixed than expected), which is something to be aware of and learn to compensate for. But for experimenting, for learning to mix and handle the medium, student-grade is your honest-to-goodness best friend. Save the fancy stuff for when you've figured out your preferred colors and techniques. You're experimenting, not trying to sell a masterpiece just yet (though if you're looking for inspiration or perhaps even something to buy, feel free to peek at my collection!).
What colors are you most excited to mix first?
Essential Paints Summary
Paint Color | Primary Use | Key Characteristics |
|---|---|---|
| Cadmium Red | Warm, vibrant reds, strong mixtures, foundational primary | Vibrant, highly opaque, intense presence, good tinting strength |
| Lemon Yellow | Cool, bright yellows, punchy greens, clear oranges, foundational primary | Bright, cool, good for lively mixtures |
| Ultramarine Blue | Deep, rich blues, tranquil skies, mysterious shadows, nuanced purples, foundational primary | Deep, rich, slightly transparent, versatile for mixing |
| Titanium White | Bold highlights, lightening colors, opaque underpainting | Highly opaque, strong, efficient light-blocker |
| Zinc White | Subtle tints, delicate glazes, preserving vibrancy, transparent layers | More transparent, delicate pigment, good for luminous effects |
| Ivory Black | Quick deep shadows, toning down colors (use judiciously) | Classic dark, can flatten colors if overused |
| Burnt Umber | Grounds, muted tones, natural earthy colors, landscapes, portraits, mixing darks | Versatile earth tone, warm brown, good for subtle shadows |
| Raw Sienna | Grounds, natural earthy yellows, landscapes, portraits, warming up colors | Warm, yellow-brown earth tone, good for natural palettes |
Brushes: Your Creative Extensions
Once you've got your colors sorted, the next crucial step is choosing the tools that will bring them to life – your brushes. Brushes are a deeply personal choice. You'll develop favorites over time, I promise. For now, you just need a few good ones to get started. Think of them as extensions of your hand, each with a different voice, influencing your brushwork (the visible marks of paint left by the brush) and overall artistic style.

credit, licence
Here’s what I recommend for starting your collection:
- Flats: These are square-ended brushes with medium to long bristles. A couple of different sizes (say, a 1/2 inch and a 1 inch) are great for blocking in color, creating strong, linear strokes, and managing larger areas. Their flat shape allows for crisp edges.
- Brights: Essentially shorter versions of flat brushes, offering a bit more control and stiffness. They're excellent for impasto (thick paint application) and creating textured marks because their shorter bristles make them stiffer and easier to push heavy paint around. For beginners, the distinction isn't critical, just grab a couple of square-ended brushes in varying lengths if you can.
- Rounds: Pointed or rounded brushes, good for detail work, lines, and controlled blending. A medium size (e.g., a #6 or #8) is a solid choice. Great for precise application and fine lines, they're the workhorses for intricate areas.
- Filberts: A beautiful hybrid between a flat and a round, with an oval shape. They are incredibly versatile for blending, creating soft edges, and applying paint with a natural, expressive touch. Try one in a medium size – they’re excellent all-rounders for a variety of strokes.
Brush Material: The Feel and Function: Natural bristles (like hog hair) are traditional for oils. They're stiff, hold a lot of paint, and create wonderful texture, perfect for bold strokes and impasto, grabbing and pushing the paint with satisfying resistance. Their stiffness means they can sculpt the paint, ideal for expressive, textured work. Synthetics, on the other hand, offer more control for delicate work, smoother blends, and glazing (thin, transparent layers), their flexibility allowing for a gentler touch and an even release of paint. They are also often easier to clean. For beginners, a mix is fine, or even a good set of synthetics will serve you incredibly well. Just make sure they feel good in your hand. And this is a bit of an old-school trick, but if you get natural bristle brushes, remember to 'break them in' by washing them with mild soap and water before their first use. It removes any sizing or loose hairs, preventing annoying stray bristles from ending up in your pristine paint.
Pro Tip: Take care of your brushes! Clean them thoroughly after each session, and they'll last you ages. It's a small ritual that makes a big difference in your painting experience, and if you want a deep dive into it, I've got a whole guide on cleaning and caring for your paint brushes.
Which brush shape feels most intuitive to you?
Essential Brush Types Summary
Brush Type | Shape Description | Primary Use | Key Characteristics |
|---|---|---|---|
| Flat | Square-ended, medium-long | Blocking in color, strong strokes, crisp edges, larger areas | Versatile, good for broad application and precise lines |
| Bright | Square-ended, shorter bristles | Impasto, textured marks, more control, stiffer application of thick paint | Stiffer, good for sculptural effects, shorter and more controlled |
| Round | Pointed or rounded | Detail work, fine lines, controlled blending, intricate areas | Precise, good for delicate work, excellent for expressive lines |
| Filbert | Oval shape, hybrid | Blending, soft edges, versatile application, expressive touches | All-rounder, great for a variety of strokes and smooth transitions |
| Natural Bristle | (Material) | Bold strokes, impasto, texture, pushing thick paint | Stiff, holds a lot of paint, creates visible texture, traditional choice |
| Synthetic | (Material) | Delicate work, smoother blends, glazing, even paint release | Flexible, offers more control, easier to clean, modern choice |
Solvents & Mediums: The Secret Sauce
Before we dive into the nitty-gritty, a quick but crucial word on safety: oil painting has been revered for centuries due to its incredible luminosity, depth of color, and the ability to achieve subtle blends and durable, archival works. From the Old Masters to contemporary artists, its versatility has captivated creators. However, achieving these effects often involves materials that need respectful handling. Even Odorless Mineral Spirits (OMS) should be used in a well-ventilated area. Open a window, use a fan – your lungs will thank you. In fact, good ventilation is paramount with any solvent; traditional turpentine, for instance, has a much stronger odor and higher toxicity, which is why OMS has become a favored, safer alternative for many artists. Prolonged exposure can be harmful, so always prioritize fresh air. Now, back to the fun stuff...
This is where things can get a little confusing, but let's simplify. Think of it this way: Solvents are primarily for thinning your paint to make it more fluid and for cleaning your brushes. Mediums are additives that change the paint's consistency, drying time, finish, and even its viscosity (how easily it flows, like thick honey versus runny syrup). For a beginner, focus on the essentials, then explore the optional wonders. Pure oil paint can feel quite stiff and buttery on the brush; adding a touch of linseed oil will make it feel smoother, more fluid, and easier to spread evenly across the canvas.

credit, licence
Essential Solvents & Mediums:
- Odorless Mineral Spirits (OMS): This is my go-to. It thins paint for initial layers (making it 'leaner') and cleans brushes, and — crucially — doesn't stink up your studio like traditional turpentine. Get a good quality brand.
- Linseed Oil: A classic painting medium. It increases flow, enhances gloss, and slows drying time. It also helps 'extend' the paint, making it go further and adding a beautiful richness and flexibility to your paint layers. A small bottle will last you ages.
Optional (but useful) Mediums:
- Alkyd Medium: If you're impatient (like me sometimes!), an alkyd medium like Liquin can significantly speed up drying time, sometimes to within a day. This is a 'drier' medium, reducing the oil content of your paint and speeding up drying. It's a game-changer for layering.
- Stand Oil: This is a thickened linseed oil that makes paint very smooth and self-leveling, creating an enamel-like finish. Great for glazing and fine detail, as it holds brushstrokes less.
- Impasto Mediums/Texture Gels: While often for more advanced use, it's good to know these exist. They are designed to thicken paint, allowing for very heavy, sculptural applications and maintaining distinct brushstrokes, adding incredible tactile qualities to your work.
A Word on Paint Finishes: Different mediums can also influence the final sheen of your dried paint, from matte to satin to gloss. Linseed oil, for example, often yields a glossier finish, while some alkyds can be more satin. This is something to experiment with as you get more comfortable.
A Word on the "Fat Over Lean" Rule: You'll hear this constantly: "Fat Over Lean." This fundamental principle means applying layers with more oil (fat) over layers with less oil (lean). This is crucial for the longevity of your painting. If a 'lean' (solvent-thinned) layer is applied under a 'fat' (oil-rich) layer, the lean layer dries first. As the fatter layer beneath continues to dry and expand (as oils cure over time, they undergo subtle changes in volume), it can stress the rigid, already-dried lean layer above it, causing cracks as the painting ages. This prevents cracking, which trust me, is a heartbreak you want to avoid – I learned that the hard way with an early landscape that, after a month, looked less like a serene vista and more like a parched, cracking desert floor – a truly humbling (and slightly infuriating) experience. For beginners, mainly using OMS for initial thin layers (lean) and then a bit of linseed oil in subsequent layers (fat) is a good enough start. Don't let it paralyze you! Focus on getting paint on canvas, and this rule will become second nature.
Ultimately, mediums are about control and enhancing your artistic vision. Which one feels right for your next painting?
Surfaces: What to Paint On
So, you've got your paints, your brushes, and your secret sauces. Now, where will all this magic happen? Oil paint is wonderfully versatile, but it needs a stable, properly prepared surface. You've got options! The "tooth" or texture of your surface is crucial; it helps the paint adhere and can add an interesting visual quality. A smoother surface allows for fine details and delicate glazes, while a more textured surface can hold thicker paint, add character, and enhance impasto effects. You'll also encounter terms like "canvas weight" or "priming weight" (e.g., 8oz, 10oz); this refers to the density and durability of the canvas, with higher numbers indicating a sturdier, often more textured surface.
- Canvas Panels/Boards: These are super affordable and fantastic for practice, studies, and experimentation. You can buy them pre-primed, which saves a crucial step for beginners. Stock up on these! They're rigid, take up less space, and don't require stretching.
- Stretched Canvas: The classic choice for finished works, offering a lovely springy surface under your brush. More expensive than panels, but the experience is different. Again, pre-primed is your friend when starting out. Start with smaller sizes until you get comfortable. You might also encounter terms like 'fine weave' or 'medium weave'; a tighter, fine weave offers a smoother surface, ideal for detail work and portraits (think smooth paper), while a looser, more textured weave (more 'tooth') can add character and accept thicker paint applications beautifully, like a textured linen shirt.
- Wood Panels: A very stable, rigid surface that won't flex or sag over time, making them excellent for longevity. You'll likely need to prime these yourself with gesso, but they offer a different, very smooth feel for fine detail. Maybe something to explore once you're a bit more advanced and comfortable with priming.
Gesso: This is a primer that performs three crucial functions for oil painting: it seals your surface, prevents the acidic oil from your paint from degrading the canvas fibers (gesso acts as a vital, protective barrier!), and gives the oil paint something toothy to adhere to. Without it, your colors would look dull as the oil is absorbed, and your artwork's longevity would be severely compromised. Most beginner canvases come pre-gessoed, but having a tub on hand is never a bad idea if you want to experiment with different surfaces or add an extra layer of protection – a good layer of gesso really makes a difference for archival quality.
Before you even touch brush to canvas (or any surface, for that matter), two overlooked 'supplies' are paramount for setting yourself up for success: a good light source and an understanding of value. Natural light is always best, but if that's not possible, invest in a daylight-balanced bulb. It drastically impacts how you perceive and mix colors, making your painting experience much more accurate and enjoyable. Trust me, I've tried painting under dim, yellowish lights – it's a recipe for muddy colors and frustration. And while we're on the subject of setting up for success, a quick thought: focus on value – the lightness and darkness of your colors – even more than the colors themselves initially. It's the skeleton of your painting; color is just the skin. Getting values right makes your paintings pop, regardless of your palette.
Choosing the right surface is the first step in setting the stage for your masterpiece. What kind of texture are you envisioning for your first painting?
The Supporting Cast: Tools and Accessories
These are the unsung heroes of the studio, making your life much easier and, frankly, much less messy. Don't underestimate these silent partners; they're the difference between struggling and truly enjoying the process. And yes, my trusty old jam jars for solvent containers – they've seen better days, but they do the job (and keep my conscience clear about recycling)! Who needs fancy studio equipment anyway, right?

credit, licence
- Drawing Tools / Sketch Pad: Before you even think about paint, a simple sketch can save a lot of headaches. It helps you plan your composition and values, visualize the finished piece, and work out potential problems before committing with paint. A few graphite pencils (HB, 2B, and maybe a softer 4B for richer darks), an eraser, and a sketch pad are fantastic for planning your initial ideas.
- Palette: Where you mix your paints. A wooden palette, a glass slab, or even disposable paper palettes work. I personally prefer a glass palette because it's so easy to clean (just scrape off dried paint with a palette knife – which, yes, is another reason to love them!). If you're curious about my workspace, you can see a glimpse of it on my artist's timeline.
- Palette Knives: Not just for mixing! They are incredibly versatile. Use them for directly applying paint, for removing mistakes (a quick scrape can save a layer!), and for creating expressive, textured marks. You'll find they become indispensable, and they're also fantastic for quickly scraping excess paint from your brushes before cleaning them with solvent – a real time-saver and brush preserver. Get a small metal one with a flexible blade.
- Easel: A basic tabletop easel or a freestanding studio easel will do. It's important to paint upright for better perspective and to prevent neck strain. It also allows you to step back and view your work from a distance, which is crucial for assessing your composition and progress.
- Rags or Paper Towels: For wiping brushes, blotting excess paint, and cleaning up messes. You'll go through a lot. Old t-shirts cut into rags are perfect – sustainable and effective!
- Containers for Solvents: Two small glass or metal containers: one for dirty solvent (for initial brush cleaning) and one for clean solvent (for final rinse or thinning). Old jam jars work perfectly – frugal and functional!
- Gloves: Optional, but highly recommended, especially if you have sensitive skin or just want to keep your hands clean. Nitrile gloves are great and prevent pigments and solvents from staining or irritating your skin.
These seemingly small items will profoundly improve your painting experience. Which one do you think you'll find most surprisingly useful?
Frequently Asked Questions About Oil Painting Supplies
Now that we've unravelled some of the mysteries of starting out, let's zoom out a bit. It's okay to have questions! Many of us started with the same ones. This section is all about getting those common beginner queries answered, so you can paint with more confidence and less doubt.
Do I need an easel to start oil painting?
While not strictly essential for your very first dabblings, I highly recommend an easel. Painting upright offers a better view of your work, helps prevent neck and back strain (I remember trying to paint flat on a table once, and my neck still complains about it!), and can significantly improve your perspective and flow. A simple tabletop easel is a great starting point, and you can always upgrade later.
How many brushes do I really need as a beginner?
Honestly? Three to five good quality brushes are plenty. Focus on getting a variety: one or two flats (different sizes), one round, and perhaps one filbert. Quality over quantity here, always – it's better to have a few reliable tools than a drawer full of duds. You'll expand your collection naturally as you discover what you like and what techniques you gravitate towards.
Why do I need a palette knife if I have brushes for mixing?
Ah, the humble palette knife – often overlooked by beginners! While brushes can mix paint, a palette knife is truly superior for several reasons. For beginners, its primary advantage is allowing for thorough, clean mixing of colors without unnecessarily 'loading' your brush with excess paint. This prevents wasted paint, makes brush cleaning much easier, and ensures pure, unadulterated color mixtures. It creates sharp, clean color swatches on your palette, and as you advance, it's also a fantastic tool for applying paint directly to the canvas, creating unique textures, and even scraping off mistakes. Think of it as a versatile multi-tool for your palette and your painting surface!
What's the cheapest way to start oil painting?
To keep costs down, opt for student-grade paints (a limited palette of primaries plus white), canvas panels instead of stretched canvas, and a basic set of synthetic brushes. Use odorless mineral spirits for both thinning and cleaning. You can even use an old ceramic plate as a palette. Keep an eye out for art supply store sales or beginner starter kits – they can offer great value! The goal is to start, not to spend a fortune! Remember, artistic growth comes from practice, not from the most expensive tools.
What about the smell and toxicity of oil paints and solvents?
This is a super important question! While modern oil paints are much safer than historical pigments, many solvents and some pigments can still be irritating or toxic. Always ensure you work in a well-ventilated area (open windows, use a fan), especially when using solvents like OMS. Consider using gloves to protect your skin from pigments. Water-miscible oil paints are also an option if you're very sensitive to solvents, as they clean up with water. Always read product labels carefully, and consult material safety data sheets (MSDS) if you have specific concerns.
How much paint should I buy initially?
As discussed earlier, a limited palette is key. Start with small-to-medium tubes of your primary colors (Cadmium Red, Lemon Yellow, Ultramarine Blue) and a larger tube of Titanium White. Adding one or two earth tones like Burnt Umber is also a good idea. This small selection will give you a vast range of mixing possibilities without breaking the bank or overwhelming you with too many choices. Remember, quality over quantity, even with student-grade paints, will serve you better in the long run.
Can I use acrylic brushes for oil paint?
Yes, you absolutely can! Many synthetic brushes designed for acrylics work perfectly well with oil paints. In fact, they are often easier to clean than natural hair brushes and are a great economical choice for beginners. Do note that some synthetic brushes might hold and release oil paint a little differently than natural bristle brushes specifically engineered for oils, but this is a nuance you'll likely only notice with more experience. Also, while durable, some synthetic bristles can, with prolonged exposure and less diligent cleaning, degrade slightly faster when used repeatedly with strong oil paint solvents compared to traditional natural bristles designed for the medium. Just make sure to clean them thoroughly after each use.
Can I use oil paints on paper or other acrylic surfaces?
Yes, but with a crucial caveat! Oil paint is acidic and will eventually degrade untreated paper or unprimed surfaces not designed for oil. Without proper preparation, the oil will soak directly into the fibers, causing them to become brittle, discolored, and ultimately leading to the artwork's deterioration. If you want to paint on paper, make sure it's thick, acid-free, archival quality (meaning pH neutral, often made from cotton rag), and most importantly, primed with at least two or three coats of gesso. The same goes for any other unusual surface; when in doubt, prime it! This creates a vital barrier, protecting the support from the oil.
What's the main difference between oil and acrylic paints for a beginner?
This is a fantastic question that many artists ponder! The core difference lies in their drying time and cleanup. Acrylic paints are water-soluble, dry very quickly (often in minutes), and clean up easily with water. They are forgiving and great for layering rapidly. Oil paints, on the other hand, dry much slower (hours to days, or even weeks depending on thickness and mediums), are traditionally cleaned with solvents, and allow for much longer blending times, richer color saturation, and a distinct luminosity. For a beginner, acrylics offer immediate gratification, while oils demand a bit more patience but reward you with incredible depth and blendability. Many artists start with acrylics to learn color mixing and brush handling, then transition to oils for their unique qualities.
Final Thoughts: Just Start Painting!
Look, I could go on and on about the nuances of different pigments, the magic of various mediums, or the philosophical implications of brush choice (I probably do sometimes at my Den Bosch museum). But for now, the most important thing is to just get started. Don't let the sheer volume of options paralyze you. Embrace the glorious messiness of oil painting – it’s part of the fun, and often where the real magic happens. Pick up a few core items, find a quiet corner, and let your curiosity lead the way. Oil painting is a wonderfully forgiving medium, allowing for adjustments and layers, much like life itself, really. Embrace the process, make messes, and most importantly, have fun. You've got this!
Next Steps for Your Artistic Journey
As you get more comfortable, your journey will naturally lead to exploring more advanced techniques. Consider underpainting – laying down a monochromatic base layer to establish your values and composition before introducing full color. It’s a powerful technique for building depth and structure, but again, that’s a journey for later. Also, as a crucial final step, consider varnishing your finished painting (once it's completely dry, which can take many months to a year for thicker applications!). Varnish protects your artwork from dust and UV light, unifies the sheen of your colors, making them pop, and brings out their true depth. These are all natural progressions in the incredible world of oil painting.
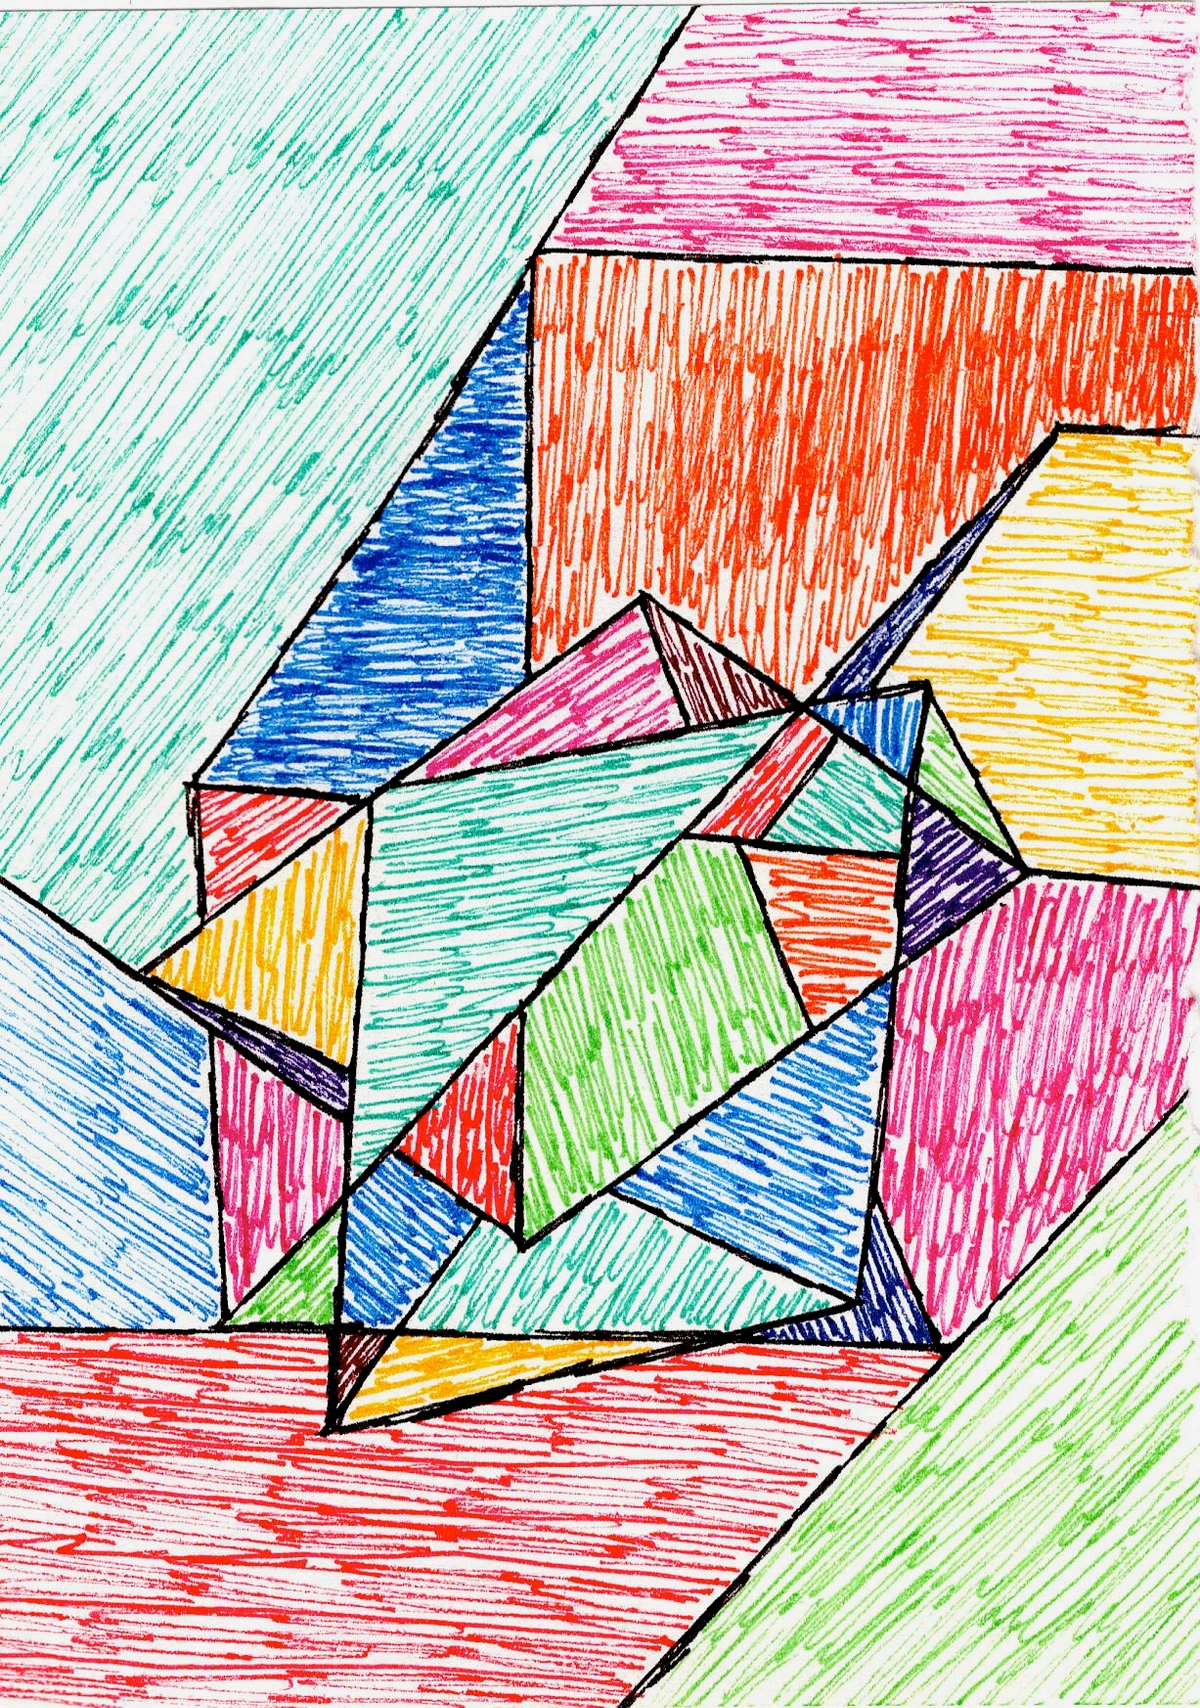
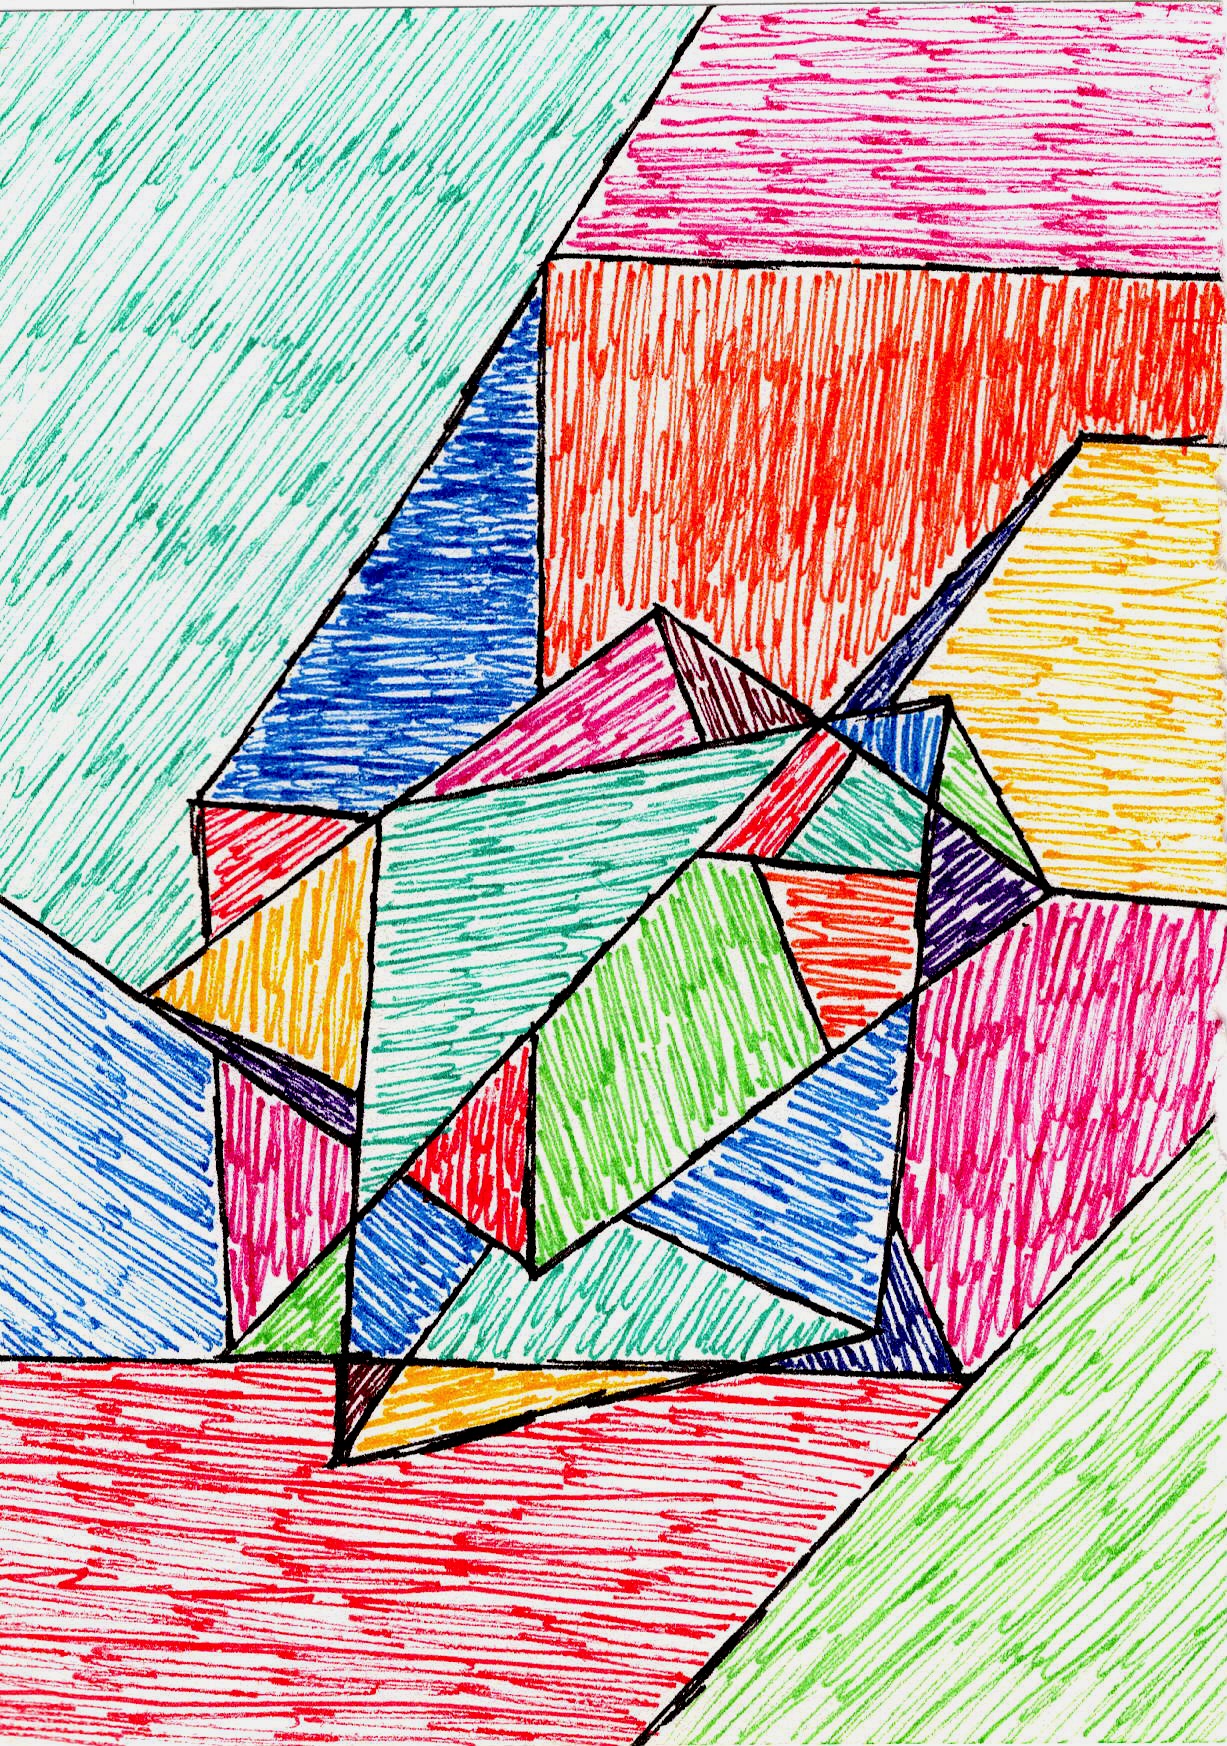
Happy painting! And hey, if you ever feel stuck for inspiration, maybe check out some of my work for Art Inspirations – sometimes seeing what others do can spark your own ideas, or even inspire you to add one of my colorful, abstract prints to your own collection via my art for sale. The journey of an artist is indeed one of continuous discovery, full of learning, mistakes, and glorious breakthroughs. So pick up those supplies, trust your intuition, and remember: you've absolutely got this.


