Your First Strokes: Essential Charcoal Drawing Supplies for Beginners
Unravel charcoal's raw power! This personal guide covers essential beginner supplies: charcoal types, paper with "tooth," erasers, fixatives, and pro-tips. Embrace the glorious mess, learn key techniques, and discover your artistic voice with honest, practical advice.
Your First Strokes: Essential Charcoal Drawing Supplies for Beginners: Finding Your Artistic Voice
I remember my first time truly picking up a charcoal stick, not just for a quick gesture study in art school, but with the intention of creating something substantial. It was more than a revelation; it was an awakening to a raw, immediate energy that other mediums just don't quite capture. This timeless medium, with its fine carbon particles clinging to paper to create deep, velvety blacks or diffusing for ethereal greys, has an enduring appeal. It dates back to the expressive marks on cave walls, gained prominence with the foundational studies of Old Masters like Leonardo da Vinci, Michelangelo – who famously used charcoal for precise anatomical drawings and grand preparatory sketches for masterpieces like the Sistine Chapel ceiling – and even Albrecht Dürer and Raphael, whose detailed preparatory charcoal studies reveal the meticulous planning behind their painted works. Later, it saw renewed, dramatic use in movements from Romanticism's stormy skies to the raw emotions of German Expressionism. For me, it felt incredibly forgiving too, which, let's be real, is precisely what a beginner needs. And yes, it's wonderfully, gloriously messy – a beautiful kind of chaos that gets under your fingernails and, if you're like me, into your soul.
But this enduring appeal quickly came with a practical hurdle: navigating the seemingly endless array of 'essential' supplies out there can feel truly overwhelming, a stark contrast to the raw freedom I'd just discovered. I know, because I felt it too. It’s like trying to build a complex IKEA wardrobe with fifty different tools when you only need a hex key and a hammer – you just end up drowning in options, right? Sticks, pencils, paper, erasers, fixatives, blenders – it’s a lot, right? I know what you’re probably thinking: "Do I really need all of that?" The short answer is no, not to start. Over the years, I've bought way more than I ever needed, made my fair share of impulse art supply purchases (we all do it!), and learned what truly makes a difference. My earliest sketches, done with a single soft charcoal stick and a piece of newsprint, proved that the magic is in the hand, not the hardware. So, let’s cut through the noise. In this guide, we'll break down the essential tools, from the charcoal itself to the paper, erasers, and beyond, to help you start your journey with confidence. Here’s my honest take on what you actually need to get started with charcoal drawing, without the overwhelm.
1. The Heart of the Matter: Charcoal Itself
So, let's talk about the star of the show, shall we? Charcoal comes in a few forms, and each has its own personality, its own voice, if you will. These are the voices of charcoal, ready to speak your artistic truth.
Vine and Willow Charcoal
These are your lightweights, your wispy, ethereal friends. Made from burnt willow or vine branches, they're incredibly delicate, producing soft, easily blendable lines and tones. The beauty here is their pure carbon nature with little to no binder; this means the pigment density is relatively low, making them incredibly easy to lift and erase almost completely. I often start my initial sketches with these. They're perfect for finding your form, experimenting with composition, and they erase almost completely, which is fantastic for those of us who tend to... let's say, explore our options a lot. Think of them as your warm-up act, or even for those really subtle, atmospheric backgrounds.
Compressed Charcoal
Now, this is where the drama happens. Compressed charcoal is exactly what it sounds like: powdered charcoal mixed with a binder (often gum arabic, clay, or a wax) and pressed into sticks or pencils. Think of the binder as the secret sauce that holds the charcoal together, significantly affecting its feel, permanence, and application. For instance, gum arabic typically results in a harder, more brittle charcoal excellent for sharper lines and a slightly 'chalkier' feel. Clay-based binders can offer a smoother, slightly grittier feel, lending themselves to varied textures and often a richer pigment load – imagine trying to evoke a rough brick wall versus smooth, worn stone. Wax binders create a softer, creamier charcoal that can be more resistant to smudging and water, offering unique textural qualities but sometimes resisting further layering, almost like drawing with a dense crayon. It’s also worth noting that the type of binder can impact the charcoal's long-term stability and lightfastness – how well it resists fading over time when exposed to light – though for most beginner work, this is less of an immediate concern. For now, focus on how it feels under your hand.
This stuff is intense, boasting a much higher pigment density that delivers those rich, deep blacks.
- Charcoal Sticks: These come in varying degrees of hardness – soft, medium, hard. You'll also find them in different shapes, like round or square; square sticks offer sharp edges for lines and broad sides for shading, while round ones are great for flowing marks. The softest will give you those incredibly rich, deep, velvety blacks that charcoal is famous for. The harder sticks offer more control and lighter tones. I usually have a few different hardnesses on hand, grabbing a soft stick when I want to punch up the contrast, or a medium one for general shading. They can be messy, yes, but oh, the power! You can also rub them on a sandpaper block to create fine charcoal dust, which is a medium in itself for soft, atmospheric tones.
- Charcoal Pencils: For precision, my friends, precision! These are basically compressed charcoal encased in wood, much like a graphite pencil. They're amazing for details, sharp lines, and keeping your hands relatively clean. If you're working on a more intricate piece, or just prefer a bit more control, charcoal pencils will quickly become your best buddy. I find them indispensable for expressive portraits, adding definition around eyes or the subtle lines of a mouth.
https://live.staticflickr.com/4146/5079854007_47a6d2f481_b.jpg, https://creativecommons.org/licenses/by/2.0/
For a quick comparison, here’s how the different types stack up:
Charcoal Type | Characteristics | Best For |
|---|---|---|
| Vine/Willow | Light, easily blendable, delicate, erases almost fully | Initial sketches, finding form, subtle tones, atmospheric backgrounds |
| Compressed Sticks | Intense blacks, rich tones, varying hardness (soft, medium, hard) | Broad shading, bold lines, punching up contrast, expressive marks |
| Compressed Pencils | Precision, sharp lines, clean handling | Details, intricate work, sharp highlights, expressive portraits, controlled lines |
In essence, these charcoal types are the fundamental building blocks of your expressive journey, and I still find myself reaching for each depending on the specific mood or texture I want to capture. Mastering these basic tools allows you to paint with light and shadow, truly expressing your unique vision. With the charcoal itself understood, let's explore the surface that will bring your marks to life.
2. Your Stage: The Paper
Just as a stage sets the scene for a performer, the right paper can elevate your charcoal drawings from good to truly captivating. And the right paper makes a huge difference with charcoal. Trust me on this, I've tried drawing on everything from receipt paper to canvas, and the paper really changes the experience. I once tried to sketch on a super smooth cardstock, and it was like trying to draw on ice – the charcoal just slid around with no grip! Another time, I picked up some cheap, thin sketching paper, and after just a few erasures, it was practically disintegrating beneath my kneaded eraser, leaving frustrating pilling and tears. Not fun at all; it was like the paper itself was giving up on my artistic ambitions!
- Texture (Tooth): Charcoal loves a bit of grip. You want paper with some tooth – a slight texture, almost like a subtle grain, that helps the charcoal particles grab on and build up layers. Smooth paper? Not so much. It'll just slide around and smudge indiscriminately, giving you little control. Imagine trying to get charcoal to stick to a perfectly smooth, oiled surface versus one that feels subtly fibrous or slightly abrasive. That 'tack' is the tooth.A paper with a fine tooth might feel like a very subtle textured wall, allowing for smooth gradations, delicate skin tones, and soft backgrounds, yielding soft, even marks. In contrast, a rougher tooth might be more akin to a slightly gritty pavement or even coarse fabric, perfect for pronounced textures, expressive skies, and building up heavy layers of deep black with a more grainy, broken effect. While newsprint is great for quick, cheap sketches and practice, for anything you want to keep, look for proper drawing paper rather than just
sketch paper. Drawing paper is typically heavier, more durable, and designed to withstand more abuse from various media, whereas sketch paper is often thinner and meant for light, ephemeral studies. Experiment with different levels of tooth; a rougher paper will yield a grainier texture, while a finer tooth allows for smoother blends. Common paper types with good tooth include charcoal paper, pastel paper (like Canson Mi-Teintes or Ingres paper), and even cold-press watercolor paper. Consider readily available brands like Canson, Strathmore, or Fabriano for good quality, accessible options; I've had great success with Strathmore's 400 Series Charcoal paper myself. - Weight: Thicker paper, usually 80lb (120 gsm) or heavier, just feels more substantial and can withstand more erasing and blending without tearing or buckling. Heavier paper also holds more layers of charcoal without getting saturated, making it ideal for layered, complex drawings and lifting techniques. Using paper that is too thin, especially with aggressive erasing, can damage the paper's fibers, making it harder for charcoal to adhere later and sometimes leaving a shiny, marred surface. I learned this the hard way once, ruining a promising sketch when the paper practically gave up after too much vigorous erasing – I remember thinking, "Well, that's what I get for trying to economize on paper!" Another time, a beautiful layered drawing on thin paper just felt... flat because it couldn't hold the depth of tone I wanted.
- Color: Don't always stick to white! Toned paper (greys, browns, even light blues) can be a game-changer, allowing you to work with both black and white charcoal for amazing highlights and mid-tones. It opens up a whole new world of possibilities, letting you use the paper itself as a mid-value, thus expanding your full range of values from the deepest blacks to the brightest whites. Struggling to choose the right paper for your drawings? You might find some useful insights in my thoughts on essential drawing supplies for beginners.
https://live.staticflickr.com/8106/28584971225_11401ccfde_b.jpg, https://creativecommons.org/licenses/by/2.0/
Choosing the right paper truly elevates your charcoal experience from frustration to flow – it's the quiet partner that makes all the difference, laying the perfect foundation for your expressive marks. Now, let’s talk about those unsung heroes that help you shape and refine those marks: erasers.
3. The Unsung Heroes: Erasers
What if I told you your eraser isn't just for mistakes? Yes, even mistakes can be beautiful, but sometimes, you just need a do-over. Or, more accurately, you need an eraser to draw with – to sculpt light and create form. Confused? Let me explain. Erasers, especially the kneaded kind, are your tools for "drawing with light" – removing charcoal to reveal highlights or create subtle forms, making them as crucial for adding light as charcoal is for adding shadow.
- Kneaded Eraser: This magical blob is your best friend. It doesn't rub charcoal away like a typical rubber eraser; instead, it lifts it. Think of it like a sticky piece of dough that absorbs the charcoal particles. You can mold it into different shapes to pick up broad areas, create subtle transitions, or lift tiny highlights. I love this thing because it’s not destructive; it’s a tool for refining, for creating light and texture. It's forgiving, just like charcoal itself. To try "drawing with light," shade an area completely, then mold your kneaded eraser into a point and gently dab or stroke to create a thin line or small highlight. As you work, your kneaded eraser will collect charcoal dust; simply knead it to refresh a clean surface and prevent accidental smudging back onto your drawing.
- Plastic/Vinyl Eraser: For when you need to be decisive. A regular white plastic eraser is great for sharp, crisp highlights or for completely removing charcoal in a specific area. I vividly remember one time I was trying to render a glint in an eye, and only a sharp-edged plastic eraser could give me the precision I needed – it was a true lifesaver for that tiny detail! Just be gentle, as its abrasive quality means too much rubbing can damage the paper's surface, breaking down the fibers and making it harder for charcoal to adhere later, potentially leaving a sheen. When using it, remember to gently brush away the eraser dust that accumulates, to avoid redistributing it and creating unwanted smudges.
- Eraser Pencils: These look like regular pencils but contain a fine, sharp eraser tip. They're fantastic for very precise details, cleaning up edges, or adding hair-fine highlights. Definitely a "bits and bobs" item, but incredibly useful once you get more comfortable.
- Dustless Erasers: While marketed as "dustless," these erasers will still produce some residue, but significantly less crumbling compared to traditional vinyl erasers. They can be a cleaner option for certain applications, but I find their lifting power isn't always as strong as a good kneaded eraser, and they can sometimes leave a residue that fixative reacts poorly with. They have their place, but a good kneaded eraser and a plastic one cover most bases.
These humble tools are essential for correction, refinement, and adding expressive light to your charcoal art, transforming mere removals into intentional artistic gestures, adding another layer to your story. And once you’ve laid down those marks, you’ll want to manipulate them. That's where blending comes in.
4. The Blenders & Smudgers: Your Fingers and Beyond
Okay, full disclosure: my fingers are my primary blending tools. Always have been, always will be. There's something wonderfully direct and intuitive about it, though it does mean perpetually having charcoal smudges under my nails. I once turned up to a fancy dinner with the darkest charcoal-stained digits you can imagine – a badge of honor, I called it! But if you're aiming for a cleaner process or more refined blends (or just want to avoid awkward dinner conversations), there are other options to manipulate those beautiful marks. Just remember, while blending is powerful for creating smooth transitions, over-blending can make your drawing look muddy or "dead," losing the vibrant texture that charcoal excels at. This happens because excessive blending grinds the distinct charcoal particles flat against the paper's tooth, dulling their light-catching qualities and resulting in a uniform surface without dynamic depth. Use blending thoughtfully and sparingly, treating it like a powerful spice – a little goes a long way.
- Tortillons (Paper Stumps): These are tightly rolled paper sticks with pointed ends. They're like little paper magic wands! They're fantastic for precise blending, getting into small areas, or creating smooth, controlled gradients without getting your fingers dirty. You can even sharpen them with sandpaper to get a pristine tip. Pro-tip: Don't use your mouth to clean them – charcoal tastes surprisingly bitter!
- Chamois Cloth: A piece of soft leather (or synthetic chamois) can be amazing for broad, subtle blending, especially for large areas of tone like backgrounds or skin. It creates a very soft, velvety finish and is excellent for laying down smooth base tones. It's often favored by artists for large-scale work where a uniform, soft tone is desired.
- Brushes: Soft bristle brushes (like a hake brush or even an old makeup brush) can be used for very light, subtle blending, especially for dusting off excess charcoal or creating hazy effects. As I mentioned earlier, you can create your own charcoal dust by rubbing a soft charcoal stick on a sandpaper block, then apply this dust with a brush or chamois for incredibly smooth, broad tones. This charcoal dust can be a medium in itself, allowing for soft, atmospheric effects, almost like painting with powder. For even more ethereal effects, a light mist of water from a spray bottle can transform charcoal dust into soft washes directly on the paper, blending and softening edges beautifully.
Want to go deeper into how different tools interact with charcoal to create specific effects? Check out my article on understanding and using charcoal for drawing. There, I delve a bit more into various techniques.
From fingers to fine brushes, blending tools allow you to sculpt and refine your charcoal marks, giving you the power to smooth out the chaos or let the raw energy shine through, shaping the very atmosphere of your piece. And once you're happy with your masterpiece, it’s time to protect it.
5. Freezing the Moment: Fixative
Charcoal, bless its expressive heart, is inherently messy. It's fugitive, meaning those beautiful marks can easily smudge and rub off, disappearing over time if not protected. This is where fixative comes in – it's like hairspray for your drawing. Once you've blended and sculpted your forms, the next crucial step is to protect your work from the inherent fragility of charcoal. But here’s the thing: it’s crucial to use it correctly and to understand its types.
- Workable Fixative: This type allows you to spray a light coat, then continue working on top of it. It slightly "sets" a layer of charcoal, reducing smudging, but you can still add more charcoal or lift with an eraser. It's great for building up many layers without losing the previous ones.
- Final Fixative: This is for when your drawing is completely finished. It creates a more permanent, protective layer, sealing the charcoal in place.
How to Apply: Always use fixative in a well-ventilated area (seriously, open a window and maybe even wear a mask if you're using a lot!). Fixatives come in aerosol cans or pump sprays; aerosols tend to offer a finer, more even mist, while pump sprays give you more control but can sometimes result in droplets if not used carefully. Apply it in thin, even coats from about 12-18 inches away. Don't go overboard, or your drawing might end up looking shiny, subtly altering tones, creating a sheen, or even changing the paper's texture and absorbency for subsequent layers. A heavy application can saturate the paper, and the chemicals in the fixative can sometimes react with the charcoal pigment or the paper's sizing. I learned that the hard way with a particularly dramatic landscape sketch once, which darkened slightly, losing some of its atmospheric highlights after too heavy an application. A single, confident sweep from a distance is usually sufficient. Remember, while fixative helps, charcoal will always be somewhat delicate, so handle your finished pieces with care.
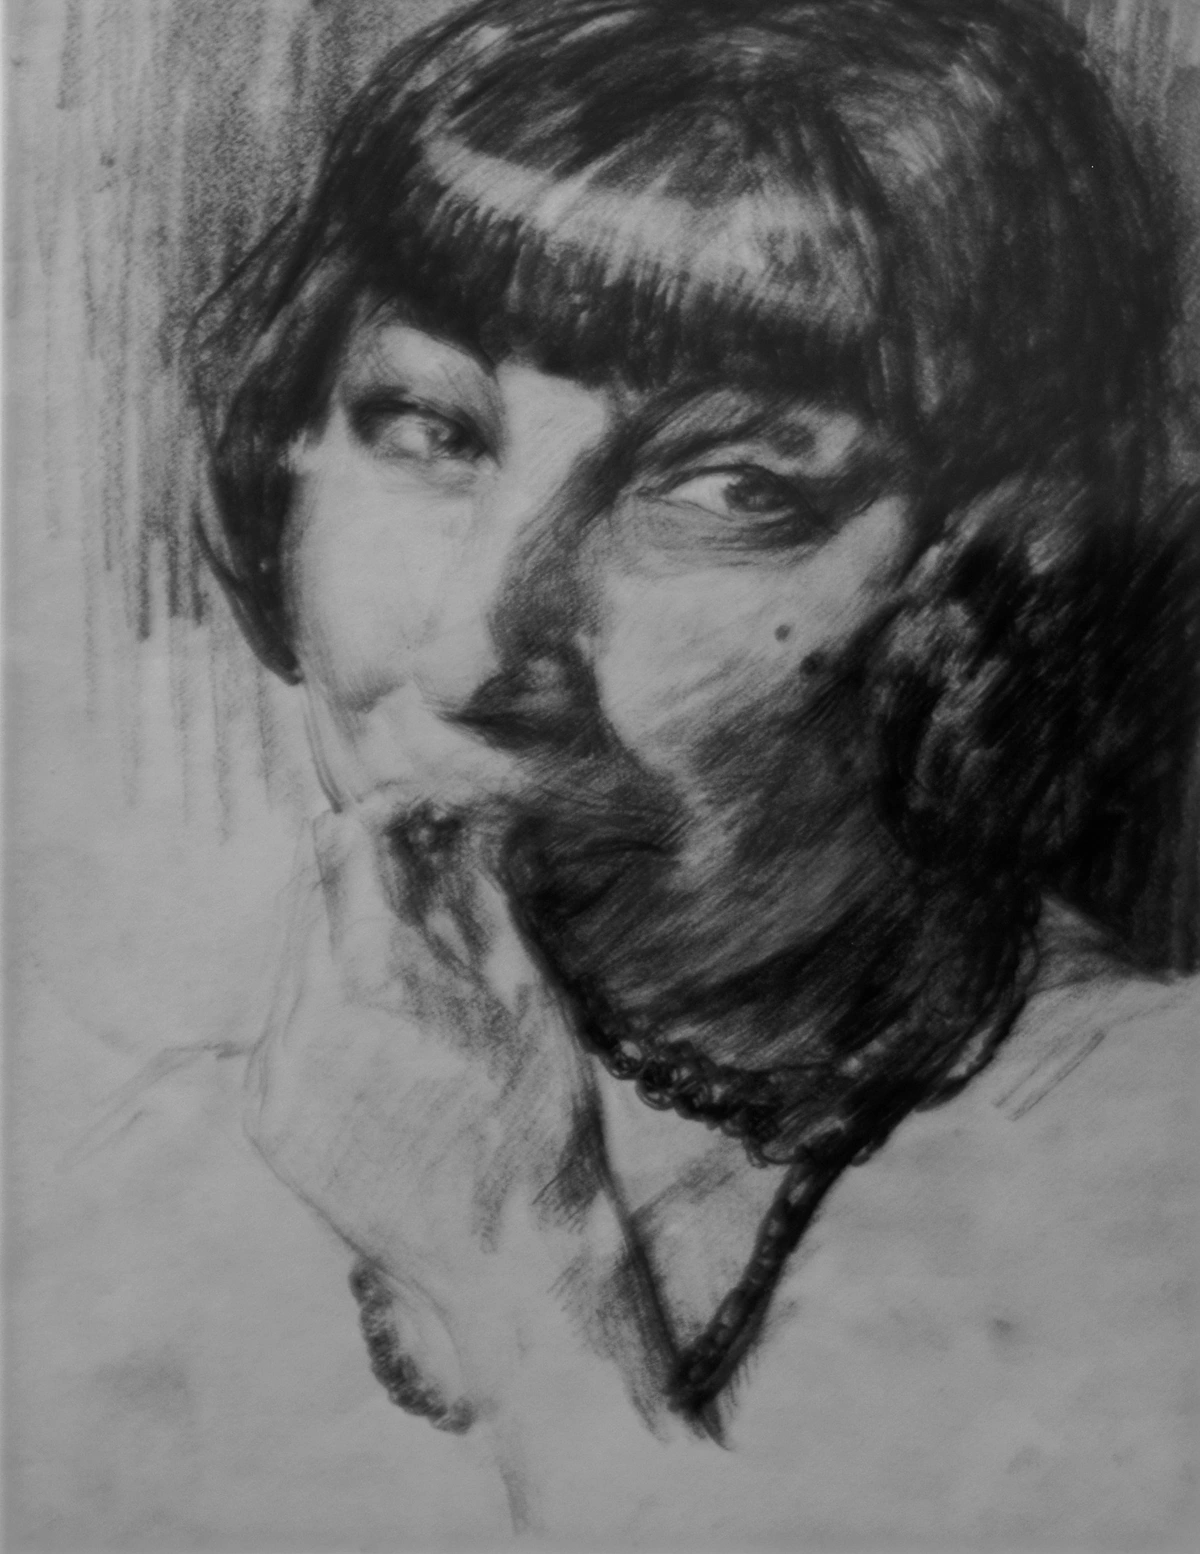
https://upload.wikimedia.org/wikipedia/commons/1/13/Malicious_Expression_%281920%29_-Adriano_de_Sousa_Lopes%281879-1944%29_%2839994934792%29.jpg, https://creativecommons.org/licenses/by/2.0
Fixative is your drawing's armor, protecting your hard work from the inevitable smudges and preserving your expressive moments for years to come, sealing your vision in time. Beyond these absolute essentials, a few companions can make your journey even smoother.
6. Helpful Additions & Accessories: Beyond the Absolute Essentials
While not strictly "essential" for your very first foray, these tools can certainly enhance your charcoal journey once you've got the basics down. Think of them as useful companions once you're comfortable with the core supplies, offering refinement and convenience.
- Sharpeners for Charcoal Pencils: A standard pencil sharpener works, but a craft knife (like an X-Acto) or a sandpaper block can give you a much finer, longer point for delicate work and controlled lines. A sandpaper block is also fantastic for creating fine charcoal dust from sticks, which you can then apply with a brush or chamois for smooth, broad tones. I used to just snap my charcoal sticks to get a new edge – don't do that, it's incredibly wasteful!
- Drawing Board/Easel: I used to scoff at drawing boards, thinking they were for "serious" artists, but honestly, keeping your paper steady on a firm surface can make a big difference. It's especially helpful if you're working on larger pieces or want to work at an angle. Working at an angle (on an easel or slanted drawing board) allows gravity to pull excess charcoal dust away from your drawing, keeping it cleaner and reducing potential smudging. It can also help you observe your subject and drawing from a better perspective, reducing distortion and allowing you to see the overall composition more objectively. Plus, a comfortable working posture means less fatigue during longer sessions.
- Good Light Source: This might sound obvious, but drawing under adequate, consistent light (preferably natural light or a good quality daylight lamp) is crucial. Specifically, consider a full-spectrum daylight bulb or LED lamp with a high Color Rendering Index (CRI) of 90+ and a color temperature around 5000K (daylight white). This kind of light helps you accurately perceive values, contrast, and subtle tones without introducing unwanted color casts, which are the very heart of charcoal drawing. Trying to draw in dim or inconsistent light is like trying to paint with your eyes half-closed – you're simply not seeing the full picture.
- Gloves: If you truly despise charcoal hands (and I get it, sometimes you just need to be clean), thin cotton gloves can protect your hands while still allowing you to feel the paper. I mostly just accept the smudges as a badge of honor, though I do have a special 'studio towel' that's more charcoal than white these days.
- Dusting Brush: A soft, clean brush (like a pastry brush or a dedicated art brush) is wonderful for gently brushing away excess charcoal dust without smudging your drawing, crucial for maintaining clean areas.
- Viewfinder: A simple cardboard cutout or even your fingers forming a rectangle can help you frame compositions and isolate specific areas for study, aiding in focusing your observation. It's like having a little director's lens for your drawing.
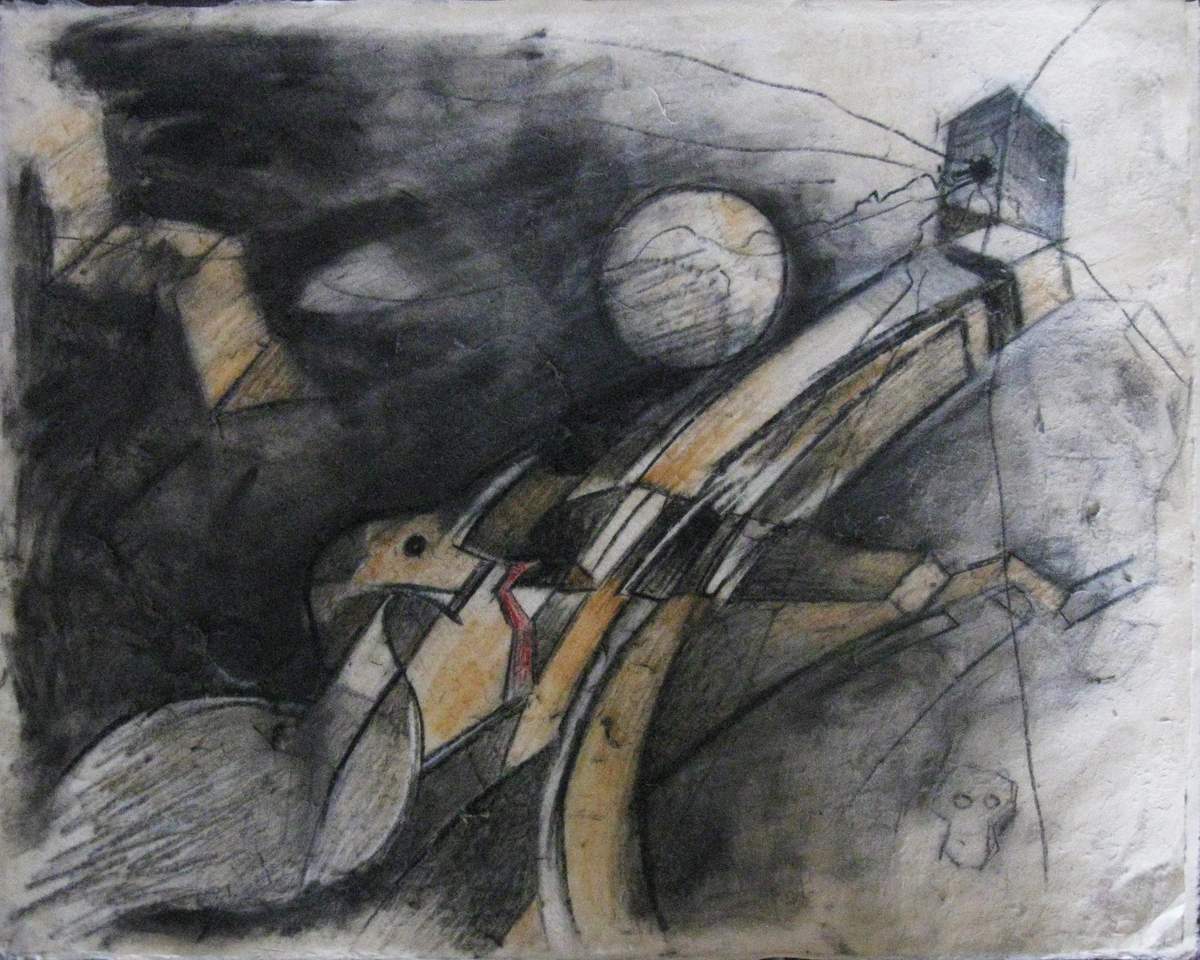
https://upload.wikimedia.org/wikipedia/commons/7/79/Bird_and_moon.jpg, https://creativecommons.org/licenses/by-sa/4.0
These companions aren't strictly necessary to begin, but they certainly smooth out the journey, letting you focus more on the art itself and less on the minor frustrations, allowing your creativity to truly soar. Now that you're equipped, let's talk about putting charcoal to paper.
7. Trying it Out: Basic Techniques for Beginners
So you have your essential supplies, now what? The beauty of charcoal is its versatility. Here are a few foundational techniques to get you started and help you understand how your tools interact with the paper. If you're looking for a deeper dive into how to use charcoal, you might find my article on how to use charcoal for drawing basics helpful.
- Hatching and Cross-Hatching: This involves drawing parallel lines (hatching) or intersecting sets of parallel lines (cross-hatching) to build up tone and texture. The closer the lines, the darker the tone. This is excellent for defining form and creating a sense of direction in your drawing, offering a controlled way to build value without relying solely on smudging. Vine charcoal can be great for light, initial hatching due to its delicate, easily lifted marks, while compressed charcoal pencils excel at crisp, darker cross-hatching because of their density and precision.
- Scumbling: Instead of lines, scumbling involves making small, circular, overlapping marks. This creates a soft, textured, and often atmospheric tone, giving a subtle "fuzziness" to your tones, much like the soft texture of clouds or the subtle outline of distant trees. It differs from blending as it leaves visible, textured marks rather than completely smoothing the surface. Soft vine charcoal is ideal for broad, ethereal scumbling because of its dustiness, and soft compressed sticks can create denser scumbled textures.
- Stippling: This technique involves creating tone and texture using tiny dots. The denser the dots, the darker the perceived tone. It’s particularly effective with charcoal pencils for fine details and precise gradations, allowing for a unique textural quality, often used for delicate textures like skin or intricate patterns. While possible with sticks, the precision of charcoal pencils makes them the ideal tool for distinct, individual dots that cumulatively form tone and texture, unlike the more diffused texture of scumbling.
- Blending: As we discussed, you can blend with your fingers, tortillons, or a chamois. Experiment with how each tool spreads the charcoal. Blending creates smooth transitions and can soften harsh lines. Remember, too much blending can make a drawing look muddy, so use it thoughtfully. It's a powerful tool, but like a strong spice, best used in moderation.
- Lifting: This is where your kneaded eraser shines. Press it onto an area of charcoal and lift to remove tone, creating highlights or softer edges. Mold the eraser into different shapes to control the amount and shape of the lifted area. This is essentially drawing with light – a fantastic way to refine your work! A plastic eraser or eraser pencil is great for sharp, crisp highlights.
To try a simple gradient: Take a soft compressed charcoal stick and draw a solid block of dark tone. Then, gradually lighten your pressure as you move across, letting the tone fade. Now, take a tortillon and gently blend the harsh edge where the dark and light areas meet, creating a smooth transition. Don't overdo it! Experiment with these. See how a soft stick creates bold scumbles, and how a hard pencil excels at crisp hatching. This isn't about perfection; it's about discovery – and sometimes, the most surprising results come from just trying something new, truly pushing the boundaries of your artistic expression. For a quick win, try sketching a simple still life of an apple or a draped cloth using just vine charcoal for initial shapes and a soft compressed stick for shadows. You could even try some quick gesture drawings of people or animals to capture movement and form. These simple subjects are fantastic starting points to practice seeing light and shadow.
8. My Drawing Mindset: Essential Advice for the Journey
Look, the biggest "essential" supply isn't actually a supply at all. It's a mindset. It's the willingness to play, to make a mess, and to see where the charcoal takes you. But beyond that, here are a few things I wish someone had told me early on:
- Start Simple: Don't feel pressured to buy every single item on this list right away. Grab a few charcoal sticks (maybe a soft and a medium), a kneaded eraser, and a pad of drawing paper with some tooth, perhaps a Canson Mi-Teintes or Strathmore charcoal pad. That's your launchpad. You might even find beginner-friendly charcoal drawing kits that bundle these essentials, making it easier to start.
- Experiment Fearlessly: Try making different marks. Press hard, press light. Smudge with your finger, then with a tortillon. See how the charcoal behaves on different areas of your paper. This isn't about perfection; it's about discovery.
- Embrace the Mess: Charcoal is messy. It's part of its charm. My studio floor has a permanent charcoal sheen, and I once accidentally smudged a masterpiece right before framing because I forgot a piece of glassine (a common protective sheet). Don't fight it; revel in it. It means you're really getting into the work! I even remember a time when a stray smudge, born from a moment of absent-mindedness, unexpectedly transformed into the perfect atmospheric effect in a landscape, a happy accident that taught me to loosen up.
- Draw Daily (or as often as you can): Even if it’s just a 5-minute doodle, keep that hand moving. Try quick gesture drawings of people or pets, sketch a single object from your desk, or spend 10 minutes practicing value scales. The more you work with charcoal, the more intuitive it becomes.
- Observe Closely and Understand Light: Develop your observational skills by drawing from life or good quality reference photos. Pay particular attention to how light falls on objects, creating distinct planes of light, mid-tones, and shadows. Understanding your light source – whether it's direct sunlight, soft diffused light, or multiple sources – is fundamental. It affects contrast, form, and the overall mood of your drawing. For beginners, simple geometric forms like a sphere or cube, everyday objects like fruit or draped fabric, or even your own hand, are fantastic starting points to practice seeing light and shadow. Try simplifying subjects into 3-5 distinct values initially, perhaps starting with a white sphere under a single light source to really grasp the nuances of value transitions.
- Value Studies: Since charcoal excels at capturing light and shadow, practicing value studies (focusing solely on light and dark tones) is a foundational exercise that will significantly improve your charcoal drawings. It's like learning to see the world in monochrome before adding color.
- Don't Overthink It: The beauty of charcoal, especially for beginners, is its immediacy. It allows for spontaneous expression. Don't get bogged down in trying to make things 'perfect' from the get-go. Just draw.
If you're curious about where my own artistic journey began with various materials and techniques, I've shared a lot of my explorations on my timeline. It's a journey filled with a lot of experimentation, I can tell you that much!
https://images.pexels.com/photos/9176028/pexels-photo-9176028.jpeg, https://creativecommons.org/public-domain/
The biggest "essential" supply isn't actually a supply at all. It's a mindset – the willingness to play, to make a mess, and to see where the charcoal takes you. Embrace this, and the journey itself becomes the masterpiece, guiding you to new discoveries.
Frequently Asked Questions (FAQ)
Q: What's the absolute bare minimum I need to start? A: Honestly, a stick of medium compressed charcoal, a kneaded eraser, and some decent drawing paper with a bit of tooth. That's it. You can achieve so much with just those three, and it’s a great way to see if you even like working with charcoal before investing more.
Q: Can I use regular printer paper? A: You can, but you probably won't love it. Printer paper is too smooth; charcoal won't adhere well, and it'll smudge indiscriminately. It also tends to buckle easily, tear with much erasing or blending, and can't handle much manipulation. Investing in some proper drawing paper (even a basic sketching pad) makes a world of difference in your experience and results.
Q: How do I prevent my charcoal drawings from smudging? A: A light application of spray fixative (especially a final fixative) is your best friend here. Also, try to handle your finished drawing as little as possible. For protection during transport or storage, place a sheet of tracing paper or glassine over the drawing. And, as I mentioned, the kneaded eraser is excellent for lifting stray marks without causing further smudges.
Q: Are expensive supplies really necessary for beginners? A: Absolutely not! While good quality makes a difference, you don't need the top-tier, artist-grade stuff right away. Focus on learning the medium and expressing yourself. Mid-range supplies from reputable brands like Winsor & Newton, Faber-Castell, or Strathmore are perfectly fine, and many stores offer beginner kits. That said, I've found that investing in one or two slightly higher-quality items – perhaps a specific type of paper you love or a very soft, artist-grade charcoal stick – can sometimes offer a noticeably different, more enjoyable, and less frustrating experience. Your skill, not the price tag of your supplies, is what truly matters.
Q: How do I clean up my charcoal workspace? A: Charcoal is messy, but manageable! Use a soft dusting brush or a vacuum cleaner with a brush attachment for surfaces. For larger amounts of dust, gently sweep it into a disposable container before vacuuming to prevent clogging. Avoid wiping with a damp cloth, as this can create stubborn stains. For your hands, soap and water work well, but you might find specialized art wipes helpful. Always clean your brushes thoroughly after use.
Q: What's the difference in dust production between charcoal sticks and pencils? A: Generally, charcoal sticks, especially softer ones, produce more dust than charcoal pencils. This is because sticks have less binder holding the particles together. While messier, this dust from sticks is actually a powerful tool that can be manipulated for soft, atmospheric effects with brushes or chamois. Charcoal pencils, with their wood casing and often harder compression, produce less dust, offering a cleaner experience ideal for precise lines and details where minimal smudging is desired.
Q: What's the difference between charcoal and graphite pencils? A: While both are drawing mediums, charcoal and graphite behave quite differently. Charcoal is made from burnt organic material (wood), producing very dark, matte blacks and easily blendable, dusty textures. It's great for expressive, rich tones and large areas. Graphite, made from carbon and clay, creates shinier, metallic blacks and a smoother, less dusty mark. It's generally better for fine detail, sharp lines, and less smudging, but it can't achieve the same deep, velvety black as charcoal. Think of charcoal for drama and atmosphere, and graphite for precision and subtle sheen.
Q: What's the difference between charcoal dust and charcoal powder? A: The terms "charcoal dust" and "charcoal powder" are often used interchangeably, and for most practical purposes, they refer to the same thing: finely ground charcoal particles. "Dust" might imply it's a byproduct of drawing or sharpening, while "powder" usually refers to charcoal sold specifically in powdered form for painting or large-area application. Both can be applied with brushes or chamois for smooth, soft tones. The key is that they are loose, pigment-rich particles, distinct from charcoal sticks or pencils which are bound or compressed.
Q: Do charcoal supplies have a shelf life? A: Most charcoal sticks and pencils have a very long, almost indefinite, shelf life if stored in a cool, dry place. Paper will also last a long time if kept flat and away from humidity. However, fixatives do have a shelf life, typically several years. Over time, they can lose their effectiveness, or the solvents might degrade, leading to uneven sprays, yellowing, or a less protective finish. Always check the manufacturer's recommendations and expiry dates on fixative cans, especially if you haven't used one in a while.
Conclusion: Your Artistic Journey Awaits!
So, there you have it: my slightly rambling, definitely honest guide to essential charcoal drawing supplies for beginners. It's a beautiful medium, full of possibilities, and thankfully, it doesn't demand a huge investment to get started. What it does ask for is your willingness to explore, to get a little dirty, and to discover the sheer joy of pulling rich tones and dramatic forms from a simple black stick.
Are you ready to embrace the dramatic power of charcoal and start creating your own masterpieces? Don't let the fear of a blank page or a messy medium hold you back. My guide is designed to empower you with the knowledge and confidence to begin your charcoal drawing journey today. Dive in, experiment, and discover the sheer joy of this ancient yet ever-relevant art form. The beauty of charcoal lies in its immediacy and forgiveness, making it an ideal medium for beginners to explore their creativity without pressure. For your very first drawing, why not try a simple still life of an everyday object, focusing on light and shadow? Or perhaps an expressive sketch of a pet. Let your unique artistic voice emerge through the velvety blacks and subtle greys that only charcoal can provide. You might just surprise yourself with what you create.
This journey, starting with simple tools, can lead to creating works that express your unique vision, much like the pieces I explore in my own artistic practice, whether it's abstract art available for sale or pieces considered worthy of a museum display. The rich textures and dramatic contrasts you see in my own abstract pieces often begin with these very fundamentals, proving that even the simplest tools can unlock profound artistic expression. The journey often starts with the simplest of tools and a willingness to explore, leading to profound artistic expression.
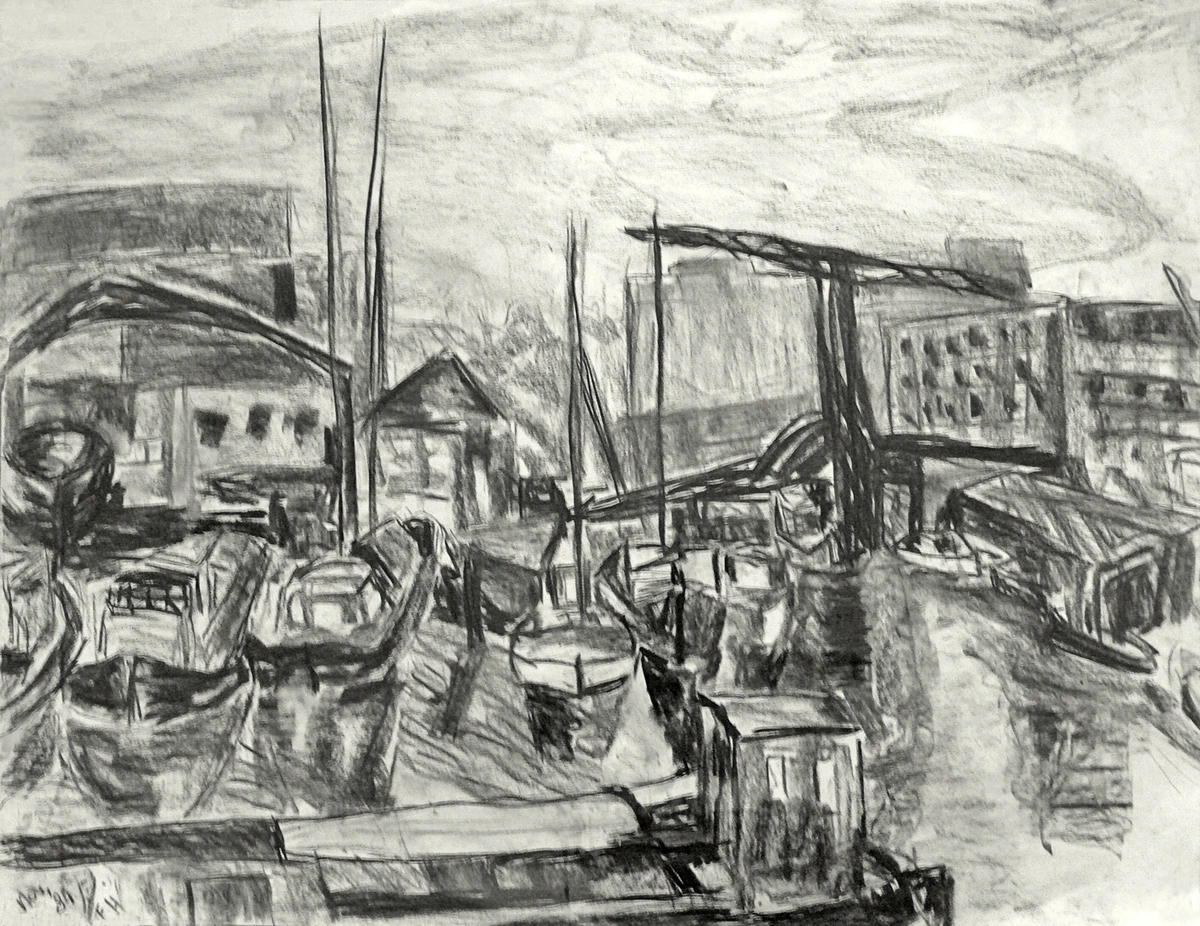
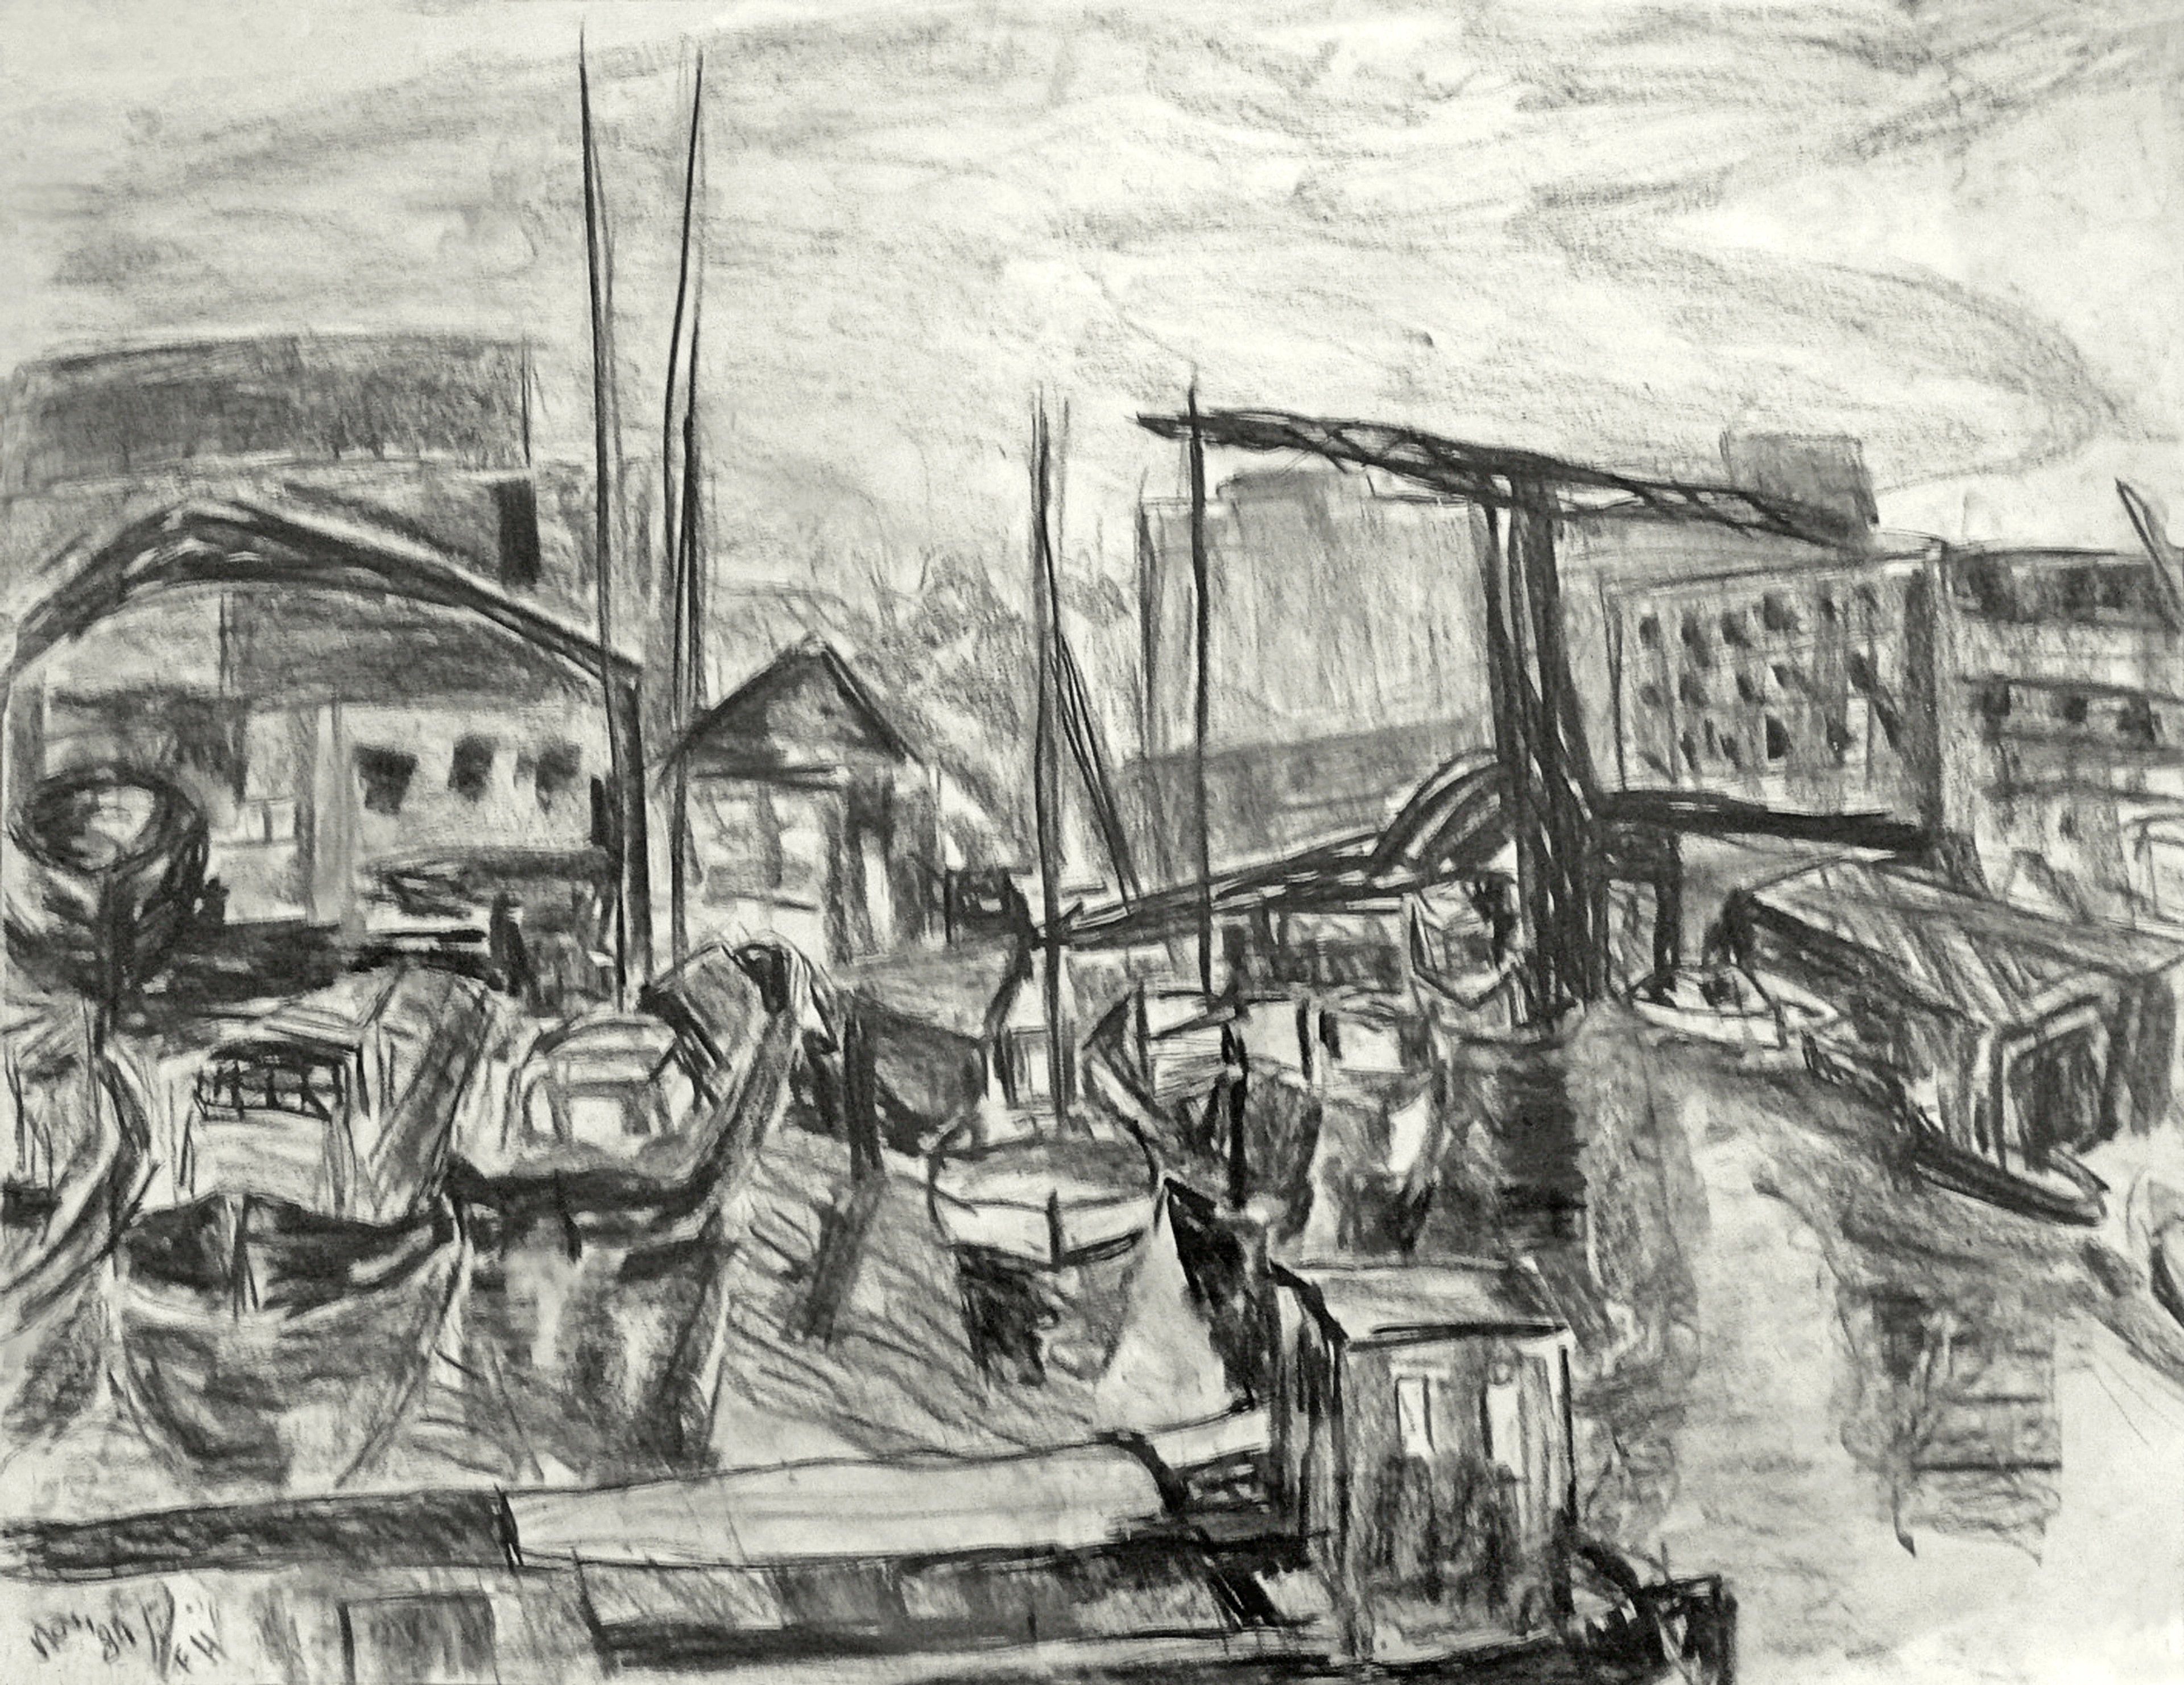
https://upload.wikimedia.org/wikipedia/commons/3/34/Charcoal_drawing_of_old_shipyard_De_Kromhout_in_Amsterdam_by_Fons_Heijnsbroek%2C_1988.jpg, http://creativecommons.org/publicdomain/zero/1.0/deed.en
So, take that first step. Feel the charcoal in your hand, smell the paper, and let the incredible, messy magic unfold. Your unique artistic voice is waiting. Happy drawing!


