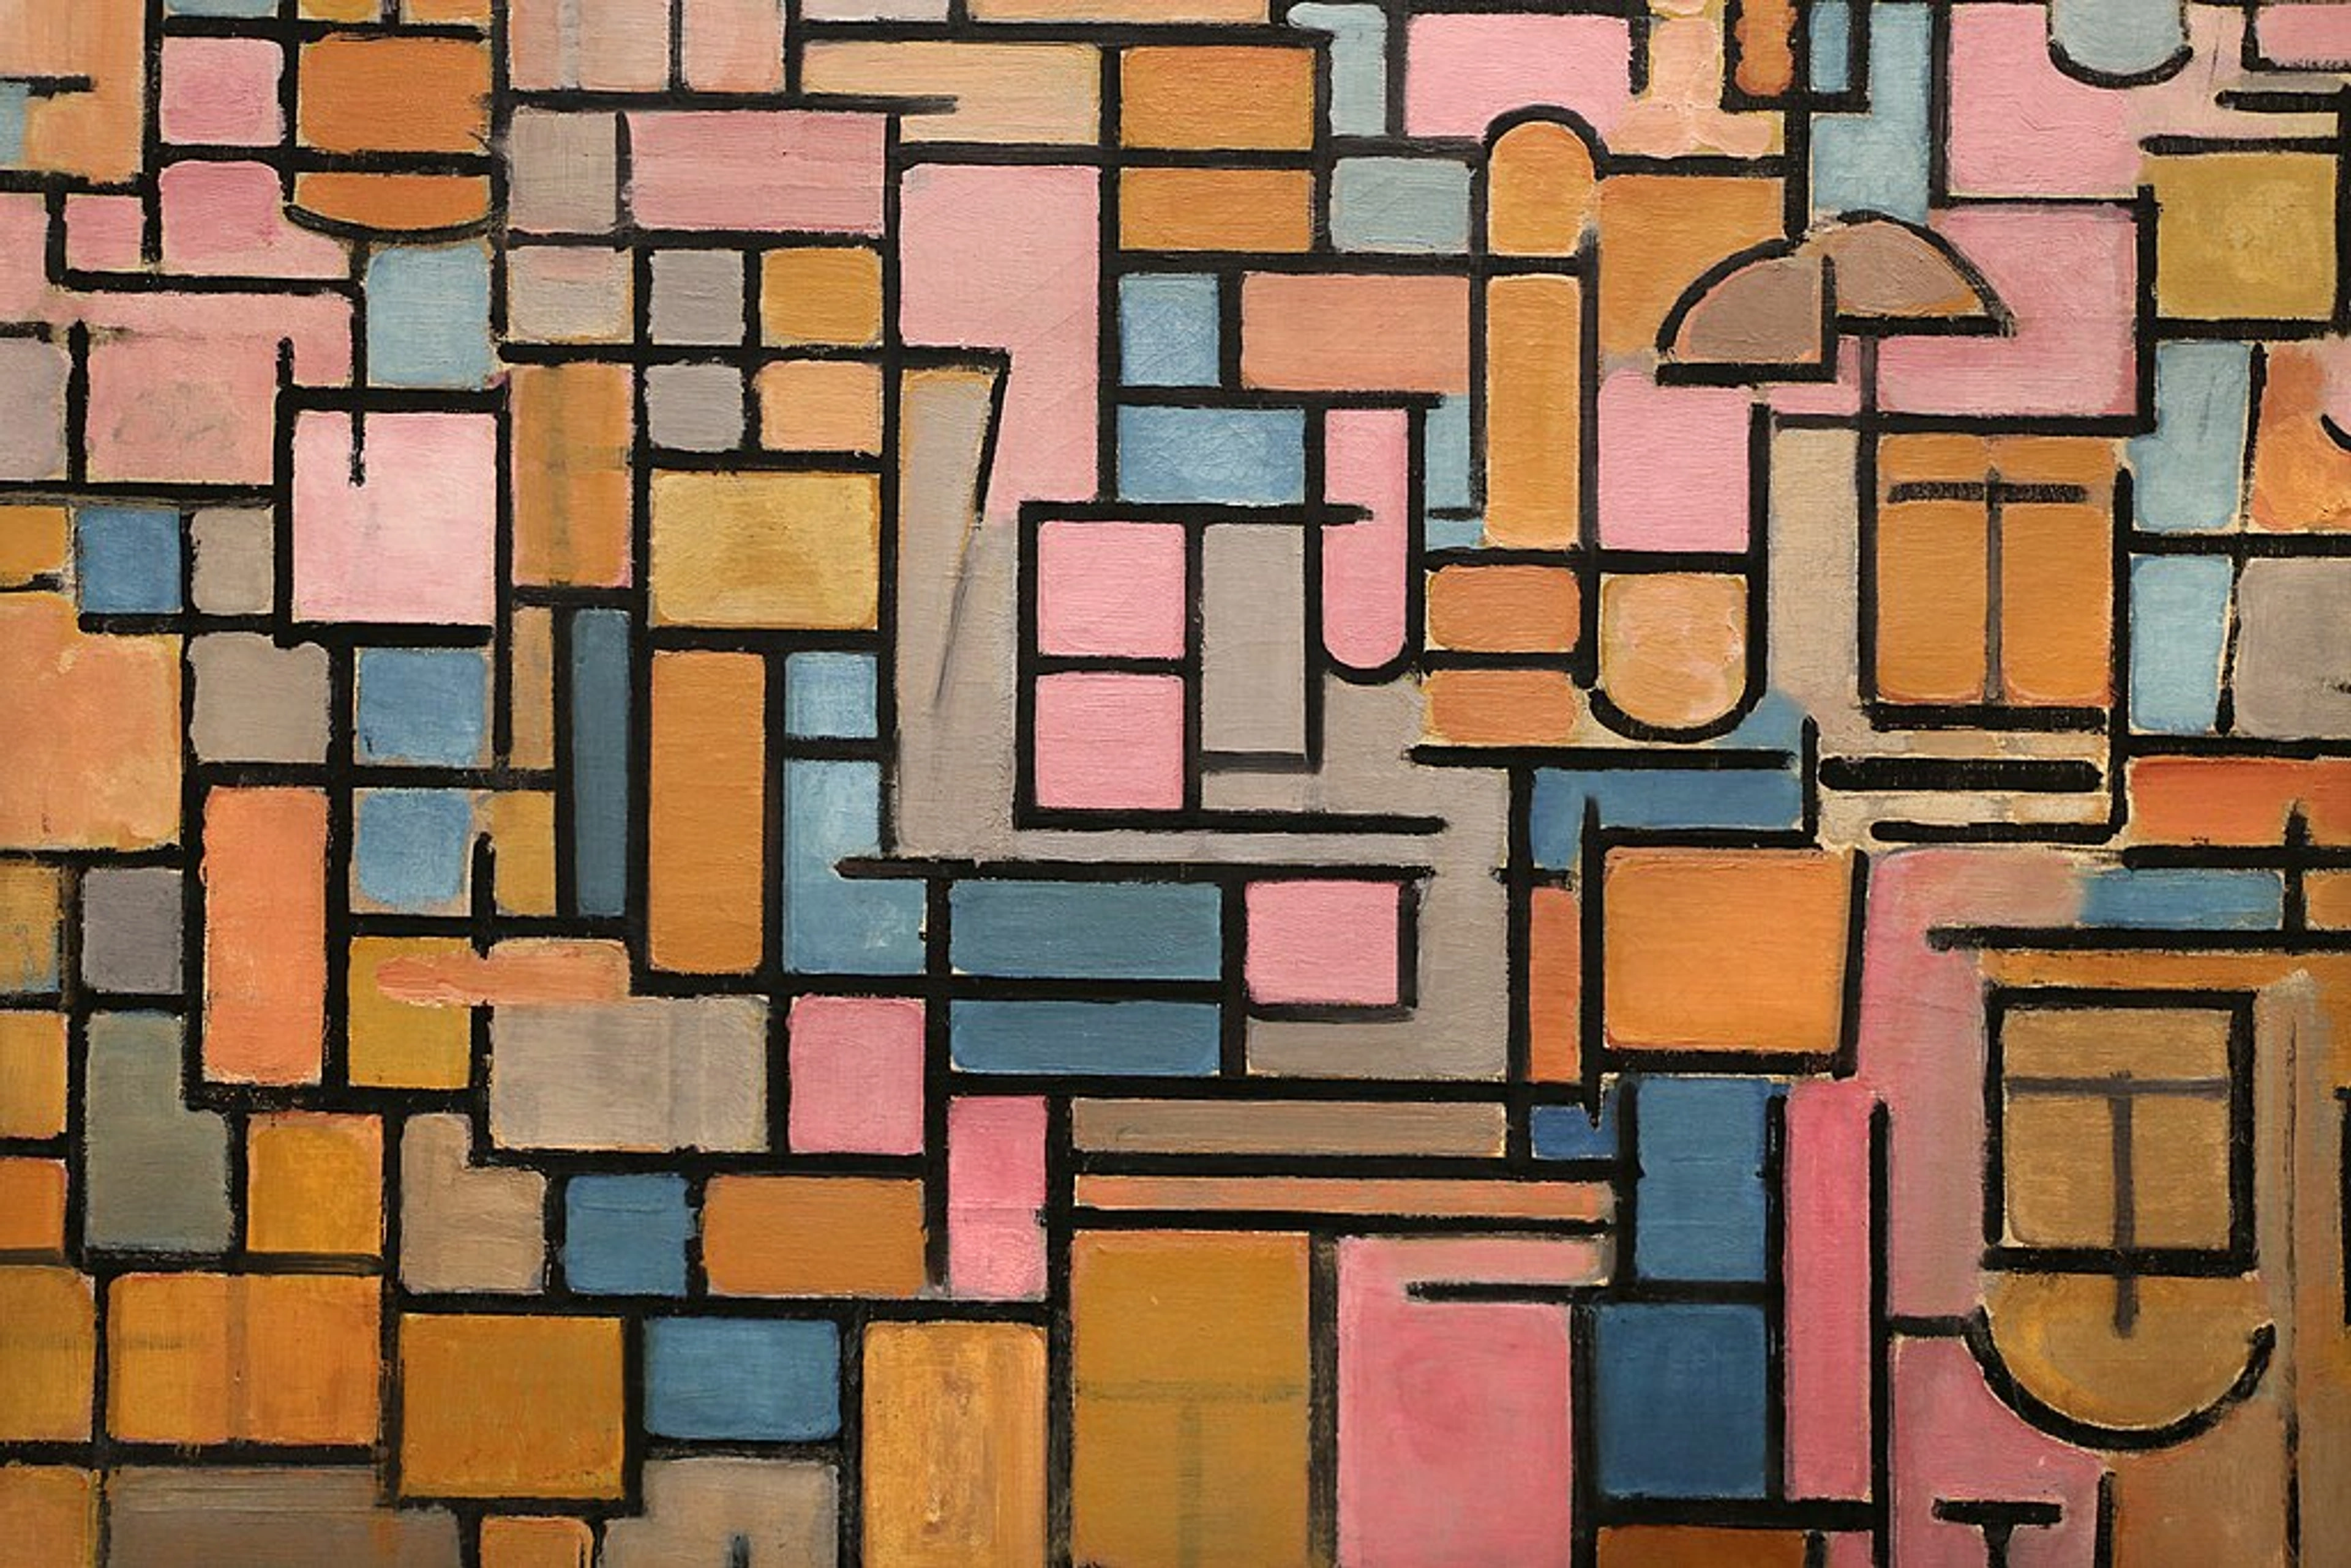
Mastering Crisp-Edge Painting Techniques: The Ultimate Guide
Discover professional methods for achieving sharp, clean lines in your artwork. From masking to brushwork, this comprehensive guide demystifies precision painting techniques for artists at every level.

Mastering Crisp-Edge Painting Techniques: The Ultimate Guide
Let me confess something: my early abstracts were chaotic messes. Paint bled everywhere, edges dissolved into muddiness, and precision felt like chasing ghosts. That is, until I discovered crisp-edge techniques. Suddenly, shapes locked into place like they’d been surgically implanted. The discipline felt almost meditative, transforming my chaotic energy into focused clarity. If you’ve ever stared at bleeding acrylics or watercolor washes that refuse to behave, this guide might just become your new best friend.
Why Sharp Edges Matter
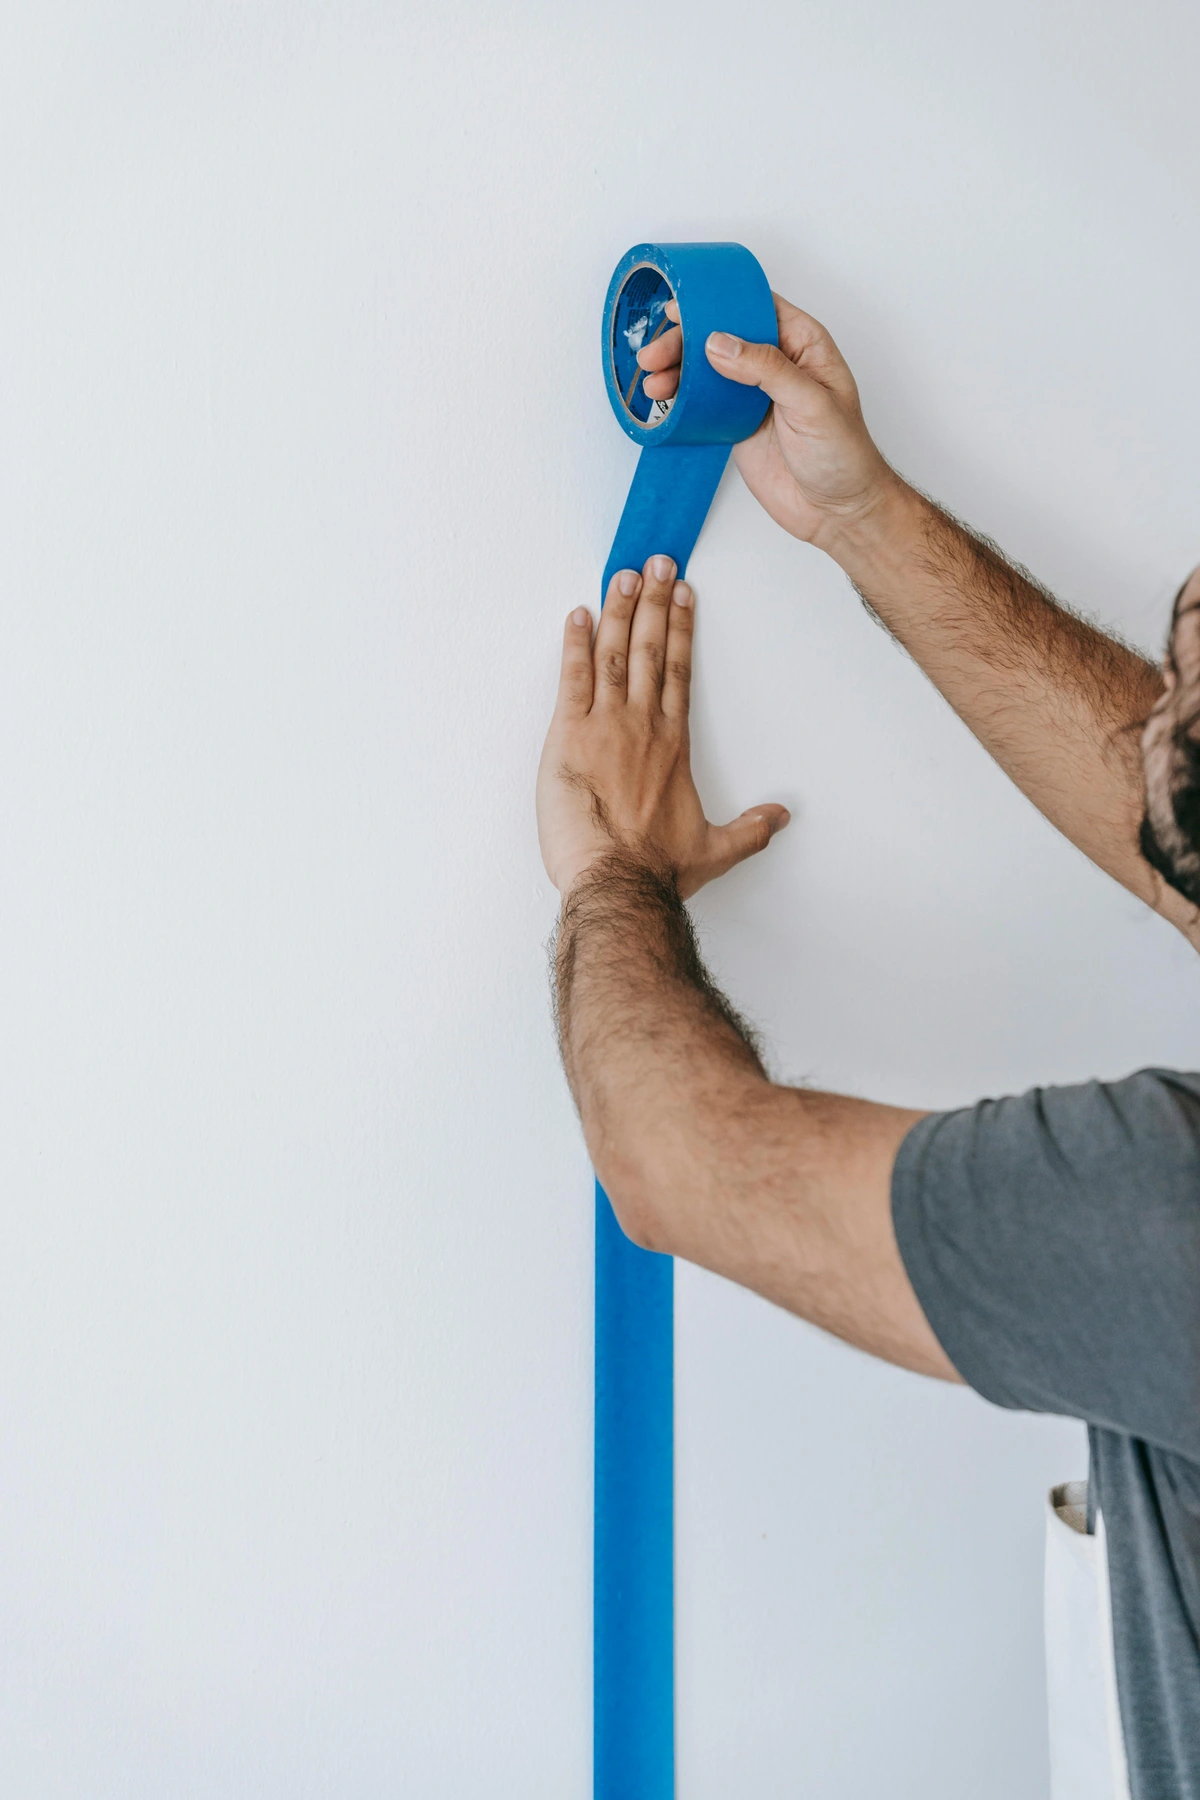
Before we dive into mechanics, let’s discuss why this obsession with precision isn’t just for control freaks. I once watched a beginner artist meticulously blend every transition until their canvas became a uniform haze. It was technically perfect, yet curiously lifeless. Crisp edges create visual anchors – they give the viewer’s eyes a place to rest and create intentional tension against soft areas. They’re the unsung heroes that make abstract compositions feel deliberate rather than accidental.
The Psychology of Precision
Our brains crave patterns. Sharp edges activate our recognition systems faster than blurred ones. This evolutionary preference for clear boundaries is why we find geometric abstraction so inherently satisfying – those clean lines provide instant cognitive feedback in a world of sensory overload. It's like giving your viewer's optical nerves a refreshing pause button. This is why geometric abstraction grabs attention so effectively – those clean lines provide instant cognitive feedback. It’s like giving your viewer’s optical nerves a refreshing pause button in a world of sensory overload.
Core Concepts Before You Begin
Surface Preparation is Non-Negotiable
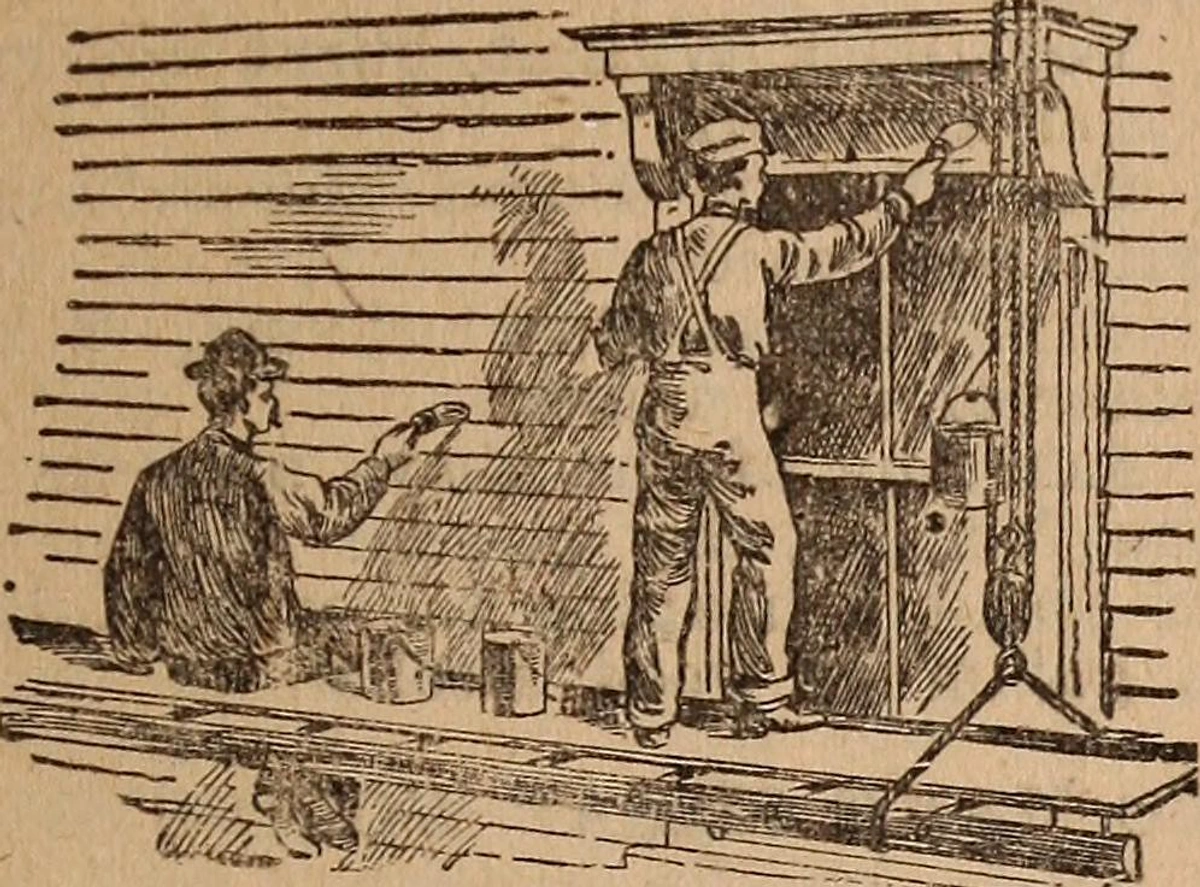
I learned this the hard way after spending three hours on a piece only to have the tape peel off entire paint layers. Your surface needs to be scrupulously clean – not just visually, but chemically. Dust, grease, or residual wax will sabotage your efforts every time. I've found running a slightly damp cloth over canvas is worth five minutes of your time.
Surface Types and Their Requirements:
Surface Type  | Preparation Method | Drying Time | Best For |
|---|---|---|---|
| Raw Canvas | 2 coats gesso, sand lightly | 24 hours | Oil, acrylic |
| Stretched Canvas | Light dusting with dry cloth | Immediate | Quick projects |
| Wood Panel | Sand to 400 grit, apply gesso | 12 hours | Detailed work |
| Paper | Stretch or tape down firmly | 30 minutes | Watercolor, gouache |
| Masonite | Light sanding, primer coat | 2 hours | Heavy layers |
| Metal | Degrease, etch primer | 1 hour | Industrial look |
Cleaning Solutions by Medium:
Medium | Recommended Cleaner | Application Method |
|---|---|---|
| Acrylic | Isopropyl alcohol (70%) | Wipe with cloth, let dry |
| Oil | Mineral spirits | Apply sparingly with rag |
| Watercolor | Damp cloth | Gentle wiping motion |
| Gouache | Mild soap solution | Light circular motion |
| Mixed Media | Brush and compressed air | For delicate surfaces |
I learned this the hard way after spending three hours on a piece only to have the tape peel off entire paint layers. Your surface needs to be scrupulously clean – not just visually, but chemically. Dust, grease, or residual wax will sabotage your efforts every time. I’ve found running a slightly damp cloth over canvas is worth five minutes of your time.
Understanding Paint Viscosity
Imagine trying to pour maple syrup through a sieve – that’s what happens when paint viscosity is wrong. Too thick? It leaves ridges. Too thin? It bleeds under tape. The sweet spot feels like soft-serve ice cream: holds shape but spreads when nudged. Test your mix on scrap paper – if it holds a defined ridge for 10 seconds, you’re golden.
Precision Painting Techniques Compared
Technique | Best For | Difficulty | Pros | Cons |
|---|---|---|---|---|
| Masking Tape | Straight lines, geometric shapes | ★☆☆☆☆ | Fast, clean edges | Limited curves, adhesive residue |
| Liquid Frisket | Curved shapes, detailed work | ★★★☆☆ | Flexible on curved surfaces | Can crack, must remove before final coat |
| Detail Brushwork | Organic edges, transitions | ★★★★☆ | No prep needed, artistic control | Requires steady hands, slower process |
| Palette Knife | Bold color blocks | ★★☆☆☆ | Thick texture, instant edges | Challenging for fine details |
| Digital Tools | Complex designs, prototypes | ★☆☆☆☆ | Perfect precision, saves canvas | Less physical connection to medium |
Step-by-Step: The Pro Masking Method
- Start with a tack test: Press tape lightly on scrap canvas – if paint sticks, apply a barrier coat before taping
- Burnish like crazy: Use a bone folder or credit card to seal edges – I’ve found pressure matters more than type of tape
- First coat only: Apply one thin base color, removing tape while paint is semi-tacky
- Second coat magic: Once base is fully dry, apply second color – the edge will be immaculate

My Tape Experiment Results
I tested 12 brands for my "Perfect Edge Project." Here’s the winner breakdown:
Tape Type | Adhesive Strength | Edge Cleanliness | Removal Ease | Best For |
|---|---|---|---|---|
| FrogTape Multi-Surface | ★★★★☆ | ★★★★☆ | ★★★☆☆ | Acrylics, latex |
| 3M Painter's Tape Delicate | ★★★☆☆ | ★★★★★ | ★★★★★ | Watercolor, paper |
| Gaffer Tape | ★★★★★ | ★★★☆☆ | ★★☆☆☆ | Textured surfaces, heavy layers |
| Washi Tape | ★★☆☆☆ | ★★★☆☆ | ★★★★★ | Delicate papers, temporary designs |
When to Ignore the Rules
The greatest breakthrough came when I abandoned perfectionism. Sometimes I'd intentionally lose crisp edges where colors meet – that controlled "happy accident" turned rigid compositions into living things. Remember: sharp edges are tools, not dogma. The real magic happens when you know the rules so well you can break them meaningfully.
Intentional Edge Softening Techniques
Technique | Effect | Best For | Difficulty | |
|---|---|---|---|---|
| Dry Brush Blending | Creates textured transition | Landscape elements | ★★★☆☆ | |
| Watercolor Blooms | Soft, organic edges | Floral motifs | ★★☆☆☆ | |
| Glazing Layers | Subtle color merging | Abstract backgrounds | ★★★★☆ | |
| Finger Smudging | Tactile, human touch | Portraiture | ★★☆☆☆ | |
| Alcohol Splatter | Random, energetic marks | Contemporary pieces | ★★☆☆☆ | Sometimes I’d intentionally lose crisp edges where colors meet – that controlled "happy accident" turned rigid compositions into living things. Remember: sharp edges are tools, not dogma. The real magic happens when you know the rules so well you can break them meaningfully. |
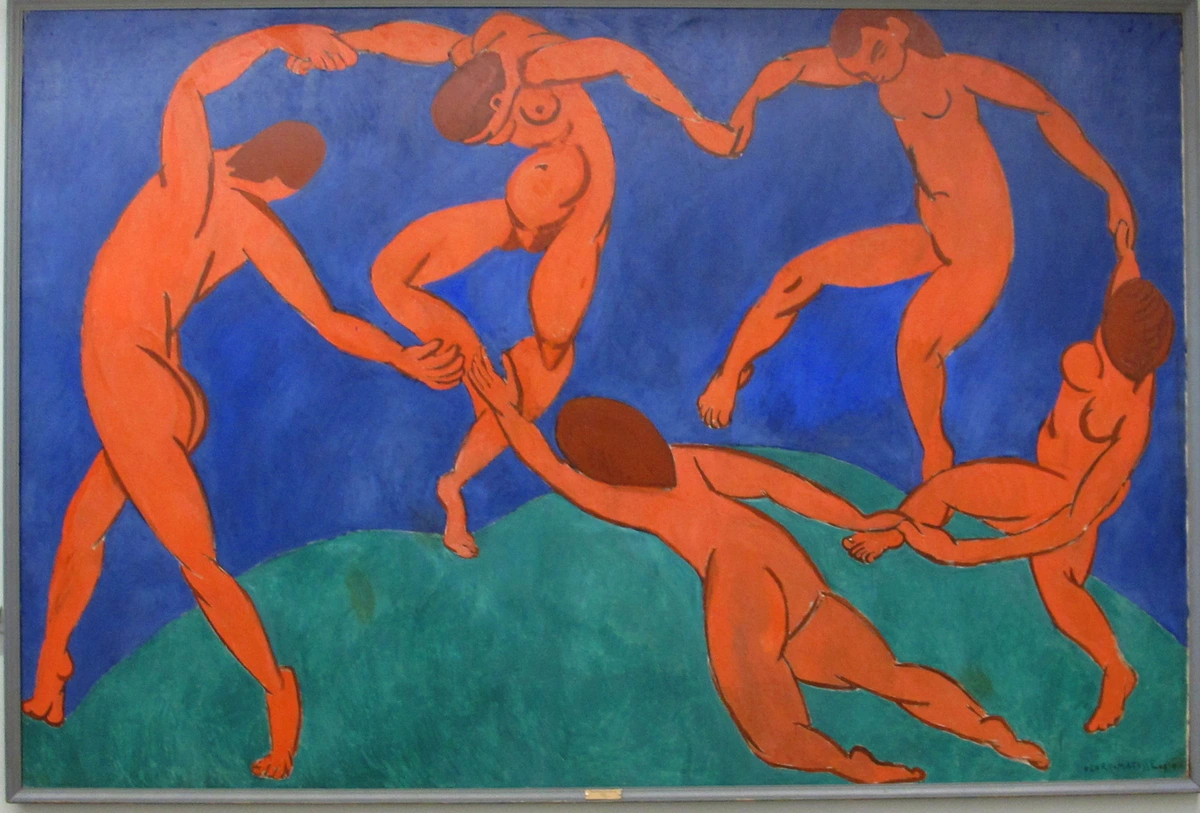
Seeing It In Action
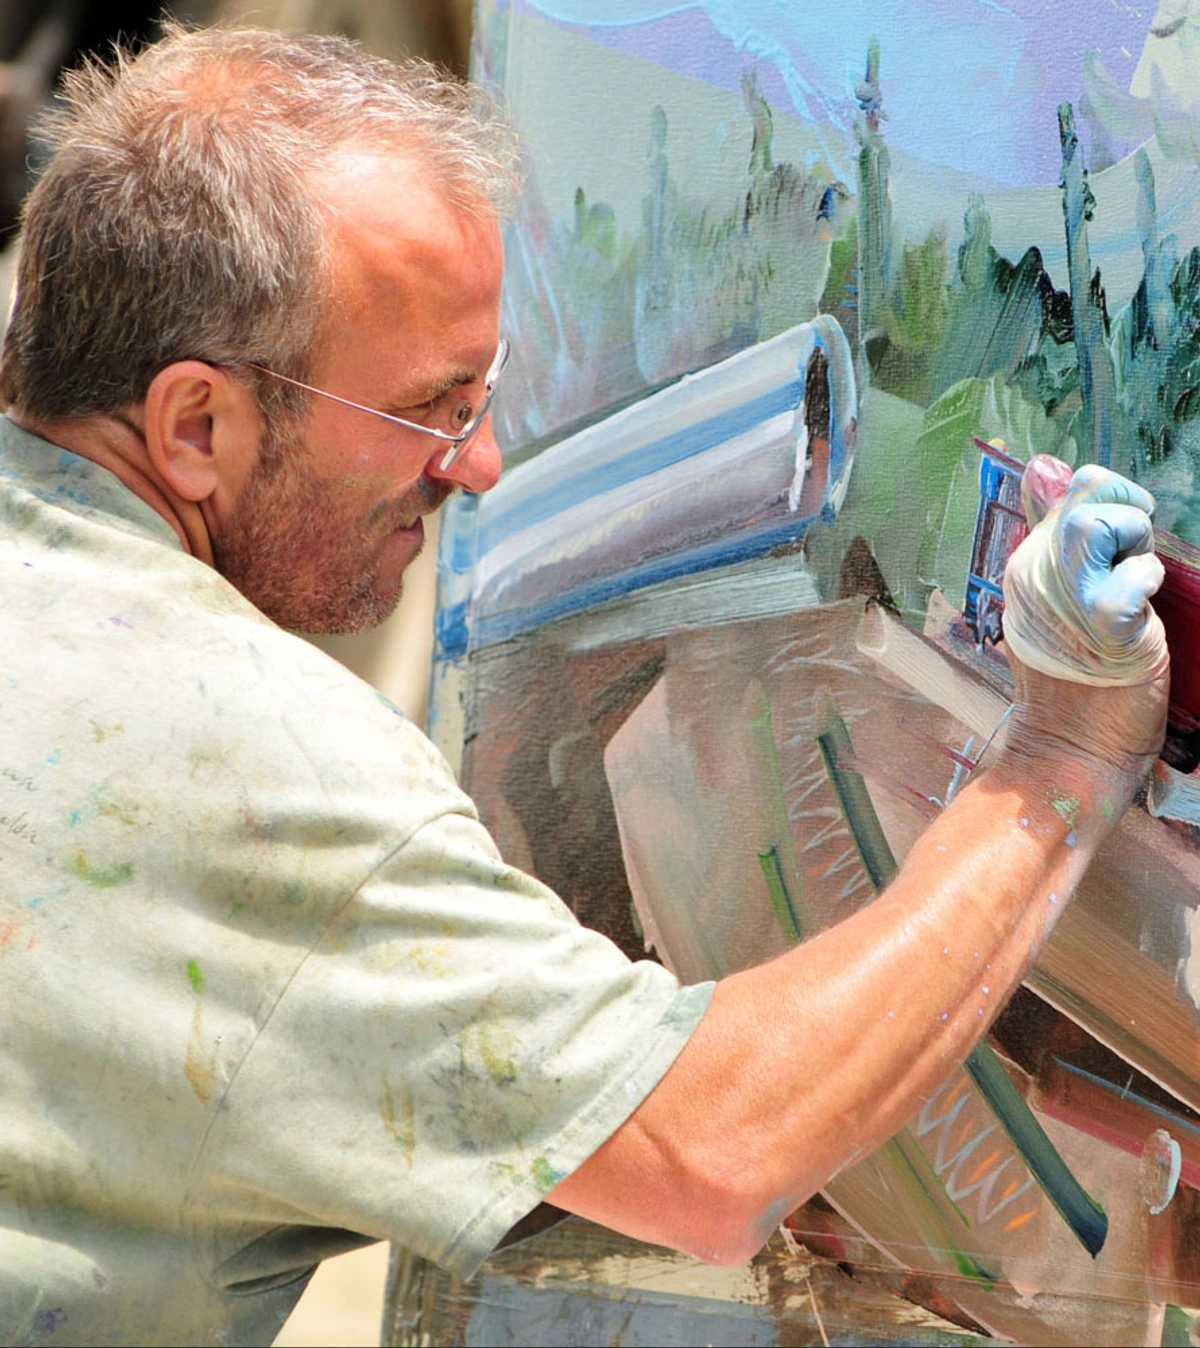
If you'd like to observe how contemporary artists manipulate crisp edges in live settings, consider visiting our Den Bosch location where we regularly showcase works exploring these techniques. The physical presence of these pieces reveals things images simply can’t capture – like how light sharpens or softens edges at different angles.
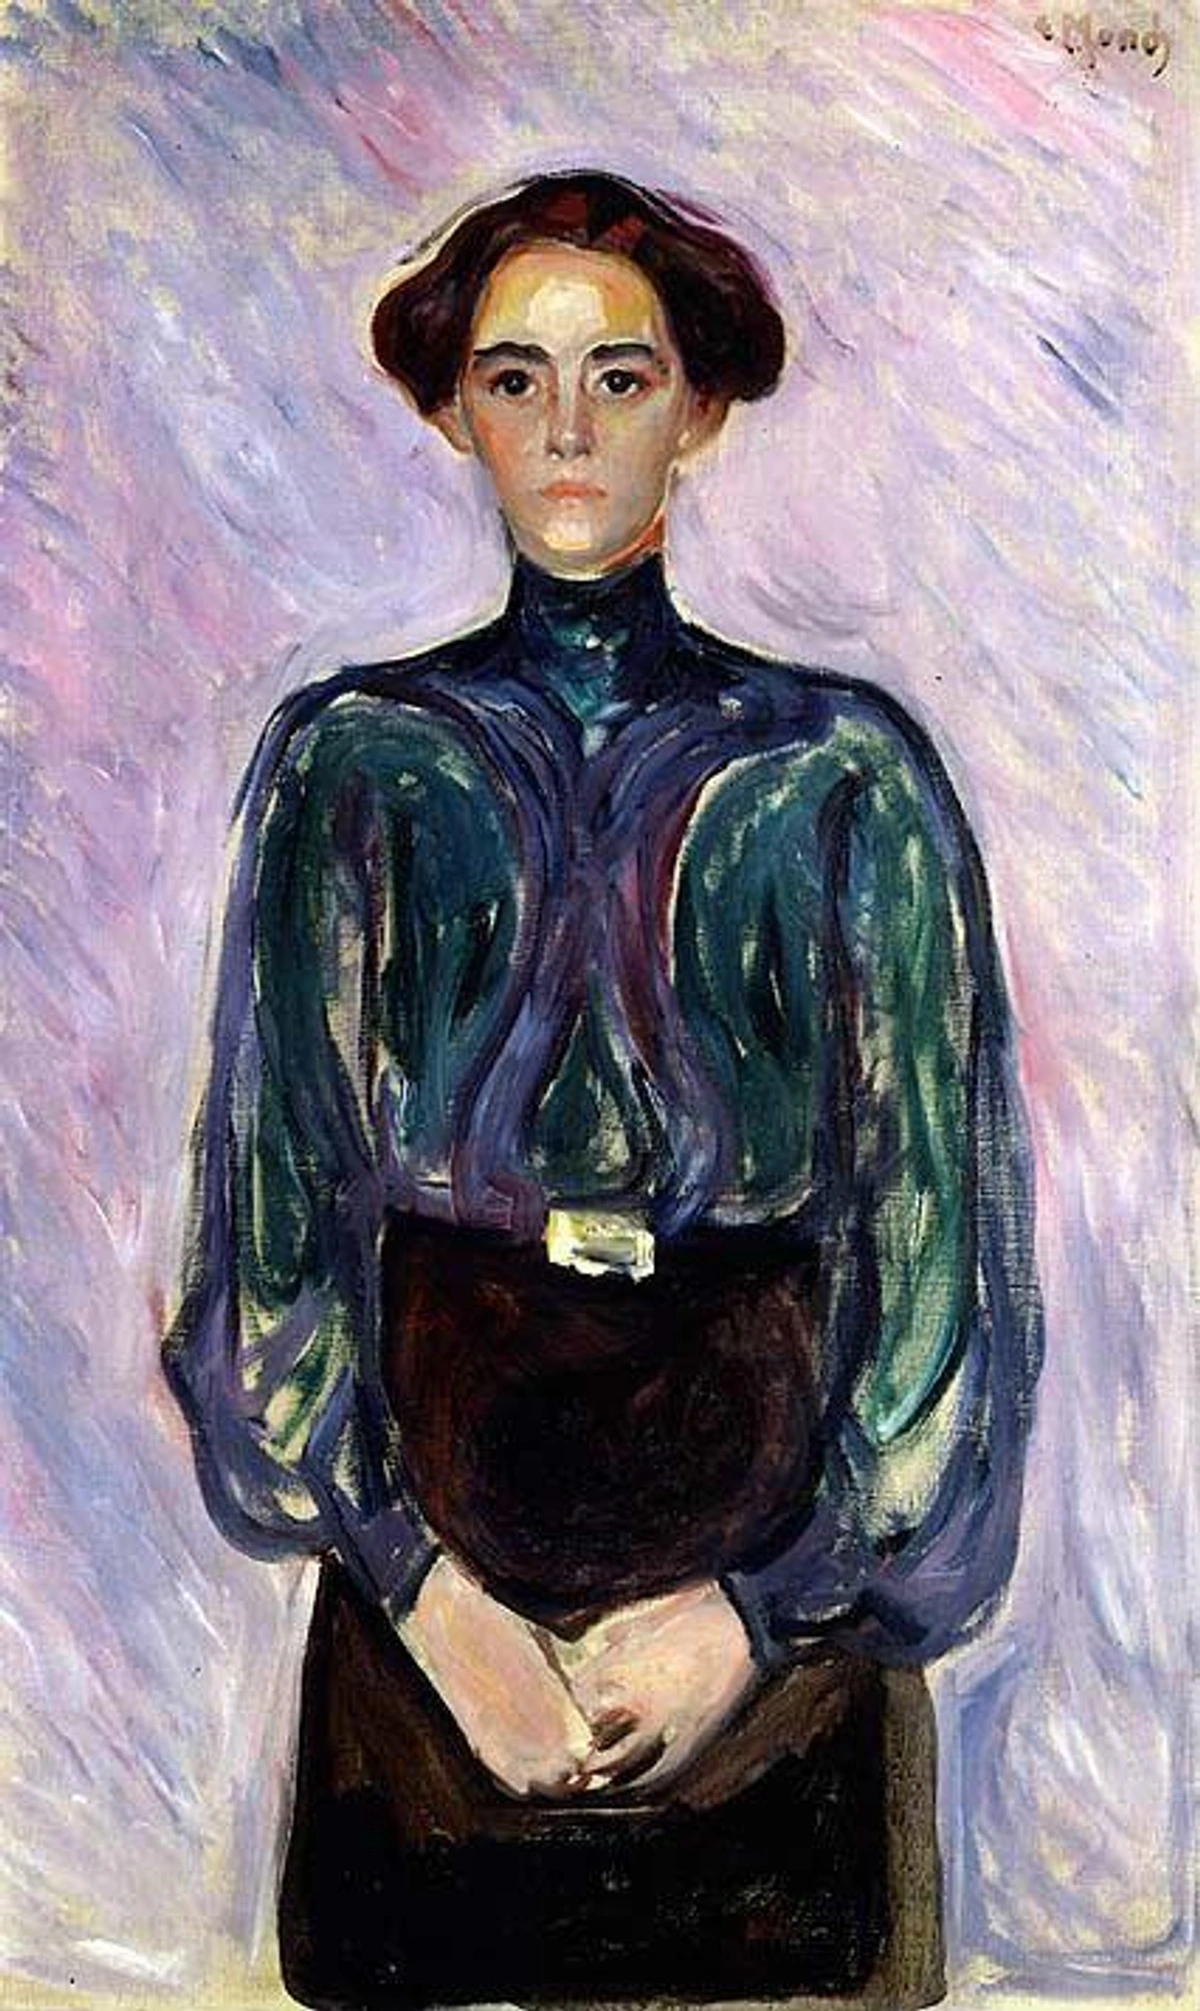
Medium-Specific Crisp-Edge Techniques
Acrylic Painting
Acrylics are fantastic for crisp edges because they dry quickly and can be built up in layers. Here's what works best:
Technique | Application | Pro Tip |
|---|---|---|
| Layering | Building up colors | Work light to dark |
| Direct Application | Sharp lines from tube | Use undiluted paint |
| Palette Knife | Bold geometric shapes | Keep paint thick |
| Masking Fluid | Fine details | Apply to dry surface |
| Glazing | Subtle color shifts | Thin with water |
Watercolor Precision
Watercolor presents unique challenges but can achieve stunning crisp edges:
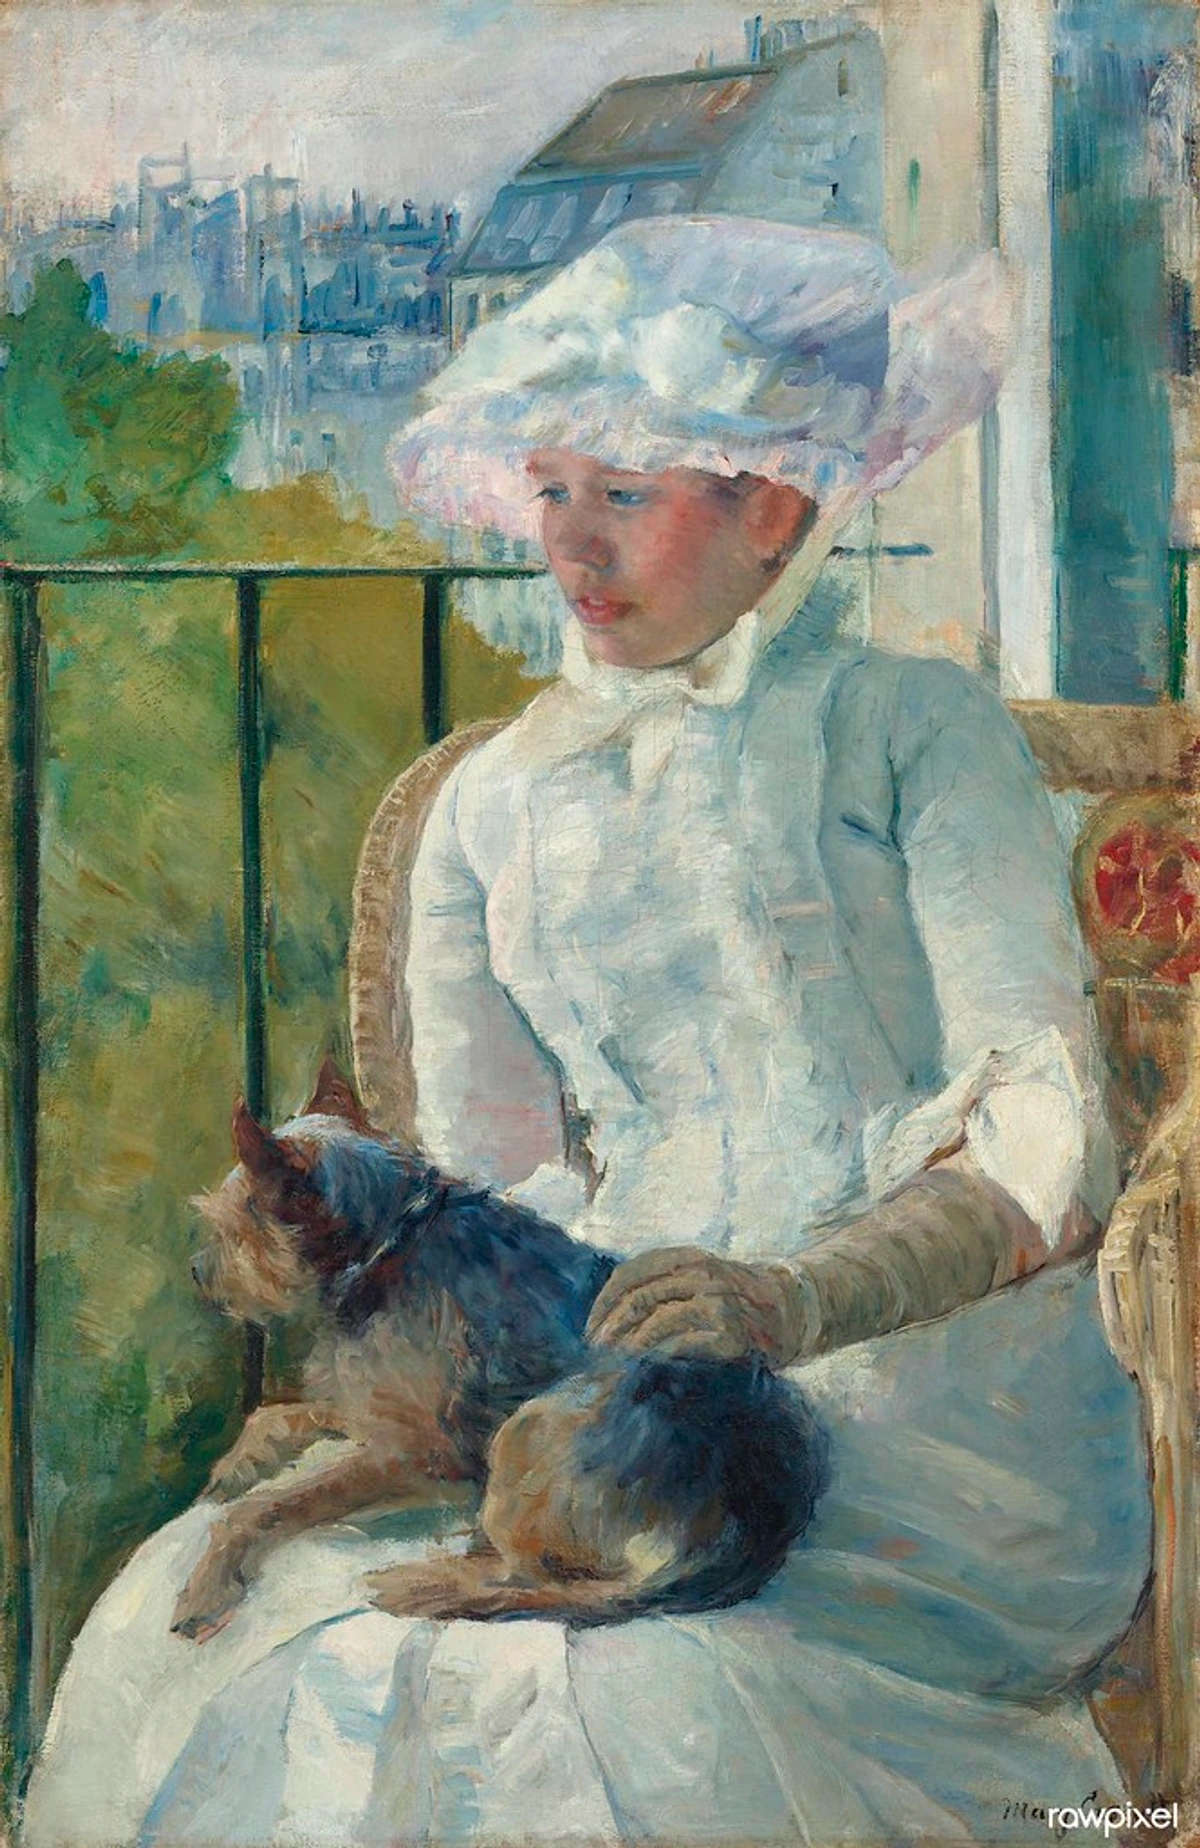
- Stretch your paper before starting to prevent buckling
- Use masking tape on all four sides before painting
- Work quickly once you start a section
- Let each layer dry completely before adding next
- Lift mistakes while still damp with clean brush
Oil Painting Patience
Oils give you more time but require different approaches:
Method | Timing | Result |
|---|---|---|
| Alkyd Medium | 1-2 hour dry time | Good for multiple sessions |
| Traditional Layering | 2-7 days per layer | Ultra-crisp results |
| Fat over Lean | Progressive drying | Prevents cracking |
| Glazing | Multiple days | Deep, luminous colors |
Digital Edge Control
For digital artists, precision is built into the tools:
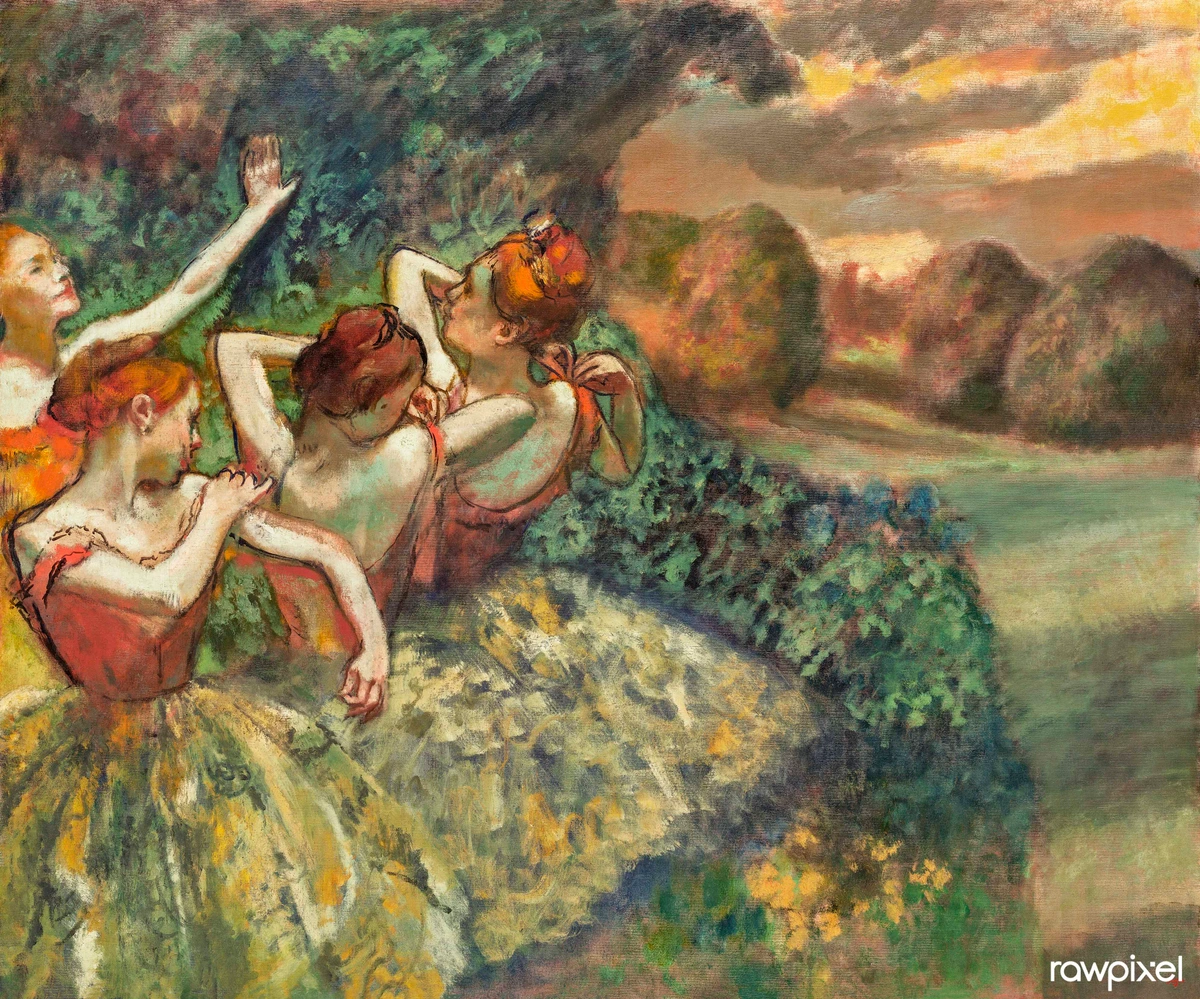
- Use hard-edged brushes (100% hardness)
- Layer masks for clean separations
- Selection tools for perfect shapes
- Vector layers for infinitely scalable crisp lines
- Adjustment layers for non-destructive edits
Advanced Crisp-Edge Applications
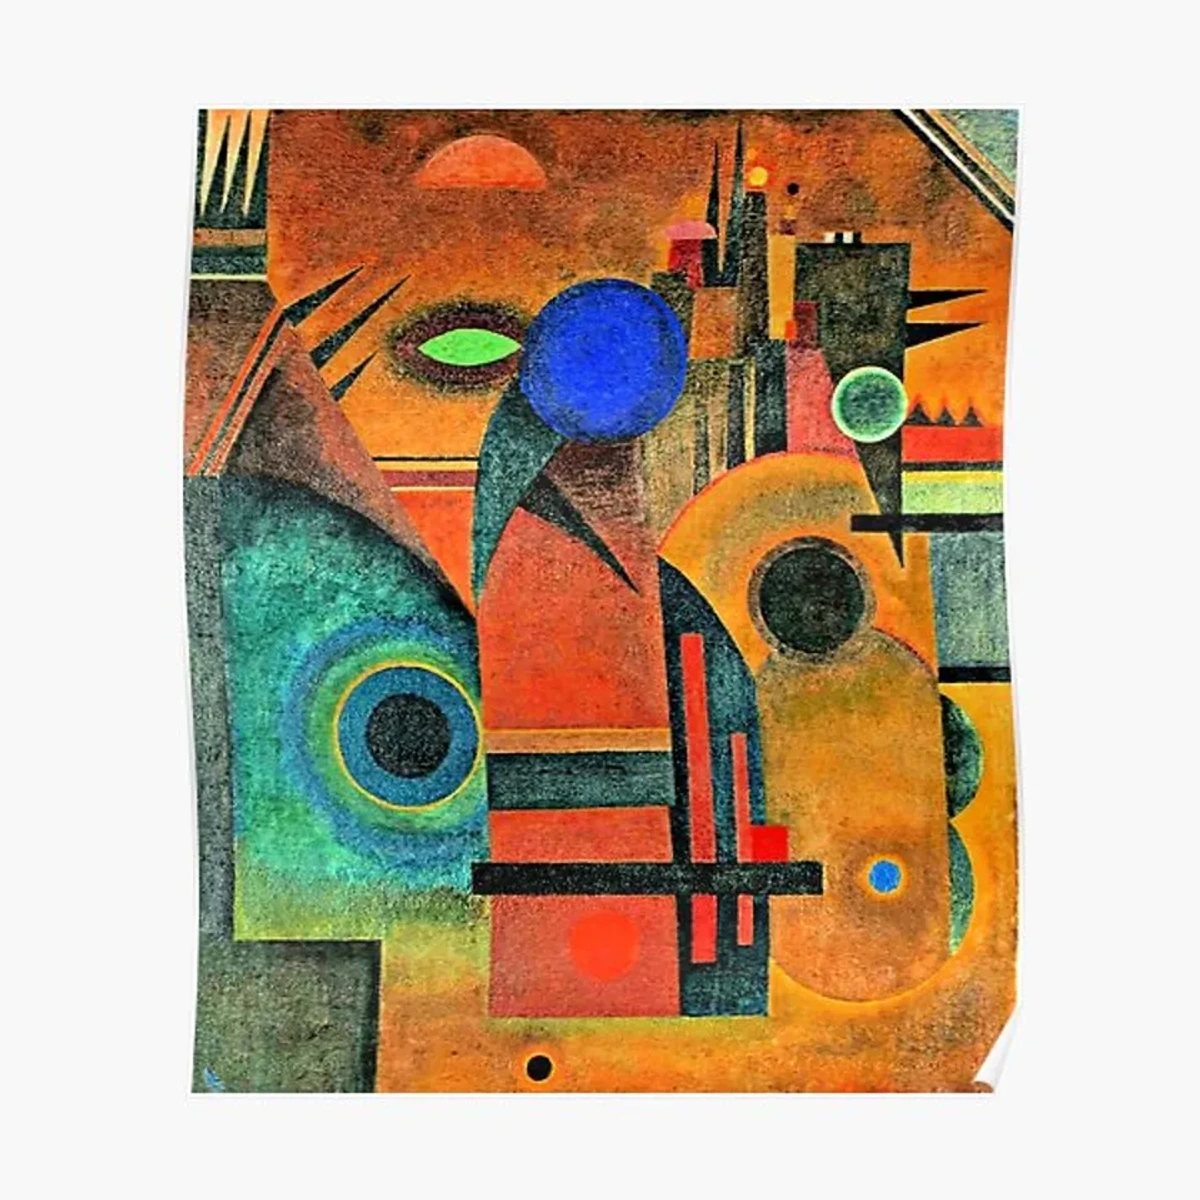
Geometric Abstraction
Crisp edges are the foundation of geometric art. Key principles:
- Mathematical precision creates visual harmony
- Limited color palette emphasizes edge relationships
- Repetition and pattern use crisp lines to create rhythm
- Negative space becomes as important as positive forms
- Scale variation adds dynamic tension
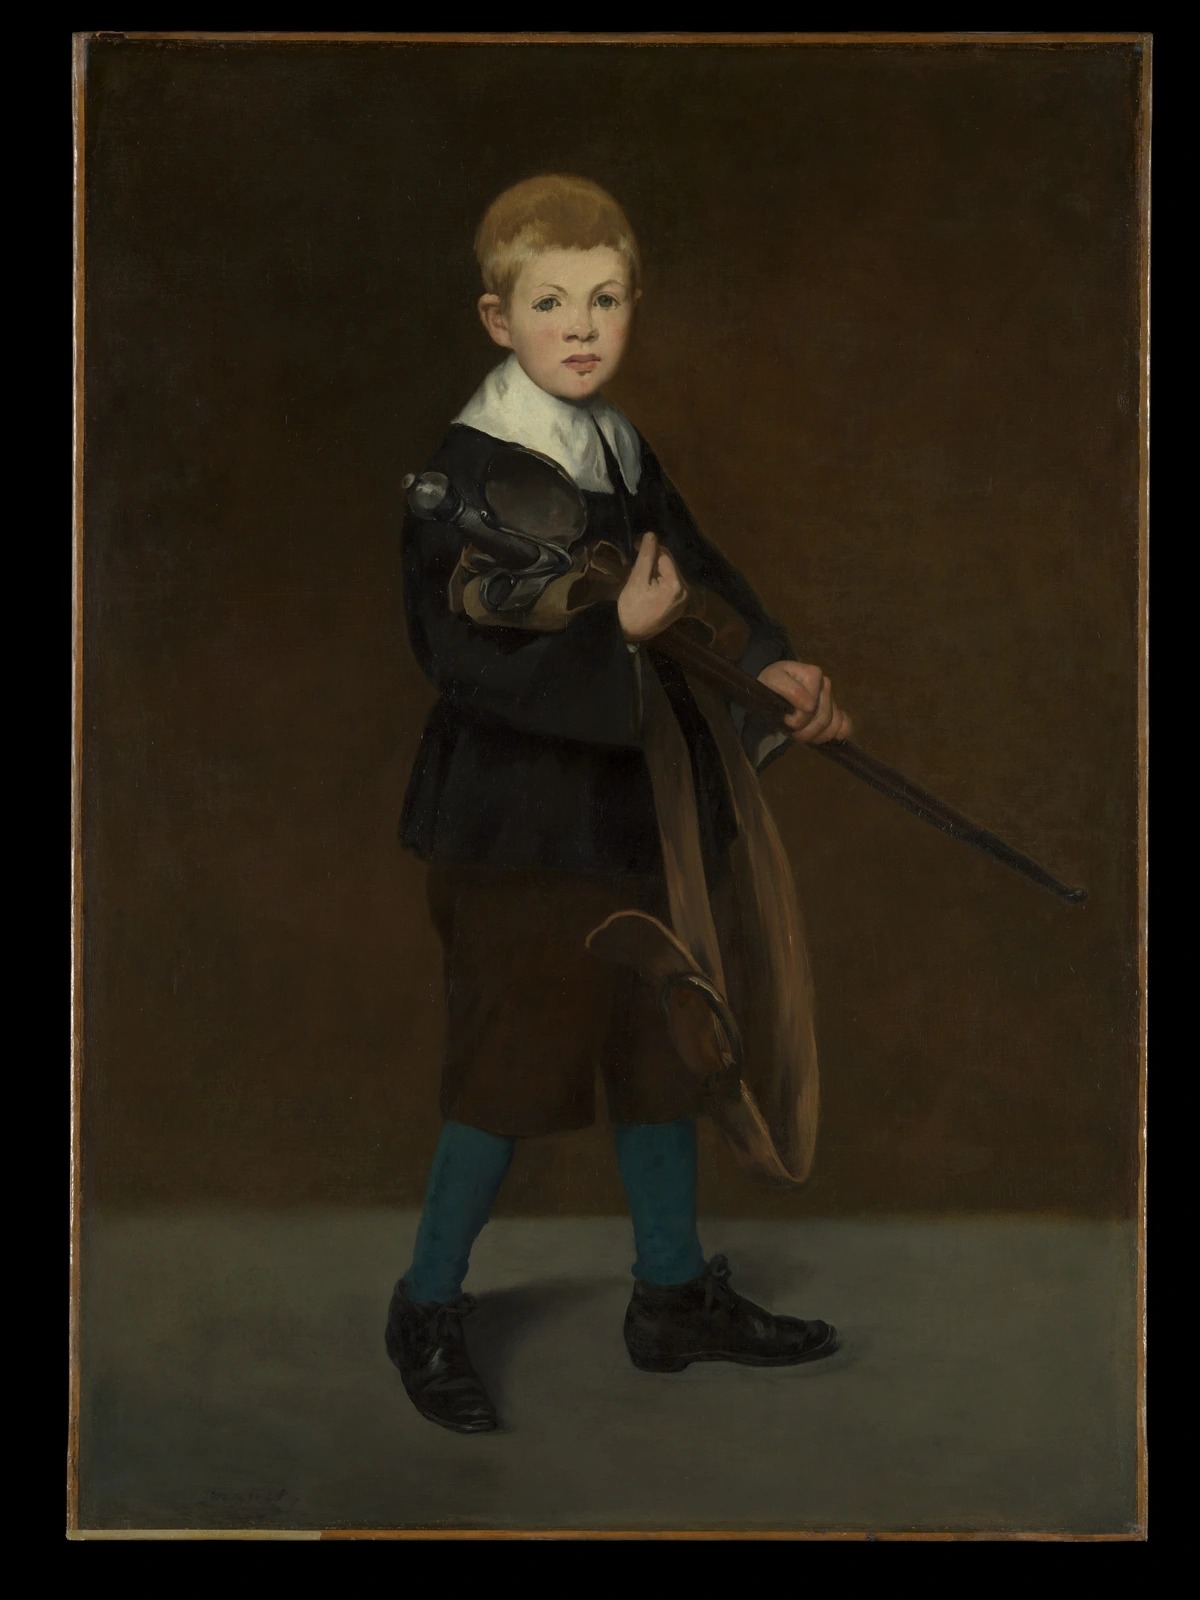
Minimalist Composition
In minimalism, every edge decision matters:
- Plan your negative space before painting
- Use measuring tools for perfect alignment
- Consider the frame as part of the composition
- Limit your color choices to emphasize form
- Embrace simplicity – less is more
Contemporary Mixed Media
Combine crisp edges with unexpected materials:
Material | Application | Effect |
|---|---|---|
| Metallic Leaf | Sharp geometric borders | Luxurious contrast |
| Collage Elements | Precise cut edges | Textural juxtaposition |
| Embroidery Thread | Straight lines on canvas | Unexpected tactile element |
| Resin Inlays | Perfect geometric shapes | Glossy, durable finish |
| LED Lighting | Edge illumination | Modern, dynamic effect |
Troubleshooting Common Edge Issues
Bleeding Solutions
Problem | Cause | Solution |
|---|---|---|
| Paint bleeding under tape | Surface contamination | Clean with alcohol, test first |
| Tape peels paint | Adhesion too strong | Use gentler tape, apply barrier coat |
| Edges look fuzzy | Paint too thin | Thicken consistency, apply in layers |
| Uneven edges | Brush technique issues | Use new brush, practice on scrap |
| Torn paper | Wet paper too much | Stretch paper, work in sections |
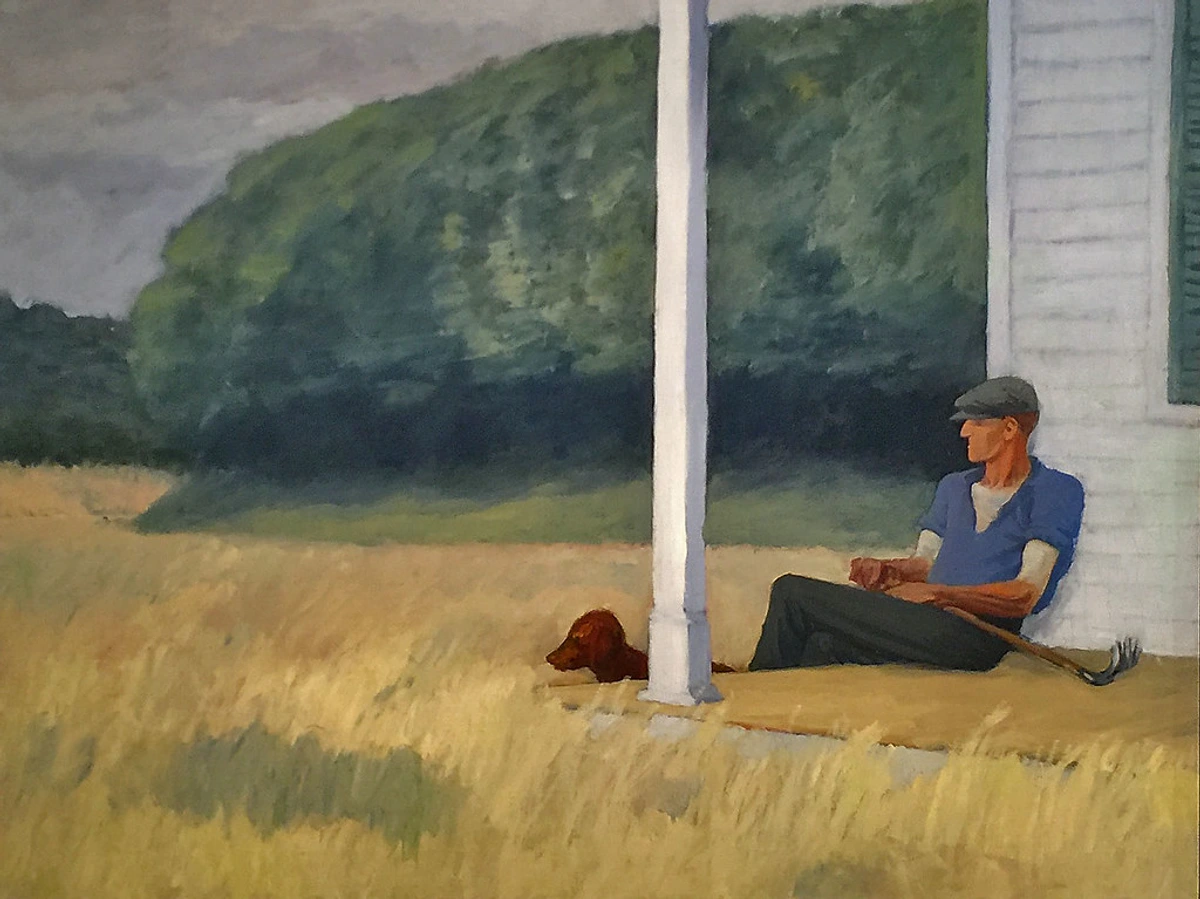
Environmental Factors
- Temperature: Ideal range is 65-75°F (18-24°C)
- Humidity: Keep below 60% for best results
- Lighting: Use natural light to see true colors
- Ventilation: Essential for oil painting safety
- Surface stability: Work on flat, level surfaces
Professional Equipment Recommendations
Category | Budget Option | Professional Choice | Investment |
|---|---|---|---|
| Tapes | FrogTape Basic | 3M Blue Delicate | Gaffer Tape |
| Brushes | Synthetic flats | Kolinsky sable | Custom brushes |
| Surfaces | Canvas panels | Stretched canvas | Wood panels |
| Tools | Credit card | Bone folder | Professional set |
| Storage | Plastic bins | Climate-controlled cabinet | Museum-quality |
The Business of Crisp-Edge Art
Pricing Your Work
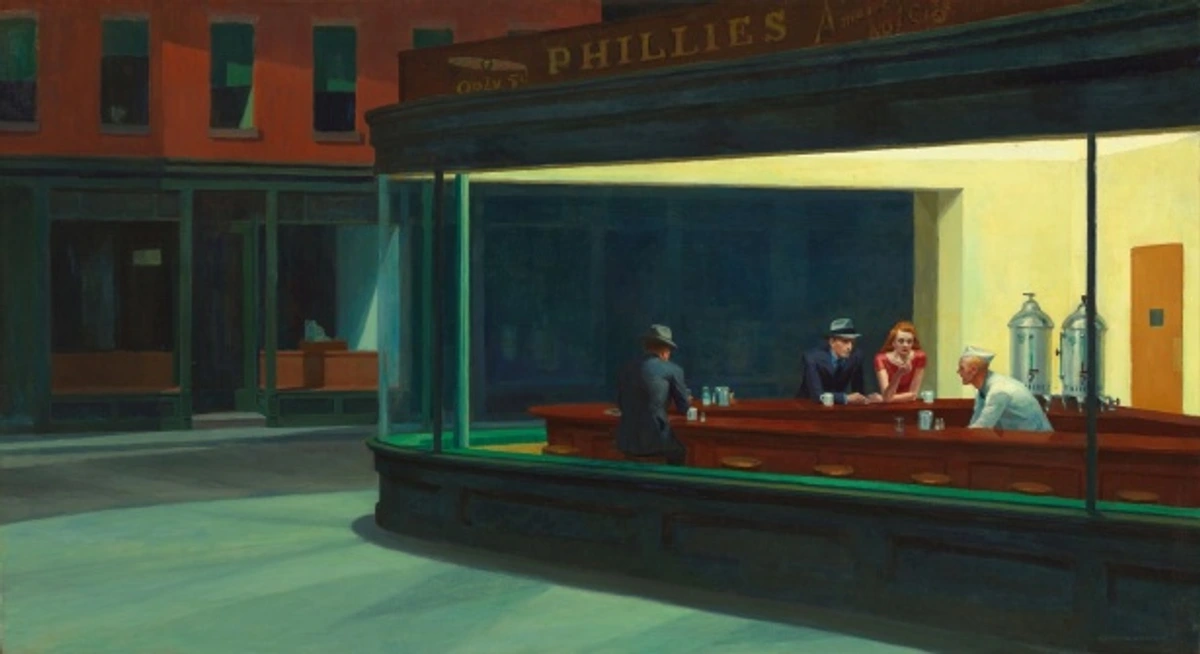
Crisp-edge precision commands premium pricing. Consider:
- Time investment – Detail work takes longer
- Complexity level – More edges = higher value
- Material quality – Premium materials justify premium prices
- Market positioning – Where does your work fit in the market?
- Comparable artists – Research similar pricing
Marketing Crisp-Edge Art
- Detail shots are essential for online galleries
- Process videos showcase your precision skills
- Before/after content demonstrates transformation
- Technical explanations build credibility with collectors
- Studio tours reveal your meticulous process
Exhibition Considerations
- Lighting is crucial – crisp edges need proper illumination
- Hanging – Ensure frames protect delicate edges
- Insurance – High-precision work deserves protection
- Documentation – Professional photography for portfolio
- Artist talks – Share your technical expertise
Historical Context: Crisp Edges Through Art History
Early Precision in Art
- Ancient Egyptian art – Highly deliberate, symbolic precision
- Byzantine mosaics – Geometric exactness in tile work
- Islamic geometric patterns – Mathematical precision in design
- Renaissance painting – Careful underdrawing for crisp forms
- Japanese ukiyo-e – Precise woodblock print registration
Modernist Precision
Movement | Key Artists | Edge Philosophy |
|---|---|---|
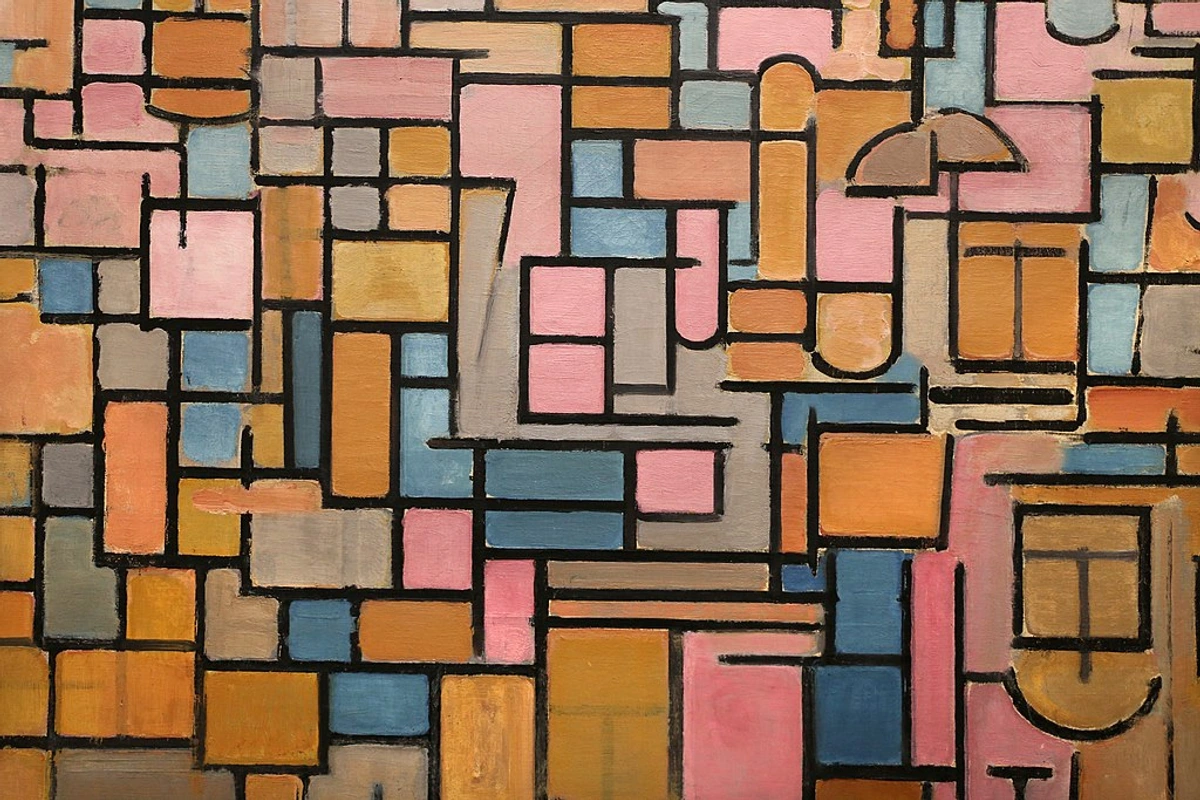
| De Stijl | Mondrian, van Doesburg | Grid-based abstraction |
| Suprematism | Malevich | Geometric purity |
| Bauhaus | Klee, Kandinsky | Functional precision |
| Hard-edge | Kelly, Stella | Industrial crispness |
| Op Art | Vasarely, Riley | Optical precision |
Contemporary Edge Innovators
Modern artists continue to push crisp-edge boundaries:

- Ellsworth Kelly – Large-scale color field precision
- Bridget Riley – Optical precision in Op Art
- Agnes Martin – Subtle grid precision in minimalism
- Frank Stella – Pioneered shaped canvas precision
- Sol LeWitt – Conceptual precision in geometric forms
Psychological Benefits of Precision Work
Mindfulness through Precision
Crisp-edge work can be meditative:
- Focused attention on the present moment
- Reduced anxiety through controlled process
- Sense of accomplishment from perfect execution
- Flow state achievement during intense concentration
- Mindful brushstrokes that connect mind and hand
Creative Discipline
Precision creates structure for creativity:
- Technical foundation supports artistic expression
- Problem-solving skills develop through challenges
- Attention to detail transfers to all artistic areas
- Patience cultivation through deliberate practice
- Confidence building as skills improve
Personal Growth Journey
The crisp-edge path teaches valuable life lessons:
- Patience – Good edges take time and practice
- Perseverance – Mistakes are learning opportunities
- Attention to detail – Small differences create big impact
- Self-discipline – Consistent practice yields results
- Creative courage – Knowing rules allows meaningful breaking
Conclusion: Your Crisp-Edge Journey Begins
Mastering crisp-edge techniques is more than learning to paint straight lines – it's about developing a relationship between control and creativity, precision and possibility. The techniques you've discovered here are tools, not rules, meant to serve your artistic vision.
Remember that every crisp edge you paint represents countless hours of practice, countless mistakes overcome, and countless moments of insight. The journey from chaotic beginnings to controlled precision mirrors the creative process itself – transforming raw potential into intentional beauty.
Whether you're creating geometric abstraction, minimalist compositions, or simply want cleaner edges in your work, the principles remain the same: prepare thoroughly, execute deliberately, and embrace both the discipline and the freedom that crisp-edge techniques offer.
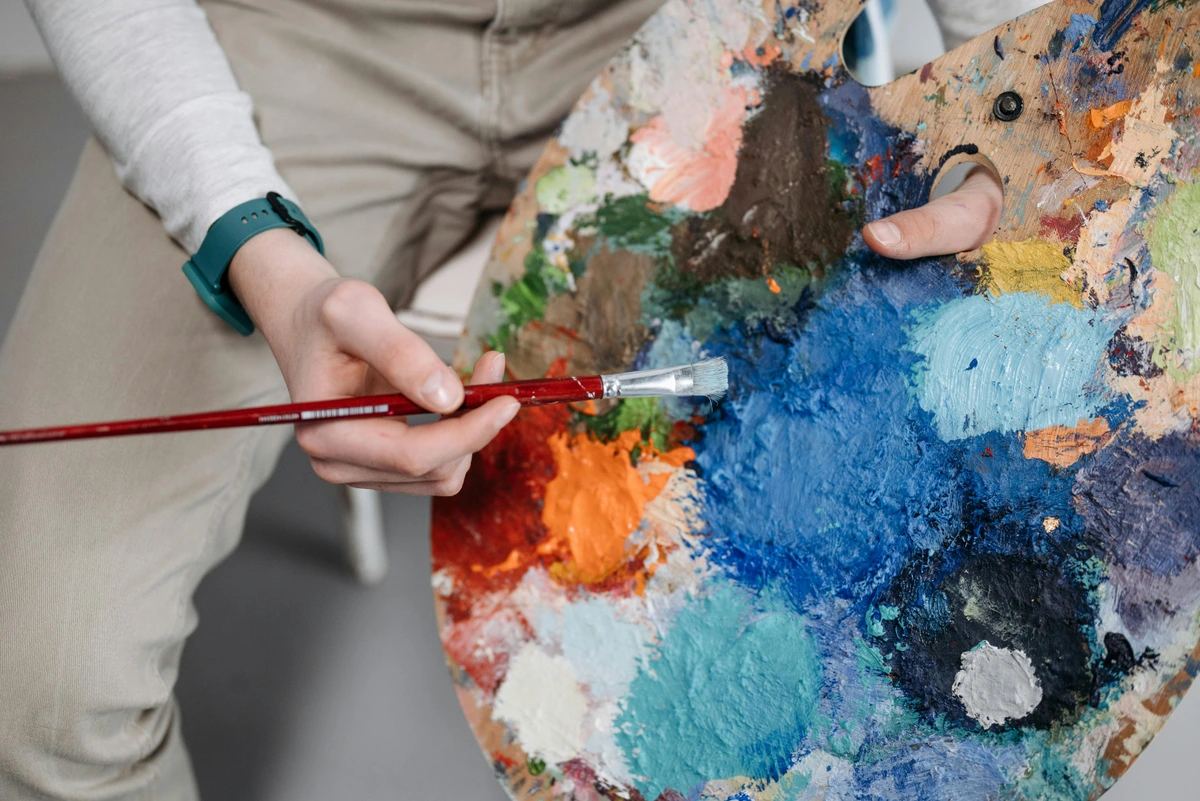
The next time you stand before a blank canvas, remember that those sharp edges aren't just technical achievements – they're the visible manifestation of your artistic evolution, your growing mastery, and your unique voice in the world of contemporary art.
Happy creating, and may your edges be as sharp as your vision!
FAQ: Your Pressing Questions
Q: What's the most common mistake beginners make with crisp edges?
A: Assuming all tapes work the same! I once ruined a piece by using masking tape on watercolor – bled catastrophically. Always test tape compatibility with your medium first. Another common error is not letting the first coat reach the perfect semi-tacky state before removing tape. Timing is everything!
Q: Why does paint still bleed under "perfectly" applied tape?
A: Three culprits: dirty surfaces, incorrect timing (removing tape too early/late), or humidity affecting drying time. My humidity monitor is now studio equipment. Also, check your brush – overloaded brushes cause pooling. And remember: some colors bleed more than others (like quinacridones over phthalo blues).
Q: Can I achieve crisp edges without tape?
A: Absolutely! I often use dry-on-wet technique with synthetic brushes for organic edges. The key is brush angle – holding it perpendicular creates sharpness, while angling it softens lines. Other methods include using the edge of a credit card for straight lines, or even your fingernail for very fine details. It's all about having steady hands and knowing when to stop.
Q: How do I fix bleeding mistakes?
A: Embrace them! Turn oops into intentional "edge-bleed" by extending the blur with a clean damp brush. Sometimes the "flaws" become the most interesting parts. For more serious mistakes, you can carefully scrape away the bleed with a palette knife once fully dry, or overpaint with the correct color using very deliberate strokes.
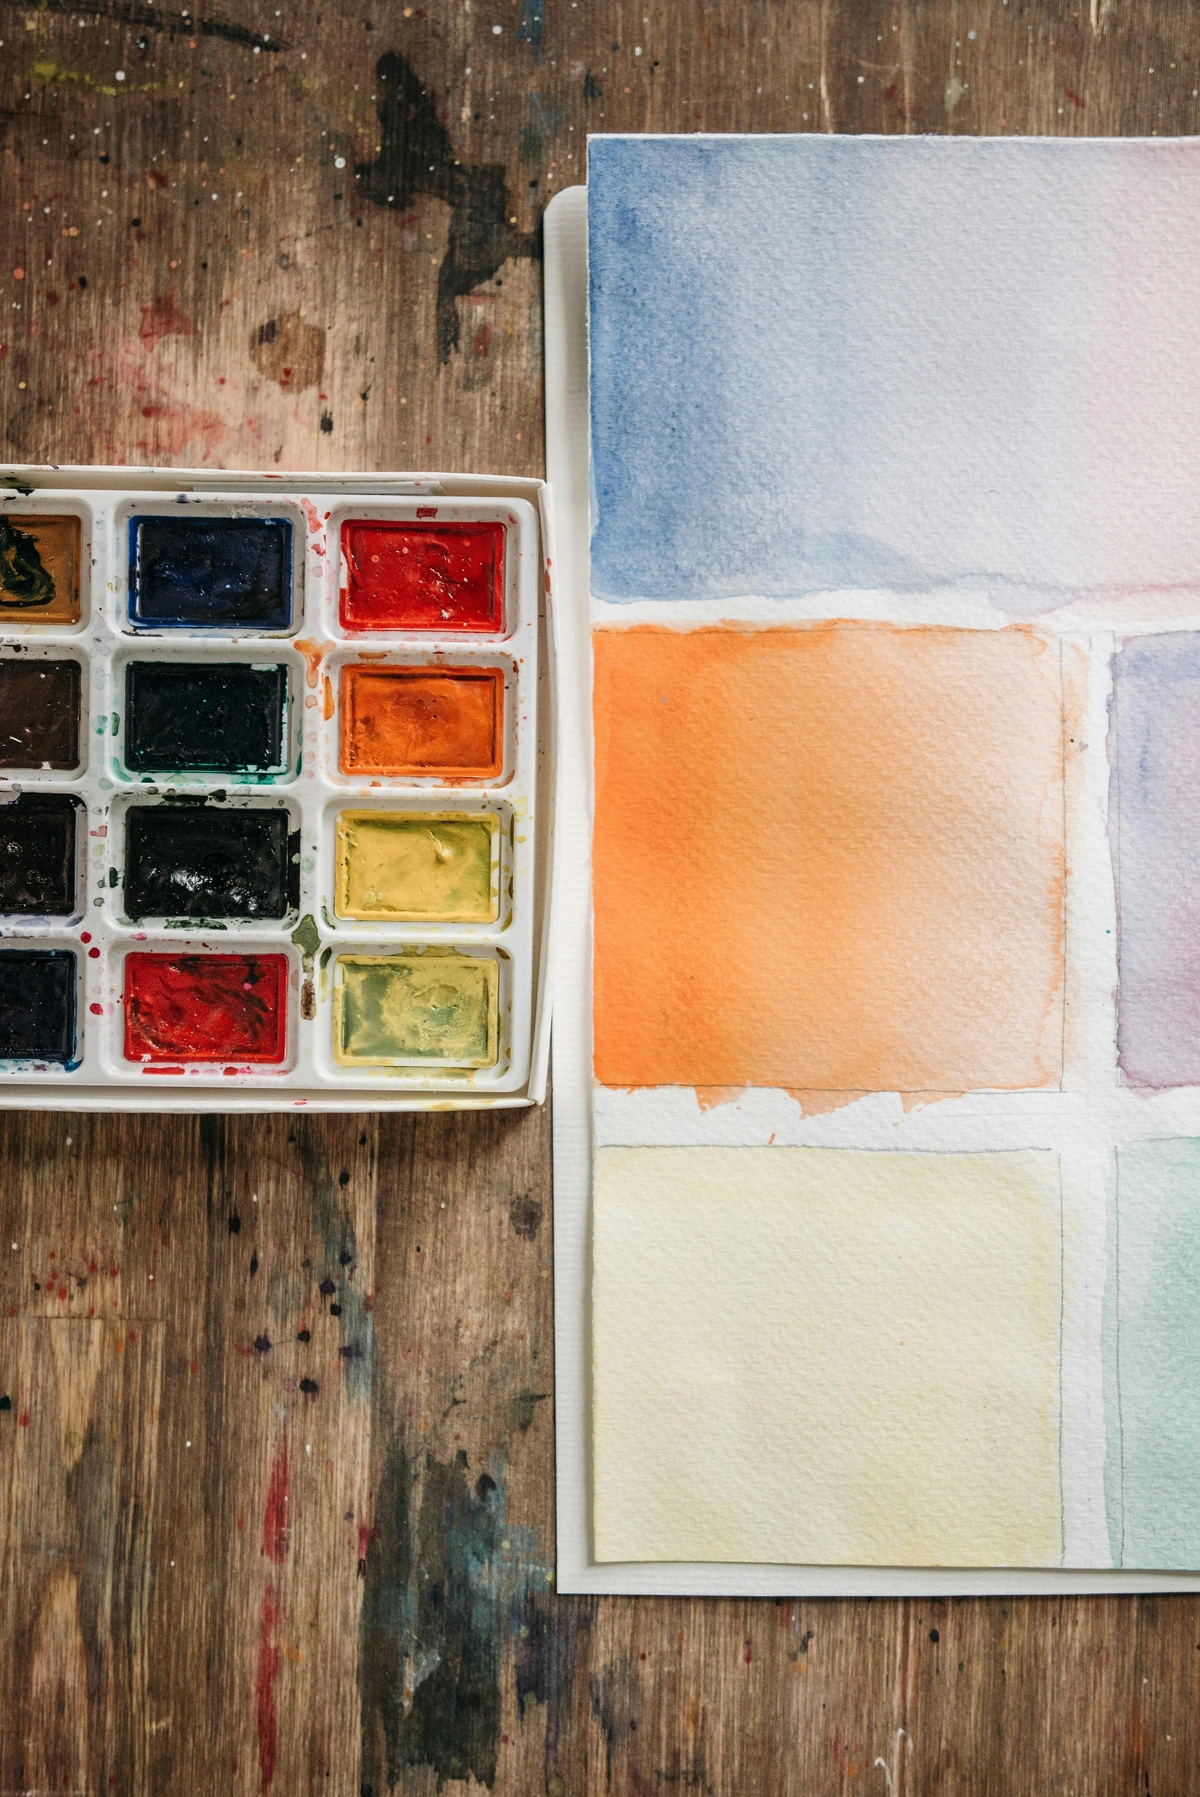
Q: What's the single best investment for crisp-edge work?
A: A good palette knife. Sounds counterintuitive, but its rigidity gives cleaner lines than many brushes when used properly. Plus, it doubles for mixing! But seriously, invest in quality masking tape first – it's the difference between frustration and flow.
Q: How do crisp edges affect the overall composition?
A: Crisp edges create visual hierarchy and rhythm. They stop your eyes in strategic places, creating pauses in the visual journey. Too many crisp edges can feel rigid, while too few can feel chaotic. The magic is in the balance. I often use one dominant crisp element to anchor the composition, then soften other edges to create flow.
Q: What brush types work best for crisp edges?
A: Synthetic brushes with firm bristles beat natural ones for precision. Look for flat brushes with sharp corners. Detail rounds work for fine lines. I avoid squirrely brushes that split – you want clean, consistent strokes. Clean your brush between every stroke when working edges – dried paint ruins precision.
Q: How does paper type affect crisp edges?
A: Everything! Hot press paper gives you the crispest edges, cold press gives you some texture to work with, and rough paper? Forget about it unless you want intentional texture. For canvas, the tighter the weave, the sharper your edges. Masonite and wood panels give you the crispest results of all. Test your surface before committing to a piece.
Q: Can I use these techniques with digital painting?
A: Absolutely! Digital tools give you pixel-perfect edges that traditional methods can't match. Use hard-edged brushes, layer masks, and selection tools. The principles are the same – control your edges intentionally. But remember, the tactile feedback of traditional methods gives you a different kind of precision that's hard to replicate digitally.
Q: How do crisp edges work with thick impasto techniques?
A: It's challenging but possible! Apply your tape before building up texture, then carefully remove it after the paint cures. For existing thick areas, use a palette knife or credit card to cut clean lines through the paint. The contrast between thick texture and crisp edges can be incredibly dynamic. Just work slowly and deliberately.
Q: What's the best way to preserve crisp edges over time?
A: Proper sealing is key. Use UV-resistant varnals that won't yellow over time. Apply multiple thin coats rather than one thick one. For pieces that will be handled, consider a protective Plexiglas cover. And always store paintings flat, never leaning against anything that could dent the edges.
Final Thoughts
Crisp-edge painting taught me that control isn't the enemy of creativity – it's a pathway to new possibilities. These techniques aren't about rigidity; they're about understanding relationships between chaos and order. What starts as a technical exercise becomes a meditation on precision and possibility.
If you're wondering how these concepts translate to finished works, our online collection demonstrates these principles in practice across various styles and mediums.


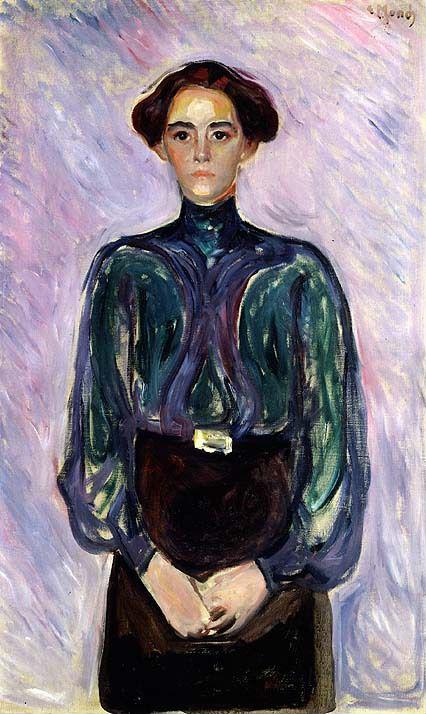


The next time you pick up a brush, try approaching edges not as obstacles, but as opportunities. After all, some of the most compelling moments in art happen where intention meets happy accident.