Essential Digital Sculpting Gear for Beginners: Software, Hardware, and Your First Steps
Ready to sculpt digitally? Discover the essential hardware and software for beginners, learn key techniques, and get actionable advice to start creating incredible 3D art today. I share my journey and practical tips!
Essential Digital Sculpting Gear for Beginners: Software, Hardware, and Your First Steps
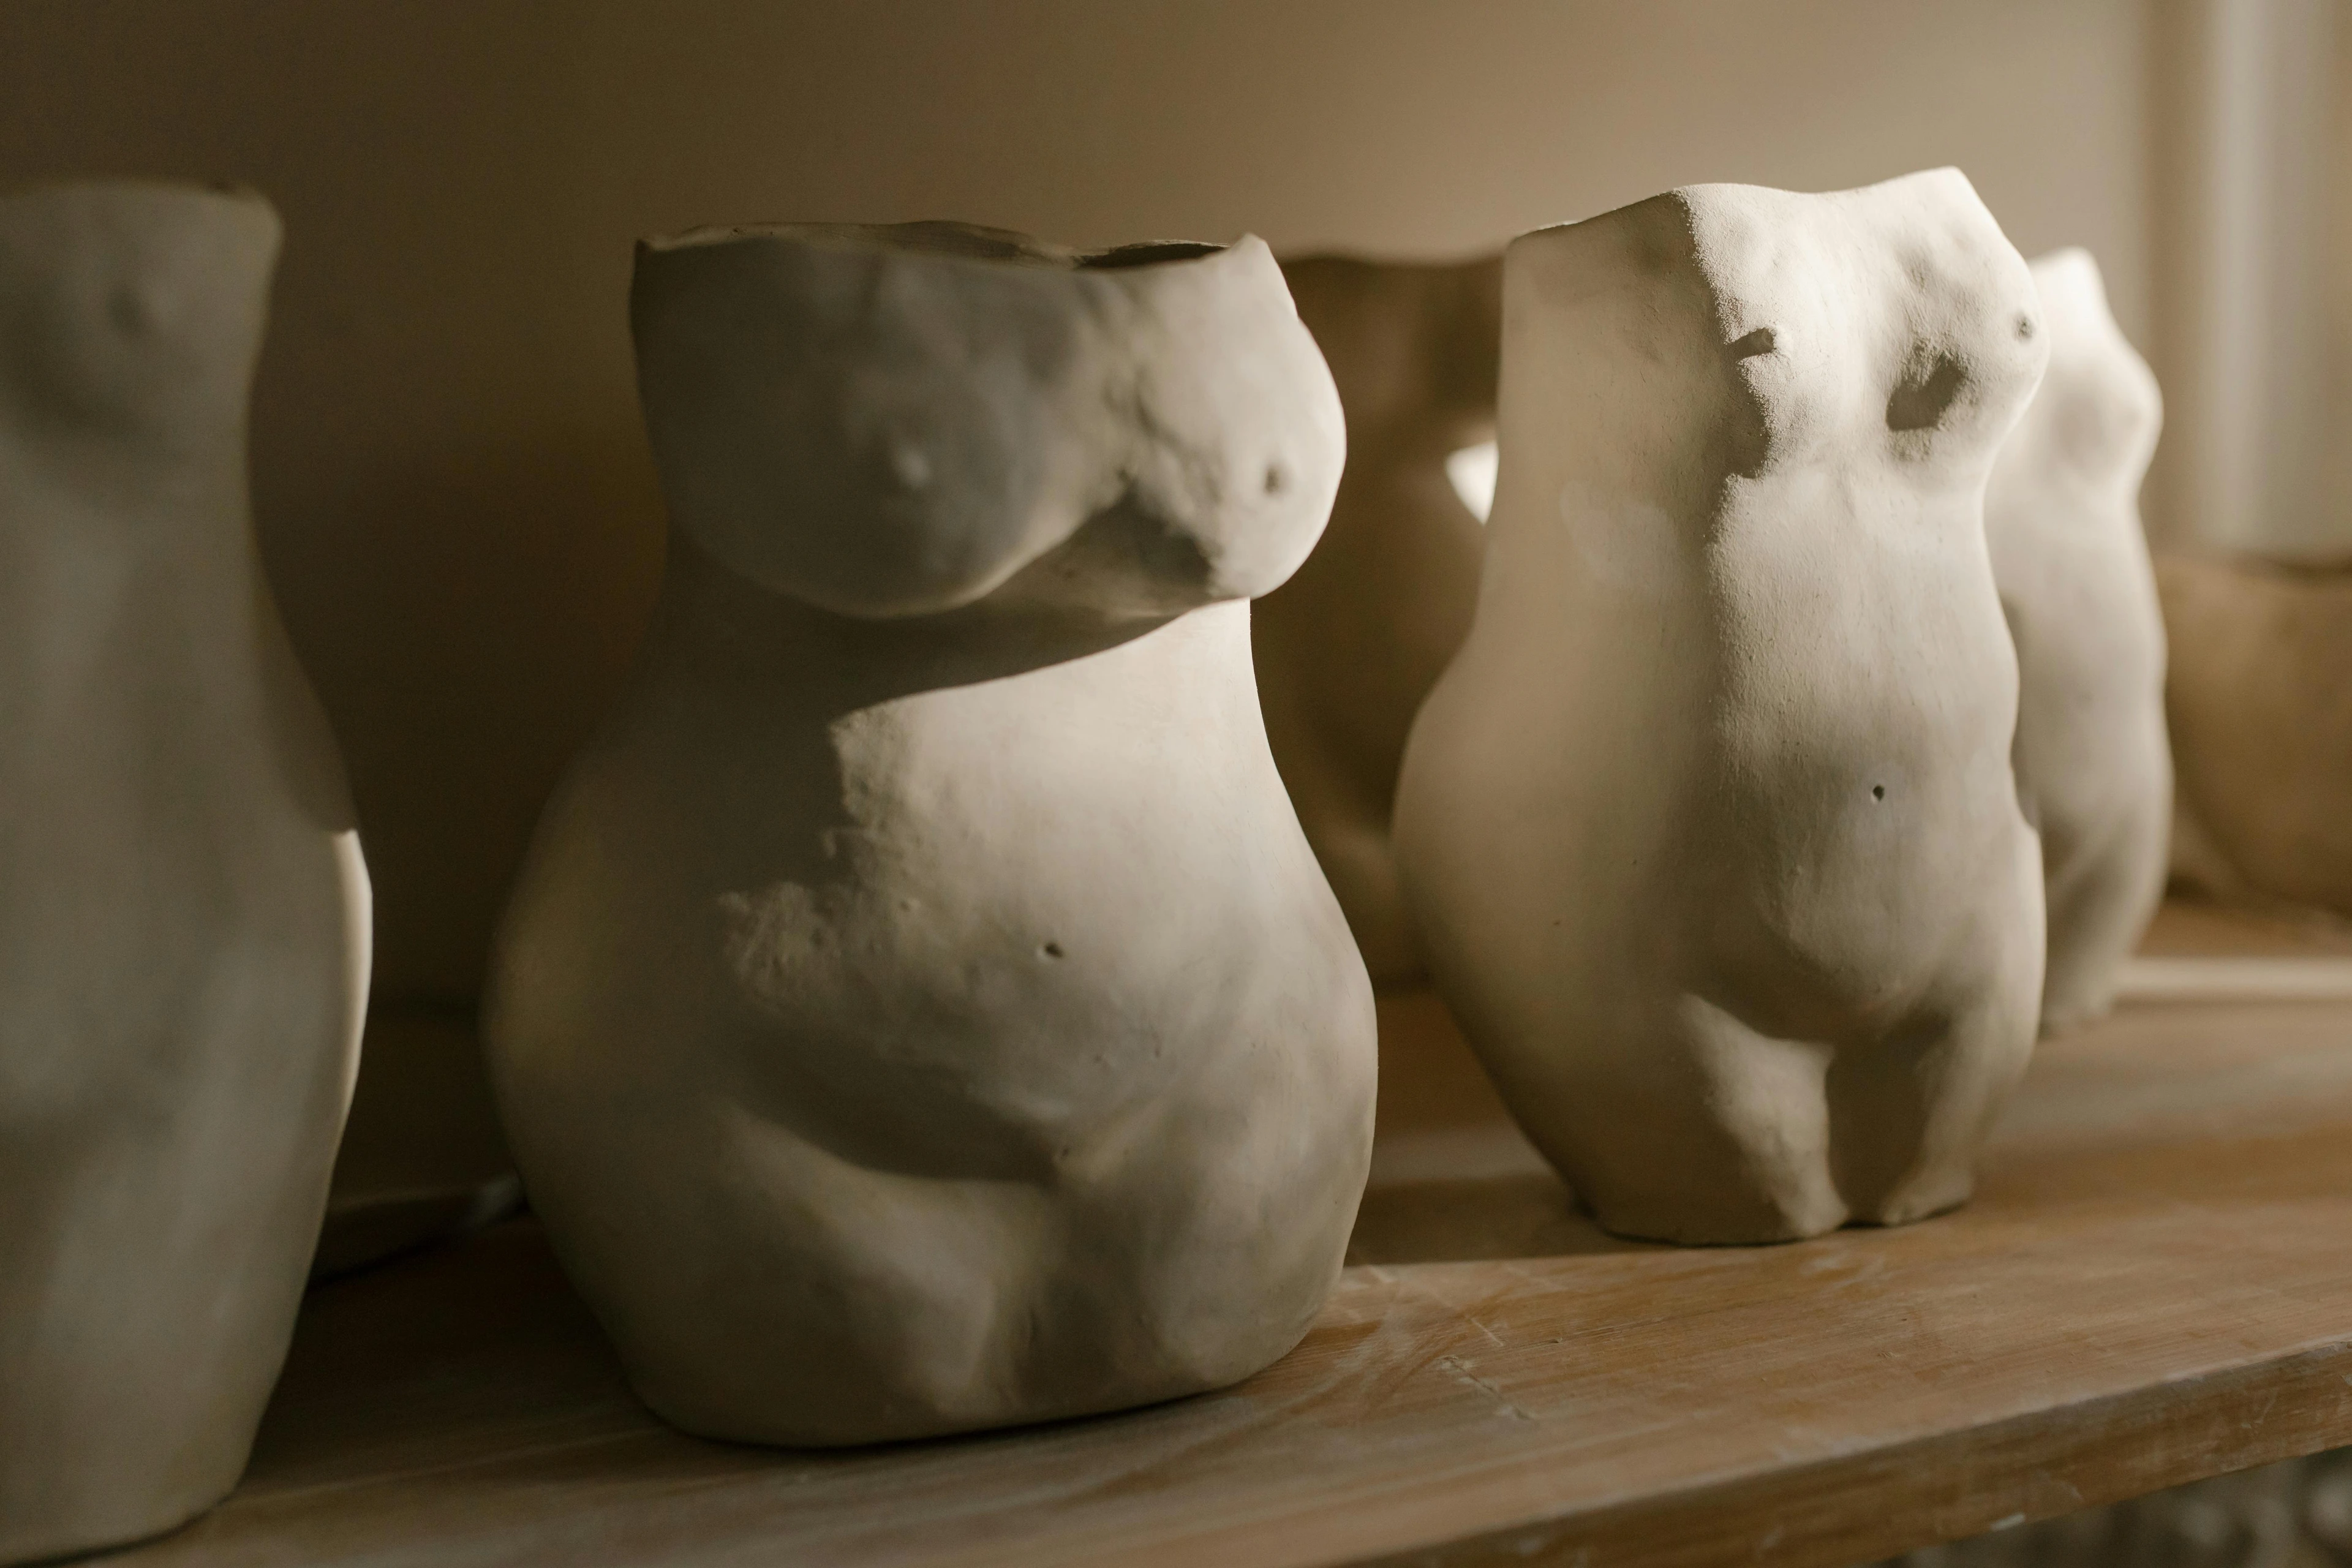
Sometimes, I look at those mind-blowing 3D digital sculptures online – you know, the ones that seem to defy gravity and imagination – and find myself thinking, "How on earth did they do that?" I distinctly remember feeling utterly overwhelmed when I first considered diving into digital sculpting. It felt like stepping into a spaceship when all I knew was a bicycle, truly. But here’s the thing I quickly learned: it’s not as daunting as it looks, and you absolutely don’t need a fancy studio or a massive budget to get started. I’m going to share my own journey, the missteps, and what I’ve genuinely found to be the essential supplies for digital sculpting beginners. Consider this less of a rigid guide and more of a friendly chat over coffee about getting your hands dirty – digitally, of course. Digital sculpting, in its essence, is the art of creating 3D forms using software that simulates the manipulation of virtual clay or other materials.

For me, the sheer freedom was the biggest draw. Imagine being able to create, undo, reshape, and experiment without worrying about expensive materials, drying clay, or cleanup. It’s a boundless playground for ideas! You can scale your work infinitely, duplicate elements with a click, and iterate on concepts at lightning speed. This non-destructive workflow allows you to make bold changes, knowing you can always revert or refine without penalty – a luxury traditional sculptors often dream of. This whole process opened up a new dimension of creativity, pushing my understanding of form and space in ways I hadn't anticipated. It even informs my abstract art, believe it or not. The possibility of bringing those creations to life through 3D printing or even rendering them into stunning images for my art shop is just endlessly exciting.

The Digital Canvas Awaits: Essential Software
Alright, let's talk brass tacks: what digital tools do you actually need to start manipulating virtual clay? This is where the magic happens, where your ideas truly begin to take form. And here’s some excellent news: you can start for free! The software allows you to build, carve, smooth, and refine what feels like a limitless block of digital material, responding to your touch as if it were physical clay – but with infinite undo, thank goodness. You can truly experiment with form without fear of destroying your progress or wasting expensive materials.
Free & Beginner-Friendly Options
When I first started, the sheer number of software options felt like choosing from a thousand different ice cream flavors – utterly overwhelming! But trust me, a few stand out as perfect for dipping your toes in and getting a feel for what digital sculpting is all about.

- ZBrushCoreMini: This is like the 'lite' version of industry-standard ZBrush, and it's absolutely fantastic for absolute beginners. It’s incredibly intuitive for getting a feel for sculpting, has a limited but powerful toolset, and best of all, it’s completely free. The user interface is significantly simpler and less intimidating than its full ZBrush counterpart, making it ideal for immediate creative gratification. It’s where I recommend most people start, just to get those digital muscles warmed up with basic clay building, smoothing, and creasing. You can immediately feel the responsiveness of a digital brush, making simple organic shapes like a sphere creature, a basic character bust, or even abstract decorative elements surprisingly quickly.
- Blender (Sculpting Mode): Ah, Blender. The open-source powerhouse. It’s a full 3D suite that does everything – modeling, animation, rendering, and yes, sculpting. The learning curve for Blender as a whole can be a bit like climbing Everest in flip-flops, but its dedicated sculpting mode is surprisingly robust and getting better with every update. And it's, you guessed it, free! For beginners, I'd suggest starting by using a DynaMesh or Voxel Remesher to get a uniform mesh – these tools essentially re-calculate the underlying geometry of your model as you sculpt, so you don't have to worry about stretching polygons. Don't worry about the jargon, the tutorials will guide you! Then, focus on essential brushes like Grab, Clay Strips, and Smooth to build up your basic forms. There are tons of online tutorials for Blender, and it’s a fantastic skill to add to your repertoire if you're serious about 3D art.
- Sculptris: While an older program, Sculptris (by Pixologic, the makers of ZBrush) is incredibly intuitive for purely organic sculpting. It's often recommended for beginners because it handles mesh density dynamically, meaning you don't have to worry too much about the underlying geometry. It feels very much like working with real clay. Though not actively developed, it's still available and a great free entry point for organic forms.
Here’s a quick comparison to help you choose your first virtual playground:
Feature | ZBrushCoreMini | Blender (Sculpting Mode) | Sculptris |
|---|---|---|---|
| Cost | Free | Free (Open Source) | Free |
| Ease of Use | Very high, beginner-focused | Moderate (for sculpting mode) | Very high, organic sculpting |
| Primary Strength | Intuitive sculpting, organic forms | Versatile 3D suite, advanced tools | Dynamic tessellation, organic forms |
| Learning Curve | Gentle, quick to pick up | Steep overall, sculpting mode manageable | Gentle, very clay-like |
| Ideal For | First digital sculpting experience | Broader 3D workflow, advanced tools | Purely organic forms, very tactile |
For most sharing and learning, getting an OBJ file out is great. For 3D printing, STL is your absolute priority, hands down.
Professional & Advanced Options (Future Goals)
Once you've dipped your toes in and confirmed that you actually love this digital clay, you might consider these industry giants. Think of these as your future grand adventures once you've mastered the basics and are ready for professional-grade results and more complex workflows. These tools offer unparalleled control, more brush options, advanced detailing, and seamless integration into production pipelines for high-polygon sculpting.
- ZBrush: The undisputed king of digital sculpting. If you see incredible creature designs, highly detailed character models, or intricate props in films, games, or collectibles, chances are they were sculpted in ZBrush. It has a unique, sometimes quirky, interface that takes time to learn, but the sheer power it offers for working with millions of polygons, adding fine details, and painting textures is unparalleled. It truly is a master's tool.
- Substance Modeler (Adobe): A newer player in the field, but very promising, especially if you're already in the Adobe ecosystem. It offers a more intuitive, modern sculpting workflow that feels very natural to traditional artists, blending voxel and polygonal modeling for flexible creation. Its strength lies in its integration with other Adobe Substance 3D tools, allowing for streamlined texturing and material workflows.
- Nomad Sculpt (iPad): If you're an iPad user, Nomad Sculpt is an absolute revelation. It brings almost desktop-level sculpting power to a portable device for a one-time purchase. It's truly impressive and incredibly fun for sculpting on the go, perfect for those moments of sudden inspiration and allowing you to concept and sketch with significant detail in any location.
Understanding File Formats: Bringing Your Sculptures to Life
So you've sculpted your digital masterpiece. Now what? Understanding file formats is key to sharing, printing, or integrating your work elsewhere. Think of them as different types of containers for your digital clay, each with a specific purpose.
Format | Extension | Primary Use Case | Notes for Beginners |
|---|---|---|---|
| OBJ | .obj | General 3D model exchange, good for rendering | Widely supported, good for sharing with friends or other 3D apps. |
| STL | .stl | 3D Printing | The absolute go-to for making physical objects from your digital sculpts. Represents surface geometry as triangles, but doesn't store color. |
| FBX | .fbx | Complex scenes, animation, rigging, game engines | Advanced, but good to know if you aim for game dev or film. Contains more than just geometry. |
| GLTF/GLB | .gltf/.glb | Web-based 3D, AR/VR, efficient asset delivery | Excellent for sharing interactive 3D models online easily, optimized for faster loading in web and game engines. |
Always consider where your sculpture is going next. For beginners, getting an .obj out of your software is a great first step, and if you're thinking about 3D printing, an .stl is absolutely essential. Many online 3D printing services require .stl files, so knowing this format is your ticket to holding your digital creation in your hands.

Your Hands, Your Tools: Essential Hardware
Okay, so you've downloaded some software and are eager to create. But you can't sculpt with just your thoughts (yet!). You need the physical extensions of your hand to interact with that virtual clay. This is where hardware comes in. I recall stressing over buying the 'perfect' setup, only to realize that 'perfect' is subjective and 'good enough to start' is usually available for less than you'd think. Don't let the quest for expensive gear become a barrier to simply beginning. In my years of exploring various art forms, I've learned that the right tool isn't always the priciest one; often, it's the one that just lets you start.
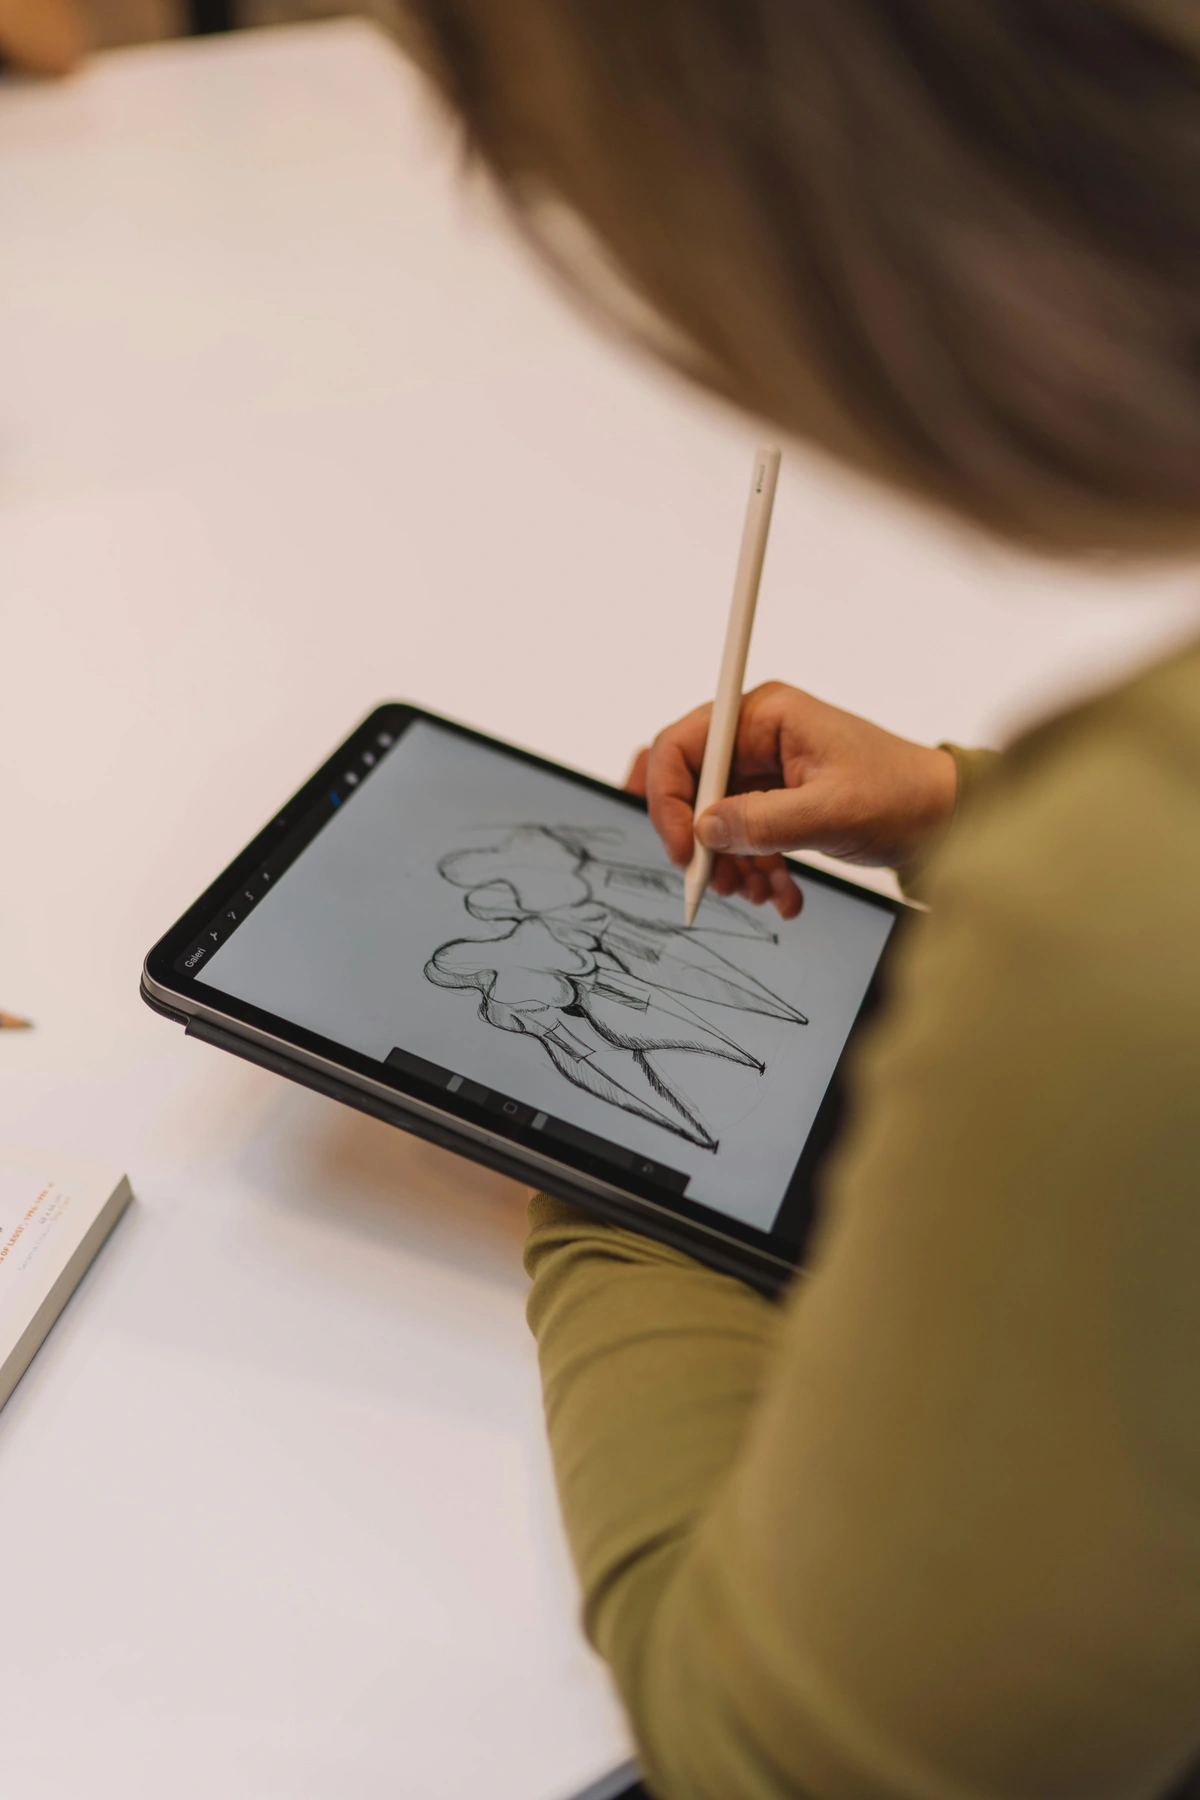
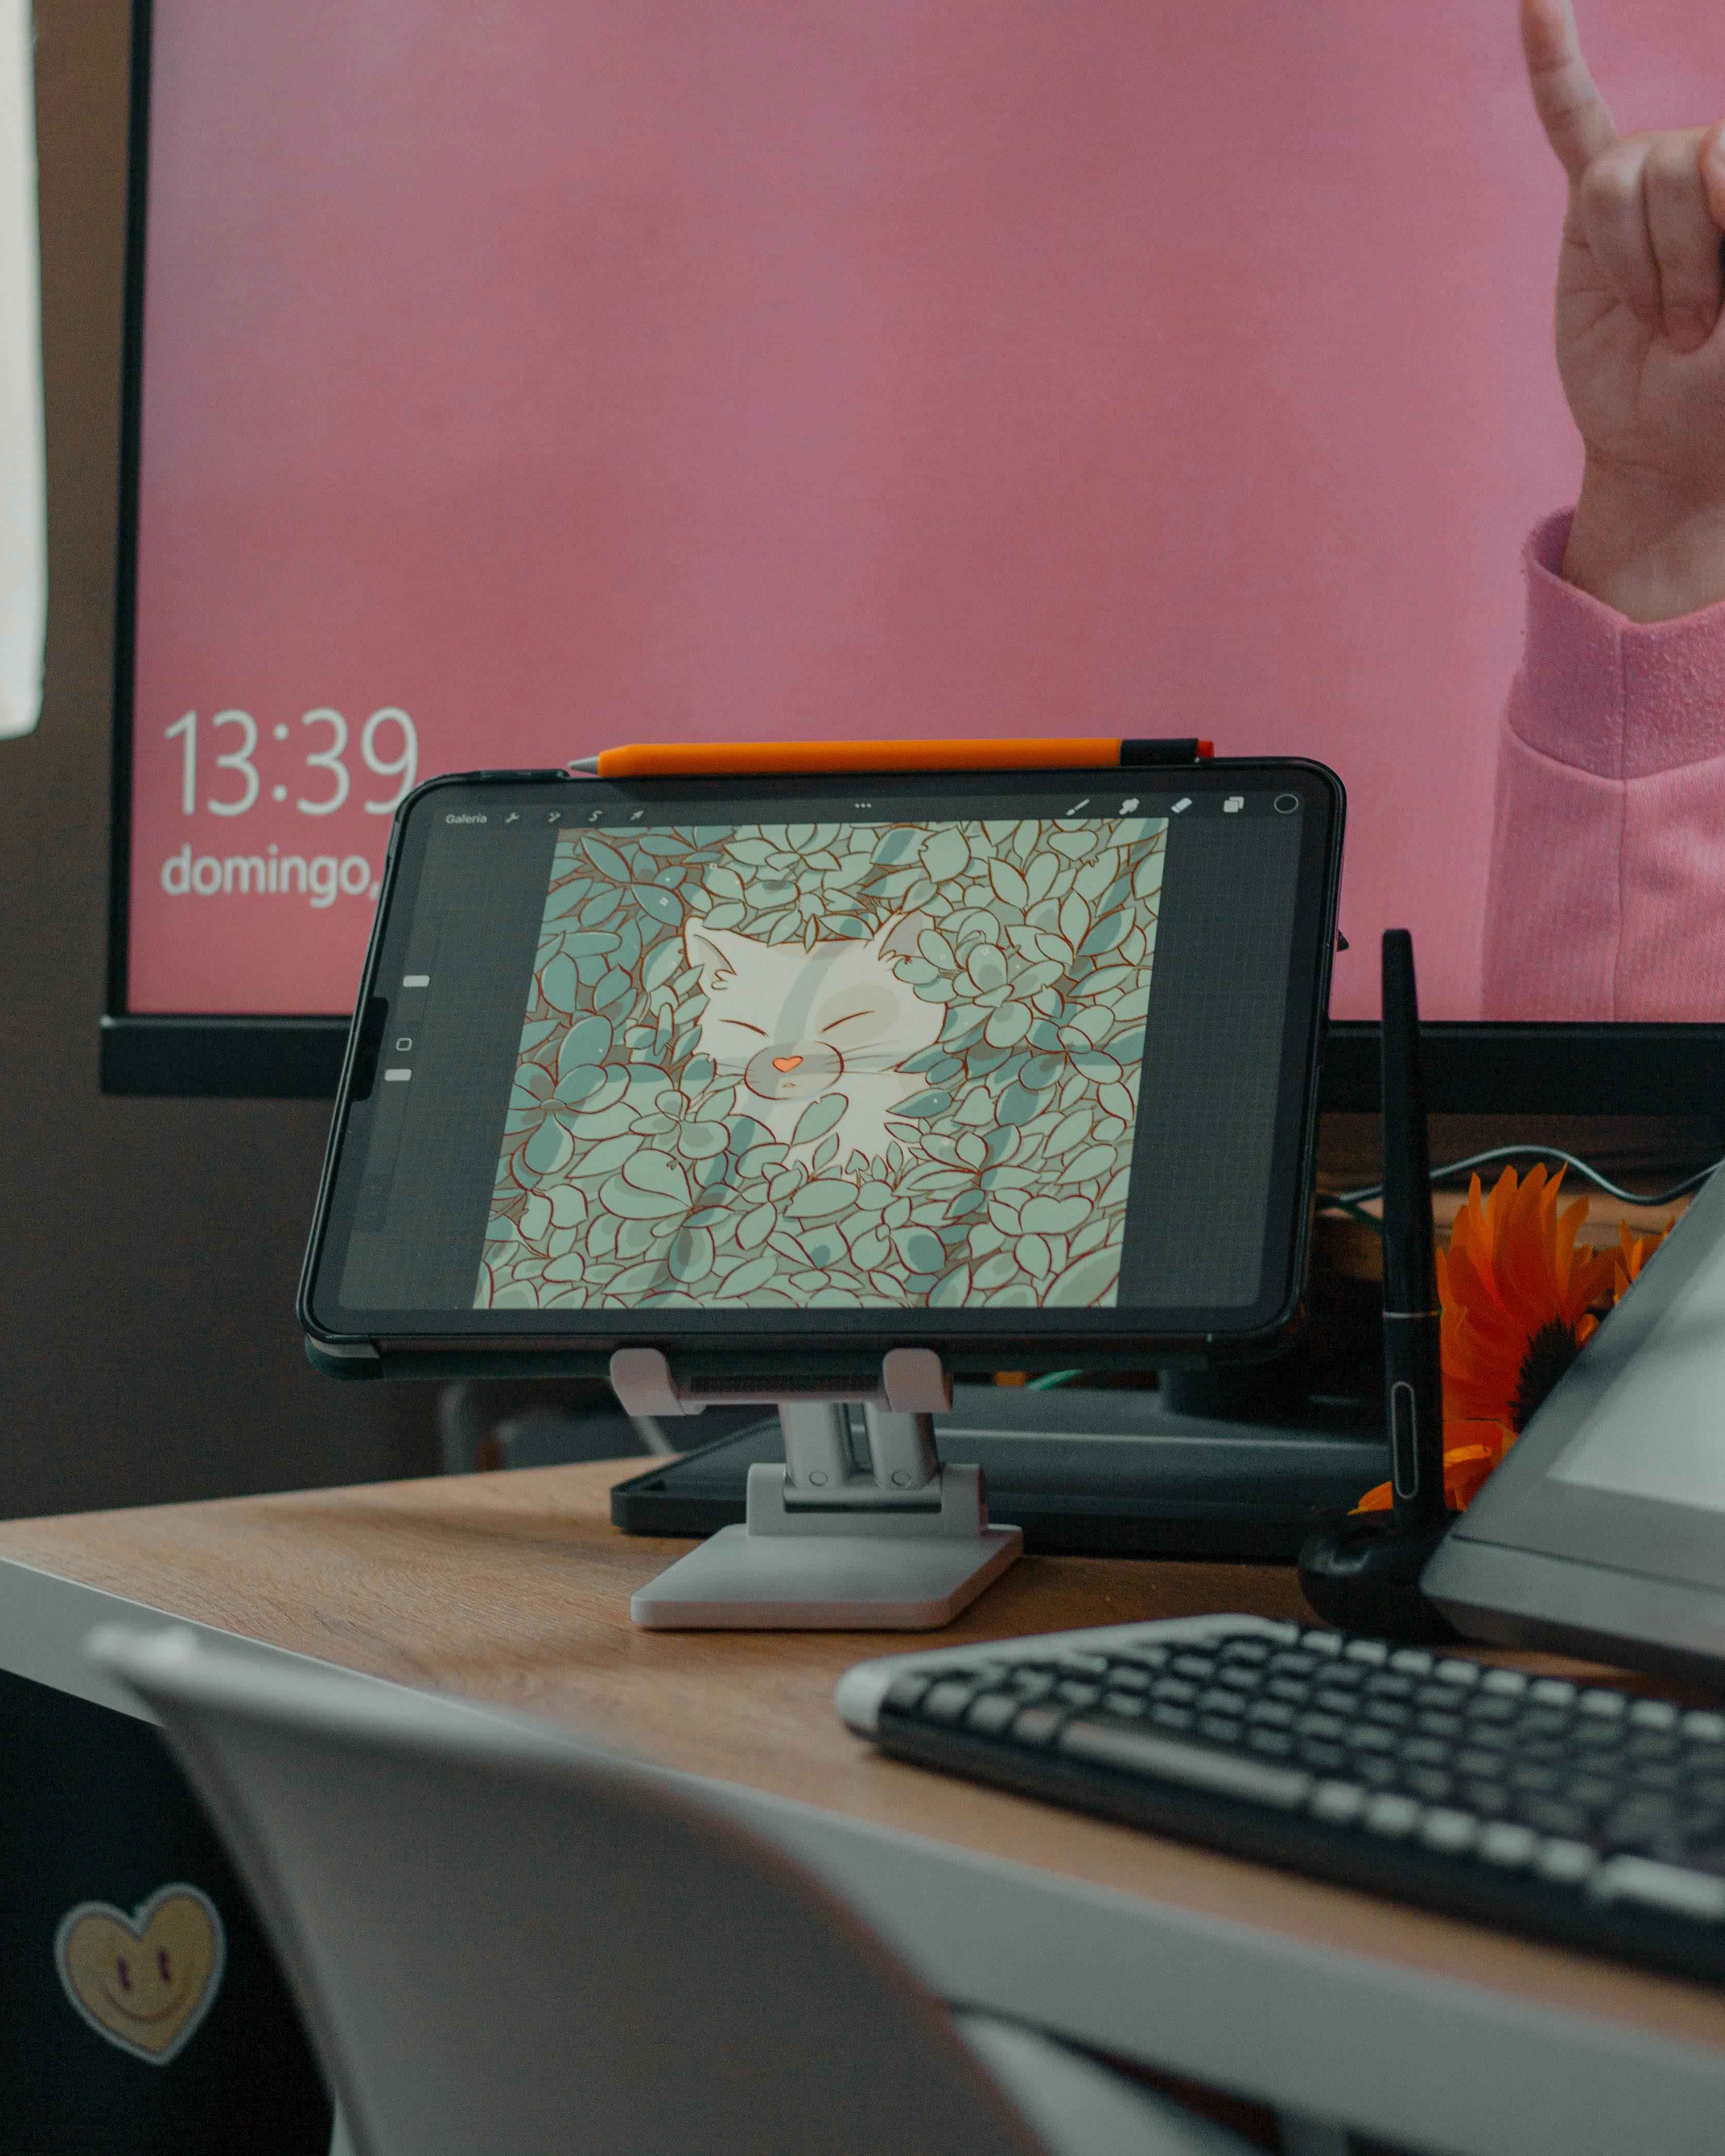
The Digital Canvas: The Drawing Tablet
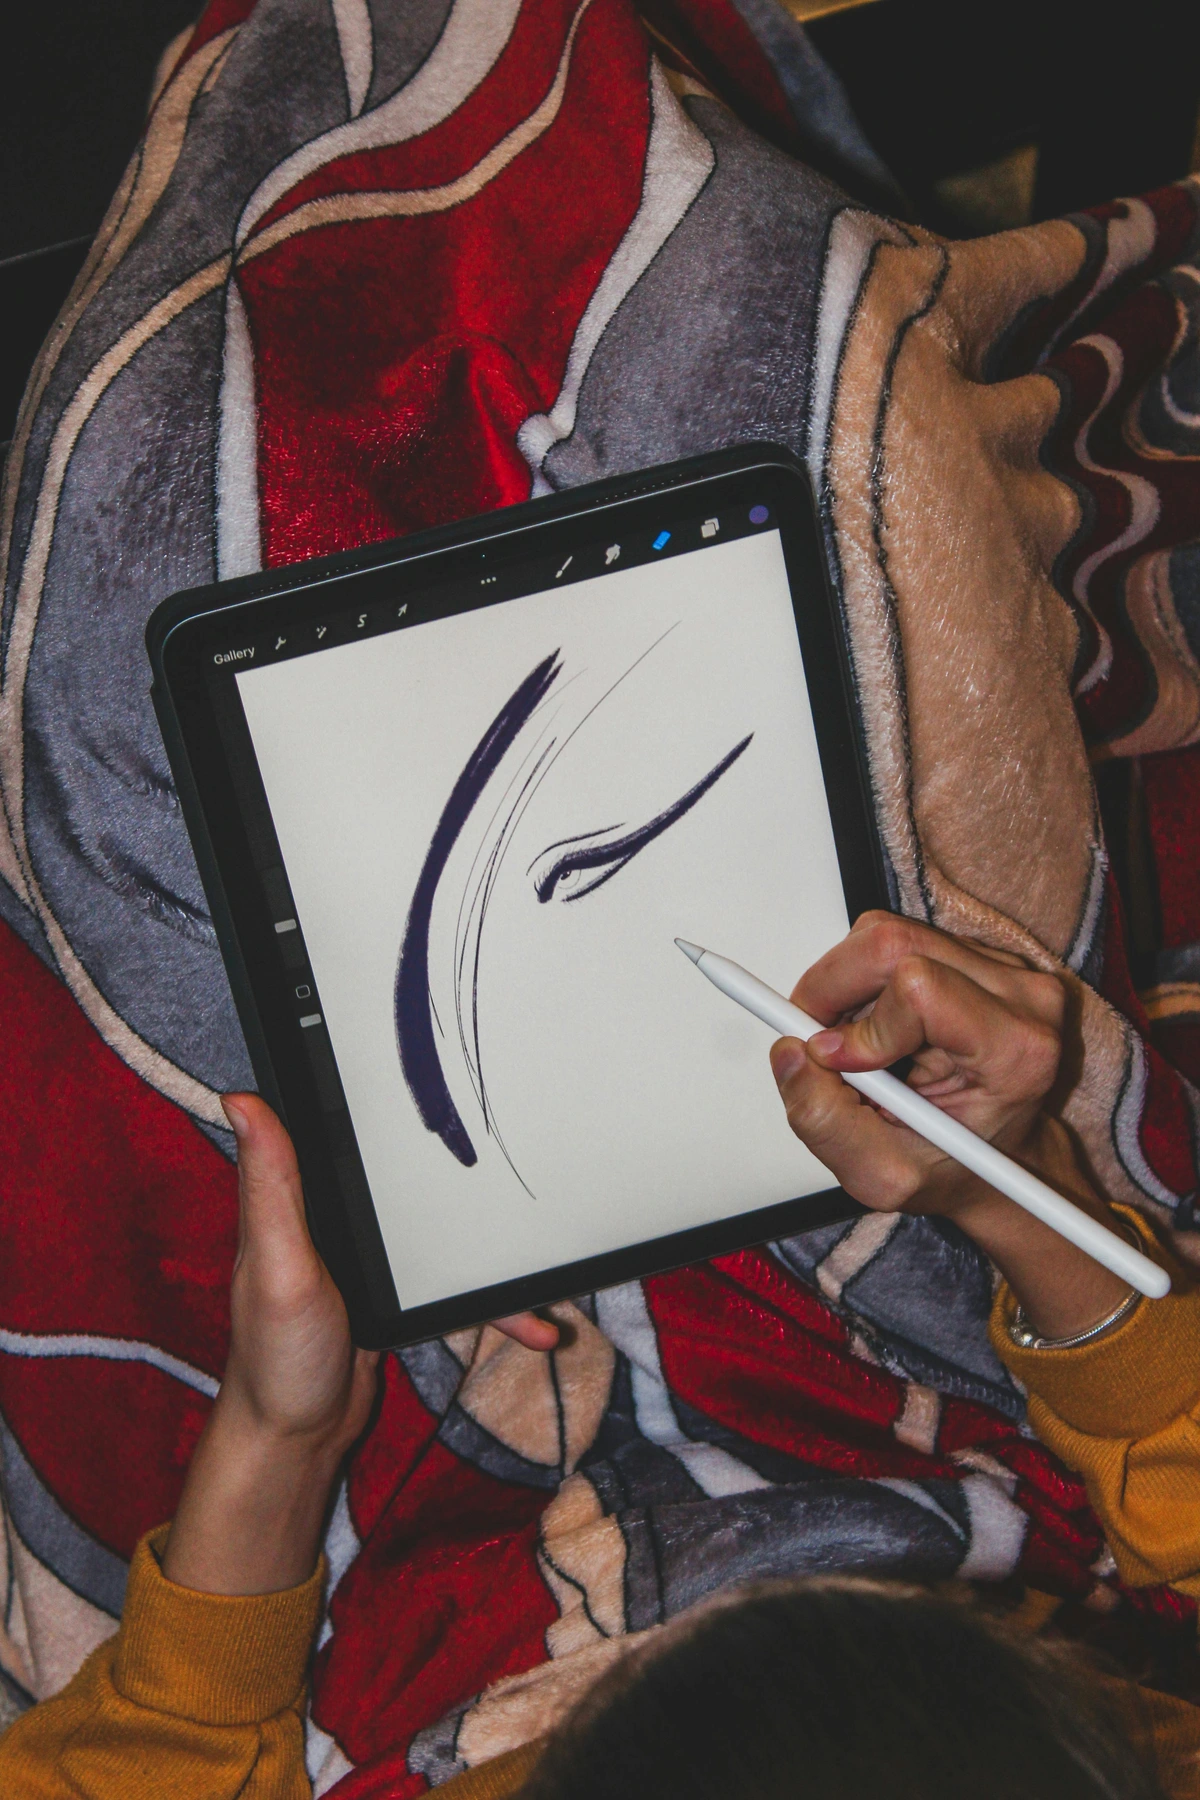
This, my friend, is non-negotiable. Seriously. Trying to sculpt with a mouse is like trying to paint a miniature with a broom. You absolutely need pressure sensitivity and precision. This means your digital brush strokes will vary in size, opacity, and intensity based on how hard you press your stylus, just like a real brush or sculpting tool. This nuanced control is what makes digital sculpting feel natural and allows for organic, expressive forms. Light pressure for a subtle crease, firm pressure for building up significant mass – it mimics traditional sculpting directly.

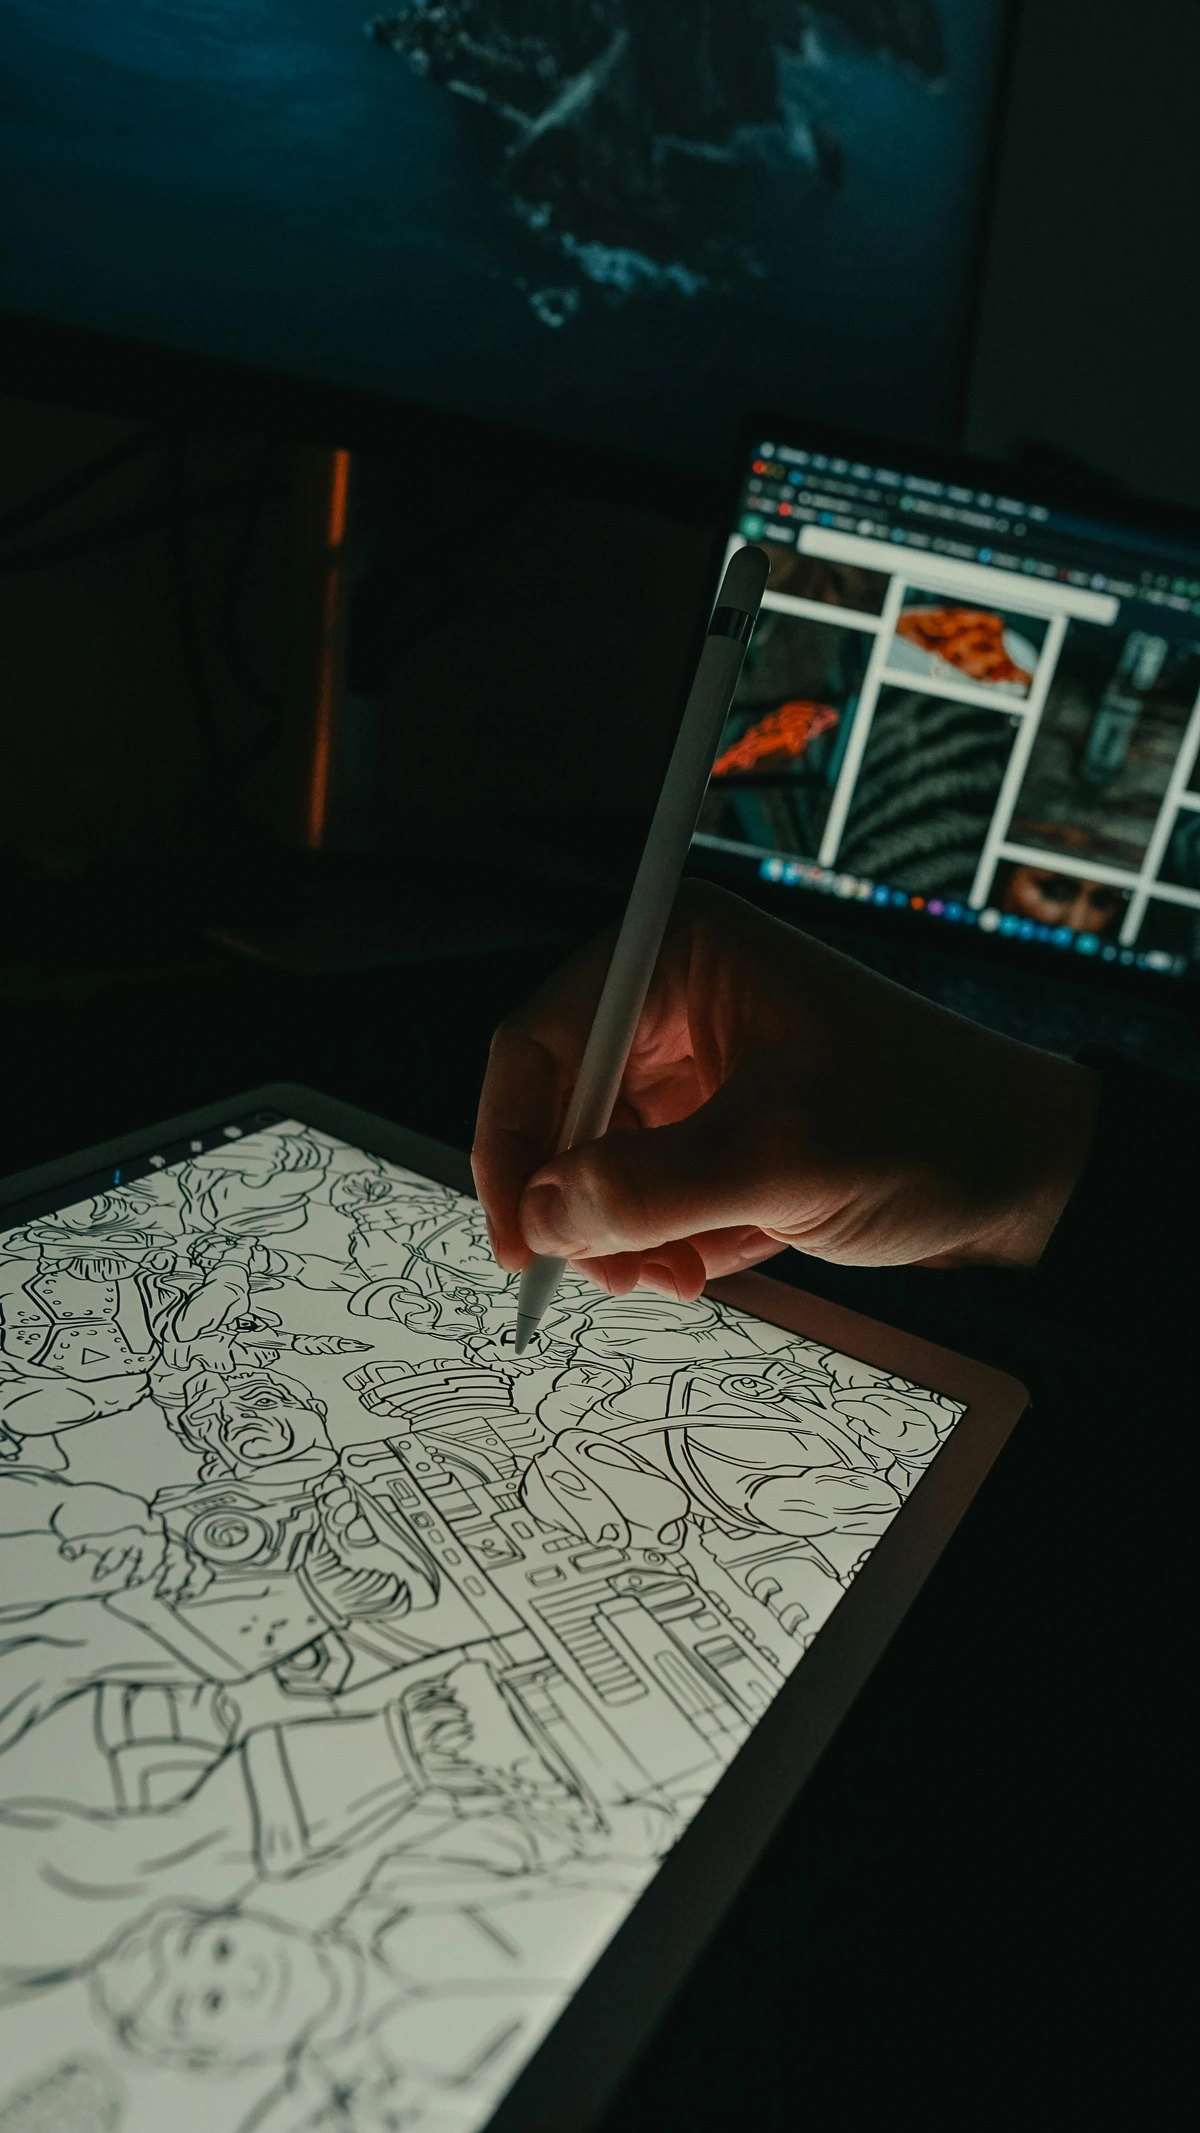
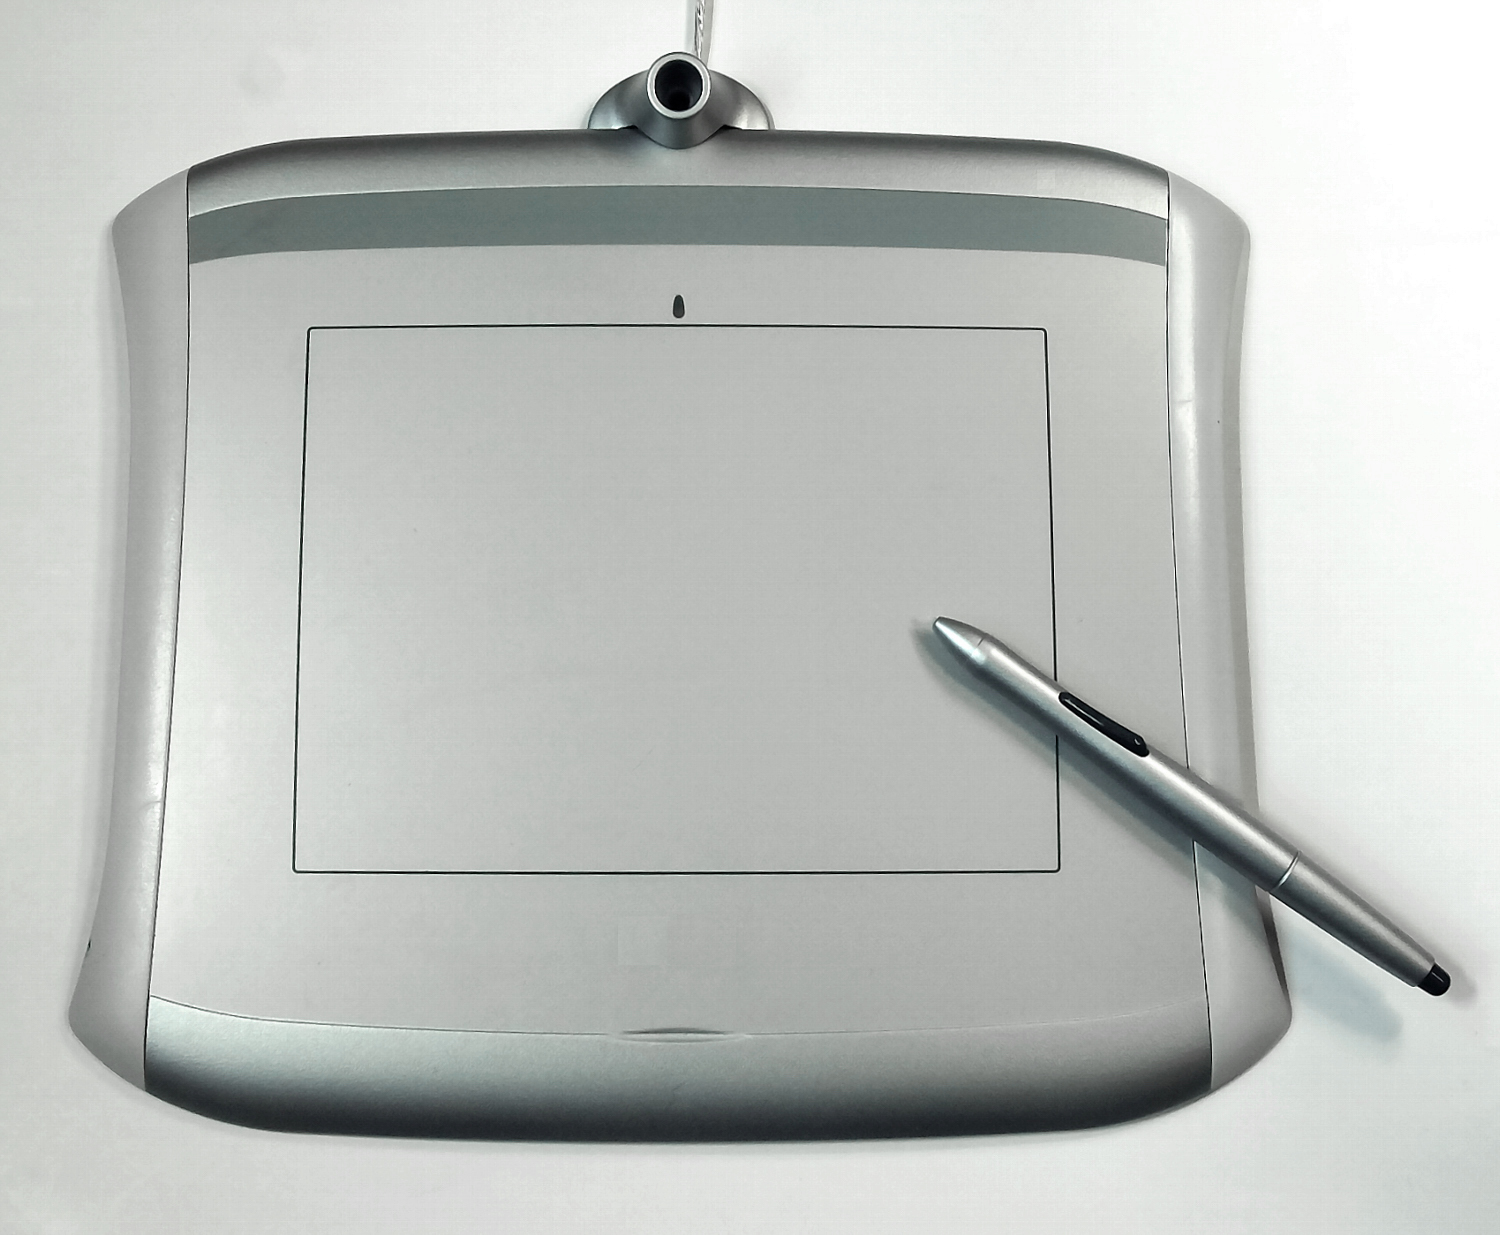
Now, there are two main types: screen tablets (where you draw directly on the display) and pen tablets (where you draw on a surface and look at your monitor). I started with a basic pen tablet, something like an entry-level Wacom Intuos Small (e.g., CTL-4100 or similar), and it was perfectly fine. Other fantastic budget-friendly options include tablets from XP-Pen (like the Deco series) or Gaomon. Yes, the disconnect between hand and screen takes a little getting used to – imagine drawing on a pad while watching the result on a separate TV. It’s like learning to drive a stick shift. But trust me, your brain adapts surprisingly quickly. I found that after a week or two, it felt completely natural, almost an extension of my hand. If you can splurge a bit, a screen tablet (like a Huion Kamvas or a Wacom Cintiq) offers a more intuitive, direct experience, but don't feel pressured. Your craft is about your skill, not your spend. Even an iPad with an Apple Pencil can be a powerful sculpting tool these days! For more details on choosing one, check out this guide to top drawing tablets for digital artists.


The Brains of the Operation: Your Computer
Once you have your tablet, you need something to run the software on. You don’t need a supercomputer to begin, but a halfway decent machine will save you a lot of frustration. Digital sculpting software, especially as your models get more complex and you add more polygons (the tiny faces that make up your 3D model) or subdivision levels (increasing the detail of your mesh), can be quite demanding on your computer's resources. I remember one time, early on, my computer just froze on a complex mesh, and I almost lost hours of work. It taught me the importance of understanding these specs. Here’s a quick breakdown of what matters:
- CPU (Central Processing Unit): Think of this as the 'brain' of your computer, responsible for most calculations. A faster CPU means your software responds quicker when you make complex changes or calculate mesh operations.
- RAM (Random Access Memory): This is your computer's short-term memory, like your workbench space. The more RAM you have, the more data your computer can actively work with at once. This allows for higher detail models without slowdowns. Aim for at least 8GB, but 16GB is ideal for smoother work with more complex meshes, especially when dealing with millions of polygons or multiple subdivision levels, as it holds more of that detailed geometry and brush data directly in memory.
- Graphics Card (GPU - Graphics Processing Unit): This handles displaying all the visual information on your screen, like the speed at which your eyes can process what's happening in the virtual world. A dedicated graphics card with its own memory (VRAM) helps render your complex 3D models smoothly and makes navigating your scene feel fluid, especially with real-time shadows and materials. While integrated graphics can work for very basic sculpting, you’ll hit performance limitations very quickly as detail increases.
If your current computer can run modern games or handle basic video editing without bursting into flames, you're probably good to go for initial forays into ZBrushCoreMini or basic Blender sculpting. Later, if you get serious, you might want to upgrade, but don't let a fear of inadequate hardware stop you from even downloading your first piece of software.

Mastering the Craft: Beyond the Gear
Okay, so we've covered the tech – the virtual canvas and the digital brush. But let's not forget about you. Digital art, especially sculpting, can be an intensely focused activity, and you don’t want to burn out or develop a bad back. The journey is as much about your well-being and mindset as it is about the tools. I've found that paying attention to these 'soft skills' can be even more impactful than having the latest GPU.
Your Creative Nest: Ergonomics
A comfortable chair and a properly set-up workspace are absolutely crucial. Trust me, I’ve spent too many hours hunched over, only to regret it later. Make sure your monitor is at eye level to prevent neck strain. Position your drawing tablet and keyboard so your wrists stay neutral, not bent. If you use a smaller drawing tablet, consider having a separate, larger monitor to spread out your software interface more effectively. And for the love of creativity, take breaks! A 5-minute stretch (think wrist rotations, shoulder rolls, and gentle neck tilts) or walk every hour can do wonders for your body and your mind. Sometimes, a fresh perspective after a short break is exactly what your struggling sculpture needs. Think of it as charging your own batteries, not just your tablet's.
Good lighting is also often overlooked. A well-lit workspace helps reduce eye strain and ensures you're seeing your digital colors and forms accurately. Avoid harsh overhead lights creating shadows on your screen. Natural light is ideal, but if not available, a good desk lamp with adjustable brightness and color temperature can be a game-changer.

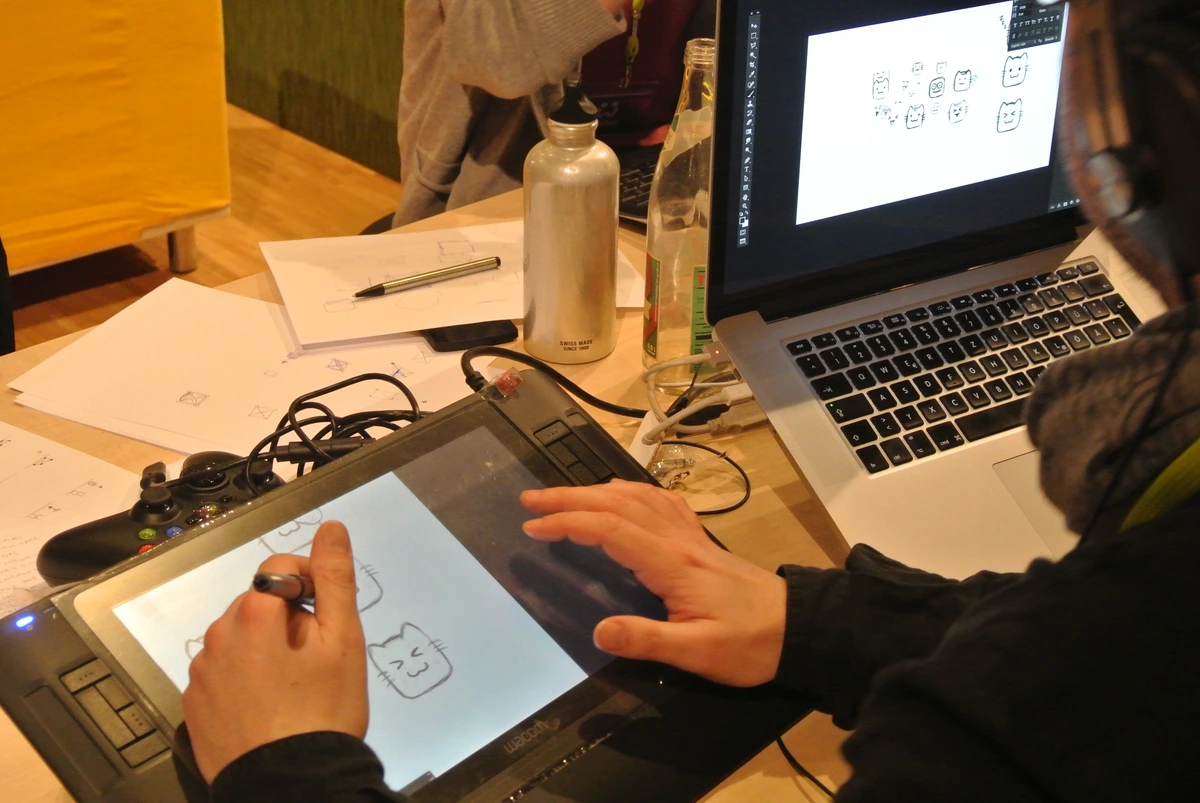
The Knowledge Stream: Learning Resources
This is arguably the most essential 'supply' of all: knowledge. The internet is a treasure trove. YouTube, ArtStation Learning, Gumroad, Domestika, Skillshare – they’re all brimming with tutorials. Find an artist whose style you admire and see if they offer courses or free videos. Don't be afraid to follow along, even if it feels like you're just copying. That's how we learn. I've personally spent countless hours watching speed sculpts, trying to reverse-engineer techniques. Look for tutorials on:
- Fundamental Sculpting Techniques: Blocking out primary forms, adding secondary and tertiary details, working with anatomy, sculpting fabrics, and creating hard surfaces. You can also find guides on how to incorporate sculptural art into modern interiors to inspire your next piece.
- Software-Specific Introductions: How to navigate the UI, understand basic tools, and set up your workspace in your chosen software. Look for channels dedicated to beginner Blender sculpting or ZBrushCoreMini walkthroughs.
- Speed Sculpting Videos: Watch experienced artists work to understand their workflow and problem-solving process.
- Concept Sculpting: How to translate a 2D drawing or idea into a 3D model.
And here’s a crucial tip that applies to all visual art: use reference images! Whether it's anatomy books, photos of real-world objects, or concept art, constantly refer to them. Your brain can't invent accurate forms from scratch. Sites like Pinterest, ArtStation, and even dedicated anatomy resources (or even images of kinetic art for dynamic poses) are your best friends. Don't forget that online communities like Reddit (e.g., r/ZBrush, r/blender, r/3Dmodeling) are fantastic for asking questions and getting feedback from fellow artists.
Future-Proofing Your Skills
Digital sculpting is just one facet of the vast 3D art world. Once you’re comfortable with the basics, consider exploring related areas. Learning about retopology (optimizing your mesh for animation or games by creating a cleaner, lower-polygon mesh over your detailed sculpt), UV unwrapping (preparing your model for textures by flattening its 3D surface into a 2D map), and texturing (painting surface details and materials onto your model) will make your sculptures truly shine and open up even more creative possibilities. It's a journey, not a destination, and each new skill compounds your ability. Many famous female sculptors throughout history have embraced new techniques, so you're in good company!
Common Questions About Digital Sculpting
I get a lot of questions from people looking to start, and these are some of the most frequent ones. Hopefully, they help demystify a few things for you too.

Q: Is digital sculpting harder than traditional sculpting?
A: It's different, not necessarily harder. Traditional sculpting has material costs, drying times, and permanence. Digital sculpting has a learning curve for software and hardware. Many find the non-destructive nature and infinite undo of digital sculpting to be less intimidating for experimentation. Your hands still do the work, just through a different interface.
Q: Can I really start for free? How to start 3D sculpting with no money?
A: Absolutely! As mentioned, software like ZBrushCoreMini, Blender's sculpting mode, and Sculptris are all powerful and completely free. You can also find countless free tutorials online. The only potential initial investment is a drawing tablet, and even entry-level options are quite affordable and readily available, so starting 3D sculpting with no money is definitely achievable if you have a basic computer.
Q: How long does it take to get good at digital sculpting?
A: Like any skill, it depends on your dedication and practice. You can learn the basics in a few weeks or months with consistent effort. To reach a professional level, it can take years. But the key is to enjoy the process and celebrate small victories. Focus on consistent practice rather than perfection, especially at the start.
Q: Do I need a powerful computer? What hardware do I need for 3D sculpting?
A: Not to start! Basic free software runs on most modern computers. However, as your models become more complex (higher polygon counts) and you start adding intricate details, a computer with at least 16GB of RAM and a dedicated graphics card will make your workflow much smoother and prevent frustrating slowdowns. Think of it as upgrading your workshop as your projects grow. So, while a powerful computer isn't a beginner requirement, it definitely becomes crucial as you advance.
Q: What about NFTs or blockchain art in digital sculpting?
A: While digital sculptures can be minted as NFTs, it's a separate topic from the act of sculpting itself. NFTs are more about digital ownership and collecting, and the blockchain space is still very volatile and speculative. My advice: focus on developing your core sculpting skills first. If you create great art, you'll find ways to share and monetize it, whether through NFTs, prints, or commissions, without needing to prioritize blockchain technology.
Ready to Sculpt? Your First Steps Await!
So, there you have it: my honest take on the essential gear and mindset for embarking on your digital sculpting adventure. I hope this has peeled back some of the mystique and made the prospect feel a little less like rocket science and a lot more like a creative journey waiting to unfold. Remember, the most important tool you possess is your curiosity and willingness to learn. The world of digital sculpting offers incredible freedom – picture yourself pushing and pulling this virtual material, feeling the responsiveness under your stylus as your creation takes shape. It's a truly exhilarating experience.
Here’s a quick checklist to get you started:
- Get a Drawing Tablet: Seriously, get one. Start with an affordable pen tablet if you're on a budget. (My personal recommendation for getting started with essential supplies for digital sculpting beginners).
- Download Free Software: Choose ZBrushCoreMini or Blender (sculpting mode) and just start exploring.
- Find a Beginner Tutorial: Pick one that teaches basic form-building and smoothing techniques, maybe focusing on a simple sphere creature or a character bust.
- Gather Reference Images: Don't sculpt in a vacuum. Have photos, anatomy charts, or concept art handy.
- Be Patient & Practice: You won't be a master overnight. Enjoy the process, make mistakes, and learn from them.
- Take Breaks & Stretch: Protect your body and mind. Ergonomics are your friend.
The world of digital sculpting is vast and rewarding. It's a place where imagination meets infinite possibilities. So, what are you waiting for? Download that software, grab your stylus, and let's get sculpting! I'd love to hear about your first digital creation and how your journey unfolds, perhaps even how it influences your creative journey.
Feel free to explore other corners of my artistic world, from my art shop to my thoughts on the timeline of my creative journey. And if you're ever in the Netherlands, consider visiting the Den Bosch Museum for some inspiration. Happy sculpting!