What Is Gesture Drawing? The Art of Catching Life in Motion | zenmuseum.com
A comprehensive educational article explaining gesture drawing as an artistic technique for capturing movement, energy, and life through quick, expressive lines, with historical context and artistic principles.

What is Gesture Drawing? The Art of Catching a Ghost with a Pencil
I want you to try something with me, right now. Pick up a pencil. No, seriously. Find the nearest scrap of paper and grab a writing implement. Now, draw a person running. The only rule is you have 10 seconds. Ready? Go.
Set a timer on your phone. Ten seconds. Ignore the voice in your head that wants to plan. Just look at the words 'a person running' and let your hand react. The clock is ticking.
What did you end up with? A frantic scribble that looks more like a tumbleweed in a windstorm? A single, urgent curve? Perfect. You've just done your first gesture drawing—an attempt to capture the essential feeling of a subject, not its photographic reality. And if you're like most people, it probably felt a little foolish, a little too fast, and a lot like you weren't in control. That messy scribble is actually a perfect starting point. You weren't bogged down by anatomy or whether the shoelaces were tied correctly; you were hunting for the action itself.
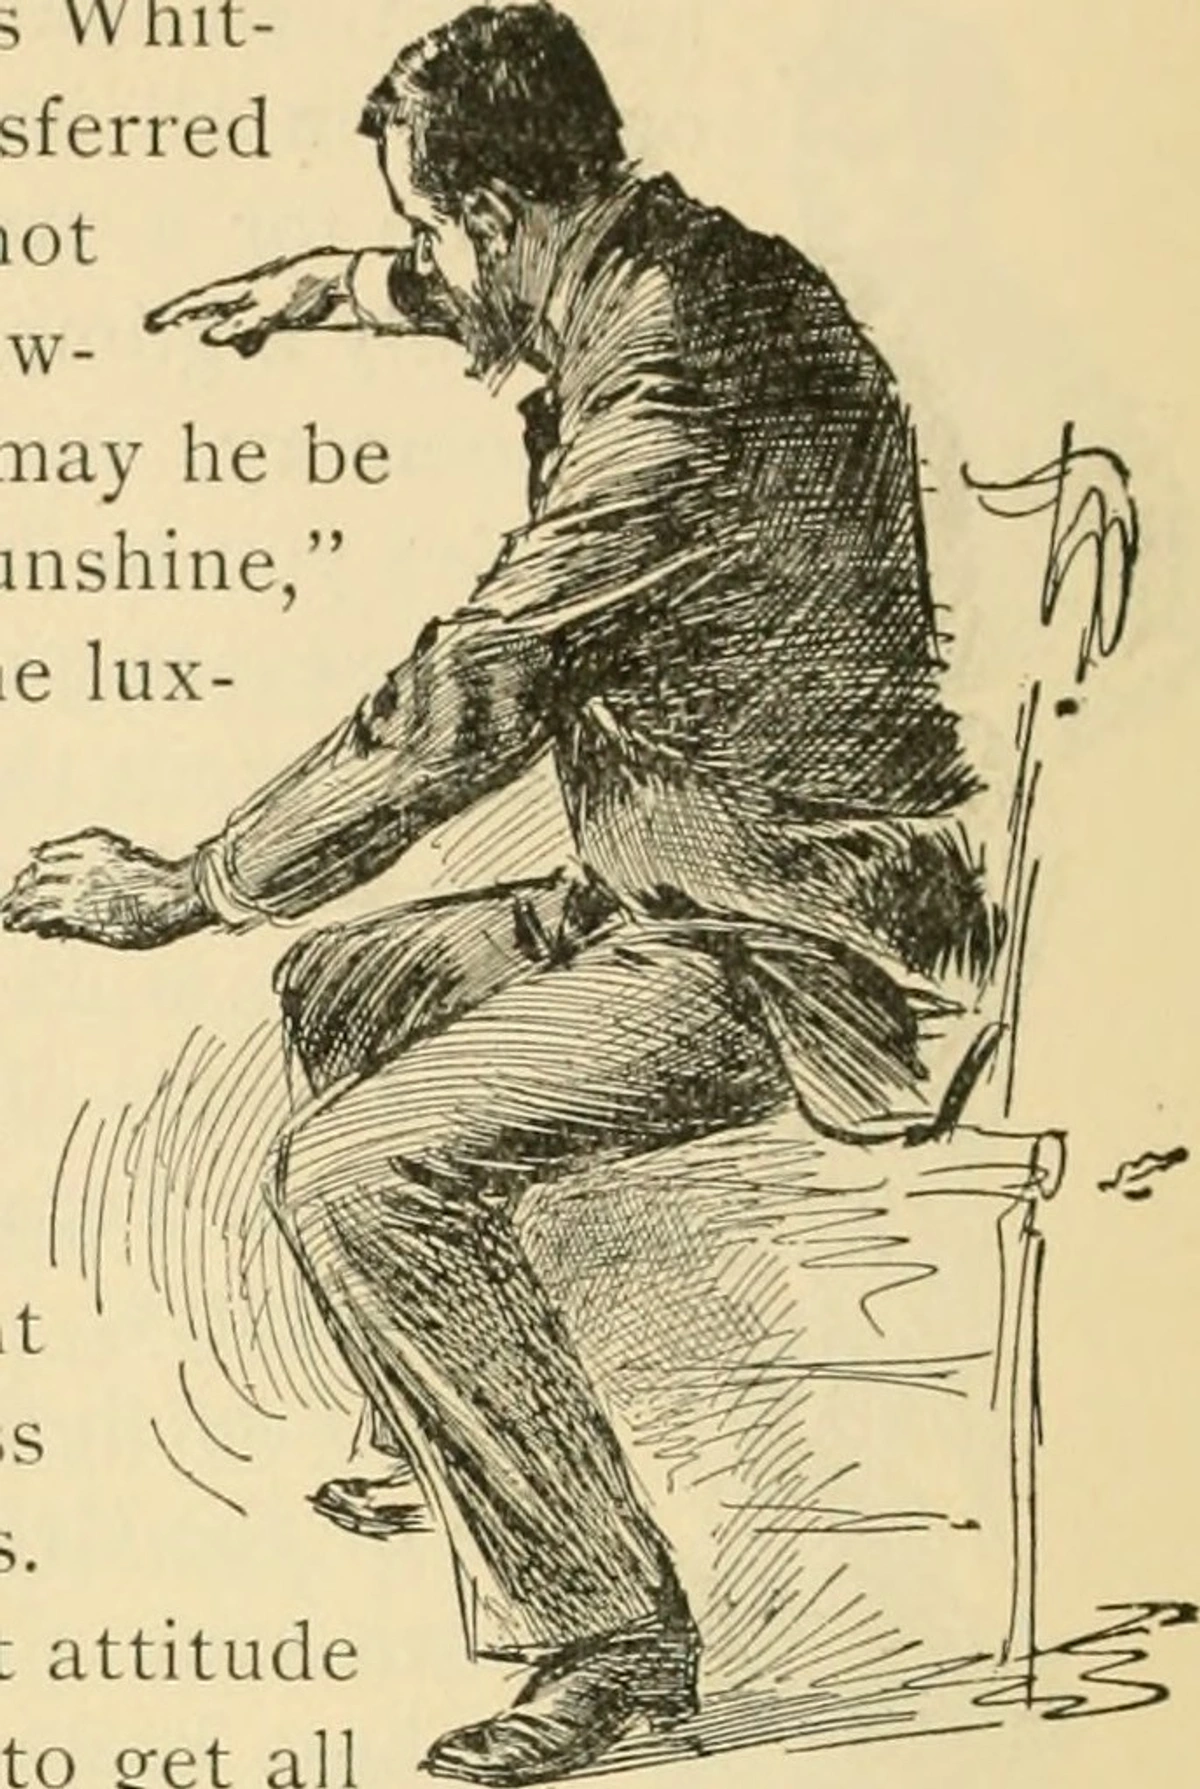
That's the entire point. Gesture drawing is an act of controlled chaos. It's about silencing that nagging critic who wants to fix every wobbly line and trusting your hand to follow your eyes. It's the art of catching a ghost with a pencil, trying to pin down the fleeting spirit of movement and life before it vanishes. It's a foundational skill that, once honed, informs everything else you create. Whether you're refining abstract compositions or building the armature for a detailed portrait, gesture provides the underlying current of energy that makes a work feel alive. It's the difference between a statue and a person taking a breath.
Consider the difference between a photograph and a memory. A photograph freezes everything in precise detail. A memory holds onto the feeling—the exhaustion in your muscles after that run, the way your friend threw their head back when they laughed. Gesture drawing is an attempt to create a memory, not a photograph, on the page. It prioritizes the kinetic and emotional truth of a moment over its literal, visual facts.
What's the Big Idea? Your Subject is a Verb, Not a Noun
Here’s the mind-bending shift in perspective that is the secret heart of gesture drawing. You are not drawing a thing. You are drawing an action.
The Foundational Concepts: Breaking Down the Verb
To draw the verb, you need a vocabulary of simple forms. The great art teacher George Bridgman saw the body not as a complex machine, but as a collection of simple, interlocking masses responding to force. This mindset is liberating. You aren't drawing a "head"; you're tilting an egg. You aren't drawing an "arm"; you're connecting a cylinder to a box.
Let's break down the big three:
- The Line of Action: This is the protagonist of your drawing. I think of it as the "spine sentence" of the pose—a single, dominant curve or thrust that tells the entire story of the movement. Before you draw anything else, your eyes should be hunting for this line. It's the flow of energy from the head, down the spine, and through the legs. A deep C-curve whispers "leaning back," while a straight, forward thrust screams "lunging."
- The Rib Cage and Pelvis as Tilted Boxes: Forget the organs and bones for a moment. The torso can be understood as two simple boxes, one stacked on top of the other. The rib cage is the top box, the pelvis is the bottom. The magic happens in their relationship. The secret to nearly every dynamic pose is a twist or a tilt between these two forms. When the rib cage tilts to the right, the pelvis might tilt to the left to counterbalance it. That counter-twist is where life begins.
- Limb Flow as Ribbons: Arms and legs are not rigid pipes. They are extensions of the core energy. Think of them as ribbons that flow from the torso. They taper, they curve around the body, and they follow through on the action started by the line of action. A leg kicking isn't just a straight line; it's a curve that continues the thrust of the pelvis. Your subject isn't a person; it's the weight of that person shifting from one hip to the other. It isn't a cat; it's the coiled tension in its haunches before it pounces. It isn't a tree; it's the slow, upward-reaching stretch of its branches toward the sun.
Thinking this way is the first and most important hurdle. It requires you to become a visual detective, ignoring the clothes, the facial features, and even the specific anatomy at first. Your mission is to uncover the underlying forces at play. Is the figure pushing or pulling? Is it collapsing or expanding? Is it tense or at ease? Answering these questions with your first few lines is the essence of the practice.
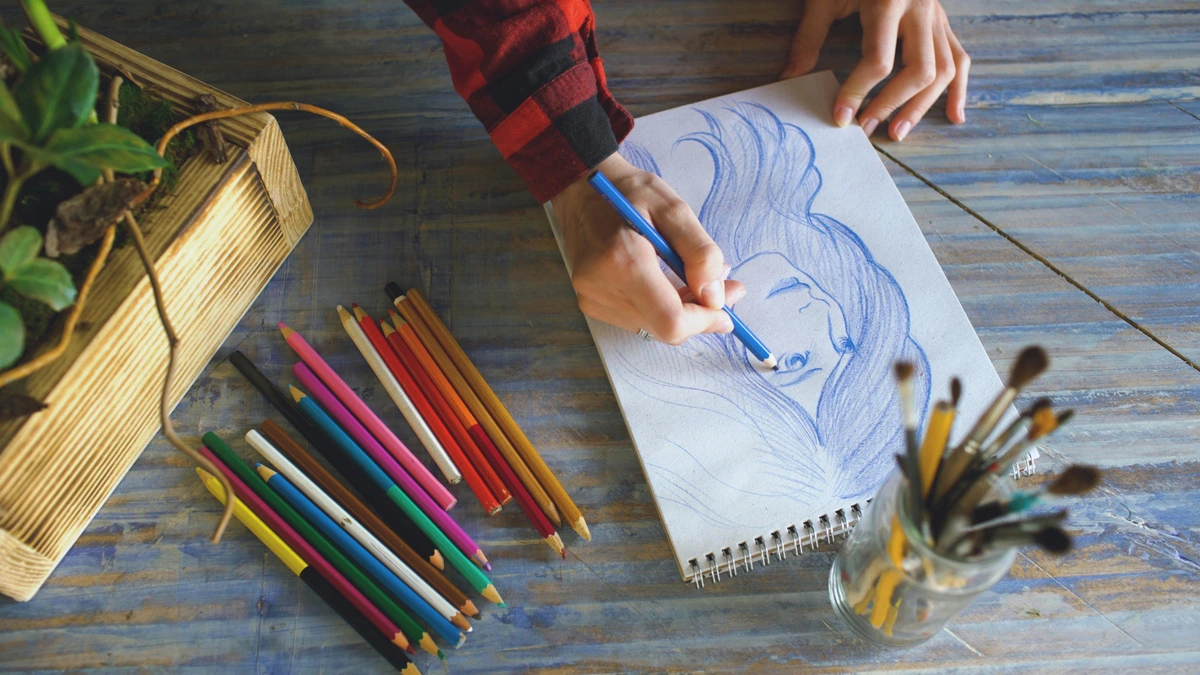
As an artist, when I start a life drawing session, I'm not trying to replicate the model's exact proportions. I'm trying to answer questions with my pencil: Where is the weight? What is the emotional energy? What is the main thrust of the pose? This process of inquiry is central to the art. It's less about creating a pretty picture and more about conducting an investigation into the nature of a particular action.
Deconstructing the Pose: The Artist's Detective Work
Alright, so you're looking at your subject as a verb, not a noun. Now what? How do you actually translate that feeling of action into marks on a page? This is where you put on your detective hat and start asking questions. Ignore the head, the arms, the legs for just a moment, and search for that central curve or thrust that defines the pose. Is it a deep, arcing C-curve? A subtle, lazy S-curve? Or a powerful, straight thrust forward? Finding this primary line gives you the entire plot of the pose; everything else is supporting detail.
The Spine: The Engine of the Pose
Every story needs a main character, and in gesture drawing, that character is the line of action, the spine. It's the single most important line you will draw. Ignore the head, the arms, the legs for just a moment, and search for that central curve or thrust that defines the pose. Is it a deep, arcing C-curve? A subtle, lazy S-curve? Or a powerful, straight thrust forward? Finding this primary line gives you the entire plot of the pose; everything else is supporting detail.
The Torso: The Powerhouse
Once you've found the spine, the core of the body is next. The rib cage and pelvis can be thought of as two simple, solid masses connected by the flexible spine. Their relationship is what creates most of the pose’s dynamism. One tilts forward while the other tilts back. One twists to the left while the other resists. By capturing the tilt and twist between these two core forms, you instantly establish the three-dimensionality and force of the figure.
The Limbs: Following the Energy
The arms and legs are the conduits for the energy generated by the torso and spine. They react. They follow through. They carry the weight or extend the gesture outward. A common mistake is to draw them as stiff, static tubes. Instead, think of them as ribbons trailing from the core—they have flow, they curve around the body's mass, and they connect back to that initial line of action.
Putting It All Together: The Hierarchy of Mark-Making
So you have your main concepts: the line, the boxes, the ribbons. How do they flow together in the heat of a 60-second drawing? You don't draw them one by one in isolation. You start with the big idea and let everything else cascade from it.
Imagine this process as building a sentence:
1. The Action Word (0-5 seconds): Your very first mark is the Line of Action. This is the verb of your sentence. It's the single, urgent "LEAN!" or "JUMP!" that defines the whole pose. It should be a confident, sweeping line that you feel in your own shoulder as you draw it.
2. The Subject (5-15 seconds): Next, you lay in the two big masses—the tilt of the Rib Cage and the tilt of the Pelvis. These are your nouns. You're not drawing them perfectly, just quickly indicating their orientation in space. This immediately gives your action line a three-dimensional anchor.
3. The Description (15-45 seconds): Now, you add the Limbs. These are your adjectives and adverbs—they describe how the action is being performed. The arms swing forward because the torso is leaning. The leg kicks back to counterbalance the forward thrust. Each limb is a consequence of the core action, not an independent detail.
By thinking in this hierarchy, you ensure that every mark you make serves the main idea. You're no longer just drawing a collection of body parts; you're writing a visual sentence about an action.
The Dance with Gravity: Weight and Balance
A figure that looks like it's floating is a figure with a failed gesture. Your number one job (after finding the line of action) is to figure out where the center of gravity is and how the body is balancing. Where is the weight?
Think of the body not as a static object, but as a mobile that's constantly finding a point of equilibrium. Every pose, no matter how dynamic, must obey the simple, unbreakable rules of gravity. Your job is to prove to the viewer that your figure understands this law.
I remember one life drawing session where my model was leaning against a wall. I was so focused on capturing the curve of their back that I completely missed that all their weight was supported by one shoulder. The result was a figure that looked like it was defying physics. It felt fundamentally wrong because I had ignored the most basic question: how is this body interacting with gravity?
The Tools of Balance: Plumb Lines and Weight-Bearing Legs
Thankfully, you don't need a physics degree to draw weight. Artists have developed a couple of simple mental tools over the centuries to get it right every time.
The Weight-Bearing Leg: In standing poses, one leg is almost always the main support. You can often spot it because it will be straighter and more directly under the torso. The other leg is free to relax, bend, or gesture. Identifying this "stance leg" is your first clue to unlocking the entire pose's balance.
The Plumb Line: This is a classic artist's trick to check for balance. Imagine a line dropping straight down from the pit of the neck. In a balanced standing pose, this plumb line will fall directly over the ankle of the weight-bearing foot. If your figure looks unstable, use an imaginary plumb line to check your work. It's the quickest way to diagnose a case of the "floating figure."
The Pro's Toolbox: Advanced Techniques and Concepts
Once you have a solid command of the basics, your practice can become much more sophisticated. You can begin to explore techniques that add even more life and depth to your work. This is where gesture drawing stops being just an exercise and starts becoming a fully integrated part of your artistic language.
Foreshortening: Drawing Forces, Not Forms
Foreshortening is what happens when a part of the body points directly at the viewer. An outstretched hand coming at you, a leg kicking towards the foreground—it’s a challenging but powerful way to create dynamic compositions and a sense of deep space. It's a prime example of drawing what you see, not what you know.
The biggest hurdle isn't technical; it's psychological. Your brain knows an arm is long, so it wants to draw a long arm, even when what you actually see is a tiny forearm and a giant hand. The key to foreshortening is to abandon what you know and trust what you see. Think of the body parts as simple overlapping shapes—a circle for the shoulder, a cylinder for the upper arm, a wider circle for the hand—stacked one in front of the other. Simplify, simplify, simplify, and don't be afraid to exaggerate the effect. Your gestural energy is crucial here; let that line of action punch directly toward the viewer.
The biggest hurdle isn't technical; it's psychological. Your brain knows an arm is long, so it wants to draw a long arm, even when what you actually see is a tiny forearm and a giant hand. The key to foreshortening is to abandon what you know and trust what you see. Think of the body parts as simple overlapping shapes—a circle for the shoulder, a cylinder for the upper arm, a wider circle for the hand—stacked one in front of the other. Simplify, simplify, simplify, and don't be afraid to exaggerate the effect.
Rhythm and Contrapposto: The S-Curve of Life
This is a principle that goes back to the ancient Greeks, who figured out that a figure standing perfectly straight is monumentally boring. Contrapposto is an asymmetrical stance where the figure's weight is shifted onto one leg, causing the hips and shoulders to angle in opposite directions. It's the essence of relaxed, natural posture.
This simple weight shift creates a natural, flowing S-curve through the torso—a beautiful and fundamental rhythm of the human body. That S-curve is the physical embodiment of a figure at ease, one part of the body balancing another. Learning to see and capture this natural counter-balance is a hallmark of a maturing artist. It turns a static figure into a figure that looks like it could breathe, shift its weight, and walk away. It's the difference between a statue of a king and the living person that statue was modeled after.
This creates a natural, relaxed S-curve through the torso—a beautiful and fundamental rhythm of the human body. That S-curve is the physical embodiment of a figure at ease, one part of the body balancing another. Learning to see and capture this natural counter-balance is a hallmark of a maturing artist. It turns a static figure into a figure that looks like it could breathe, shift its weight, and walk away. It's the difference between a statue of a king and the living person that statue was modeled after.
Silhouette and Visual Clarity: The Power of a Simple Shape
Can you tell what the pose is from the shadow it would cast? That's the power of a strong silhouette. Even with all the internal details removed, the action should be clear. It's a fantastic test of whether your gesture is truly working. This concept is absolutely critical for animators and storyboard artists, but it's just as important for any artist who wants their work to be instantly readable and impactful.
A good exercise is to fill in your finished gesture drawing with solid black ink. Is the resulting shape dynamic and interesting, or is it just a blob? If the action is lost, your gesture was too tangled and complex. Aim for clarity. Think of the instantly recognizable silhouette of Mickey Mouse or a character from a Studio Ghibli film—their poses are readable in a fraction of a second because their gestures are strong and clear. I often do this mentally while I draw, asking myself, "If I were to color this solid black, would it tell a story?"
A good exercise is to fill in your finished gesture drawing with solid black ink. Is the resulting shape dynamic and interesting, or is it just a blob? If the action is lost, your gesture was too tangled and complex. Aim for clarity. This is a crucial skill for animators and storyboard artists, who need to communicate complex actions instantly. Think of the instantly recognizable silhouette of Mickey Mouse or a character from a Studio Ghibli film—their poses are readable in a fraction of a second because their gestures are strong and clear.
Drawing Animals and Environments: It's All Gesture
Don't limit this practice to the human form. The same principles apply to drawing animals, landscapes, or even inanimate objects. A cheetah running is a fantastic lesson in extreme C-curves and taut energy. The branches of a tree in the wind are a masterclass in directional lines and forces.
Start seeing gesture in everything around you. I've spent hours at the park sketching squirrels, trying to capture the frantic, jerky energy of their movements. Each animal has its own unique rhythm that can teach you something new about energy and form. A great dane has a lazy, heavy rhythm, while a terrier is all jittery angles. Even a still life has gesture; the way a cloth drapes over a table has a flow and rhythm all its own. Learning to see it is like turning on a light in a dark room—suddenly, everything is full of movement.

Gesture in the Professional World
This isn't just an academic exercise. The principles of gesture are the workhorse of multiple creative industries.

Animation: In traditional 2D and 3D animation, artists create keyframes—the most important frames that define the beginning and end of an action. The practice of creating smooth, believable movement between these keyframes is entirely dependent on a deep understanding of gesture, arc, and follow-through. Animators live and breathe this stuff.
Comic Books and Illustration: The dramatic splash page of a superhero in action is a finished, rendered version of a strong gesture. The artist establishes a powerful line of action first to ensure the hero looks dynamic and powerful, not stiff and posed. Imagine trying to draw Spider-Man swinging through New York without understanding flow and thrust—it would be impossible.
Concept Art and Storyboarding: In film and video games, artists need to generate hundreds of ideas quickly. Storyboard artists distill entire scenes into a series of quick drawings that convey the action, emotion, and pacing. These are gesture drawings with a cinematic purpose. They are the visual blueprint for the entire production.
Digital Resources and Your Daily Practice
One of the best things about learning art today is the sheer volume of incredible, free resources available at your fingertips. The key is to build a habit. The goal isn't a marathon three-hour session once a month; it's ten minutes of focused practice every single day.
Online Reference Sites
These are your new best friends. They provide curated or user-submitted photos of models in a variety of poses, perfect for practice. They allow you to practice for five minutes with a coffee in the morning or for an hour late at night when you can't sleep. There's no excuse not to draw. So what are the best places to start?
- Line of Action: A classic. It's simple, comprehensive, and allows you to set custom timers for poses, which is exactly what you need to train your speed and decisiveness.
- Quickposes: Another fantastic resource with a clean interface and good image quality.
- Adorkastock on DeviantArt: Run by an artist, this stock photo library has a huge collection of dynamic and expressive poses specifically for artists.
- SketchDaily at r/SketchDaily: The Reddit community (or its offshoot sites) is a fantastic source of themed prompts that often include figure drawing. It's a great way to add a bit of creative constraint to your practice.
Recommended Books for Deeper Study: Building Your Art Library
While online resources are great, a good book can provide structured lessons and deep insights that are difficult to find elsewhere. A physical book forces you to slow down and absorb information in a different way. If you're serious about this, building a small, powerful library is one of the best investments you can make in your development.
- The Natural Way to Draw by Kimon Nicolaïdes: This is the foundational text. It's not just a book, it's a course that will take you through a regimented schedule of exercises. It's intense, but incredibly effective if you commit to it. I did a full year of his exercises, and it fundamentally rewired my brain to see movement first.
- Figure Drawing for All It's Worth by Andrew Loomis: Loomis is a giant of 20th-century illustration. His books break down the human form with brilliant clarity and structure, teaching you how to build the figure from imagination with a solid underlying gesture.
- Force: Dynamic Life Drawing for Animators by Mike Mattesi: This book explicitly focuses on the concepts of force, rhythm, and energy. It takes the principles of gesture drawing and pushes them to be even more expressive and dynamic, particularly for those interested in animation.
- Bridgman's Life Drawing by George Bridgman: Less of a narrative and more of a visual encyclopedia of human anatomy broken down into simple, buildable masses. It's an essential reference for understanding the three-dimensionality of the figure.
- Atlas of Human Anatomy for the Artist by Stephen Rogers Peck: For when you're ready to go deeper than Bridgman. This book is more than just pictures; it offers insightful commentary on how the visible forms of the body are shaped by the underlying structures. It's a fantastic next step.
Building a Sustainable Practice: A Roadmap
All of this information can feel overwhelming. The key is not to absorb it all at once, but to build a sustainable, enjoyable practice. The following is a suggested roadmap to structure your learning without burning out.
The First Two Weeks: Pure Instinct
Your only goal is to rewire your brain from "draw thing" to "draw action." The best way to do this is to remove all other obstacles.
The Exercise:
- Time: 30 seconds per pose.
- Tool: A chunky, messy tool like a piece of willow charcoal or a soft 6B pencil. This discourages detail.
- Goal: Find and draw the line of action in every single pose. That is your only job. If you draw a single, confident line that captures the main thrust of the pose, you have succeeded. Do 10 poses. Then do 20. Get comfortable with the feeling of letting your arm make a big, sweeping, instinctual mark. Don't even think about the torso or limbs yet. Just the line.
Weeks 3-5: Introducing the Core Masses
Once finding the line starts to feel a little more natural, you can begin to build on it.
The Exercise:
- Time: 1-2 minutes per pose.
- Tool: Same as before.
- Goal: After you've drawn your line of action, quickly indicate the tilt and twist of the rib cage and the pelvis. Remember, think of them as simple boxes or ovals. Don't get caught up in anatomy. Just focus on their relationship. If you have time, lightly suggest where the limbs might flow from. The focus is still on the core of the body.
Weeks 6 and Beyond: Building a Complete Routine
Now you can start building a more complete practice session that bridges gesture with structure. A typical 20-30 minute session might look like this:
- Warm-up (5 minutes): Go back to 30-second poses. Do 10 of them. This is your "waking up" exercise for your hand and eye.
- Main Practice (15 minutes): Move to 2-minute poses. This is where you can practice your full hierarchy of mark-making: Line, Rib Cage/Pelvis, Limbs. Start to think about where the weight is.
- Anatomical Study (5 minutes): Take a single 5-minute pose. Now, you can slow down. Try to think about the muscles under the skin. Where is the deltoid? How does the latissimus dorsi wrap around the rib cage? This is where your Bridgman or Peck anatomy books come in handy. This bridges the gap between your energetic gesture and the real structure of the body.
This kind of structured, progressive practice is far more effective than aimless doodling. It gives you clear goals and allows you to track your progress over time. Consistency is what brings transformation.

Beyond the Exercise: Gesture in Your Creative Life
Gesture drawing is the most powerful when it's not just an isolated exercise, but a living part of your daily creative life. It shouldn't feel like homework; it should feel like a warm-up, a note-taking system, or a brainstorming session. It's a tool that makes every other part of your art better.
Use It as a Ritual
For many artists, myself included, a quick session of gesture drawing is like morning coffee for the creative mind. Before you start a serious piece of work, spend five or ten minutes doing quick, 30-second gestures. Don't think about it. Just do it. It gets the "static" out of your hand and shifts your brain into a more intuitive, observational mode. It's like a runner doing stretches before a race—it prepares your tools for the main event.
Use It for Problem-Solving: The Best Eraser You'll Ever Have
Stuck on a composition? The figure in your painting looks stiff and dead? Your first instinct might be to labor over the details, trying to "fix" it. The better solution is often to go backwards. The most common problem in figure drawing isn't bad anatomy; it's a weak gesture.
Put a new sheet of tracing paper over your work and attack it with a gestural mindset. Draw the line of action you wish the figure had. Exaggerate the pose. Ignore the beautifully rendered face and hands for a moment and just scribble the energy back in. The solution to a stiff drawing is almost never more detail; it's more energy. Gesture drawing is your tool for injecting that life back into a piece that feels flat. I use this trick all the time, especially with my more abstract works. If a composition feels dead, I'll take out a big brush and just gesture the major movements right on top of the old layers, finding a new energy to build upon.
Use It to Explore Ideas and Plan Compositions
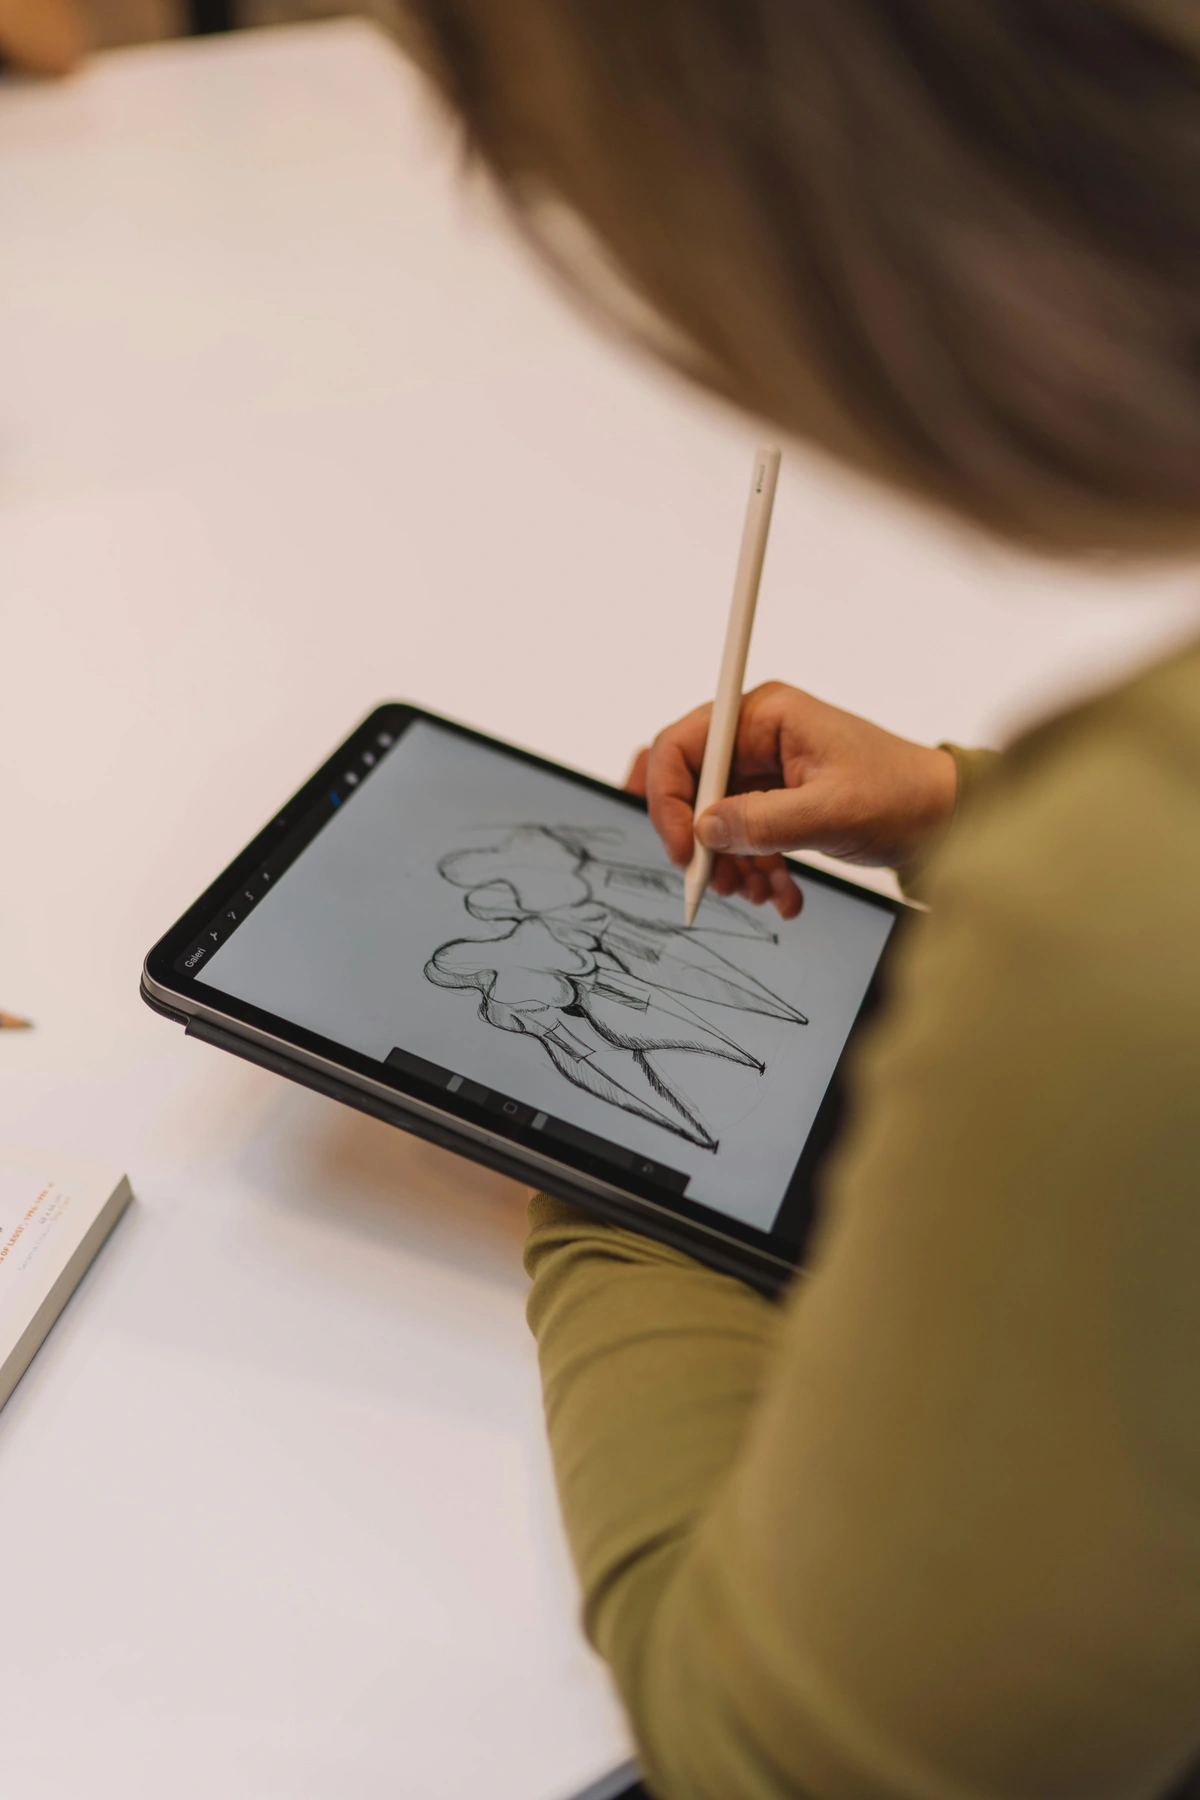
Gesture sketches, or thumbnails, are the perfect way to brainstorm and plan complex pieces. When I'm planning a painting involving multiple figures, I don't start with tight, detailed sketches. I fill pages and pages with tiny, scribbled gestures, just trying to figure out the visual rhythm of the scene. They are the blueprint for the entire final work.
This thumbnail-sketch phase is all about exploring relationships. How do the figures relate to each other? Do their lines of action complement each other (creating harmony) or clash (creating tension)? How does the eye move through the composition? A page of 20 small gesture sketches can give you more compositional ideas in ten minutes than a single, detailed drawing can in an hour. It's pure visual problem-solving. Every great painting you've ever seen, from a Rembrandt to a splash page in a comic book, started with this messy, energetic, gestural foundation.
This thumbnail-sketch phase is all about exploring relationships. How do the figures relate to each other? Do their lines of action complement each other (creating harmony) or clash (creating tension)? How does the eye move through the composition? A page of 20 small gesture sketches can give you more compositional ideas in ten minutes than a single, detailed drawing can in an hour. It's pure visual problem-solving.
The Artist's Mindset: Beyond Technique
Beyond the technical skills, gesture drawing cultivates a specific way of seeing and being that is invaluable for any artist. It's a form of meditation as much as it is a drawing exercise. It teaches you to be present, observant, and to embrace the beauty of the fleeting moment.
Embrace Process Over Product
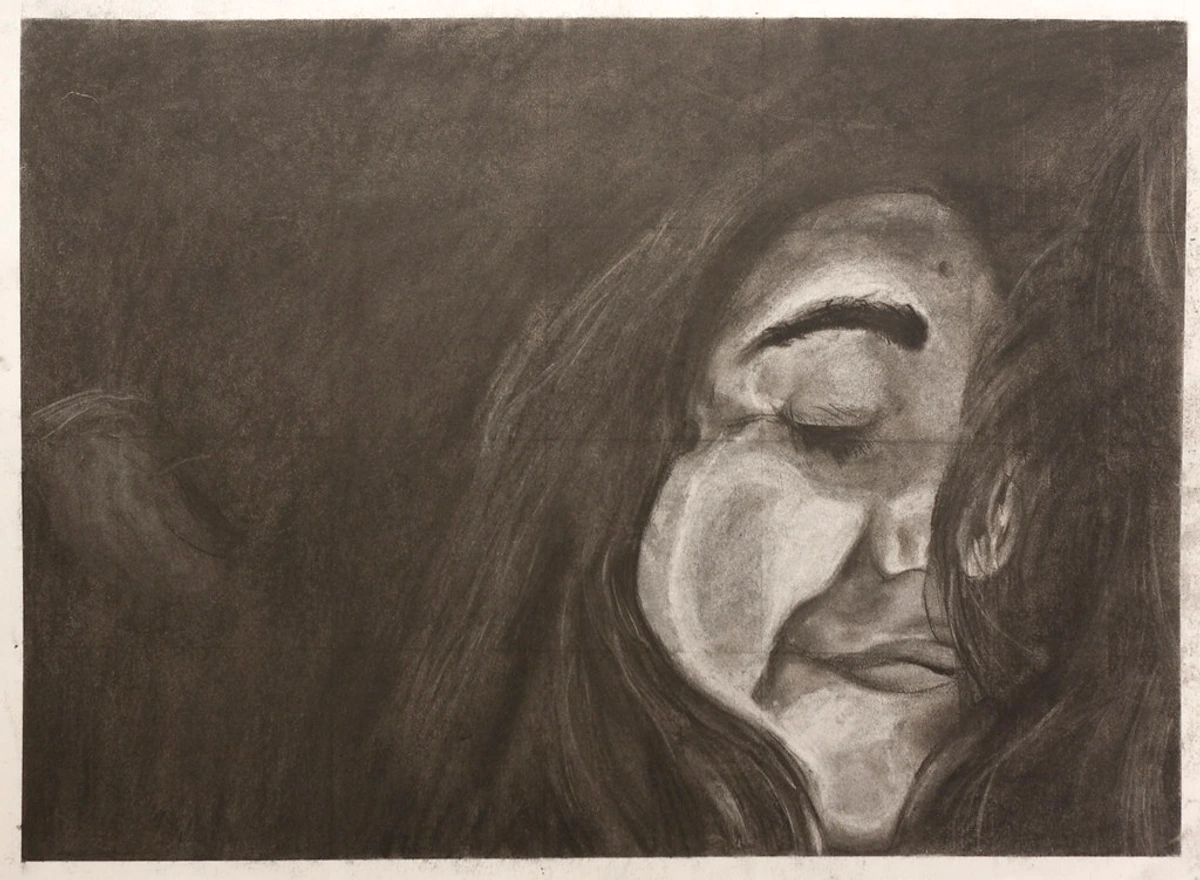
This is the toughest lesson for many artists, especially when social media rewards the polished, finished 'product.' You have to learn to fall in love with the act of drawing itself—the feeling of the pencil on the paper, the challenge of translating a three-dimensional world onto a two-dimensional plane. The gesture drawing, by its very nature, is a celebration of the process. The end result is almost irrelevant. The value is in the doing.
It's a meditative practice in letting go of perfectionism. Each drawing is just a moment in your ongoing practice, not a precious artifact. If you can detach your ego from each sketch, you free yourself to take risks, make bold mistakes, and ultimately, learn much, much faster. This mindset will improve every single aspect of your art. The stack of your discarded gesture drawings is a monument to your progress, not a graveyard of failures.
Embody What You See: Drawing from the Inside Out
This sounds a little strange, but it's a powerful technique. Before you draw a pose, try to feel it in your own body. If the model is stretching their arms up, subtly stretch with them at your easel. Feel the pull in your own shoulders and back. If the model is leaning on one leg, shift your own weight. Physical empathy for the pose translates directly into your drawing.
Some art schools will even have students hold the pose for a moment before drawing. Why? Because when you feel that stretch or that lean yourself, you viscerally understand where the tension is, where the weight is, and what the main thrust of the pose is. You're no longer just drawing an arrangement of limbs; you're drawing a physical sensation. It connects you to the action on a deeper level than just observing.
Some art schools will even have students hold the pose for a moment before drawing. Why? Because when you feel that stretch or that lean yourself, you viscerally understand where the tension is, where the weight is, and what the main thrust of the pose is. You're no longer just drawing an arrangement of limbs; you're drawing a physical sensation.
Celebrate the "Miss": The Beauty of Searching Lines
A line that goes in the wrong direction isn't a failure; it's a decision. It's your hand and eye having a conversation. Professional artists' sketchbooks are filled with these "wrong" lines. The key is that they don't stop to erase. They draw the next line, and the next, refining and searching with each stroke.
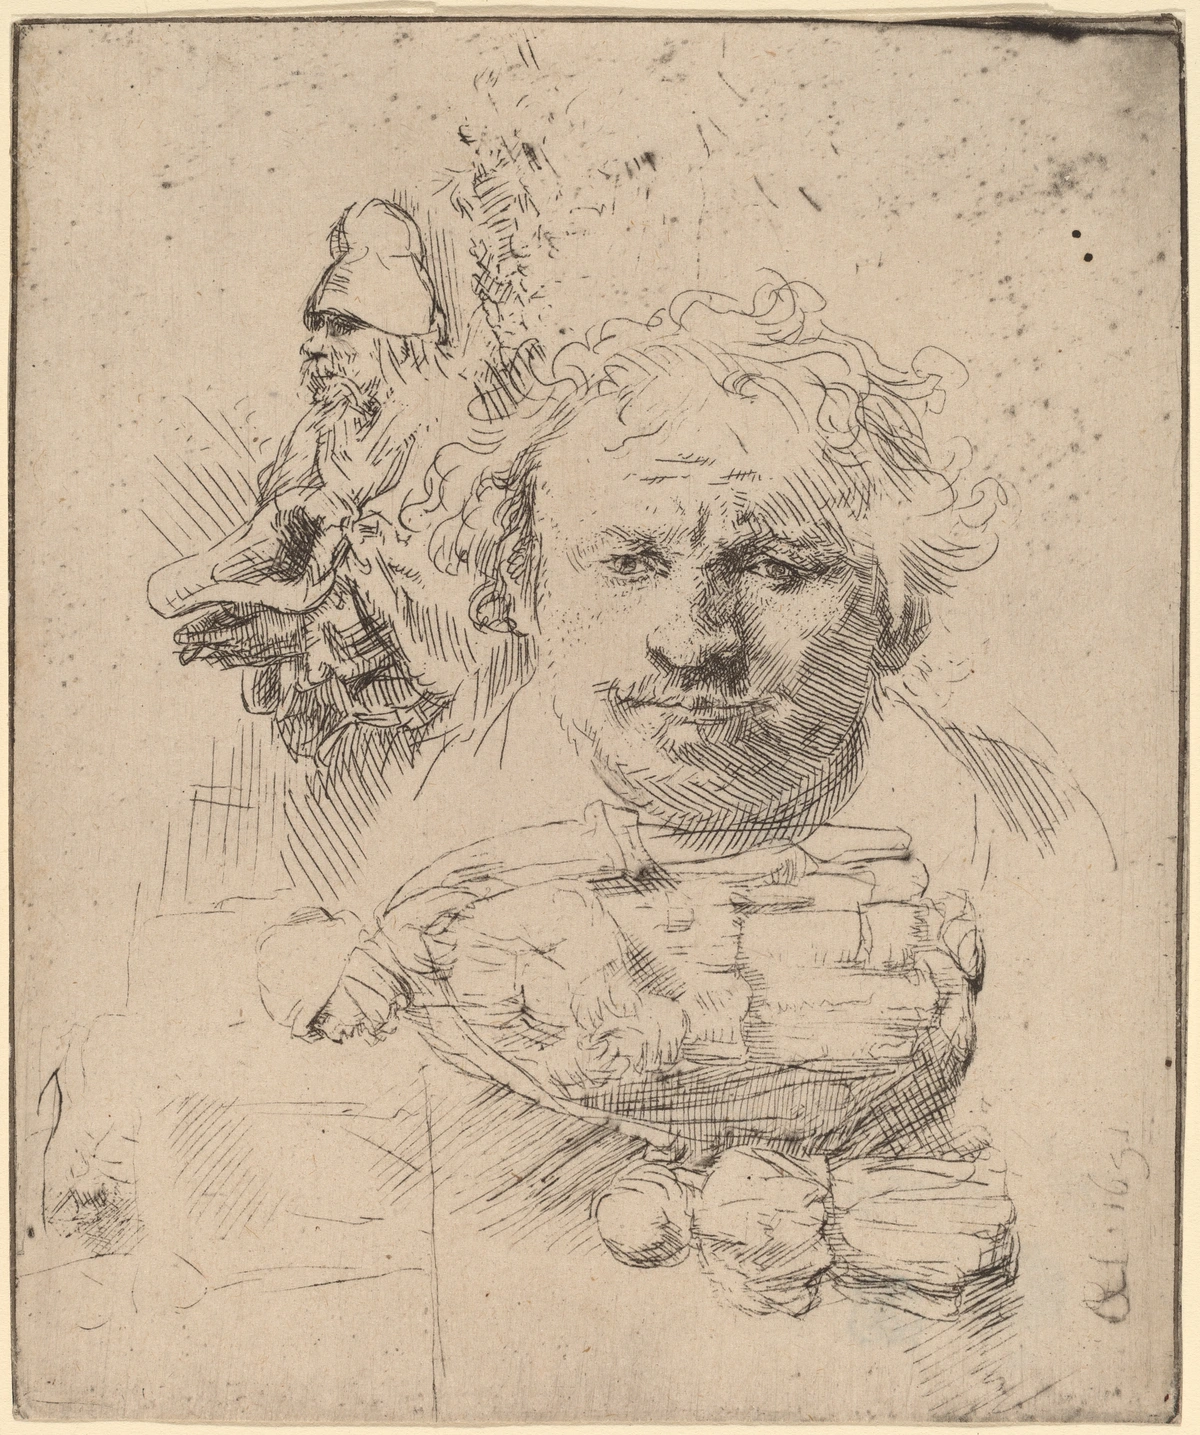
This accumulation of searching lines is what gives a gesture its energy and honesty. It shows a mind at work. Learn to appreciate the search, the record of your thought process. A single, perfectly placed line might look clean, but a cluster of five searching lines around it conveys movement, uncertainty, and life. The sketchbooks of masters like Rembrandt or Degas are so revered precisely because they are full of this energy and searching. It's the difference between a posed photograph and a blurry action shot—the blurry one often tells a truer story about what was happening.

The Inevitable Plateau: Troubleshooting Your Practice
We all have days where our hands feel like clumsy clubs and every line looks wrong. You'll also hit points where you feel like you're not improving at all, no matter how much you practice. Welcome to the plateau. It's frustrating, but it's also a normal part of the creative process. Here's how to diagnose and fix the most common frustrations.
Diagnosis: "My drawings keep coming out stiff!"
This is the number one complaint, and it's almost always a problem of tightness. Your hand is too tense, and you're trying too hard to control the pencil. You're thinking way too much.
The Fix: Loosen up, physically and mentally.
- Shake it out. Literally, before you start drawing, shake your hand and arm for ten seconds. You need to physically break the tension.
- Use a bigger, clumsier tool. Put down the sharp 2H pencil. Pick up a thick piece of willow charcoal, a big soft 6B graphite crayon, or even a brush and ink. Anything that makes delicate detail impossible will force you to focus on the big shapes.
- Draw bigger. Get a huge sheet of newsprint and use your whole arm to draw, not just your wrist. Make drawings that are two feet tall. Engage your shoulder. This forces you to think about the big shapes and stops you from "petting" the paper.
- Reduce your time. The pressure of the clock is your friend. If you're drawing for 5 minutes, drop it to 2. If you're drawing for 60 seconds, try 30. This forces you to be more decisive and less precious.
Diagnosis: "All my figures look like they're floating!"
You've lost track of gravity. The figure has no relationship with the ground it's standing on. It has no weight. This is a very common issue because our brains are focused on the figure itself, not the negative space and physics around it.
The Fix: Anchor your figure and respect gravity.
- Find the weight-bearing foot. Identify the leg that's holding the model up. That leg is the key to the whole pose. It's the anchor for everything else.
- Draw a "floor" line. Lightly sketch a horizontal line across your page to represent the ground. Make sure the weight-bearing foot is firmly planted on it. This simple act forces your brain to place the figure in a physical space and solves half the problem instantly.
- Check your plumb line. Remember that imaginary line from the neck? Does it fall over the ankle of the weight-bearing foot? If not, you've found your problem. Your figure is imbalanced. This "floating" feeling is one of the most common issues for beginners, and it's one of the easiest to fix once you know what to look for.
Diagnosis: "I can't draw fast enough to capture the pose!"
You're probably trying to draw too much. You're thinking "draw a person" or "finish the drawing" instead of "capture the energy." Your goal is too big.
The Fix: Simplify your goal.
- Your goal is not to finish. Your only goal for a 30-second drawing is to draw one decent line of action and maybe one or two core shapes. That is a complete success. Redefine what "success" means.
- Ignore the limbs. In a super-fast pose, you can often ignore the arms and legs completely and just focus on the spine and the torso. Sometimes the most powerful gestures are just a few well-placed lines in the core of the body. You don't get bonus points for drawing fingers and toes.
Diagnosis: "How do I get better? How long does it take?"
This is the question everyone asks, and the answer is both simple and not what anyone wants to hear.
The Answer: Consistency over intensity. There is no magic bullet. You get better by doing it. A lot. Think of it like learning a language through immersion. The more poses you draw, the more your brain builds its library of movement and your hand gains confidence. You will see improvement, but it's not always linear. You'll have breakthroughs where it suddenly 'clicks,' and plateaus where you feel like you're not progressing. Celebrate the small wins. A single drawing where the line of action feels perfect is a huge achievement.
Be patient and persistent, and the results will come. I always recommend starting with a goal of 100 gestures. Don't think about quality, just get the 100 done. After that, you'll have a much better sense of what you're doing. Set a goal you can't fail, like "five minutes a day." Time spent consistently is the most powerful force in your artistic development.
Frequently Asked Questions (FAQ)
Here are some of the most common questions beginners have about starting their gesture drawing journey. If you've been wondering about any of these, you're in good company.
Do I need to be good at drawing to start?
This is the great part: gesture drawing is the thing that makes you good at drawing. It's the fundamental skill. You don't need any prior experience. In fact, it's often better if you don't have any bad habits to unlearn. The exercise itself reshapes your brain to see movement first and details second. Just bring a willingness to be messy, make mistakes, and trust the process.

What is the ideal length of time for a gesture drawing?
There is no single ideal time, as each duration trains a different skill. The key is to vary your practice to challenge yourself in different ways.
Time  | Goal / Skill Trained |
|---|---|
| 10-30 seconds | Pure energy and instinct. Finding the line of action immediately without any thought. |
| 1-2 minutes | Constructing the core forms (torso, hips). The most common practice time. |
| 5 minutes | Bridging gesture and structure. Adding cylindrical limbs and a basic sense of anatomy. |
| 10+ minutes | Moving from gesture into full figure drawing, adding structure, weight, and light. |
Most artists recommend starting with shorter times (1-2 minutes) to break the habit of overthinking.
Wait, is gesture drawing the same as figure drawing?
This is a crucial distinction. They are related, but not the same thing. Think of it as a spectrum:
Gesture Drawing is the fast, energetic, intuitive search for the action. It's all about feeling and movement. It answers the question, "What is happening?"
Figure Drawing is the more studied process of constructing an accurate, proportional, and anatomically correct human form. It answers the question, "Who is it and what do they look like?"
Gesture is the foundation upon which a great figure drawing is built. You start with the gesture to get the life, and then you build the structure and anatomy on top of it.
I feel silly and awkward. Am I doing it wrong?
You are doing it exactly right. Feeling silly is a sign that you're stepping outside your comfort zone and bypassing your analytical brain. That feeling of "I have no idea what I'm doing" is the sweet spot for learning this skill. Lean into the awkwardness.
Our brains are wired to seek security and correctness. Gesture drawing asks you to deliberately embrace uncertainty and messiness. That internal friction you feel is just the sound of old habits breaking down. Make 20 terrible, scribbly drawings, and I promise you the 21st will have a little spark of life in it that you didn't expect. The more you do it, the less awkward it feels, until eventually, it becomes the most natural way to draw.
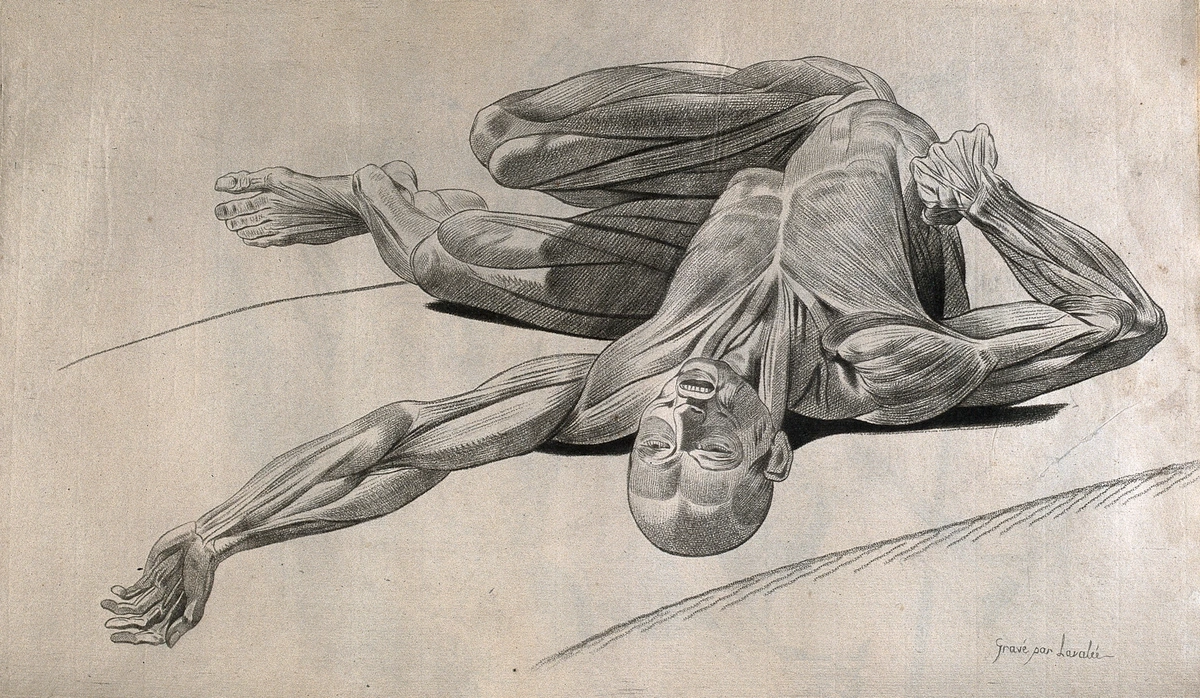
Conclusion: The Pencil That Draws the Soul
We started this journey by talking about catching ghosts with a pencil. I hope you now see that those "ghosts" aren't some ethereal, magical thing. They are the very real, tangible forces of energy that make up life: the pull of gravity, the thrust of a limb, the subtle imbalance of a figure at rest. Gesture drawing is the practice of learning to see and record these forces.
It is a lifelong pursuit. There is no "final exam" where you are declared a "gesture master." It is a conversation between your eye, your mind, and your hand that deepens over time. Some days, you will feel like you can do no wrong, and your drawings will sing with energy. Other days, it will feel like you've never held a pencil before.
Both of these days are equally valuable. The "good" days build your confidence, and the "bad" days teach you resilience and force you to break old habits.
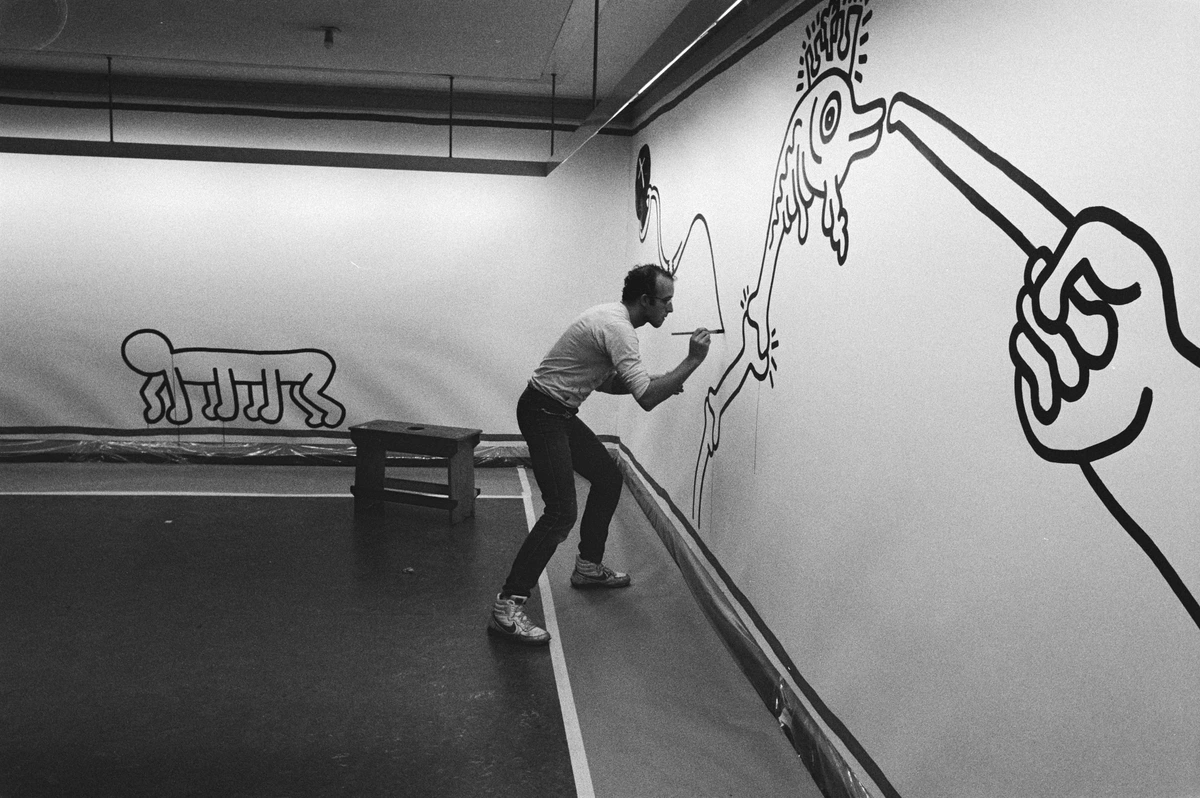
In the end, gesture drawing does more than just make you a better artist. It makes you a better observer of the world. You start to see the beauty and drama in the way a stranger leans against a lamppost, the exhaustion in the posture of a commuter on the train, the incredible grace of a dancer frozen for a split second mid-flight. It teaches you to see the verbs that animate our world.
So, what are you waiting for? Grab that nearest scrap of paper. Find a reference. Set a timer. It's just ten seconds. Go on. Go catch a ghost.
The Weight-Bearing Leg: In standing poses, one leg is almost always the main support. You can often spot it because it will be straighter and more directly under the torso. The other leg is free to relax, bend, or gesture.
The Plumb Line: This is a classic artist's trick to check for balance. Imagine a line dropping straight down from the pit of the neck. It will fall directly over the ankle of the weight-bearing foot. If your figure looks unstable, use an imaginary plumb line to check your work.
3. Gesture vs. Structure: An Introduction to Proportion
Gesture drawing isn't about perfect measurements, but it exists in conversation with them. Think of gesture as the wild, untamed spirit and proportions as the skeleton that gives it a believable form. You start with the gesture and then use proportional guidelines to check your work and make sure the figure feels real and rooted in a body we recognize.
This is a common challenge: you have a dynamic line of action, but when you start adding the limbs, the figure looks stretched or squashed. A general sense of proportion is what prevents this. It's your guide to building the structure after you've captured the energy.
A common rule of thumb for a standard adult is that the figure is 7.5 to 8 heads tall.
Remember, these are just guidelines. Exaggerating proportions can be a powerful tool for expression—it's not a mistake if it serves the feeling you're trying to convey. Artists like Egon Schiele or Modigliani made entire careers out of stretching these rules to create incredibly expressive figures. Don't feel you need to stick to the numbers rigidly, but use them as a way to ground your energetic gesture in a plausible reality.
Here are some approximate proportions to keep in mind as you move from quick gesture sketches to more developed figure studies. Don't let these numbers paralyze you in a quick sketch, but let them be your guide when you have a bit more time.
Body Part | Approximate Proportion (in heads) | Key Consideration |
|---|---|---|
| Head | 1 | Your basic unit of measurement. |
| Torso (rib cage) | 1.5 | Think of this as an egg shape. Its tilt and twist are paramount. |
| Pelvis | 1 | Another egg shape, oriented differently from the rib cage. Their relationship is key. |
| Pelvis to Knee | 2 | A key indicator of weight-bearing. |
| Knee to Foot | 2 | Establishes the connection to the ground. |
| Shoulder to Elbow | 1.5 | Supports or gestures out from the torso. |
| Elbow to Fingertip | ~1.5-2 | Often extends the line of action. |

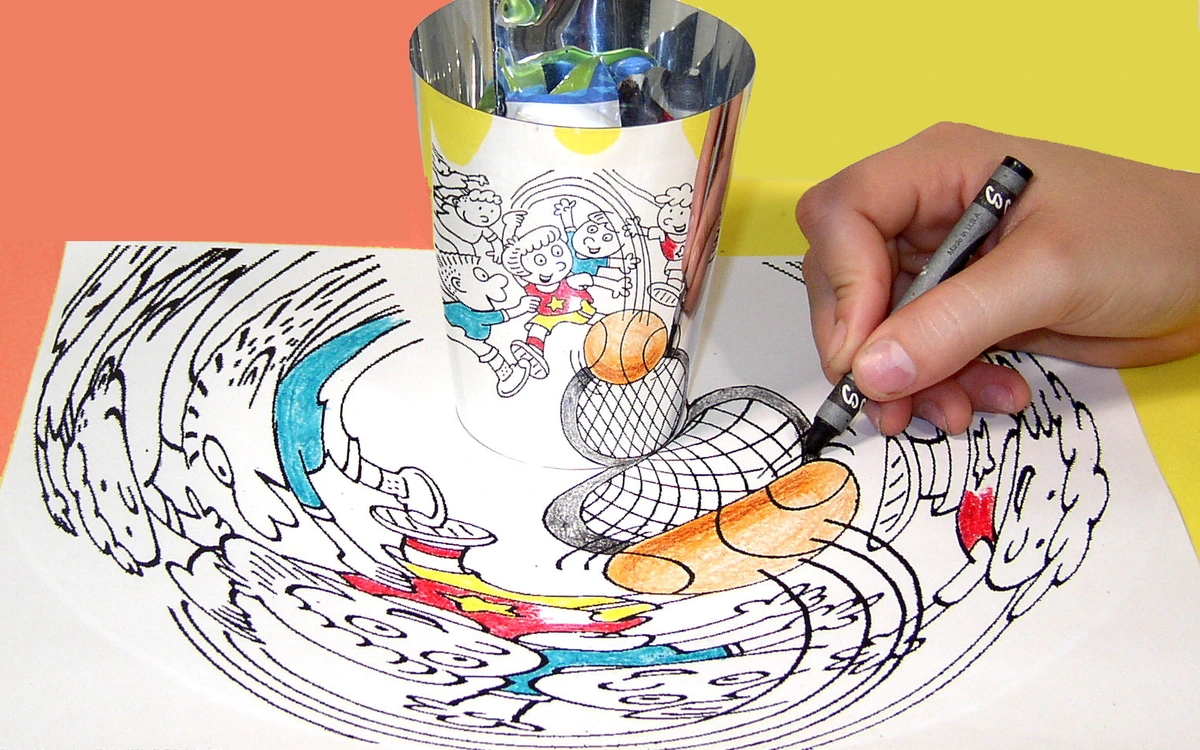
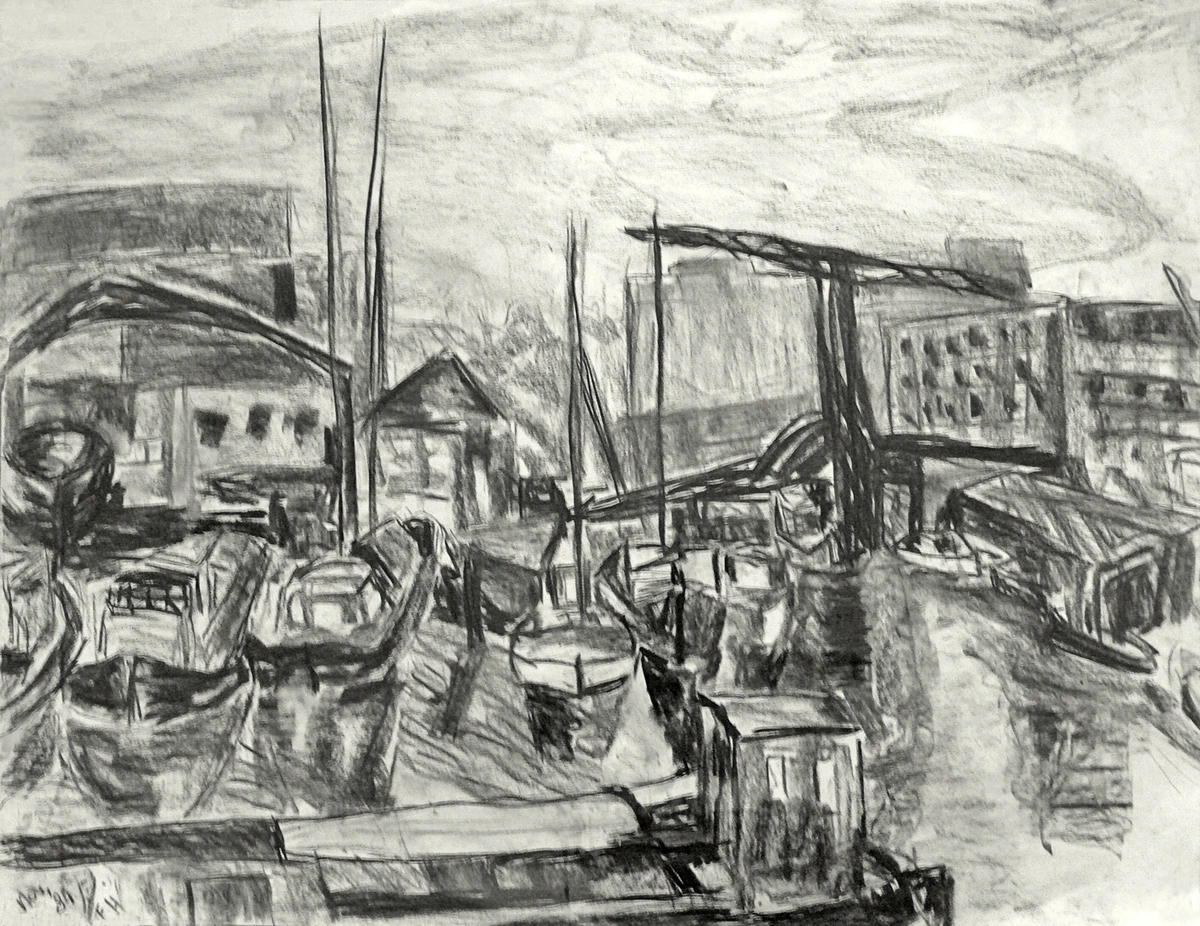
An example of loose, energetic gesture drawings focusing on the overall movement, not details.
Think of it like learning a language. If you want to write beautiful poetry, you first have to master the alphabet. Gesture drawing is the alphabet of life drawing. It's the fundamental set of lines that describe existence in motion. Without it, even the most well-rendered figures can feel lifeless and static, like a beautiful sentence with no verbs to give it momentum. It's what separates the stiff, formal figures of some neoclassical art from the explosive, living energy found in the sketches of artists like Rembrandt or Degas.
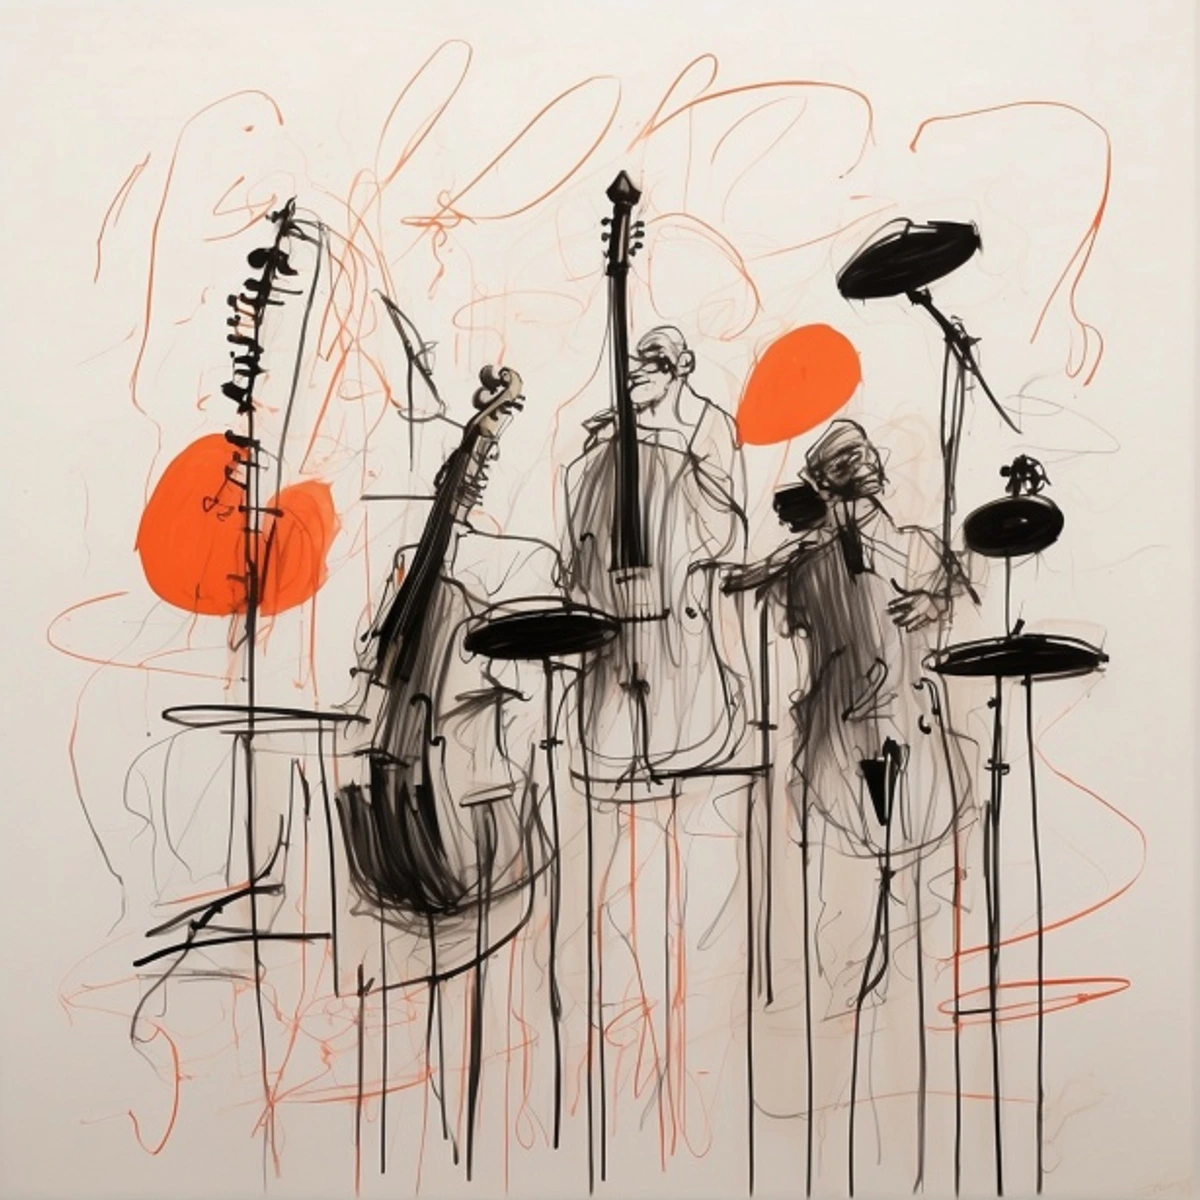
Why Does Gesture Drawing Matter? From Sketchbook to Masterpiece
You might wonder why you can't just jump straight into a finished piece. Why spend time on these quick, messy sketches that will likely end up in the recycling bin?
Think of a pianist. They don't just sit down and perform a Rachmaninoff concerto without first playing scales, arpeggios, and études. Those exercises are the foundation. They build muscle memory, finger strength, and an intuitive understanding of the keyboard. Gesture drawing is the artist's equivalent. It trains your brain and hand to work in concert, developing an intuitive and almost instantaneous response to what you observe. It cultivates a deep-seated sensitivity to rhythm, force, and weight that becomes embedded in your art, whether you're drawing a realistic portrait or designing an abstract composition.
This directly influences your final work. I've found that when I begin a painting with a solid gestural underdrawing, the entire piece feels more vibrant and alive. The final layers of color and detail are supported by an internal sense of movement that was established in the very first minute. Artists throughout history, from the Renaissance masters to the Impressionists and modern animators, have used gestural principles to imbue their work with a sense of vitality. It’s this invisible foundation that makes a figure seem to breathe on the canvas.

A Quick Trip Through Time: Who Figured This Out?
While artists have been trying to capture motion since we were drawing on cave walls, the idea of gesture drawing as a formal exercise really took off in the early 20th century. Teachers began to see that students were getting too bogged down in anatomical details and stiff, boring poses. They were creating renderings of corpses, not depictions of living beings. The push was for a more holistic approach—to see the big picture first, to capture the sensation before the specifics.
Historical Context: The 20th-Century Revolution in Art Education
The push for a more holistic approach, one that emphasizes seeing the big picture first, gained significant traction in the early 1900s. Artists like Kimon Nicolaïdes, whose 1941 book The Natural Way to Draw is still a bible for many, championed exercises that forced students to feel the model's pose through their own bodies. The instruction wasn't to simply copy what the eye saw, but to internalize it. His "contour drawing" exercise, where you are instructed to draw a subject without looking at the paper while imaginatively touching its edges, was revolutionary.
Around the same time, other influential art schools and movements were forging a similar path. The teachings of Robert Henri and his circle, known as the Ashcan School, pushed American artists to paint the vibrant, immediate reality of urban life. They favored quick studies and an energetic application of paint that captured the spirit of the moment over laborious, academic detail.
Here's a look at some key figures who shaped modern gesture drawing:
Artist/Teacher | Key Contribution | Notable Work/Idea |
|---|---|---|
| Kimon Nicolaïdes | Coined exercises linking physical sensation to mark-making. | The Natural Way to Draw (1941) |
| Robert Henri | Advocated for an art of life and energy, not polished academia. | The Art Spirit (1923) |
| George Bridgman | Broke the human form down into simple, volumetric masses in motion. | Bridgman's Life Drawing (various editions) |
| Howard Pyle | Taught the importance of capturing "the big look" of a subject. | Founder of the Brandywine School |
The underlying principle was a radical shift from art as representation to art as experience. The goal was to produce artists who could convey the feeling of life, not just technicians who could render its surface.
Your First Gesture: A Step-by-Step Guide for Absolute Beginners
Reading about it is one thing, but the only way to truly understand gesture drawing is to do it. It can feel clumsy and embarrassing at first, but that's a sign you're learning. Here's a simple, no-excuses guide to get you started right now.
What You Need: The Bare Minimum
I've seen incredible gesture drawings done on the back of a napkin with a chewed-up ballpoint pen. Don't let a lack of "proper" supplies stop you.
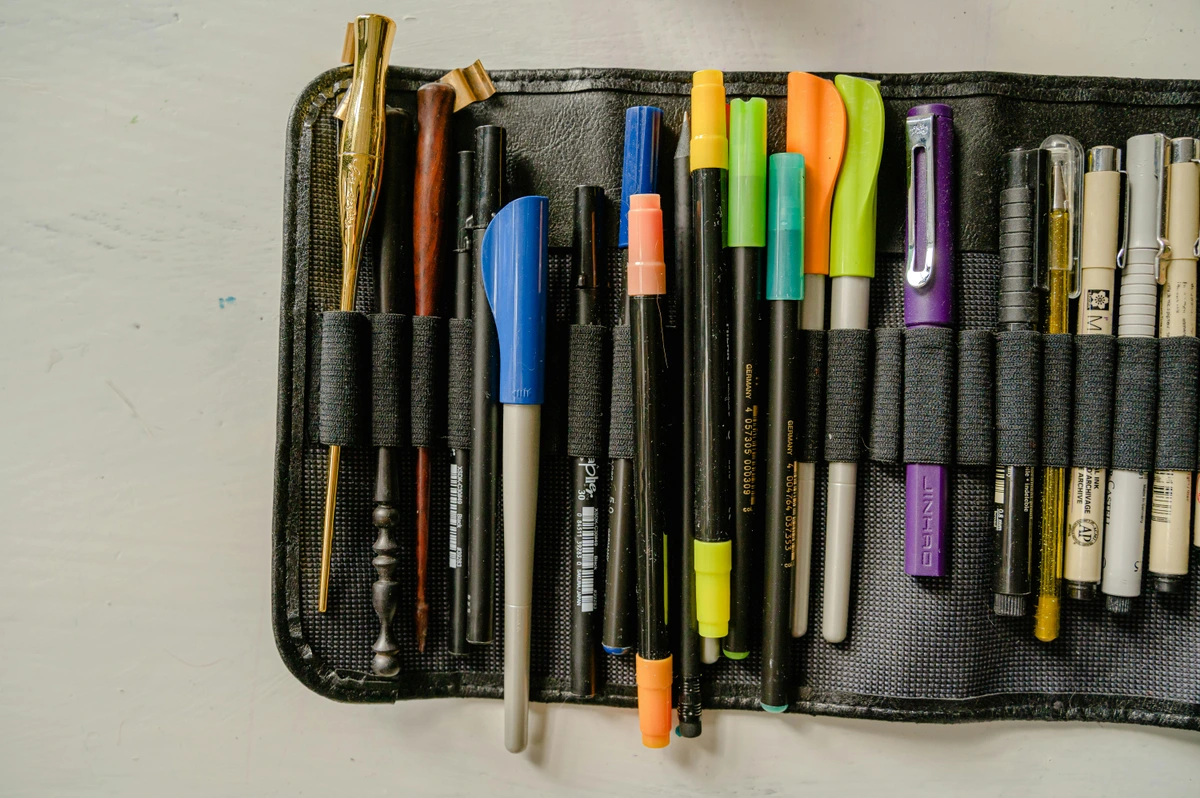


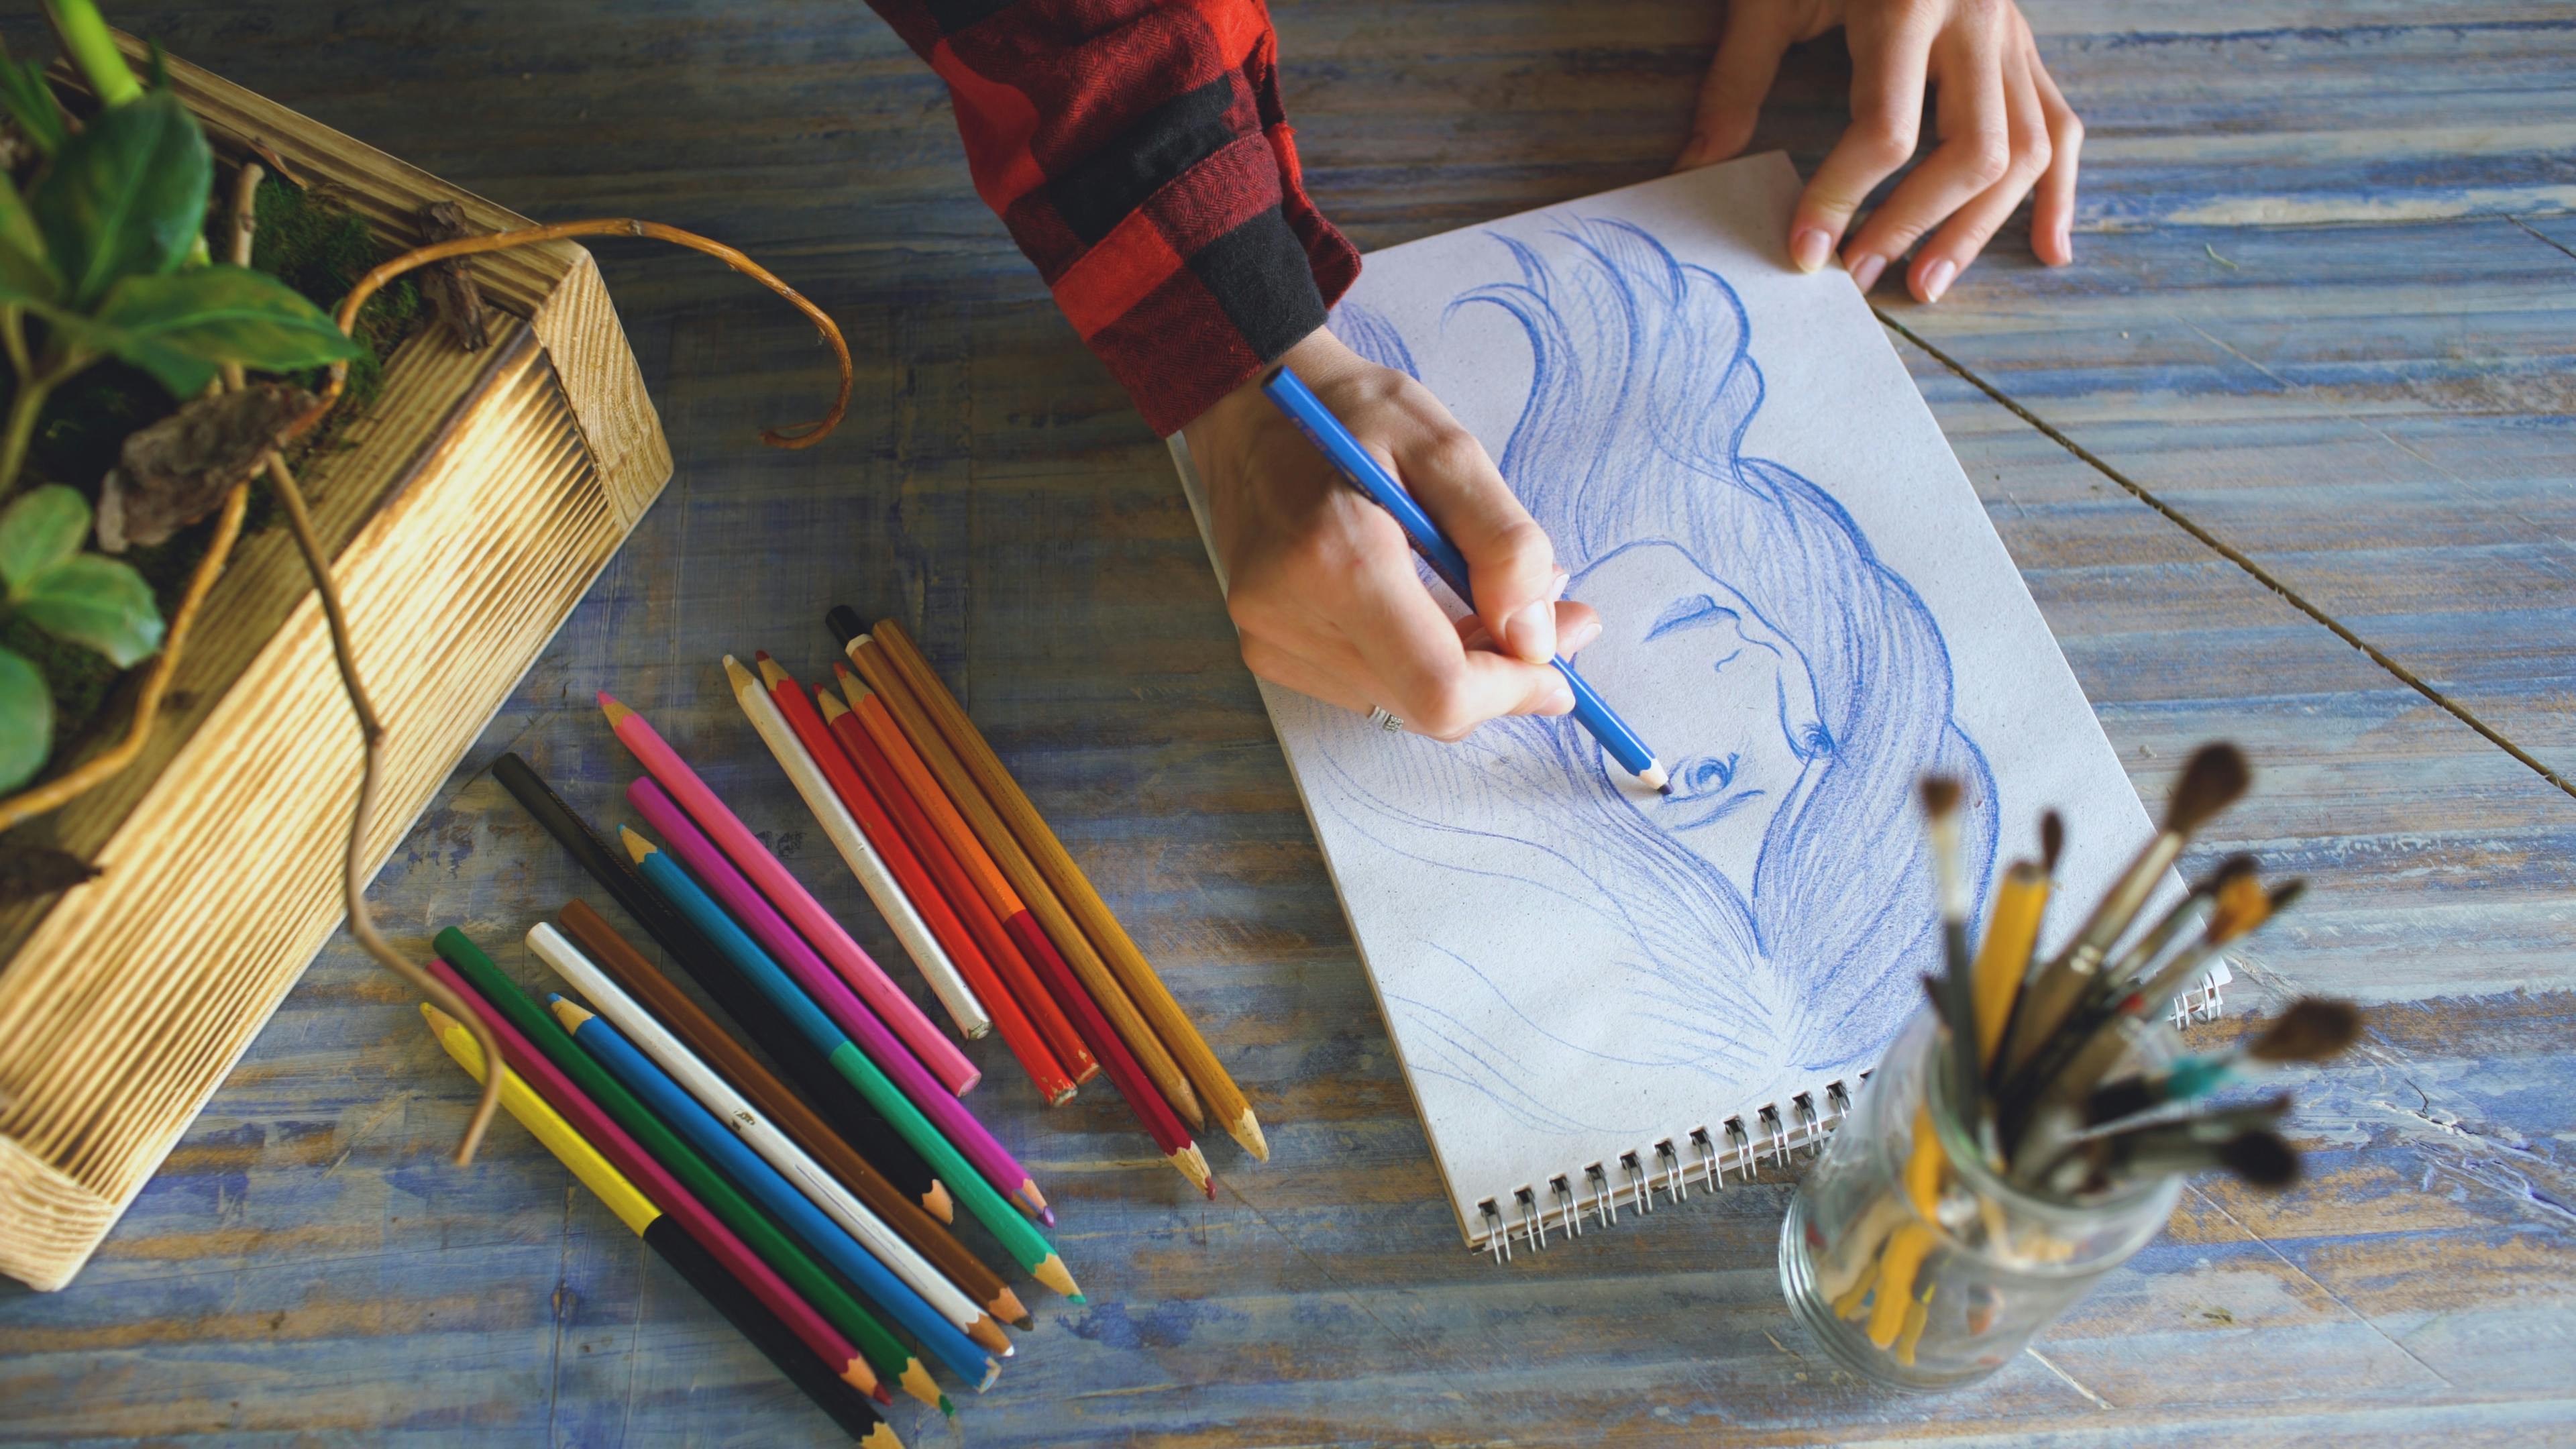


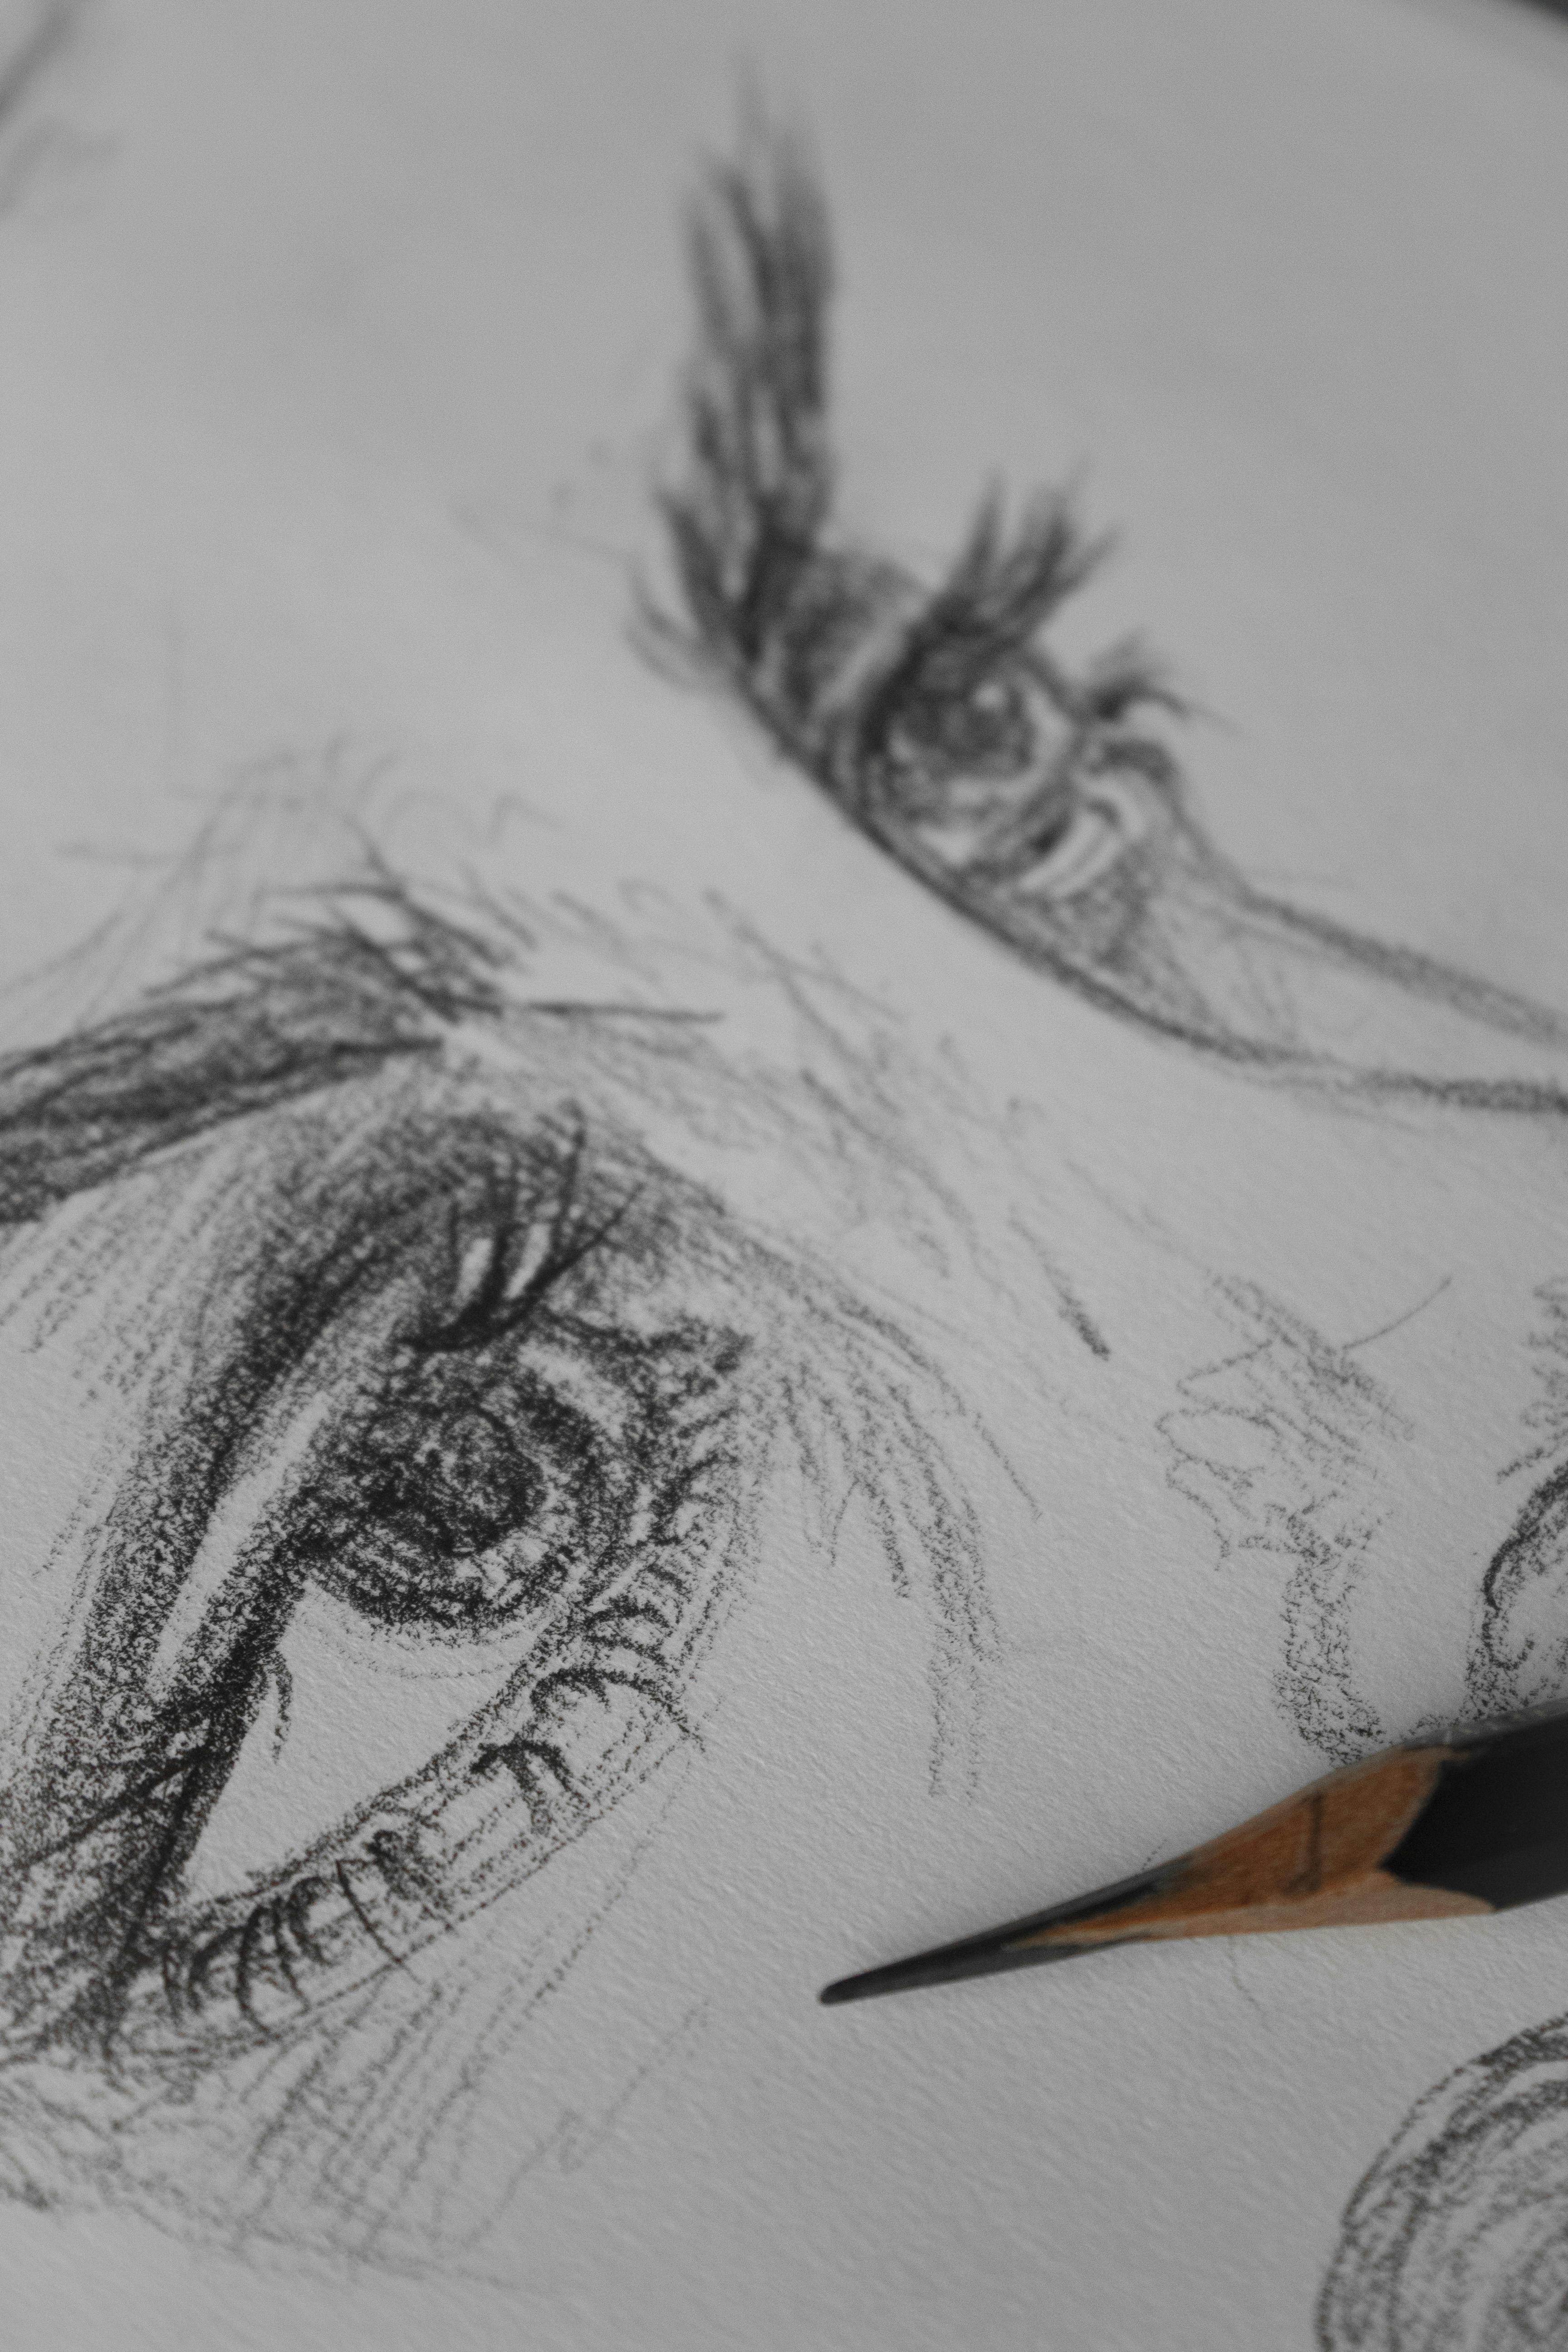


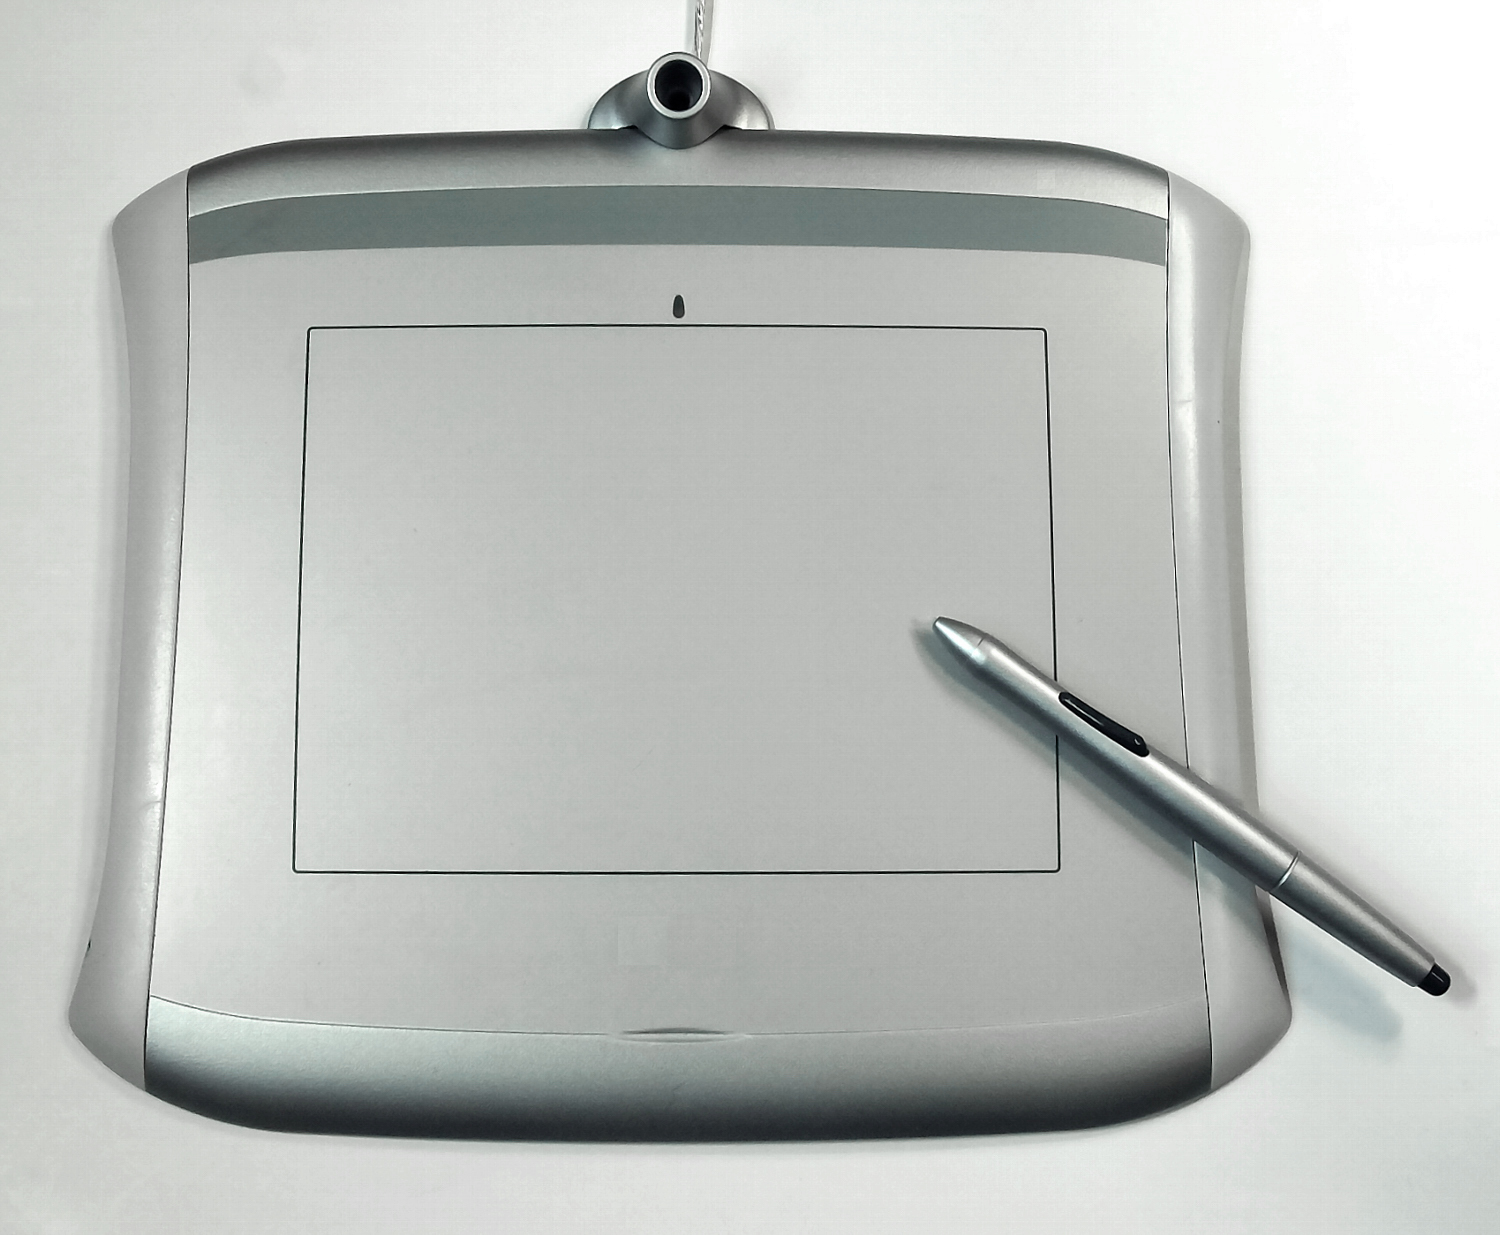

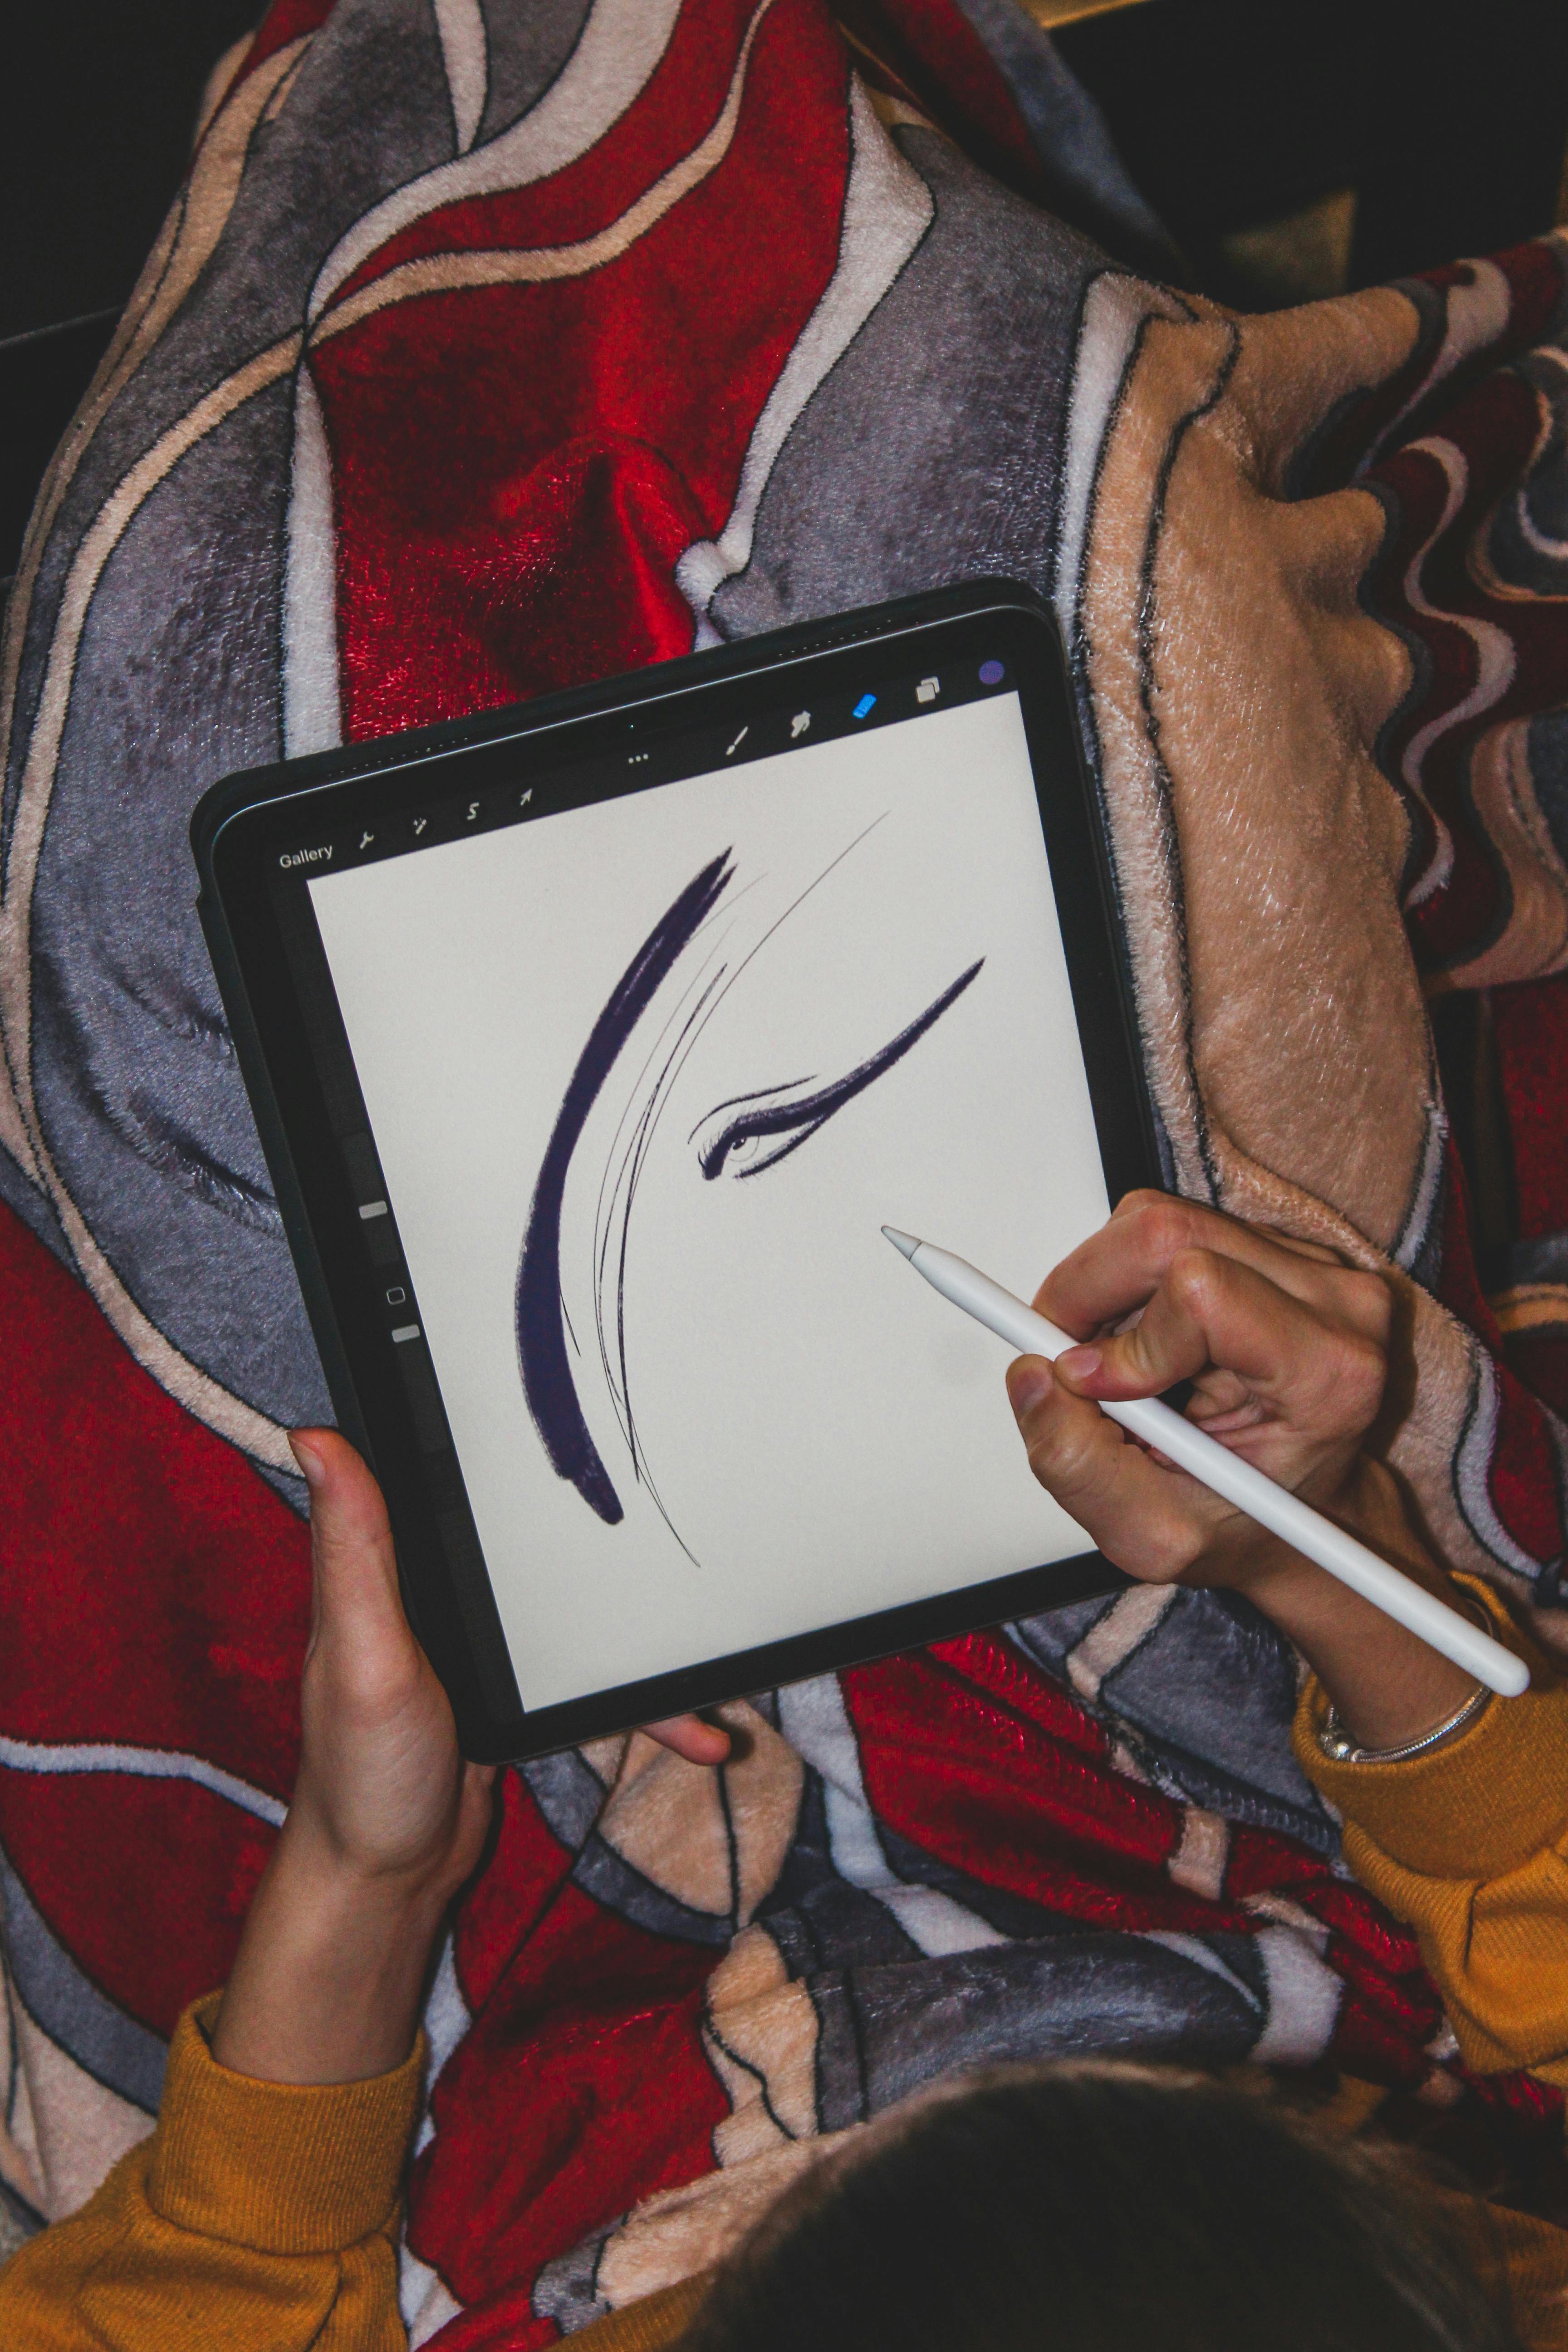


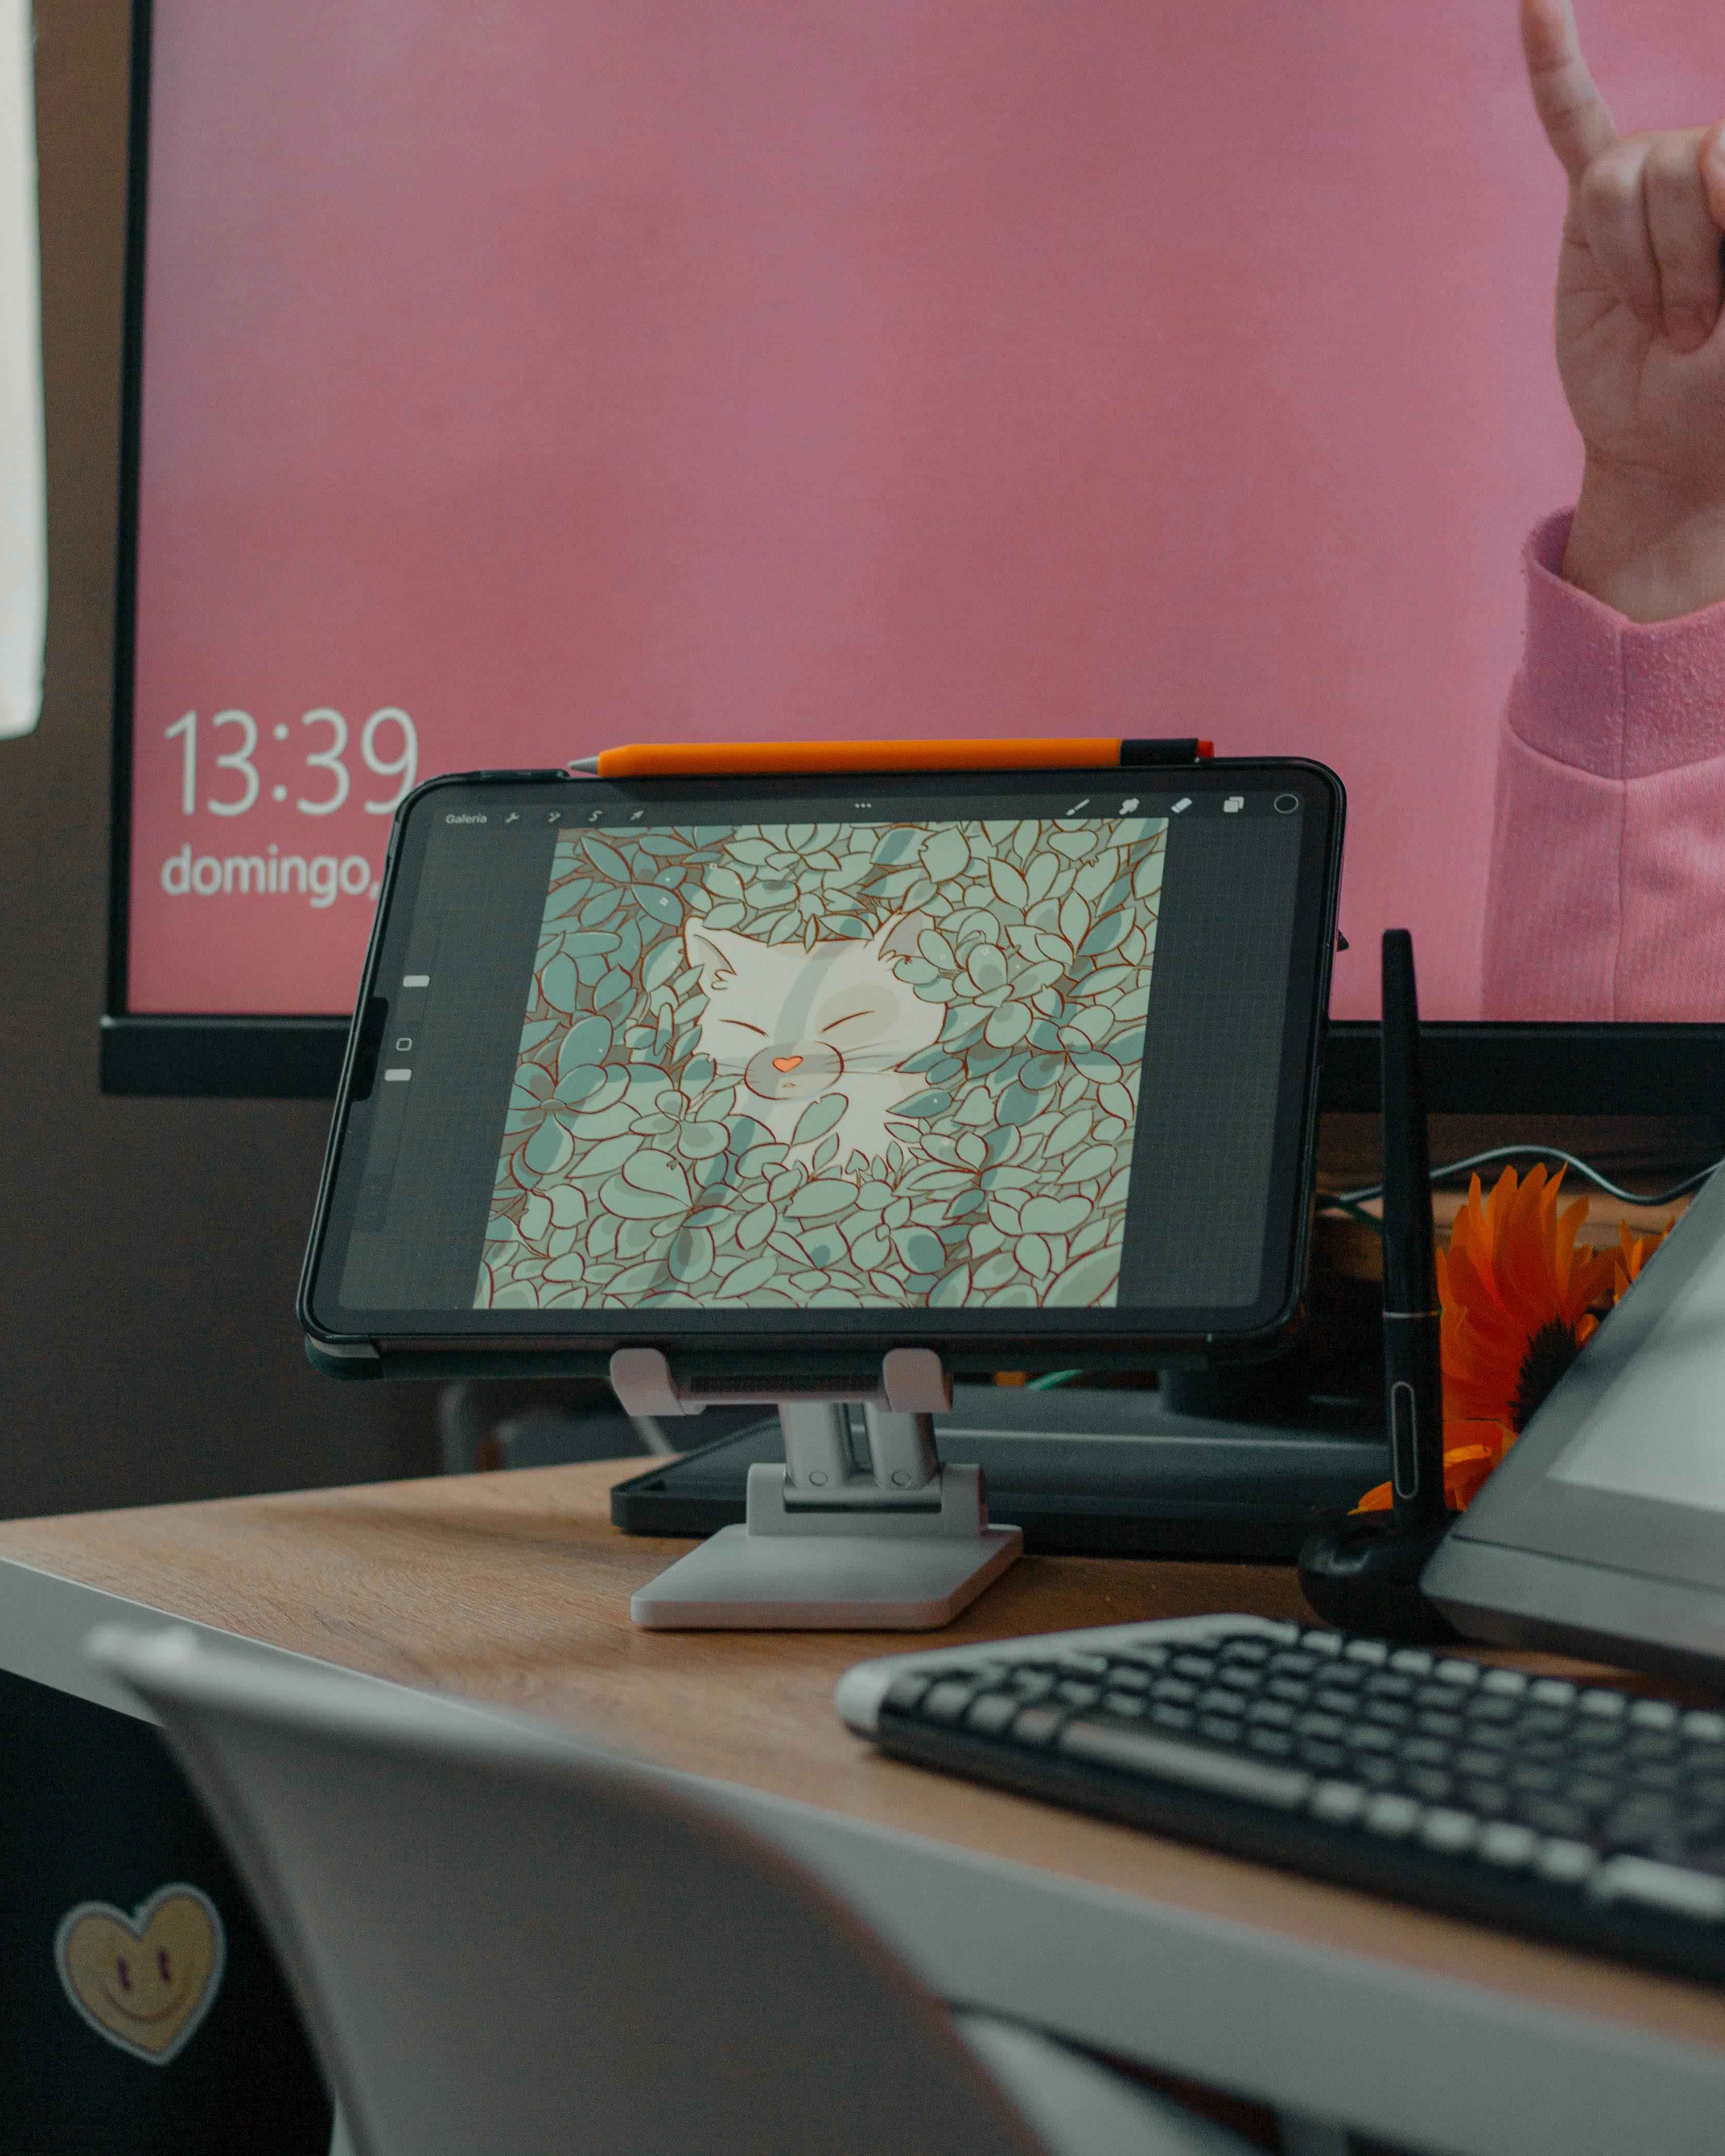


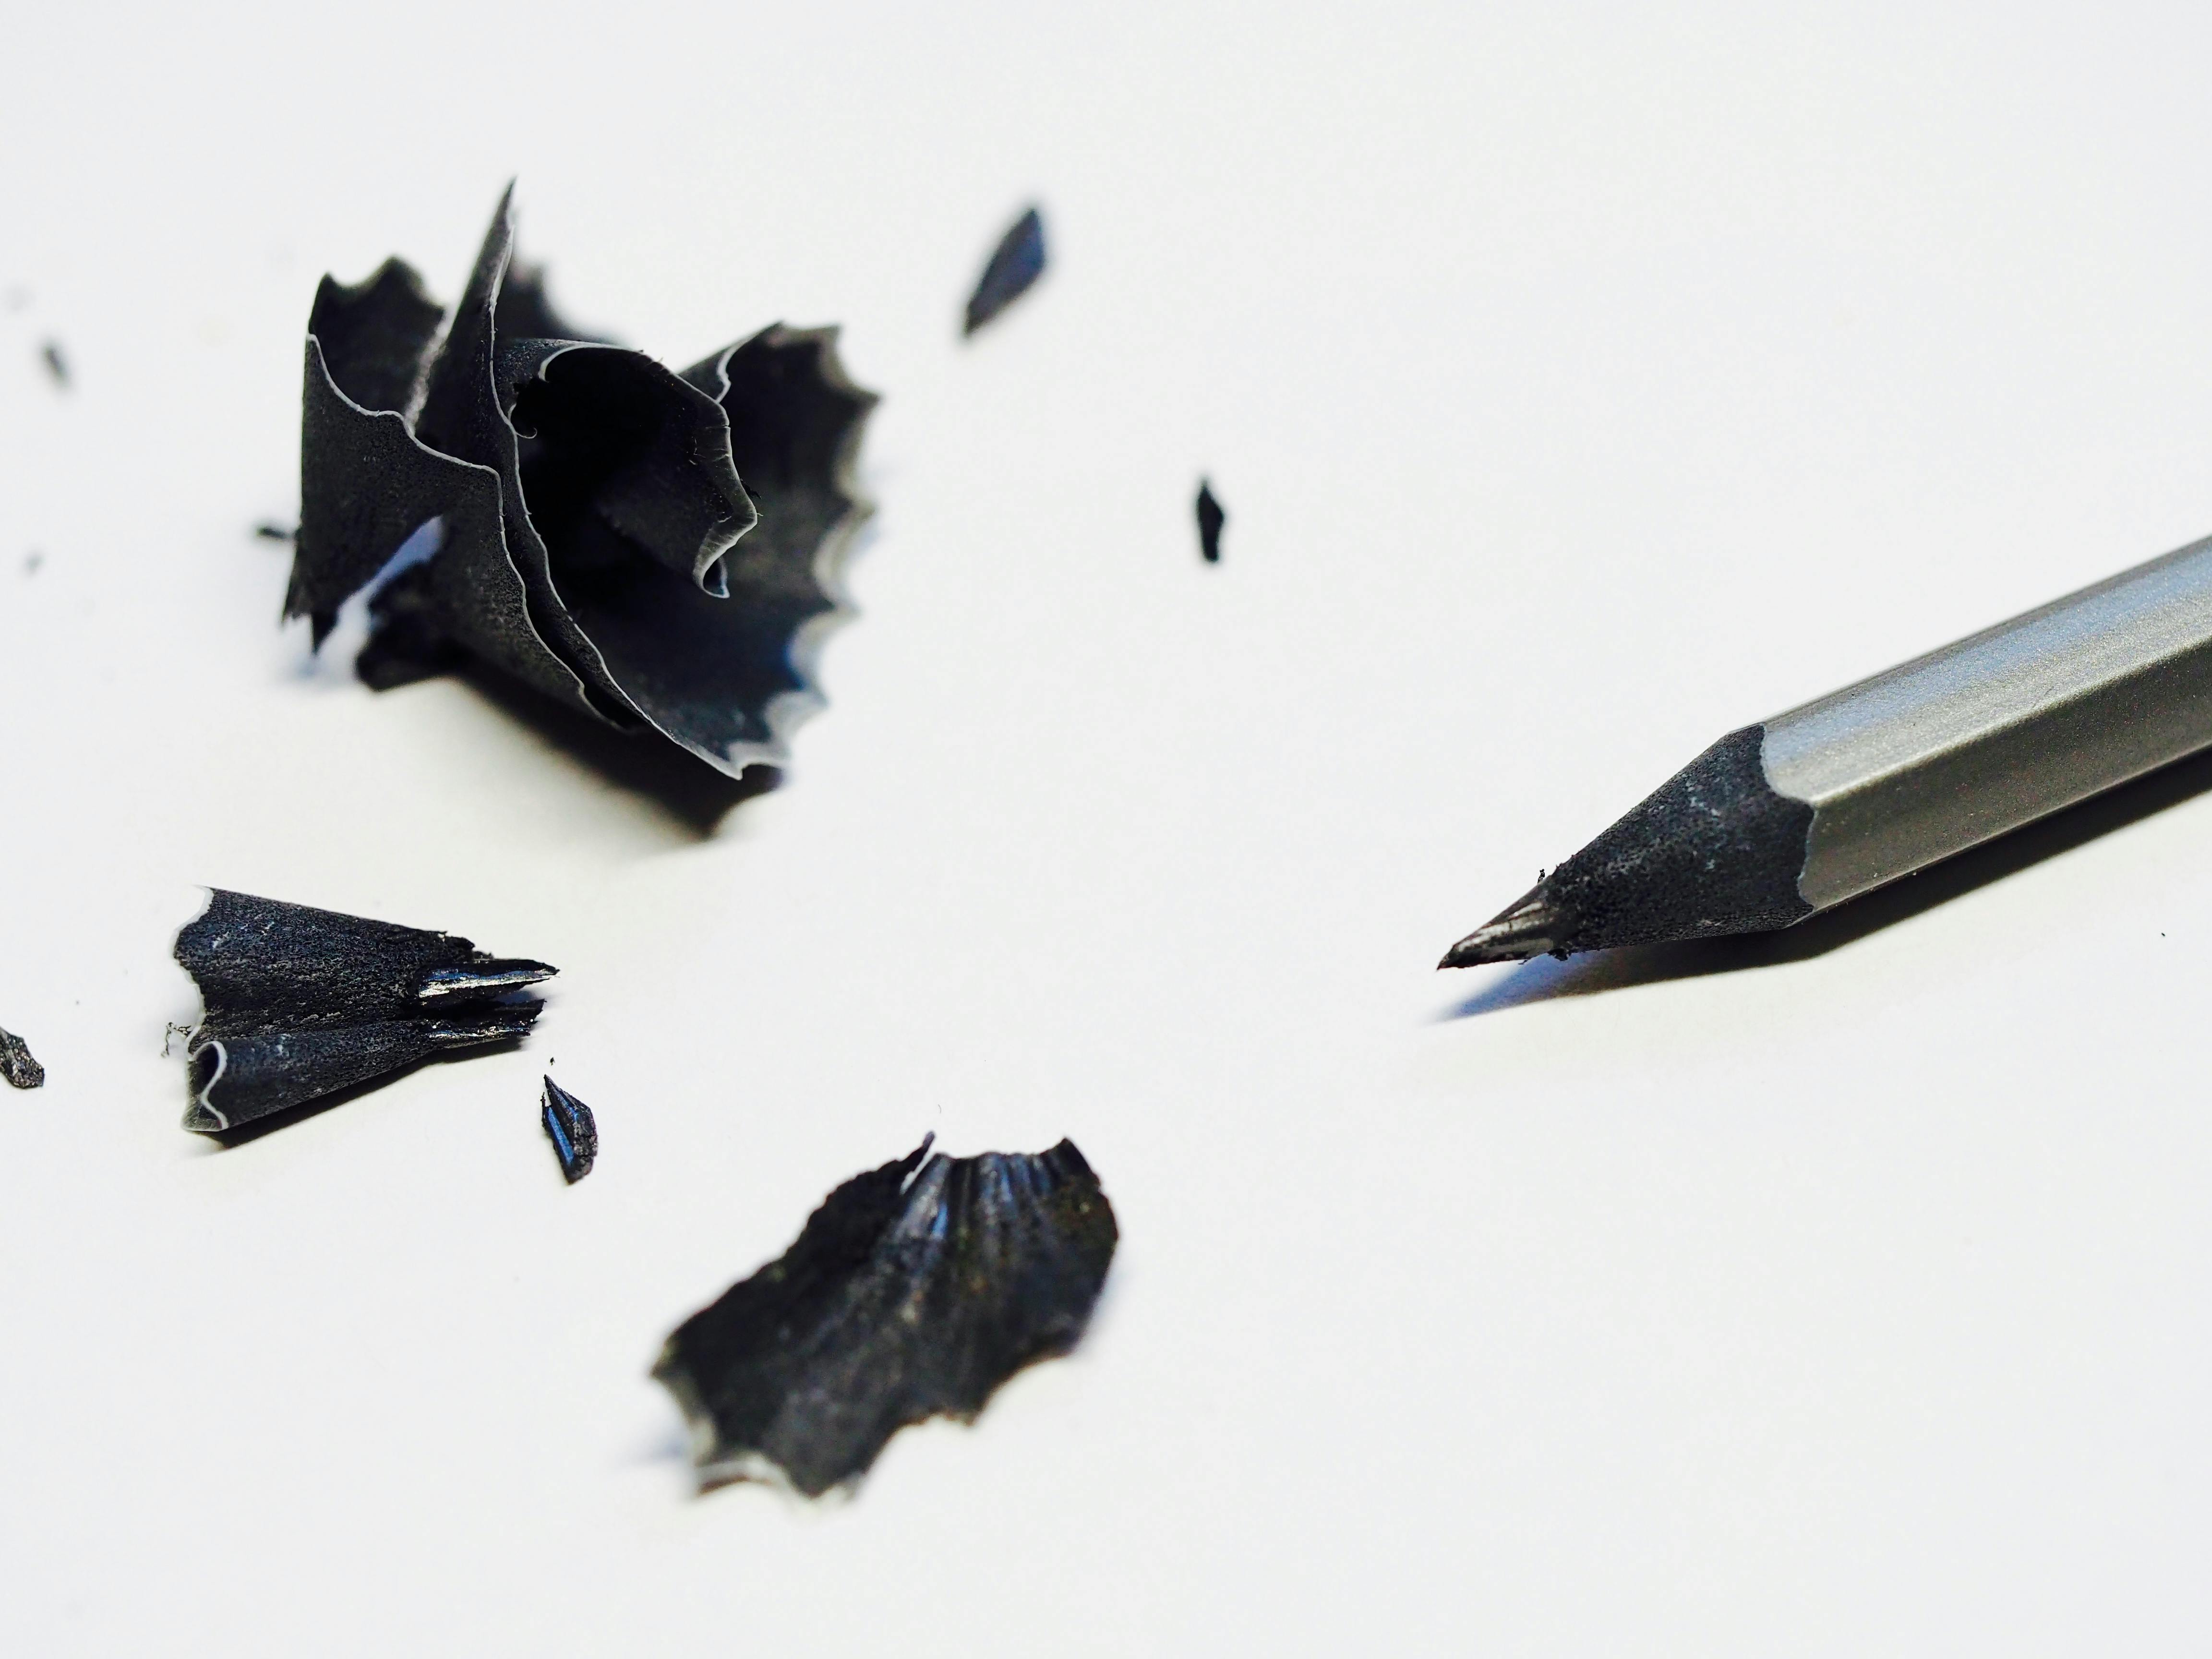



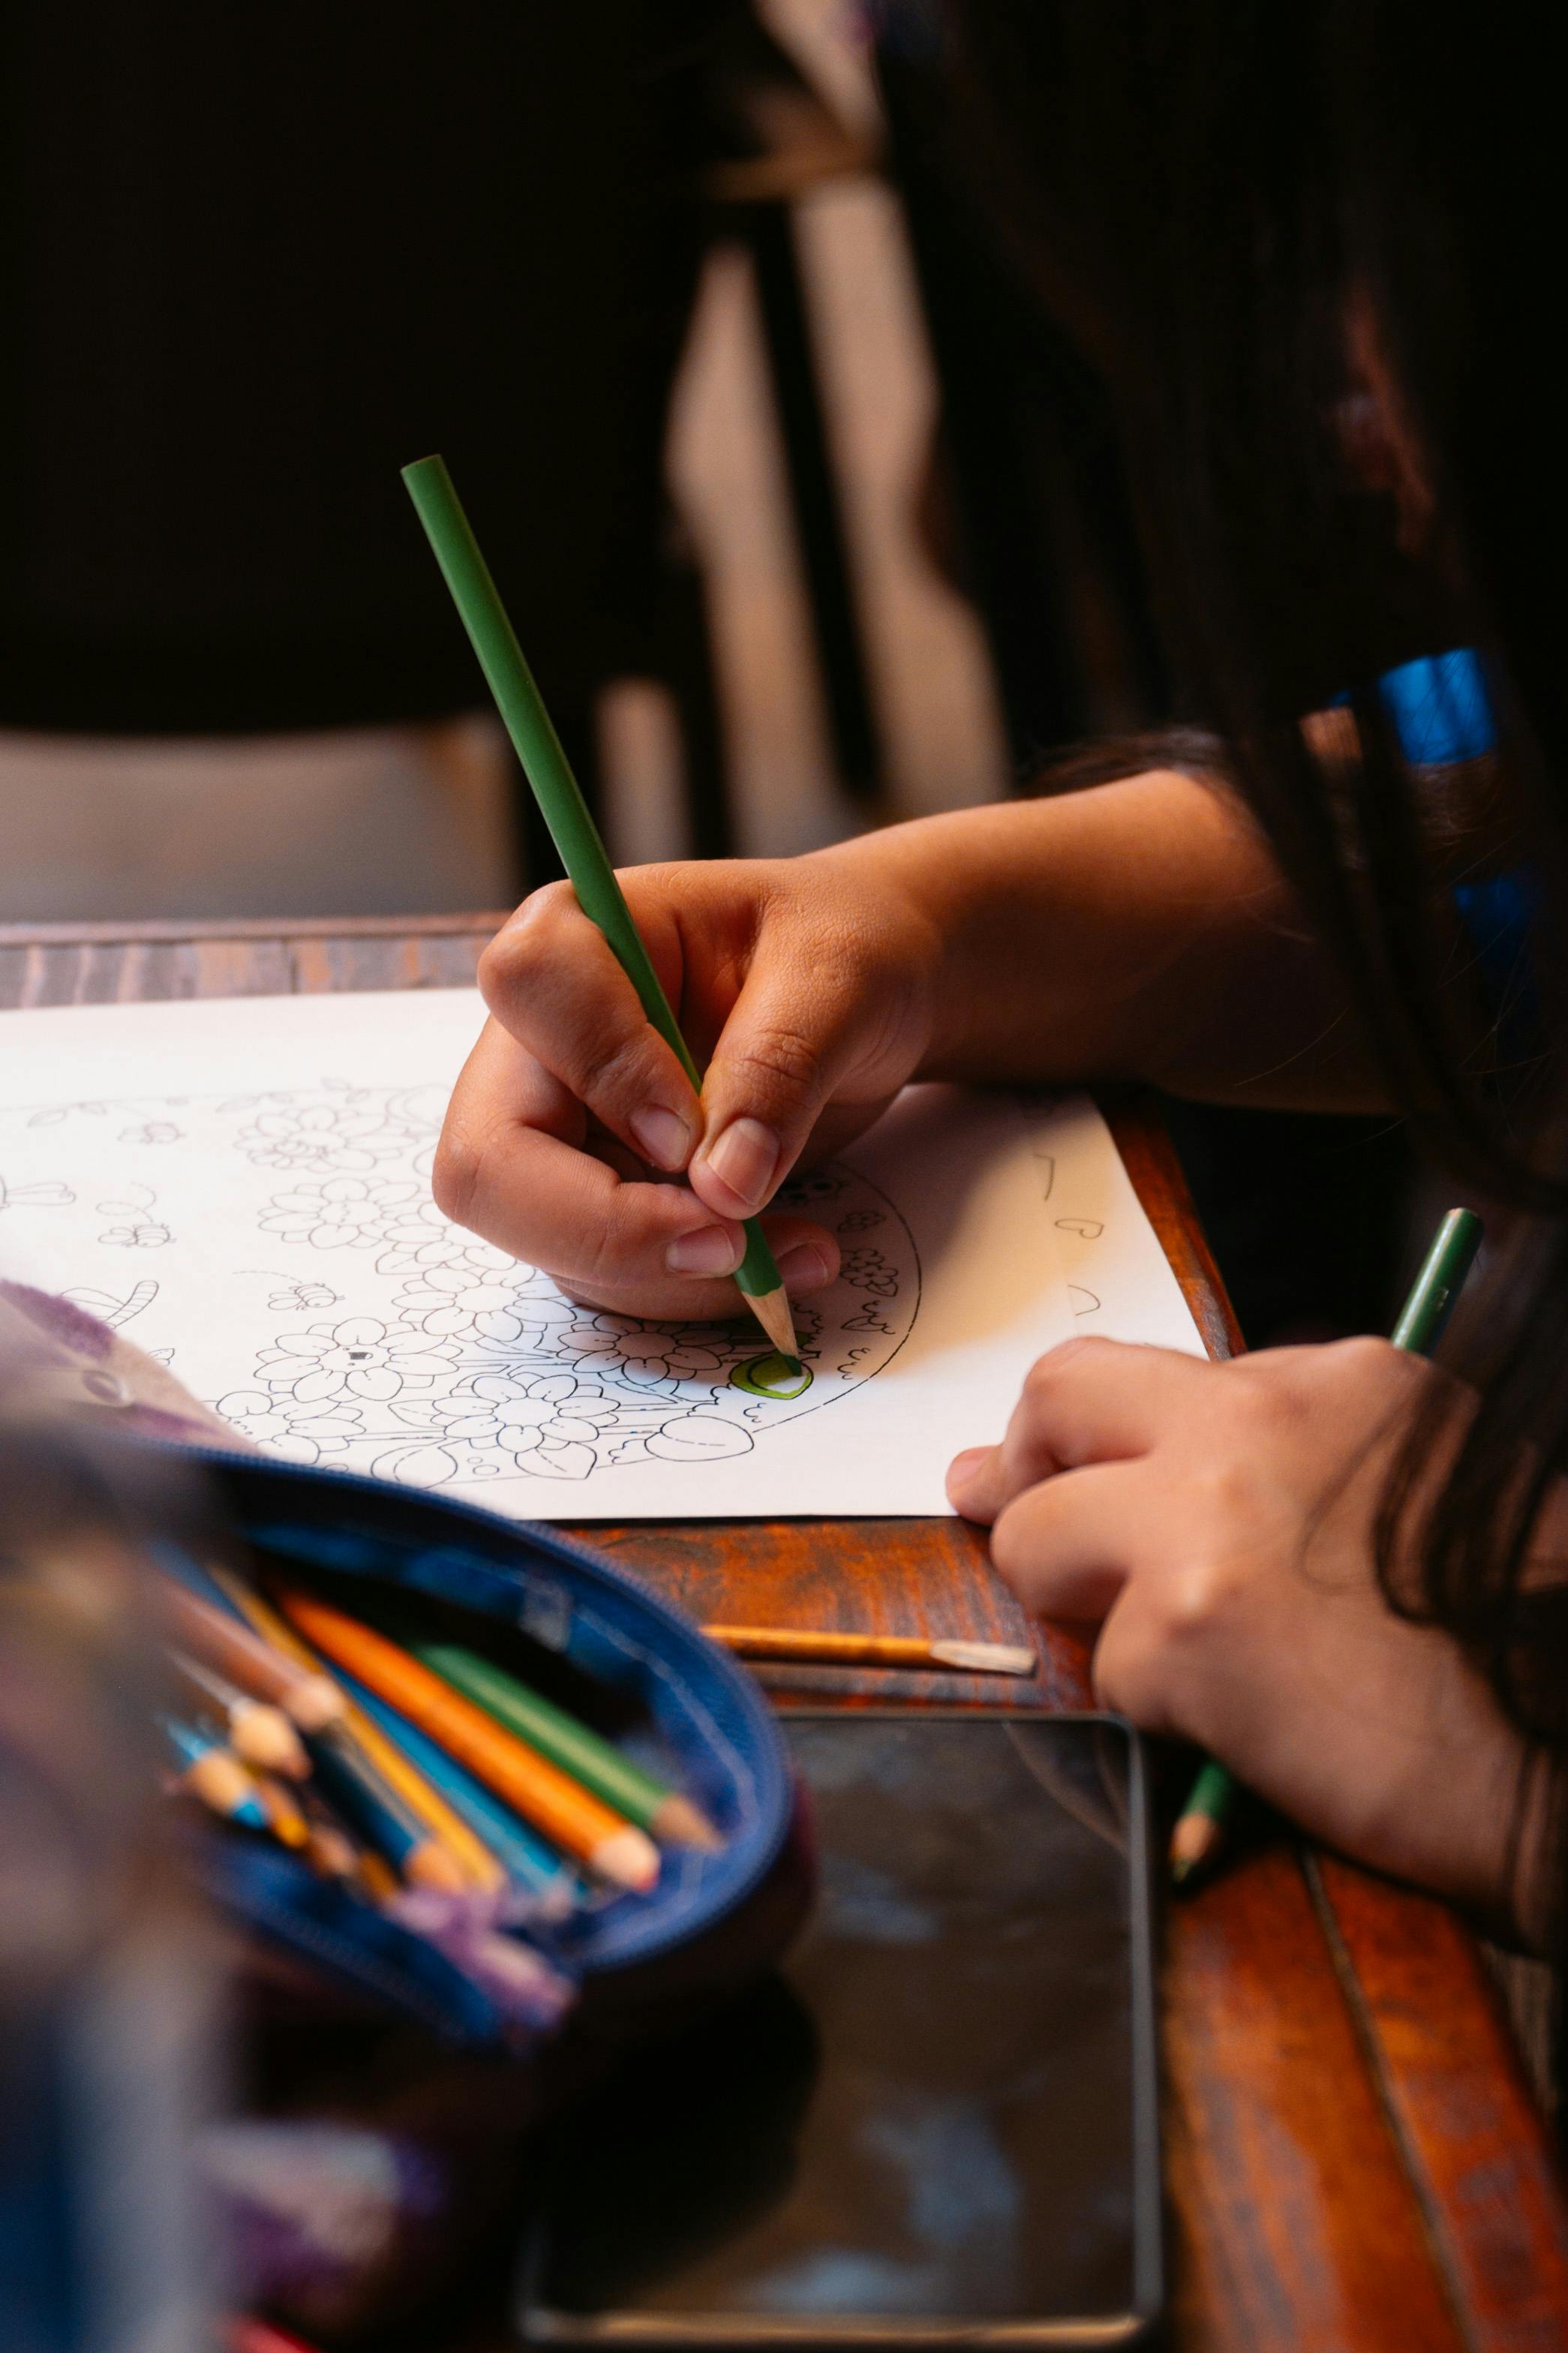


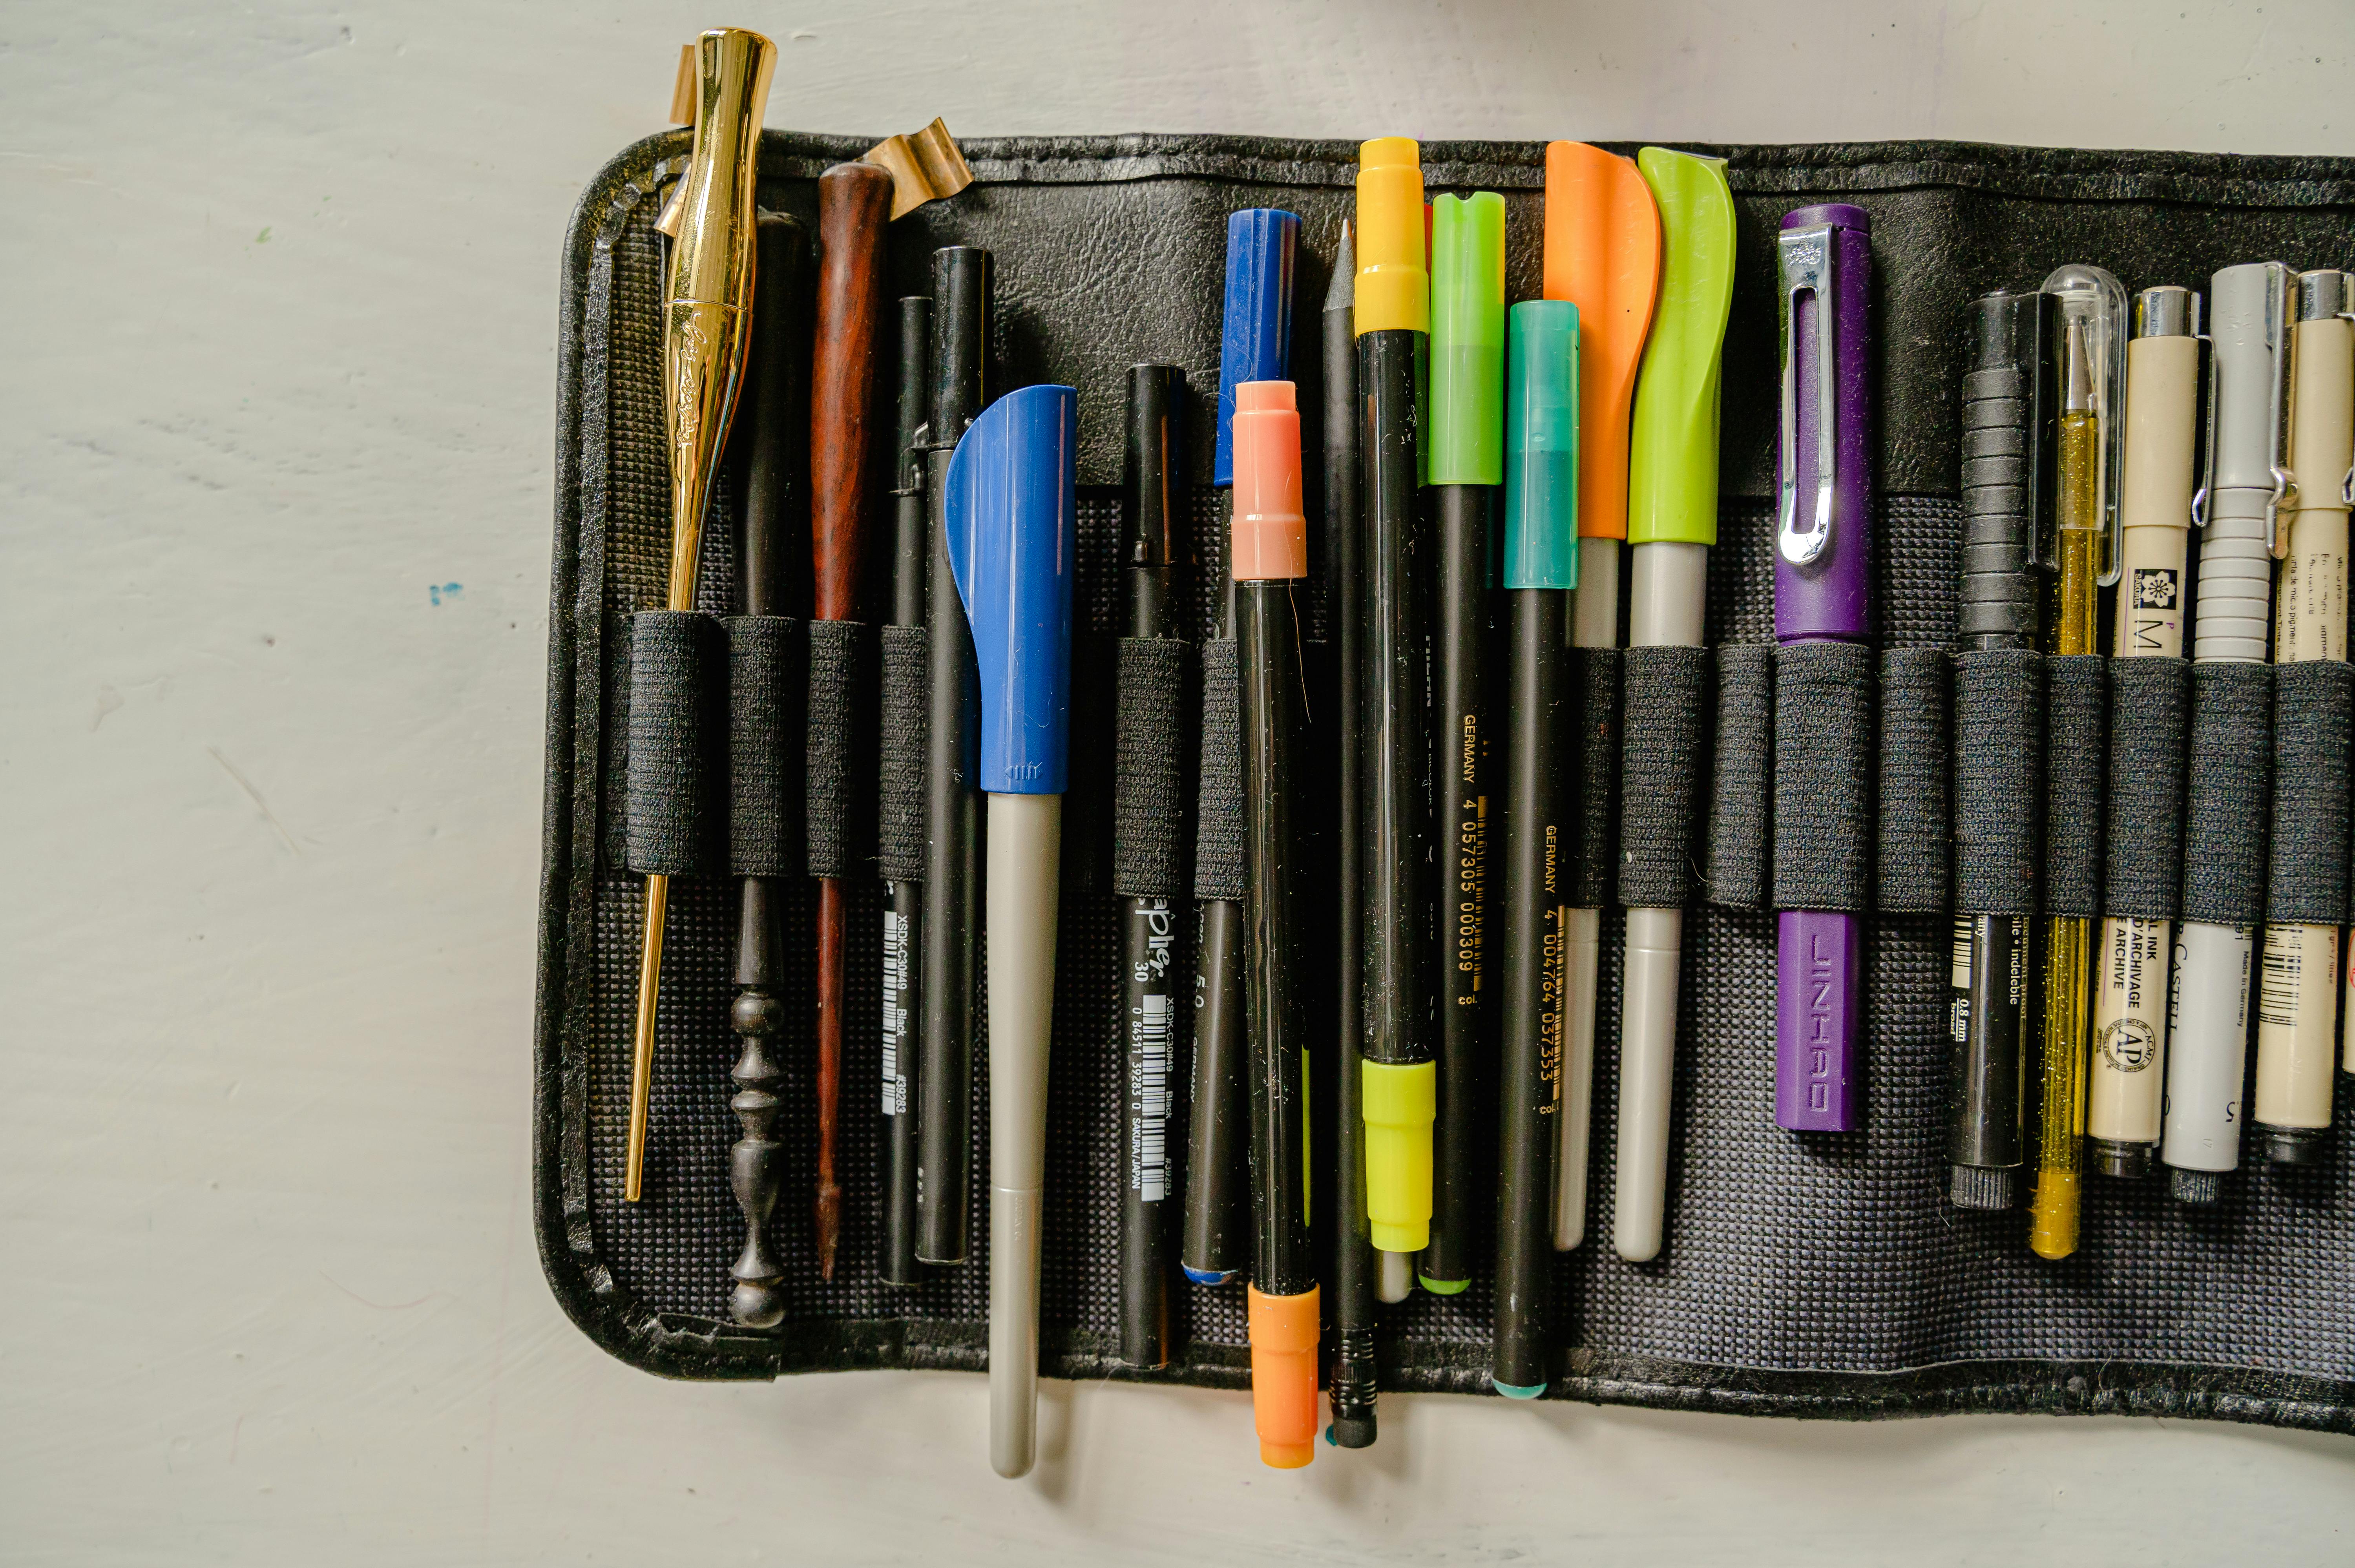
Materials:
- Paper: Literally any paper. A cheap sketchbook, printer paper, or even the blank sides of old letters.
- Pencil/Charcoal/Pen: A regular #2 pencil is fine. A thick carpenter's pencil is great if you have one. The key is to have a tool that flows easily and can create a variety of marks. Avoid hard, sharp pencils (like a 4H) as they can make you too detail-oriented. I personally love using a chunky piece of willow charcoal or a soft drawing crayon; their clumsiness forces you to focus on the big shapes.
- Model: A friend, family member willing to hold a pose for 60 seconds, or a fantastic online resource like Line of Action or Quickposes. Sites like these are invaluable for practice.
Your Mindset:
- Permission to be messy. Your goal is not a finished drawing.
- Focus on feeling. Try to feel the pose you're drawing in your own body.
- There are no mistakes. Every line is information.