Light Box for Artists: Your Ultimate Guide to Creativity & Precision
Unlock artistic potential with a light box. This comprehensive guide covers essential features, advanced techniques, and troubleshooting for tracing, illustration, abstract art, and digital workflows. Master your art tools.
My Unfiltered Take: Why the Humble Light Box Became My Artistic Superpower
I have a confession to make, and it’s a bit embarrassing for someone who calls themselves an artist. For years, I secretly thought light boxes were... well, a bit of a cheat. Or maybe just for architects meticulously drafting blueprints, not for someone like me, elbow-deep in vibrant, often abstract colors and playful forms. My tracing method? Taping paper to a sun-drenched window. Which, let's be honest, worked great for about 30 minutes before the sun inevitably shifted, casting erratic shadows, a cloud rolled in, or my arm cramped up in a truly spectacular, shoulder-popping fashion – a move I affectionately called the 'Sun-Chaser’s Spasmodic Seize.' Sound familiar? That peculiar dance with fading light and physical discomfort? If so, you're in for a treat, because my perspective shifted dramatically when I finally embraced the humble (yet incredibly powerful) light box. It's not cheating; it's smart, efficient, and genuinely elevates your creative flow. It’s a tool that allows for endless iteration (which, for us artists, is just a fancy way of saying we can endlessly sculpt and refine our ideas and designs, testing them before committing to permanent marks). And honestly, it’s one of those things I wish I hadn’t resisted for so long. Consider this my enthusiastic, slightly belated apology to the light box. I’m here to tell you why, and maybe, just maybe, convince you to give it a try.
The "Aha!" Moment: From Window Woes to Workflow Wonders
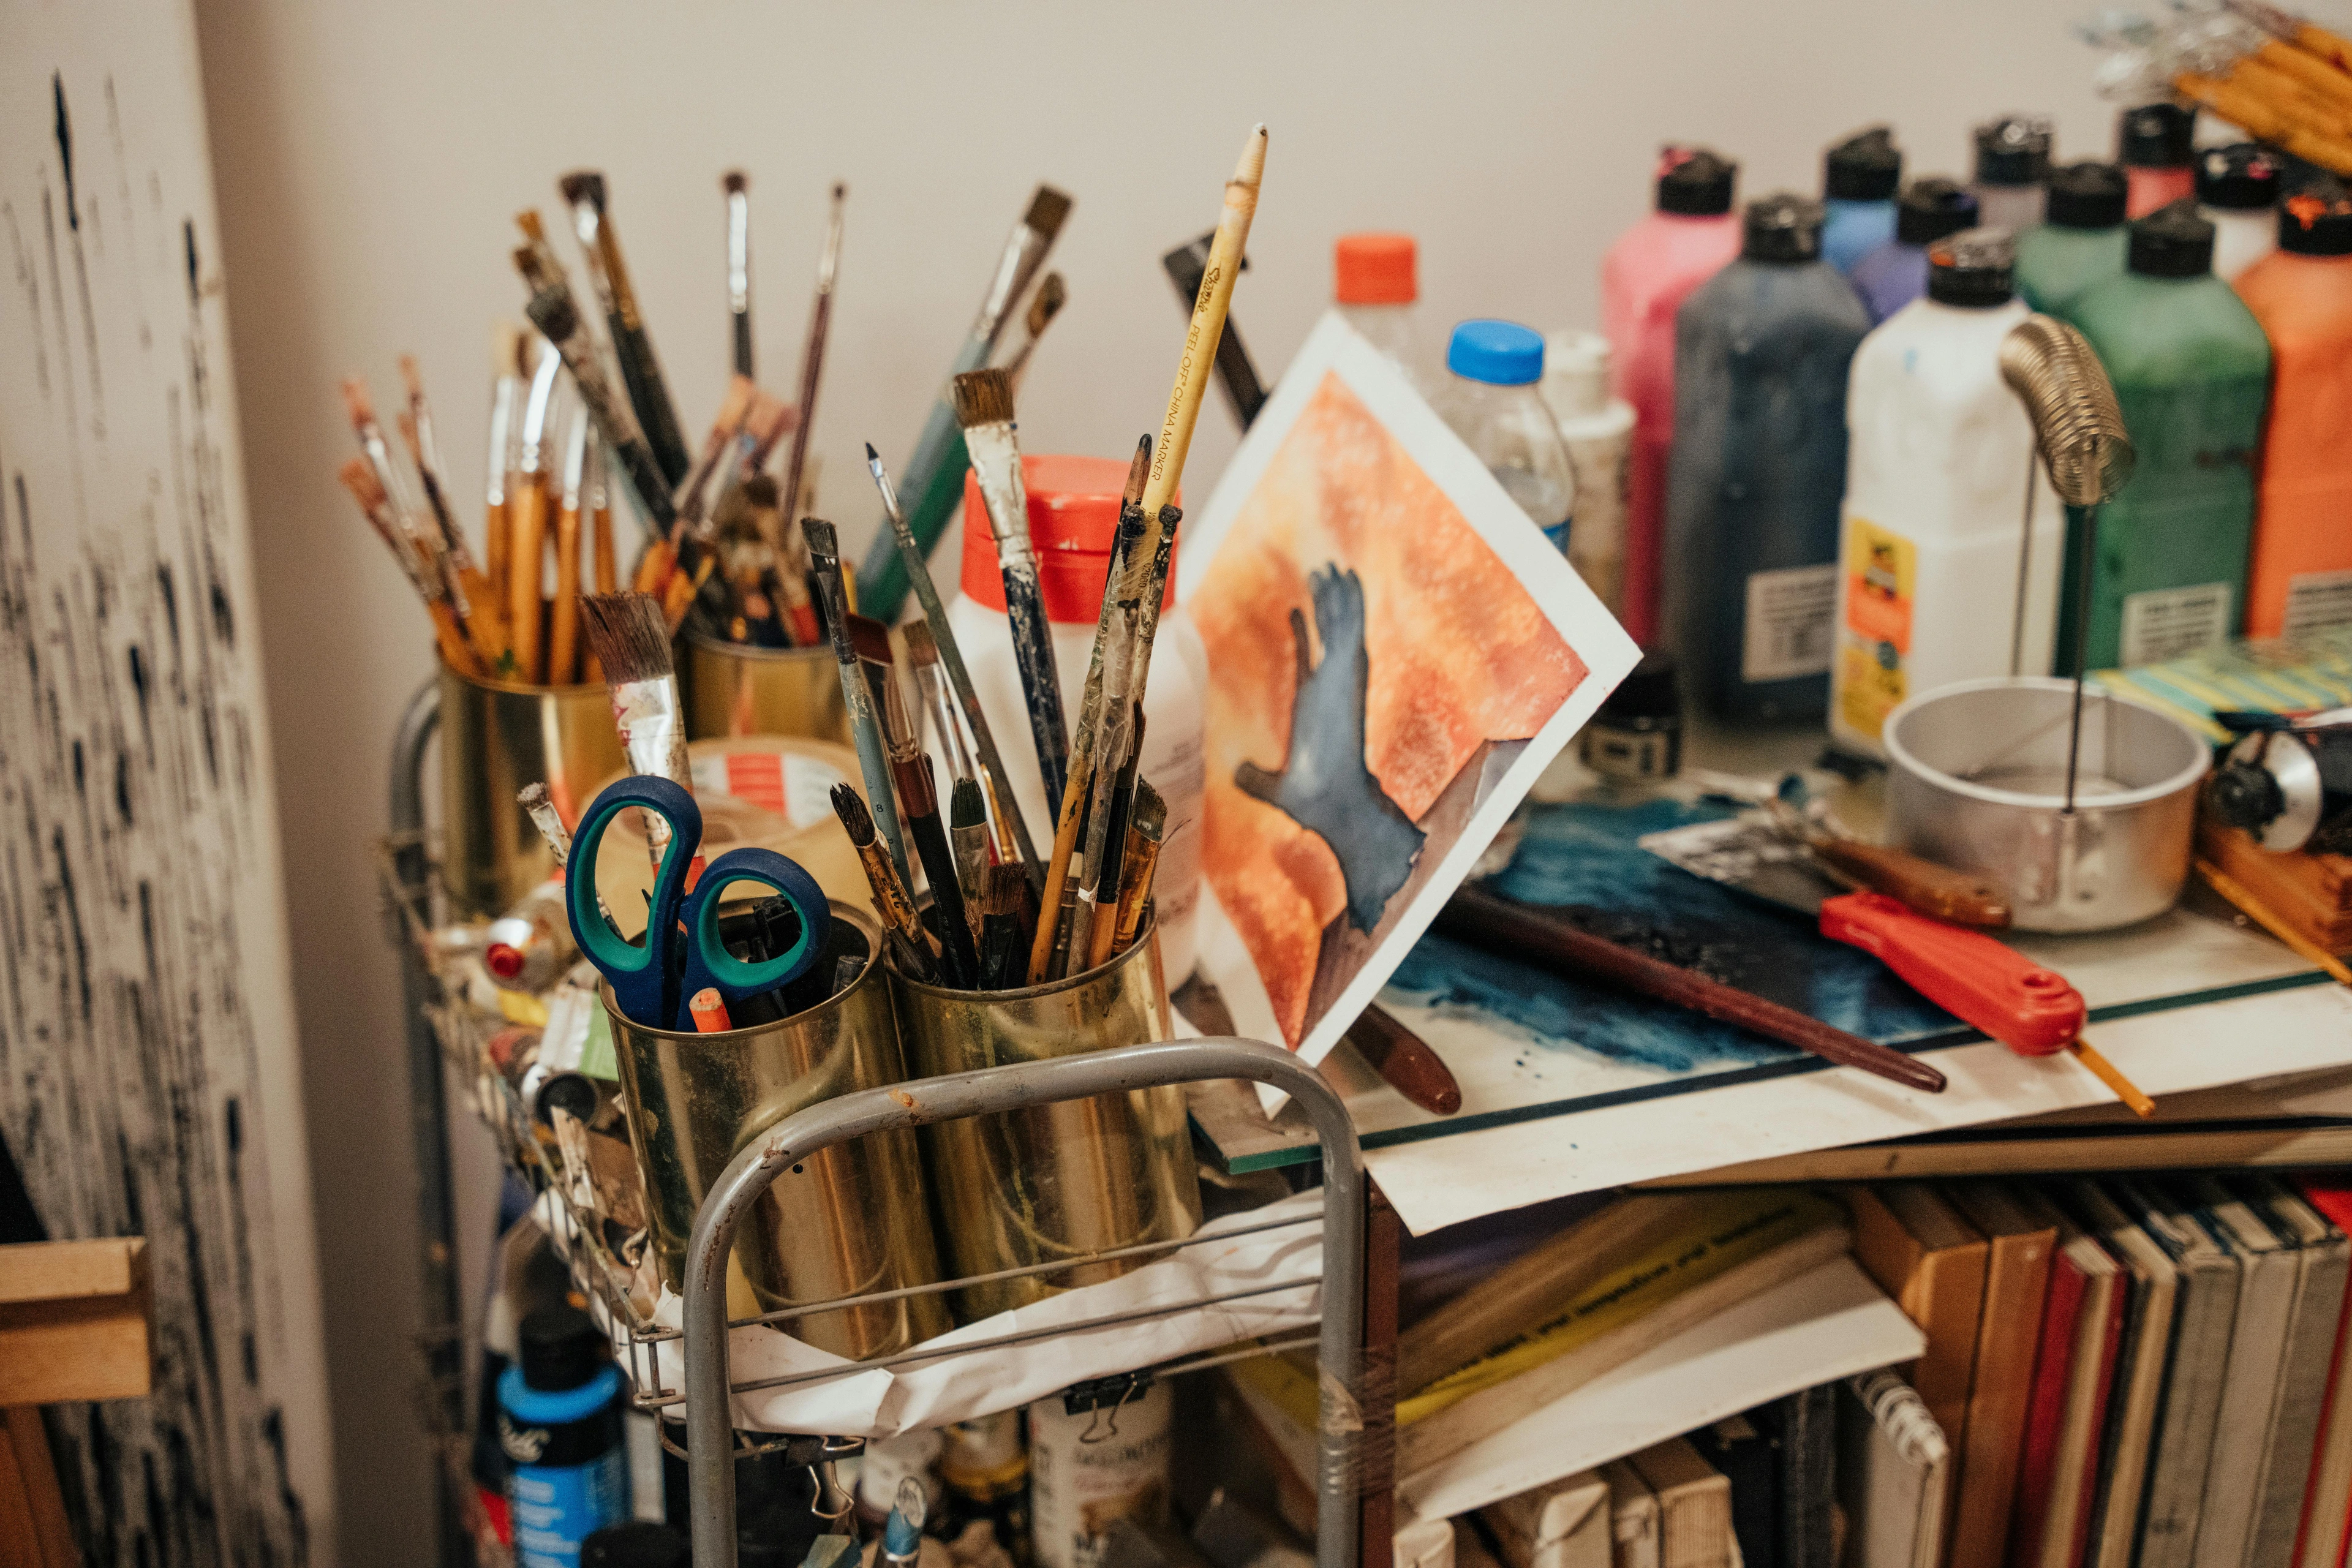
There’s a specific kind of frustration that comes with trying to transfer a sketch or refine a composition using inadequate light. The shadows, the uneven illumination, the sheer physical discomfort – it’s a buzzing, nagging irritant that just kills creativity. I’ve been there, trying to combine elements from different sketches, holding them up to a lamp, or precariously balancing them on a glass tabletop, often leading to unintended smudges and a loss of clarity rather than the pristine transfer I was aiming for. It was inefficient, frankly, and a bit of a buzzkill for my creative flow. My studio, often a joyful explosion of color (you can see some of my work, for example, if you browse my art for sale), had this one dark, secret corner of absolute frustration, where good ideas went to die from poor lighting.
Then a friend (who, admittedly, had been recommending one for ages and patiently enduring my stubbornness) finally convinced me to try a light box. And just like that, the clouds parted, literally. Suddenly, it was like the world went from grayscale to technicolor. The fuzzy edges of my ideas snapped into sharp focus, and the laborious dance of guesswork was replaced by the fluid grace of precision. It wasn't just about tracing; it was about rapid iteration. About effortlessly seeing through layers – say, a loose watercolor wash under a precise ink outline for one of my abstract pieces. It allowed me to combine disparate ideas, fine-tune proportions, and experiment with compositions without the friction caused by struggling to see my lines clearly. It felt like I’d been trying to paint in the dark and suddenly someone flicked on the master switch, revealing everything I needed.
For someone like me, who often dives into complex compositions and needs to refine lines or transfer initial ideas onto a final surface, this was a game-changer. It became less about tedious copying and more about building, evolving, and perfecting. It's like having a little superpower right on your desk, making the usually tedious tasks almost enjoyable. And when you're setting up a dedicated space for your art, perhaps even a home office focused on creativity, having the right tools truly makes all the difference. It saves time, reduces mistakes, and allows you to spend more precious moments actually creating, rather than wrestling with your tools. Now that my perspective has shifted so dramatically, let's peel back the layers and understand what these glowing surfaces are all about.

A Glimpse Through Time: The Artistic Evolution of Tracing
It’s funny, isn't it, how we often think of technology as something entirely new? But the desire to accurately transfer an image, to see through layers, or to achieve precise replication is as old as art itself. Long before sleek LED panels, artists were remarkably ingenious. Imagine centuries ago, using thin, oiled paper stretched over a windowpane on a sunny day – essentially, my "window method" but with more historical flair. Or perhaps even more primitive, placing a candle or oil lamp beneath a glass pane to illuminate a drawing from below. Early techniques like the Camera Lucida allowed artists to project an image onto their drawing surface, offering a ghostly outline to trace. Even photography, in its nascent stages, became another form of "tracing" reality onto a plate. While the direct use of a 'light box' as we know it might not be documented for every Old Master, the principles of light-assisted transfer were absolutely foundational to achieving the precision seen in works from artists like Leonardo da Vinci, who often used preparatory drawings transferred to final surfaces. The light box, for all its modern sleekness, is simply the latest, and dare I say, most user-friendly evolution of this enduring artistic desire. It stands on the shoulders of countless artists who, just like us, yearned for clarity and precision in their work.
Anatomy of Illumination: Decoding the Light Box Landscape
Before diving into the "what to look for," let’s clarify what we’re even talking about. A light box is essentially a flat, uniformly illuminated surface that allows you to see through layers of paper, fabric, or other translucent materials, making tracing, design transfer, and compositional refinement incredibly easy. They come in a surprising variety, each with its own quirks. I’ve seen enough to know that a "light box" isn't a single, monolithic thing; choosing the right one can make all the difference to your creative flow. Honestly, those old fluorescent ones always made me feel like I was working in a dentist's office, not an art studio. Now, let's explore the main types you'll encounter.
Here's a quick rundown:
- LED Light Boxes: These are the modern champions, and frankly, my personal preference. They’re super slim, incredibly energy-efficient, and generate very little heat – which is a blessing during long sessions. Their light source is usually uniform and bright, and many boast a high Color Rendering Index (CRI), meaning colors under the light appear true-to-life, which is absolutely crucial for artists because it affects how accurately you perceive and mix your colors. Most importantly, LED lights have an incredible lifespan, so you won’t be constantly replacing bulbs, allowing you to focus on your art, not maintenance.
- Fluorescent Light Boxes: Ah, the old guard. These tend to be thicker and heavier due to the fluorescent tubes inside. While they can be bright, they often have a slight flicker which can cause eye strain or even headaches for some, particularly if you're sensitive to it. They also generate more heat than their LED counterparts. Unless you’re looking for something purely vintage or have a very specific need, I’d generally steer clear of these for serious art work.
Now, regarding power and portability:
- Battery-Powered Light Boxes: These are fantastic for portability! If you're an urban sketcher, enjoy working in various spots around your home, or need to take your work on the go (like to my museum in Den Bosch for inspiration!), these are incredibly convenient. The trade-off? Usually less sustained brightness compared to plug-in models and the hassle of battery replacement (or recharging). I've found rechargeable ones to be the sweet spot here – less guilt about disposable batteries and fewer frantic hunts for AAAs mid-project. Unless you have an unnatural fondness for hunting down obscure batteries, consider rechargeable models with good battery life.
- Plug-in Light Boxes: These are the absolute workhorses of the studio. Consistent, reliable power means consistent brightness, often higher lumen outputs, and no worries about running out of juice mid-trace. My primary light box is always a plug-in because reliability and sustained performance are key to my creative flow, especially when I'm deep into a complex abstract piece.
Beyond the power source, you'll also find variations in size (from small A5 pads to large A2 surfaces, impacting how much of your composition you can see at once), thickness (some are barely thicker than a drawing pad, others more substantial and sturdy), and brightness adjustability (a non-negotiable feature for me). So, you've got a sense of the landscape. But what truly matters when you're making a choice? Let's talk about the pitfalls first, because knowing what to avoid can save you a world of artistic headaches.
What NOT to Look For: Common Light Box Pitfalls
Just as important as knowing what to look for is understanding what to avoid, especially if you're on a budget. Cheap light boxes often cut corners in ways that severely impact your artistic experience. Actively steer clear of models with:
- Inconsistent, patchy light: A surefire way to obscure details and lead to mistakes.
- Noticeable flickering: A fast track to eye strain and headaches, especially during long sessions.
- Flimsy, easily scratched plastic surfaces: These won't stand up to the rigors of a stylus, blade, or even just regular use, quickly becoming opaque.
- Lack of any brightness adjustment: You need control! Max brightness isn't always best, and having no dimming options severely limits versatility.
These issues might seem minor at first, but they can quickly turn a helpful tool into a source of constant frustration, which is the exact opposite of what we're aiming for! Seriously, investing a little more upfront often saves a lot of frustration (and money on replacements) in the long run. Now, for the good stuff...
My Quest for the Perfect Glow: Essential Features of a Light Box
Now, I've seen a few light boxes in my time, and while they all do pretty much the same thing (make things glow!), not all are created equal. My personal hunt for the perfect creative companion has boiled down to a few critical criteria. This isn't just about technical specs; it's about how these translate into a smoother, more joyful artistic experience. Because honestly, if a tool adds more frustration than it removes, what's the point? Let's break down what truly matters. Are you tired of playing 'guess the line' on your thickest paper?
Feature | Importance | Artist's Insight & Why It Matters |
|---|---|---|
Brightness (Lux) | Crucial | You need enough light to see through multiple layers of paper, including heavy watercolor or light cardstock. I’ve found that anything under 3000 lux will leave you squinting, struggling to see faint pencil lines through thick paper. My sweet spot is between 4000-5000 lux, with adjustable settings being absolutely essential. Trust me, your eyes will thank you, and your lines will be precise. |
Even Illumination | Crucial | Consistently bright, uniform illumination across the entire surface is absolutely crucial. Poor quality light boxes often have dim spots or uneven light distribution, which can lead to mistakes, eye strain, and general frustration during intricate work. High-quality LED panels, like those I prefer, provide a flawless, shadow-free glow that mimics natural daylight and makes fine details pop without tiring your eyes. It's the difference between trying to refine a delicate line in a patchy glow versus seeing every nuance with perfect clarity – the latter is a joy, the former, a headache. |
Color Temperature (K) | Important | While warmth is lovely in finished art, for a light box, I strongly prefer a **cool white** light (around 5000K-6500K on the Kelvin scale). This mimics natural daylight, providing the most neutral base for accurate color perception when planning out my vibrant abstract pieces. A warmer light can subtly alter how you perceive your colors – making a cool blue appear greener or a vibrant yellow slightly muted – leading to unexpected shifts when viewed in natural light. It’s a rabbit hole of color distortion I prefer to avoid before the paint even hits the canvas. Consistency here ensures what you see is what you get, preventing any pre-painting chromatic surprises. |
Surface Material | Crucial for Durability & Comfort | Most light boxes use acrylic or tempered glass. I lean towards **acrylic** for its lighter weight and durability – less likely to shatter if (when) I accidentally knock it off my desk (which happens more often than I'd like to admit). A slightly **matte surface** is also a significant plus, as it drastically reduces glare and reflections, making those long sessions much more comfortable. A matte surface actively reduces reflections, making it much easier on the eyes during long sessions compared to a glossy surface which can create distracting glare. Nobody wants to see their own reflection more than their artwork, trust me. |
Size & Portability | Depends on your workflow | My main light box is A3-sized, offering ample space for larger compositions (like when I was sketching the foundational layers for my "Urban Rhythms" series). But for smaller, quick transfers or travel, an A4 or even A5 battery-powered option is fantastic. Consider your typical workspace, the size of your projects, and whether you're often on the go. If you're an urban explorer with your sketchbook, a super-thin, lightweight model is a must; for a dedicated studio, a larger, sturdier model is probably better. |
Power Source | Reliability & Convenience | As mentioned, I have both plug-in and rechargeable. For the studio, plug-in wins for unwavering reliability. For trips to my favorite coffee shop or working outside, rechargeable is king. Look for USB-C charging for modern convenience, as it means one less weird cable to misplace, and you're not constantly hunting down obscure AA batteries – unless that's your specific hobby, of course. |
Build Quality & Stability | Highly Important | A light box should feel solid, not flimsy. It needs to withstand the pressure of drawing and tracing without bending or feeling like it's about to fall apart. Rubber feet are a small but mighty detail, preventing it from sliding around on your desk mid-stroke – a tiny thing that makes a huge difference in avoiding ruined lines. These seemingly minor details make a huge difference in long-term usability and preventing artistic meltdowns. A good light box is a workhorse, not a disposable gadget. |
Paper Type Compatibility | Often Overlooked, but Important | Different paper textures (e.g., cold press vs. hot press watercolor paper, smooth Bristol board, rough drawing paper) affect light transmission significantly. A really bright light box (think 5000+ lux) will be your best friend if you frequently work with thicker, more opaque papers or multiple layers. For thin tracing paper, almost any light box will do, but for heavy watercolor paper or cardstock, you'll absolutely need that extra punch of light. |
Budget Considerations | Practicality vs. Performance | Light boxes, like any art tool, range widely in price. While it's tempting to go for the cheapest option, remember the "what NOT to look for" section. Investing a little more upfront often saves a lot of frustration (and money on replacements) in the long run. Think of it as investing in your workflow and the longevity of your creative joy. |

Unlocking Artistic Potential: Techniques for Every Creator
Okay, so you’ve got your light box, you understand what to look for, and maybe you've even picked one up. Now what? Beyond the obvious tracing, this brilliant tool opens up a world of possibilities for refining your work. It's not just about copying; it's about control, precision, and the freedom to experiment without fear of ruining your original. Let me tell you, I've put mine through its paces with everything from delicate line work to complex multi-layered compositions, and it continually surprises me. Are you ready to see your creative process transformed?
Here are just a few ways I (and many other artists) wield this glowing canvas, transforming it into an indispensable part of our creative toolkit:
- Drawing & Sketching: Refining the Bones: This is where it all starts. The light box makes transferring initial sketches onto final paper, refining proportions, or combining elements from different studies incredibly precise. I often use it to take a messy brainstorm sketch and clean up the lines for a more polished final drawing before I even think about adding paint. It’s like having a magic eraser that leaves the ghost of what was, letting you build on it without committing to an irreversible mark. For painters, especially, this can mean transferring complex underpaintings or detailed plein air studies with perfect accuracy onto canvas or panel, saving hours of corrective work.
- Illustration: The Path to Perfection: For illustrators, light boxes are indispensable for tight line art, planning intricate details, and transferring character designs. Need to colorize a line drawing without messing up the original? Pop it on the light box, place a clean sheet over it, and color away. It’s also fantastic for planning comic book panels or ensuring consistency across a series of illustrations, keeping your characters looking consistent from page to page, even when layering different elements like ink outlines over faint color washes.
- Calligraphy & Hand Lettering: Achieving Flawless Forms: Achieving perfect letterforms, consistent spacing, and precise baselines is absolutely non-negotiable in calligraphy and hand lettering. A light box allows you to place guide sheets (perhaps from your essential calligraphy supplies kit) underneath your good paper, ensuring every stroke is exactly where it needs to be. No more visible pencil lines on your finished piece – just pure, unadulterated elegance.
- Abstract Art: Layering Concepts & Compositions: For my own abstract work, the light box is a secret weapon. It allows me to layer different textures, shapes, and color studies on top of each other, seeing how they interact before I commit to a final composition. I can refine organic shapes, ensure visual balance, and even transfer subtle tonal shifts from a preliminary sketch onto my final surface, maintaining that initial spark of intuition while bringing it to a precise finish.
- Pattern Design: Seamless Repeats: Designing repeating patterns for textiles or digital backgrounds? The light box is your absolute best friend. It helps you perfectly align motifs for seamless repeats on fabric, paper, or digital textures. Ensuring symmetry or creating complex tessellations is a breeze when you can clearly see through your layers, making the notoriously tricky process of repetition almost meditative.
- Stenciling & Crafting: Precision Cuts: For stenciling, the light box helps you align your design perfectly onto your material before cutting. It’s also invaluable for precise paper cutting, quilting, or any craft where accurate transfer is key. I've even used it for planning intricate embroidery designs onto darker fabrics where traditional pencil lines simply vanish.
- Textile Arts: Fabricating Fantasies: Transferring embroidery, quilting, or fabric painting patterns onto cloth can be incredibly tricky, especially on darker or thicker materials. A bright light box makes those faint lines pop, allowing for accurate transfer that traditional methods often struggle with. It’s truly a game-changer for textile artists, bringing clarity to opaque surfaces.
Now, for some ways to push your light box even further:
- Creating precise masks: Use it to perfectly cut frisket film or masking tape for intricate masking fluid applications in painting. The light helps you see your lines for flawless cuts.
- Overlaying gradients: For digital painting preparation, I sometimes overlay transparent gradient layers on the light box to visualize color transitions before digitizing, or even use it as a light source for small macro photography setups of tiny artworks.
- Screen printing prep: Aligning multiple stencil layers for multi-color screen printing designs becomes significantly easier and more precise when you can see them all simultaneously illuminated.
And these are just a few sparks to ignite your own journey of discovery with this remarkable tool.

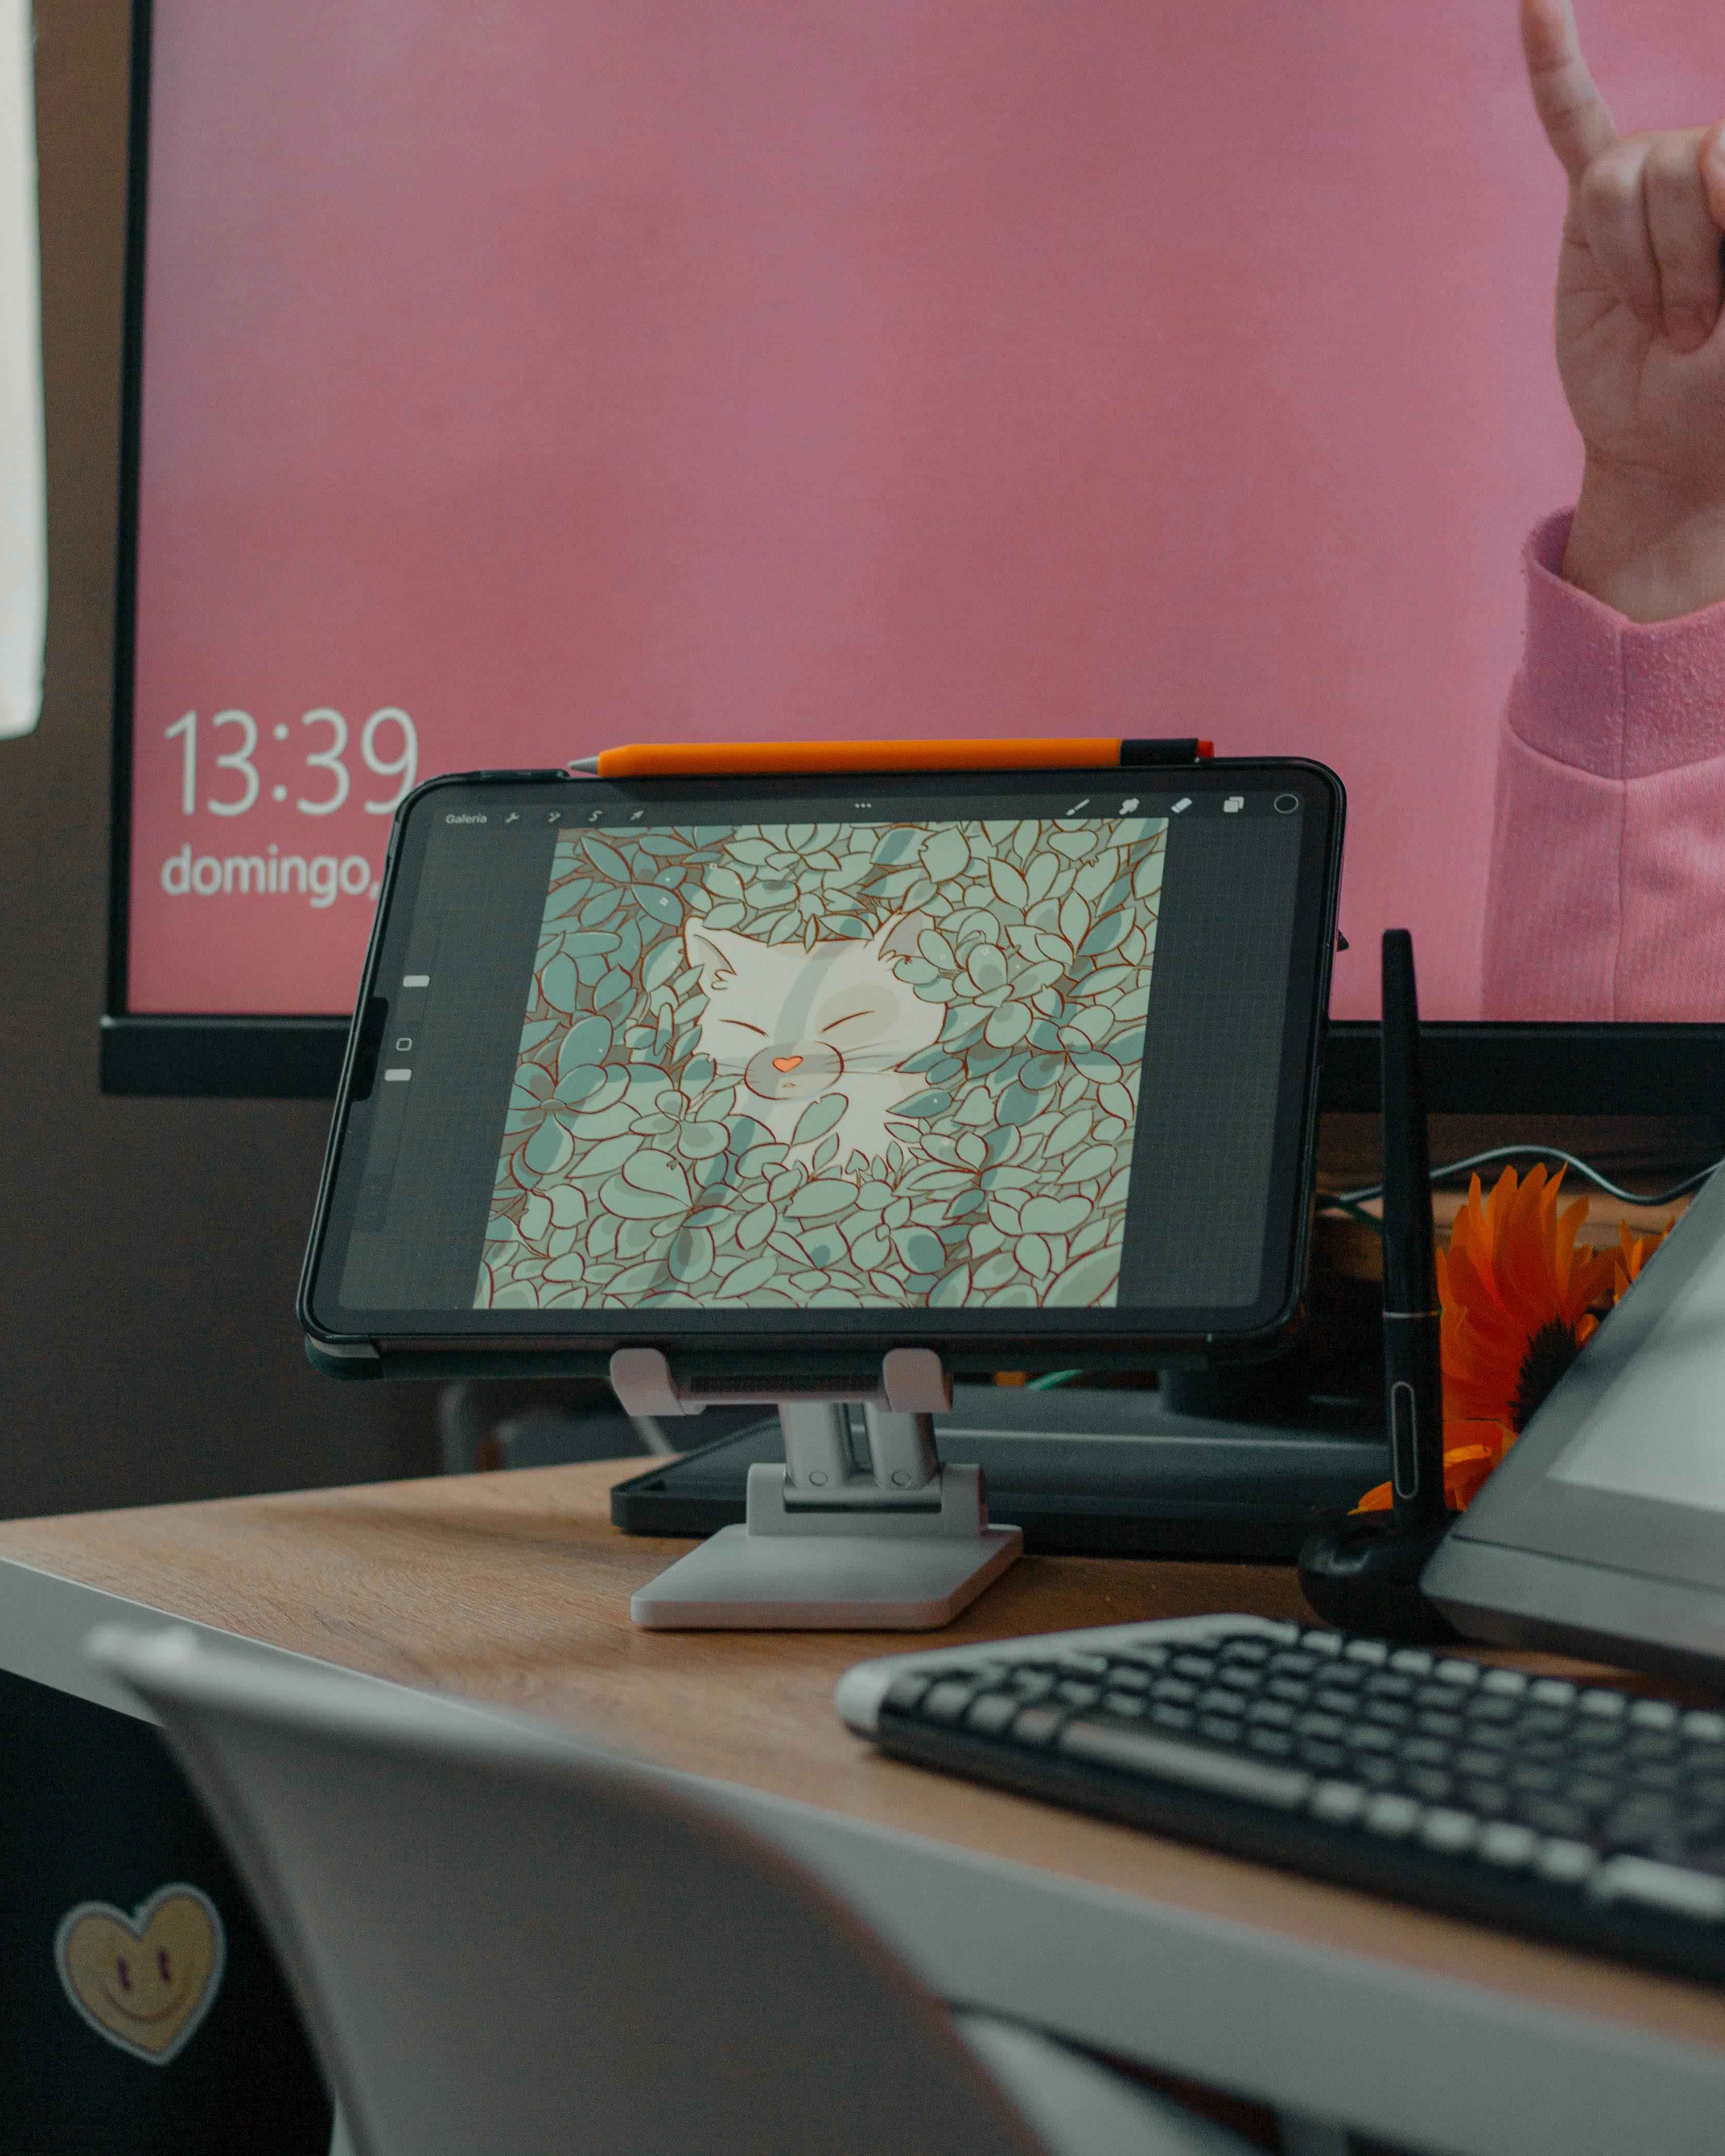
Bridging Worlds: Light Boxes and Digital Art
But the magic of the light box doesn't stop at the edge of your paper; it extends seamlessly into the digital realm, creating a wonderful, tactile bridge between the physical and the digital. This is where things get really interesting, especially for someone like me whose artist's journey now embraces both traditional and digital mediums. I sometimes use my light box to photograph or scan traditional sketches with perfectly even, shadow-free lighting, making them significantly easier to digitize for further work in software like Photoshop or Procreate. The uniform backlighting from the light box is ideal for capturing clean lines and subtle tones without external shadows interfering.
What’s more, you can even place a sketch on the light box and then place your drawing tablet over it (if the tablet is thin enough), allowing you to trace your traditional work directly into a digital medium. This blend of my love for physical paint with the flexibility of software is truly powerful. I've found it particularly useful for maintaining the organic feel of my initial abstract sketches while gaining the editing power of digital tools. For more on the digital side, you might find my thoughts on drawing tablets insightful.

Navigating the Glare: Tips, Troubleshooting & Maintenance
Even the best tools have their quirks, and light boxes are no exception. But with a few tricks, you can keep yours purring along and avoid common pitfalls. Trust me, I've had my share of forehead-slapping moments and learned a few things the hard way. Ever found yourself squinting into a bright light, wondering if your eyes will ever forgive you? Or battling a rogue sheet of paper that just won't stay put? You're not alone.
Common Hiccups & How to Solve Them:
- Glare Galore: If your light box has a glossy surface, or if you're working in a brightly lit room, glare can be a real issue. Solution: Try dimming your room lights to create a more focused workspace. A light box with a matte surface is ideal for glare reduction, but if yours is glossy, you can place a thin sheet of frosted acetate or even a piece of drafting vellum over your working area to diffuse the light. Experiment with angling your body or the light box slightly to minimize reflections. Sometimes, even just shifting your chair a few inches makes a huge difference.
- Eye Strain & Fatigue: Staring at a bright light for hours can absolutely tire your eyes, draining your creative energy. Solution: Take regular breaks! Look away from the light box every 20-30 minutes, focus on something distant (like that plant in the corner or one of my abstract paintings!), and blink frequently to keep your eyes hydrated. Crucially, use the adjustable brightness feature – don't always crank it to max if you don't need to. Proper ergonomic setup (good chair, desk height that allows for relaxed shoulders and wrists) also helps immensely.
- Uneven Lighting: If you notice patches of dimness, it might be an older fluorescent model where a tube is failing, or simply a sign of a very cheap, poorly constructed LED panel. Solution: For fluorescent models, replacing the tube is usually the fix. For LED, unfortunately, it often means a quality issue with the unit itself. This is precisely why investing in a reputable brand with consistently good reviews is crucial from the start. Seriously, a quick search on art forums or communities will reveal which brands artists trust.
- Paper Slippage: Paper sliding around while you're trying to trace is incredibly annoying and a surefire way to mess up a delicate line. Solution: Simple! Use artist's tape, painter's tape, or even low-tack masking tape to gently secure your original and tracing paper to the light box surface. Just be extra gentle when removing it so you don't tear your precious work. A few small pieces in the corners are usually enough to keep everything stable.
Troubleshooting Specific Paper Types:
Different papers react differently to light transmission. Here’s how to handle a few common challenges:
- Thick or Opaque Papers (e.g., Heavy Watercolor, Cardstock): If your light box struggles, first, crank up the brightness! If that's not enough, consider thinning your tracing paper by gently sanding it with very fine-grit sandpaper, or placing a piece of vellum over the original drawing to soften its opacity before laying the thick paper on top. Sometimes, drawing your preliminary sketch with a darker pencil (like a 4B or 6B) helps the lines show through more clearly.
- Very Thin or Fragile Papers (e.g., Tissue Paper, Rice Paper): These can tear easily. Use extremely low-tack tape (or just small weights at the corners) to secure them. Be mindful of the light box's heat, especially with older models, as delicate papers can warp. The adjustable brightness is your friend here – use just enough light to see without overpowering the fragile material.
- Textured Papers (e.g., Cold Press Watercolor, Drawing Paper with Tooth): The texture can create micro-shadows, making lines appear less crisp. Ensure your drawing is pressed firmly against the light box surface. You might need to adjust your drawing pressure or use a slightly harder lead (like a 2H) for initial lines that penetrate the paper's tooth better.
And for those who worry about the "ethics" of tracing: In my view, any tool that helps an artist realize their vision more efficiently and precisely is valid. It's about skill in execution, composition, and personal expression, not about how you transferred your initial sketch. Think of it as a guide, not a crutch.

Keeping Your Light Box in Tip-Top Shape:
A light box is an investment in your creative journey, so a little care goes a long way. Treat it well, and it will serve you faithfully for years.
- Clean Gently: Use a soft, lint-free cloth (like a microfiber cloth) and a mild, non-abrasive cleaner – a diluted solution of mild dish soap and water, or specialized acrylic cleaners work best. Avoid harsh chemicals (like ammonia-based window cleaners) or abrasive sponges, which can permanently scratch and damage the acrylic or glass surface. Gently wipe, don't scrub.
- Protect the Surface: When not in use, always cover your light box to protect it from dust, accidental spills (especially paint water!), and scratches. Many come with a soft sleeve or dust cover. If not, a clean tea towel, a piece of felt, or even a pillowcase works perfectly. Think of it as putting your superhero tool to bed.
- Store Properly: Store it flat or upright in a safe place where it won't be knocked over or have heavy objects placed on it. Avoid extreme temperatures and direct sunlight, as these can affect the electronics and the surface material over time. A dedicated slot in a studio cabinet or a padded art portfolio case is ideal.

My Light Box, My Unsung Hero
So, there you have it: my complete, unvarnished ode to the humble light box. What started as a grudging acceptance (and a slightly bruised arm from battling the sun) has blossomed into genuine admiration. It’s not just a tool; it’s an enabler. It frees me from the frustrations of poor visibility, allows me to iterate and refine my abstract compositions with confidence, and ultimately, helps me spend more time in the joyful state of pure creation. It’s another point in your favor, humble glowing rectangle. If you're an artist who's been "making do" – whether with a window, a lamp, or just sheer force of will – I urge you: give a high-quality light box a try. You might just find your own artistic superpower, a quiet revolution on your desk. And maybe, like me, you’ll wonder how you ever managed without it. If you're ready to stop fighting your tools and start truly creating, consider inviting a light box into your studio. Now, if you'll excuse me, I have a few layers of paint and ink that need some serious illumination, and my light box is patiently waiting.


