From Chaos to Creative Sanctuary: Your Ultimate Guide to an Organized Art Studio
Transform your art studio into an inspiring, functional sanctuary! This ultimate guide offers personal insights on decluttering, smart storage, ergonomic setups, digital organization, and creating an inspiration zone. Boost your creativity, save money, enhance safety, and connect with nature in your workspace.
Chaos, meet clarity. My art studio, much like my brain on a Tuesday morning, used to be a glorious, chaotic mess. Full of good intentions, a spark of brilliance here and there, but mostly a labyrinth where creative energy often got lost. The journey from blissful disarray to functional flow was a gradual one for me, marked by a few 'aha!' moments I hope you'll recognize too. I once genuinely believed the mess was part of the process, a sign of true artistic temperament. And maybe, for a while, it was. But then I started losing my favorite brush in a sea of half-dried paint tubes, or couldn't find that specific shade of blue I knew I had. Worse still, a brilliant idea's momentum would grind to a frustrating halt because I spent twenty minutes hunting for that specific shade of cadmium yellow I knew I had. I remember one frantic morning, searching for a specific shade of ochre, convinced it was gone forever, only to find it under a pile of old canvases. That's when the 'aha!' really hit me: this wasn't creativity; it was self-sabotage. It was a constant drain on my mental reserves, turning joyous creation into a scavenger hunt. I know what you're thinking, 'Where do I even begin?' Trust me, I've been there. So, if you're anything like me, let's talk about how to reclaim your creative space, both physical and digital. This isn't about becoming a meticulous minimalist overnight; it's about finding a system that actually works for you. We'll journey through practical, actionable steps to transform your studio into a sanctuary that truly fuels your artistic journey, removing those frustrating roadblocks to creativity. We'll dive deep into why organization profoundly impacts your creative spirit, tackle the tricky emotional aspects of decluttering, explore smart zoning strategies, prioritize your physical well-being with ergonomics, streamline your supplies with clever storage, organize your increasingly vital digital assets, and even carve out a dedicated space for pure inspiration. Get ready to shift from stress to sanctuary. This is your guide to crafting an artistic haven that not only works for you but also amplifies your passion and potential.

Why Organize? It's About Removing Friction and Fostering Peace
It's not about being 'neat' for neatness' sake, right? I mean, who has time for that when there's art that truly resonates to create? For me, organizing isn't about scrubbing every surface; it's about removing friction. When I'm in the flow, the last thing I want is to hunt for my palette knife or stumble over an old canvas. A well-organized space becomes an extension of your creative mind, not a battleground. It frees up mental energy that would otherwise be spent on frustration and searching, allowing it to pour directly into your art. Beyond just boosting self-esteem, I've found that a well-ordered studio cultivates a true 'flow state'. You know, that magical place where time dissolves, and you're completely absorbed in your art? Clutter is the enemy of flow; it constantly pulls you out of that immersion. When everything has its place, your decisions become intuitive, reducing decision fatigue – that mental exhaustion from constantly choosing where to put things or searching for them. This mental clarity not only reduces anxiety and stress but genuinely empowers you to take bolder creative risks, knowing your environment supports rather than hinders your boldest visions. It’s a liberation of mental bandwidth, pouring it directly into your art and fostering a deeper sense of control over your creative process. Oh, and let's not forget the purely practical side: a clear path means no tripping over canvases, and designated spots for tools reduce the risk of accidental cuts or spills. And for those who sell their art or interact with collectors, a tidy studio also projects professionalism, showing that you value your craft and the space where it comes to life. Your peace of mind, and your body, will thank you.
Beyond the tangible, consider the impact of visual noise. Just as auditory clutter can be distracting, a visually chaotic environment bombards your brain with unnecessary stimuli, constantly pulling your focus away from your canvas or sketchpad. This increased cognitive load, or visual weight, is like having too many open tabs in your mind; it can make it harder to concentrate, leading to decision paralysis and a fragmented creative process. When your studio is thoughtfully arranged, it acts as a quiet backdrop, allowing your mind to truly engage with the art, empowering you to embrace bolder creative risks. This sense of order reduces feelings of overwhelm and gives you a greater sense of control over your creative process, which is invaluable when facing a creative block. So, what kind of mental and physical space are you hoping to create for your art? If you're anything like me, you're ready to clear the path to that clarity, which means we first have to confront the very thing holding us back: the clutter.
Decluttering: The Hard Part (Oh, the Nostalgia and the Psychology!)
Ah, the emotional minefield of decluttering! For artists, it's often more than just letting go of 'stuff'; it's confronting creative hoarding, a term I've affectionately coined for my own tendency to cling to items brimming with potential, even if that potential hasn't materialized in years. Every half-used tube of paint, every scrap of paper, every bent brush has a story, a memory of a project, or the promise of a future one. It's tough! It's like saying goodbye to tiny dreams, isn't it? Beyond just paints and brushes, I've found myself clinging to old sketchbooks filled with unfinished ideas, stacks of 'inspirational' magazines I never opened, or even dried-out markers that 'might be useful someday.' (Honestly, the sheer volume of these 'what-ifs' in my studio once looked like a museum of forgotten aspirations!). This attachment often stems from a fear of losing inspiration, a perfectionist's reluctance to abandon an idea, or simply a deep sentimental attachment to past projects. Sometimes, it's even a fear of scarcity – the idea that if you throw something away, you'll suddenly need it and won't be able to replace it. I've certainly fallen prey to the sunk cost fallacy – that mental trap where you keep investing time, emotion, or space in something because of what you've already put into it, even if it's clearly not serving you anymore. For me, it was a half-finished abstract sculpture from years ago; I had spent so many hours on it, bought specific tools, and wrestled with its form. It became this hulking, dust-covered monument to a forgotten dream, silently judging my current work and taking up prime real estate. Beyond the physical space, there’s a subtle but powerful psychological burden that comes with holding onto things 'just in case.' Each item with 'potential' silently demands your mental energy, a tiny, unresolved task that can contribute to creative burnout.
Psychologically, these objects can feel like extensions of our creative identity, little pieces of 'us' or potential 'us' that we're hesitant to discard. Letting them go can feel like letting go of a part of your artistic self, or even admitting a project wasn't meant to be, which, let's be honest, stings a little. My inner magpie, who I suspect has a PhD in 'potential' and a minor in 'just in case,' has certainly led to quite the collection of what-ifs over the years. This isn't about rigid adherence to methods like Marie Kondo's KonMari, which might feel too prescriptive for an artist's intuitive nature. Instead, it’s about finding your method. I’ve found my sanity in a simple trick: the 'maybe someday' box. This isn't a permanent solution, but a defined holding space. By giving these items a temporary purgatory, you relieve them of their immediate psychological burden on your active workspace. If I haven't touched it in a year, and it's not a core supply, it goes into the box. For me, core supplies are things I use almost daily – my primary paint set, a range of go-to brushes, my sketchbooks. 'Maybe someday' items? That half-empty bottle of weird texture paste I bought on a whim two years ago, or those experimental dried flowers that never quite made it into a piece. If I don't miss it in another six months, it's gone. No guilt, just liberation. You'll be surprised how much creative breathing room this creates, and how much mental energy it frees up. This principle applies to digital assets too – old files, unused brushes, or half-finished digital concepts that sit in your 'Downloads' folder can create their own form of digital creative hoarding.

For those truly sentimental items – that first broken brush, an unfinished project from a dear friend – I’ve learned to create a digital memory archive. A high-quality photograph, perhaps with a little story in a digital journal, lets you keep the memory without the physical clutter. If some items still hold potential but aren't 'core supplies,' you could consider incorporating them into a specific 'legacy project,' giving them a final purpose instead of just sitting in storage. For example, those old broken pastel sticks could be ground down for a unique textural paste in a mixed-media piece, or old fabric scraps could become part of a textile collage. And for usable but truly unwanted supplies, consider donating them to local art schools, community centers, or even setting up a 'free art supply' swap with fellow artists. One artist's forgotten treasure is another's exciting new medium! Oh, and to prevent future accumulation, I try to apply a "one-in, one-out" rule for certain categories, especially if it's a new gadget or a specific type of medium. It forces a moment of intentionality: "Is this new thing really better than something I already have?" What's one item in your studio you've been holding onto 'just in case'?
[credit](Zen Dageraad), licence
Zoning Your Space: Creating Flow and Purpose
Once we've shed the excess baggage of forgotten projects (or at least consigned them to the 'maybe someday' box), it's time to give our remaining treasures a purpose and a place. Even in a small studio (or a corner of a living room, let's be honest), establishing zones can make a huge difference. I like to think of it like different areas of a kitchen: a prep area, a cooking area, a washing area. For me, that means a 'wet' area for painting, a 'dry' area for drawing or planning, and a 'storage' area for supplies. This simple mental division helps keep the paint where it belongs (mostly) and prevents my charcoal from smudging my canvases. (Yes, I once mistakenly rested a charcoal sketch on a fresh layer of acrylic, and the resulting chaos was... memorable). It's not about building walls, but about defining purpose. Beyond just neatness, remember that different mediums have different needs, and safety should always be a priority. For instance, if you're an oil painter, you might need a well-ventilated space for your solvents and a dedicated spot for wet canvases. I once learned the hard way that letting my watercolors dry near a sunny window led to irreversible buckling – a rookie mistake that felt like a catastrophic failure at the time, but was a clear, albeit painful, lesson in environmental control! Consider also the subtle needs: temperature control is crucial for sensitive materials like wax or certain pigments, and protection from direct sunlight or humidity is vital to prevent color shifts or paper degradation. Natural light, when controlled, can be a huge mood booster and essential for accurate color perception, so try to integrate it into your dry or ideation zones if possible. But let's not forget about task lighting – the focused light you need for intricate work – and ambient lighting, which creates the overall mood. Having a balanced mix helps reduce eye strain and ensures you're seeing colors accurately, regardless of the time of day. The purpose of having both is that task lighting illuminates your immediate work area, while ambient lighting reduces harsh contrasts and overall visual fatigue, making your space more comfortable and versatile. Printmakers, for example, might require specific drainage or dedicated cleaning stations for inks, while a mixed-media artist might need an area that transitions easily between 'wet' and 'dry' work. And in our increasingly digital world, a dedicated charging station – away from paint splashes and dust – for your tablet, camera, and phone can keep your digital tools powered up and ready for inspiration. Defining zones also helps protect your delicate materials from cross-contamination or damage, and ensures hazardous materials are stored securely and with proper ventilation. Don't forget the power of negative space – intentionally creating clear, empty areas within and between your zones. Just like in a composition, negative space in your studio provides visual rest and allows your eye to focus on your active work, preventing a feeling of overwhelming clutter.
Now, a quick thought on scale: if your studio is tiny, don't despair! Zoning doesn't necessarily mean distinct physical barriers. It can be as simple as a rolling cart designating your 'wet' zone, or a particular shelf for your 'dry' supplies. The mental clarity of defining purpose for each area, no matter how small, is what truly matters. For more on maximizing limited spaces, you might like art for small apartments: maximizing impact in limited spaces.
Here’s a quick overview of how you might zone your space:
Zone Type | Purpose | Example for Painters | Example for Printmakers | Considerations/Best Practices |
|---|---|---|---|---|
| Wet Area | For messy processes, cleaning | Painting, mixing, brush washing | Ink rolling, plate cleaning | Ventilation, water access, easy-to-clean surfaces, task lighting, protection for environmental impact of materials (spills, fumes) |
| Dry Area | For clean work, planning, delicate materials | Drawing, sketching, design work | Paper handling, finishing | Good ambient lighting, temperature/humidity control, dust protection, minimal light exposure for sensitive pigments |
| Planning & Ideation | Brainstorming, conceptualizing, mood boards | Sketching ideas, journaling | Storyboarding, design layout | Comfortable seating, inspiring visuals, natural light, minimal clutter, good general lighting |
| Storage | Keeping supplies organized and protected | Paint tubes, canvases, brushes | Paper, inks, tools, plates | Clear labeling, secure/safe for hazards, appropriate light levels, temperature/humidity control, dust protection, environmental impact considerations (e.g., light-sensitive pigments in dark, cool places) |
| Inspiration | Visual stimulation, reflection | Mood boards, art books, objects | Found textures, reference images | Easily viewable, uncluttered, encourages contemplation, natural light benefits |
Which zones could bring the most immediate clarity to your own workspace?
[credit](Zen Dageraad), licence
Maintaining the Flow (and embracing creative chaos)
Here's the secret (or perhaps not so secret, but often overlooked truth): your studio will never be perfectly clean all the time. And it shouldn't be! It's a living, breathing workspace. The goal isn't sterile perfection, but a functional space that supports your workflow. We've talked about setting up zones, but the reality of making art means those zones will get a bit… well, lived in. Sometimes, the active creative mess, like the one these artists are in, is precisely where the magic happens – as long as you can still find your way out! The key is distinguishing between 'active chaos' – that glorious, temporary whirlwind of a work-in-progress (think scattered brushes, a wet palette during an intense painting session, charcoal smudges on your hands and a flurry of reference images pinned to a board) – and 'stagnant clutter' – those things that just sit there, gathering dust, draining energy, and serving no immediate purpose, like dried-out paint tubes from a forgotten phase, broken tools you swear you'll fix but never do, canvases you started years ago with no intention of finishing, old bills, non-art-related mail, or broken electronics. My rule of thumb is 'reset at the end of the day.' Not a deep clean, mind you, but putting things back in their general 'homes.' Think of it as a mental checklist: wipe down the palette, rinse the brushes, put away uncapped markers, cover wet canvases, and toss obvious trash. I once thought my scattered notes were 'active chaos' until I realized I hadn't looked at them in three months and they were just dusty paper weights – a classic case of confusing stagnant clutter for creative dynamism! It means starting fresh the next morning without the immediate mental burden of a huge mess, allowing your mind to truly rest, knowing you're set up for success when you return. Oh, and I once tried a system where I color-coded everything by medium, but I spent more time sorting than painting! It was a good lesson that 'perfect' isn't always 'functional' for an artist's brain.

How do you distinguish between productive chaos and hindering clutter in your own work?
Ergonomics: Your Body is Your Most Important Tool
While we've focused on the visual and functional aspects of our space, it's crucial to remember that our bodies are our most vital tools, and an organized studio must also be a healthy one. We've talked about what your mind needs, but let's not forget your body! An organized studio isn't just about efficiency; it's about making sure your creative practice doesn't come at the cost of physical strain. I learned this the hard way after too many hours hunched over a canvas, neck aching. My constant shoulder tension from painting with my easel too low was a classic example of prolonged static posture, leaving my shoulders feeling like petrified wood! I remember one particularly stubborn painting session where I just kept pushing through the discomfort, only to wake up the next day with a crick in my neck that lasted for days. That's when I finally invested in an adjustable easel, a comfortable chair (if you sit), or even a supportive anti-fatigue mat if you stand – they can make a monumental difference. For those who draw or work digitally, maintaining proper posture at a drafting table or an adjustable workstation (perhaps a standing desk setup) is just as crucial to prevent wrist, neck, and back pain. I also used to get intense wrist pain from holding my brush too tightly when doing detailed work; simple stretches and a softer grip became my saving grace. Think about your lighting too: proper, even light reduces eye strain, helping you paint for longer without fatigue. And for those digital creators among us, don't forget to adjust your screen brightness and contrast, and take regular breaks from intense visual focus. Simple yet crucial eye breaks include looking at a distant object for 20 seconds every 20 minutes (the 20-20-20 rule) or gently closing your eyes for a minute. On that note, consider regular eye exams; artists often push their vision to the limit with detailed work, and sometimes blue-light filtering glasses can be a real savior for digital artists spending hours in front of a screen – your eyes will thank you in the long run. And remember to take breaks, stretch, and move. Your body is your most essential tool, after all; treat it like one! Simple wrist circles, shoulder rolls, and gentle neck stretches every hour can make a world of difference, releasing tension before it builds. Simple things like ensuring frequently used tools are within easy reach, or having a dedicated waste bin close by, reduce repetitive strain and keep your workflow smooth. It's about designing a space that lets you create for years to come, comfortably and sustainably. I once realized my waste bin was so far away that I was subconsciously avoiding quick clean-ups – a tiny friction point, but it added up! With our bodies feeling supported, it’s time to equip our spaces with the tangible heroes that will truly facilitate that effortless creative flow: smart storage solutions.
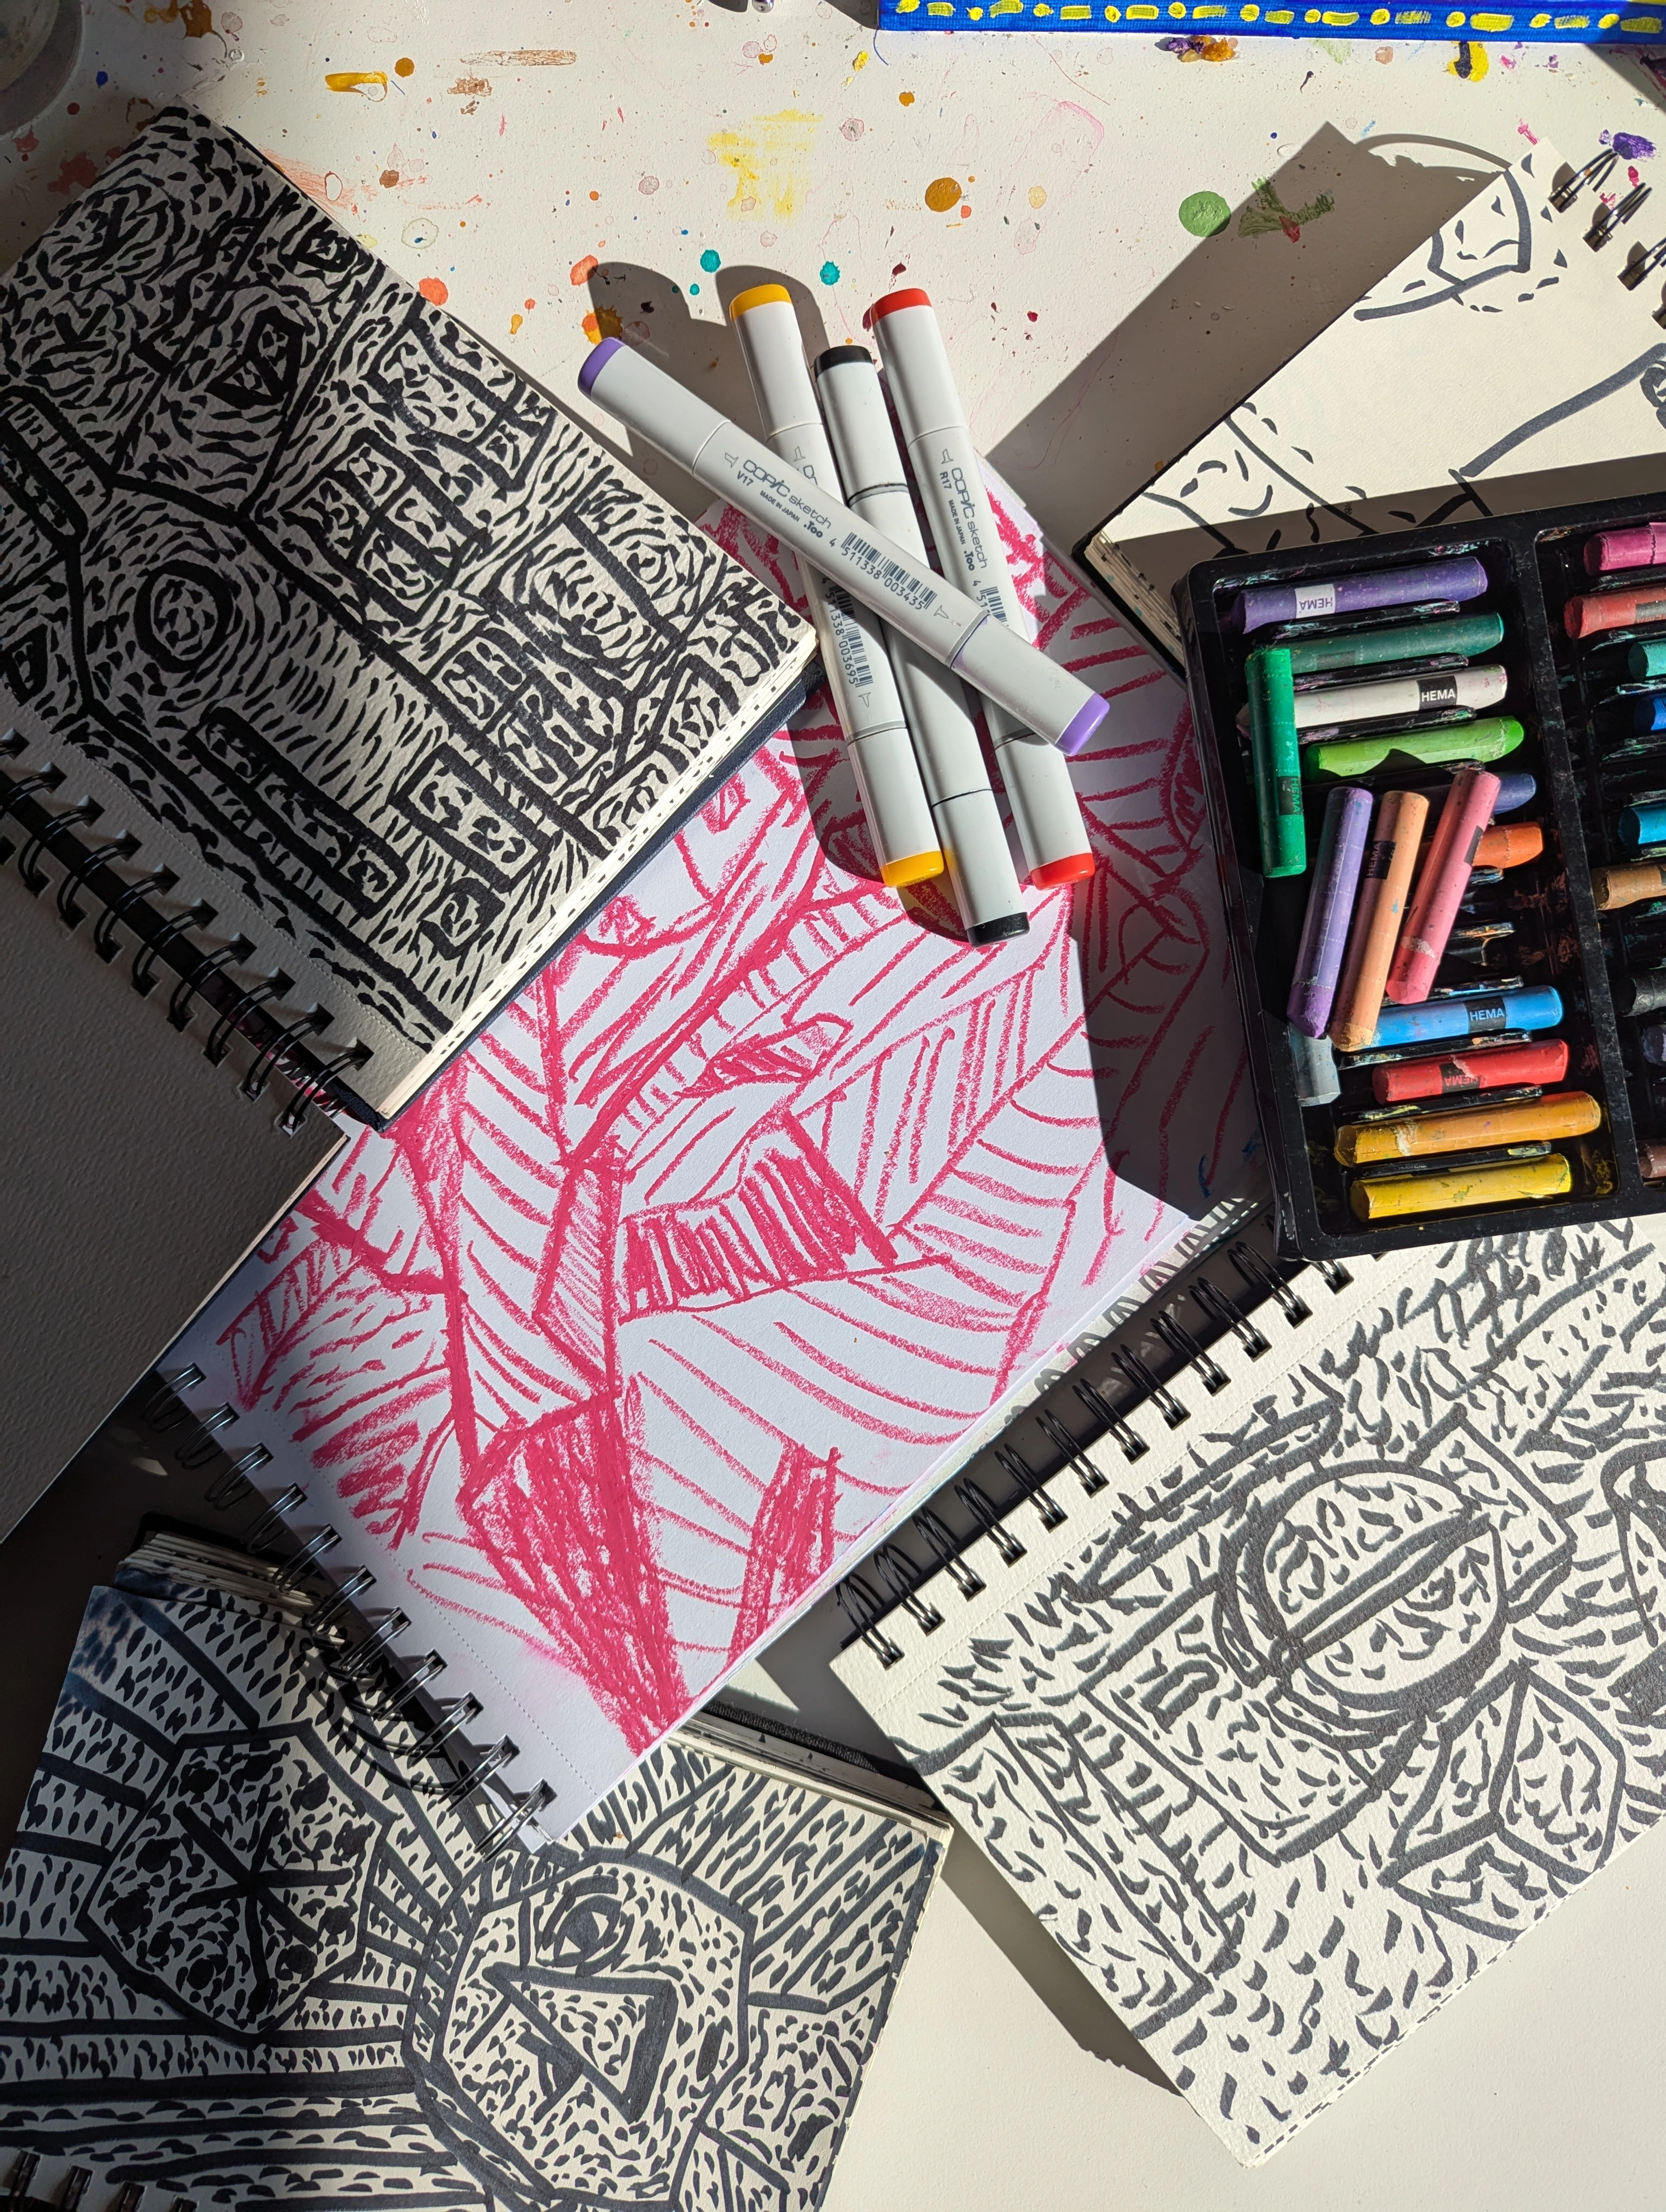
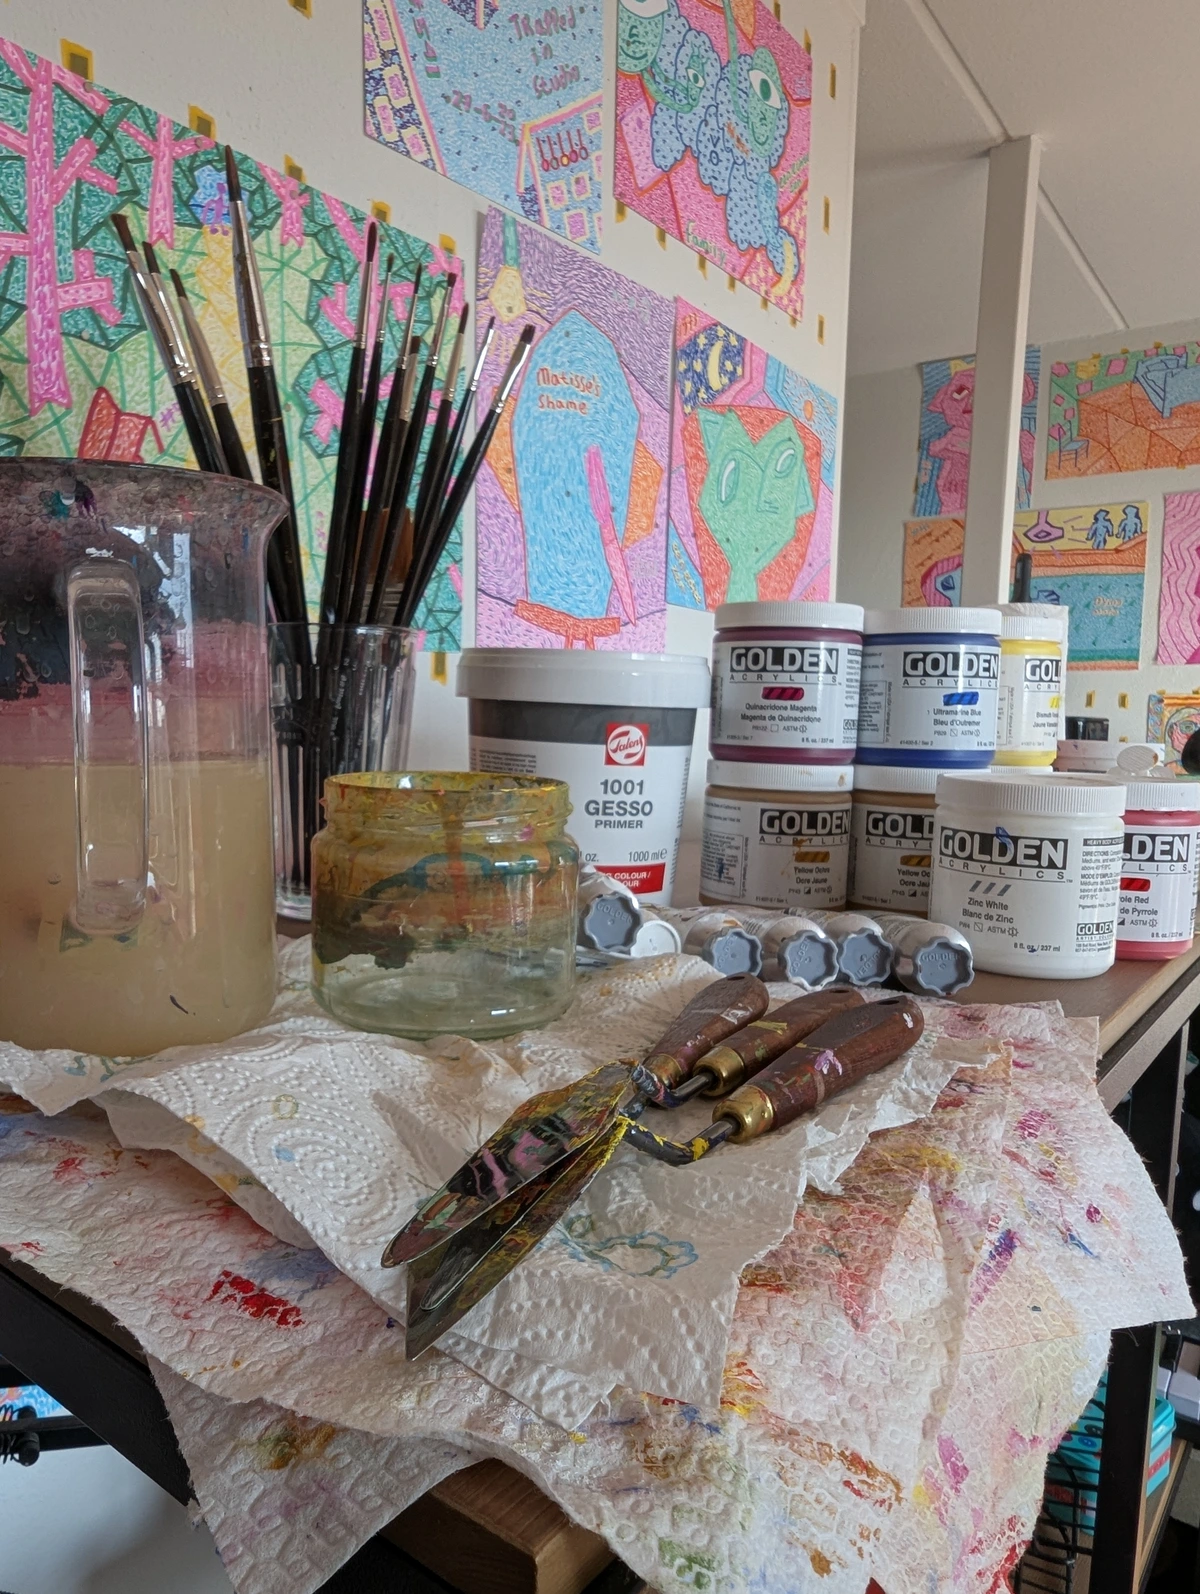
Smart Storage Solutions: My New Best Friends and DIY Discoveries for a Functional Flow
Once you've decluttered and zoned, the real fun begins: finding homes for everything! Trust me, discovering the right storage solutions can feel like striking gold – these aren't just containers, they're my studio heroes, each with a story of how they brought sanity to my creative process. My approach is always with an eye on both organization and safety, considering which items I need most often and which can be tucked away. Here are some of my personal favorites and discoveries:
[credit](Zen Dageraad), licence
Clear, Stackable Bins
For paints and mediums, I swear by these – I can see everything at a glance, which saves so much time and prevents duplicate purchases. And here's a small but mighty tip: labeling. Even with clear bins, a clear label telling you exactly what's inside (e.g., 'Acrylic Mediums,' 'Oil Pastels - Warm Tones') saves precious seconds and prevents that frustrating rummage. For any hazardous or flammable materials like certain solvents, aerosols, or highly toxic pigments (think cadmium reds or cobalt blues), always consult their Safety Data Sheet (SDS) – yes, those sometimes-intimidating documents usually found online or provided by the manufacturer – for precise handling. The SDS is crucial for artists because it details chemical properties, potential health hazards (like skin irritation or inhalation risks from Volatile Organic Compounds (VOCs)), safe handling, storage, and emergency procedures. Generally, you’ll want to store them in fire-safe containers or dedicated, lockable metal cabinets, far away from heat sources and ideally with robust ventilation. And speaking of active ventilation: if you're dealing with fumes, a simple open window might not cut it. An exhaust fan that vents outside is ideal. Even a small, strategically placed fan can make a world of difference, pulling fumes away from your breathing space and out of the room. Always ensure adequate ventilation during use of these materials, and for some tasks, a respirator may be necessary to protect your lungs. Failing that, consider passive ventilation strategies like strategically placed vents or even just a well-sealed container for your materials, opened only when actively in use. It’s not a corner you want to cut, and a clear label like 'FLAMMABLE – VENTILATE' or 'TOXIC – USE WITH CARE' is a small price for peace of mind and safety.
Organize by Frequency of Use
This is a game-changer. Items you grab daily (your go-to brushes, a specific palette) should be within arm's reach. Things you use weekly can be on a shelf nearby. Seasonal or rarely used supplies can be stored further away. It seems obvious, but it radically streamlines your workflow by making your most essential tools immediately accessible.
Material Inventory Management
This is a tip I learned the hard way – nothing derails a creative session like running out of a crucial color or realizing you thought I had more canvas. Keeping a simple inventory, even a mental one, a quick note on your phone, or using a basic spreadsheet/app like Google Keep or Notion, helps prevent duplicate purchases (hello, five tubes of the same cadmium red!) and ensures you're always stocked with essentials. It’s about being proactive, not reactive, with your supplies. This also has a financial benefit: preventing impulse buys of items you already own, saving you money in the long run!
Repurposed Jars and Mugs
For brushes, old mugs or even repurposed glass jars, grouped by type (e.g., acrylics, oils, detail), are fantastic and cost-effective. For more detailed advice, you might find my guide on cleaning and caring for your paint brushes helpful. Remember to store sharp tools like palette knives safely in designated containers, perhaps with their points embedded in cork or secured in a tool roll, to prevent accidents.
Rolling Carts
My trusty rolling cart, for instance, is practically a mobile art supply fortress, ready to roll wherever inspiration strikes or when I need to tuck supplies away. It's a game-changer for small studios or for those who like to work in different spots. I still remember the thrill of finding my first one at a second-hand store – it was an old kitchen utility cart, a bit wobbly, but it instantly freed up so much surface space and made my workflow incredibly fluid. Absolute lifesavers! If you're on a budget, look for kitchen utility carts or even old library carts at second-hand stores – they often work just as well and have tons of character.

Vertical Storage is Your MVP
Think shelves, pegboards, wall-mounted racks – they utilize often-overlooked space. This is especially crucial if your studio is on the smaller side.
Flat Files & Portfolios
For flat items like paper or finished pieces, flat file cabinets or large portfolios are invaluable for protection and organization.
DIY & Repurposed Solutions
And who says storage has to be store-bought? Old shoeboxes can become perfect homes for small tools, and even a repurposed kitchen spice rack can hold small paint tubes. I still remember the absolute satisfaction of turning an old, multi-tiered spice rack into a perfect holder for my smaller watercolor tubes – a genuine 'why didn't I think of this sooner?' moment! That feeling of taking something discarded and giving it a new, perfect purpose for your art supplies? Chef's kiss. Get creative! This also ties into a broader goal: sustainability. By reusing and repurposing, and by thoughtfully donating unwanted but usable supplies, we minimize waste and lessen our environmental footprint – a small but meaningful act of care for our planet, and our fellow artists. For more on specific materials, you might like my guide on my essential abstract painting supplies.
Tool Maintenance
Beyond just organizing, consistent maintenance of your tools is part of an efficient studio. Cleaning your palette knives, checking your easel's stability, regularly cleaning your digital drawing tablet, and even sharpening your pencils are all small acts that keep your tools in top condition and ready for your next masterpiece. It’s an act of respect for your craft and yourself, ensuring your instruments are always prepared to translate your vision. What unexpected item could you repurpose for storage in your studio?
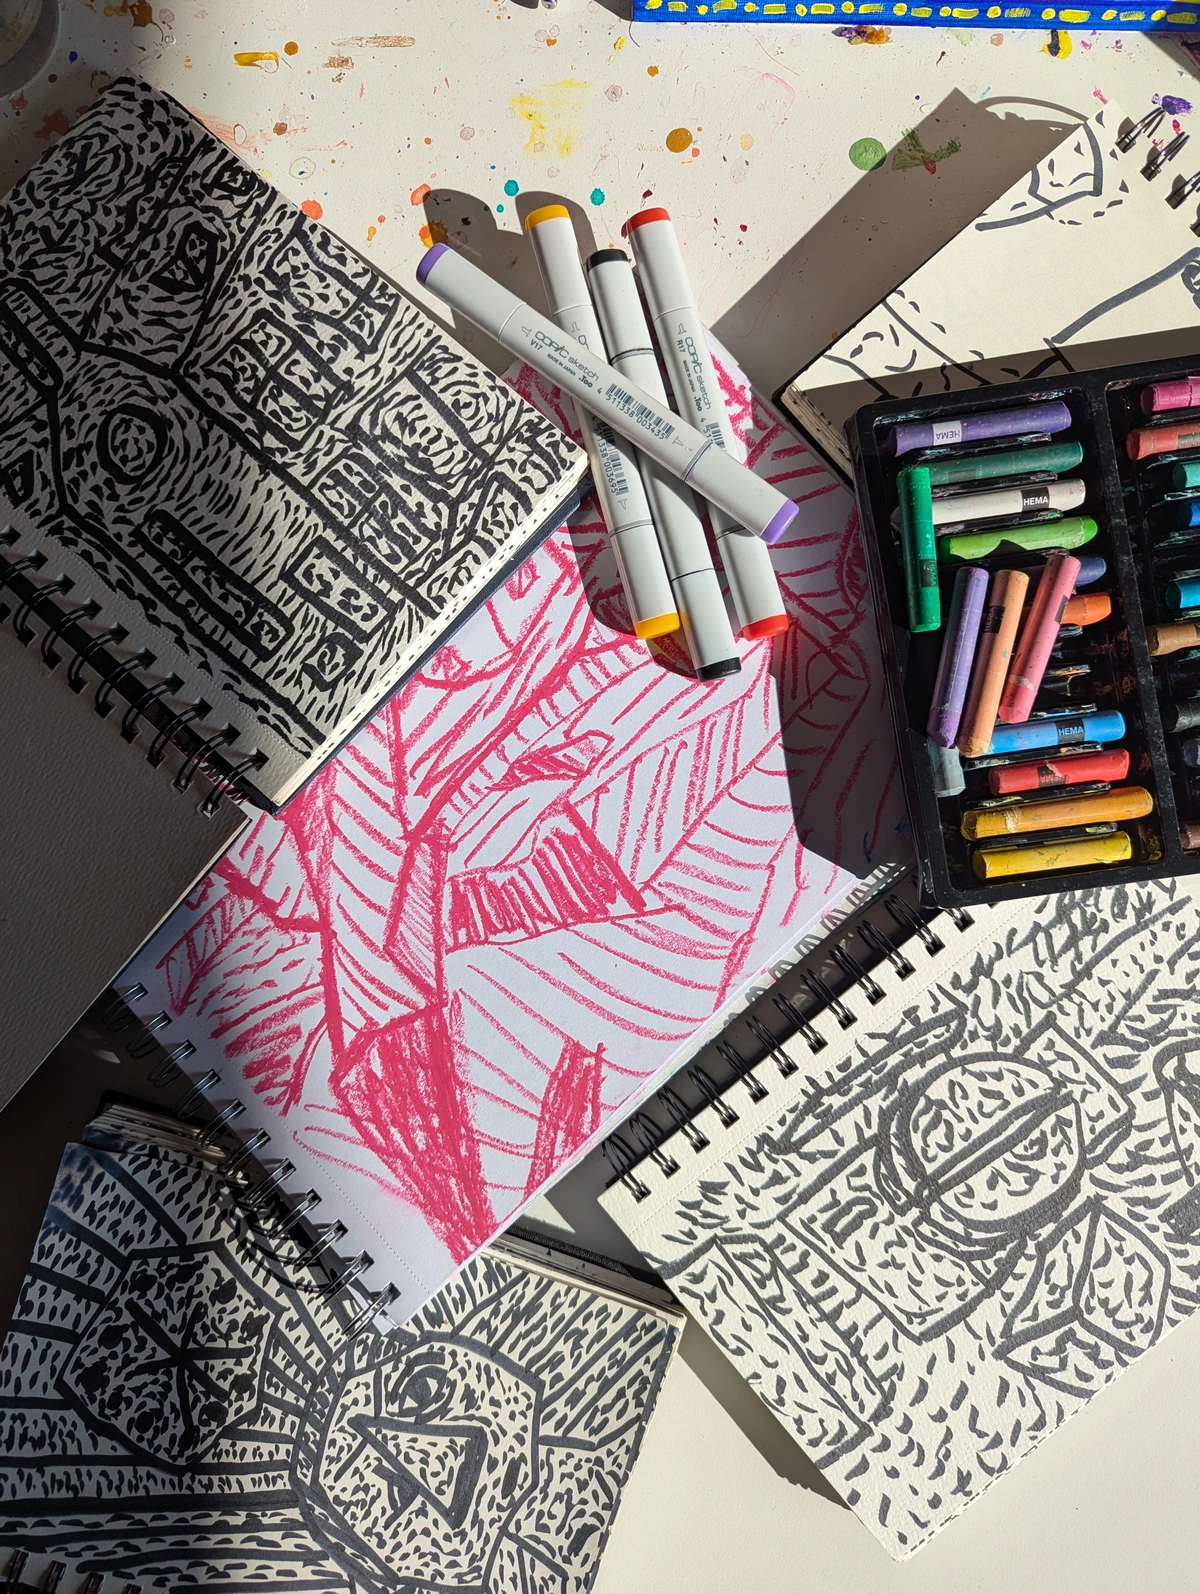
Don't Forget Digital Organization: It's Art Too!
While our physical spaces are transforming, let's not forget the digital realm, which is increasingly becoming an extension of our creative studios and an equally important part of your creative sanctuary. Just as a physical studio needs order, so too does your digital workspace. Even if your hands are usually covered in paint, the digital world is often where inspiration takes root, where you capture reference photos, brainstorm ideas, or even showcase your finished work. I've certainly had my share of 'lost' files, only to find them buried deep in a generic 'Downloads' folder – a digital echo of my physical studio chaos! I once spent an entire afternoon looking for a specific reference photo I knew I'd saved, only to realize I'd called it 'IMG_0483.jpg' and put it in a folder named 'Stuff.' (Seriously, 'Stuff'? What was I thinking?). Lesson learned! Keeping these files as tidy as your physical studio is a game-changer for portfolio building, online sales, quick mock-ups, and even streamlining your social media content creation, ensuring you can find and share your finished works or behind-the-scenes glimpses with ease. Treat your digital files like physical ones: create clear folder structures (think Projects/Year/ProjectName/Assets, Reference_Photos/Category/Date), back things up, and delete duplicates. And crucially, don't rely solely on cloud storage; invest in an external hard drive (like a solid-state drive or traditional HDD) for robust local backups, giving you peace of mind. For complex digital projects, considering a basic version control system (like Git, or even just sequential file naming like ProjectX_v1, ProjectX_v2_edit) can save you headaches and prevent accidental overwrites, acting as a historical record of your creative iterations. This also applies to digital art assets like custom brushes, textures, or presets, which can quickly spiral into their own form of digital clutter if not managed. Platforms like Dropbox, Google Drive, or Microsoft OneDrive, or specialized art asset managers can be lifesavers, allowing you to access your work from anywhere and ensuring backups. Get familiar with consistent naming conventions (e.g., [ProjectName]_[ArtworkTitle]_[Version]_[Date]) – instead of IMG_0483.jpg, try Abstract_Sunrise_Canvas1_v3_20231026.jpg for instant clarity – and leverage metadata and tags to make files truly searchable. Consistent naming not only helps you find files today, but it's a gift to your future self, allowing you to instantly understand the context of a project you might revisit years down the line. Don't forget to also document your creative process – sketches, experiments, and 'behind the scenes' photos and videos are valuable assets for your artistic journey and connecting with your audience. And when it comes to projects you're no longer actively working on but might want to revisit someday? Consider a digital archiving system. This isn't just backup; it's a structured way to store older, completed, or dormant projects separately from your active files, ensuring they're easily retrievable but not cluttering your current workspace. For those with truly vast digital libraries, exploring Digital Asset Management (DAM) software could be a next step, offering advanced cataloging and search capabilities for all your creative files.
[credit](Zen Dageraad), licence
And a quick word on resilience: remember the 3-2-1 backup rule: keep at least 3 copies of your most crucial data, store them on 2 different types of storage (like your computer's hard drive and an external drive), and ensure 1 copy is offsite (think cloud storage or another physical location). The offsite copy is crucial as it protects your data from local disasters like fire, flood, or theft. It's a lifesaver for truly critical projects. How might a tidier digital space free up your mental energy for physical creation?
Carving Out an Inspiration Zone: Your Sensory Haven
Now that we've covered the practicalities of making your studio work efficiently, let's talk about fueling the creative spark itself. Beyond mere utility, I've found immense value in carving out a small 'inspiration zone'. It's not for active work, but for sparking ideas. Mine has a rotating display of interesting textures – perhaps a piece of weathered bark, a smooth river stone, or a discarded circuit board – art books I adore, particularly those featuring vibrant abstract expressionists like Joan Mitchell or Mark Rothko, or contemporary artists pushing the boundaries of color and form like Gerhard Richter or Julie Mehretu. And then there are tiny found objects. It's a visual playground, a space to simply be and let ideas percolate without the pressure of creation. This isn't a workspace; it's a sensory haven. It's where my eyes can wander, my mind can drift, and unexpected connections can form. I often find myself just looking at a unique piece of driftwood I found on a beach, or tracing the nuanced color palette in an art book showcasing my favorite abstract works, allowing ideas to slowly percolate without the immediate pressure of creation. This is where I let my mind truly wander, much like my cat does when she finds a sunbeam – completely unburdened and open to discovery. To actively cultivate this, consider elements of biophilic design – a small plant, natural light, or even subtle sounds of nature (I love the sound of a distant thunderstorm or gentle rain) – to ground you. These elements help reduce stress and enhance creativity by fostering a deeper connection to the natural world. And don't forget the power of music to set a mood or spark an idea! I'm particularly fond of instrumental playlists that let my mind wander without lyrics. Sometimes, even spoken word poetry or inspiring podcasts can unlock new perspectives – sound can be a powerful muse. (A quick personal note: my studio playlist is practically a co-creator sometimes!). Rotate your inspirational objects frequently to keep your visual vocabulary fresh, much like refreshing a gallery display. And for an even richer sensory experience, consider adding subtle elements of scent (like a diffuser with invigorating essential oils such as citrus or peppermint) or varied tactile objects (different fabric swatches, textured papers) to engage more of your senses, making it a truly immersive space for contemplation. This space, for me, is also where I connect with the healing power of color. The quiet observation here often sparks ideas that later find their way onto my canvas, transforming my space and my mood. You might even find inspiration in the healing power of color: how abstract art transforms my space for more on this.

[credit](Zen Dageraad), licence
What visual treasures would you curate for your own inspiration zone? How will these unique elements spark your next breakthrough?
Your Creative Sanctuary: An Act of Self-Care
Ultimately, organizing your art studio is an act of self-care. It's about respecting your creative process and giving it the best possible environment to flourish. When your space feels good, your mind feels good, and that translates directly into the art you make. It's not about conforming to someone else's idea of order; it's about crafting your ideal space, a sanctuary where ideas can flow freely, and your hands can work unimpeded. This journey of organization isn't just about tidying up; it's about liberating your creative potential and giving yourself the peace of mind to truly immerse yourself in your craft. An organized studio can even facilitate collaboration or teaching, making your space more versatile for shared creative endeavors – imagine easily hosting a small workshop or welcoming a fellow artist to share your well-prepared space for a collaborative project! And hey, if this journey inspires you to create some amazing pieces you want to share, perhaps you'll consider exploring my own art for sale when you're ready to add new beauty to your life. Or maybe, when you're passing through 's-Hertogenbosch, you'll visit my museum to see some works in person and get a deeper glimpse into my artistic journey. Your studio is your symphony, and you're the conductor. Start by choosing just one small area today and giving it some love, knowing that this journey of organization is a continuous, rewarding melody that will echo in every piece you create. What's one small step you can take today to bring more flow to your creative sanctuary? Perhaps it's just one shelf, one drawer, one digital folder, or even clearing just one square foot of space. Trust me, that single step will ripple through your entire creative life. Your art, and your peace of mind, deserve nothing less.
Frequently Asked Questions (FAQ):
Q: What's the first step to organizing a completely overwhelming studio? A: Don't try to do it all at once! Start small. Pick one category (e.g., all your paints, or all your brushes) and organize just that. Or tackle one small zone. The satisfaction of a small win will motivate you for the next step. Even just clearing one square foot of space can feel like a monumental achievement and kickstart your momentum.
Q: My studio is tiny. How can I make the most of a small space? A: Vertical storage is your best friend! Think shelves, pegboards, and wall-mounted containers. Also, multi-functional furniture (like a rolling cart that doubles as a side table) and clear, stackable containers help maximize every inch. Defining zones, even mentally, also helps. You might even find inspiration in articles like art for small apartments: maximizing impact in limited spaces for general spatial optimization tips, which can certainly apply to your studio setup.
Q: How often should I declutter my art studio? A: I find a 'mini-declutter' once a month, coupled with a more thorough purge once or twice a year, works best. The 'maybe someday' box strategy really helps with the bigger purges by creating a psychological buffer zone. It's about consistent maintenance, not just occasional big cleans.
Q: Is it okay to have a bit of a mess for creativity? A: Absolutely! The goal isn't a sterile environment, but a functional one. Embrace the active chaos that happens during a session, but try to have a system for 'resetting' so you can start fresh next time. A 'working mess' is different from a 'lost in translation' mess. It's about ensuring your temporary chaos serves a purpose, rather than hindering progress.
Q: What do I do with sentimental art supplies I can't bear to part with? A: Ah, the emotional hoard! I totally get it. For those truly precious, non-functional items, consider a dedicated 'memory box' or 'inspiration jar' where they can be appreciated without cluttering your active workspace. More directly: before you let go of anything, take a high-quality photograph of the item, perhaps documenting its story in a digital journal. This way, you preserve the memory and the inspiration without the physical object. If some items still hold potential but aren't 'core supplies,' you could consider incorporating them into a specific 'legacy project,' giving them a final purpose instead of just sitting in storage. For example, those old broken pastel sticks could be ground down for a unique textural paste in a mixed-media piece, or old fabric scraps could become part of a textile collage. Another idea is to create a 'memory collage' or 'inspiration board' from these items, transforming them into a visual representation of your artistic journey without contributing to active clutter. It’s about honoring the past without letting it impede your present or future creations.
Q: How can I manage the cost of organizing my studio? A: Organization doesn't have to break the bank! Repurpose items you already have – old shoeboxes are fantastic for small tools, glass jars for brushes, or even a repurposed kitchen spice rack for small paint tubes. Look for second-hand furniture or storage solutions at thrift stores, flea markets, or online marketplaces like Facebook Marketplace. DIY options like pegboards or simple floating shelves are often much more affordable than specialized art furniture. The trick is to focus on decluttering first – buying less is the ultimate budget-saver! Remember, the goal is functionality and creative freedom, not fancy new containers; and preventing duplicate purchases through good inventory management also saves money.
Q: How do I store and organize my finished artworks, especially large ones? A: This is crucial, especially as your collection grows! For canvases and panels, consider vertical storage racks with dividers to prevent leaning and surface damage. For works on paper, flat files or archival portfolios are ideal to keep them protected from dust, light, and creases. Always use archival, acid-free materials for interleaving or wrapping. Document each piece digitally, noting its title, dimensions, medium, date, and any exhibition history. This digital catalog helps tremendously with inventory and sharing your portfolio. For very large-scale works, you might need custom shelving or to utilize professional art storage facilities, or even consider professional art handlers and crating services if space is a major constraint or the pieces are particularly valuable. And for those pieces that are truly ready to leave your studio, remember there are always new homes waiting for them – perhaps even through my own art for sale!
Q: How can I organize my studio for specific artistic disciplines like sculpture, ceramics, or printmaking? A: While the core principles of zoning, decluttering, and smart storage apply, each discipline has unique needs. For sculptors, consider heavy-duty shelving for materials, dedicated carving/shaping zones with appropriate ventilation for dust, and secure storage for tools. Ceramicists need dedicated areas for clay work, glazing, and firing (if you have a kiln), with excellent ventilation and easy-to-clean surfaces. Printmakers require specific drainage, dedicated cleaning stations for inks, ample flat storage for paper and prints, and perhaps dedicated drying racks. Always prioritize safety for specialized equipment and materials. The key is to analyze your workflow for that specific discipline and tailor your zones and storage accordingly, always with an eye on ventilation and material safety.
Q: How can I manage the smell of certain art supplies like solvents or oil paints? A: Good ventilation is key! Ensure your studio has proper airflow, perhaps with a window fan or an air purifier. Consider a dedicated exhaust fan that vents outside for consistent removal of fumes. Storing solvents in tightly sealed containers and only using them in designated, well-ventilated 'wet' zones (and sometimes with a respirator) can significantly reduce fumes. For oil paints, using low-odor or solvent-free mediums can also help. High-quality air purifiers with activated carbon filters (specifically designed for VOCs – Volatile Organic Compounds) can also make a significant difference. Always be mindful of open containers and proper disposal to prevent lingering odors.
Q: How do I dispose of hazardous art materials safely and responsibly? A: This is such a critical question, and often overlooked! Always check the product's Safety Data Sheet (SDS) for specific disposal instructions. Generally, hazardous materials like oil paint solvents (e.g., turpentine, mineral spirits, odorless mineral spirits), certain heavy-metal-pigmented paints (cadmium, cobalt, lead), aerosols (spray paints, fixatives), paint thinners, and even rags soaked in oil-based materials should never go down the drain or in regular trash. Look for local hazardous waste collection programs, art supply recycling initiatives, or specialized waste disposal services in your area. Many municipal waste facilities have designated drop-off days for household hazardous waste that specifically include art chemicals. Search online for "household hazardous waste disposal [your city/county name]" or "art supply chemical disposal [your city/county name]" to find local resources. Proper disposal protects both your health and the environment, so please don't skip this step!


