Starting Oil Painting: Essential Materials & Beginner's Guide
Ready to start oil painting but overwhelmed by supplies? This expanded personal guide reveals the essential materials you *actually* need, from paints and brushes to solvents and surfaces, plus crucial safety tips, workspace setup ideas, common beginner mistakes, and what *not* to buy right away. Get started without breaking the bank or your spirit.
Starting Oil Painting: A Personal Guide to the Materials You Actually Need
Oh, the glorious, sometimes intimidating, world of oil painting! I remember standing in the art supply store for the first time, staring at walls of tubes, brushes, and bottles, feeling utterly lost. It felt like stepping into a secret society where everyone else knew the handshake, and I didn't even know what a medium was. If you're feeling that flutter of excitement mixed with a healthy dose of overwhelm, trust me, you're not alone. The good news? You don't need everything on those intimidating walls to start. You just need the essentials.
I recall my very first tube of oil paint – a small, slightly intimidating tube of Cadmium Yellow. Squeezing it out felt like a momentous occasion, even if the resulting blob on my palette was less than artistic. The smell, distinct and rich, immediately felt like... possibility. It's that feeling, that connection to centuries of artists, that drew me in. If you're feeling that mix of anticipation and 'where do I even begin?', let's cut through the noise together and talk about the materials you actually need to dip your brush into this wonderful world.
Why oil painting, you might ask? Well, there's a richness, a blendability, and a depth of color in oils that's truly unique. It's a medium that has stood the test of time, used by masters for centuries – think of the luminous glazes of the Flemish masters like Van Eyck, or the thick, expressive impasto of Van Gogh. The ability to blend colors seamlessly on the canvas (wet-on-wet) or build up translucent layers (glazing) is something special that oils excel at. There's a certain magic in connecting with that history as you mix your first colors. For me, it's also the buttery texture of the paint itself, the way it moves under the brush or knife, and the meditative quality of its slow drying time. It forces you to slow down, to be patient, and to build layers deliberately. It's a marathon, not a sprint, and that's part of its charm.
The Paints: Your First Splash of Color
Okay, first things first: the paint itself. The sheer number of colors can make your head spin. Do you need cadmium red, alizarin crimson, and vermilion? Probably not right away. Choosing your first colors is exciting, but let's simplify it. For a beginner, a limited palette is your best friend. It forces you to learn about color mixing, which is a fundamental skill. Plus, it saves you a ton of money initially. Think of it as learning the alphabet before writing a novel – mastering a few key colors unlocks the potential for countless others.
I started with a basic set, and honestly, it was more than enough. Think about getting a selection that covers the warm and cool sides of your primary colors, plus a few versatile additions. This allows you to mix a surprisingly wide range of hues. Having both warm and cool yellows, for instance, is key – a warm yellow mixed with a warm red gives you vibrant oranges, while a cool yellow with a cool red creates more muted, earthy tones. Similarly, warm blue plus cool yellow makes bright greens, while cool blue and warm yellow lean towards olive or earthy greens.
Here's a solid starting point, often recommended for its versatility and ability to teach you about color relationships:
- Titanium White: You'll use a lot of white for lightening and mixing. Get a big tube. It's opaque and strong – essential for creating tints and highlights.
- Cadmium Yellow (Warm Yellow): A good, bright, warm yellow. Great for vibrant oranges and warm greens. (Note: Pigments like Cadmiums are naturally warmer or cooler depending on their specific chemical composition, e.g., Cadmium Yellow Light is cooler than Cadmium Yellow Deep).
- Lemon Yellow (Cool Yellow): A cooler, slightly greener yellow. Having both warm and cool yellows is great for mixing different greens and oranges, especially cleaner greens.
- Cadmium Red (Warm Red): A warm, vibrant red. Perfect for fiery oranges.
- Alizarin Crimson (Cool Red): A cooler, slightly purplish red. Again, a warm and cool red expands your mixing possibilities for purples and oranges, leaning towards richer, deeper tones.
- Ultramarine Blue (Warm Blue): A classic, versatile warm blue. Mixes lovely purples and deep greens.
- Cerulean Blue (Cool Blue): A cooler, slightly greenish blue. Warm and cool blues are essential for mixing various greens and purples, giving you control over temperature.
- Burnt Sienna: A lovely earthy brown, great for mixing natural tones, darkening colors subtly, and creating interesting grays and muted colors. It's surprisingly versatile.
- Ivory Black: For darkening colors (use sparingly, mixing darks with blues and browns is often better!). Black can sometimes make colors look 'muddy' if not used carefully, but it's useful for creating deep shadows or specific dark mixes.
That's about nine tubes. You can mix a surprising range of colors with these. Don't feel pressured to buy the most expensive 'artist grade' paints right away. 'Student grade' is perfectly fine for learning. Think of it like juice concentrate versus diluted juice – artist grade has more pigment (the 'concentrate'), but student grade still gives you plenty of flavor (color) to learn with, at a much lower cost. Student grade paints typically range from $5-$15 per tube, while artist grade can be $15-$50+ depending on the pigment (some pigments, like Cadmiums, are inherently more expensive regardless of grade). My first tubes felt like magic, even if they weren't the fancy ones. The simple act of squeezing that first bit of color onto the palette is a small thrill.
As you explore, you'll notice paints have different properties. Some, like Titanium White, are very opaque, meaning they cover up what's underneath. Others, like Alizarin Crimson, are more transparent, allowing layers beneath to show through, which is great for glazing techniques later on. You might also see lightfastness ratings on tubes – this tells you how resistant the pigment is to fading over time. For practice pieces, it's not a major concern, but for work you want to last, look for ratings like ASTM I or II. Think of lightfastness like sunblock for your painting – you want it to stand up to light over the years.
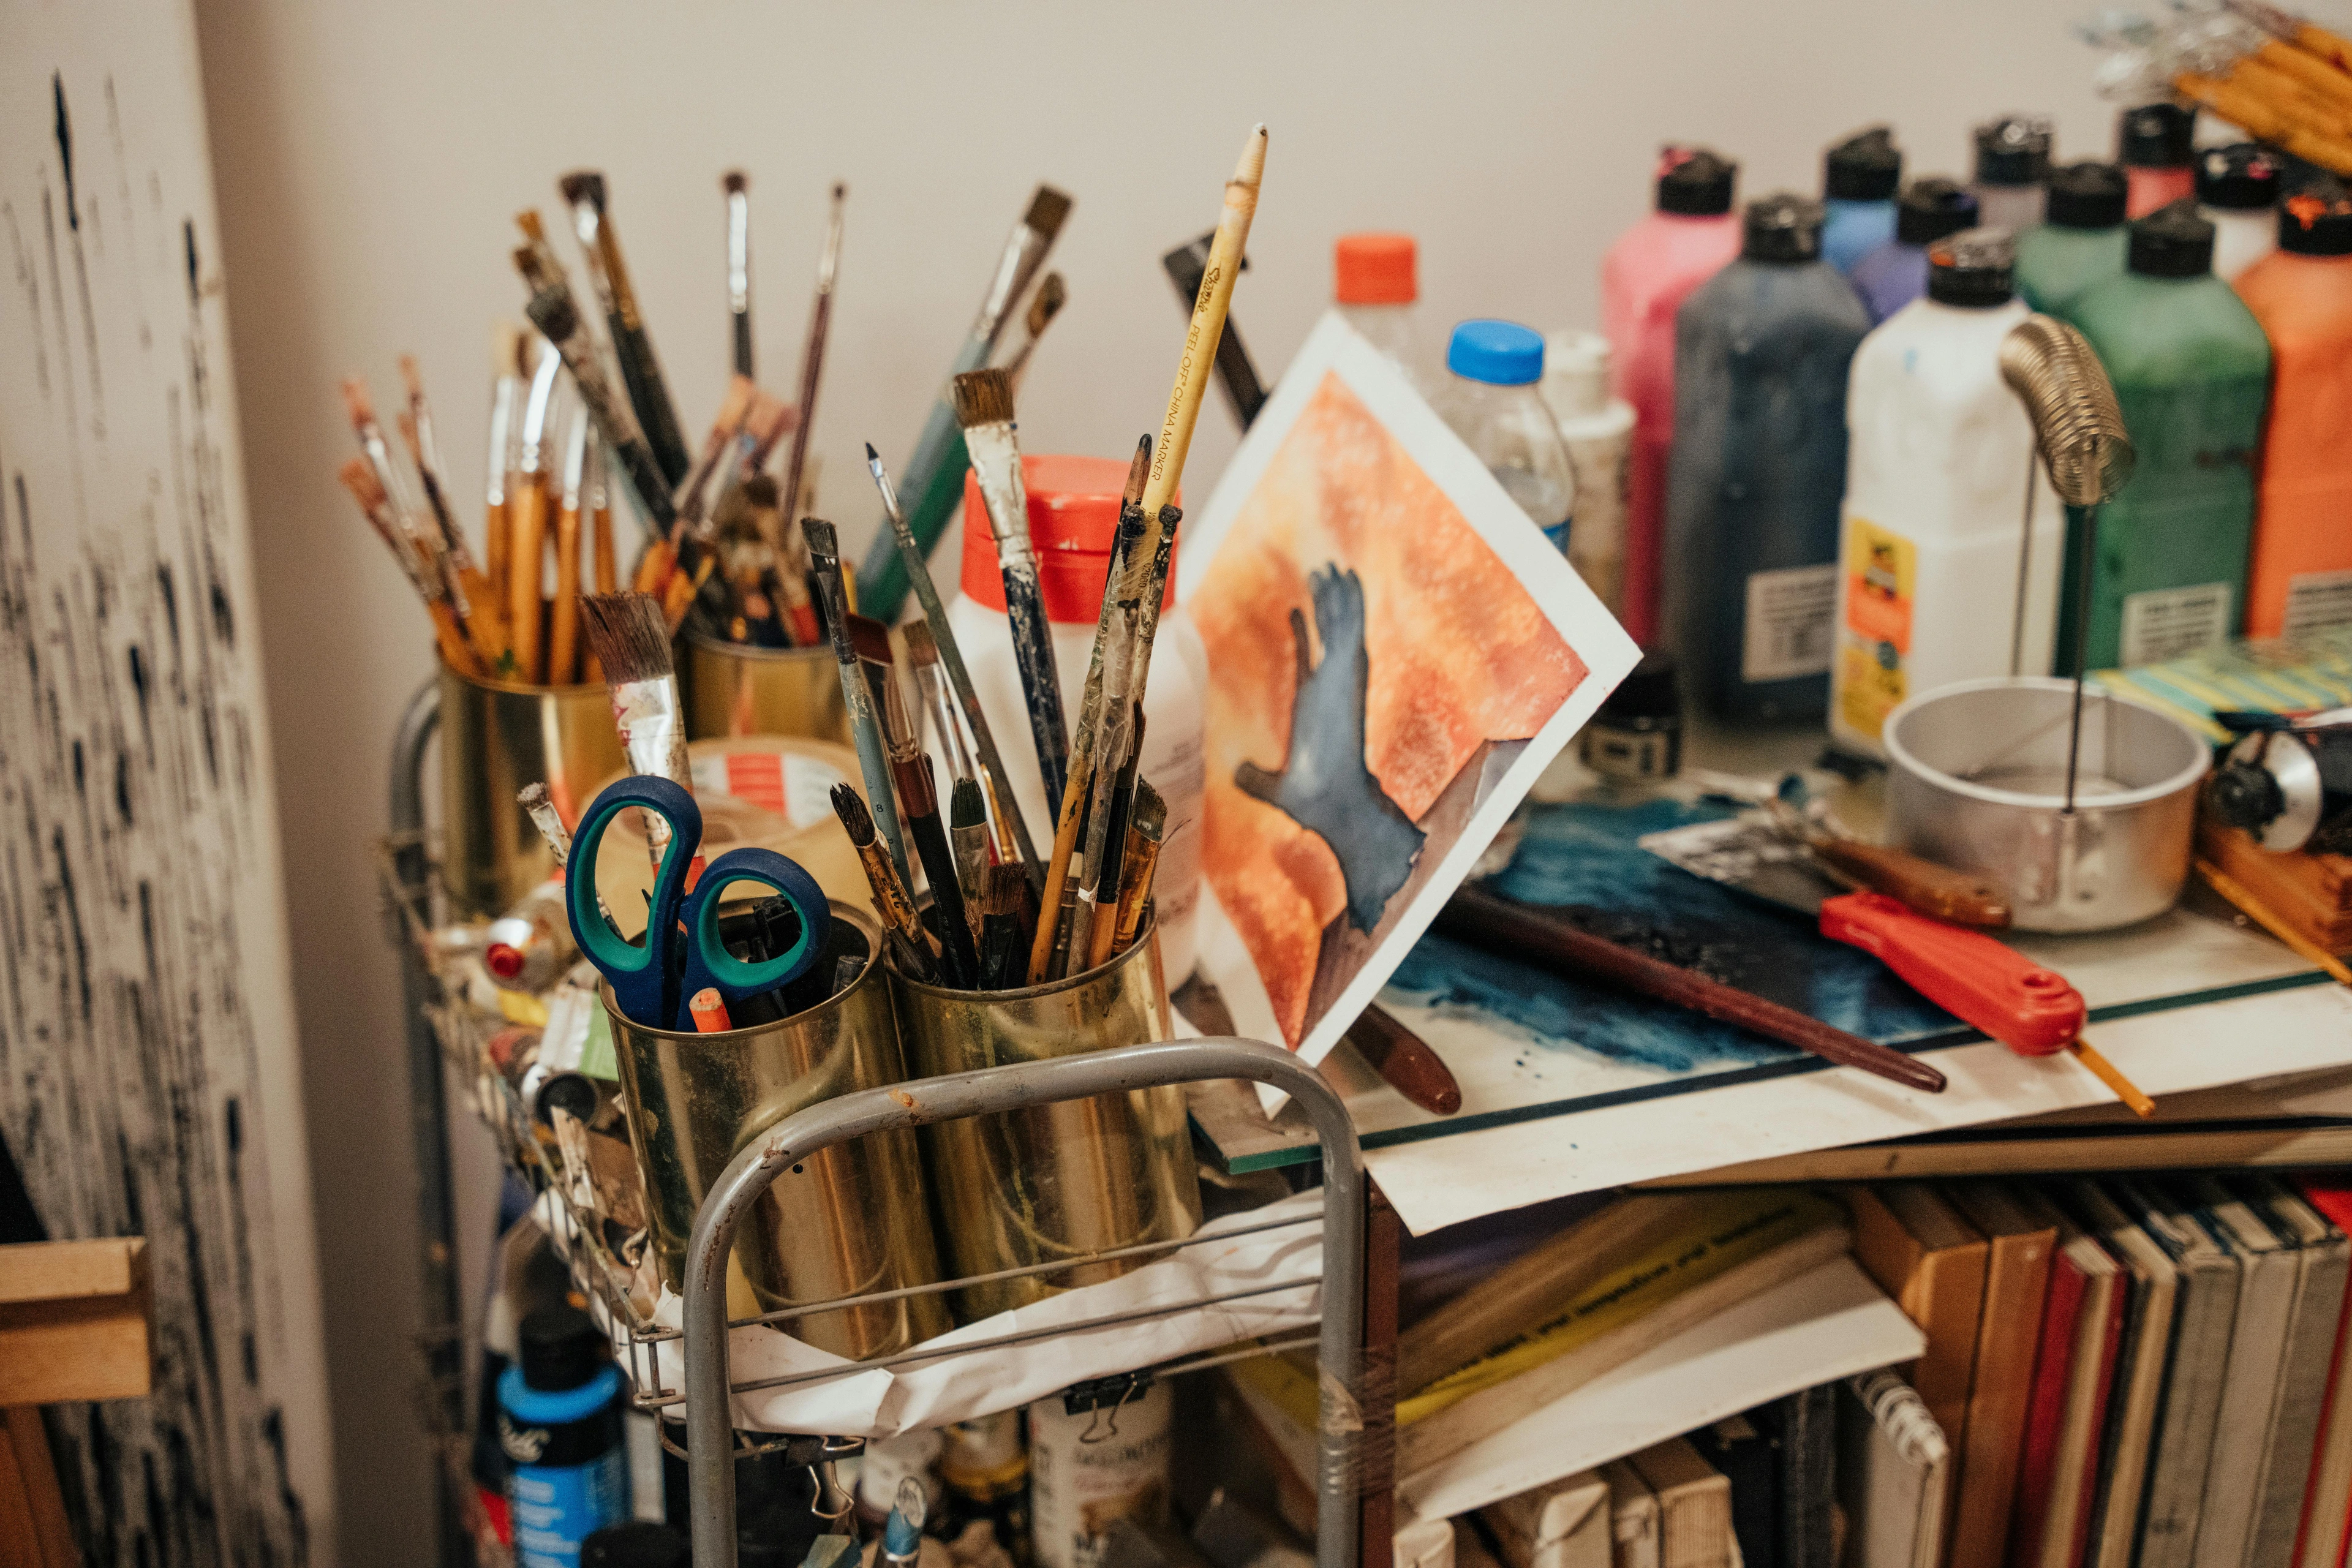
Brushes: Finding Your Hand's Partner
Brushes come in countless shapes, sizes, and hair types. Standing in the aisle, it's easy to feel like you need one of everything! But you don't. Natural bristles (hog hair) are traditional for oils because they are stiff and hold paint well, leaving lovely brushstrokes and textures. Synthetics are also available and can be a good, often cheaper, alternative, sometimes offering smoother application and leaving fewer brush marks. They are also easier to clean and more durable with solvents.
For starting out, you don't need a whole arsenal. Focus on a few key shapes and sizes. I remember buying a huge variety pack once, thinking I needed them all, and mostly just using the same three brushes anyway. Keep it simple and versatile:
- Flats: Good for broad strokes, blocking in color, and creating sharp edges. Maybe one medium (size 8-12, about the width of your thumb) and one small (size 4-6, good for smaller areas or edges).
- Rounds: Great for details, lines, and controlled strokes. A small one (size 2-4) is useful for fine lines and details.
- Filberts: A versatile shape, a mix between a flat and a round, with a soft, rounded edge. A medium one (size 6-10) is a good addition for blending and varied strokes.
So, maybe 3-5 brushes total. Look for brushes specifically labeled for oil or acrylic (they can often be used interchangeably when starting). The feel of the brush loaded with paint gliding across the canvas is a tactile pleasure unique to painting. Finding the brush that feels like an extension of your hand for a particular stroke is a small but significant moment of connection with the process. I once had a cheap flat brush that just worked for blocking in skies – it wasn't fancy, but it felt like magic in my hand.
Pro-Tip: Keep a rag or paper towel handy while painting to wipe excess paint off your brush before dipping into a new color or cleaning with solvent. This keeps your colors cleaner and your solvent lasting longer. After cleaning, gently reshape the bristles with your fingers before storing them upright to help them maintain their form. And never leave your brushes sitting in solvent for long periods – it can damage the bristles and the handle!
Surfaces: Where the Journey Begins
Where will you put the paint? You need a surface! Canvas is the most common, but you can also paint on wood panels or even sturdy paper designed for oils. Oil painting paper is a great, cost-effective option for studies and practice, often pre-primed and easy to store.
All these surfaces need to be primed, usually with gesso, to prevent the oil from soaking into the material and degrading it over time. Gesso creates a barrier and provides a surface with 'tooth' (texture) for the paint to adhere to. Think of 'tooth' like a subtle texture, like the weave of fabric or the texture of fine sandpaper – it gives the paint something to grip. Most canvases and panels you buy will already be pre-primed, which is perfect for beginners. If you use wood panels, it's a good idea to prime both sides, even if one is already done, to help prevent warping over time. Don't worry about stretching your own canvas yet – that's a skill for later!
- Stretched Canvas: Ready to hang (eventually!). Comes in various sizes and depths. Thicker 'gallery wrap' canvases don't need framing, while thinner ones might. Start with a few smaller ones (e.g., 8x10 or 11x14 inches) to practice without feeling like you're committing to a masterpiece right away. There's less pressure on a smaller surface.
- Canvas Panels: Cheaper and thinner than stretched canvas, great for studies and practice. They are rigid and easy to store. I used tons of these when I was starting out, they felt less precious and were perfect for quick color studies or small experiments.
- Wood Panels: Can be smooth or textured. Need to be properly primed if not bought pre-primed. They offer a firm surface that doesn't flex like canvas, which some artists prefer.
- Oil Painting Paper: Specially treated paper that won't absorb the oil. Comes in pads, great for quick studies and experiments. It's the most budget-friendly option for high-volume practice.
Canvas surfaces also come in different textures, sometimes called 'tooth'. A fine texture is smoother, while a coarse texture is rougher. The texture affects how the paint sits on the surface and the look of your brushstrokes. A medium texture is often a good starting point – versatile enough for most techniques.
Once you've finished painting, oil paint takes a surprisingly long time to dry. It can be touch-dry in a few days or weeks, but fully cured (ready for varnishing) can take months, even up to a year for thick applications! When your painting is wet, you can simply prop it against a wall or use push pins on the back corners of a stretched canvas to lift it off a surface. For panels or paper, placing them on small blocks or cups works well to keep the wet surface from touching anything. Patience, remember? It applies to drying too!
Mediums and Solvents: The 'What is a Medium?' Question Answered
So, you've got your paint, brushes, and surface. Now, how do you make the paint behave exactly how you want? That's where mediums and solvents come in. And you'll need a place to mix them with your paint, which brings us to the palette.
Ah, the mysterious 'medium.' When I first heard the term, I pictured something mystical. Really, a medium is just something you add to your oil paint to change its properties – how it flows, how quickly it dries, its sheen, its transparency, etc.
And solvents? They are primarily used for thinning paint (sparingly!) and, crucially, for cleaning your brushes. They're the unsung heroes of the cleanup process, which, let's be honest, is half the battle with oils.
For starting out, you need just one or two:
Solvents (for thinning & cleaning)
- Odorless Mineral Spirits (OMS): This is your main solvent. It's used for thinning paint and for cleaning brushes. 'Odorless' is key for working indoors, as traditional turpentine has very strong fumes. OMS is essentially a refined, less aromatic version of turpentine, making it much more pleasant and safer for indoor use, though still requiring ventilation. You might see brands like Gamsol, Turpenoid, or Mona Lisa Odorless Mineral Spirits – these are all types of OMS. Good ventilation is absolutely crucial when using any solvent or oil paint. Open windows, use a fan (a box fan placed in a window pulling air out is very effective), or ideally, work in a well-ventilated space. If working indoors frequently, consider a dedicated air purifier for VOCs (Volatile Organic Compounds). VOCs are chemicals that evaporate into the air and aren't just smelly; they can cause headaches, dizziness, and long-term health issues with prolonged exposure. I learned this the hard way when my small apartment studio started smelling like a turpentine factory! Proper ventilation protects your health.
Mediums (for altering paint properties)
- Linseed Oil (or other drying oil like Walnut or Safflower): This is a common medium. Adding a small amount makes the paint flow more smoothly and increases its gloss and transparency. If you plan on layering paint, remember the 'fat over lean' rule: layers with more oil ('fat') should go over layers with less oil ('lean') to prevent cracking as the paint dries. This is because layers with more oil dry slower and remain more flexible. If a faster-drying, less flexible layer is on top of a slower-drying, more flexible layer, the top layer will crack as the bottom layer continues to shrink slightly during its longer drying process. Think of it like painting a wall – you put the flexible primer layer down first, then the less flexible topcoat. Or like building a layered cake – the firm cake base goes down first, then the softer, more flexible frosting. The principle is that the layer underneath should always be more flexible than the layer on top.
You don't need fancy alkyd mediums like Liquin or varnishes yet. Just OMS for cleaning and maybe a small bottle of linseed oil to experiment with paint consistency. The interaction between paint and medium is where some of the real magic of oils happens. Also, be aware that oil paint itself has a distinct smell, even without solvents, which some people find pleasant and others don't. Good ventilation helps manage this too. For those very sensitive to OMS, some artists use oil-based brush cleaners or even just plain walnut or safflower oil for cleaning, followed by soap and water, though these can be slower.
The Palette: Your Mixing Ground
You need a surface to put your paint on and mix colors. Options range from simple to fancy:
- Disposable Paper Palettes: These are pads of specially coated paper. You tear off a sheet and throw it away when you're done. Super convenient for cleanup. This is what I recommend starting with – less time cleaning means more time painting! My first palette was an old ceramic plate, which worked, but cleaning it was a pain!
- Glass or Plexiglass: Easy to clean (you can scrape dried paint off). Place a piece of white or gray paper underneath to see your colors accurately. A palette knife is invaluable for scraping dried paint off these smooth surfaces.
- Wood Palette: Traditional, but requires seasoning and regular cleaning to prevent the oil from soaking in.
I recommend starting with disposable paper palettes. Cleanup is the biggest hurdle for many beginners, and these make it a breeze. You'll also want a palette knife – not necessarily for painting with (though you can!), but for mixing colors cleanly on your palette and for scraping. It's much more effective than using a brush for mixing large amounts of paint.
Setting Up Your Workspace
You don't need a dedicated studio to start, but a designated space, even a corner of a room, is helpful. The most important thing is ventilation. Beyond that, consider:
- Easel or Support: A simple tabletop easel, a standing easel, or even just propping your canvas/panel up on a table against a wall can work. For working flat, an inclined drawing board can be useful. Don't feel you need a fancy studio easel right away; my first setup involved stacking old books!
- Lighting: Natural light is best, ideally from a north-facing window (in the Northern Hemisphere) as it's consistent. If using artificial light, aim for 'daylight' bulbs (around 5000K) to see colors accurately. Good lighting is crucial for judging color and value.
- Surface Protection: Cover your workspace with newspaper, cardboard, or a drop cloth to protect it from spills and splatters. Wearing an apron or old clothes is also a good idea – not just for splatters, but to prevent paint/solvent transfer to furniture or other surfaces. Trust me, oil paint stains are stubborn! I have a favorite old shirt that's covered in years of paint marks; it tells a story.
Cleanup Crew: Rags, Paper Towels, and Soap
Oil painting is messy (in a good way!). You'll need something to wipe brushes, clean spills, and generally keep things tidy. And yes, cleanup is a significant part of the process – sometimes it feels like more time is spent cleaning than painting, but it's essential for keeping your tools in good shape and your workspace safe. Framing cleanup as a necessary ritual, a way to care for your tools and prepare for the next session, can make it feel less like a chore. I used to dread cleanup, but now I see it as a quiet, almost meditative part of the process.
- Lint-Free Rags: Old cotton t-shirts or sheets work great. Avoid synthetic fabrics or anything that sheds lint (lint can get stuck in your paint!). You'll use these constantly. Cut them into manageable sizes.
- Paper Towels: Absorbent and disposable. Good for wiping excess paint off brushes before cleaning with solvent.
- Artist's Soap or Mild Soap: After using solvent to get most of the paint off your brushes, washing them with soap and water is crucial to remove residual pigment and solvent, keeping your brushes in good condition. Make sure to clean your brushes immediately after painting, before the oil paint has a chance to dry and harden – dried oil paint is notoriously difficult, if not impossible, to remove completely from bristles. Some artist soaps also contain conditioners to help keep natural bristles supple.
Here's a basic brush cleaning process:
- Wipe off as much excess paint as possible with a rag or paper towel.
- Swirl the brush in a jar of OMS to dissolve remaining paint. You can have two jars: one for the initial rinse (the 'dirty' jar) and one for a second rinse (the 'cleaner' jar).
- Wipe the brush again on a rag.
- Wash the brush thoroughly with artist's soap or mild soap (like dish soap) and warm water in a sink. Lather up the bristles and rinse until no color comes out. Repeat if necessary until the water runs clear.
- Gently reshape the brush head with your fingers.
- Store brushes upright in a jar or brush holder, bristles up, to dry.
Keep plenty on hand. Seriously, you'll go through more than you think. And wear old clothes or an apron – paint splatters are inevitable, a badge of honor for the oil painter!
Other Useful Accessories
While not strictly essential to start, a few other items can make your life easier:
- Palette Cups: Small metal cups that clip onto your palette to hold solvent or medium. Keeps them handy and reduces the risk of knocking over jars.
- Gloves: Disposable nitrile or latex gloves can protect your hands from paint and solvents, especially if you have sensitive skin or use pigments like Cadmiums or Cobalts. Avoid eating or drinking while painting.
- Apron: As mentioned, saves your clothes! A dedicated art apron is a good investment.
Safety First!
Working with oil paints and solvents requires some basic safety precautions. Beyond ventilation and rag disposal, here are a few more points:
- Ventilation is Key: I can't stress this enough. Work near an open window, use a fan (like a box fan pulling air out), or work outdoors if possible. If working indoors frequently, consider a dedicated air purifier for VOCs (Volatile Organic Compounds). Cross-ventilation (opening windows on opposite sides of the room) is also highly effective. Remember, VOCs are chemicals that evaporate from paints and solvents and can cause headaches, dizziness, and other health issues with prolonged exposure.
- Avoid Skin Contact: Some pigments (like Cadmiums, Cobalts, or those containing lead, though lead is less common now) and solvents can be irritating or toxic. Wear gloves if you're sensitive or messy. Avoid eating or drinking while painting. Wash your hands thoroughly after painting, even if you wore gloves.
- Read Labels: Familiarize yourself with the specific warnings on your paint tubes and solvent bottles. Different pigments have different toxicity levels.
- Solvent-Soaked Rags: Crucial fire hazard. They can spontaneously combust as the oil oxidizes and generates heat. Always store them in a sealed metal container specifically designed for this purpose, or lay them flat outdoors to dry completely before disposal. Never leave them crumpled up indoors.
- Paint Waste Disposal: Don't pour solvent or paint sludge down the drain. Let solvent sludge settle in a jar, pour off the clear solvent to reuse, and let the remaining sludge dry out completely in a safe, well-ventilated area (like outdoors) before disposing of the solid waste according to local regulations. Dried paint scraps can usually be disposed of in regular trash.
Taking a few simple precautions ensures your painting journey is enjoyable and safe.
Your First Brushstrokes: Simple Exercises to Get Started
Once you have your basic materials, what do you paint? Don't feel pressured to create a masterpiece. The goal is to get comfortable with the materials and learn how they behave. As you start, you'll inevitably hit a few snags, but that's part of the learning process! Here are a few simple exercises to get you started:
- Simple Still Life: Grab a piece of fruit (an apple or orange is great for simple form), a simple mug, or even just a crumpled piece of paper. Focus on observing the shapes, the light and shadow, and mixing the colors you see using your limited palette. Don't aim for photorealism, just try to capture the basic forms and colors.
- Color Mixing Chart: Create a chart with your chosen paints to truly understand the range of hues you can achieve. Mix each color with white, with black (sparingly!), and with each other. This is fundamental practice and will save you frustration later. See how many different greens you can make with your two yellows and two blues!
- Value Study: Choose just one color (like Burnt Sienna or Ultramarine Blue) plus white (and maybe black). Paint a simple subject focusing only on the values (the lights and darks). This helps you understand form and light without the complexity of color mixing. It's a great way to avoid common beginner mistakes like using too much black, which can make colors look muddy. Value is how light or dark a color is, and getting values right is often more important than getting the color exactly right, especially when starting.
- Quick Landscape Study: Try a quick, small landscape study, focusing on capturing the basic forms and colors. Look out a window or use a simple photo reference.
- Copy a Master Study or Photograph: Find a simple drawing or painting by a master, or a photograph you like, and try to copy it. This isn't about perfect replication, but about learning to observe and translate what you see into paint. It's a great way to learn about composition and value.
- Paint Swatches: Simply practice making different kinds of marks and textures with your brushes and palette knife. Experiment with thick paint (impasto) and thin paint (using a little medium). Get a feel for how the paint moves.
Remember, the first few paintings are about exploration, not perfection. Be patient with yourself and the process. Don't get discouraged if colors don't mix exactly as you expect or if brushstrokes feel awkward at first. Persistence is key. Every artist started somewhere, likely with awkward brushstrokes and muddy colors! The journey is the reward.
Common Beginner Mistakes to Avoid
Learning anything new comes with a few bumps in the road. Here are some common pitfalls beginners face and how to steer clear:
- Buying Too Many Supplies: As this guide emphasizes, you don't need everything at once. Start limited, expand as you learn what you actually use and need.
- Using Too Much Black: Black can kill the vibrancy of colors. Try mixing darks using Ultramarine Blue, Burnt Sienna, and Alizarin Crimson instead. You'll get richer, more nuanced darks.
- Not Using Enough Paint: Oil paint loves to be applied generously. Thin, scrubby layers can look weak. Don't be afraid to load your brush and lay down some luscious color.
- Ignoring Ventilation: Seriously, this is important for your health. Don't paint in a closed-up room with solvents.
- Not Cleaning Brushes Properly/Immediately: Dried oil paint is a brush killer. Clean them right after you finish painting.
- Painting 'Lean Over Fat': Remember the rule! Fat (more oil) over Lean (less oil) to prevent cracking. Start your underlayers thinned with solvent, and add more oil medium to subsequent layers.
- Getting Discouraged: Your first paintings won't be masterpieces. That's okay! Focus on learning, experimenting, and enjoying the process. Every painting is a step forward.
Essential Materials Checklist
Here's a quick summary of the absolute essentials to get you started:
Category | Essential Items | Notes |
|---|---|---|
| Paints | Limited palette (approx. 9 tubes: Titanium White, Warm Yellow, Cool Yellow, Warm Red, Cool Red, Warm Blue, Cool Blue, Burnt Sienna, Ivory Black) | Student grade is fine to start (approx. $5-$15/tube). Focus on warm/cool primaries. Learn about opacity/transparency. Avoid using too much black for darkening. Look for lightfastness later. |
| Brushes | 3-5 brushes (Flats, Rounds, Filberts) | A few sizes (small, medium). Natural or synthetic. Wipe excess paint during painting. Reshape after cleaning. Never leave in solvent. Consider brush cleaner. |
| Surfaces | Canvas panels, stretched canvases, or oil painting paper | Pre-primed is easiest. Start small (8x10, 11x14). Medium texture ('tooth') is good. Remember how to store wet paintings (push pins, blocks). Prime both sides of wood panels. |
| Solvent/Medium | Odorless Mineral Spirits (OMS) | For cleaning brushes & thinning paint. Brands like Gamsol, Turpenoid. Ventilation is crucial (VOCs can cause headaches/dizziness). |
| Linseed Oil (optional, small bottle) | For adjusting paint flow/gloss. Remember 'fat over lean' rule (more oil over less oil to prevent cracking). | |
| Palette | Disposable paper palette pad | Easiest cleanup. |
| Palette Knife | For mixing paint on the palette and scraping clean. |
| Workspace | Designated area, easel/support, lighting, surface protection | Ensure good ventilation. Tabletop easel or propping canvas works. Use daylight bulbs. Cover surfaces. Apron/old clothes recommended. | | Cleanup | Lint-free Rags (old t-shirts) | Plenty of them! Wear old clothes/apron (prevents transfer). | | | Paper towels | For wiping brushes.
| | Artist's Soap or Mild Soap | For final brush cleaning. Clean brushes immediately after painting (step-by-step process: solvent then soap/water). Frame cleanup as a ritual. Consider brush conditioner. | | Safety | Sealed metal container for rags (or dry flat outdoors) | Crucial fire safety. Rags can spontaneously combust. | | | Waste disposal plan | For solvent sludge and dried paint. Avoid skin contact (wear gloves if sensitive, especially with Cadmiums, Cobalts, Lead). Read labels. Check local regulations. |


Taking the Plunge
Starting oil painting can feel like a big step, but it doesn't have to be an expensive or overwhelming one. Focus on getting these core materials, set up a small, well-ventilated space, and just start putting paint on the surface. Don't worry about making masterpieces right away. Worry about exploring the feel of the paint, the way colors mix, and the joy of creating something with your hands. It's a journey of discovery, one brushstroke at a time. Remember, oil painting is a marathon, not a sprint – patience and persistence are your friends.
Remember that feeling of being lost in the art store? Replace it with the feeling of excitement as you uncap your first tube of paint. The journey of a thousand paintings begins with a single brushstroke. And who knows, maybe one day you'll be creating your own abstract art or exploring different genres of art with confidence.
If you're curious about different types of art or how artists use materials, you might find inspiration in exploring eco-friendly art materials or learning about types of artwork. And when you're ready to see what's possible, take a peek at the art for sale by artists like me, who started with just a few tubes and a dream.

credit, licence


