Master Canvas Stretching: DIY Guide, Tools & Archival Art Prep
Dive into canvas stretching! This ultimate DIY guide covers essential tools, step-by-step techniques, gesso priming, and archival care to create lasting art with full control.

Mastering Canvas Stretching: Your Ultimate Guide to Lasting Art
There's a quiet, almost ritualistic satisfaction that comes with stretching your own canvas. For me, it's not just a skill; it's the very first physical act of creation, the moment a flat piece of fabric begins its journey to becoming a stage for a masterpiece. I remember my own earliest attempts, a true 'what was I thinking?' moment. The canvas was saggy, the corners looked like a bundled-up mess, and the frame wasn't even square. I nearly swore off DIY forever, but stubbornness (and a tight budget) prevailed. And honestly? There's nothing quite like the feeling of crafting your painting surface from scratch, especially when it means creating those unique, custom sizes you can never find pre-made.
This guide isn't just about avoiding my early frustrations; it's about gaining a foundational skill that empowers you, offering unparalleled control and a deeper connection to your work from the very first thread. Think of this as your personal masterclass. By the end, you'll not only be able to stretch your own canvas with confidence but also understand the deeper artistic implications of this foundational skill, empowering you to create lasting work. Here’s what you stand to gain:
- Unparalleled Control: Hand-pick every element – canvas type, dimensions, and bar quality – for a surface tailored to your vision.
- Significant Cost Savings: Drastically reduce expenses, especially for larger or custom-sized pieces.
- Archival Longevity: Ensure your artwork stands the test of time by controlling material quality and tension.
- Enhanced Artistic Expression: A perfectly taut, responsive surface directly influences brushstrokes, glazes, and overall paint application.
- Deeper Connection: Experience a profound sense of ownership and connection to your art, right from its very foundation.
So, why embrace this 'hassle,' you ask? For me, it boils down to three core pillars that truly empower an artist: control, cost, and customization. You get to handpick every element: the exact canvas fabric (its weave, weight, fiber), the precise dimensions tailored perfectly to your vision, and the quality of the stretcher bars that will support your art for decades. Beyond the practical, there's a profound artistic advantage: a perfectly taut, responsive canvas influences every brushstroke, preventing cracking, allowing for smoother washes, and creating a tactile experience that sings. It's also a powerful safeguard for your artwork's longevity. It might seem intimidating, but I promise, once you get the hang of it, the process becomes almost meditative. Just you, some wood, some fabric, and a trusty staple gun. If you're tired of saggy canvases and the limiting costs of pre-stretched options, you've come to the right place. Let's build something truly your own.
A Brief History: Why Canvas Became King of the Art World
Understanding why canvas became the artist's choice provides valuable context for the methods we employ today, rooted in centuries of artistic innovation. It's fascinating how a practical need reshaped art history, don't you think? While early artists favored rigid wooden panels, the Renaissance brought a pivotal shift towards canvas. Why? Because panels were heavy, prone to cracking, and difficult to transport, especially for larger works. Imagine trying to ship a massive altarpiece made of solid oak! Canvas offered a lightweight, flexible, and far more portable alternative. This coincided beautifully with the rise of oil paint, a medium that thrived on flexible supports, unlike the more rigid demands of tempera. Italian artists like Giorgione, Titian, Raphael, and even Leonardo da Vinci in his later works were early adopters, appreciating its ability to accommodate grander scales and diffuse light in a way panels couldn't (its woven texture absorbed and scattered light more softly, creating subtle atmospheric effects). Their monumental works on canvas pushed the boundaries of what was possible, allowing for a freedom of scale and brushwork previously unattainable on wood. This flexibility also enabled a more expressive, painterly style that was difficult to achieve on rigid wood. As artists began to venture out of their studios for plein air painting (painting outdoors), the portability of stretched canvas became an even greater advantage, contributing to movements like Impressionism. The Baroque masters like Rubens and Rembrandt embraced it for their grand, dynamic compositions, and later, Romantic painters like Delacroix found its expansive surface perfect for their dramatic narratives. Technological advancements in canvas production, such as improved weaving techniques, and the development of more stable primers (like lead white primers that created an ideal, sealed ground for oils), further solidified its position.
It wasn't long before its popularity soared across Europe, becoming the default surface for masterpieces. The techniques for stretching and priming evolved over centuries, perfecting the art of creating a stable, receptive ground for paint – a testament to its enduring legacy in the art world. With the advent of industrialization, canvas became more widely available and affordable, further solidifying its place as the artist's primary support. It's truly a material that shaped art history.
DIY vs. Pre-Stretched Canvas: A Crucial Comparison
Let's be honest, store-bought canvases are convenient, but they often come with compromises. Here’s why many artists, myself included, eventually make the switch to stretching their own – and why you might want to consider it too. A perfectly taut canvas offers a responsive surface that truly enhances your brushwork, allowing for greater control in delicate linework and more satisfying application of thicker paint. This foundational quality can significantly impact the final texture and vibrancy of your art, ensuring it stands the test of time.
Feature  | DIY Stretched Canvas | Pre-Stretched Canvas |
|---|---|---|
| Cost | Significantly cheaper, especially for larger sizes (up to 50-70% savings). Ideal for experimenting or large-scale works. | More expensive due to labor, material markups, and shipping. |
| Control | Full choice over canvas material, weave, weight, and bar quality. You dictate the foundation. | Limited choice, often standard materials and bar quality dictated by the manufacturer. |
| Customization | Create any size or aspect ratio you can imagine, from miniature to monumental. | Restricted to standard, commercially available sizes, limiting unique visions. |
| Quality | You control the quality of all components and the tension. Ensures a truly archival foundation if proper materials are used. | Quality varies widely by brand; some can be poorly tensioned, warped, or use lower-grade materials. |
| Artistic Feel | A responsive, tight surface that enhances paint application, allows for controlled layering of glazes, supports palette knife techniques without 'give,' and provides a firm foundation, preventing unwanted 'give' during precise brushstrokes. | Can be inconsistent; sometimes too loose, with ripples, or uneven tension, impacting paint flow and overall brushwork, making the painting experience feel less grounded. |
| Longevity | Choose archival materials (e.g., kiln-dried linen, museum-quality stretcher bars) for maximum durability and stability over centuries. You also avoid risks like acid migration from low-quality woods that can degrade canvas fibers. | Depends entirely on brand; cheaper options may use lower-quality, non-archival materials prone to degradation, including woods that can release acids over time and compromise your artwork's longevity. |
| Durability/Resistance to Damage | A well-stretched canvas on quality bars is more robust; heavier fabrics and sturdy frames can better withstand minor bumps and handling during transport or installation without denting or separating. | Often more prone to corner damage, frame separation, or dents from minor impacts due to thinner, less robust stretcher bars or less rigorous stretching during mass production. |
| Environmental Impact | More sustainable; choose eco-friendly materials (recycled canvas, sustainable wood with FSC certification). Less packaging and shipping waste, reduced carbon footprint from transportation. You're making a conscious choice. | Higher environmental footprint from mass production, extensive packaging, and long-distance shipping. Limited choice of sustainable materials and often relies on less ethical sourcing. Think about the journey of that canvas. |
When to Buy Pre-Stretched vs. When to Stretch Your Own: A Strategic Choice
I know, I just made a pretty strong case for DIY. But let's be realistic: there are times when buying pre-stretched canvas makes sense, even for experienced artists. It's a strategic choice, not a moral one. Pre-stretched canvases are perfect for:
- Quick Studies or Sketches: When you need a surface fast and the archival quality isn't the primary concern, such as for practice or quick conceptual explorations.
- Limited Studio Space: If you don't have a large, clean area for the stretching process or for storing raw materials.
- Small, Disposable Works: For pieces where longevity isn't crucial, like experimental color swatches or studies for larger works.
- Trying a New Medium or Technique: If you want to experiment without a significant upfront investment in tools and raw materials.
- Strict Deadlines/Group Shows: Sometimes, the sheer volume or tight turnaround for a group exhibition might make buying pre-stretched a practical necessity to meet deadlines, even if you prefer DIY for major works.
- Specific Client Requests/Budget: Certain commissions might come with budget limitations or specifications that make pre-stretched options more viable.
However, for any serious piece destined for a gallery, a client, or simply a prominent place in your home, the benefits of stretching your own, as we've discussed, are simply unparalleled. It’s about making an informed decision based on your project's needs, not a rigid rule. Once you've decided to take the plunge into DIY canvas preparation, your next step is creating the perfect setting.
Setting the Stage: Your Workspace & Canvas Preparation
Before we even think about staples and pliers, let's create the perfect environment and get our materials ready. A little preparation here saves a lot of headaches later. Trust me, I've skipped this step once or twice, and it never ends well.
The Ideal Workspace and Environment
Find a clean, flat, and sturdy surface. Your dining table, a large workbench, or even a clean section of your studio floor works wonders. Good lighting is paramount; you need to clearly see the canvas weave and tension as you work. I always make sure the area is dust-free, because trust me, the last thing you want is a stray cat hair embedded in your perfectly stretched canvas! Ideally, work in a room with stable temperature and humidity to prevent the natural canvas fibers from expanding and contracting excessively, which can affect tension later. If your studio is prone to dryness, consider a small humidifier; if it's humid, a dehumidifier or working in a more climate-controlled part of your home can help. If your raw canvas feels very stiff or dry, allowing it to acclimate to your studio for a day or two can help make it more pliable – meaning, simply, easier to stretch and manipulate without fighting you.
Preparing Your Raw Canvas Material
Most raw canvas comes off a roll, so naturally, it'll have some creases. Lay it out flat for a good while – a few hours or even overnight – to let these creases relax. For unprimed natural fibers like cotton or linen, some artists like to lightly mist the back of the canvas with distilled water and let it dry completely before stretching. This process, similar to pre-washing fabric before sewing, helps pre-shrink the fibers, which can prevent future sagging. This initial conditioning helps the canvas fibers relax and become more yielding, making the stretching process smoother and reducing the likelihood of stubborn wrinkles. Remember, distilled water is key here to avoid introducing impurities or stains from tap water. I often skip this if I'm short on time, especially with quality canvas, as a good stretch technique usually suffices. However, for a truly archival piece, it's a worthwhile extra step.
Canvas Types to Approach with Caution (or Avoid)
While this guide focuses on traditional artist canvas, it’s worth noting that not all fabrics are created equal for stretching. Avoid very thin, loosely woven materials (like certain types of cheap muslin, cheesecloth, low thread count duck cloth, or even some sheer upholstery fabrics and burlap) that can’t hold tension, might tear easily under stress, or lack the dimensional stability needed to resist warping over time. These low-quality fabrics can also have voids in the weave that lead to paint seepage, inconsistent thread thickness causing uneven tension, or be prone to mildew if not properly stored or treated, undermining your efforts. Their extreme porosity or lack of tensile strength makes them wholly unsuitable for a lasting artwork.
Also, stretching pre-primed raw canvas can be quite tricky for beginners. The pre-applied gesso makes the canvas significantly less pliable and harder to pull evenly, demanding more strength and precision. The dried gesso layer is stiff and brittle, lacking flexibility, which can cause it to crack if overstretched, defeating the purpose of a smooth painting surface. If you must stretch pre-primed canvas, try warming it gently with a hairdryer on a low setting to increase flexibility, and use extra care and slower, more deliberate pulls. If possible, start with unprimed cotton duck or linen. For an in-depth look at materials, I've got a whole guide on canvas showdown: linen vs cotton for artists.
Your Essential Toolkit: Gathering What You Need
Think of this as assembling your creative arsenal. Having the right tools isn't just about efficiency; it's about making the process enjoyable and ensuring a professional result. I've learned the hard way that a frustrating mess of expletives often stems from trying to use the wrong tool for the job. You wouldn't try to sculpt with a paint brush, would you? The same principle applies here. This is where you invest in the foundation of your future masterpieces. And believe me, trying to stretch a big canvas with a flimsy office stapler is a memory I'd rather forget – it was a chaotic ballet of flying staples and choice words.
Tool | Description & Why It's Essential & Sourcing Tips |
|---|---|
| Stretcher Bars | These form the skeleton of your artwork. Invest in good quality, kiln-dried, finger-jointed bars. Kiln-drying removes moisture, preventing warping and making the wood much more stable. Finger-jointing creates stronger, straighter lengths by interlocking small pieces of wood. Look for 'keyed' frames – those with slots at the inner corners for small wooden wedges called keys. These keys are crucial for later re-tensioning, helping you combat any future slackness, which is an invaluable feature for preserving your artwork for decades. Always visually inspect your bars for straightness before buying, looking for any knots, splits, excessive sap, or warping which can compromise integrity or even stain your canvas over time. For archival pieces, consider bars made from acid-free woods like pine, fir, basswood, or poplar for greater stability. Many quality stretcher bars also have a slight bevel (an angled edge) on the inner side that lifts the canvas slightly away from the wood. This is crucial as it prevents the wood edge from pressing into the canvas and eventually 'ghosting' or telegraphing its impression onto the front of your finished artwork. For very large canvases (e.g., typically over 48 inches in any direction, or 36 inches for heavy impasto), cross-braces (running horizontally or vertically across the frame) or corner braces (diagonal supports) are absolutely crucial for added structural integrity and to prevent bowing. They usually slot into pre-cut grooves in quality stretcher bars or can be screwed in. Note that fixed strainer bars are an alternative but cannot be re-tensioned once the canvas is stretched, making them less ideal for longevity and archival purposes. Sourcing Tip: Look for specialized art supply retailers online (e.g., Blick Art Materials, Jerry's Artarama) or reputable local art stores for the best quality and variety. |
| Raw Canvas | For beginners, 8-10oz cotton duck is affordable, forgiving, and easy to work with. It has a good natural stretch, making it easier to pull taut. This weight is ideal for smaller to medium works (up to 30x40 inches) and mediums like acrylics or lighter oil applications. Canvas weight (measured in ounces per square yard, e.g., 10oz) signifies its thickness and durability. Heavier canvases (10-12oz+) are ideal for larger works (e.g., over 30x40 inches) or heavy impasto techniques (thick, textural paint application) that require more robustness, and hold up better to aggressive paint applications and multiple gesso layers. Lighter weights (5-8oz) are fine for thinner acrylic washes, delicate mixed media, or quick studies. For serious archival work, linen offers superior stability, less expansion/contraction with humidity, and a finer, more consistent weave. It's pricier, but many pros swear by it for its strength and longevity. The weave also affects the 'tooth' or texture. A tabby weave (or plain weave) is a simple, even over-under pattern, offering a natural drape that is forgiving but might require more effort to tension evenly. A twill weave (like denim) has a diagonal pattern and is generally stronger and more dense, offering a more uniform surface ideal for finer detail work. Less common but sometimes used are basketweave (two threads over two threads) for a more pronounced texture, and satin weave for a very smooth, lustrous surface, though these can be trickier to stretch evenly. For beginners, a simple tabby or twill cotton duck is most forgiving. Understanding warp (lengthwise) and weft (crosswise) threads helps visualize the canvas grain and how it might respond to tension, as pulling against the warp often yields the most effective stretch. The thread count (threads per inch) also indicates fineness and durability. Sourcing Tip: Buy from dedicated art suppliers; avoid cheap craft store fabrics or home décor textiles, which often lack the necessary quality and longevity. Note that canvas weight refers to unprimed raw canvas, as gesso adds significant weight. |
| Canvas Pliers | This is your secret weapon. Seriously, trying to stretch a canvas by hand is a quick way to sore fingers and an uneven, frustrating result. These specialized pliers provide crucial grip and powerful leverage for achieving consistent, even tension across the entire surface without hurting your hands or tearing the fabric. They are a small, one-time investment that makes a colossal difference in the quality and ease of your stretching. Trust me, your hands will thank you. Sourcing Tip: Available at most art supply stores. Look for a pair with a comfortable grip and a wide jaw to minimize canvas damage. |
| Heavy-Duty Staple Gun & Staples | Any reliable heavy-duty model will do. Make sure you have plenty of 8mm or 10mm staples. I generally prefer 10mm staples as they provide a more secure hold, especially for thicker stretcher bars or heavier canvas. Ensure they're fully seating into the wood – meaning the entire metal U-shape is embedded flush with the wood surface. A regular office stapler simply won't cut it – it lacks the power to penetrate the wood or hold the tension, leading to frustratingly loose staples and a saggy canvas. I learned the hard way: invest in a reliable staple gun; a cheap one is a recipe for frustration and the kind of bad language you don't want in your studio. Sourcing Tip: Hardware stores are your best bet for a robust staple gun. Art supply stores also carry them. |
| Measuring Tape | Absolutely essential for precise measurements. This ensures your frame is square and your canvas is cut correctly, preventing a lopsided or uneven final product. Sourcing Tip: Any standard retractable measuring tape will work. Look for one with clear, easy-to-read markings. |
| Carpenter's Square | Crucial for checking and ensuring your assembled frame has true 90-degree angles. A perfectly rectangular frame is non-negotiable for a professional-looking painting; nobody wants a canvas that looks like a slightly drunken trapezoid. Sourcing Tip: Hardware stores. |
| Scissors or Utility Knife | For clean, straight cuts when sizing your canvas. A sharp blade minimizes fraying and makes for easier, neater folding. Sourcing Tip: A sharp pair of fabric scissors (dedicated to canvas) or a heavy-duty utility knife with fresh blades are ideal. |
| Pencil | For marking your canvas for cuts and staple guidelines. A light touch is all you need. Sourcing Tip: Any graphite pencil will do. |
| Rubber Mallet | For gently tapping stretcher bars into place when assembling the frame or inserting keys. It's much safer and more effective than using your bare hands and prevents damage to the wood. Avoid using a metal hammer directly, as it can dent or splinter the wood. Sourcing Tip: Hardware stores. |

The Art of Tension: Your Step-by-Step Canvas Stretching Guide
Alright, your gear is laid out, your workspace is primed, and you're mentally prepared. Remember, patience and a steady hand are your best friends here. This isn't a race; it's the careful construction of your creative foundation. This is the 'masterclass moment' where you truly elevate your skill. Let's get this thing perfectly taut, like a drum ready for its first beat.

Step 1: Assemble Your Frame with Precision
Take your four stretcher bars and slot them together at the corners. They should fit snugly. If they're 'keyed' frames (meaning they have small slots at the inner corners), these are designed for future re-tensioning, which is a lifesaver. Now, grab your carpenter's square and meticulously check each corner to ensure it's a true 90-degree angle. If it's a bit off, a gentle tap with a rubber mallet on the outside corner can nudge it into perfect alignment. A wobbly frame is indeed a recipe for a wobbly painting, and we want none of that. Remember that crucial bevel on the inner side of your bars? That slight angle ensures the canvas lifts away from the frame, preventing those dreaded 'ghosting' lines from the wood edges pressing into your artwork over time. This detail is often overlooked by beginners but is critical for the archival quality and clean presentation of your finished piece.
Step 2: Cut Your Canvas with Generosity
Lay your assembled frame on top of your canvas, ensuring it's centered. You need to cut a piece significantly larger than the frame itself – enough excess fabric to comfortably grab with your pliers and staple securely to the back. A good rule of thumb is to have at least two to three inches of extra canvas on all four sides. For example, for a 24x36 inch frame, you'd aim for a canvas piece approximately 30x42 inches. I usually draw a light pencil line around the frame as a guide, then measure out my 2-3 inches before cutting. You can always trim excess later, but you can't add it back on. This is like a tailor's generous seam allowance – better safe than sorry. If you're building a really large piece, consider a heavier weight canvas (e.g., 10-12oz cotton duck or linen) for extra durability and tension resistance; it's less likely to tear under the significant strain required for larger formats.
Step 3: The First Four Staples – Establishing Foundational Tension
This is where the magic of tautness begins, and arguably the most crucial part of the entire process. Getting these first few staples right sets the stage for a perfectly stretched canvas, creating the backbone of your artwork. Get this right, and the rest flows smoothly. You're going to work from the middle of each side, moving outwards, much like tightening lug nuts on a car tire to distribute pressure evenly. The goal is to build tension incrementally and systematically. I once rushed this, skipping the alternating sides, and ended up with a canvas so lopsided it looked like it was melting off the frame – a real headache to fix, believe me! This initial opposing tension creates the essential 'skeleton' of tautness for the rest of the canvas. When laying out your canvas, pay attention to the grain – the direction of the warp (lengthwise) and weft (crosswise) threads. While not always critical, understanding how the canvas behaves along its grain can help you anticipate its stretch and achieve more even tension, especially with less forgiving materials like linen. A little stretch perpendicular to the grain is often desirable for achieving optimal tightness.
Here’s how to place those critical first four staples:
- Start on one of the longer sides. Locate the very center. Use your canvas pliers to grab the edge of the canvas, pull it firmly taut over the outside edge of the back of the stretcher bar. You should feel a satisfying, firm resistance – like drawing a bowstring, but without feeling like the fabric is about to tear. Then, put one staple in. Ensure your staples (8mm-10mm) are fully seated; press the staple gun firmly against the wood for maximum penetration, making sure the entire metal U-shape is flush with the wood surface. I aim for them to be about 1/2 to 1 inch from the outer edge of the bar; this distance provides maximum hold without risking the staple tearing through the canvas edge.
- Go directly to the opposite side. Find the center, grab the canvas with your pliers, pull it again firmly—you should feel significant resistance but not a tearing strain—and put one staple in.
- Repeat this for the two shorter sides, following the same center-pull, opposite-side stapling method.
- You should now have four perfectly placed staples, one in the absolute center of each bar, holding the canvas firmly in place.
Step 4: Building Tension Systematically to the Corners
With your foundation set, you'll now fill in the gaps, gradually and evenly increasing the tension. Starting from your center staple on one of the long sides, add another staple about two inches to one side. Then, go to the opposite stretcher bar and add a staple in the corresponding position. Keep alternating sides, adding staples about two inches apart, working from the center out towards the corners. Leave about three inches of unstapled canvas at each corner for now. Remember the mantra: balance, balance, balance. Never pull too far on one side without addressing its opposite. This systematic approach prevents tension imbalances that can cause ripples, bowing of the stretcher bars, or even tears down the line. It's a dance of controlled tension, ensuring uniformity across the entire surface. This is where your masterclass understanding of even distribution really shines.
Step 5: Taming the Corners – The Elegant Gallery Fold
Ah, the corners. This is where the amateurs are often separated from the pros, the neat from the messy. We're aiming for a clean, flat fold, often called a 'gallery wrap' or 'hospital corner.' This method ensures a crisp, elegant edge without unsightly bulk, which is critical if your artwork will be displayed unframed. A poorly folded corner will show lumps or multiple layers of canvas on the side of your finished piece, which is a big no-no for gallery presentation. My first few looked like a poorly wrapped burrito; yours will definitely be better!
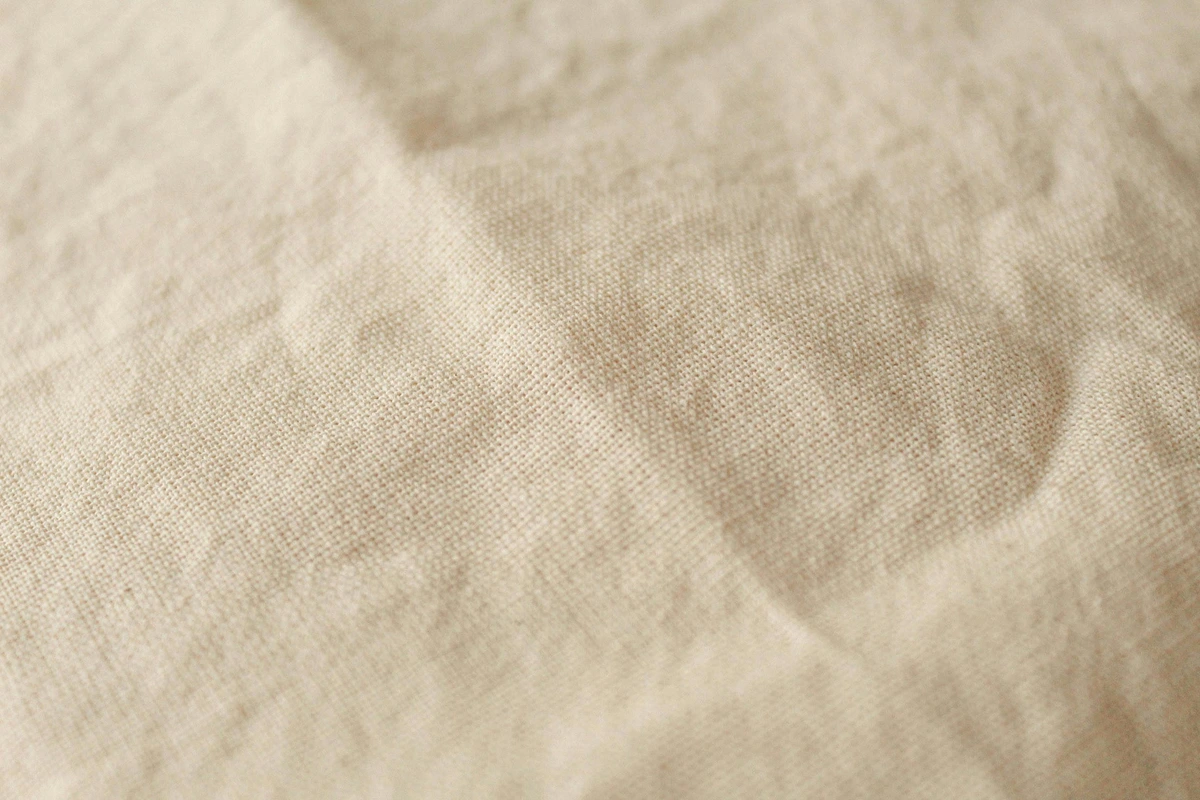
Here's how to master the gallery fold:
- With the canvas stapled along the sides, you'll have excess fabric at each corner. First, pull the corner canvas straight out, directly away from the corner of the frame, creating a roughly 45-degree flap. This isolates the fabric at the corner.
- Next, take the excess canvas on one side of the corner and fold it inward, tucking it cleanly and tightly against the stretcher bar. This creates a sharp, vertical edge on the side of the frame, free of bulky folds.
- Now, take the remaining, larger flap of canvas that's still sticking out from the corner. Pull this entire flap over tightly towards the back of the frame, creating a neat, crisp fold (like the corner of a well-made bed or a perfectly wrapped gift).
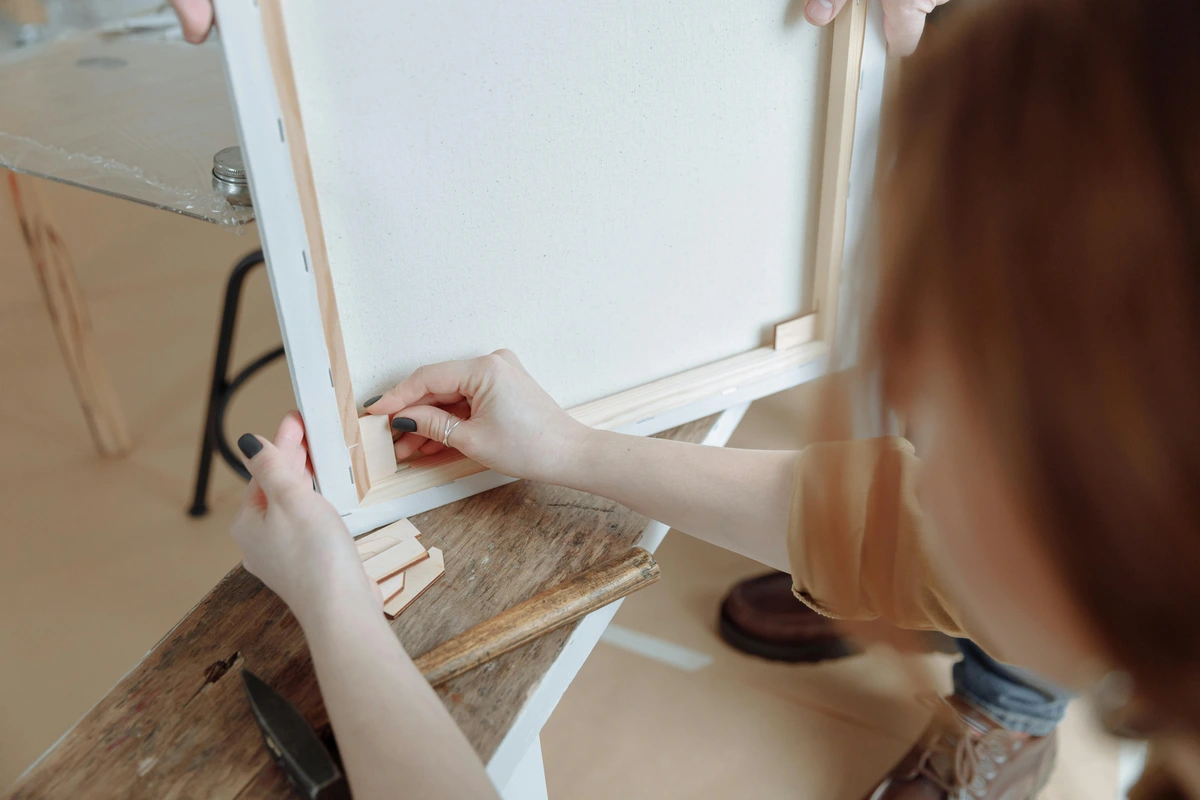
- Staple this final fold securely to the back of the frame. It should look clean and tidy from the side, with no bulky folds visible from the front or edges. Try to keep your staples close to the edge of the stretcher bar but still firmly on the wood. I always aim for a single, neat fold with as few staples as needed to secure it. If you have any stubborn folds, a small tap with your rubber mallet can sometimes help persuade them into place.
- Repeat for all four corners. This takes practice, so don't worry if your first one isn't perfect. For a less-than-perfect but still functional fold, just ensure the canvas is pulled taut and stapled securely, minimizing bulk on the visible sides.
Step 6: The Final Check & Long-Term Tensioning
Once everything is stapled, flip the canvas over. It should be visibly smooth and tight across the entire surface. Give it a gentle flick with your finger in the center – it should make a satisfying, low drum-like sound. That's the sign of good tension. If you hear a high-pitched twang, it might indicate excessive, unhealthy tension that could lead to warping or paint cracking. If you see any slight ripples or a little slackness, don't despair!
- For Minor Ripples: A light mist of distilled water on the back of the canvas (just the fabric, not the wood) can often fix them. The magic here is that natural canvas fibers swell when wet and contract as they dry, effectively tightening the fabric. Use distilled water to avoid potential staining from tap water impurities. Let it air dry completely.
- For Stubborn Wrinkles: You might need to carefully remove a few staples (I'd say about 2-3 inches on either side of the wrinkle), re-pull that specific area with your canvas pliers, and then re-staple. Work slowly and check the front constantly to see the effect. Gently warming the area with a low-heat hairdryer can also help relax stubborn fibers before re-pulling. Patience, my friend, is a virtue here.
- Preventing 'Ghosting' and Abrasion: For highly valuable works, consider applying archival artist's tape or string along the inside edges of the stretcher bars (where the canvas meets the wood) before stretching. This creates an extra barrier against abrasion and helps prevent the stretcher bar impression from telegraphing onto the front of your canvas over time, preserving its pristine surface. It's an advanced, but worthwhile, detail for longevity.
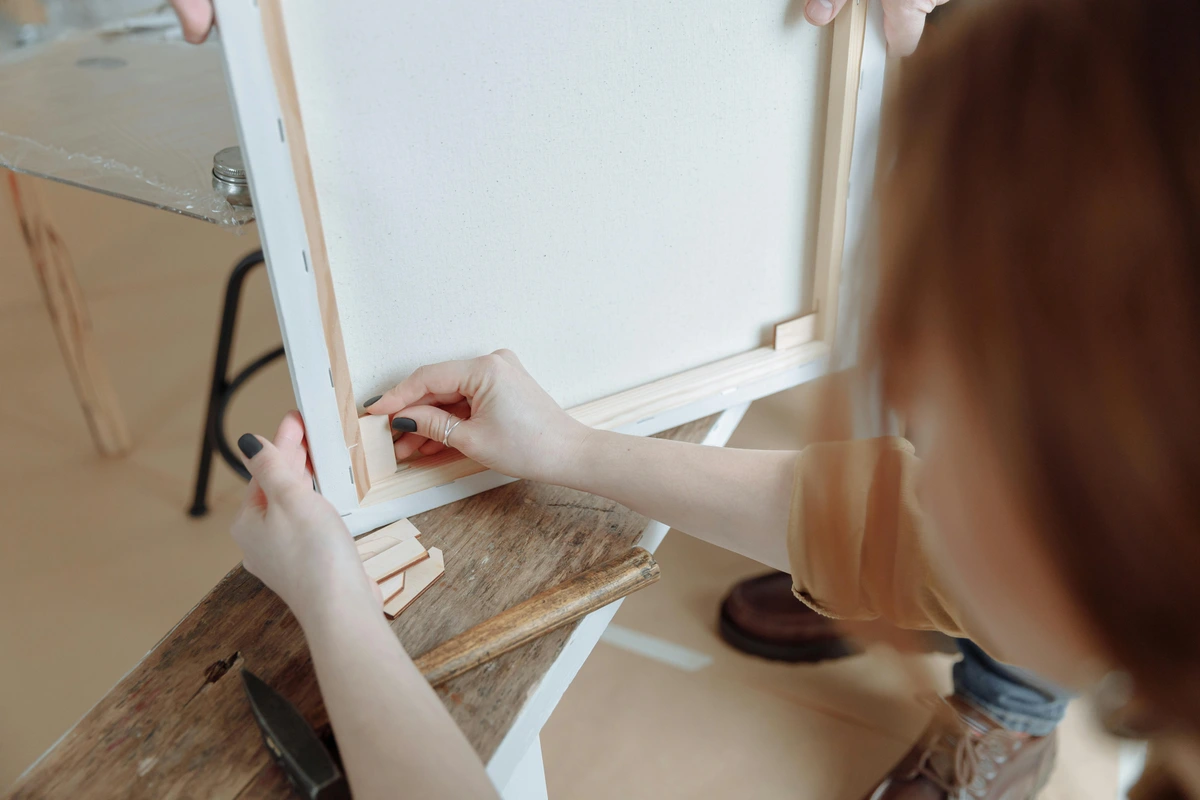
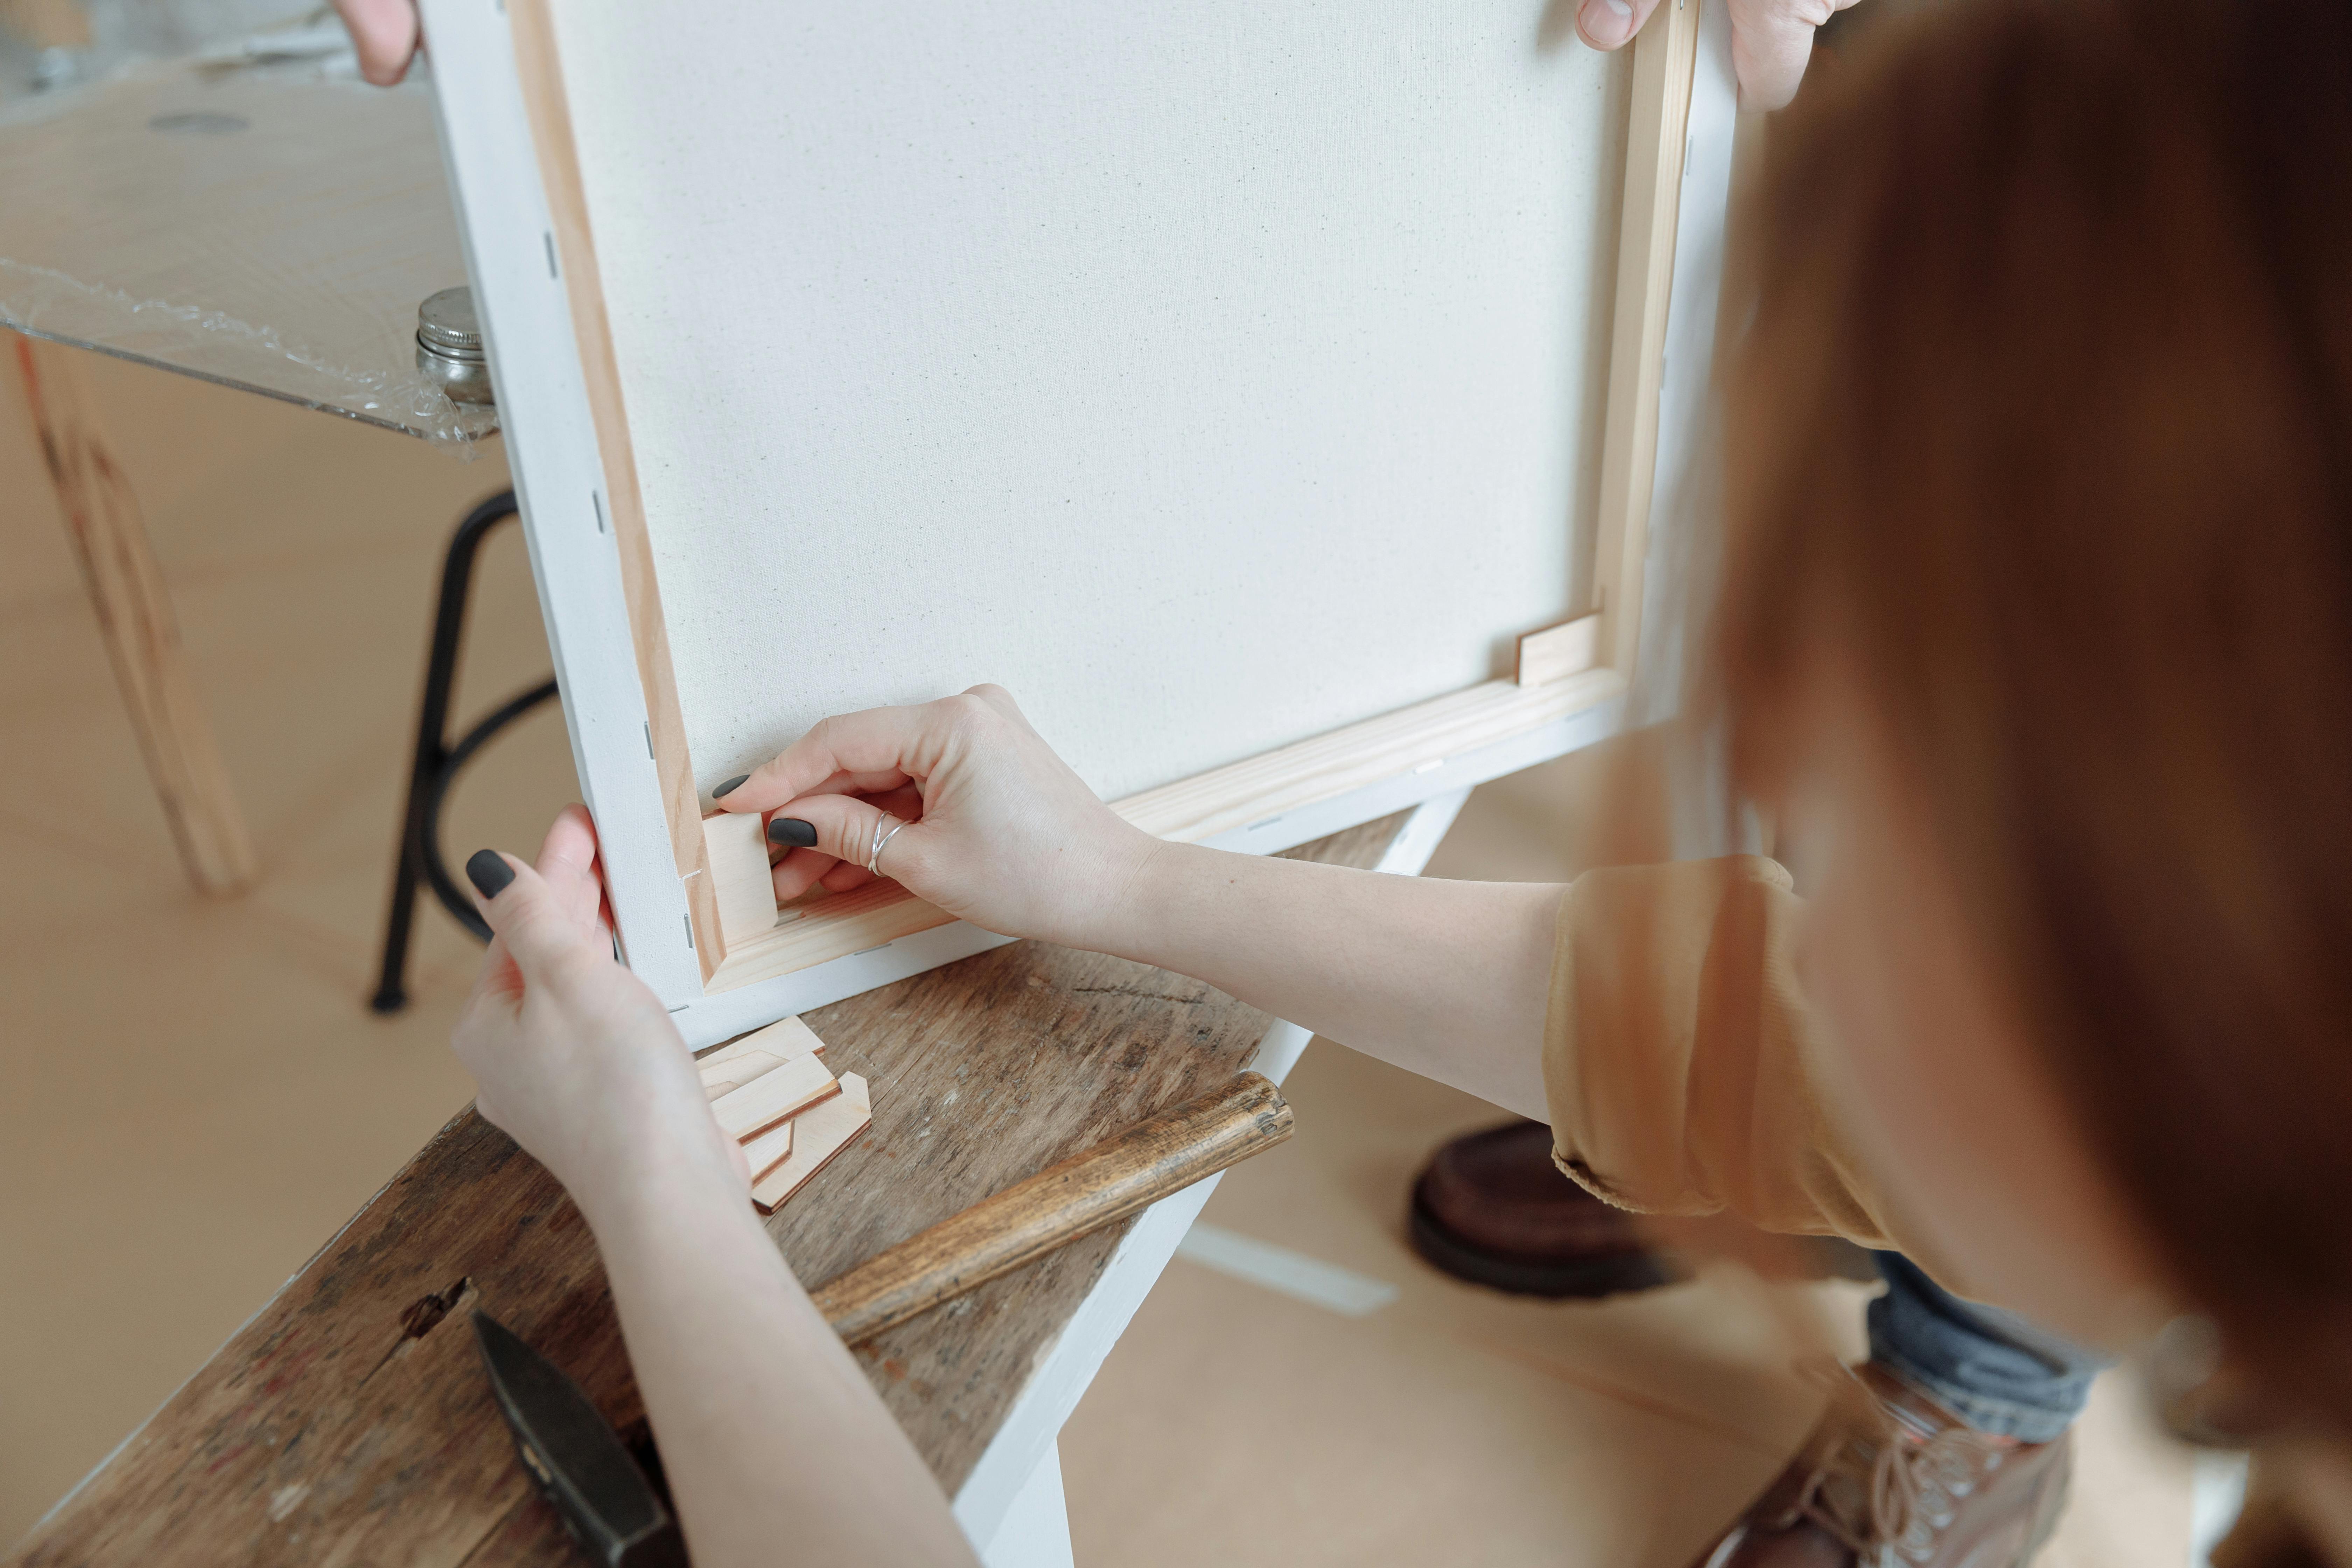
- Long-term Slackness: If your canvas feels a bit loose over time, this is where stretcher keys (those small wooden wedges that fit into the corner slots of keyed frames) come in handy. A gentle tap with a rubber mallet on these keys can slightly expand the frame, re-tensioning the canvas. This is a common practice for maintaining how to frame a canvas painting and ensuring its longevity.
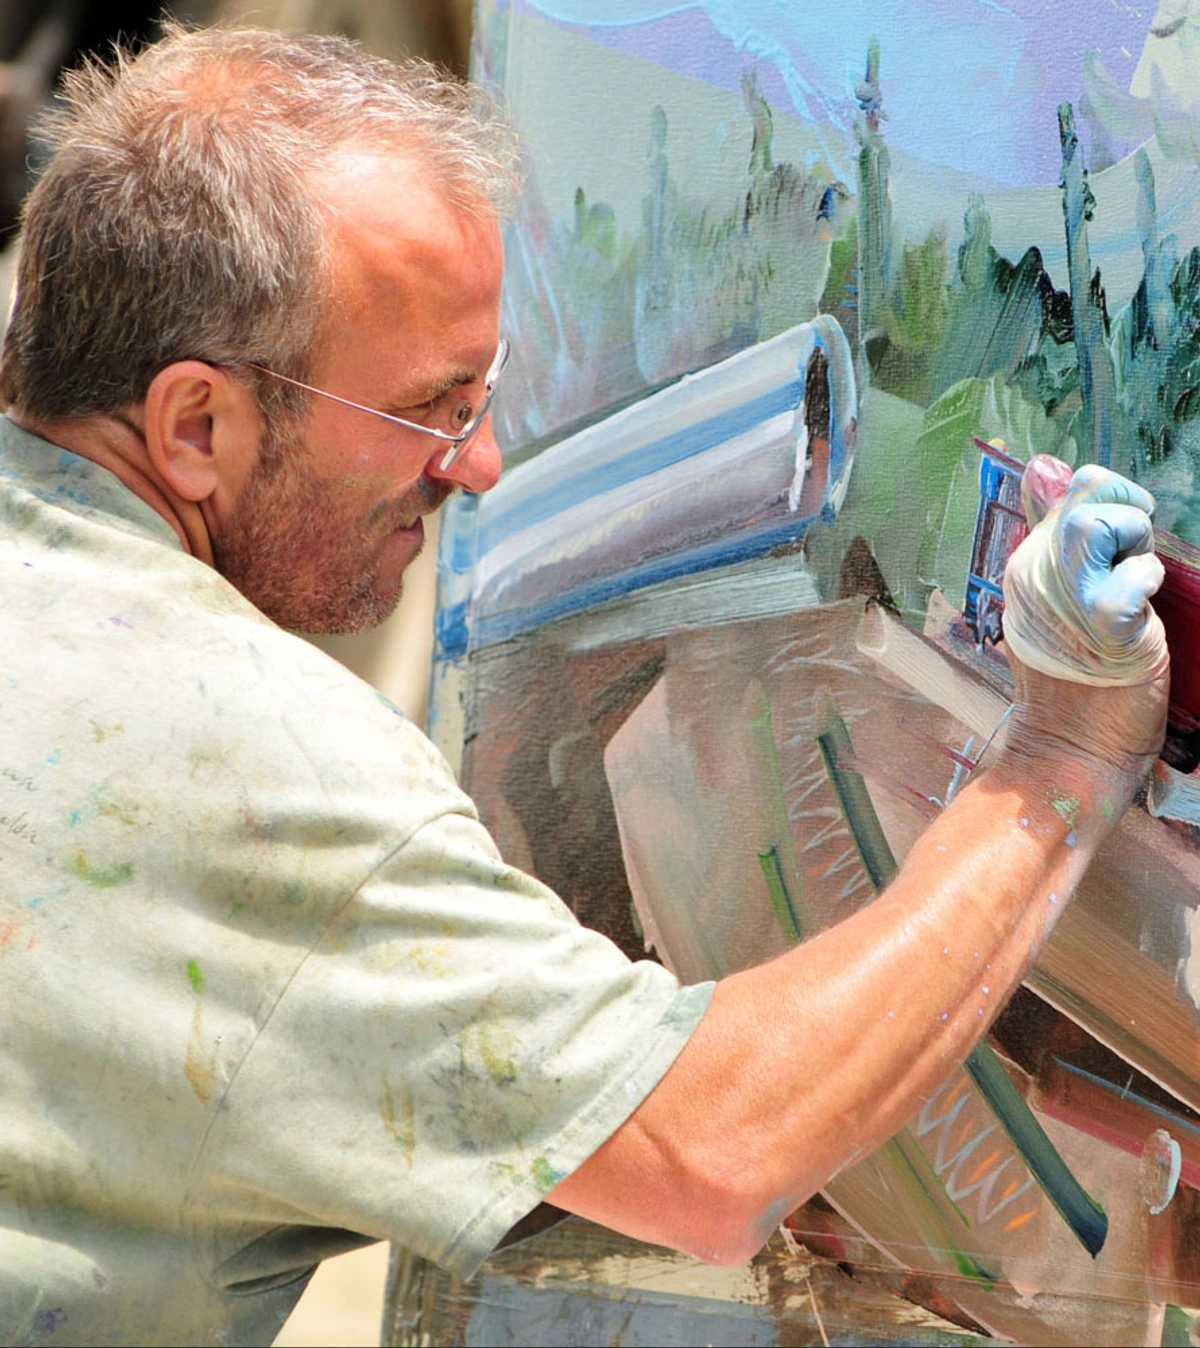
Your canvas is now beautifully stretched, a vibrant drum ready for its first strokes! But before you grab your paints, there's one more crucial step to prepare your surface: priming.
Beyond the Stretch: Priming and Aftercare
Your canvas is beautifully stretched – a triumph! But hold your horses, it's not quite ready for paint just yet. It's currently a raw, absorbent surface that needs to be sealed and primed. This is where gesso comes in, and understanding it is a game-changer for any serious painter. Think of gesso as the critical foundation that ensures your house of art stands strong, protecting your vision for generations.
Why Gesso is Absolutely Essential
Gesso is the crucial intermediary between your paint and your canvas. It does several vital jobs, protecting your artwork and ensuring vibrant, lasting results:
- Protects the Canvas: For oil paints, this is especially important. The acidic linseed oil in traditional oil paints can, over time, penetrate natural canvas fibers, causing them to degrade, become brittle, and eventually rot in a process sometimes called paint limb. Paint limb is the deterioration of canvas fibers when acidic oils from paint come into direct contact with them, causing the cellulose fibers to weaken and eventually become brittle and crack. Gesso creates an essential, inert barrier, protecting your canvas from this internal decay for centuries. For acrylics, while generally less prone to paint limb due to their more stable polymer binders, gesso still prevents excessive absorption and provides an ideal surface, safeguarding your artwork's longevity. It's like building an impenetrable shield for your art.
- Creates a Consistent Surface: Raw canvas has varying absorbency depending on its fibers and weave. Gesso evens this out, giving you a uniform ground for paint adhesion. This prevents patchy absorption, which can make colors look dull, uneven, or 'muddy,' especially with acrylics. Ever wonder why some colors just pop on one surface but fall flat on another? Gesso is often the answer, offering a consistent stage for your pigments.
- Enhances Paint Adhesion ('Tooth'): Gesso provides a slightly textured 'tooth' – a microscopic texture that gives paint something to grip onto, much like the tread on a tire gives grip to the road. Without it, paint might soak in too much, creating flat, lifeless colors, or flake off over time. Different gessos and application methods (e.g., sanding between coats) can alter this tooth, allowing you to fine-tune your painting experience, making thick impasto applications (where paint is applied so thickly it stands off the surface, like those vibrant textures you see in some of my own abstract paintings) or delicate glazes feel just right.
- Influences Texture and Gloss: Beyond protection and adhesion, gesso is your first layer of creative control. Different gessos can offer varying levels of texture and absorbency, impacting your painting style and the final appearance of your pigments. It's not just a barrier; it's an aesthetic choice that dictates the initial conversation between your brush and the canvas.
Once your canvas is primed, there's an extra layer of satisfaction. You've not just physically prepared the surface, you've also emotionally invested in its future, knowing it's ready to receive your creative vision. It’s a profound moment of connection, preparing the sacred ground for your art.
Types of Gesso: Choosing Your Perfect Primer
Understanding your priming options is another key element of this masterclass. It's not a one-size-fits-all world.
Gesso Type | Best For | Characteristics & Uses |
|---|---|---|
| Acrylic Gesso | Most versatile; acrylics, oils (with an isolation layer for oil), mixed media. | Fast-drying, flexible, water-soluble, and provides excellent tooth. It's a great all-rounder for most artists and ideal if you layer oils over acrylics. You can apply multiple thin coats for a smoother finish or fewer coats for more texture. For example, 2-3 thin coats with light sanding will give a medium-tooth surface, while 4-5 heavy coats with sanding can achieve a smooth, almost poreless finish. For oils over acrylic gesso, a dedicated isolation layer (a transparent barrier, often a clear acrylic medium like best acrylic mediums for abstract artists) is highly recommended between the gesso and oil paint to prevent acidic oils from penetrating the acrylic binder over time. This is a crucial step for archival oil paintings on acrylic-primed canvas. |
| Oil-Based Gesso | Specifically for traditional oil paints. | Creates a very smooth, luxurious, and non-absorbent surface that's favored by many classical oil painters for its unique 'feel.' Requires longer drying times (weeks, not hours) and solvent cleanup. Not suitable for acrylics due to adhesion issues. |
| Clear Gesso | When you want the natural canvas texture/color to show through (e.g., for certain mixed media, sketches, or a raw aesthetic). | Maintains transparency, provides essential tooth for paint adhesion, but doesn't obscure the canvas. Acts as a sealer and primer without adding opacity, allowing the canvas's natural color and weave to contribute to the artwork. |
| Tinted Gesso | For starting with a colored ground, which can profoundly influence your palette, mood, and painting technique. | Available in various colors (grey, sienna, black, etc.); offers the same benefits as acrylic gesso but with a built-in base tone that can unify your painting or make colors pop. A grey or black ground, for example, can make bright colors appear more vibrant through contrast, while a sienna tone can add warmth. |
| Specialty Gessoes | Achieving unique textures or specific historical effects. | Includes options like marble dust gesso (for a very absorbent, chalky surface often preferred for tempera or traditional oil techniques that build up thin layers), or homemade gesso (using a recipe of whiting, glue, and pigment for custom control). These offer niche benefits but are generally more complex to prepare and use, making them less suitable for beginners. |
Acrylic Mediums as Isolation Layers or Primers
Sometimes, gesso isn't the only answer, or it's part of a larger strategy. Clear acrylic mediums can serve several purposes in canvas preparation:
- As a Sizing Layer: For artists who want to seal the canvas without adding a white opaque layer, clear acrylic medium (like a fluid matte medium) can act as a non-absorbent sizing, especially for acrylics. This preserves the natural canvas color and texture while preventing excessive paint absorption.
- As an Isolation Layer: As mentioned, when painting oils over an acrylic-gessoed canvas, a clear acrylic medium applied between the gesso and the first layer of oil paint creates a non-permeable barrier. This is critical for archival stability, preventing the acidic oils from migrating into and degrading the acrylic gesso over time.
- For Custom Textures: Certain acrylic mediums, such as self-leveling gel, clear tar gel, or even pumice gel, can be applied directly to a stretched canvas to create unique textures or a smoother, glass-like surface before gesso or as a final clear coat. This offers an incredible range of creative control over your ground.
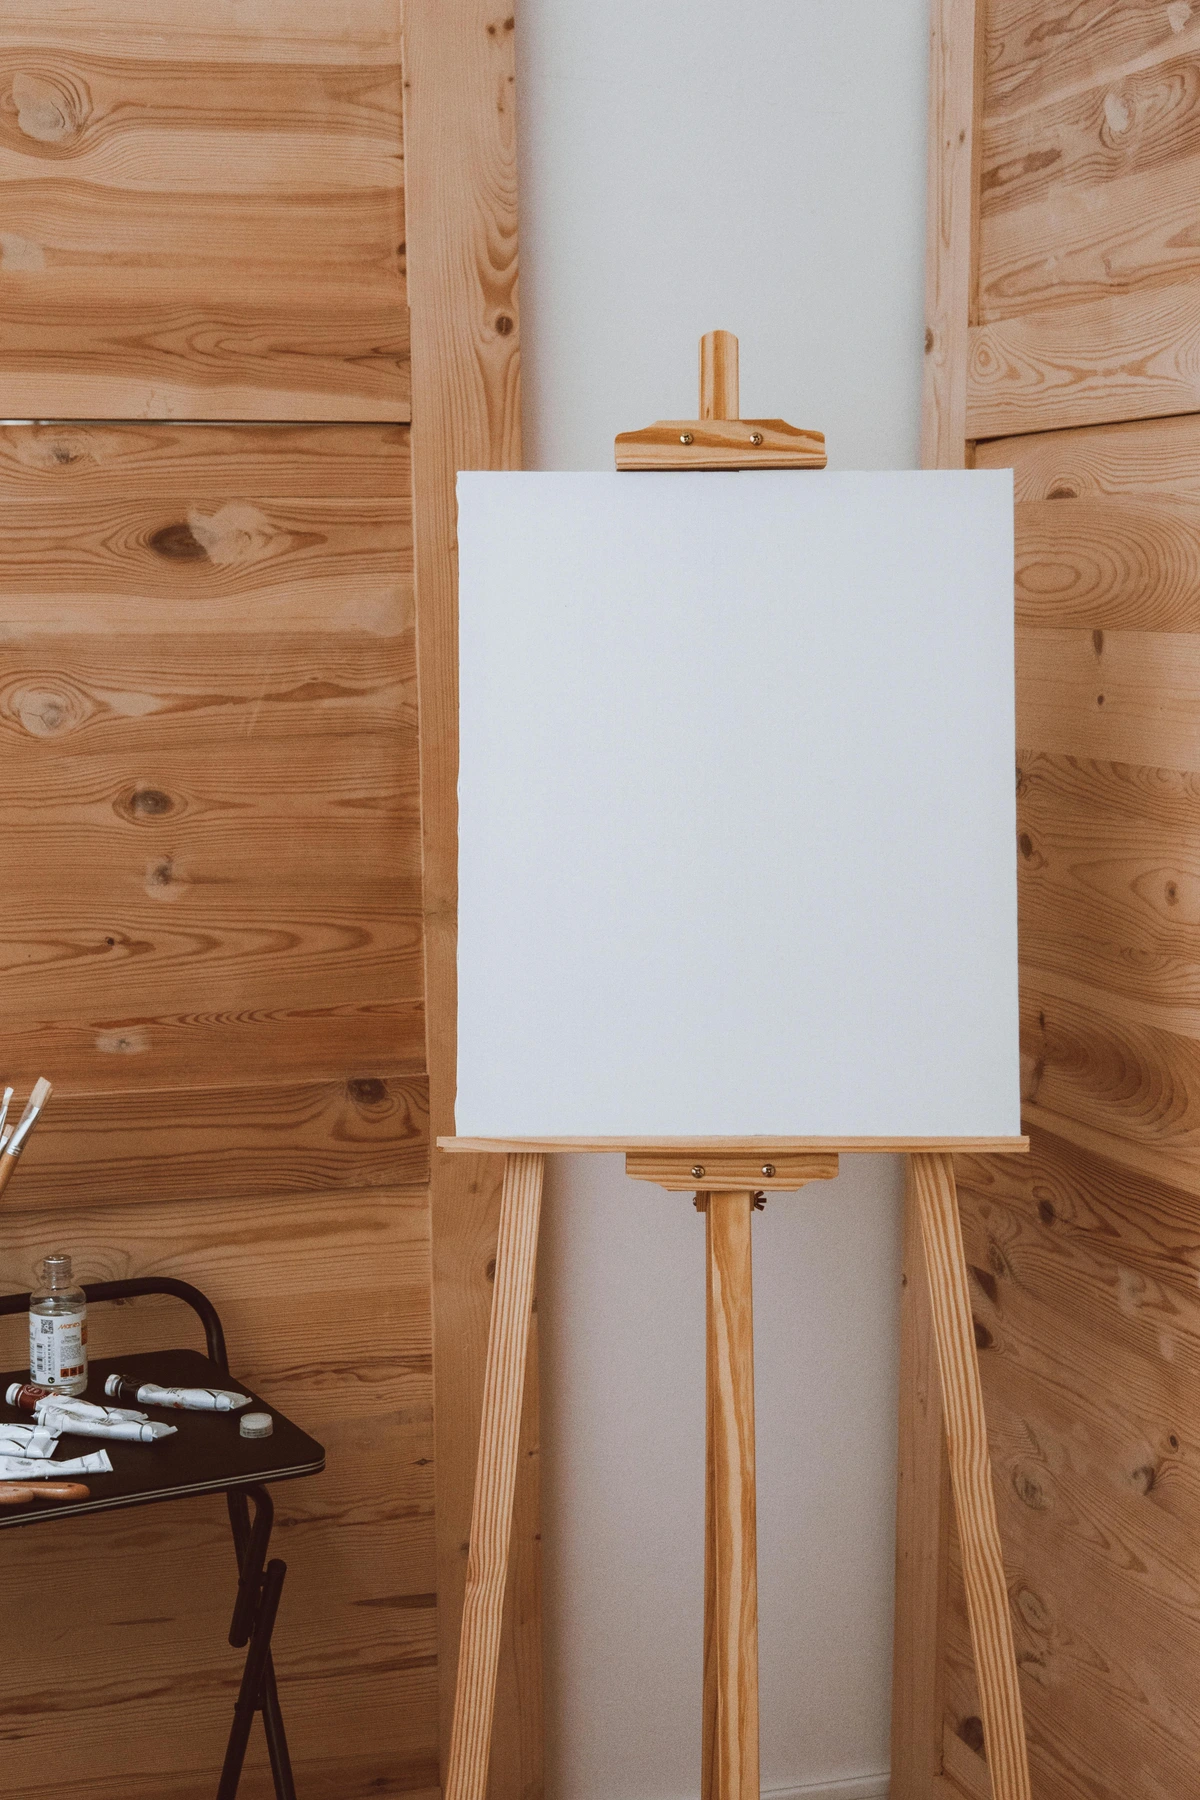
Beyond the type, how you apply gesso greatly impacts the final surface. For a smooth, almost porcelain-like finish, use a wide, soft brush, a roller, or even a trowel, applying multiple thin coats and lightly sanding between each with fine-grit sandpaper (e.g., 220-400 grit) to remove brushstrokes and achieve a silky-smooth ground. For a more textured surface, fewer, thicker coats or a less smooth application technique will suffice. Some artists even incorporate acrylic mediums (like self-leveling gel or clear tar gel) as a transparent sizing layer before gesso, or mixed into gesso, to create unique textures or seal the canvas without altering its natural color, especially if using clear gesso. The number of gesso layers can also vary; one or two coats for a more absorbent, textured surface, or three to five (with sanding) for a smoother, less absorbent ground ideal for fine detail.
Canvas Care and Maintenance After Painting
Once your masterpiece is complete and fully dry, remember that a canvas, even perfectly stretched and primed, benefits from ongoing care. Avoid hanging it in direct sunlight or in areas with extreme temperature and humidity fluctuations, as these can cause the canvas to expand, contract, or warp over time, potentially damaging your paint layers. For dusting, use a soft, dry cloth or a feather duster. When transporting or storing, ensure the painted surface doesn't rub against other objects or surfaces; use glassine paper, cardboard corners, or foam core to protect it. If framing, consider archival backing boards (acid-free foamboard or corrugated plastic) and UV-protective glass or acrylic, especially for works on linen, to safeguard against environmental damage and light degradation. Proper care ensures your diligently stretched foundation supports your art for generations. For more on framing, you might find my guide on a guide to building a floating frame for canvas art helpful.
If you're new to this, I have a whole guide on what gesso is in painting and another on how to apply gesso to canvas a beginners guide. Taking the time to do this properly is a critical step in how to prepare a canvas for acrylic painting or any other medium. Understanding your canvas material, whether canvas showdown: linen vs cotton for artists, also plays a role in how you might gesso and prepare your surface. And if you're exploring how to choose the right canvas for acrylic vs oil, the preparation step is paramount. Don't skip it!
FAQ: Your Canvas Stretching Questions Answered
Q1: Are canvas pliers really necessary for stretching a canvas?
I'm going to say yes, emphatically. While you can technically stretch a canvas with just your bare hands, especially for smaller sizes, you simply will not achieve the same even, professional-level tension. Your fingers will ache, and the result will almost certainly be less than ideal – trust me, I've got the hand cramps to prove it. These specialized pliers provide crucial grip and powerful leverage for achieving consistent, even tension across the entire surface without hurting your hands or tearing the fabric. They are a small, one-time investment that makes a colossal difference, giving you the precise leverage needed without demanding Herculean strength. Think of them as an extension of your own hand, but with superpowers for grip and pull. They truly are a masterclass tool.
Q2: What's the best canvas material to use for painting: Cotton or linen?
For beginners and everyday practice, cotton duck canvas is your friend. It's affordable, durable, and has a bit of natural stretch, making it forgiving during the learning process. Different weights (e.g., 8oz, 10oz, 12oz, measured in ounces per square yard) offer varying levels of robustness. Heavier weights (10-12oz+) are generally preferred for larger canvases (over 30x40 inches) or more aggressive paint applications like impasto (thick, textural paint application). They also hold up better to multiple gesso layers, making them ideal for oils or thick acrylics. Lighter weights (5-8oz) are fine for thinner acrylic washes, delicate mixed media, or quick studies. The thread count also plays a role, with higher counts indicating a finer, smoother, and often more durable canvas.
Linen is considered the premium, archival choice. It's incredibly strong, boasts a finer, more consistent weave, and is significantly less prone to expanding or contracting with changes in humidity, making it exceptionally stable over centuries. However, it's also pricier and less flexible to work with, demanding a bit more experience. There are also synthetic blends (like poly-cotton) available, offering a balance of durability, cost, and reduced reactivity to humidity compared to pure natural fibers. While I usually stick to natural fibers for their organic feel and archival properties, synthetic blends can be a good option for certain applications or budgets, especially if you need extreme stability or are working in highly variable environments. For a full comparison, I've got a comprehensive article on canvas showdown: linen vs cotton for artists.
Q3: How tight is too tight when stretching a canvas?
You want your canvas taut, like a drum, but not so tight that it strains the stretcher bars, causes them to bow, or threatens to tear the fabric. If you're straining with all your might to get it to stretch, you're probably pulling too hard. The canvas pliers should provide the right amount of leverage without making you feel like you're wrestling a bear. A good flick should produce a satisfying low drum sound, not a high-pitched twang, which might indicate excessive, unhealthy tension. Over-tensioning can also lead to warping of your stretcher bars and can even cause cracks in your future paint layers. Listen to your canvas, and it will tell you when it's just right.
Q4: Can I re-stretch an old canvas or a finished painting?
Yes, absolutely. You might do this if a canvas has become slack over time, if it's been damaged, or if you want to move a painting to a better quality or custom frame. If it's a finished painting, you must be very careful when removing the old staples and handling the painted surface to avoid damage – wear gloves and work slowly and methodically. Tools like a dental pick or fine-tipped pliers can be invaluable for carefully extracting old staples without damaging the canvas or wood. It's a delicate operation, but entirely possible. However, be aware that severe warping of the original frame or significant degradation of the canvas fibers might make re-stretching impossible or inadvisable. For truly valuable artworks, I'd strongly recommend consulting with a professional conservator; they have the expertise to assess and handle delicate pieces. An experienced art framer, like someone you might find in a qa with an expert art framer interview, could offer valuable insights into this. Just remember, once a painting is done, it's more fragile, so approach with patience.
Q5: Help! I have a wrinkle that won't go away! What do I do?
Don't panic! The first line of defense is the water spray trick I mentioned earlier: lightly mist the back of the canvas where the wrinkle is (using distilled water) and let it air dry completely. The fibers will shrink and tighten. If it's a really stubborn wrinkle, you may try gently warming the area with a low-heat hairdryer to relax the fibers before attempting to re-pull and re-staple. Then, carefully remove staples around that specific area (and about 2-3 inches on either side of it), re-pull with your canvas pliers, ensuring even tension, and then re-staple. Work slowly and methodically, checking the front often to see the effect. Patience is key here. Sometimes, wrinkles can be caused by warping stretcher bars, which might require a different solution (see Q6).
Q6: How do I prevent stretcher bars from warping? What if they're already warped?
Warping of stretcher bars is a common frustration, often caused by poor quality wood, uneven tension, or significant environmental fluctuations. To prevent it:
- Invest in Quality Bars: Always choose kiln-dried, finger-jointed stretcher bars. Kiln-drying removes moisture, making the wood much more stable and less prone to warping. Finger-jointing creates stronger, straighter lengths. Inspect them visually for straightness before purchase.
- Even Tension is Key: Follow the step-by-step stretching guide diligently, ensuring you apply even, balanced tension across all sides. Over-tensioning one side can pull the frame out of square and contribute to warping.
- Stable Environment: Store canvases in a room with stable temperature and humidity. Extreme changes can cause wood to expand and contract unevenly, leading to warping or paint cracking.
- Bracing (for Large Canvases): For very large canvases (e.g., over 48 inches on a side), consider using cross-braces (running horizontally or vertically across the frame) or corner braces (providing diagonal support from corner to corner). These add maximum structural integrity and prevent the frame from bowing inward or warping over time. They are easy to install, usually fitting into pre-cut slots in quality stretcher bars. This is a masterclass level preventative measure.
What if they're already warped? Fixing warped bars can be tricky but sometimes possible. For minor warps, you can try gently clamping the warped section to a straight surface, perhaps applying a small amount of moisture (a slightly damp cloth on the concave side) or heat (a low-heat hairdryer) to encourage the wood to relax back into shape, then let it dry slowly under tension. Adding additional cross-braces or corner braces can also help pull a slightly warped frame back into square and provide long-term stability. For severe warping, however, it's often best to replace the bars entirely to avoid future issues with your artwork.
Q7: Can I use a regular office stapler instead of a heavy-duty staple gun?
Absolutely not. A regular office stapler simply does not have the power to drive staples deep enough into the dense wood of stretcher bars, nor will its small staples provide the necessary holding power to withstand the significant tension of a stretched canvas. You'll end up with frustratingly loose staples, torn canvas edges, and a saggy result. A heavy-duty staple gun is a non-negotiable tool for this job. Trying to use an office stapler is like trying to chop down a tree with a butter knife – you'll just get frustrated.
Q8: What's the ideal environment for stretching canvas?
A stable environment is key. Avoid very dry or very humid conditions, as these can make the canvas difficult to work with and affect its long-term tension. A moderate room temperature and consistent humidity are best. If you live in an area with high humidity, consider letting your canvas acclimate indoors for a few days before stretching. Good ventilation is also a plus, especially if you plan to prime with gesso shortly after stretching. Think of it as creating a happy home for your canvas before it starts its artistic journey.
Q9: Where can I buy supplies for canvas stretching?
You can find stretcher bars and raw canvas at most dedicated art supply stores, both online and brick-and-mortar. Specialized online art material suppliers often offer a wider variety of high-quality, archival canvas, custom stretcher bar sizes, and more obscure weaves or fiber types that might not be available at general craft stores. Heavy-duty staple guns and staples are readily available at hardware stores. Canvas pliers are more specialized but can be found at art suppliers or online craft stores. Don't be afraid to shop around for the best quality and price, especially for stretcher bars – they're the foundation of your art, after all. Investing in good tools now will save you headaches (and money) in the long run. It's an investment in your artistic future.
Q10: What if my staples aren't seating properly or the fabric tears?
If staples aren't seating, your staple gun might not be powerful enough, or you might need longer staples (10mm rather than 8mm for thicker bars/canvas). Ensure you're pressing the gun firmly against the wood to get full penetration; a weak press is often the culprit. If the fabric tears, it could be a sign you're pulling too hard, the canvas material is too thin or old, or your pliers have too sharp an edge. Always inspect your canvas for weaknesses before starting. If you need to remove staples, a staple remover is invaluable for carefully extracting them without further damaging the canvas or wood. You might need to remove staples from the torn area, trim, and restart that section, or even patch a small tear from the back with archival repair tape before re-stretching. Sometimes, it's just a learning curve, and it happens to the best of us! Even experienced artists occasionally face such minor setbacks. Don't let it discourage you.
Q11: How do I prepare a very dusty or old canvas for stretching?
If you're using salvaged or aged raw canvas, it's a good idea to gently clean it first. Lay it flat and use a soft brush or a vacuum cleaner with a brush attachment on a low setting to remove dust and loose debris. For more embedded dirt, you can carefully wipe the back with a slightly damp cloth (using distilled water) and let it dry completely. For old canvas that might be brittle, handle it with extra care and consider using a slightly less aggressive tension during stretching to avoid tears. Always check for signs of mildew or significant degradation, which might indicate the canvas is beyond saving for archival work. Sometimes, a canvas has simply seen better days, and it's okay to let it go.
Q12: How do I know what size canvas to stretch?
This depends entirely on your vision for the artwork and the space it will inhabit. Start by sketching your idea, then consider the proportions. Do you need a standard rectangle, a square, or something more unique? Measure your studio space, or where the final piece will hang. Remember, you're building from scratch, so the possibilities are truly endless! Thinking about the final presentation, like how it might look in a a guide to building a floating frame for canvas art, can also influence your size choice. It's a joyful freedom, truly.








Q13: What about traditional animal-based sizing like rabbit skin glue? Is it still used?
Ah, rabbit skin glue (RSG)! This is a fascinating bit of art history and tradition. Historically, animal-based glues like RSG were the primary method for sizing natural canvas, particularly for oil painting. It creates an extremely stiff, non-absorbent ground, sealing the canvas fibers and preventing the oil from the paint from eventually rotting the fabric (a process known as 'paint limb'). Many classical oil painters still swear by it for its unique feel and the way it makes colors sit on the surface. Compared to modern acrylic gessos, RSG offers a distinctly 'slippery' yet firm surface, allowing paint to glide and blend with incredible ease, often favored for smooth, layered oil techniques like glazing.
However, RSG has some drawbacks: it's hygroscopic (meaning it readily absorbs and releases moisture), which can cause the canvas to expand and contract more with humidity changes, potentially leading to cracking of paint layers over time. This hygroscopic nature means an RSG-primed canvas will feel different depending on the humidity in your studio – sometimes softer, sometimes drum-tight. It's also more complex to prepare (requiring heating) and isn't suitable for acrylic paints. Other traditional sizing agents include hide glue (similar to RSG) or even various types of starch glues, though these are less common for professional canvas sizing today. The concept of imprimatura – a thin, transparent layer of color applied as the initial ground – is often employed on traditionally sized and primed surfaces to establish a tonal key for the painting, leveraging the unique qualities of these grounds. Modern acrylic gessos offer a more flexible, stable, and convenient alternative that protects the canvas equally well, though perhaps with a different 'feel' than traditional RSG. So, while it's still used by some purists, for most contemporary artists, particularly those just starting out or working with acrylics, acrylic gesso is the more practical and archival choice. It's a choice between tradition and modern archival science.
Q14: What is the difference between a stretcher bar and a strainer bar, and which is better for archival purposes?
This is a great, and often overlooked, distinction! Both stretcher bars and strainer bars are used to create the wooden frame that supports a canvas. The key difference lies in their adjustability.
- Stretcher Bars: These are designed with joints (often mitered or finger-jointed) that allow for slight expansion of the frame. Crucially, they typically include slots at the inner corners for small wooden keys (also called wedges). If your canvas becomes slack over time (which is common due to environmental changes or the natural stretching of the fabric), you can gently tap these keys into the slots with a rubber mallet. This subtly expands the frame, re-tensioning the canvas without having to re-stretch the entire piece. For archival purposes, stretcher bars are overwhelmingly preferred because they allow for ongoing maintenance and preservation of proper tension, which is vital for preventing sagging, ripples, and potential damage to the paint layers over the long term.
- Strainer Bars: These are fixed frames, typically butt-jointed and screwed or glued together, without any mechanism for re-tensioning. Once the canvas is stretched onto a strainer bar frame, its tension cannot be adjusted. If the canvas sags, the only solution is to remove it, re-stretch it, or in some cases, replace the entire frame. While cheaper and simpler to construct, strainer bars are not ideal for archival work or for any painting you intend to keep for a long time, as they offer no recourse for natural slackening.
For any serious artwork, especially those destined for a gallery, client, or long-term display, always choose stretcher bars with keys. It's a small detail that makes a monumental difference in the longevity and preservation of your art.
The Canvas Unveiled: Your First Mark of Creation
Stretching a canvas is so much more than just prep work; it's truly the first physical act of creation for a new piece. It's a foundational skill that every painter should try at least once, like learning to mix your own colors or understanding different definitive-guide-to-paint-types-for-artists. It might feel like a chore at first, like wrestling a particularly stubborn octopus, but with practice, it becomes a cherished ritual – a quiet, focused moment before you how to overcome fear of the blank canvas and begin to paint. And every single time I finish a painting on a canvas I stretched myself, like some of the larger works you might find on my /buy page, there's an extra layer of pride, a deeper connection to the final piece. So go on, clear your workspace, gather your tools, and give it a try. Your hands, and your art, will thank you.
It’s a masterclass in patience, precision, and personal connection to your craft, ultimately empowering you to create lasting work. And what could be more rewarding than that? I'd love to hear about your stretching experiences or see your first DIY canvas – share your journey!