How to Safely Move Artwork: An Artist's Comprehensive Packing & Transport Guide
Moving your cherished art? This comprehensive guide from an artist covers detailed packing for paintings, sculptures, prints, textiles, and more, plus transport, insurance, and unpacking tips for a safe move.
How to Safely Transport Artwork When Moving: An Artist's Comprehensive Guide
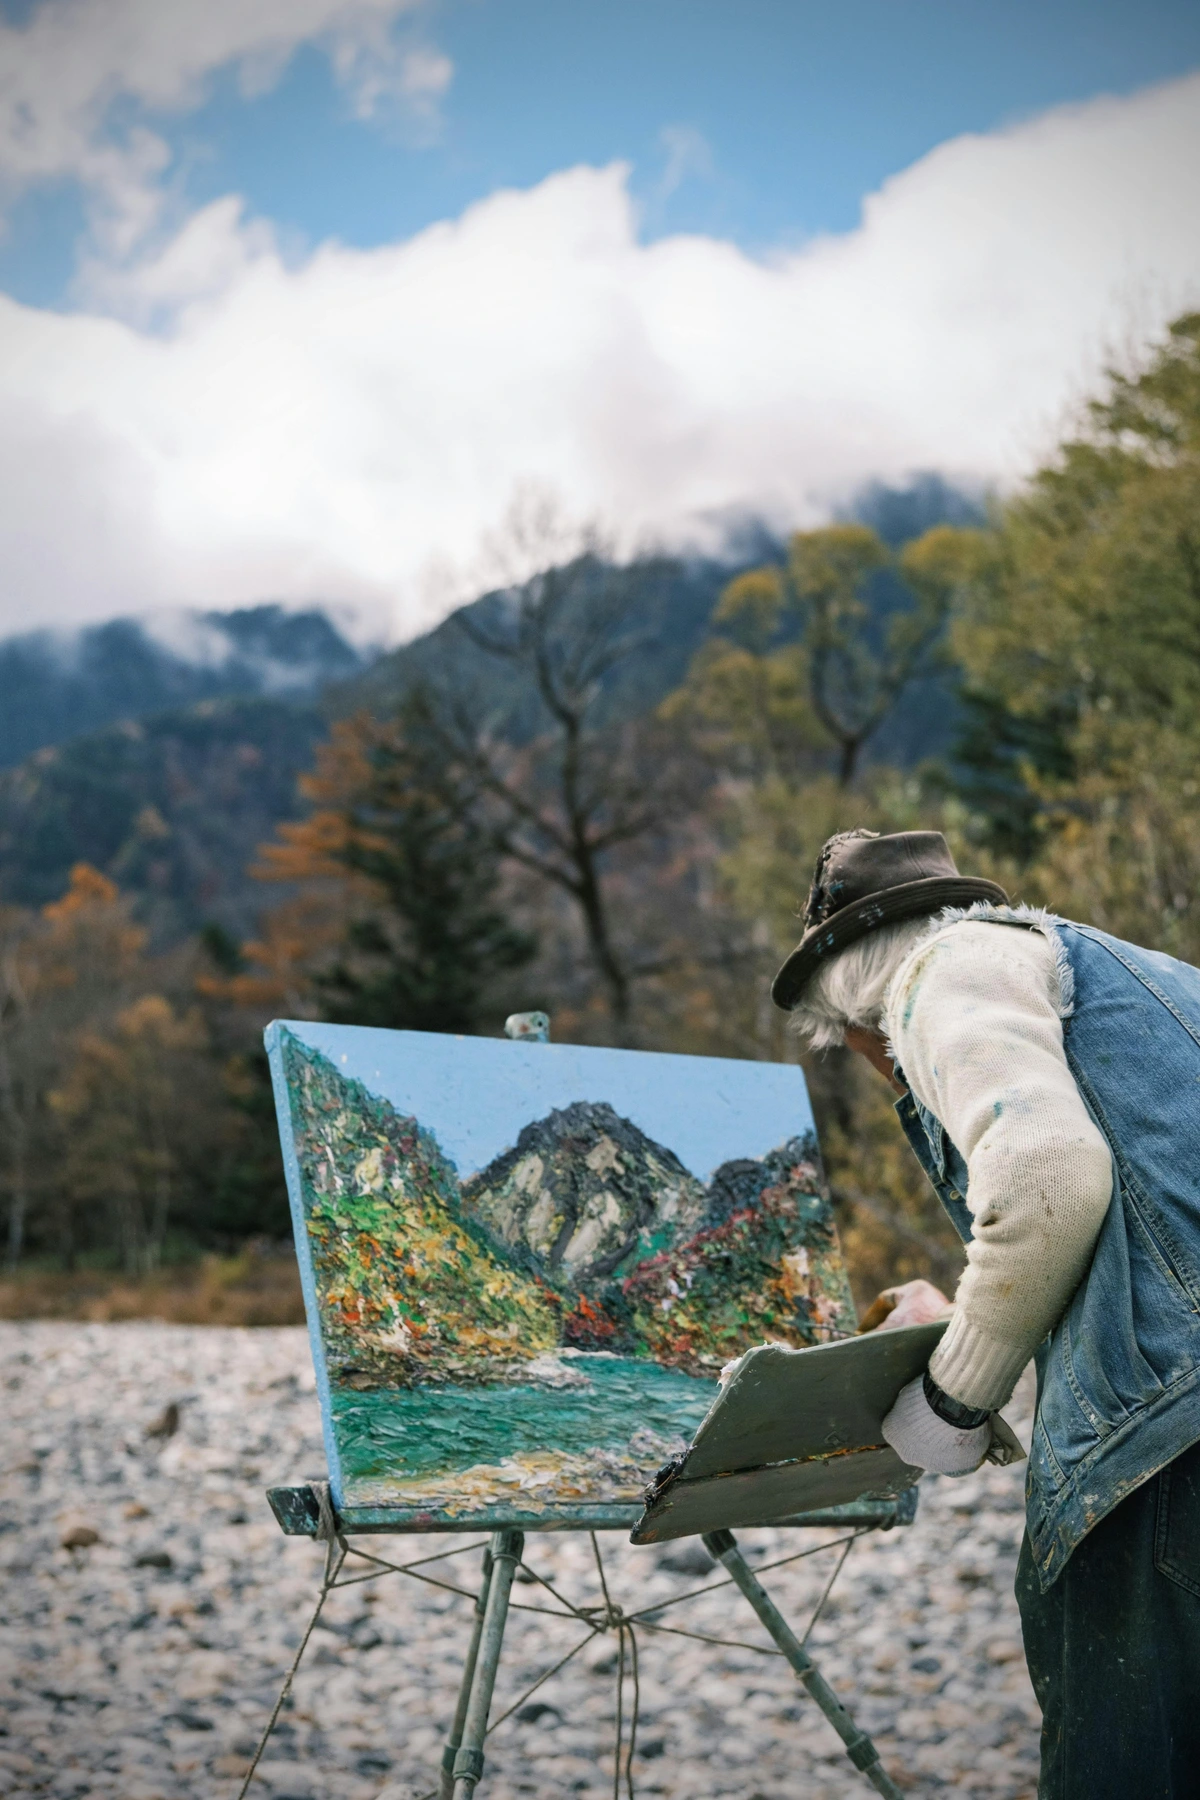
Moving house is stressful enough, right? Add the responsibility of transporting your beloved art collection – whether it's a single cherished painting or a whole wall of prints – and the anxiety level can skyrocket. I've been there. The thought of a canvas getting punctured, a frame getting scratched, or a sculpture taking a tumble is enough to make any art lover (or artist!) break out in a cold sweat. It feels like you're moving a piece of your soul, doesn't it? I remember the time I moved a large, unframed abstract piece across town in a borrowed van... let's just say the sheer panic when the van hit a pothole was a masterclass in adrenaline. Thankfully, the art survived, but the lesson stuck: planning is everything. That feeling of vulnerability, of entrusting something so precious to the chaos of transit, is real. As an artist, each piece holds a story, a piece of my journey, and protecting them feels like protecting my own history. Having moved my studio and collection multiple times, navigating everything from delicate canvases to awkward sculptures, I've gathered insights that go beyond standard moving advice. But it doesn't have to be overwhelming.
But fear not! With a little planning, the right materials, and a healthy dose of caution, you can significantly reduce the risk. Think of this as your personal, slightly-less-anxious guide to getting your art from Point A to Point B in one piece. It's not just about protecting the monetary value; it's about safeguarding pieces that hold memories, tell stories, and make your space feel like yours. (Speaking of making a space yours, you might find some inspiration in my guide on how to decorate your home).
Here's what we'll cover:
- Why your art needs special treatment
- Phase One: Preparation (Inventory, Value, Insurance, Cleaning, Pre-Packing Prep)
- Phase Two: Gathering Your Supplies
- Phase Three: The Art of Packing (Different Art Types)
- Phase Four: The Journey (Loading & Transport)
- Phase Five: Arrival & Unpacking
- What to do if damage occurs
- When to Call the Professionals
- Temporary Storage Considerations
- Long-Distance and International Moves
Why Your Art Needs Special Treatment During a Move
Okay, maybe this seems obvious, but let's just pause for a second. Your art isn't just another box of books or clothes. It's often fragile, sometimes irreplaceable, and susceptible to all sorts of environmental nasties like temperature changes, humidity, and direct sunlight (which, by the way, you should always protect your art from, even when it's just hanging on the wall – check out my tips on protecting art from sunlight). Think of that delicate oil painting or that intricate ceramic sculpture – they require a level of care that your average moving box just can't provide. Different types of art have different vulnerabilities.
Humidity, for instance, can cause canvas to slacken or tighten, potentially cracking paint, especially on older or more rigid works like traditional oils. Wood frames can expand or contract at different rates than the canvas or panel they hold, leading to stress and cracking. Paper-based art, such as prints or watercolors, is incredibly vulnerable to moisture, leading to warping, mold, or staining. Temperature fluctuations can cause materials to expand and contract at different rates, stressing frames, canvases, and even the artwork itself. And physical impact? A bump that might just dent a box of clothes could shatter glass, puncture a canvas, or chip a delicate sculpture. Don't forget vibration during transit – the constant rattling and shaking can loosen frames, damage delicate surfaces, or cause internal stress on sculptures. Understanding these specific risks is the first step to mitigating them.
Phase One: The Calm Before the Packing Storm (Preparation)
Before you even think about bubble wrap, you need a plan. Trust me, winging it with valuable art is a recipe for disaster. I learned that the hard way with a slightly dinged frame once. Never again. This phase is about getting everything documented, assessed, and ready before the physical packing begins.
Inventory and Documentation
First, make a list of every piece you're moving. Take photos of each piece, front and back, and crucially, take close-up photos of any existing damage. This is vital for insurance purposes and just for your own peace of mind. A systematic approach here is key: photograph the overall piece, then zoom in on corners, edges, and any existing marks or wear. This documentation is your baseline. Include details like the artist (if known – maybe you even own a piece from one of the famous visual artists today?), title, date, dimensions, and medium (types of artwork can vary wildly!). This inventory is your safety net. Once documented, store digital copies of everything – photos, inventory list, appraisal documents – in a secure cloud storage service or on a separate hard drive kept with you, not on the moving truck. This ensures you have access to it even if something happens to the physical items or other belongings.

Assess the Value and Fragility
Be honest with yourself. Is this a poster you picked up at a festival, or is it a valuable original painting? The level of care (and expense) you invest should reflect the piece's value and fragility. Fragility isn't just about the material; it's also about the age, condition, and any previous restoration work. An older painting with delicate paint layers or a sculpture with thin, protruding elements will require more care than a sturdy framed print.
Some pieces might require professional packing or even specialized art movers. Don't be afraid to admit when something is beyond your DIY comfort zone – consulting with a professional appraiser or conservator for high-value or extremely delicate pieces is a smart move. (Thinking about the value of your collection? My thoughts on understanding art prices might be interesting).
Insurance
Speaking of value, make sure your art is adequately insured for the move. Your standard homeowner's or renter's insurance might not cover art during transit, or might have low limits. Check your policy and consider purchasing supplemental moving insurance or specialized art insurance. Your detailed inventory will be essential for this. If damage occurs, having clear documentation before the move is crucial for filing a successful claim.

Clean Your Art (Carefully!)
Before packing, give your art a gentle clean if needed. Dust and debris can scratch surfaces during transit, especially under pressure from packing materials. Be EXTREMELY careful here – different mediums require different cleaning methods. Never use harsh chemicals or excessive water, especially on paintings or paper. For valuable or delicate pieces, it's often best to leave cleaning to a professional conservator. For most pieces, a very soft, clean brush (like a wide, soft-bristled paintbrush) can be used to gently dust the surface and frame. I've written guides on how to take care of your art and specifically how to take care of your painting that can help. A clean surface is a safer surface.
Pre-Packing Preparation
For certain types of art, especially large canvases or delicate paper works, you might need to do some preparation before you even start wrapping. For very large canvases, especially if they are unframed, you might consider having them removed from their stretcher bars and rolled for transport. This requires professional handling to avoid cracking the paint. For framed paper art, if you're concerned about the glass or the weight, you might consider having it professionally unframed and transported flat between acid-free boards. Documenting existing hanging hardware, wires, and specific mounting instructions with photos and notes is also crucial now, especially for custom or complex pieces. Trust me, trying to figure out how a multi-part sculpture was originally mounted in the chaos of unpacking is a headache you want to avoid.
Phase Two: Arming Yourself (Gathering Your Supplies)
Don't skimp here. Good packing materials are an investment in protecting your art. Think of it as buying peace of mind, one roll of bubble wrap at a time. I learned this after trying to reuse flimsy boxes once. Never again. Quality matters. You can typically source these specialized materials from art supply stores, specialized moving suppliers, or online retailers.
Here's what you'll likely need:
- Wrapping & Surface Protection:
- Glassine Paper: A smooth, non-abrasive paper perfect for wrapping delicate surfaces like oil paintings or pastels before bubble wrap. It prevents the bubble wrap from sticking or leaving marks. You can find this at art supply stores.
- Acid-Free Paper or Cardboard: For interleaving between prints or protecting flat surfaces. This is key for preventing damage to paper-based works. Acid-free means it won't degrade over time and harm the paper it's protecting. Also available at art supply stores.
- Plastic Sheeting: Useful for protecting against moisture, especially for larger pieces or sculptures. Ensure it doesn't trap humidity inside the wrapping – ventilation is key.
- Padding & Cushioning:
- Bubble Wrap: The good stuff, with large bubbles. Avoid cheap, small-bubble wrap for direct contact with delicate surfaces unless using glassine first. You'll need plenty. Buy in bulk from moving supply stores or online.
- Moving Blankets: For extra padding and wrapping larger pieces or sculptures. These offer a good layer of soft protection. Available from moving companies or hardware stores.
- Packing Paper: Plain newsprint or acid-free paper is great for filling voids in boxes and adding an extra layer of cushioning around wrapped items. Avoid colored newsprint as the ink can transfer.
- Foam Sheets or Rolls: Excellent for wrapping framed pieces or sculptures, providing a smooth, protective layer.
- Packing Peanuts or Loose Fill: Useful for filling voids around irregularly shaped objects, but be mindful of static electricity, especially with electronics or delicate surfaces. Use anti-static peanuts if possible, or consider crumpled paper as an alternative.
- Boxes & Containers:
- Art Boxes: These are specifically designed for framed art, often telescoping to fit different sizes. They are sturdier than regular moving boxes and offer better protection against punctures and bends. Find these at moving supply stores or online.
- Mirror/Picture Boxes: Similar to art boxes, designed for flat items. Often come in pieces you assemble to fit the item.
- Custom Crates: For extremely valuable, large, or fragile pieces. This is usually handled by professional art movers, but you can also order custom crates from specialized suppliers. Essential for sculptures or very large/heavy framed works.
- Strong Cardboard Boxes: For smaller, less fragile items or for creating internal supports within larger boxes.
- Art Tubes: For safely transporting unframed prints or posters by rolling them.
- Tools & Fasteners:
- Packing Tape: Strong, reliable tape specifically designed for packing. Avoid duct tape, which can leave residue. Painter's tape is good for securing protective layers directly to the art/frame, as it's less likely to damage surfaces. Never apply tape directly to the artwork surface itself (canvas, paper, paint).
- Packing Tape Dispenser: Saves time and frustration.
- Utility Knife or Box Cutter: Essential for cutting packing materials to size.
- Scissors: For tape and wrapping.
- Corner Protectors: Cardboard or foam protectors for framed corners. Corners are surprisingly vulnerable! Available at art supply or moving supply stores.
- Cotton Gloves: To prevent transferring oils and dirt from your hands onto delicate surfaces, especially when handling unframed prints or photographs.
- Measuring Tape: Crucial for measuring your artwork to select the correct box size or determine if custom crating is needed.
- Labeling:
- Markers: For labeling clearly. Use bold, easy-to-read markers.
- Labels: Large, clear labels are a must. Go beyond just 'Art'. Include:
- Contents description (e.g., "Oil Painting - Landscape", "Framed Print - Abstract")
- Artist name (if known)
- Fragility warnings ("Fragile", "Glass", "Handle With Care")
- Orientation ("This Side Up", "Do Not Stack")
- Destination room in the new house (e.g., "Living Room", "Office")
Phase Three: The Art of Packing (Different Art Types)
Alright, supplies gathered. Now for the moment of truth: the actual packing. This is where the specific needs of different art types really come into play. It's not a one-size-fits-all situation, and honestly, it can feel a bit like performing surgery on your precious objects. Take your time, be patient, and remember the goal: safe passage. I once spent an entire afternoon carefully wrapping a single, oddly-shaped ceramic piece, only to realize I'd forgotten to account for its base in the box dimensions. Had to start over! Lesson learned: measure twice, pack once.
Framed Artwork (With or Without Glass)
Framed pieces are common, but the presence of glass changes things. Glass is fragile, obviously, but even acrylic glazing can scratch. Frames themselves are susceptible to dings and dents.
- Protect the Surface: If there's glass or acrylic, place a layer of painter's tape in a starburst or grid pattern across the surface. If the glass breaks, this helps hold shards together. Do NOT use strong packing tape directly on glass or frame. If it's a painting without glass, cover the surface with glassine paper first to prevent bubble wrap marks.
- Protect the Corners: This is critical! Use cardboard or foam corner protectors on all four corners. Secure them with painter's tape.
- Wrap the Piece: Wrap the entire framed piece in foam sheeting or a moving blanket for a soft layer. Then, wrap generously in large-bubble bubble wrap. Use multiple layers, especially for valuable pieces. Secure the bubble wrap with packing tape, but avoid taping directly to the frame if possible.
- Box It Up: Ideally, use a telescoping art or mirror box that fits snugly. If using a standard box, make sure it's sturdy and large enough. Pad the bottom of the box with crumpled packing paper or peanuts. Carefully place the wrapped artwork inside, ensuring it's centered. Fill any remaining voids with more packing paper or peanuts to prevent shifting. The goal is a snug fit where the art can't move around.
- Seal and Label: Seal the box securely with packing tape. Apply your detailed label clearly on the top and at least one side. Add extra "Fragile" and "Glass" (if applicable) warnings.
Unframed Canvases
Unframed canvases are vulnerable to punctures, tears, and surface abrasions. They need protection that doesn't press directly on the paint surface.
- Protect the Surface: Cover the painted surface with glassine paper. This is non-abrasive and won't stick to the paint.
- Protect the Corners/Edges: Use cardboard corner protectors or create custom ones from sturdy cardboard. Tape them securely to the sides of the canvas frame (the stretcher bars), not the canvas itself.
- Wrap It: Wrap the entire canvas in foam sheeting or a moving blanket. Then, wrap in large-bubble bubble wrap. Ensure the bubble wrap isn't pressing hard on the canvas surface – the corner protectors should create a slight gap.
- Create a Cardboard Sandwich: Cut two pieces of sturdy cardboard slightly larger than the canvas. Place the wrapped canvas between the cardboard pieces. Tape the edges of the cardboard together securely to create a rigid protective shell.
- Box or Crate: For smaller canvases, you might find a suitable box and pad it well. For larger or more valuable canvases, consider a custom wooden crate. Professional art movers often build these on-site.
- Seal and Label: Seal the box/crate and label clearly with contents, artist, "Fragile", "Do Not Stack", and destination room.
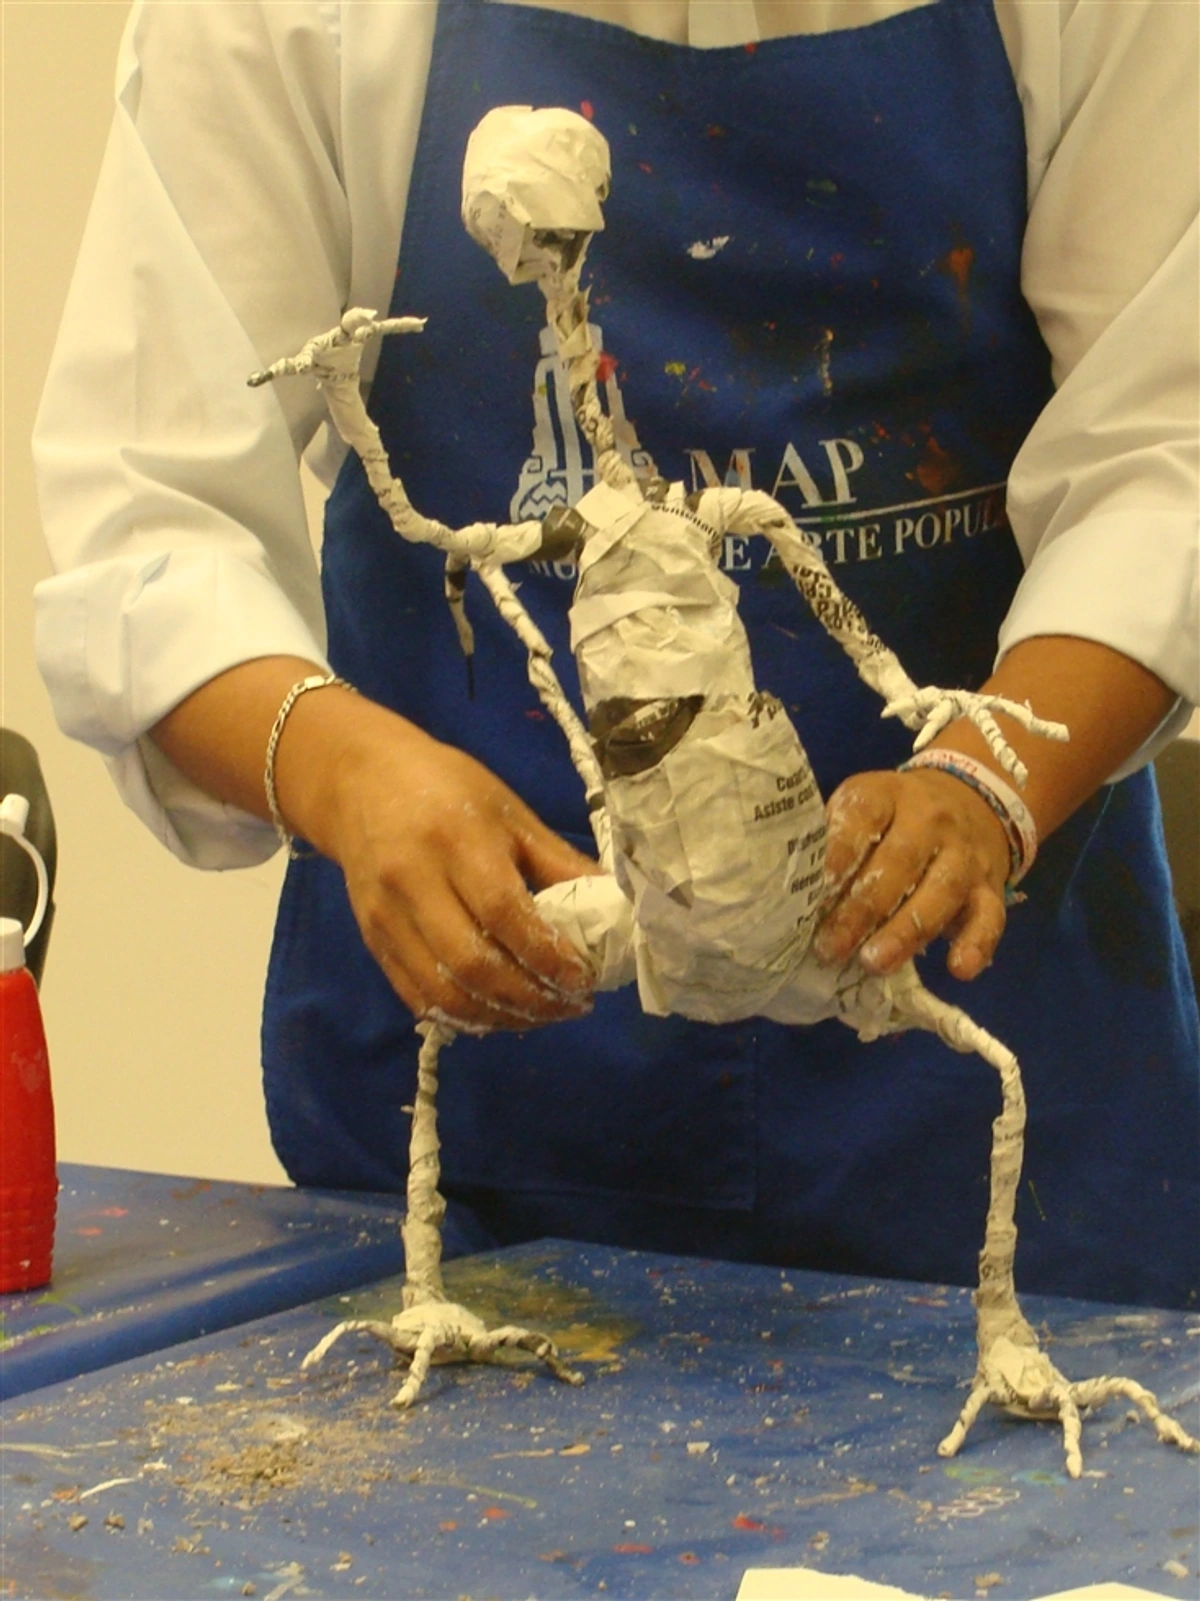
Sculptures
Sculptures are tricky because they come in infinite shapes and materials. The key is protecting delicate parts and ensuring stability. Moving a large, heavy bronze piece feels like a workout and a high-stakes puzzle all at once!
- Assess Fragility: Identify the most fragile points – thin limbs, protruding elements, delicate bases. Document these in your pre-move photos.
- Internal Support: For complex or hollow sculptures, consider internal supports. Crumpled acid-free paper or custom foam inserts can fill voids and prevent internal stress. For pieces with thin protrusions, you might need to build a custom support structure within the box.
- Wrap Carefully: Wrap the sculpture in acid-free paper or foam sheeting first. Then, wrap generously in bubble wrap, paying extra attention to fragile areas. You might need multiple layers and creative wrapping techniques to cover irregular shapes.
- Double Boxing is Your Friend: This is highly recommended for sculptures. Find a box that fits the wrapped sculpture with several inches of space on all sides. Pad this inner box generously with packing peanuts, crumpled paper, or foam. Place the wrapped sculpture inside, ensuring it's suspended by the padding and not touching the box walls. Seal the inner box.
- Outer Box: Find a second, larger box that can fit the inner box with several inches of space on all sides. Pad the bottom of the outer box. Place the sealed inner box inside. Fill the space between the inner and outer box with more packing peanuts or crumpled paper. The inner box should be cushioned on all sides.
- Seal and Label: Seal the outer box securely. Label clearly with contents, artist, "Extremely Fragile", "This Side Up", "Do Not Stack", and destination room. For heavy sculptures, note the weight if possible.

Paper-Based Art (Prints, Drawings, Photographs)
Paper is susceptible to creases, tears, moisture, and acid damage. Handling with care and using acid-free materials is paramount. If you're unframing a piece, take photos of the original matting and framing setup so you can replicate it later if desired.
- Handle with Gloves: Always wear clean cotton gloves when handling unframed prints or photographs to avoid transferring oils and dirt.
- Flat Storage: For flat pieces, place acid-free paper between each item. Stack them carefully and place them between two pieces of sturdy, acid-free cardboard. Tape the edges of the cardboard together securely to create a rigid portfolio.
- Rolling (Use with Caution): Only roll prints or posters if they are designed to be rolled and are not too fragile. Use a wide art tube. Roll the print with the image facing outwards (this is less likely to cause cracking). Secure the roll with acid-free paper or a paper band (no rubber bands!). Slide it into a sturdy art tube. Pad the ends of the tube to prevent the print from shifting.
- Box It: Place flat cardboard portfolios in a sturdy, appropriately sized box, padding voids. Place art tubes in a box or secure them so they don't roll around.
- Seal and Label: Seal and label clearly, noting contents, artist, "Fragile - Paper", "Do Not Bend" (for flat), and destination room.
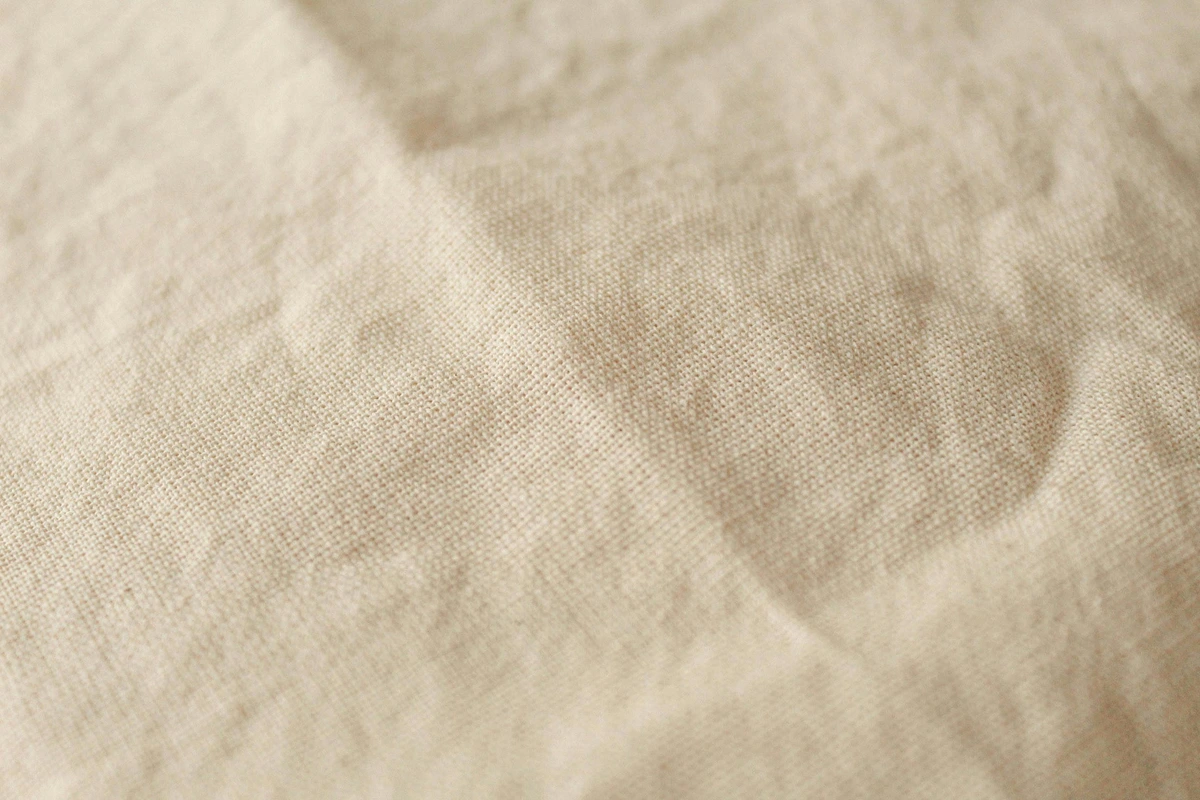
Other Art Types (Textiles, Ceramics, Digital Prints on Rigid Substrates)
For anything that doesn't fit neatly into the above categories – assemblages, installations, delicate textiles, or even digital prints mounted on metal or acrylic – you'll need to combine techniques and use your best judgment. Think about the most vulnerable elements and protect those first. Textiles might need to be rolled around an acid-free tube or carefully folded with acid-free tissue paper between folds, then placed in a sturdy box. Ceramics (beyond simple sculptures) might require custom foam inserts. Digital prints on rigid substrates need corner and surface protection similar to framed art, but without the glass concern. Custom solutions, like building internal supports or specialized crates, might be necessary. When in doubt, consult a professional art handler.
Moving Very Large, Heavy, or Complex Pieces
This is where DIY often hits its limit. Very large paintings, heavy bronze sculptures, or intricate installations might require specialized equipment like dollies, lifts, or even cranes. They almost certainly require multiple strong, careful handlers. If you have pieces like this, seriously consider hiring professional art movers. They have the expertise, equipment, and insurance to handle these challenges safely. Attempting to move something too large or heavy yourself is not only risky for the art but also for your own safety. Don't be a hero; be smart.
Phase Four: The Journey (Loading & Transport)
The packing is done! You've wrapped your treasures like mummies, and hopefully, labeled them clearly. Now comes the actual move. This phase is all about minimizing bumps, shifts, and environmental stress. It's where my borrowed-van-pothole panic comes back to mind, so let's try to avoid that for you.
Before you even start loading, take a moment to inspect the moving vehicle itself. Is it clean inside? Free of debris, sharp objects, or potential leaks? A quick sweep and check can prevent unexpected damage. If you're using professional movers, note the condition of the vehicle upon arrival as part of your documentation.
- Load Art Last: Whenever possible, load your art boxes and crates last onto the moving truck. This ensures they are among the first items off, minimizing time spent under pressure or exposed to fluctuating conditions.
- Keep Framed Art Vertical: Framed paintings and prints should almost always be transported vertically, on their edge. Stacking them horizontally, especially with other items on top, puts immense pressure on the frame, glass, and artwork. Use moving blankets or cardboard sheets between pieces to prevent rubbing.
- Secure Everything: Use moving straps or ropes to secure art boxes and crates firmly against the walls of the truck. They should not be able to shift, slide, or tip over during transit. Fill any gaps around them with other soft items like mattresses or sofas, but never pack anything heavy or hard directly against the art. It's like playing Tetris, but with priceless cargo!
- Sculptures Need Space: Ensure sculptures, especially larger or more delicate ones, have dedicated space where they are fully supported and cannot be knocked over or crushed. Custom crates are ideal for this.
- Mind the Environment: Avoid leaving art in a hot truck or cold garage for extended periods. Extreme temperature and humidity fluctuations are damaging. If you're moving sensitive pieces a long distance, climate-controlled transport is highly recommended. Even for shorter moves, try to keep the transit time as direct as possible.
- Drive Carefully: If you're driving the vehicle yourself, drive as smoothly as possible. Avoid sudden stops, sharp turns, and bumpy roads. Go slow over speed bumps! Your precious cargo is literally riding on your driving skills now.
Phase Five: Arrival & Unpacking
You've made it! The truck is at the new place. The urge might be to rip everything open and get settled, but resist that with your art. Unpacking art requires the same care as packing it, just in reverse. It's the final hurdle before your art can grace your new walls.
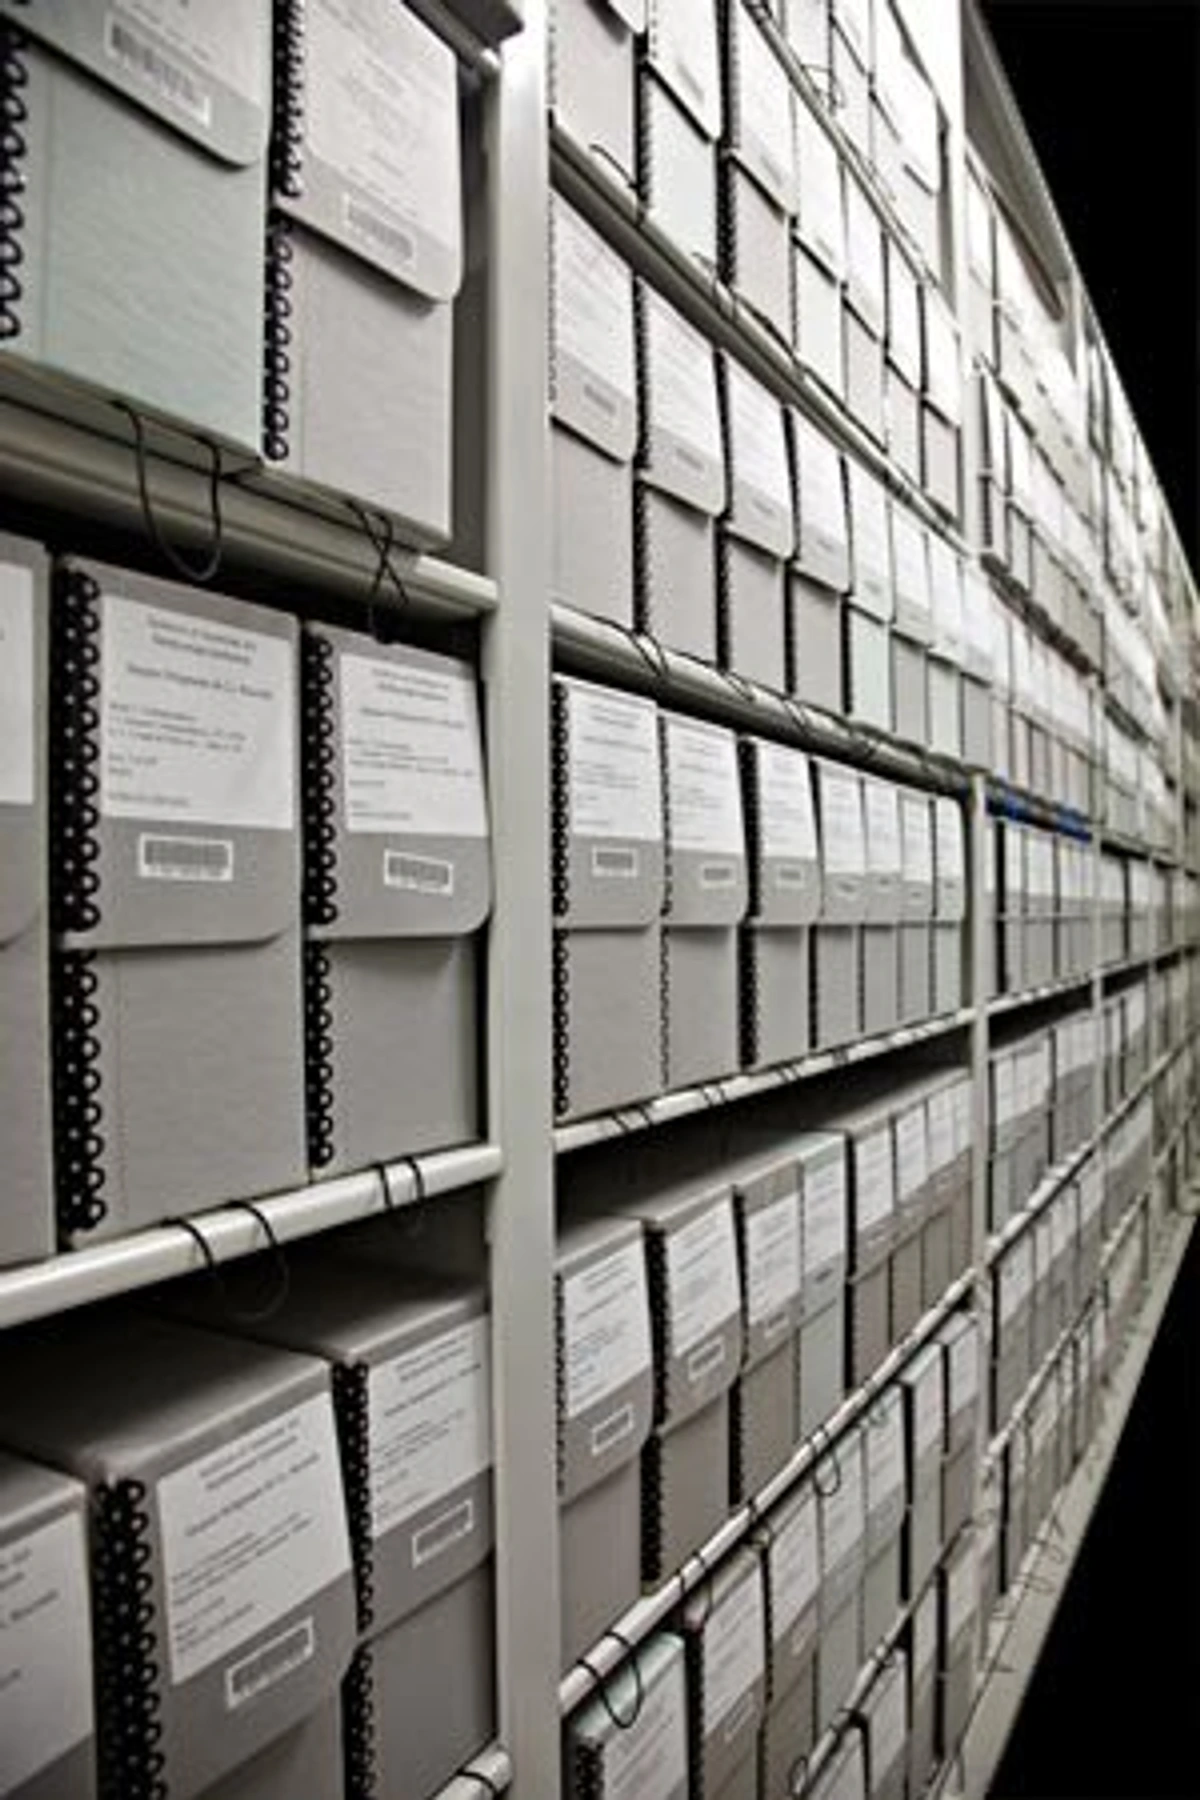
- Choose a Safe Zone: Designate a safe, climate-stable area in your new home for the art to be placed immediately upon arrival. This should be away from high-traffic areas, direct sunlight, and extreme temperature sources (like vents or radiators). A spare room or a corner of the living room works well.
- Unload Art First: Since you loaded it last, your art should be easily accessible. Carefully carry each piece to the designated safe zone. Do not drag or slide boxes. Handle framed pieces by the sides, not the top wire.
- Unpack Methodically: Once in the safe zone, begin unpacking one piece at a time. Reverse the packing steps carefully. Use your utility knife to cut tape, but be mindful of what's underneath. Remove padding and wrapping materials slowly. Keep your cotton gloves handy for paper-based works.
- Immediate Inspection: As soon as a piece is unwrapped, inspect it thoroughly for any signs of damage that weren't present before the move. Check corners, edges, surfaces, frames, and any delicate elements. Take photos of any damage you find immediately, before moving the piece or doing anything else. If you used professional movers, document the condition of the vehicle or their handling upon arrival as well.
- Temporary Placement: Lean framed pieces against a wall in the safe zone (not face down!). Place sculptures on a stable surface. Keep paper pieces flat. Don't rush to hang or install everything right away. Let the art acclimatize to the new environment for a day or two if possible.
What to do if damage occurs
It's the scenario you dread, isn't it? Despite all your careful planning and packing, sometimes accidents happen. It's a gut-wrenching feeling, seeing a piece you cherish damaged. But don't despair – there are steps you can take.
- Document Immediately: This is crucial. As mentioned in the unpacking phase, take clear, detailed photos of the damage as soon as you discover it. Photograph the damaged area up close, the entire piece, and the packing materials and box it was in. Note the date and time you discovered the damage.
- Do NOT Attempt Repairs: Unless you are a trained conservator, do not try to fix the damage yourself. You could inadvertently make it worse. Resist the urge to wipe, glue, or touch the damaged area excessively.
- Contact the Mover/Insurance: Notify your moving company and/or your insurance provider immediately. There are often time limits for filing claims. Provide them with your pre-move inventory and damage documentation.
- Get a Professional Assessment: For valuable pieces, contact a professional art conservator. They can assess the extent of the damage, determine if it's repairable, and provide an estimate for conservation work. This assessment will be vital for your insurance claim.
- Keep Everything: Do not discard the damaged packing materials or the box until your claim is settled or you are advised to do so by the insurance company.
It's a stressful situation, but having your documentation ready and acting quickly will make the process much smoother.
Final Thoughts
Moving art is never entirely without risk, but by approaching it methodically, using the right materials, and handling each piece with the care it deserves, you drastically improve the chances of everything arriving safely. It's a process that requires patience and attention to detail, but the reward of seeing your beloved collection grace the walls of your new home is well worth the effort. Each piece, whether it's a painting, print, or sculpture (maybe even one of my own pieces from my shop?), carries a part of your story, and ensuring its safe passage is an act of preserving that history. Once your art is safely home and you're settling in, finding the perfect spot for each piece is the next joy – you might find inspiration in my guide on how to decorate your home. And hey, if you're ever in the Netherlands, maybe you can visit my museum in 's-Hertogenbosch or read about my artist journey for some inspiration!