
Photographing Your Art Collection for Insurance: An Artist's Guide
Protect your art collection with this comprehensive artist's guide. Learn how to photograph diverse media, document details for insurance, understand valuation, organize your inventory, and gain peace of mind.
How to Photograph Your Art Collection for Insurance: An Artist's Comprehensive Guide
Okay, let's talk about something that might feel a bit... well, adult. Insurance. Specifically, insuring your art collection. I know, I know, it's not as exciting as discovering a new artist or finally hanging that perfect piece. But trust me, as someone who pours their soul into creating art, and who also cherishes the pieces they've collected over the years, protecting that investment – both financial and emotional – is absolutely crucial.
And a massive, often overlooked, part of that protection? Good photographs.
Think of it like this: if the unthinkable happens – a fire, a flood, accidental damage (please, let's not even think about that!) – how do you prove what you had? How do you show the insurance company the condition it was in? A detailed, clear photograph is your best friend in that scenario. It's not just a record; it's evidence. It's peace of mind. I used to be terrible at this. I'd snap a quick, blurry photo on my phone in bad light and think, "Yeah, that'll do." Spoiler alert: it wouldn't. Not if I ever actually needed it. The thought of trying to explain a cherished piece, its unique texture, or a subtle artist's mark with a grainy, poorly lit image? Pure anxiety. So, I learned the hard way that a little effort upfront saves a lot of potential heartache later. This is my personal guide, born from those early, slightly chaotic days, to help you avoid my mistakes and get it right.
What You'll Need (It's Probably Less Than You Think)
Before you start, gather your tools. You don't need a professional studio setup, but a few basics will make a world of difference. Honestly, I used to think I needed fancy gear, but my best results often come from just using what I have smartly. Here's the gear I've found most useful, proving you don't need a professional setup:
- Your Camera: A modern smartphone camera is perfectly capable, if you use it correctly. If you have a digital camera, even better. The key is resolution and clarity. You need to be able to zoom in and see details.
- Good Lighting: Natural light is often best. Find a spot near a window, but avoid direct sunlight which can cause harsh shadows and glare. If using artificial light, aim for soft, diffused light. Avoid using your camera's flash directly on the artwork – it's the quickest way to ruin a shot with reflections and uneven light. I learned this after many frustrating attempts that made my paintings look like shiny, distorted messes.
- A Stable Surface or Tripod: This is crucial for sharp, non-blurry photos. For smaller pieces, a table works. For larger pieces, a tripod for your camera or phone is invaluable. My early attempts were wobbly phone shots that looked like I'd taken them during an earthquake – trust me, stability matters!
- A Neutral Background: A plain wall (white, grey, or black) or even a large sheet works well. You want the focus to be entirely on the artwork, not your busy wallpaper or the pile of laundry in the corner (guilty!). A clean, simple background makes the art stand out and provides a clear edge for documentation.
- A Ruler or Measuring Tape: You'll need to document dimensions accurately. This seems obvious, but I forgot it more times than I'd like to admit in the beginning.
- Gloves (Optional but Recommended): Especially for delicate pieces, photographs, or works on paper, handling with clean gloves prevents fingerprints, oils, and potential damage. It's a small step that shows respect for the piece.
Setting the Scene: Lighting is Everything (Almost)
Lighting is the single biggest factor in getting a good photo of your art. Poor lighting can distort colors, hide details, and create distracting reflections. It's where I spent the most time experimenting and failing before I got it right. Getting the light just right is the bridge between a snapshot and a useful piece of documentation.
- Natural Light: Position the artwork near a window, ideally on a cloudy day or during the 'golden hour' (early morning or late afternoon) when the light is softer. Place the artwork parallel to the window or at a slight angle to minimize glare. Avoid direct, harsh sunlight at all costs – it's the enemy of accurate color and detail, and it can even damage the art over time. Remember, protecting your art from sunlight is crucial for long-term preservation, not just photography. Learn more about protecting your art from sunlight.
- Artificial Light: If natural light isn't an option, use diffused artificial lights. Lamps with softboxes or even just bouncing light off a wall or ceiling can work. Bouncing the light turns a small, harsh light source into a larger, softer, diffused one, which wraps around the object and reduces harsh shadows and reflections. Use two light sources positioned at roughly 45-degree angles to the artwork. Why 45 degrees? This angle helps provide even illumination across the surface while minimizing harsh shadows and reflections, giving you a balanced shot that shows the true form and texture. Think of it like lighting a portrait – you want soft, even light that reveals form without harsh contrasts. Experiment to find the setup that best represents the piece.
Getting the Shots: More Than Just a Pretty Picture
Insurance companies need specific visual information to process a claim effectively. You need more than just one nice photo; you need a visual record that tells the full story of the piece. Think of it as building a visual case file for each artwork. This is where the real work happens, but it's also where you build your strongest defense should anything happen. Let's capture the essence and the facts.
- The Full, Head-On Shot: This is your primary image. The camera should be perfectly parallel to the artwork to avoid distortion. Stand back far enough to get the entire piece in the frame, with a little bit of the neutral background visible. Ensure it's sharp and evenly lit. Why it's important for insurance: This proves the existence and overall appearance and condition of the piece before any damage occurred. It's the baseline.
- Detail Shots: Get close-ups of key areas. For paintings, show brushwork, texture, and any unique surface qualities. For prints, show the paper quality, edition number, or any specific printmaking marks. For sculptures, highlight specific features, materials, or intricate carvings. Why it's important for insurance: These shots help establish the quality, craftsmanship, and specific condition of the piece, making it harder to dispute its value or uniqueness. They show the 'personality' of the art.
- Signature/Artist's Mark: A clear close-up of the artist's signature, chop mark, or other identifying mark is essential for provenance. Why it's important for insurance: This directly links the artwork to the artist, which is fundamental for verifying authenticity and value. Understanding provenance is key when researching artists.
- The Back of the Artwork: This is often overlooked! Photograph the back of the canvas, frame, or sculpture base. This can show the construction, any gallery labels, artist notes, or hanging hardware. It's like the artwork's passport – full of identifying information you don't see from the front. Why it's important for insurance: Provides additional identifying information, condition details not visible from the front, and can support provenance.
- Condition Documentation: Take specific photos of any existing damage, flaws, or wear and tear at the time you create the inventory. Be honest and detailed. This includes things like cracks, tears, paint loss, water stains, frame damage (chips, dents), or surface abrasions. If a piece has undergone restoration, document that too, ideally with photos before and after if you have them. Why it's important for insurance: This prevents disputes later about pre-existing conditions and helps accurately assess the extent of new damage if a claim is made. It sets the record straight from the start. Knowing how to care for your art can help prevent damage in the first place.
- Frame/Mounting: If the frame or mounting is valuable or integral to the piece, photograph it clearly, including how the artwork is secured within it. Document the condition of the frame itself, as frame damage is a common claim. Note the materials used, especially if they are high-quality or archival (like acid-free matting or UV-protective glass), as this can impact both value and the piece's preservation. If the frame maker or restorer is known and significant, document that too, as it adds to the piece's provenance and potential value. Why it's important for insurance: Documents the condition and value of the frame itself, which may be covered separately or add to the overall value. Framing is an art in itself.
- Hanging Mechanism/Support: Include a photo documenting the specific hanging mechanism or base support used for the artwork. This is particularly important for sculptures or heavy pieces. Why it's important for insurance: This can be relevant to how the piece is secured and potential points of failure if damage occurs.
- Environment Documentation: Briefly document the typical environment where the art is displayed. Note if it's in direct sunlight, near a heating/cooling vent, in a high-traffic area, or in a climate-controlled space. Why it's important for insurance: This can help explain condition changes over time or potential causes of damage.
Photographing Diverse Media: Beyond the Canvas
Not all art fits neatly into a frame! Photographing different types of media presents unique challenges. Here's how I approach some common ones:
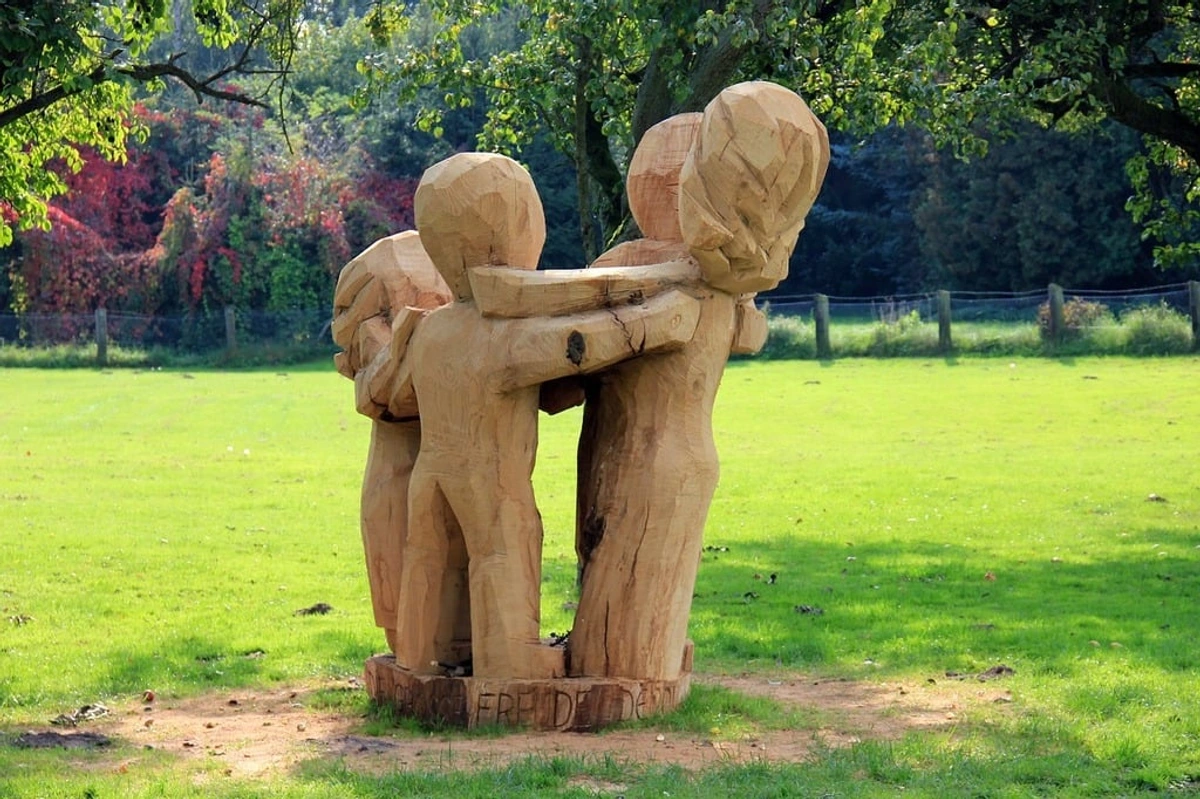
- Sculpture: Get multiple shots from different angles (front, back, sides, top, bottom if applicable) to capture the full form and scale. Detail shots are crucial for texture, material, and intricate elements. For large outdoor sculptures, include shots that show their placement in the environment. Protecting outdoor sculptures from weather is another key consideration.
- Ceramics & Glass: These are tricky due to reflectivity and transparency. Use diffused lighting very carefully to avoid harsh glare and hot spots. Photograph against a neutral background that provides contrast. Show the form, glaze details, any artist's marks on the base, and document any existing chips or cracks.
- Textiles: Lay flat against a neutral background for overall shots. Use even, soft lighting to show texture and weave without harsh shadows. Get close-ups of stitching, fibers, dyes, and any embellishments. Document the back if there are labels, hanging mechanisms, or artist signatures. The rise of textile art means these are increasingly common in collections.
- Jewelry & Small Objects: Use macro settings on your camera for detailed close-ups. Good, diffused lighting is essential to show facets, materials, and craftsmanship. Photograph from multiple angles and include a scale reference (like a coin) if helpful. Document hallmarks or artist signatures.
- Installations & Site-Specific Art: This requires a different approach. Document the piece in situ, showing its relationship to the space. Take wide shots, medium shots, and close-ups of individual components. Include photos that show the scale relative to a person or architectural features. Document the location precisely. The art installation process itself can be complex.
- Digital Art and NFTs: How do you photograph something that exists primarily digitally? You need screenshots and digital records. Document the platform where it's stored or purchased, the transaction details, the unique token ID, and any associated files. Crucially, document the smart contract address and the blockchain on which the asset resides, as these are the fundamental technical identifiers for ownership verification. While not a traditional photograph, a clear screenshot of the digital asset in its native environment (e.g., on the platform) serves a similar purpose for documentation. Keep records of the digital wallet used for ownership.
Photographing Art In Situ and Before You Own It
Beyond documenting the piece in isolation, consider these scenarios:
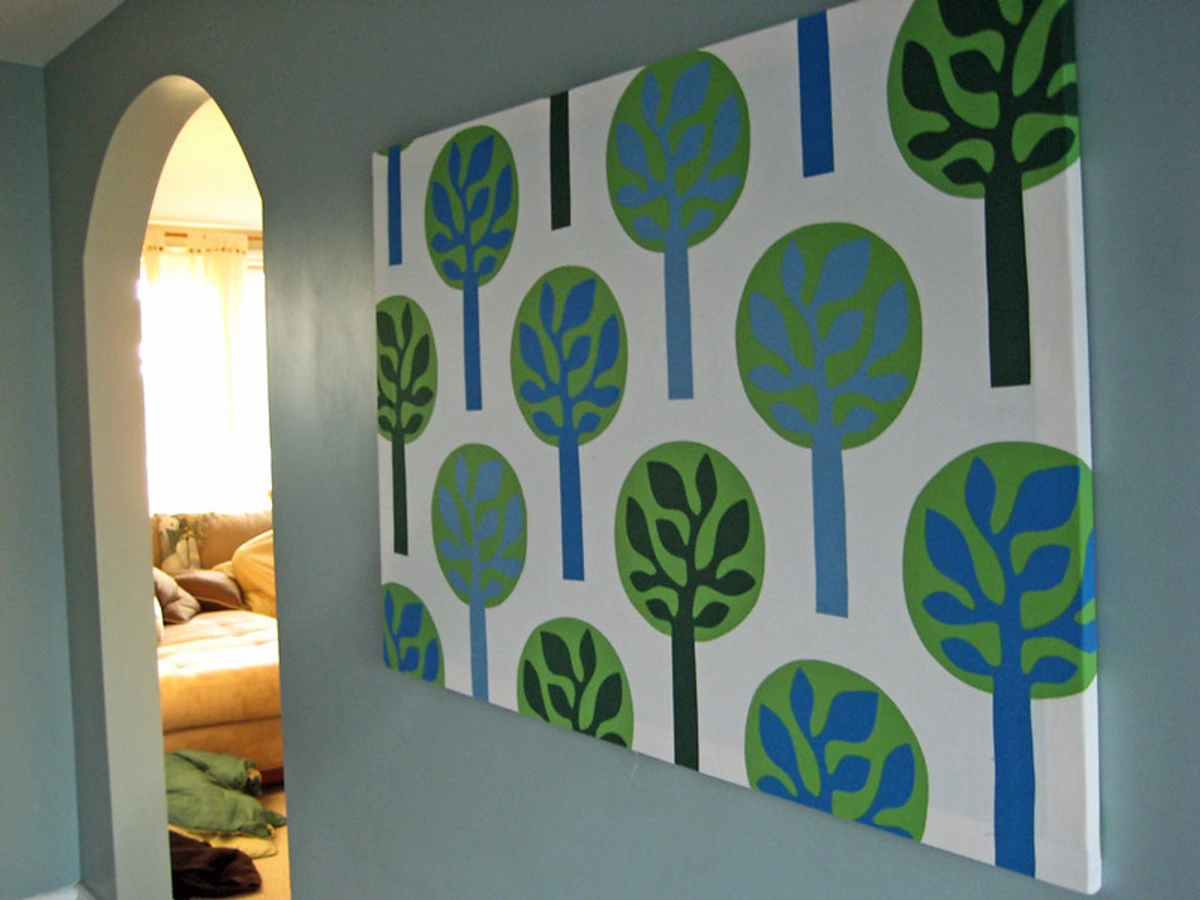
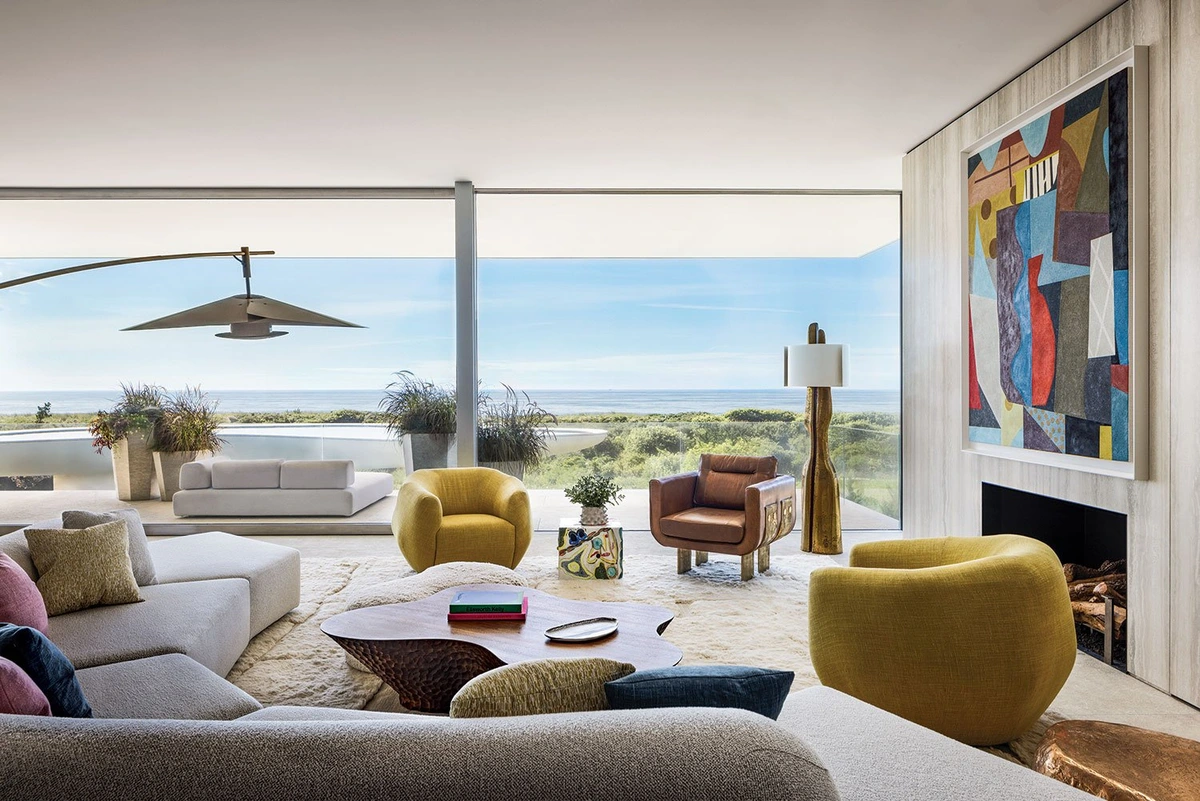
- In Situ Photography: Take photos of the artwork hanging or displayed in your home. This helps the insurer understand its typical environment and can be useful for assessing damage related to location (e.g., water damage from a leaky pipe near a wall). It also just feels good to see your art in its happy place!
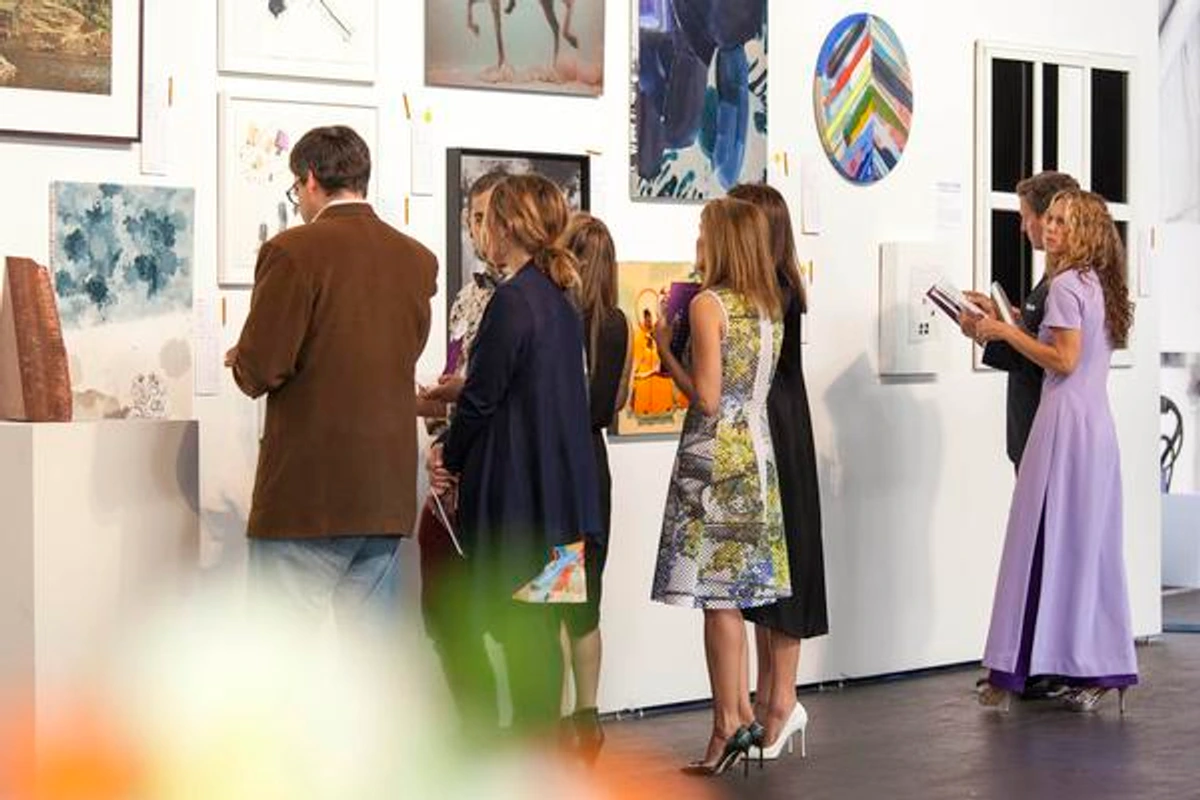
- Pre-Acquisition Photography: If you're buying a significant piece from a gallery or studio, ask if you can take detailed photos before it's shipped or installed. This documents its condition at the point of sale, which can be invaluable if any damage occurs during transit or installation. A good gallery will understand why you're doing this.
Documenting the Details (The Boring But Crucial Bit)
Photos are powerful, but they need context. For each piece, you need to record key information. I used to scribble notes on the back of printed photos (don't do this!), but a digital system is far better. This documentation is the backbone of your inventory and vital for any insurance claim. It's the part I dreaded the most, but it's saved me headaches down the line. Trust me, this is where my inner procrastinator really shines, but fighting it is worth it – future you will thank you. Insurers need this data to verify the item, assess its value, and understand the context of any claim.
Here's a checklist of what to record for each artwork:
Detail | Why it's Important for Insurance |
|---|---|
| Artist Name | Proves authorship, essential for valuation and claim validity. Helps confirm authenticity. |
| Title | Unique identifier for the piece, helps match documentation to art. Crucial for large collections. |
| Year Created | Establishes age and context, relevant for historical value and market trends. |
| Medium | (e.g., Oil on canvas, Watercolor, Bronze, Photograph, Mixed Media, Digital File) Crucial for identification, valuation, and understanding potential vulnerabilities (e.g., paper is more susceptible to water). See my guide on Types of Artwork Explained for more on mediums. |
| Dimensions | Height x Width (x Depth for sculptures). Be precise. Confirms scale and helps identify the specific piece, preventing mix-ups. Insurers use this for replacement cost estimates. |
| Acquisition Date | Establishes ownership timeline and can be relevant for policy terms or valuation history. |
| Acquisition Price | Or Estimated Value. This is often the starting point for an insurer's valuation assessment. Keep receipts or records! See my thoughts on Understanding Art Prices. |
| Condition Notes | Document any existing damage, wear, or restoration at the time of inventory. Crucial for assessing new damage during a claim and avoiding disputes. It sets the record straight. Learn about painting restoration. |
| Provenance | (Optional but valuable) Where did you get it? Previous owners? Gallery receipts? Exhibition history? This adds significant credibility and supports value by tracing the piece's history. It's a key factor in establishing market value. Learn more about researching artists and provenance. |
| Current Location | Note where the artwork is typically displayed or stored (e.g., "Living room wall," "Climate-controlled storage unit"). Relevant for policy coverage details and helps locate the piece quickly. |
| Frame/Mounting Details | Note materials (e.g., wood, metal, archival matting, UV glass) and condition. Can impact value and preservation. |
What About Valuation Without a Price?
Not every piece in your collection comes with a clear purchase price. Maybe it was a gift, a trade with another artist, or an inherited piece. In these cases, documenting the estimated value is key. For higher-value pieces, or if you're unsure, consider getting a professional appraisal. An accredited appraiser can provide a formal valuation report that insurance companies will readily accept. This might feel like an extra step and an expense, but for significant pieces, it's invaluable peace of mind and solidifies your claim basis. Remember that an artwork's value isn't static; factors like the artist's career trajectory, exhibition history, and market demand can influence it over time. Provenance, as mentioned, also plays a significant role.
Documentation Checklist Summary
To make it easy, here's a quick rundown of what you need for each piece:
- Photos:
- Full, head-on shot
- Multiple detail shots (texture, marks, etc.)
- Signature/Artist's Mark close-up
- Photo of the back
- Photos of existing condition issues/damage
- Photos of the frame/mounting (including condition)
- Photo of the hanging mechanism/support
- (Optional but recommended) Photos in situ and pre-acquisition
- Written Details:
- Artist Name
- Title
- Year Created
- Medium
- Dimensions (Height x Width x Depth)
- Acquisition Date
- Acquisition Price or Estimated Value (with appraisal if applicable)
- Condition Notes (at time of inventory)
- Provenance (if known, including frame maker/restorer if significant)
- Current Location (including environment notes)
- Frame/Mounting Details
Organizing Your Visual Inventory
Taking the photos and writing down the details is one thing; keeping it all organized so you can actually find it when needed is another. My early system was... a mess. Digital folders named "Art Pics" with files like "IMG_001.jpg" and notes scrawled on random papers. Useless! Don't be me. I learned the hard way that a little structure saves a lot of frantic searching later.
A structured digital system is your best bet. Here's how I recommend organizing it:
- Create a Master Folder: Name it something clear like "Art Collection Inventory" or "[Your Last Name] Art Collection".
- Create Subfolders for Each Artwork: Inside the master folder, create a separate folder for each piece. Name the folder clearly, perhaps using the Artist's Last Name and Title (e.g., "Rothko_Yellow_Red" or "VanGogh_Starry_Night").
- Store All Documentation in the Artwork Folder: Inside each artwork's folder, save:
- All the photographs you took (full shot, details, signature, back, condition, frame, hanging mechanism, in situ, pre-acquisition). Use clear file names (e.g., "Rothko_Yellow_Red_Full.jpg", "Rothko_Yellow_Red_Signature.jpg"). Save these in a high-resolution format like JPEG or TIFF for maximum detail.
- A document (Word, PDF, spreadsheet) containing all the details from your checklist (Artist, Title, Year, Medium, Dimensions, Acquisition Date/Price/Value, Condition Notes, Provenance, Location, Frame Details). A spreadsheet is great for a quick overview of your entire collection. Save this as a PDF for easy sharing and long-term compatibility.
- Scans or photos of any supporting documents like receipts, appraisal reports, certificates of authenticity, or previous exhibition history. Save these as PDFs or high-resolution JPEGs.
- Consider File Naming Conventions: Being consistent helps immensely. "[Artist Last Name][Title][Detail].jpg" is a good format.
- Back It Up! This is CRITICAL. A digital copy on your computer isn't enough. Store your master folder in at least two other places:
- Cloud Storage: Services like Dropbox, Google Drive, or iCloud provide offsite backup that's easily accessible. This protects against fire or flood at your physical location. Consider encrypted cloud storage for added security.
- External Hard Drive: Keep a copy on a physical drive. Store this drive separately from your art collection, ideally offsite (at a friend's house, a safety deposit box). This protects against data loss from cyber issues or cloud service problems.
- Specialized Inventory Software/Platforms: There are digital tools designed specifically for art collection management. These can help organize documentation, track value, and often include secure cloud storage. They might be overkill for a small collection but invaluable for a larger one.
- Physical Printouts (Optional but Recommended): For your most valuable pieces, consider printing key photos and the documentation sheet and storing them in a fireproof box or offsite. Old school, maybe, but effective.
Keeping Your Inventory Updated
Your art collection isn't static, and neither should your inventory. Make a plan to review and update it regularly. I try to do a quick check-in every six months and a more thorough review annually. It's like giving your collection a health check.
- Add New Acquisitions: Immediately photograph and document any new pieces as soon as they join your collection. Don't put it off! The longer you wait, the easier it is to forget details.
- Note Changes in Condition: If a piece sustains minor damage or undergoes restoration, update the condition notes and take new photos. Documenting repairs is just as important as documenting damage. Understanding when to restore artwork is important.
- Update Valuation: If you get a new appraisal or the market value of a significant piece changes considerably, update your estimated value documentation. This is especially important for high-value or investment pieces. Keep track of exhibition history or publications featuring the piece, as this can impact value.
- Review Locations: If you move art within your home or to storage, update its location in your inventory. This helps ensure coverage is correct and you know where everything is.
How Your Inventory Helps During a Claim
Okay, let's imagine the worst happens. You need to file a claim. Your meticulously prepared inventory becomes your lifeline. The insurer will ask for documentation to prove ownership, identity, condition, and value. Your organized folder for the damaged piece will contain:
- Proof of Existence & Identity: The full shot, detail shots, signature, and back photos clearly identify the piece and show it existed in your collection.
- Proof of Condition (Pre-Loss): Your condition notes and photos taken before the incident establish the baseline. This is crucial for the insurer to assess the new damage accurately and fairly.
- Proof of Value: The acquisition price, appraisal reports, and provenance documentation support your claim for the artwork's value. The more evidence you have, the smoother this process will be.
Having everything ready significantly speeds up the claims process and reduces potential disputes. It shifts the burden of proof from you scrambling to remember details and find old photos to simply presenting a clear, organized file.
When to Call a Professional
While this guide covers the essentials for most collectors, there are times when professional help is advisable:
- High-Value Pieces: For artworks worth significant amounts, a professional art photographer can ensure the highest quality images, and a certified appraiser is essential for accurate valuation accepted by insurers. It's an investment in protecting a larger investment.
- Large or Complex Collections: If you have many pieces or a diverse collection including very large, delicate, or unusually formatted works, a professional inventory service might save you considerable time and ensure everything is documented correctly. They have the expertise and tools.
- Complex Insurance Needs: If you have a high-value collection, you likely need specialized art insurance, not just a rider on your homeowner's policy. An art insurance specialist can advise on documentation requirements and ensure you have adequate coverage tailored to your collection.
Peace of Mind Through Preparation
Creating a thorough visual and written inventory of your art collection might seem like a chore, and honestly, parts of it are. It's not as fun as browsing art for sale or visiting my museum in 's-Hertogenbosch. But the peace of mind it provides is immeasurable. Knowing that if the worst happens, you have a clear, documented record of your cherished pieces is worth every minute spent. It's an investment in protecting the investments you've already made, both financially and emotionally. I can tell you from personal experience, having a well-organized inventory makes you sleep better at night. So, grab your camera, pick a piece, and just start. You'll thank yourself later. Maybe even document your journey as an artist along the way – you never know when that might be useful! See my artist timeline for inspiration.


