Canvas Dent Repair: Fix & Prevent Art Damage - Ultimate Guide
Dented canvas? This ultimate guide provides artists step-by-step methods for canvas dent repair, prevention tips, and when to seek professional art conservation. Restore your art with confidence.

The Artist's Ultimate Guide to Fixing Dented Canvases (and Preventing Them)
I still remember the first time I heard that sound. Not the pleasant swish of a brush or the satisfying pop of a paint tube, but a sickening, hollow thud. It was the corner of a newly framed piece connecting with the edge of another canvas, and my heart genuinely plummeted faster than a stone in a well. The gut-wrenching sight that followed – a sag, a ripple, a dreaded dent – felt catastrophic. Like the painting was utterly ruined, a goner. I’ve felt that particular brand of panic more times than I care to admit. Whether it's a moment of clumsiness in the studio (like that time my cat decided my freshly stretched landscape was the perfect launching pad), the chaos of a gallery move, or just an unfortunate bump from a misplaced coffee cup – it's a universal artist's nightmare. But here’s the secret, the one that’s saved countless pieces for me and my friends, transforming that initial despair into quiet, satisfying relief: take a deep, calming breath. It's almost always fixable, and I’m going to show you how to confidently tackle "fix dented oil painting canvas," "canvas dent repair," "repair sagging canvas," and even "tighten a loose canvas" yourself.
A canvas is just fabric, after all, and fabric has a remarkable memory, a willingness to return to form with just a little coaxing. Think of your favorite old denim jacket. Even after being crumpled in a backpack all day, a little shake, maybe a gentle tug, and it mostly springs back to its original shape. A canvas isn't so different. Its natural fibers, primarily cellulose, are surprisingly resilient, capable of absorbing moisture and regaining tension. Over the years, I've seen seemingly irreparable dents vanish with simple tricks, restoring their pristine surface. This guide will equip you with the essential knowledge, cementing its place as your go-to resource for artwork preservation. Let’s reclaim the taut surface of your art by first understanding why these dents happen.
The Unseen Mechanics: Why Canvases Dent (And How They Secretly Fight Back)
Understanding why a canvas dents is the first step to confidently fixing it. Your canvas, typically made from natural fibers like cotton or linen, is essentially a woven textile. Each fiber has a unique structural integrity and an inherent 'memory' that, with the right approach, can be coaxed back into place.
Canvas Fibers & Their Memory: A Deeper Look
At a microscopic level, canvas fibers are made of cellulose, a natural polymer. Cellulose is hygroscopic, meaning it readily absorbs and releases moisture from the air. When these fibers absorb water, they swell and become more pliable. As they dry, they contract and tighten. This swelling and shrinking action is the core of "canvas memory" – it's how the fabric remembers its original taut, flat state and can be encouraged to return to it. Think of it like a sponge: it expands when wet, then shrinks back as it dries. This natural property is your most powerful ally in canvas dent repair. And to be clear, this "memory" isn't conscious, of course! It’s purely a physical property of the fibers that we’re leveraging.
Different fiber types and weaves influence this memory:
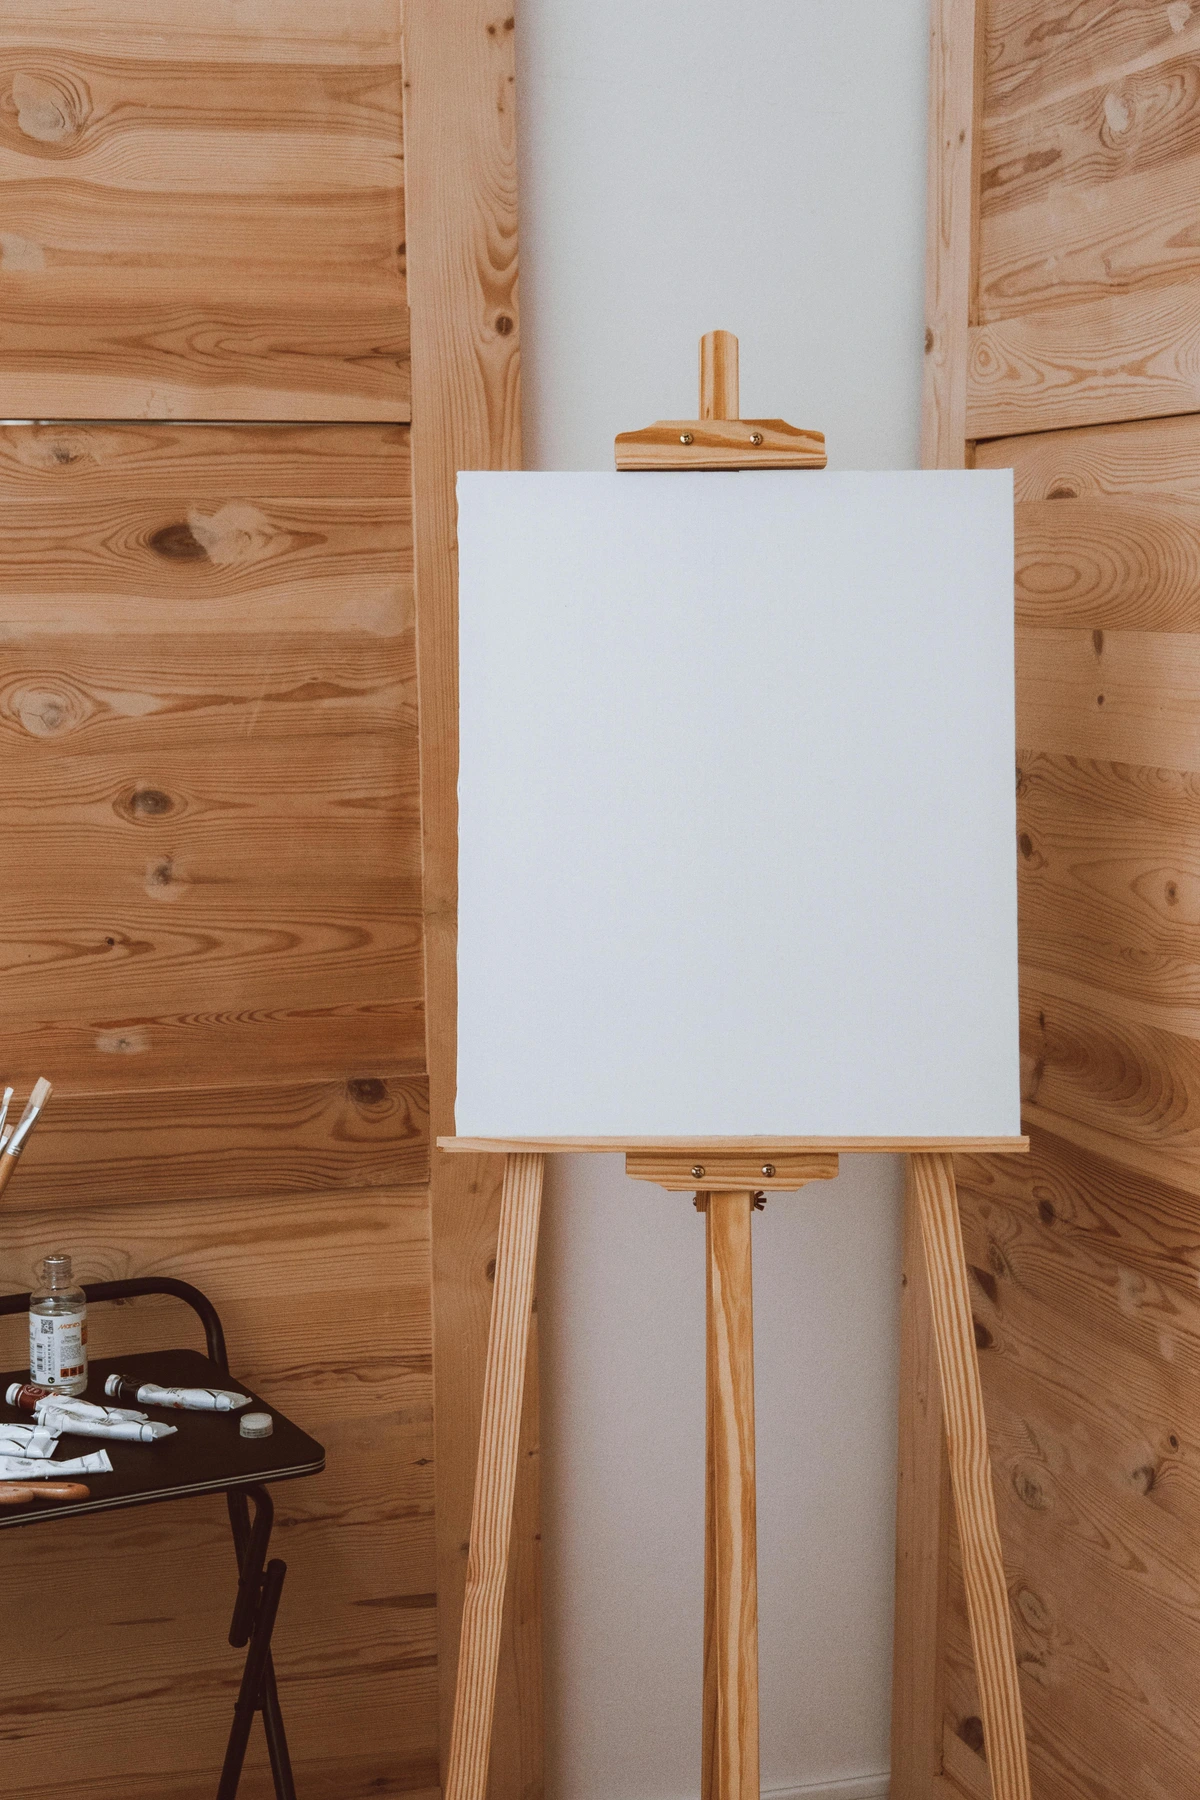
- Linen, derived from the flax plant, is prized for its strength, archival quality, and natural oil content, which makes it less susceptible to rot. It holds tension exceptionally well and has superb fiber 'memory' due to its long, strong cellulose fibers, and its inherent oils provide a slight natural moisture barrier, affecting how quickly it absorbs water. This can sometimes mean it takes a little longer to respond to rehydration, but its strength makes it incredibly resilient.
- Cotton, particularly cotton duck, is more absorbent, stretches more easily, and is generally more affordable. While it can loosen over time, it's also highly responsive to the rehydration methods we'll discuss because its fibers readily absorb water, often reacting more quickly than linen to moisture changes.
Beyond the fiber, the weave plays a critical role. A plain weave (the most common, like a simple checkerboard) offers balanced tension but can be more susceptible to localized fiber displacement if stretched unevenly. A twill weave (like denim, with diagonal ribs) offers greater strength and drape, potentially resisting minor dents better, but might be harder to fully re-tension if deeply compromised due to its tighter, more complex structure. A looser weave might absorb water more quickly but might also release it faster, while a denser weave might take longer to absorb but retain moisture for longer, affecting drying times.
Even the gauge (weight) of your canvas plays a role; this refers to the density of the fabric, often measured in ounces per square yard (oz/yd²). A heavier 14oz canvas is often more resistant to dents than a lighter 4oz one, though heavier canvases might require a bit more 'coaxing' to return to shape once deeply dented due to the sheer volume of fibers needing to re-tension.
The 'Why' of the Dent: Unpacking Pressure, Environment, and Lost Tension
Your canvas exists in a delicate balance of tension. When that balance is disturbed, dents happen. This delicate tension makes your canvas susceptible to a few things:

- Focused Pressure: Any sharp or sustained pressure – like a dropped palette knife, a bump from furniture, or even leaning against an uneven surface for too long – can physically displace the individual threads of the fabric. This creates a localized area where the tension is lost, resulting in a dent or dimple. Think of it like a tiny, invisible ripple in a perfectly smooth pond. I once had a series of small, uniform dents appear on a canvas, and it took me ages to realize it was from a particularly enthusiastic spider who'd decided to build a web and then leave a trail of dried insect carcasses along one of the stretcher bar edges during a humid spell! It’s these unexpected little things that often get you.
- Environmental Factors: The Humidity & Temperature Dance: Canvas fibers are natural and naturally absorbent. They drink in moisture from the air when humidity rises, causing them to swell and expand. As the air dries out, they shrink. Big, rapid swings in humidity, or prolonged exposure to high humidity, can cause the entire canvas to loosen its overall tension, becoming saggy and far more prone to denting from even minor contact. (I’ve definitely had canvases feel like wet noodles after a particularly muggy summer in my studio, and once even saw a whole exhibition's worth of work go soft during an unexpected heatwave!). Similarly, significant temperature fluctuations can play a role; extreme heat can dry out fibers and glues too quickly, making them brittle, while extreme cold can contract materials unevenly, putting stress on the canvas. These environmental shifts compromise the weave, creating vulnerable slack spots that invite dents. Direct sunlight can also gradually dry out and weaken fibers, making them less elastic over time.
- Compromised Structure: Sizing, Primer, and Stretcher Bars: Before paint, raw canvas often receives a layer of sizing – an adhesive that creates a barrier to protect the fibers from the oils in paint and provides initial tension. This can be traditional rabbit skin glue (a natural adhesive made from animal collagen that tightens fibers as it dries and offers excellent tension, though it can be brittle with age and highly reactive to moisture) or modern acrylic mediums (which are more flexible, less moisture-reactive, and offer a more consistent barrier). This is followed by primer (gesso), usually an acrylic or oil-based ground, for an even painting surface. These layers contribute significantly to the canvas's tautness. If these layers are compromised, or if the canvas itself wasn't properly stretched onto sturdy stretcher bars (the wooden frame), it can lose tension. For larger works, heavy-duty stretcher bars or those with cross-braces are crucial to prevent warping and maintain better overall tension, significantly reducing the likelihood of widespread sagging that makes canvases more susceptible to dents. Different grades of wood, proper joinery, and the use of kiln-dried wood are also critical; unseasoned wood (like cheap pine) can warp and twist over time, compromising the entire stretcher system and the canvas's tension. Common kiln-dried wood types for stretcher bars include pine, basswood, or poplar, chosen for their stability and light weight. The thickness and width of your stretcher bars also matter; a wider, thicker profile provides greater structural integrity and reduces the chance of warping, which in turn maintains better canvas tension. I've seen countless saggy canvases where the cheap, poorly constructed stretcher bars were the real culprits. To understand more about your canvas material, check out our guide on canvas showdown linen vs cotton for artists. While modern acrylic gessos remain flexible and less moisture-reactive, traditional oil grounds can become more brittle with age and may be more sensitive to changes in humidity, impacting their ability to maintain tension and making them potentially more delicate during repair attempts. This is definitely something to keep in mind, especially with older pieces.
A Canvas Through Time: The Renaissance Roots of Stretch and Tension
To truly grasp this vulnerability, it helps to understand the canvas's journey through history. While artists in ancient Egypt and Rome used linen for various forms of painting and earlier cultures wove textiles for pictorial narratives, the concept of a stretched canvas as we know it largely emerged during the Italian Renaissance. Before that, artists painted on heavy wood panels, delicate frescoes, or vellum. But as demand for larger, more portable, and less heavy artworks grew, especially with the rise of oil painting, canvas became the material of choice. Wood panels, while durable, were prone to warping, cracking, and were incredibly heavy, limiting scale and portability. Canvas offered flexibility and a lighter surface, perfectly suited for the burgeoning art market and grander compositions. Artists like Titian, Veronese, and Giorgione embraced canvas, pushing the boundaries of scale and painterly technique.
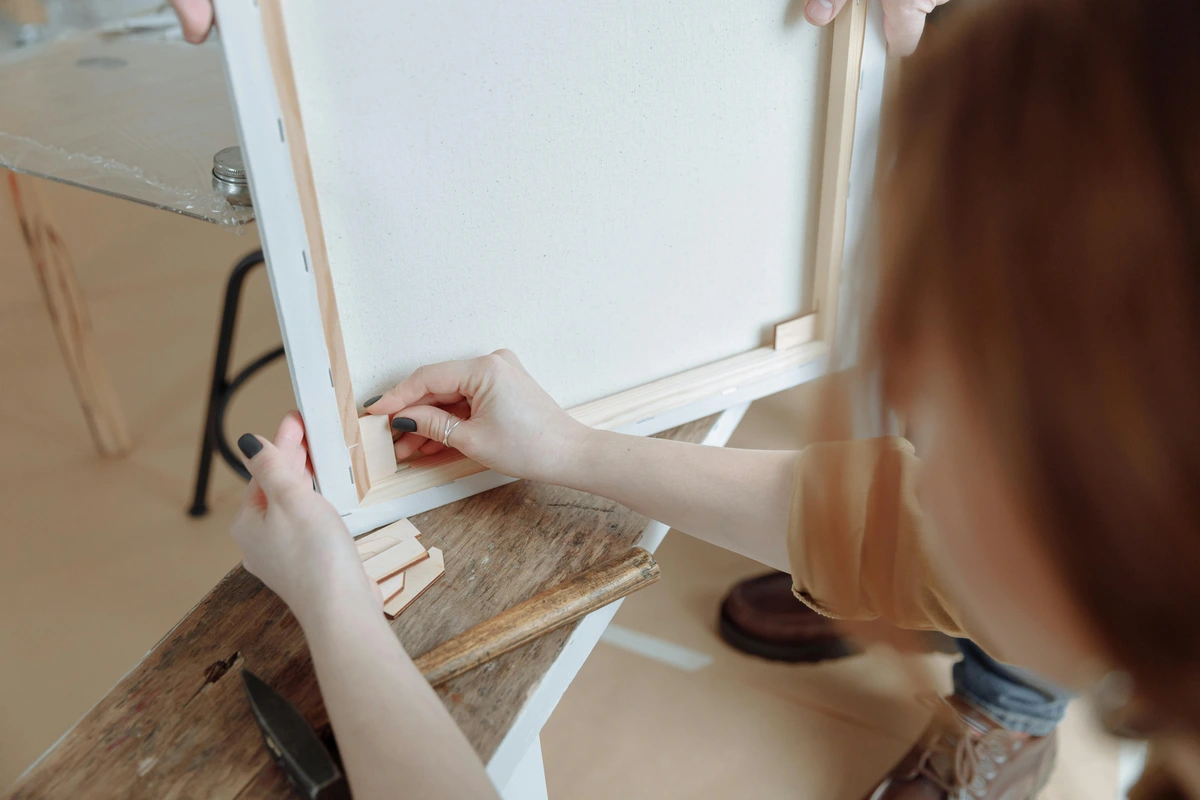
The real game-changer was the introduction of stretcher bars – the wooden framework over which the canvas is pulled taut. This innovation in the 15th and 16th centuries gave artists a flexible, lightweight, and durable surface, but it also introduced a new vulnerability: tension. A painting on canvas is, by its very nature, a system held in delicate balance. These early frames were often strainers – fixed wooden frames that couldn't be expanded. Later, true stretchers emerged, featuring mitered or mortise-and-tenon joints that could be slightly expanded with stretcher keys – those small wooden wedges designed to be tapped into the corners of the stretcher bar frame, gently expanding the frame and tightening the canvas. This historical evolution of canvas and its tension is crucial to understanding why it's susceptible to damage today, and why even a small dent can feel like such a betrayal. If you're curious about this foundational process, we have a comprehensive guide on how to stretch canvas for painting.
The Role of Stretcher Keys and Fabric Memory in Repair
If a canvas wasn't properly keyed out to begin with, or if the keys fall out, the overall tension can drop, leaving the canvas vulnerable to dents. This isn't just academic chatter; it's the core principle of our fix. We're not patching a hole or magically smoothing a crease; we're simply reminding those resilient fabric fibers to tighten up and get back in line, leveraging their inherent "memory." Think of it like that crumpled piece of paper that, with a little careful smoothing, regains its original flatness, or a wrinkled shirt that, after ironing, appears crisp again – the cellulose fibers in canvas have a similar capacity to absorb moisture, swell, and then contract, returning to their original tautness. We’re also aiming to re-establish a uniform tension gradient across the canvas, ensuring it's evenly taut, as naturally it's often tightest at the edges and may have slight variations in the center.
It's important to differentiate a true dent (a localized indentation or sag where the fibers are temporarily displaced) from more severe damage like a puncture, tear, or paint loss, or even a deep crease or fold. These methods specifically target dents where the canvas structure is still intact, just loosened. A crease, unlike a dent, often involves a more severe and potentially permanent deformation or even breakage of the canvas fibers. Visually, a dent is typically a softer, rounded indentation, a gentle curve where the fabric has simply pushed inwards. A crease, however, often presents as a sharp, almost folded line, where the fibers are visibly compressed, bent, and potentially broken along that line. Because of this deeper structural disruption, creases are far more challenging to resolve completely with simple rehydration, often requiring more specialized techniques. For other forms of canvas damage, different repair strategies or professional conservation will be necessary.
Method 1: The Water Whisper – Your First, Best, and Easiest Fix
Now that we understand the mechanics behind canvas dents, let's explore the surprisingly simple, yet highly effective, methods to restore your artwork. This is my absolute go-to for probably 90% of canvas dents. It feels like pure magic every time, but really, it's just brilliant, simple science. When you apply water to the raw, unpainted back of the canvas, the natural fibers swell up. As they dry, they gently but firmly shrink, pulling themselves taut again and completely erasing the dent. The results can be incredibly satisfying, making you feel like a genuine canvas whisperer. This method is incredibly effective for typical dents, minor dimples, general canvas slackness, and "canvas ripple removal."
This method works most effectively on unprimed canvas because the fibers are directly exposed to moisture. If your canvas is primed (meaning it has a layer of gesso or other sizing), the effect might be slightly less immediate but still beneficial, as water can still penetrate the back, albeit slower. Modern acrylic gessos are generally quite stable, but older, traditional oil grounds or weaker glue sizings might react differently; some very old primers can even be a bit more sensitive to moisture. The sizing's purpose is to create a barrier and give the fabric its initial tension, so rehydrating it from the back helps it regain that memory – it essentially 'reminds' those layers to pull taut again. (Curious about primers? We have a definitive guide on how to apply gesso to canvas and also a breakdown of what is gesso in painting).
Here’s my step-by-step approach to this studio staple for efficient "canvas dent repair":
- Prepare Your Workspace: First things first, turn the painting over. Place it carefully face-down on a clean, flat, and dry surface. A soft, clean towel spread over a table works perfectly. You absolutely want to work only on the back of the canvas.
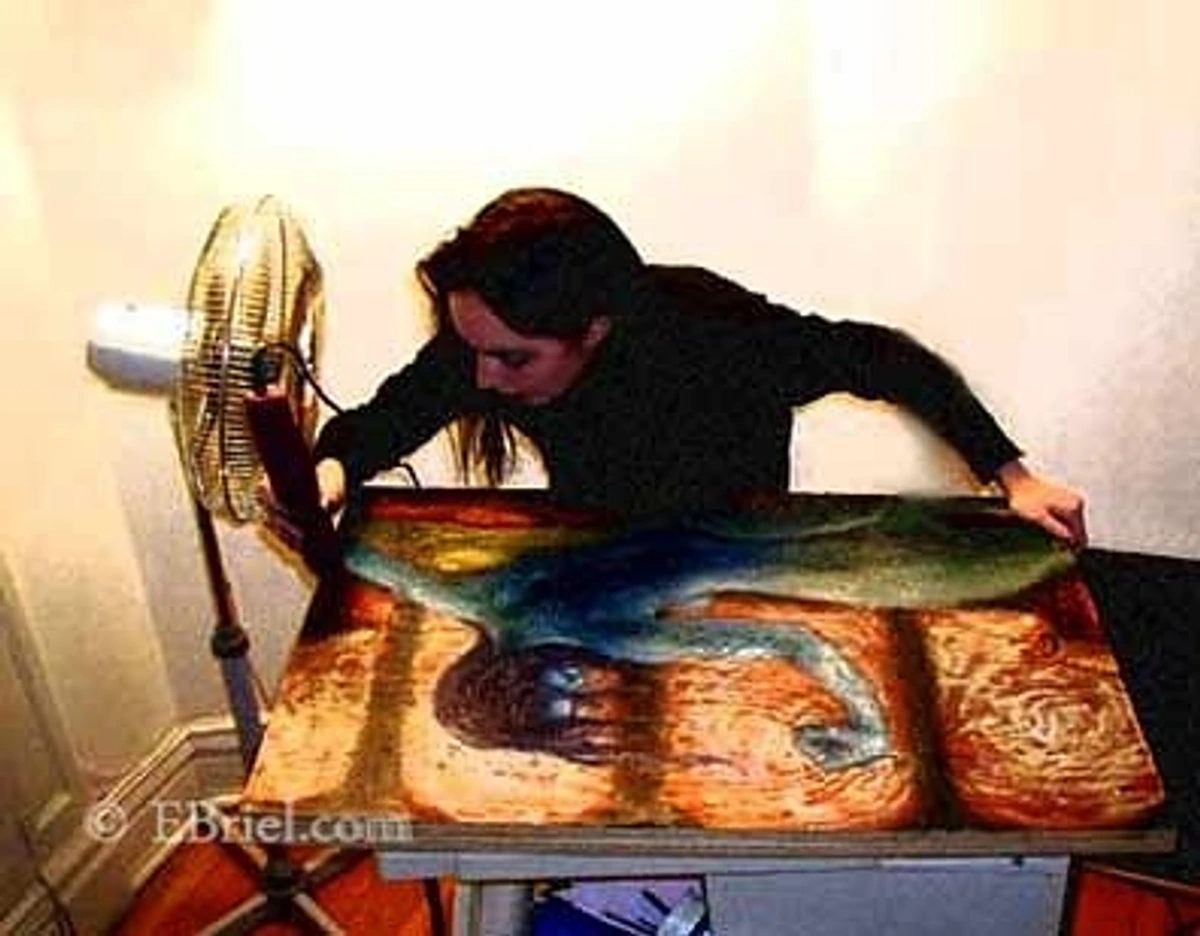
- Target with Water: Grab a clean sponge, a soft, lint-free cloth, or a spray bottle filled with clean water (lukewarm water is often nice, as it can help the fibers respond, but it's not strictly essential). Lightly dampen the back of the canvas, specifically targeting the area directly behind where the dent is visible on the front. The key here is damp, not dripping wet. The cloth should feel like a wrung-out sponge, not a saturated one, and you should see a slight sheen, not pooling water. I often find a fine mist from a spray bottle gives me the most control, ensuring I don't oversaturate the delicate canvas fibers.

- Gentle Persuasion: You can use your fingers to very gently rub the water into the weave of the canvas. Again, we’re not scrubbing or forcing anything; we’re just ensuring the fibers are evenly damp. The goal is to "coax" the fibers back into position. This 'coaxing' is essentially a gentle process of rehydrating, followed by the natural shrinkage of the fibers as they dry, which pulls them back into their taut configuration.
- Wait and Watch the Magic Unfold: Now for the most satisfying part: patience. Just let the canvas air dry naturally. You can lay it flat (face up, so the damp part is exposed to air) or stand it up somewhere safe where it won't be bumped again. As it dries, you’ll visibly see the dent start to disappear, often smoothing out completely. This process might take anywhere from 15 minutes to a few hours, depending on how much water you applied and the ambient humidity in your room. I had a particularly stubborn dent once after a rogue water bottle fell onto a canvas in a damp storage corner – a little extra water application (and patience!) and it completely disappeared within an hour. Amazing.
For most minor dents, dimples, or general slackness, this is genuinely all you'll ever need to do. If the dent persists, however, don't despair – that's when we consider a little extra persuasion with Method 2. Remember, for most common dents, this simple rehydration is all it takes to restore your canvas's pristine flatness, making you feel like a wizard of fabric, even if it's just basic physics at play. If you happen to use too much water and see a slight watermark or discoloration on the back, don't fret! As long as the moisture hasn't soaked through to the front and visibly affected the paint, a small watermark on the raw back is purely cosmetic and won't harm the painting's structural integrity or its value. (Though it's still a good reminder: less is more with water!)
Quick Wins Summary for Method 1 (Water Whisper):
- Goal: Rehydrate canvas fibers from the back to restore tension.
- Key Action: Lightly dampen the back of the dented area with a sponge/cloth/spray bottle.
- Damp, Not Wet: Avoid oversaturation; aim for a slight sheen, no pooling.
- Patience is Key: Allow to air dry naturally; results appear as it dries.
- Effectiveness: Works for 90% of typical dents, dimples, and slackness.
A Quick Note on Painted Canvases and Mediums
If your canvas is already painted – whether with acrylics, oils, or even watercolors – the water method is still your best, safest bet. The magic happens on the raw canvas back, and the water should never reach or affect the paint on the front. However, the sizing and subsequent primer layers will slightly reduce the speed and depth of water penetration. Modern acrylic gessos are generally quite stable, but older, traditional oil grounds or weaker glue sizings might react differently; some very old primers can even be a bit more sensitive to moisture. The sizing's purpose is to create a barrier and give the fabric its initial tension, so rehydrating it from the back helps it regain that memory – it essentially 'reminds' those layers to pull taut again. For a deeper understanding of the materials you're working with, consider exploring our definitive guide to paint types for artists.
If you're dealing with a very old, fragile, or highly valuable piece, or a painting with exceptionally thin paint layers that might be susceptible to moisture, I always recommend a tiny, inconspicuous patch test on the very edge of the raw back first. While the principle holds true, slight differences in canvas sizing and the nature of the paint itself might influence drying times or fiber response.
To help you decide which method is best suited for your situation, here's a quick comparison of our primary repair methods:
Repair Aspect  | Water Method (First Line of Defense) | Heat Method (For Stubborn Dents) | Key Takeaways |
|---|---|---|---|
| Effectiveness | High for most dents, dimples, and general slackness | Excellent for very deep or persistent dents that didn't fully resolve with water alone | Water alone often works wonders, leveraging natural fiber memory. |
| Speed | Slower (air dry, 15 min - several hours) | Faster (accelerates drying and tightening, few minutes) | Patience is key with water; heat can speed things up, but requires extreme caution. |
| Risk Factor | Very Low (if applied correctly to back, not paint side) | Moderate (significant risk of paint/canvas damage if overheated or held stationary) | Water is almost universally safe for the canvas itself. Heat carries a higher risk and should be used as a secondary option. |
| Tools Needed | Sponge/cloth/spray bottle, clean water, clean surface | Hairdryer (low heat), plus water tools from Method 1 | Basic studio supplies are usually sufficient for the primary method. |
| Primary Use | First attempt for almost all canvas dents and slackness | Follow-up for very deep, persistent dents, or to restore sagging canvas after initial water use | Always start with water. Only introduce heat if the initial water application isn't sufficient for complete restoration. |

Method 2: A Gentle Touch of Heat for Stubborn Sagging (Canvas Tension Repair)
While the water method is often sufficient, some stubborn dents might require a bit more coaxing. For those challenging cases, we turn to a gentle touch of heat to accelerate the "canvas tension repair." Sometimes, a dent is particularly stubborn. A very deep impression, or a canvas that has lost significant overall tension (perhaps you're dealing with persistent "canvas sag repair" or need to "remove crease from stretched canvas" that didn't fully resolve with just water), might need a bit more persuasion. The heat simply encourages the drying and shrinking process to happen a little more forcefully and quickly. Imagine a deeply ingrained dent, one that stubbornly mocks your water-spritzing efforts. This is where a careful application of heat can be a game-changer.
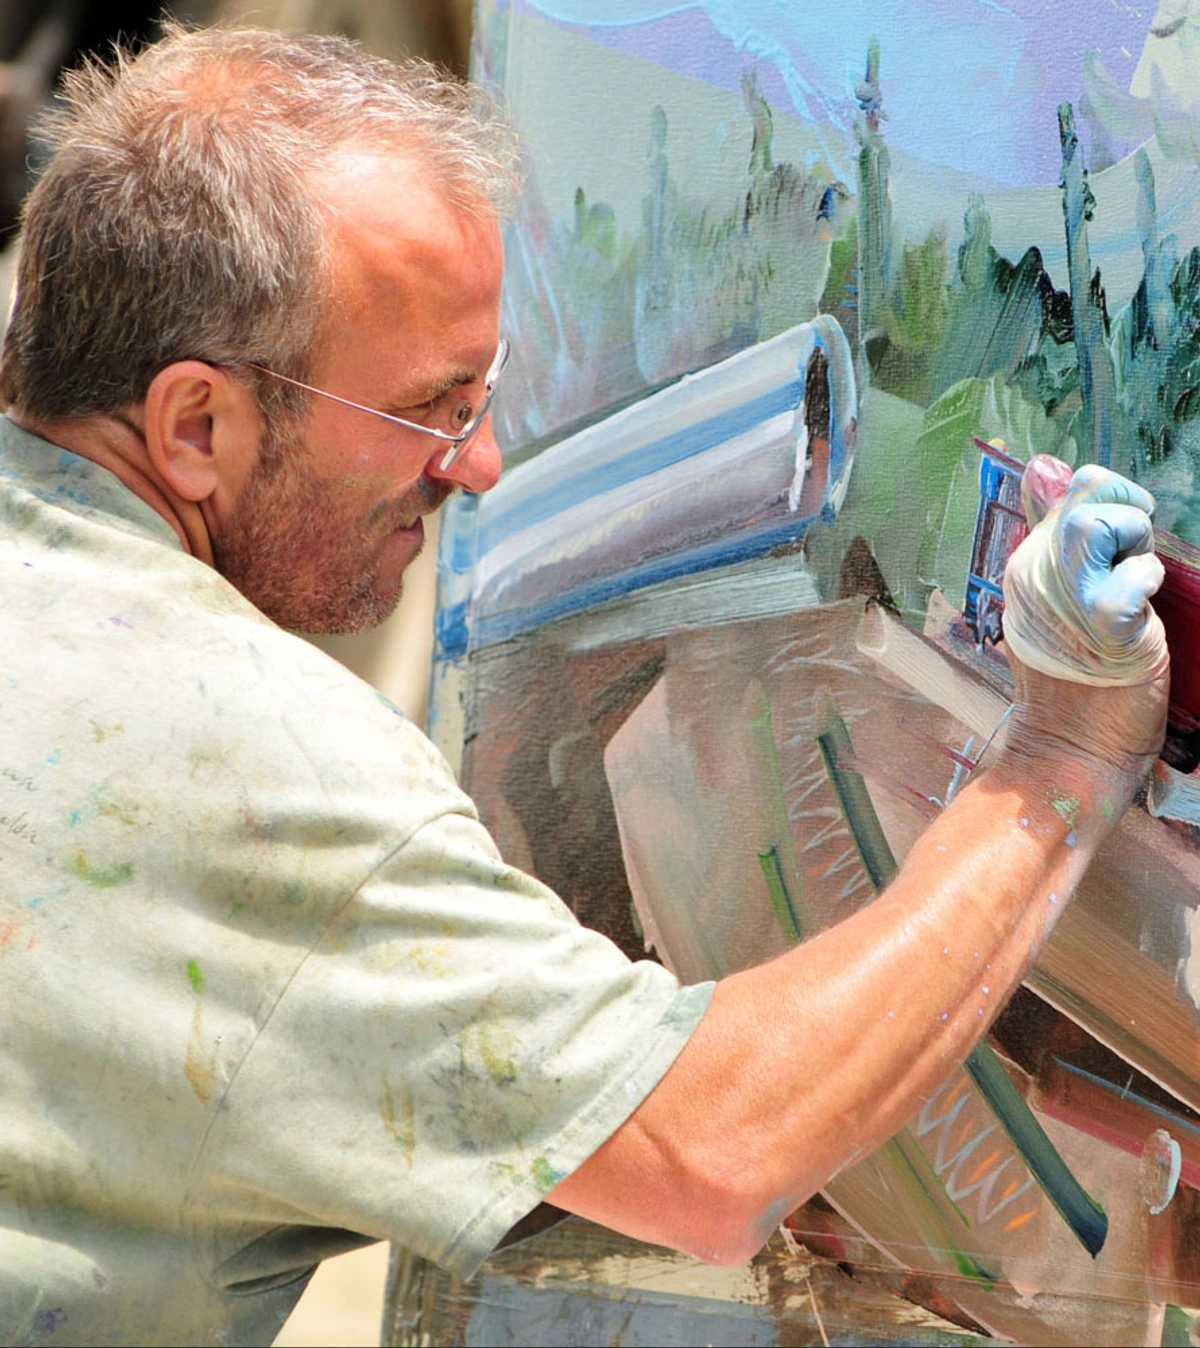
CRITICAL SAFETY WARNING: Use this method with extreme caution. Too much heat, or heat applied too intensely or in one spot, can irrevocably damage the paint layer on the front or the canvas fibers themselves. This is especially true for heavily varnished paintings, or those with thick impasto (raised paint that can become brittle) that could crack, melt, or blister. Older oil paintings, in particular, can have paint layers that become brittle over time, making them highly susceptible to cracking with sudden heat. Acrylics tend to be more flexible, but still not immune to damage. Slow and gentle is always the mantra here. Trust your instincts; if you feel it getting too hot, stop. I once got a little too focused and almost singed a piece – a valuable lesson learned in keeping that hairdryer moving!
- Apply Water First: This is crucial. You still need moisture for the canvas fibers to swell and be receptive to tightening. Follow steps 1-3 from Method 1 to dampen the back of the dented area.
- Introduce Gentle, Moving Heat: Grab a hairdryer. Set it to a low-heat, low-fan setting. This is non-negotiable. Hold the hairdryer about 6-10 inches (15-25 cm) away from the damp spot on the back of the canvas.
- Keep it Moving (Constantly!): Never, ever hold the hairdryer in one stationary spot. Keep it moving continuously in small circles or sweeping motions across the entire damp area. Your goal is to warm the area evenly and encourage evaporation, not to cook or bake the canvas. Your hand should feel comfortable, not hot.
- Check Your Progress Frequently: After just a minute or two of gentle, moving heat, stop and check the front of the painting. You should see the canvas visibly tightening up. If the dent has receded or vanished, stop immediately. Let the canvas finish air drying naturally from that point.
You should never need to use a high-heat setting. If the dent hasn't improved after a few minutes of gentle, moving heat, it's either not going to respond to this method (and you'll need to consider professional help) or you need to re-dampen the area and try again with extreme care. Trust your instincts and err on the side of caution. For those particularly persistent dents, a little gentle heat can work wonders, accelerating the fiber's memory to pull back into place, but remember: this is a secondary, cautious step.
When to Call the Pros: Beyond the DIY Fix (Art Repair for Dents)
So, you’ve tried the water trick, perhaps even with a bit of gentle heat, and that dent or persistent sag just won’t budge? While rare for a simple dent, it happens. Sometimes, the canvas fibers have been permanently elongated, weakened, or even subtly torn by the impact, making them incapable of fully returning to tension through simple hydration. When I say "permanently elongated," I mean the microscopic cellulose fibers themselves have been stretched beyond their elastic limit, or the weave structure has been so severely distorted that its natural "memory" can no longer re-tension it. It’s disheartening, I know, but don't give up hope just yet. For these scenarios, we move beyond simple "canvas dent repair" and into more advanced "art repair for dents."
When Re-Stretching or Keying Out is the Answer (Advanced DIY)
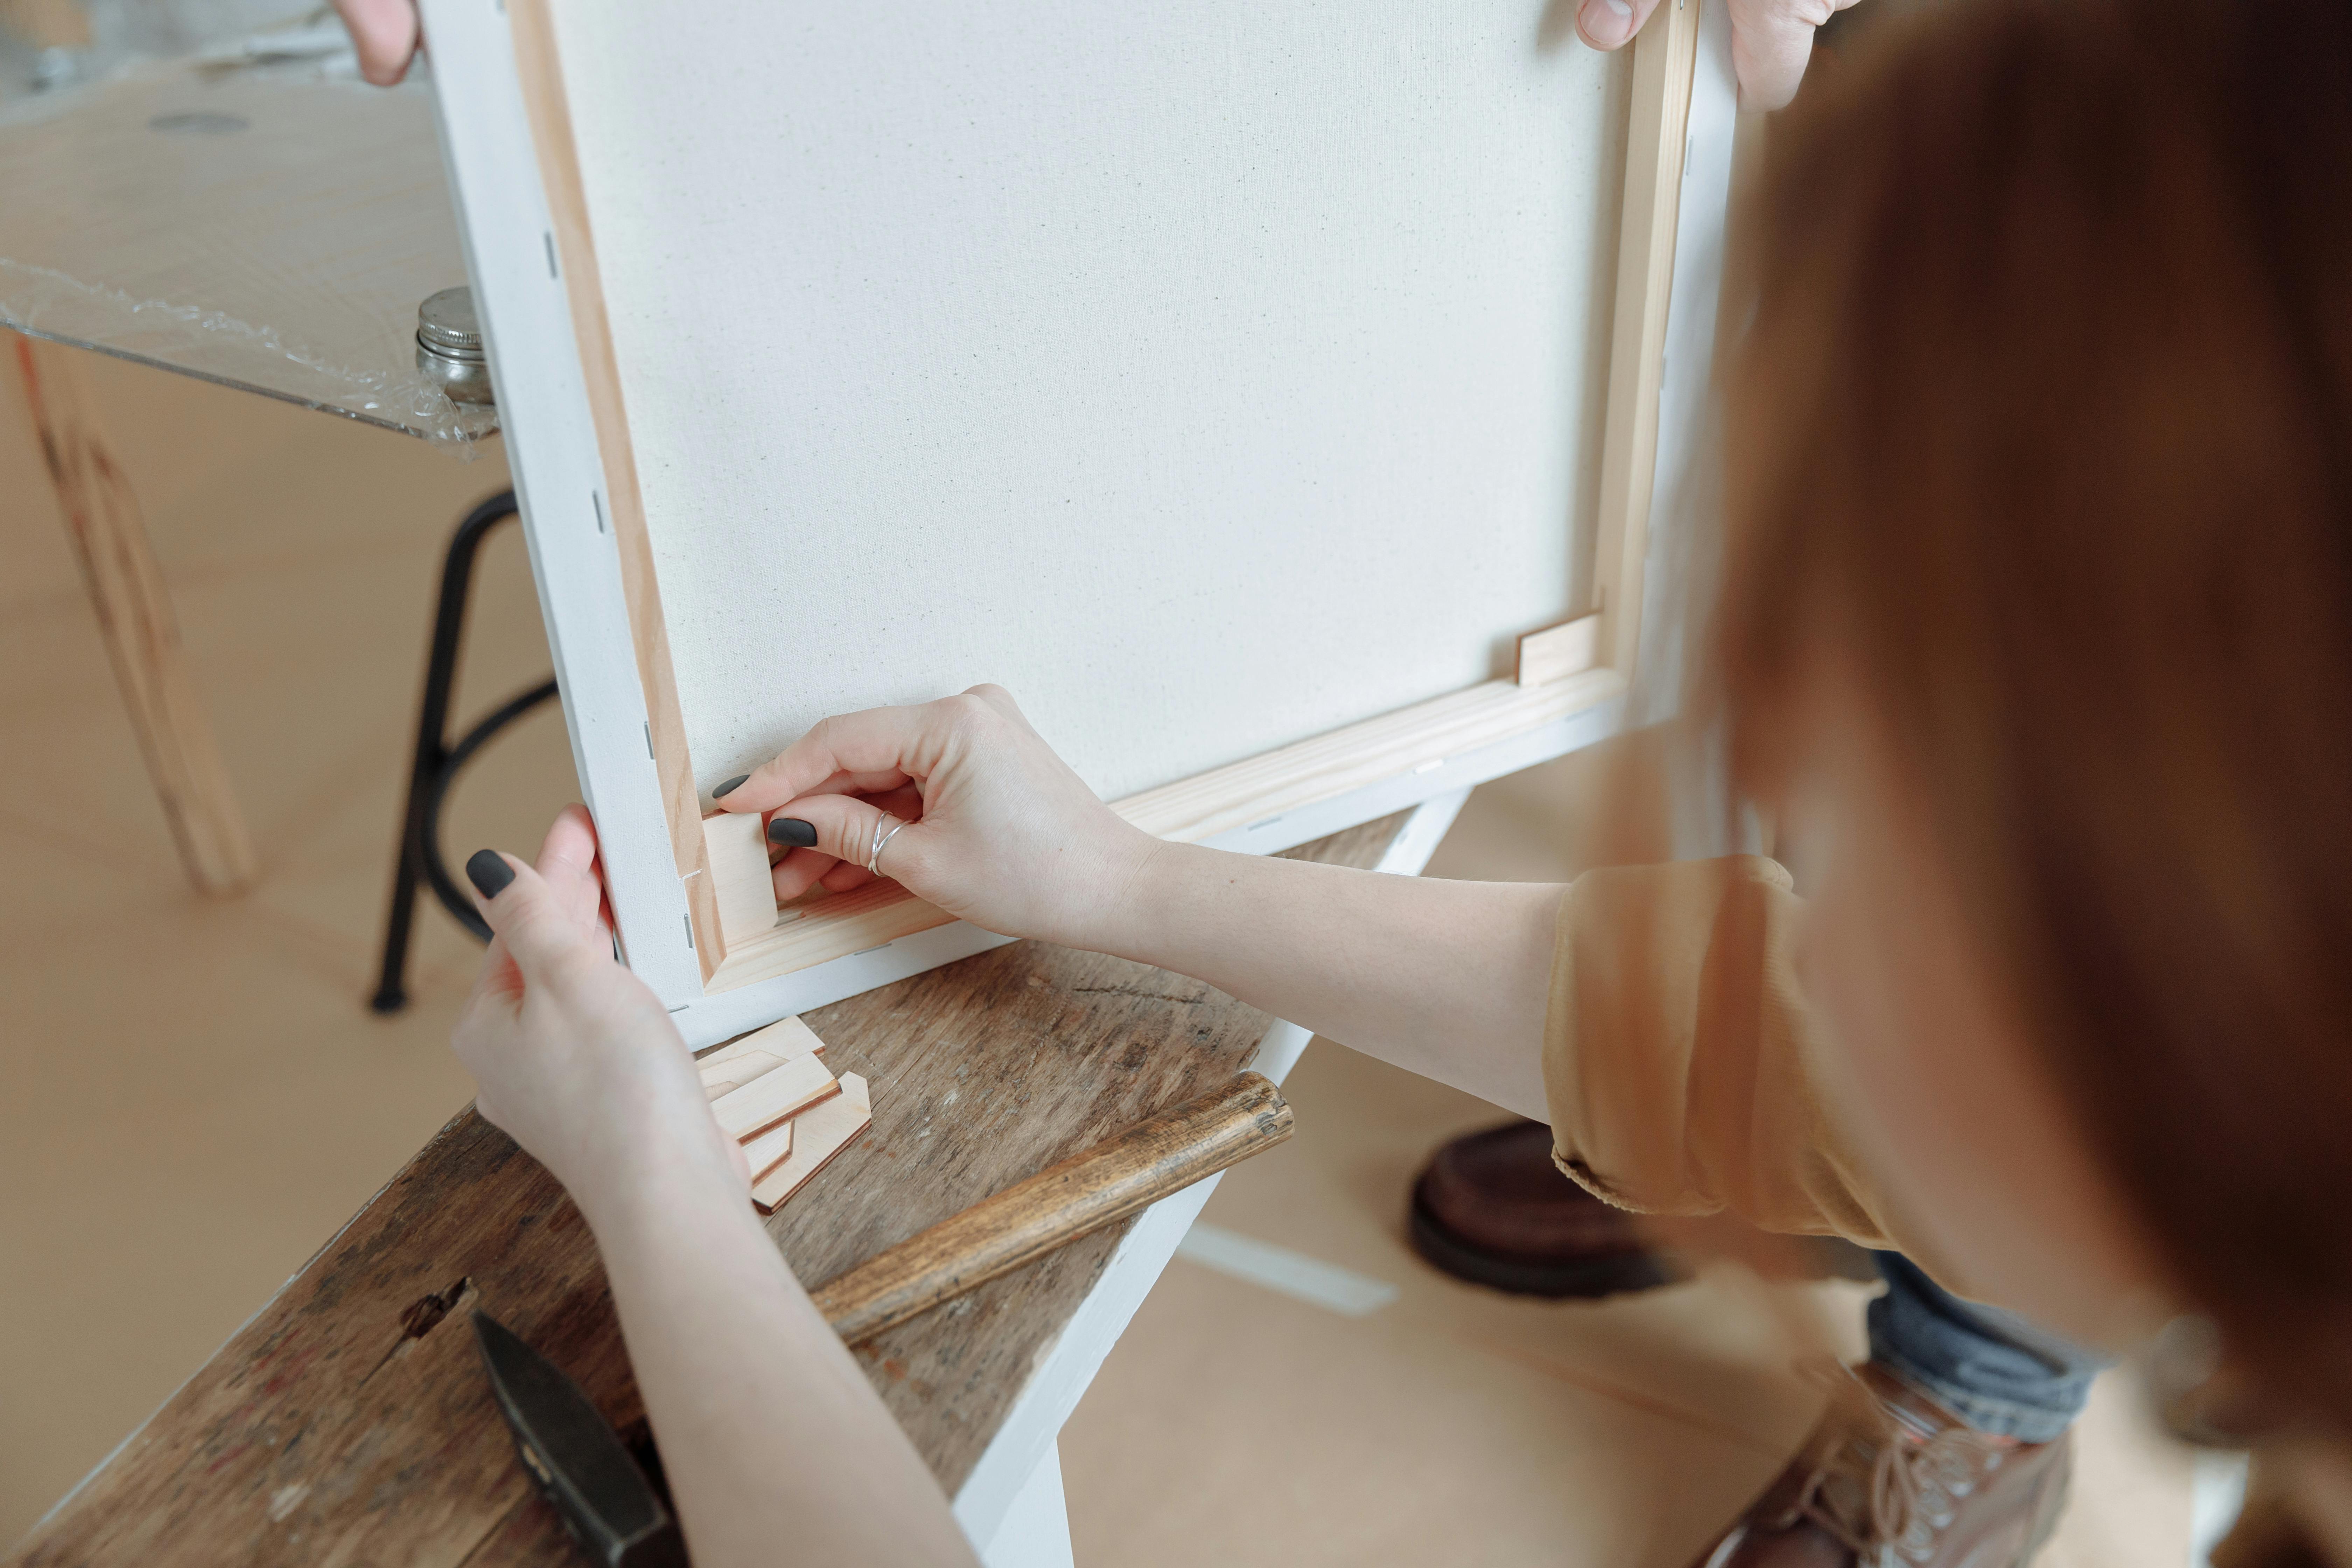
In these more severe cases, where you need to "restore damaged canvas surface" beyond a simple dent, the only reliable remaining option for an artist or savvy collector is to take the canvas off its stretcher bars and re-stretch it. This is a significantly more involved process than a simple dent repair, moving into the realm of proper canvas maintenance. It requires carefully removing the existing staples (a staple remover and tack hammer are your friends here!), ensuring the canvas is properly aligned and squared, and then using specialized tools like canvas pliers to pull it uniformly taut before re-stapling it to the bars. Canvas pliers provide the leverage and grip needed to achieve consistent tension across the entire canvas, preventing new sags. Beyond that, you also have the option of keying out the canvas: gently tapping the wooden stretcher keys (those small, triangular wedges often found in pre-cut slots in the corners of your stretcher bars – they're part of the frame, not an addition!) into their slots to slightly expand the frame and increase tension. When keying out, always use a small mallet or the handle of a pair of canvas pliers – never a metal hammer directly – and tap gently and evenly on all four keys, checking tension after each tap. It’s a subtle adjustment, aiming to restore overall tautness rather than fixing a localized dent directly. While re-stretching and keying out are fantastic skills for any artist or collector to master, they're a bit more of an undertaking that requires patience and the right tools. If you're facing this, I highly recommend consulting a detailed guide on the process, such as our comprehensive article on how to stretch canvas for painting.
When True Conservation is Needed: Delicate, Damaged, or Valued Canvases (Art Conservation for Canvas)
Not all canvases are created equal when it comes to dent repair, and sometimes, a little extra discernment (or outright professional consultation) is necessary. I’ve learned this the hard way with a few pieces over the years. This is especially true when dealing with what might seem like a persistent "canvas wrinkle removal" problem that's actually more severe damage.
Here are scenarios where DIY repairs are not recommended, and "art conservation for canvas" is the wisest path:
- Very Old or Antique Canvases: As canvases age, their fibers can become brittle, and the sizing and primer layers can lose elasticity. What might be a simple rehydration for a modern canvas could, in an antique, lead to cracking or further damage. This is especially relevant with different types of canvas coatings; an old, brittle oil ground might behave very differently to moisture and heat than a modern, flexible acrylic gesso, potentially making the piece more fragile. Always assume more fragility with age. Look for signs like overall brittleness, extensive craquelure (fine cracking in the paint layer), or areas where the paint appears to be lifting. For such pieces, especially valuable "fix dented oil painting canvas" scenarios, consulting a professional art restorer or conservator is always the safest and most recommended bet. Don't risk it if you're unsure – that gnawing feeling of "what if" isn't worth it.

- Heavy Impasto or Delicate Paint Layers: Paintings with very thick, sculptural paint (impasto) or extremely thin, fragile washes can be highly susceptible to damage during even gentle manipulation. The water method is generally safe on the back, but even slight flexing can cause impasto to crack. The heat method, as warned, is especially risky here. If the paint is already flaking or shows signs of instability, any movement could exacerbate the problem.
- Delicate or Unknown Varnishes: Some older varnishes can be sensitive to moisture or heat. While we're working on the back, excessive dampness or heat can sometimes cause issues. If you're unsure about the varnish, err on the side of extreme caution.
- Extensive Previous Repairs: A canvas that has already undergone significant restoration (e.g., patching, relining – where a new canvas is glued to the back of the original for support) might react unpredictably to these methods. Previous relining, for instance, can fundamentally alter the canvas's original tension characteristics and its response to moisture, making DIY attempts risky and potentially undoing earlier professional work.
- Damage with Paint Loss or Cracking: This is a critical distinction. If a dent has already caused paint to crack, flake, or peel, applying water or heat (even from the back) or attempting to re-stretch could potentially exacerbate the problem. The goal of these methods is to pull the canvas taut, and that movement, however subtle, might further dislodge already compromised paint. For these scenarios, especially with valuable pieces, it's almost always best to stop and consult a professional art conservator. They can consolidate the paint first – literally stabilizing the existing paint layers to prevent further loss – and then address the canvas tension safely. Trying to fix the dent first with compromised paint is like trying to fix a leaky pipe while the water is still gushing – you'll likely make it worse.
- Deep Creases or Folds: Deep creases or sharp folds are trickier than simple dents. They often involve a more severe, permanent deformation or even breakage of the canvas fibers. While the water and gentle heat methods can sometimes reduce the appearance of a crease, they are less likely to fully resolve it than a simple dent. For example, a crease often has a visible, sharp fold line, whereas a dent is a more rounded, softer indentation. For these, you're looking more at professional conservation where controlled humidification chambers, specialized pressing techniques (sometimes with vacuum tables), and even minor structural repair with archival adhesives might be employed. Attempting to iron out a deep crease carries a very high risk of damaging the paint layer, so again, caution is paramount.
For truly severe damage – significant tears, punctures, extensive paint loss, or perhaps a permanent crease or fold rather than just a simple dent – even re-stretching might not be enough. In such scenarios, particularly for valuable or sentimental pieces, the wisest course of action is to consult a professional art restorer or conservator. They possess the specialized knowledge, tools, and materials to address complex damage without further compromising the artwork. Knowing when to call in the experts is part of responsible art ownership, and it’s a sign of respecting the art itself.
A Pound of Prevention: How to Safeguard Your Art from Dents (Artwork Care)
Of course, the very best way to "fix" a dent is to prevent it from ever happening. Proper storage, careful handling, and a mindful approach to your artwork are your best friends. It sounds obvious, but a moment of thought before a move or storage can save you hours of repair (and a lot of emotional turmoil). Implementing smart "artwork care" practices can drastically reduce your need for "canvas damage repair."

- Store Art Upright and Supported: Never store canvases leaning against something with direct pressure on the fabric. Gravity and time are not your allies here. Store them vertically, ideally in a rack or purpose-built art storage where nothing is touching the front or back of the canvas. This is particularly crucial for larger pieces. For serious collectors, professional art storage solutions for collectors can offer peace of mind and climate-controlled protection.
- Corner Protectors are Cheap Insurance: When moving or transporting art, simple cardboard corner protectors are incredibly effective and cheap. They absorb unexpected bumps and distribute pressure, protecting those vulnerable edges. Don't skip this, I promise it's worth the extra minute. I once had a piece survive a clumsy studio move thanks to these – it was a close call, but they did their job.
- Don't Lean to Dry Recklessly: I know, it's tempting to lean a wet painting against a wall to dry with the painted side facing out. But one little slip, one slight nudge, and it can slide down, creating a dent on whatever is on the floor. Use an easel or a dedicated drying rack, or lean it facing the wall (carefully!) if you must. I learned this the hard way when a freshly painted canvas decided to take a dive into a pile of old newspapers, leaving a perfect imprint of a headline right on the composition. Lesson learned!
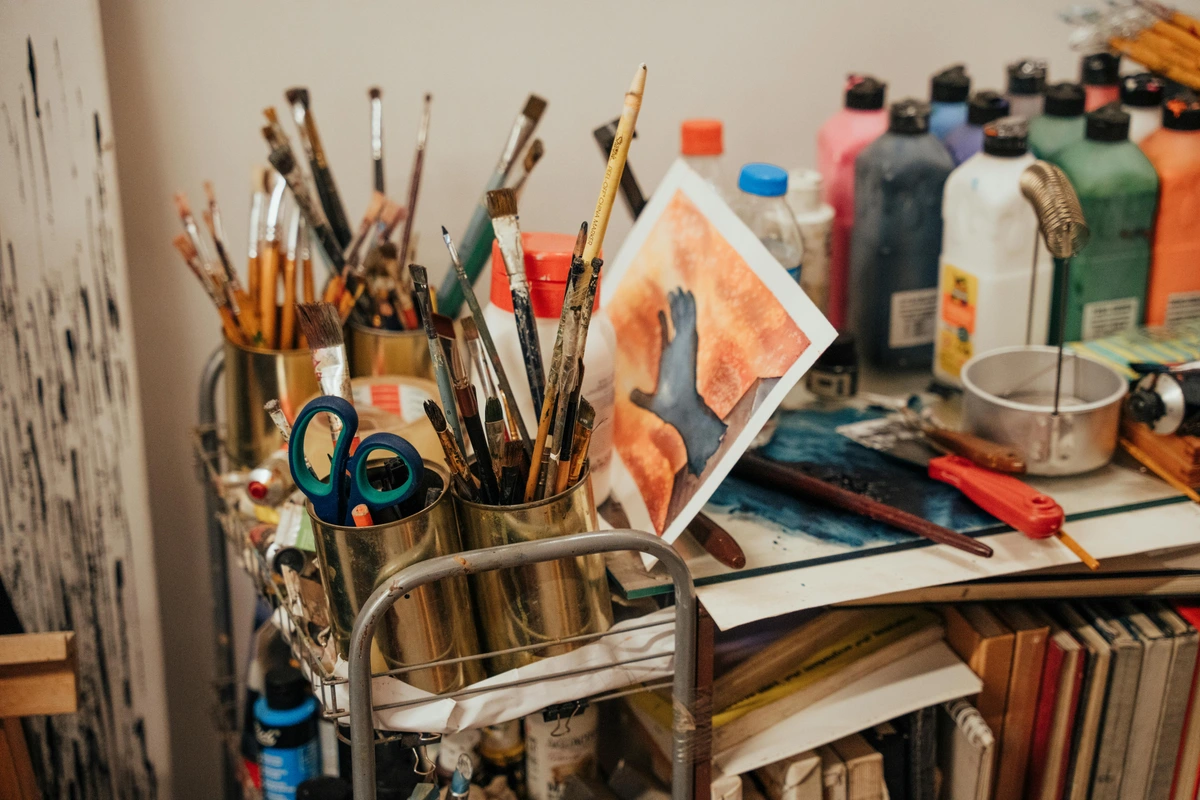
- Watch Your Step (and Your Tools!): This sounds ridiculously obvious, but how many times have I or a friend fumbled a palette knife, a heavy book, or even a coffee cup onto a drying piece? Far too many. Simply being mindful in your studio workspace and during transport can prevent countless dents. A moment of accidental clumsiness is a universal artist's tale, but a moment of prevention is always better than an hour of repair! Consider using a dedicated workspace image here.
- Mind Your Environment: As we discussed, humidity and temperature swings are enemies of canvas tension. Aim for a stable environment, ideally with relative humidity between 40-50% and consistent temperatures (around 68-72°F or 20-22°C). For serious collectors and artists in fluctuating climates, dedicated climate control systems like humidifiers or dehumidifiers in studios and storage spaces are professional-level preventative measures that can save significant headaches. Avoid storing art in basements, attics, or near vents, windows, or exterior walls where conditions fluctuate wildly. I've seen canvases sag significantly after just a week in a high-humidity room. Direct sunlight, beyond its fading effects on pigments, can also subtly weaken canvas fibers over time, reducing their elasticity.
- Handle with Care During Framing: When you're having a piece framed, or doing it yourself, be incredibly mindful of how the canvas is supported. Accidental pressure during the framing process, especially around the edges, can easily lead to new dents or undue stress on the fabric. Ensure the framer uses proper handling techniques and support. If you're looking into framing, consider our guide on how to choose the right canvas for acrylic vs oil as good canvas selection is also part of prevention. For insights from experts, consider a qa with an expert art framer.
Taking care of artwork is a discipline, but a profoundly rewarding one. For me, it’s about respecting the hours of work and the emotion poured into each piece.

Quick Answers: Your Canvas Dent FAQ & Common Misconceptions
We get a lot of specific questions about this topic, and it's always good to clarify! Here are some of the most common concerns and specific scenarios we encounter, beyond what we've already covered.

Q: What if the dent is on a canvas board, not a stretched canvas?
A: Unfortunately, these methods won't work for canvas boards. A canvas board is essentially canvas fabric glued to a rigid backing, like cardboard or MDF. A dent in a canvas board typically means a dent in the rigid board itself, which, unlike stretched fabric, does not have the "memory" to return to its original flat form and is not easily fixed. It’s like trying to smooth a dent out of a wooden table – the underlying structure itself is compromised.
Q: Can I use an iron instead of a hairdryer for the heat method?
A: You can, but I personally find it much riskier. An iron applies direct, concentrated pressure and heat, which is harder to control than the diffused, moving heat from a hairdryer. If you absolutely must use an iron, set it to its lowest heat setting with no steam, place a thick, clean cloth or parchment paper between the iron and the canvas, and press very briefly and gently, keeping it moving. I stick to the hairdryer because it significantly minimizes the risk of accidental damage – the hairdryer offers a forgiving buffer that I frankly, cherish after my own near-singe!
Q: What about fixing dents on very old or antique canvases?
A: For very old, fragile, or antique canvases, I strongly advise against attempting DIY methods. The fibers, sizing, and paint layers can become extremely brittle with age. Applying water or heat, even gently, risks cracking paint, dislodging varnish, or causing further irreversible damage. This is definitely a case where you should immediately consult a professional art conservator or restorer. Their expertise is invaluable for preserving such delicate pieces.












Q: What if the dent has already caused the paint to crack or flake?
A: This is a critical distinction! If the paint is already damaged, your priority shifts from "dent repair" to "paint stabilization." Any movement of the canvas, even subtle, could worsen the paint loss. Before attempting any canvas tension adjustment (which might still be necessary after paint stabilization), you absolutely need to consult an art conservator. They will first consolidate the paint (secure any loose flakes) and then advise on how to safely address the underlying canvas tension without causing more damage. Do not try to fix a dent if the paint is flaking!
Q: Is it true that all canvas dents are permanent? (Common Misconception)
A: Absolutely not! This is one of the biggest myths I encounter. As this guide explains, the vast majority of canvas dents are temporary displacements of fibers and lost tension, which can be restored with simple techniques leveraging the canvas's natural "memory." Only severe damage involving permanent fiber breakage or significant paint loss becomes truly permanent or requires professional intervention beyond a simple fix. Don't let initial despair make you believe a dent is the end of your artwork!
A Dent is Not The End: Restore Your Art with Confidence
So there you have it. That heart-stopping moment when you discover a dent in your canvas is usually just a temporary problem, not a permanent tragedy. With a little bit of water, a touch of patience, and sometimes a whisper of gentle heat, you can restore your canvas to its perfectly flat, taut self. It’s a testament to the surprising resilience of our materials, and a quiet victory for the artist. Mastering these simple "canvas tension repair" techniques empowers you to protect your creations and maintain their pristine beauty, transforming you from a frantic artist into a confident problem-solver.
Key Takeaways:
- Water is Your Best Friend: The gentle rehydration method from the back of the canvas fixes most dents.
- Heat is a Secondary Tool: Use a hairdryer on low heat with extreme caution for stubborn dents, always keeping it moving.
- Prevention is Paramount: Proper storage, handling, and environmental control drastically reduce dent risk.
- Know When to Call a Pro: For antique, heavily impastoed, or already damaged (cracking/flaking paint) canvases, consult an art conservator.
- Dents are Usually Fixable: Don't despair! Canvas fibers have a remarkable memory.
Go forth and restore your canvases with confidence, and perhaps, with a renewed appreciation for the humble, yet mighty, canvas. If you're looking for more art-related wisdom, feel free to explore my other guides, buy some art, or visit the den-bosch-museum and discover my timeline. Have you ever had a canvas dent and used a unique trick to fix it? Share your experiences in the comments – we're all learning from each other!