
The Alchemy of Paint: Unpacking Chemical Reactions in Oil Painting
Discover the invisible chemistry behind oil painting techniques. Learn about oxidation, glazing, and pigment reactions to transform your practice.
The Alchemy of Paint: Unpacking Chemical Reactions in Oil Painting
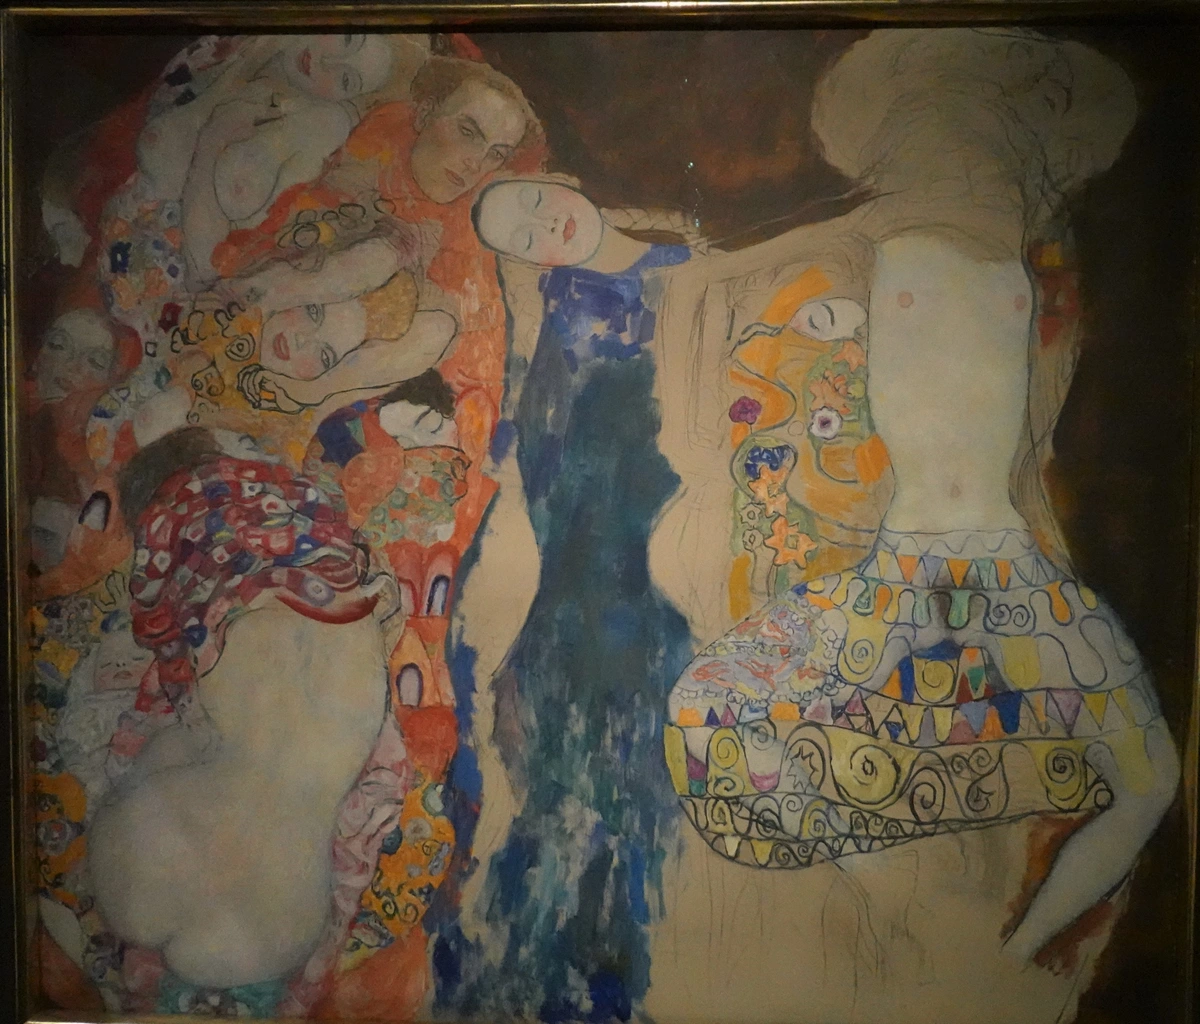
I still remember the first time I saw a Rembrandt up close. The way light seemed to breathe within those dark layers – something beyond simple brushwork. That’s when I realized oil painting isn’t just pigment on canvas; it’s a slow-burning chemical ballet. Today, we’re pulling back the curtain on the invisible reactions that give these works their magic (and their headaches).
The Unsung Chemistry Behind Your Canvas
Oil painting is fundamentally about controlling chaos. When you mix pigments with oil, you’re launching a months-long chemical process that outlives your painting sessions. Most artists think about this only when something goes wrong – like when your masterpiece starts resembling a cracked desert floor. But understanding these reactions isn’t just damage control; it’s the key to unlocking effects impossible with other mediums.
At its core, oil painting relies on oxidation and polymerization. When you expose your painted canvas to air, the oil molecules (usually linseed or walnut oil) start absorbing oxygen. This isn’t "drying" – it’s literally transforming from liquid to solid plastic. It’s why your brushes get stiff after weeks of cleaning – the oil has cured into something resembling solid rubber. Now imagine that happening layer by layer across your entire artwork.

The Pigment Gambit
Pigments aren’t inert colorants; they’re chemical participants. Some are downright aggressive:
Pigment Type | Chemical Behavior | Common Effects |
|---|---|---|
| Lead-based (flakes, whites) | Catalyzes oxidation | Faster curing, darkens over time |
| Iron oxide (burnt sienna, umbers) | Relatively inert | Stable, less prone to issues |
| Cadmiums | React with sulfur | Can "bleed" or darken with layering |
| Copper-based (malachite) | Forms soap with oil | Creates those beautiful green glazes |
I once spent three months building a copper-green glaze only to watch it saponify into a shimmering, unstable mess – a devastating chemistry lesson. Turns out, copper oxides love turning into metallic soaps when exposed to humid air.
Oil Chemistry: The Binder's Tale
The oil in your paint isn't just a carrier; it's the star of the chemical show. Different oils have different fatty acid profiles, which dramatically affects their behavior:
Oil Type | Drying Time | Yellowing Tendency | Flexibility | Best For |
|---|---|---|---|---|
| Linseed oil | Fast (2-5 days) | High | Good | Underpainting, general use |
| Walnut oil | Medium (3-7 days) | Low | Very good | Whites, glazing |
| Poppy oil | Slow (5-10 days) | Very low | Fair | Light colors, final layers |
| Safflower oil | Slow (4-8 days) | Very low | Fair | Light colors, delicate work |
| Stand oil | Very fast (1-3 days) | Medium | Excellent | Glazing, glossy finishes |
The linolenic acid content determines drying speed – more means faster curing. But faster isn't always better. That's why I often start with walnut oil for my white layers and switch to linseed for underpainting. It's about creating a harmonious drying schedule across your layers.
Glazing: The Layering Game
Glazing is where chemistry becomes your choreographer. When you lay a thin, transparent color over dried layers, you’re letting light penetrate between those polymerized oil films. But if the chemistry is wrong, magic turns into mud.
The rule? Fat over lean. This isn’t just an old saying – it’s chemical necessity. "Fat" refers to layers with more oil (higher ratio of binder to pigment). "Lean" has more pigment and less oil. Paint a lean layer over fat, and you risk:
- Cracking: Lean layers shrink faster than fatty ones, pulling at the underlying layer
- Delamination: When layers physically separate over time
- Yellowing: Accelerated oxidation in the fatty layer beneath
My studio trick: I’ll often add a retarding medium like stand oil or safflower oil to my first layers. These oxidize slower, giving later layers time to cure without drama. And never, ever skip the proper drying time. I learned that the hard way when a 2012 painting’s cobalt blue layer just slid off during a cleaning – it was dry to the touch after six weeks, but chemically still a toddler.
Studio Chemistry: Risks and Rewards
Our best friend and worst enemy in the studio is humidity. Water molecules interfere with oil polymerization, making paint remain sticky for months. That’s why coastal painters often fight more cracking than arid ones. And remember those metallic soaps? They bloom as tiny crystalline bumps that look like tiny stars when backlit. Seen in Baroque paintings? That’s a sign of centuries-old chemical reactions at work.
But you can use this:
- Saponification: Let copper pigments form soap intentionally for ethereal glazing effects
- Temperature control: Warm your palette slightly to speed oxidation for underpainting
- Acrylic grounds: Use sparingly, as their alkaline nature can "saponify" oil layers
For my abstracts, I’ve sometimes introduced a tiny bit of vinegar (acetic acid) into pigment-oil mixtures. It creates unpredictable, beautiful fracturing effects as it traces the oil’s microscopic networks. Science at its most artistic.
Practical Takeaways for Your Practice
- Resist the urge: Don’t rush layers. A painting is fundamentally a chemical structure, not just an image. When in doubt, wait another week.
- Pigment compatibility: Cadmiums and lead whites are toxic but chemically stable. Save your headaches from experimenting with exotic pigments.
- Medium matters: Stand oil gives gloss and durability; walnut oil stays paler but yellows less over centuries. Choose based on finish, not just flow.
- Conservation is prevention: Avoid varnishing until painting is thoroughly cured (often 6-12 months). Poorly varnished paintings sweat their solvents for decades.
- Listen to history: Old masters didn’t have PhDs in chemistry, but they observed outcomes. Read their treatives – they’re practical manuals disguised as poetry.
FAQ: Chemical Reactions in Oil Painting
Q: Why does oil paint turn yellow over time, but some whites stay bright? A: It’s primarily the oil binder’s chemistry. Lead-based whites (like lead carbonate) resist yellowing, while some linseed oil varnishes darken due to oxidation. Modern alkyd mediums can yellow significantly faster than traditional oils.
Q: Can I fix cracked paint without damaging underlying layers? A: Only superficially. Cracks are permanent damage. Small cracks can be inpainted with matching medium, but deep ones require structural repair or accepting them as part of the painting’s history.
Q: How do glazing layers interact chemically with underpaintings? A: Ideally, underpaintings should be leaner (less oil) than glazes. Fatty layers below cause glazes to craze. Glaze layers should also dry completely before adding further transparent layers to avoid "blooms."
**Q: Are modern pigments less reactive than historical ones?**A: Generally safer, but not always. Some modern organic pigments fade faster than their mineral counterparts. Cobalt blues remain chemically stable for centuries, whereas many lake pigments can fade.
**Q: Why do some oil paintings smell after years?**A: Improper drying or use of solvents without ventilation can trap volatile compounds. They slowly outgas, creating a "fresh paint" smell years later. Proper studio ventilation prevents this.
The Unseen Symphony
Oil painting is a dialogue with time. Each layer you paint today is a chemical handshake with your future self decades from now. When it works, you get a Rembrandt – a painting with light that moves across the canvas as if alive. When it doesn’t? You learn humility.
There’s beauty in this instability. The cracks aren’t mistakes; they’re maps of chemical journeys. The yellowing isn’t failure; it’s the oil’s slow dance with oxygen. Every painting is a temporary experiment in alchemy, and we’re all apprentices in this ancient craft.
Looking to see chemistry in action? Sometimes the best lessons come from observing original paintings. My own timeline shows how these reactions evolve across decades – you might find inspiration there. And if you’re ready to own a piece that’s endured the chemistry test of time, explore available works.
Note: This article reflects practical studio observations, not conservation science. For artwork preservation, always consult professional conservators.
Further Reading and Resources
Historical Texts
- Cennini, Cennino - Il Libro dell'Arte (The Craftsman's Handbook): 15th century instructions for painters
- De Mayerne, Theodore - Pictoria Sculptoria et Quilibet Artium Principia: 17th century manuscript on painting techniques
- Eastlake, Charles - Methods and Materials of Painting: 1847 technical analysis of historical painting methods
Modern Technical Resources
- Gettens, R.J. and Stout, G.L. - Painting Materials: A Short Encyclopaedia: Comprehensive guide to artist materials
- Thomson, Garry - The Museum Environment: Essential reading for understanding environmental effects on art
- Roy, Ashok - Artist's Pigments: A Handbook of Their History and Characteristics: Detailed pigment analysis
Online Resources
- Getty Conservation Institute: Technical studies and conservation research
- National Gallery (London) - Scientific department publications
- Canvas Paintings: Interactive pigment database and analysis tools
Studio Safety Considerations
Working with oil paints involves exposure to various chemicals. Here are essential safety practices:
Material | Hazards | Precautions |
|---|---|---|
| Lead pigments | Toxic if ingested/inhaled | Use gloves, avoid sanding, wash hands thoroughly |
| Cadmium pigments | Toxic | Avoid ingestion, good ventilation |
| Solvents | Flammable, toxic | Use in well-ventilated areas, away from heat |
| Oil mediums | Generally safe | Some people develop skin sensitivity - test first |

I always work with gloves and in a well-ventilated space. Your studio should be a place where you can create safely for decades to come. The chemicals we work with today should not compromise our health tomorrow.
The Artist's Responsibility: Material Legacy
As artists, we don't just create for the present; we create for the future. The materials we choose will outlive us, and they will determine how our work is perceived centuries from now. This is both a responsibility and an opportunity.
When I choose materials for a painting, I think about the conservator who might work on it 200 years from now. Will they be able to understand what I did? Will the materials hold up? Will the painting still communicate the emotions and ideas I put into it?

This perspective changes how you approach your work. You become not just an artist, but a custodian of a tradition that stretches back to Van Eyck. You're participating in a conversation that spans centuries, and your materials are your voice in that conversation.