
The Secret to Crisp Lines: A Painter's Guide to Tape
Stop wrestling with messy edges. Discover how the pros use painter's tape to create crisp lines, from choosing the right tape to mastering the pull for perfect paint jobs.
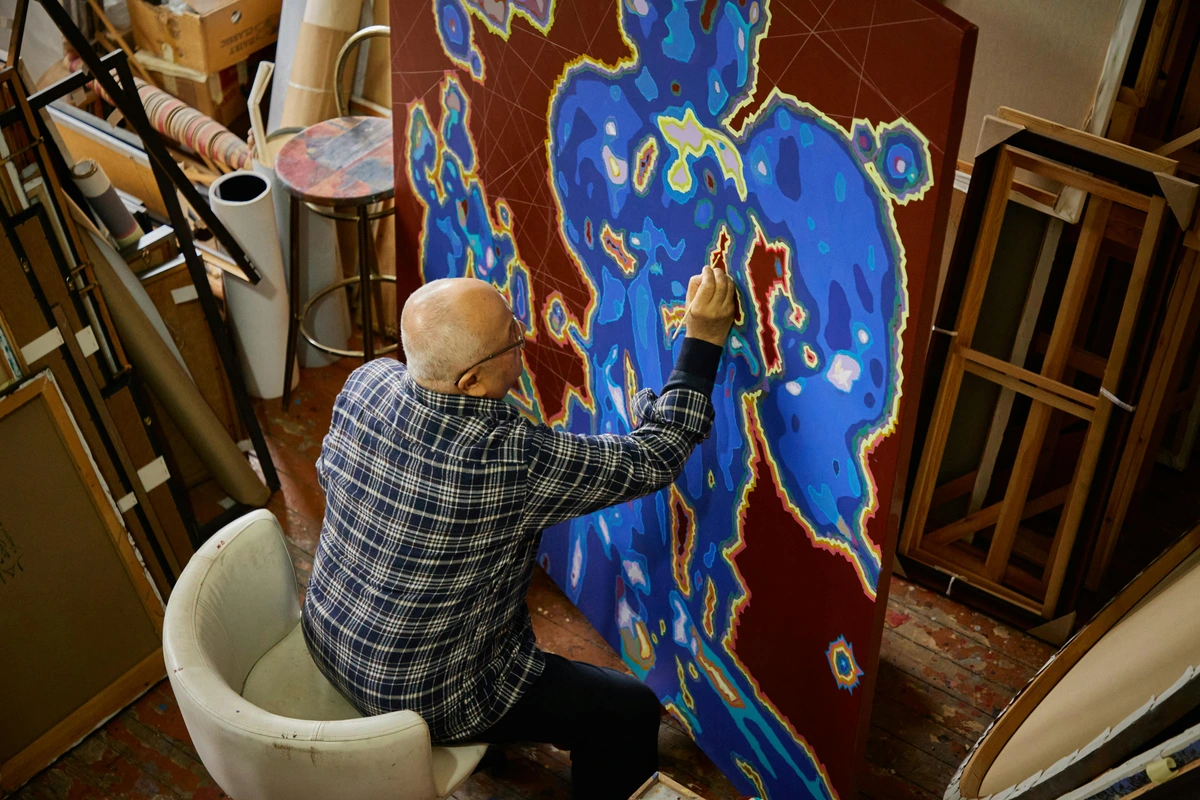
I Used to Think Painter's Tape Was Cheating. I Was an Idiot.
You know that little flutter of annoyance when a brushstroke goes rogue, bleeding under the edge you so carefully tried to keep straight? I used to live in that flutter. I'd spend hours trying to freehand a clean line, convincing myself that using painter's tape was somehow cheating, that it was a crutch for the impure. Then, one utterly frustrating afternoon spent scraping lilac acrylic off a white border, I had a moment of clarity. It wasn't cheating; it was communication. The tape wasn't a crutch—it was a conversation between 'what I have' and 'what I want.' It was a way of telling the paint, 'This far, and no further.' That day, my entire practice changed. Now, I believe knowing how to use painter's tape isn't a handy trick; it's a core artistic skill.
The Humble Gatekeeper: Why the Right Tape Makes All the Difference
Think of painter's tape as the gatekeeper of your creative space. It doesn't do the painting for you, but it defines the territory where the magic happens. Grab the wrong tape, however, and your gatekeeper becomes an adversary, tearing paper, leaving sticky residue, or failing to stop the paint tide altogether.
The most common type you'll see is the blue tape, officially low-adhesion tape. It's designed to stick just enough to hold its position but release without a fight, making it the perfect choice for most delicate surfaces like paper, canvas, and clean, cured wood. Then there's its tougher cousin, medium-adhesion tape. This is for when you need a stronger bond, perhaps on a slightly textured wall or for a job that might take several days. For the absolute best edge, especially on challenging surfaces, you have high-adhesion or 'fine line' tapes. These often come in green or yellow and create an incredibly tight seal, which is a double-edged sword. You'll get the sharpest line of your life, but you have to be extra vigilant during removal to avoid damage.
Tape Type | Adhesion Level | Best For | Key Trait |
|---|---|---|---|
| Low-Adhesion (e.g., blue) | Gentle, easy release | Delicate papers, raw canvas, newly finished art boards | Forgives mistakes |
| Medium-Adhesion | Stronger, longer hold | Slightly porous surfaces, longer projects, textured paper | Balanced strength |
| High-Adhesion (e.g., green/yellow) | Aggressive, tight seal | Complex shapes, critical edges, rough surfaces | Demands precision |
The most overlooked factor? Surface preparation. You wouldn't put a bandage on a muddy knee and expect it to stick. Similarly, taping over dust, oil, or a previous layer of uncured paint is a recipe for failure. I've learned the hard way to give the surface a quick wipe-down with a clean, dry cloth. For areas with more grime, a light pass with isopropyl alcohol can make the difference between a leaky line and a perfect one.
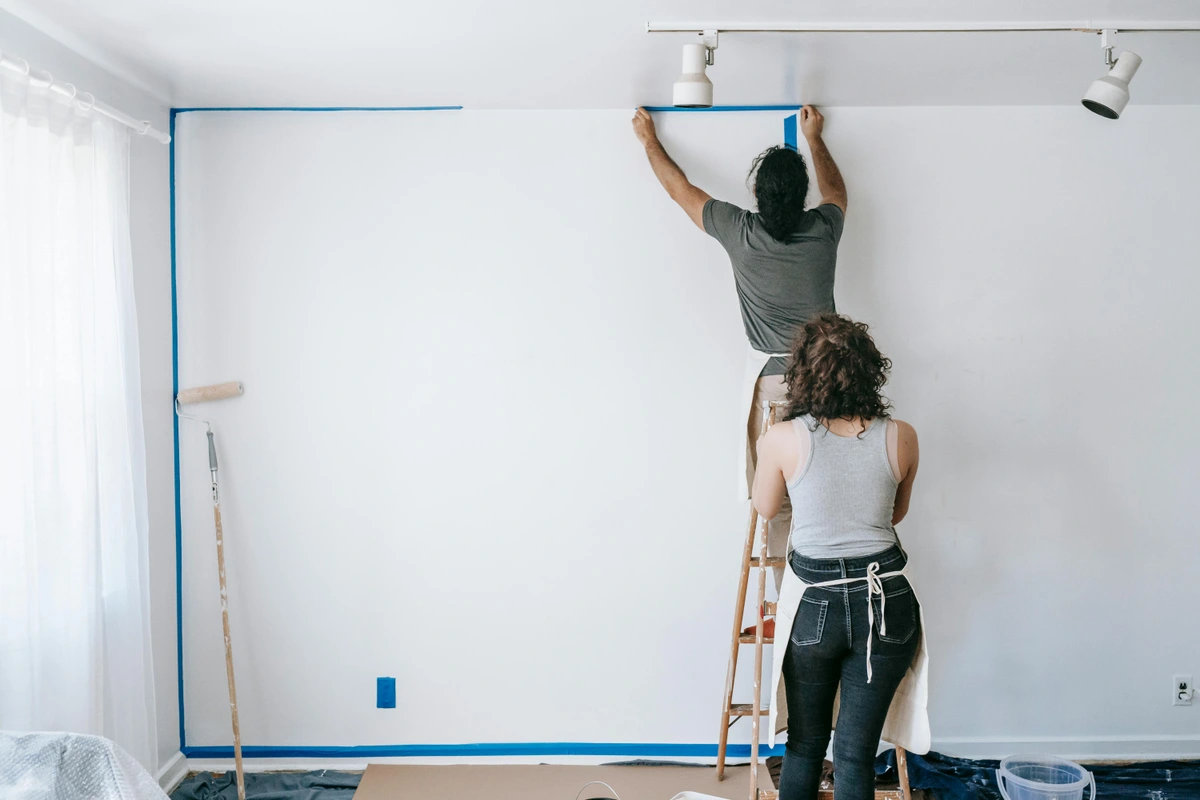
The Foolproof Ritual: From Tape to Triumph
I'm a creature of habit, and over the years I've developed a ritual that has almost completely eliminated bleeds and tears. It's a simple sequence of steps that treats the tape not as an afterthought, but as the first stroke of the painting itself.
Step 1: Measure, Cut, and Plan
Don't just tear off a strip and hope for the best. Unroll a piece, measure roughly what you need, and tear it cleanly against a metal ruler or the edge of your workbench. A clean tear is less likely to stretch or warp. Place the strip down along your intended line, but don't press it fully yet. Let it lie there, a ghost of the line to come. This allows you to check the alignment from a few steps back—a perspective you lose once you're hunkered down.
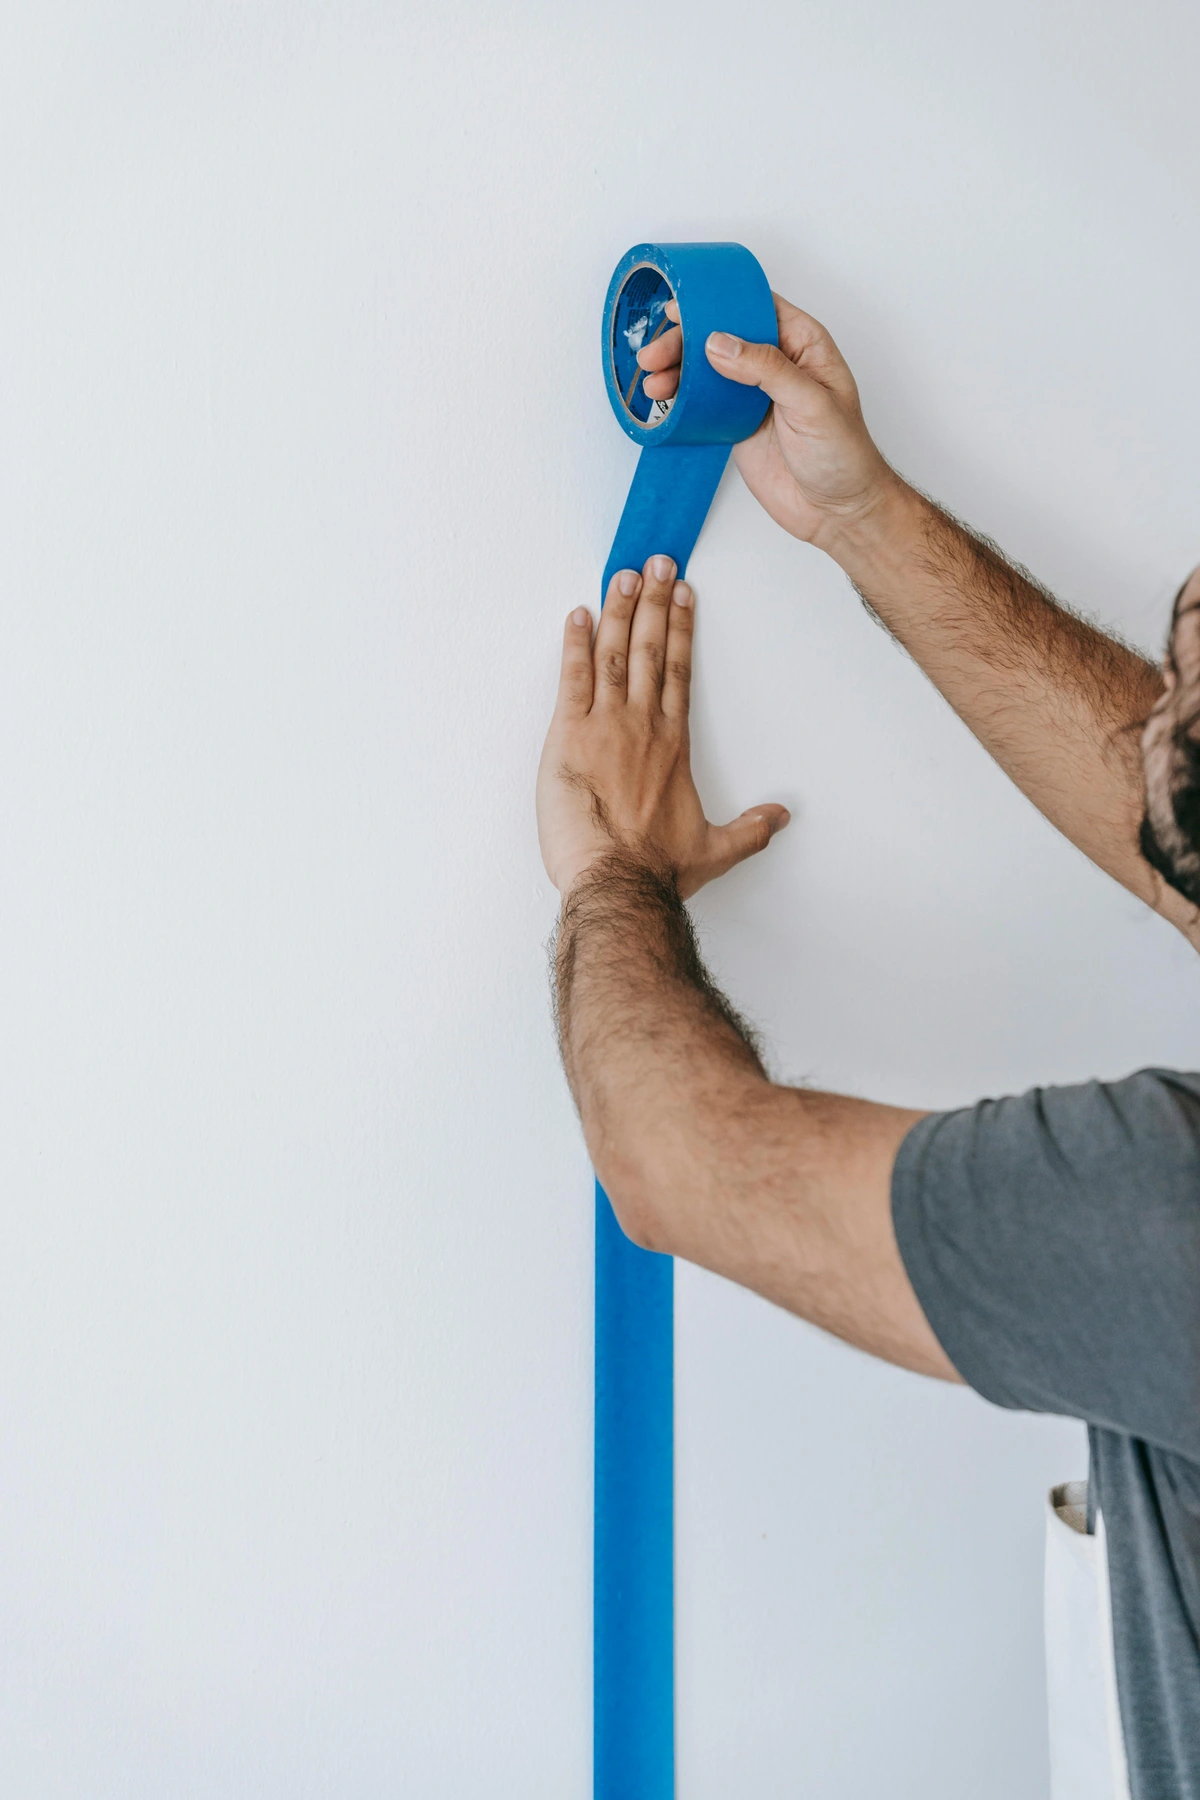
Step 2: The Burnish is Everything
This is the step where most people fail. I know because I was one of them. Burnishing is just a fancy word for rubbing the tape down so it's fully and completely stuck to the surface. I use the hard, rounded edge of a plastic card—an old credit card or a dedicated store loyalty card works perfectly. A bone folder is the traditional tool, but a credit card is my everyday workhorse.
Start from the centre and press outwards, following your line. You're not just smoothing it; you're creating a molecular seal. I pay special attention to the edge I'll be painting towards. That's the front line. I'll sometimes go over it two or three times, just to be sure. If you see any tiny puckers or bubbles, lift that section and re-stick it. A smooth lie now means a clean line later.
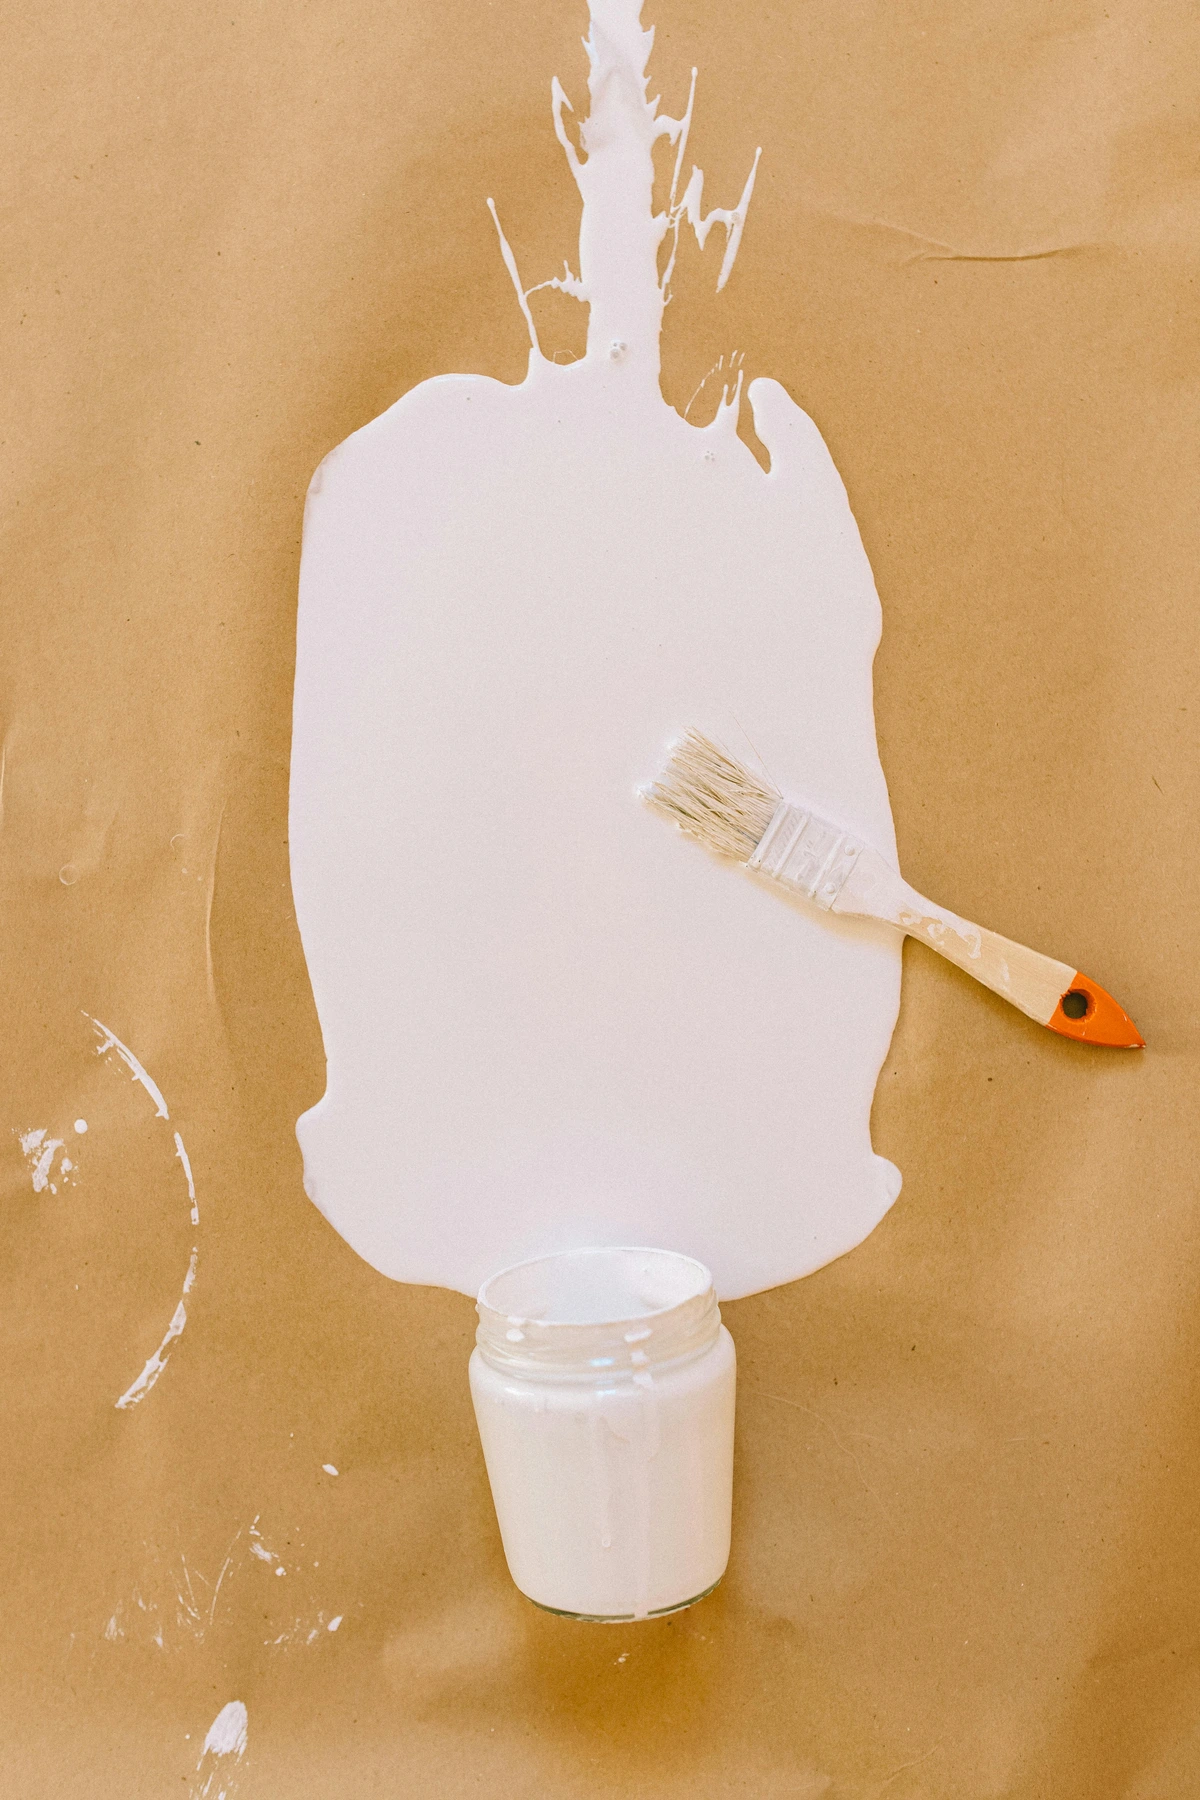
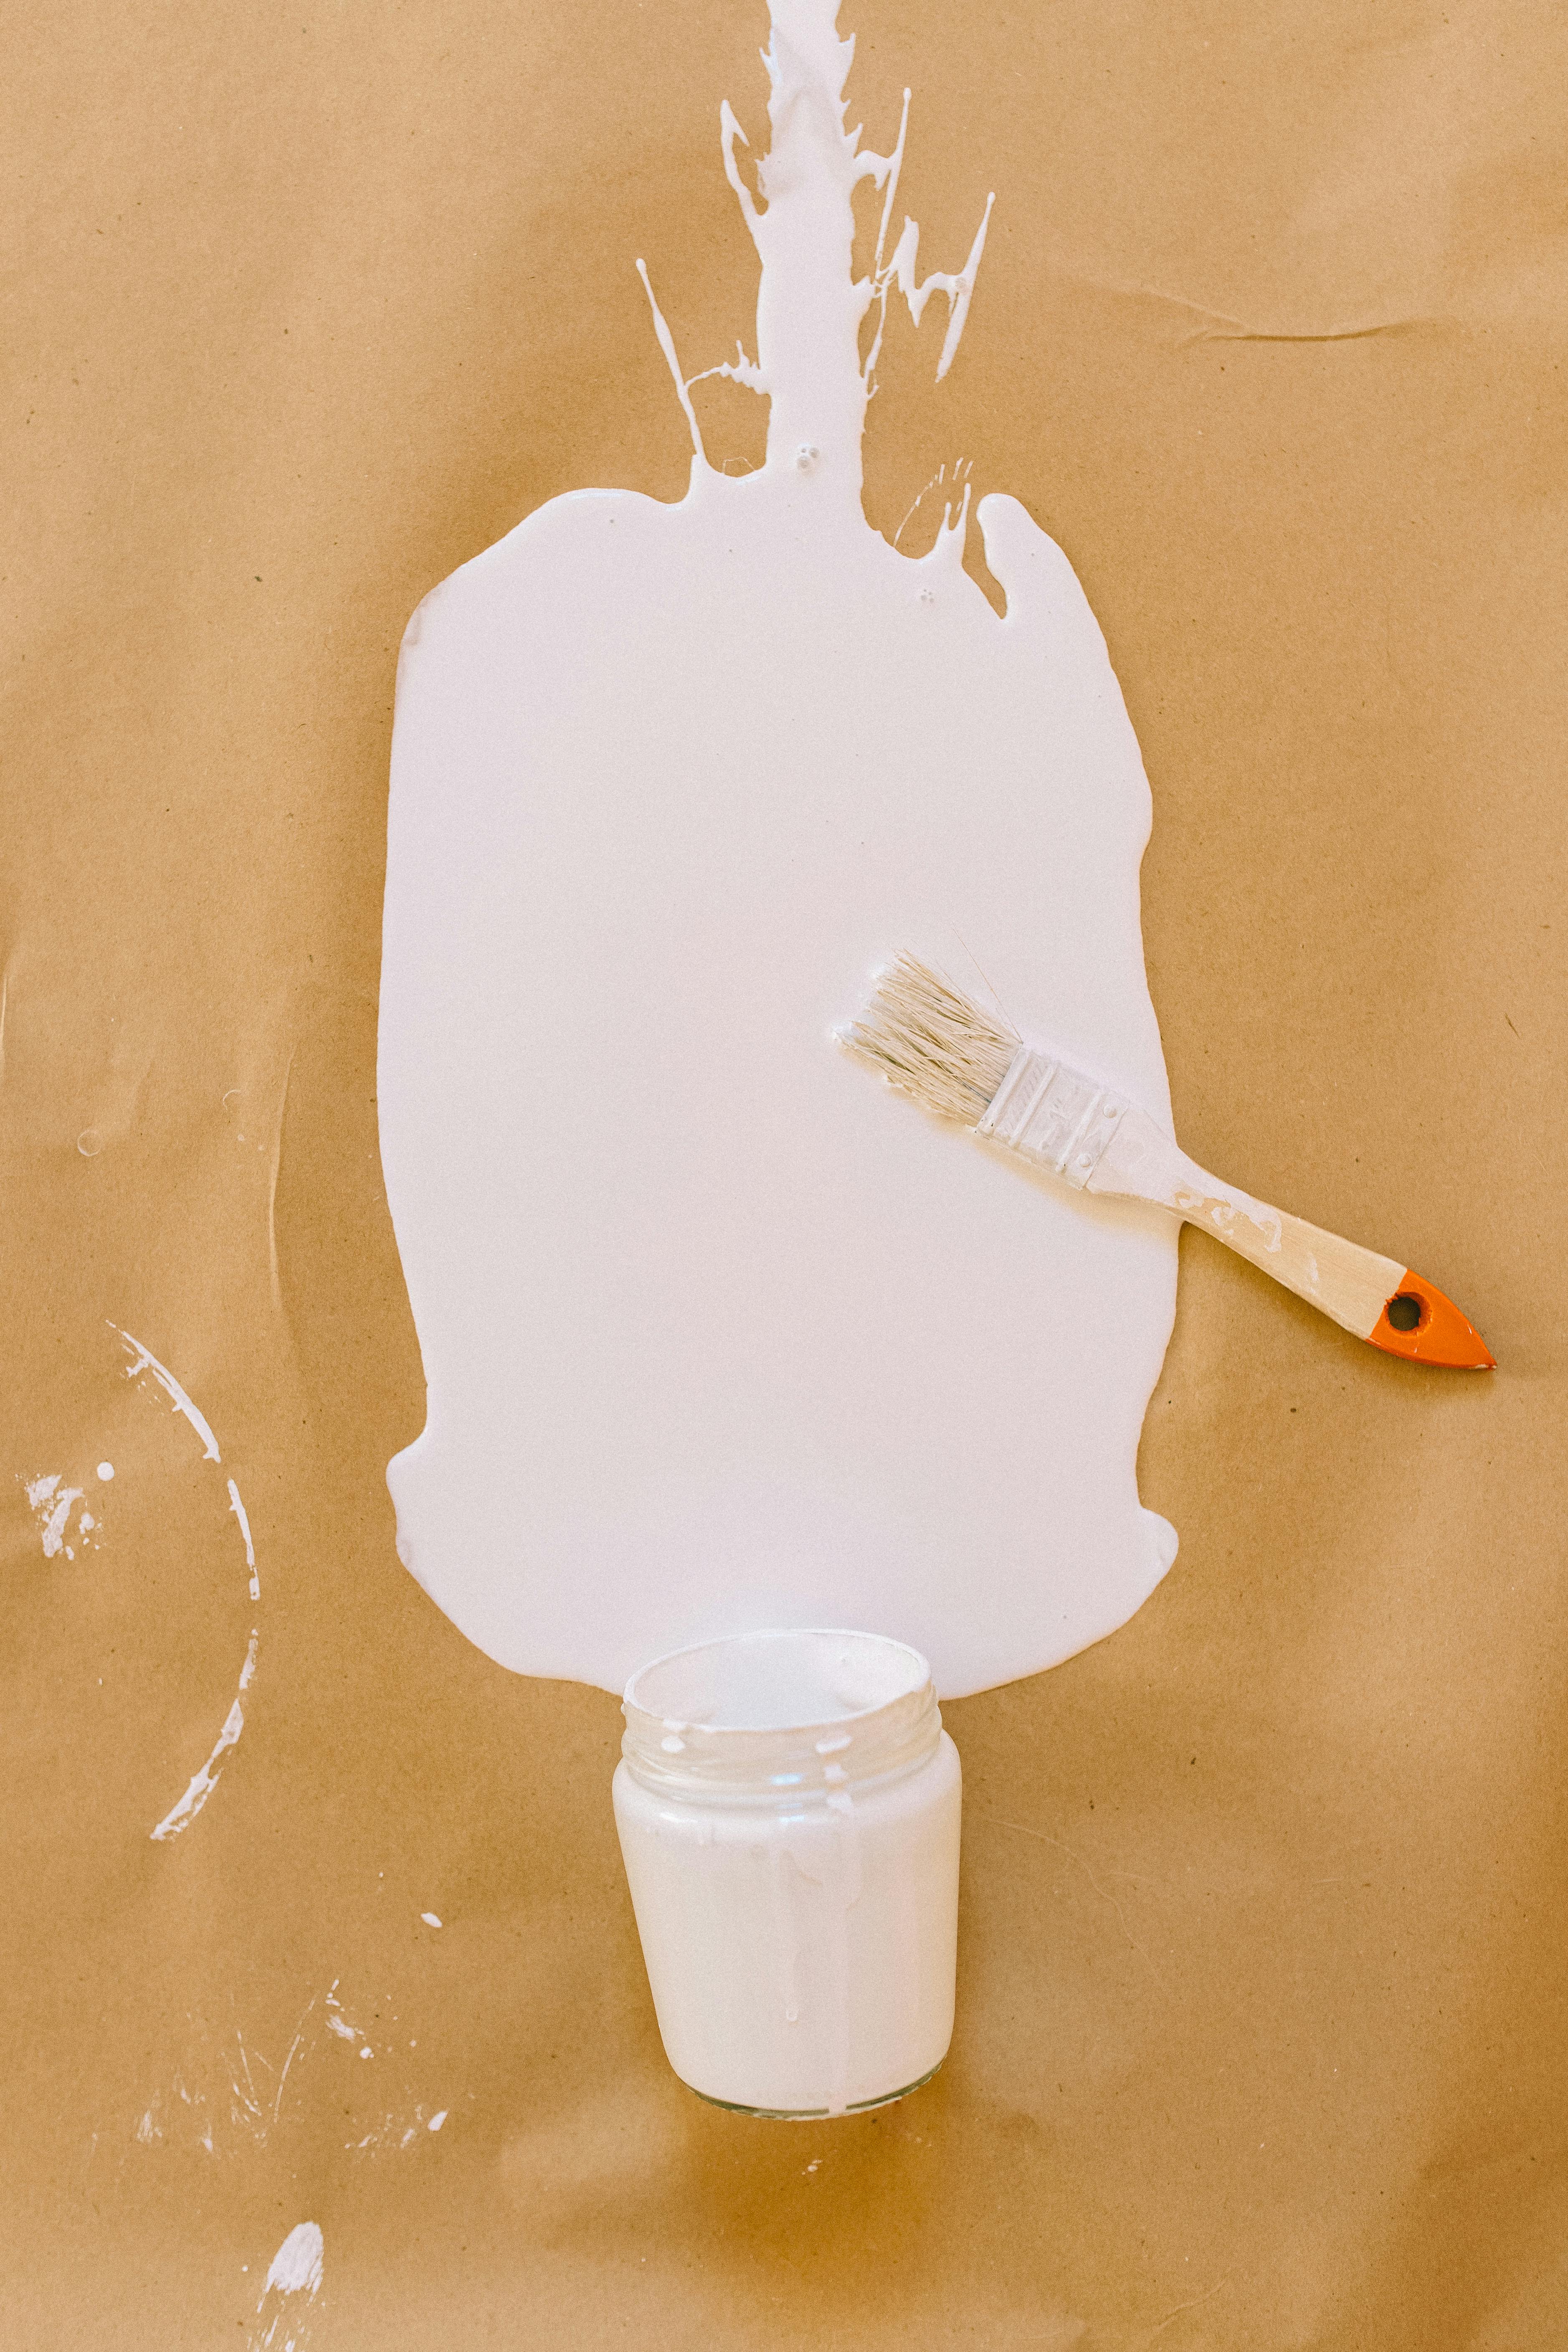
Step 3: Paint Away From the Edge
Here’s where you leverage the physics of the brush. Load your brush with paint, but not so much that it's dripping. Then, as you apply the colour, make your first stroke away from the tape, moving from the taped edge into the open area. Your second stroke can come back towards the tape, but you're moving a brush that now has less paint on it. This prevents a blob of wet pigment from getting shoved directly into the seam of the tape, which is the number one cause of bleeding.
Let's say I'm painting the left side of the canvas red, keeping the right side white with a vertical tape line down the middle. My first stroke will start on the left edge of the canvas and move toward the tape. My next stroke will move from the tape back towards the left edge. This simple technique ensures the paint is pushed away from the critical edge.
Step 4: The Patient Pull
Patience is the final ingredient. Let the paint dry completely. Not 'mostly dry' or 'dry to the touch.' I mean bone dry. Acrylics are tricky because they can form a dry skin on top while still being a bit wet underneath. Waiting an extra hour is a small price to pay for a perfect line.
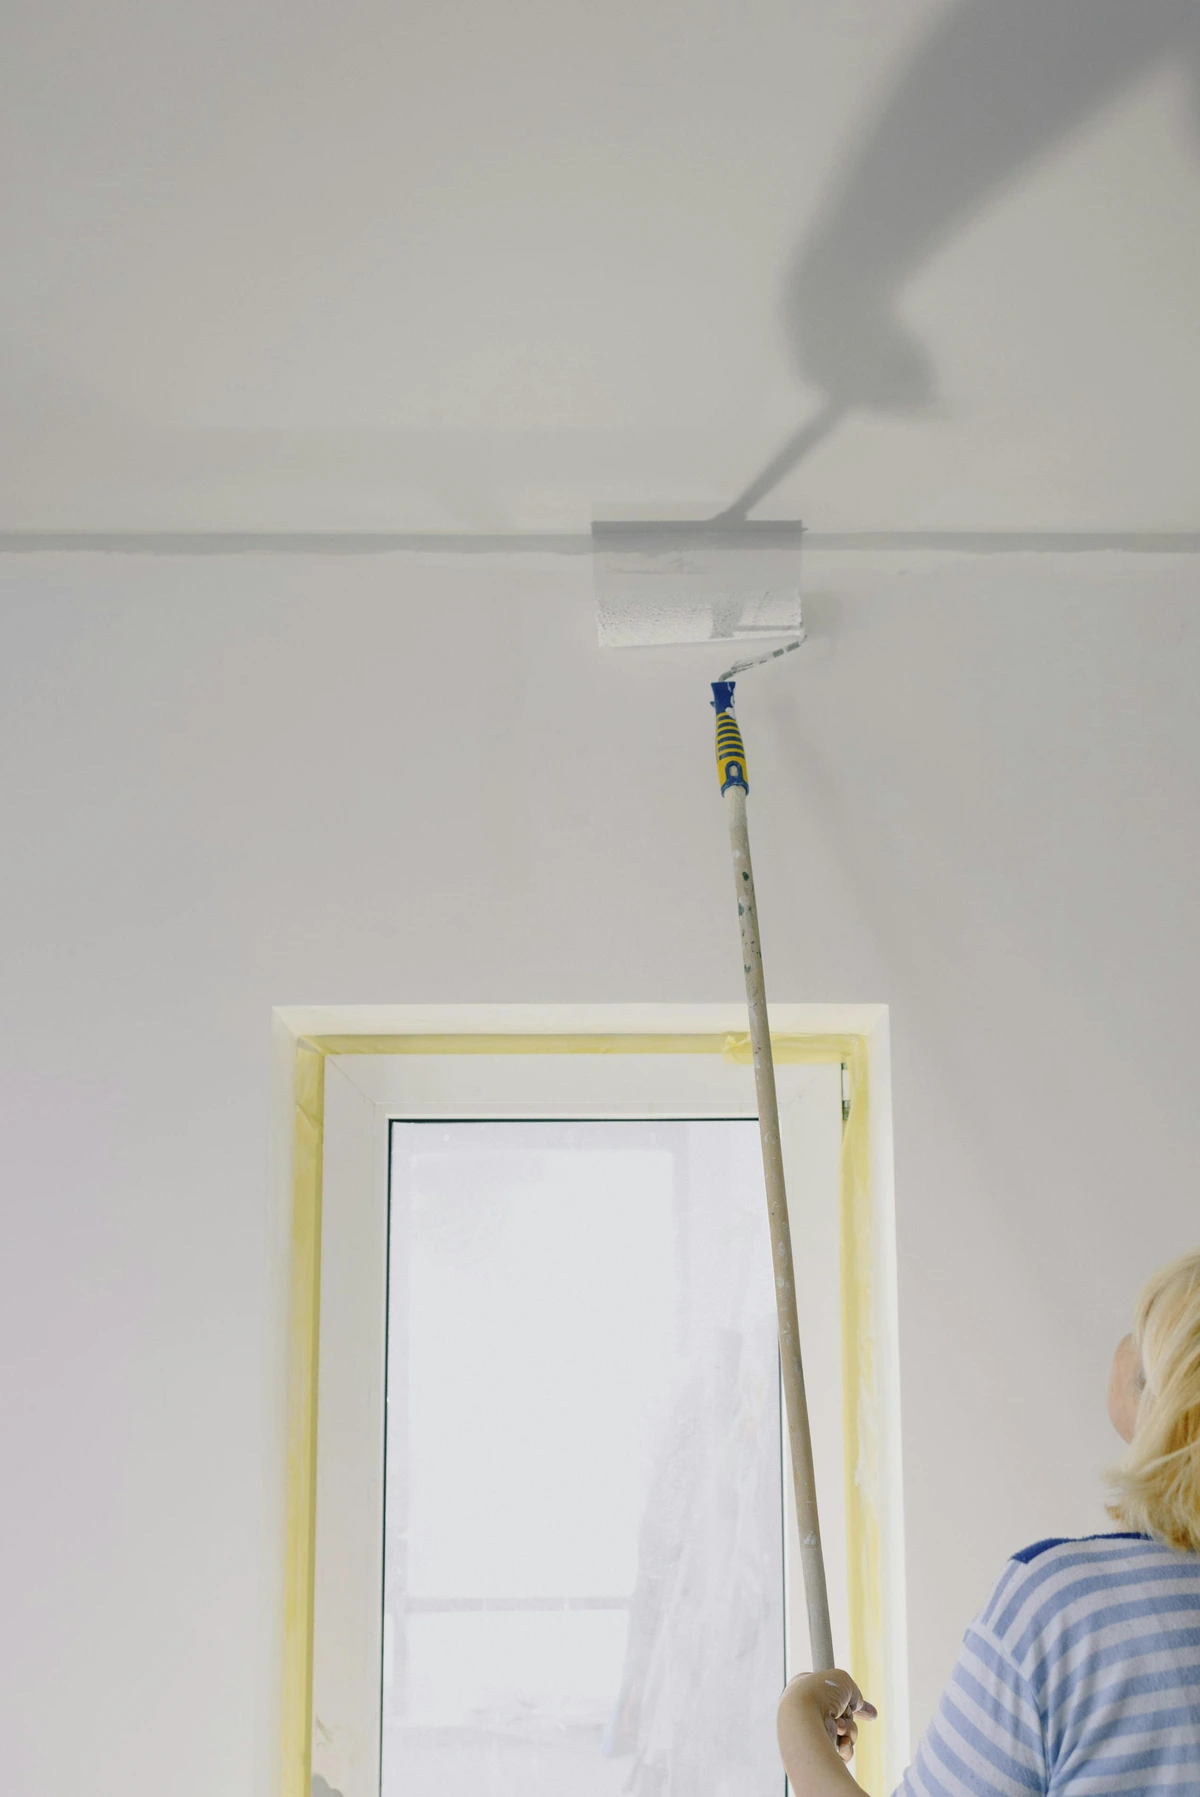
Once it's fully cured, it's time for the reveal. Pull the tape away from the painted surface at a sharp angle—around 45 degrees is ideal. Pulling straight up can sometimes cause the tape to snap or tear the paper fibres. A slow, steady, angled pull allows the tape to release cleanly, taking any microscopic paint ridges with it and leaving you with that satisfying, razor-sharp edge. It's a small moment of triumph every single time.
The Problem-Solver's Toolkit: Beyond the Straight Line
The real mastery of tape comes not when things are easy, but when they get weird. What if you don't want a straight line?
For complex shapes, the technique of frisket masking is your best friend. It just means you're using a larger piece of material to cover a broader area. You can cut your own frisket from a larger roll of masking paper or even a trash bag. For intricate designs, apply your tape to a piece of glass or a cutting mat first. Use a sharp craft knife to meticulously cut out your desired shape—a star, a circle, a jagged bolt of lightning. Then, carefully peel the excess tape away, leaving your delicate shape on the backing. You can then transfer this pre-cut shape onto your artwork and burnish it down as usual. It's a bit more work, but the ability to mask any shape you can imagine opens up a world of compositional possibilities.
And then there’s the nightmare scenario: the bleed. It happens to everyone. You pull the tape, and there it is—a tiny, jagged line of the wrong colour mocking you from the other side. Don't panic. My go-to fix is to let the offending section dry completely, then use the back of a fingernail or a very fine, slightly damp sanding sponge to gently buff it away. For watercolour, you can sometimes lift a small bleed with a slightly damp, clean brush. It's about controlled correction, not frantic scrubbing. A steady hand here can save the entire piece.
My Tape, My Process, My Sanity
Integrating tape into my workflow did more than just make my lines cleaner; it changed the way I think about preparation. In a world of abstract, gestural art where the hand of the artist is so important, it can feel counter-intuitive to reach for a tool that promises precision. I get that. But I've come to see it differently. The tape creates a structure within which I can be truly expressive and free. It allows me to confidently lay down a bold colour field, knowing a crisp border is waiting for me. It enables the kind of hard-edged abstractions that require a sharp contrast between elements.
It lets me control the chaos.

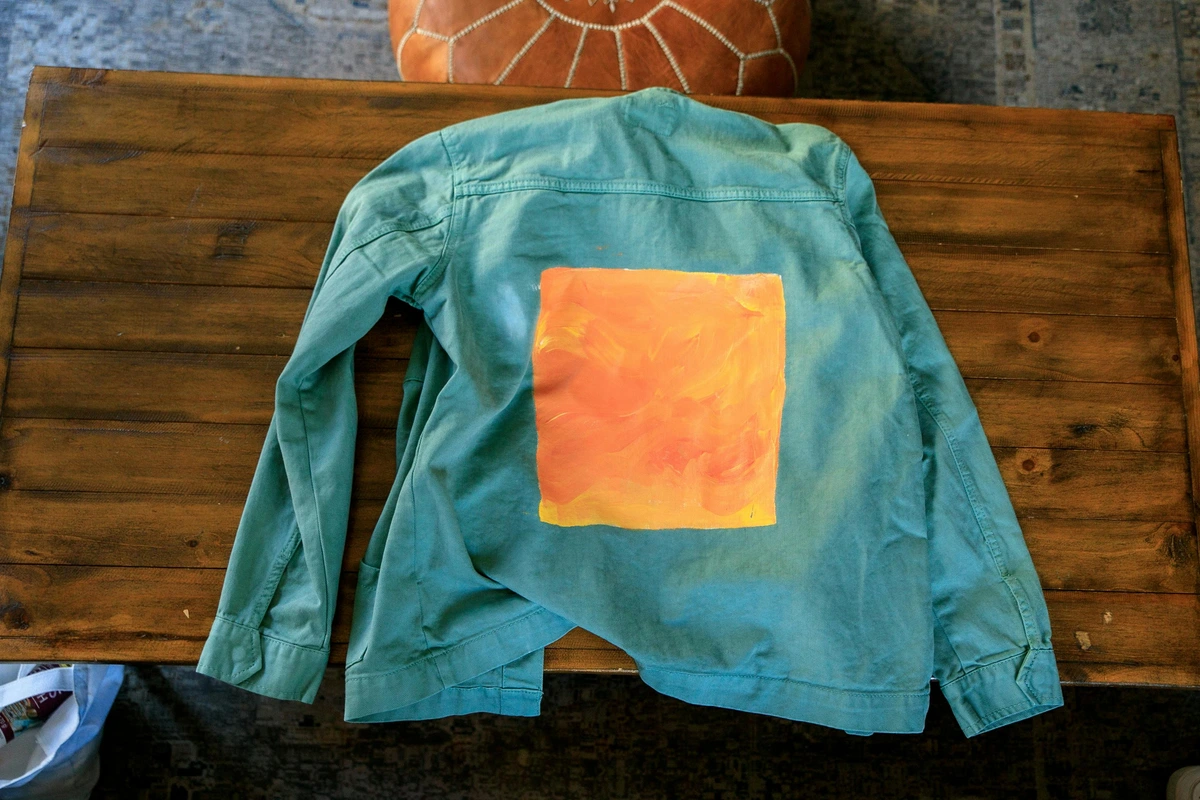
If you're curious how this kind of control plays out on a larger scale, you can see the results in some of my own work. For instance, exploring the clean geometric boundaries in my collection feels like an extension of these techniques. The confidence to create sharp, intentional edges allows for a more dynamic conversation between the colours. You can see the final result of these methods in the pieces available for purchase at my /buy page. Giving yourself permission to use all the tools—even the simple ones—is a step towards a more intentional practice.
FAQs: The Tape Talk
What is the best painter's tape for art? For most studio applications on paper and canvas, a standard low-adhesion blue painter's tape is your safest and most versatile bet. It’s designed to hold well without the risk of damaging your surface upon removal.
What kind of tape do professional painters use for edges? Professional house painters often use high-adhesion 'fine-line' tapes (usually green or yellow) for the absolute sharpest edge on moulding and trim. In the studio, we adapt this based on our surface, but the principle is the same: for a critical edge on a tough surface, use a stronger tape.
How do you use painter's tape effectively? The golden rules are prep, burnish, paint away, and wait. Clean your surface first. Then, burnish (rub down) the edge of the tape thoroughly. Apply your paint with brushstrokes moving away from the taped edge to avoid pushing paint underneath. Finally, wait for the paint to be completely dry before you pull the tape off.
What is the #1 rule when using painter's tape? The absolute number one rule is: burnish the edge. Pressing that tape down firmly and completely is the single most important action you can take to ensure a crisp, clean line. It’s non-negotiable.
Is FrogTape better than blue tape? FrogTape is a brand of painter's tape that includes a patented "PaintBlock" technology—a polymer-based gel along the edges that swells when it comes into contact with water in latex and acrylic paints, creating an even tighter seal. In my experience, it can produce exceptionally clean lines, but it's often pricier and the higher adhesion can be overkill on very delicate surfaces where standard blue tape is a safer choice.
The Final Reveal
So, here’s my take: don't let a misguided sense of artistic purity prevent you from using one of the most powerful tools for clean execution. Mastering painter's tape isn't about limiting your creativity; it's about adding control and intentionality to your artistic vocabulary. It’s about respecting your materials enough to learn their language, knowing how to ask them for the precise result you’re looking for. It’s an investment in your process that pays dividends every time you peel back a strip to reveal the perfect, crisp, beautiful line you envisioned all along.