Artist's Studio Ventilation: The Definitive Guide to Safe Air, Health & Creative Longevity
Protect your artistic future! This definitive guide offers practical ventilation setups, safer materials, essential practices, and actionable tips for a truly healthy, creative artist's studio. Stop stewing in fumes!
Your Studio is Trying to Kill You (Gently): The Artist's Ultimate Guide to Ventilation and Safe Air
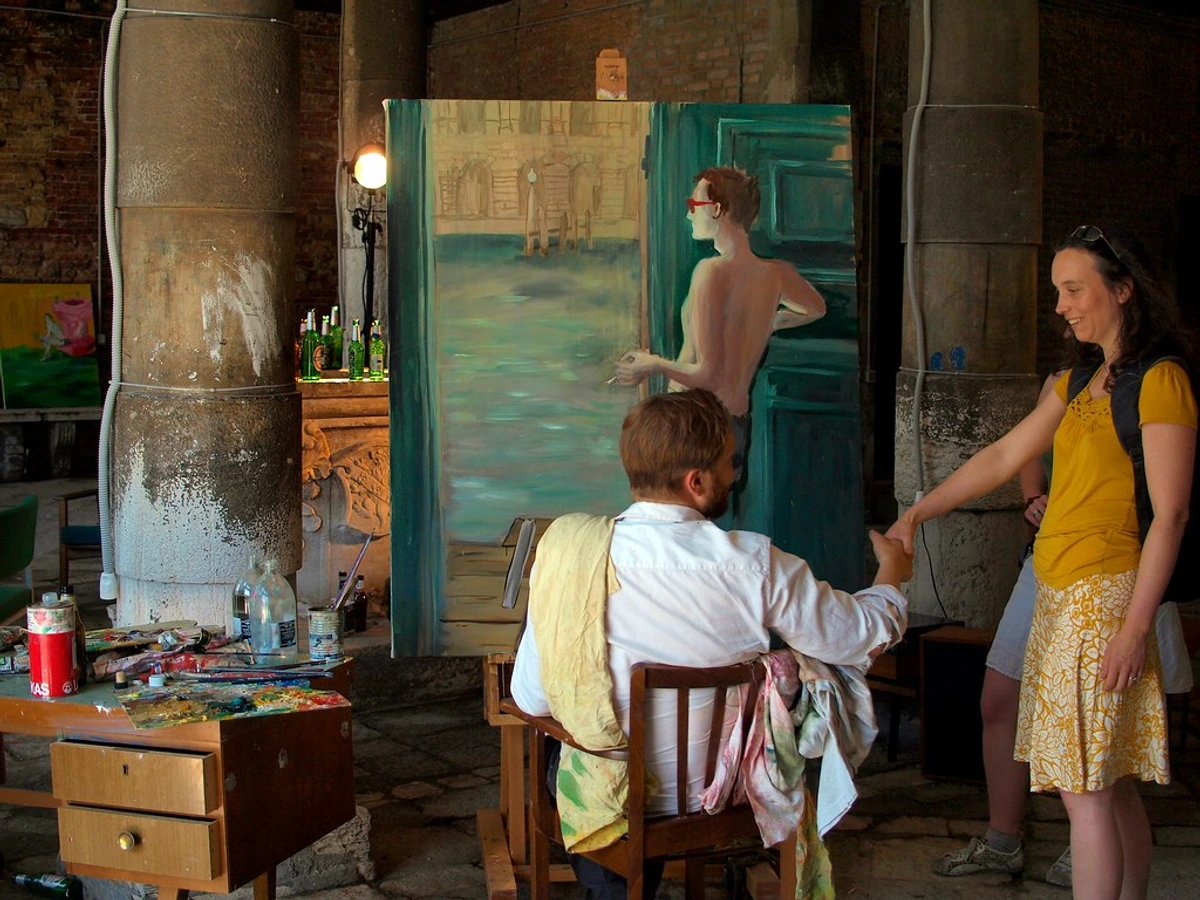
I remember the exact moment I truly confronted my studio's air quality problem. It wasn't a slow realization; it was a dull, persistent throb behind my eyes that escalated into a full-blown skull-splitter. My head felt heavy, my eyes gritty, and a strange disoriented feeling made me question if I’d accidentally inhaled something I shouldn’t have. I was hours deep into a large oil painting, lost in the rhythm of brush on canvas, but that familiar 'turpentine headache' wasn't a badge of honor anymore. It was a siren, screaming that something was fundamentally wrong. My thoughts were sluggish, my hands felt unsteady, and a queasy feeling made me question if I'd eaten something bad. Looking around my small, poorly-ventilated room, I grasped the uncomfortable truth: I was essentially stewing in a potent chemical broth. My creative sanctuary, the place where I poured my soul, was actively undermining my health.
That was my wake-up call. Look, we artists obsess over the perfect brush, the ideal shade of blue, the quality of our canvas, but it’s shockingly easy to overlook that the very materials we cherish are often waging a low-grade war on our bodies. And let's be honest, many artists historically didn't fare much better – think of the lead poisoning from pigments that plagued the Old Masters, or the respiratory issues from mercury vermilion that cut careers short. Historically, it wasn't just lead or mercury. The advent of synthetic pigments and industrial processes in the 19th and early 20th centuries introduced new, often unacknowledged chemical hazards, and artists like Monet or Van Gogh, while celebrated for their work, likely endured significant exposure to fumes from newly available solvents like coal-tar distillates. Early calls for safer studios were often drowned out by the perceived necessity of materials. Even ubiquitous traditional turpentine, a 'natural' product, was a powerful VOC, filling the studios of Impressionists and Post-Impressionists with vapors that, while smelling 'artistic,' were silently impacting their long-term health. The truth is, many artists historically didn't just 'suffer for their art'; their art made them sick. That painful legacy underscores why Ventilation isn't some tedious technicality; it's the bedrock of a long, healthy, and clear-headed creative life. So, let’s not just crack a single window and call it a day; let's open our minds to setting up a system that actually works, regardless of your space or budget. In this guide, we'll dive into the unseen dangers lurking in your air, the core principles of effective ventilation, practical setups for every budget, and essential safer material choices, moving from basic steps to more advanced solutions. It's an investment in your future self – the one who still wants to be painting masterpieces at eighty without needing a forklift to get off the stool.
The Core Principle: Cross-Ventilation is Your Lifeline
Forget about complicated HVAC diagrams for a moment. The most powerful concept in studio ventilation is incredibly simple: air in, air out. You need to orchestrate a continuous flow, a gentle but purposeful river of fresh air to enter your studio, sweep across your workspace, pick up the noxious fumes and dust, and then exit, carrying the bad stuff away forever.
This is the essence of cross-ventilation. Imagine a river with a clear source (your fresh air intake) on one side of the room, and a distinct mouth (your exhaust) on the opposite side. Your easel or primary workspace should be situated between these two points, ensuring that the airflow actively pulls contaminants away from your face and towards the exit.
The biggest mistake I constantly see artists make? Cracking a single window. That's not a river; it's a stagnant, murky pond with no inlet or outlet. Without a clear path for air to enter and exit, the air just churns around, creating pockets of concentrated fumes that you're still breathing. You absolutely need a dedicated entry point for fresh air and a dedicated exit point for stale air to achieve meaningful Air Changes Per Hour (ACH). For most studios, aiming for at least 6-10 ACH (meaning the entire volume of air in your studio is replaced 6 to 10 times every hour) is a good starting point. For heavier solvent use or dust production, you might need 15-20 ACH or more, because these activities release pollutants much faster, necessitating more frequent air replacement to keep concentrations low and safe, especially in your breathing zone – the crucial area immediately around your nose and mouth where you're constantly inhaling.
To truly figure out how powerful a fan you need – because it's the 'power' of your fan's airflow – you'll want to calculate your required CFM (Cubic Feet per Minute), which is the volume of air your fan moves each minute. Here's how:
- Calculate your studio's volume: Length x Width x Height (in feet to get cubic feet).
- Determine your target ACH (Air Changes Per Hour): 6-10 for light work, 15-20+ for heavy-fume/dust work.
- Multiply volume by target ACH.
- Divide by 60 (minutes in an hour) to get the required CFM. This ensures you're replacing the entire volume of air in your studio the target number of times per 60 minutes.
For example, a 10x10x8 ft studio needing 10 ACH would require (10 * 10 * 8) * 10 / 60 = 133 CFM of exhaust. Always round up if you're in doubt! It's also important to remember that a fan's stated CFM is often measured under ideal, unobstructed conditions. In reality, factors like ducting bends, filters, and external wind can reduce the actual airflow, so it's always wise to account for a buffer. For context, a typical 20-inch box fan might move around 2000 CFM at its highest setting, but that's in an open space; actual exhaust through a window or duct will be much less, illustrating why targeted CFM calculations are important.
Understanding the Unseen Guests: What Are We Really Breathing In?
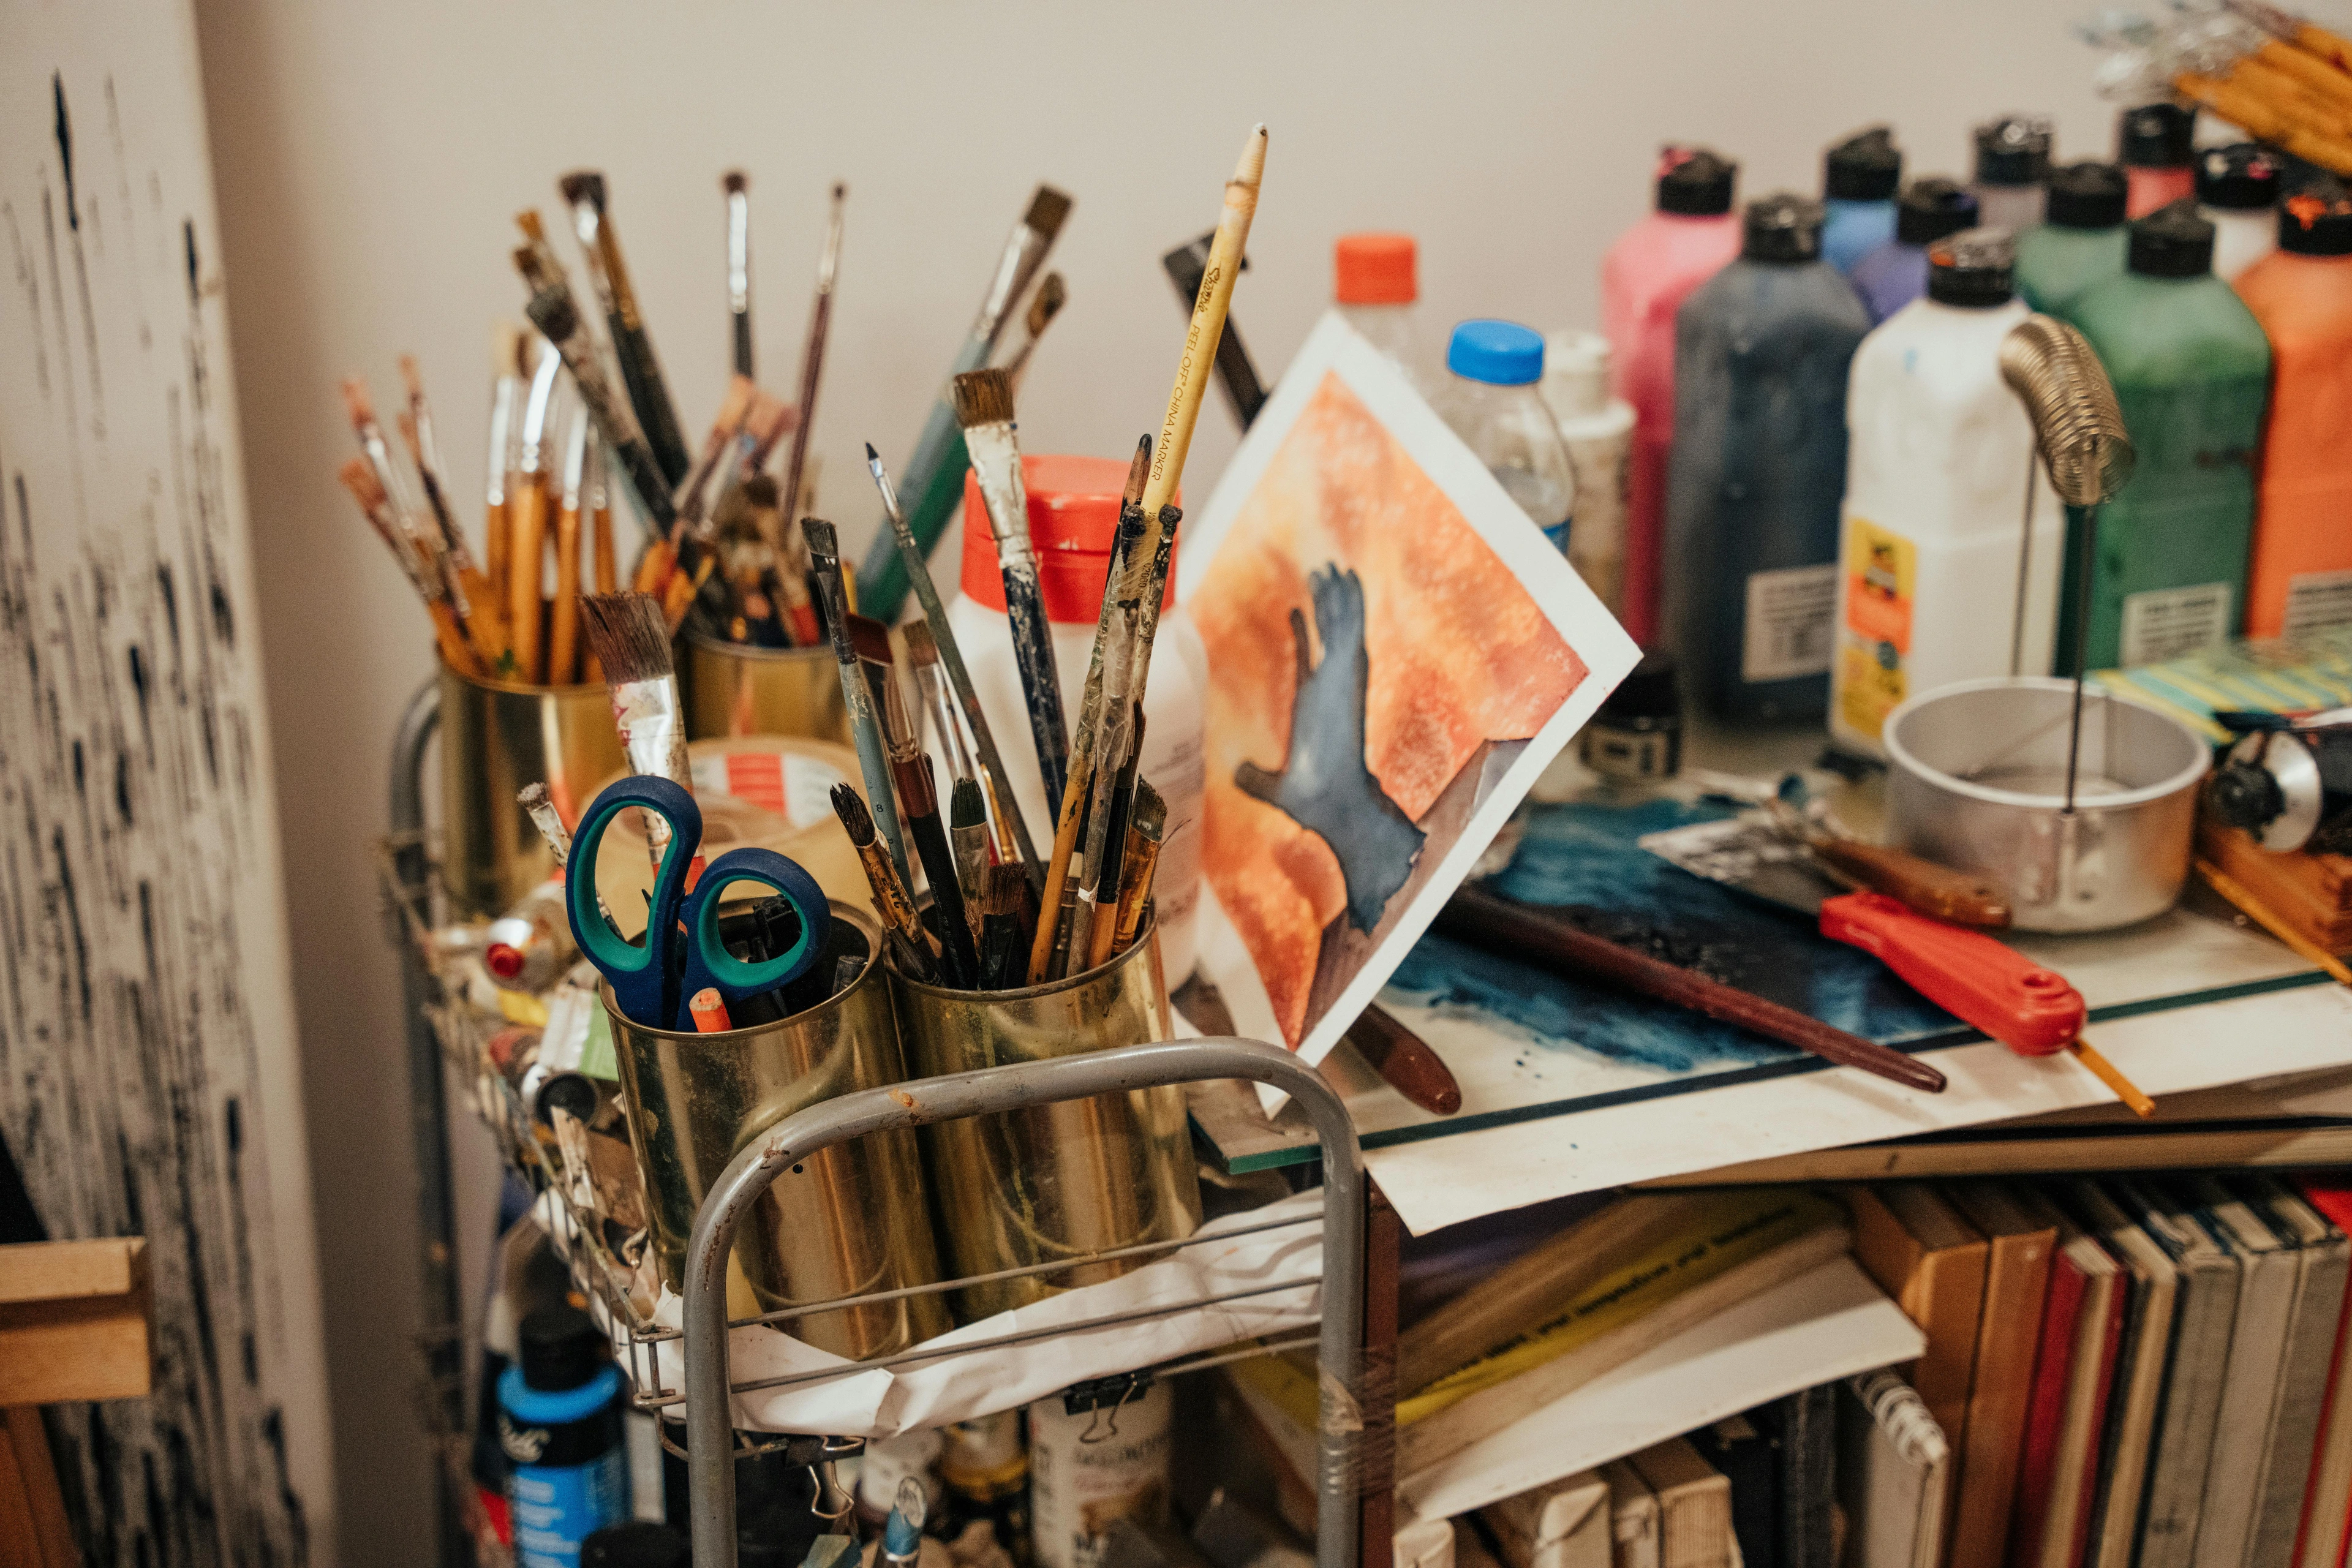
Before we can effectively orchestrate that life-saving airflow, we need to know who the unwelcome guests are. The air in an artist's studio isn't just air; it's a dynamic cocktail of invisible troublemakers, each with its own unpleasant effects. Think of it this way: VOCs are like invisible chemical gases that evaporate and spread throughout the air, often carrying distinct smells (or deceivingly, no smell). Particulates, on the other hand, are tiny solid specks, like microscopic dust, fibers, or pigment particles, that float in the air and can settle on surfaces. Understanding these differences is the first step to truly respecting your materials, not fearing them. The table below breaks down the primary culprits, their sources, and their impact on your health and art.
Culprit Category | What It Is | Common Studio Sources | Why It's Bad for Artists | Frequency/Commonality | Mitigation Strategy |
|---|---|---|---|---|---|
| VOCs (Volatile Organic Compounds) | Chemicals that easily evaporate into gases at room temperature, often petroleum-based. Specific common VOCs in art studios include toluene, xylene, benzene, formaldehyde, and various alcohols. | Turpentine, even 'odorless' mineral spirits (still petroleum distillates and significant VOC sources!), xylene, naphtha, various oil-based paints, varnishes, resins, certain acrylic mediums and varnishes (like Golden MSA Varnish for acrylics or spray varnishes), aerosol sprays, some glues and fixatives (especially solvent-based ones), screen-printing solvents, cleaning supplies (degreasers, paint removers), even new canvases or furniture off-gassing. Also, don't forget shellac and its solvent, denatured alcohol, often used in refinishing or as a sealant. | * Acute: Headaches, dizziness, nausea, eye/throat irritation, fatigue, confusion, impaired coordination. These can steal your focus, make your hands unsteady, and dull artistic vision. |
- Chronic: Long-term exposure can lead to severe respiratory issues (asthma, chronic bronchitis, irreversible lung damage), nervous system damage, and kidney/liver damage. Some VOCs (e.g., benzene, formaldehyde) are classified as known or suspected carcinogens by organizations like IARC and EPA. Toluene can affect the central nervous system, and xylene can cause neurological and liver/kidney issues. | Very Common, often underestimated because 'odorless' solvents are perceived as safe. Modern practices try to minimize, but traditional oil painting and spray applications still rely heavily on these. | Use low-VOC or water-based alternatives (e.g., water-mixable oils, solvent-free acrylics), ensure excellent cross-ventilation, targeted local exhaust ventilation (LEV), and allow new materials to off-gas in a well-ventilated area before extensive use. | | Particulates | Tiny solid particles (dust, fibers) suspended in the air. | Sanding gesso or wood panels, pastel dust, charcoal, dry pigments, clay dust (including crystalline silica, a major concern), plaster dust, studio dust from textiles/dried paint, cleaning debris, even fine mist from airbrushing. Beware of fumed silica, a particularly fine and hazardous powder found in some resins, paints, and sealants, which requires extreme caution. | Can irritate lungs, cause allergic reactions, and lead to chronic lung diseases like asthma, chronic bronchitis, or silicosis (a serious and irreversible lung disease from crystalline silica). | Very Common, especially in ceramics, printmaking, and dry media. Often ignored because it seems like 'just dust'. | Wear a properly fitted N95 or P100 respirator, wet clean surfaces, use HEPA vacuum, local exhaust, air purifiers with HEPA filters. | | Aerosols | Fine solid particles or liquid droplets suspended in air. | Spray paints, spray varnishes, fixatives, airbrushing, some cleaning sprays. | A double-whammy of particulates and VOCs, delivered directly into your breathing zone (the area immediately surrounding your nose and mouth), making them particularly hazardous. The tiny droplets bypass many of your body's natural defenses and are often packed with especially volatile solvents. | Situational (but high risk when used). | Always use a dedicated spray booth with filtered exhaust or work outdoors with a respirator. | | Heavy Metals | Toxic metallic elements found in some pigments. | Historically, Cadmium (reds, yellows), Lead (flake white, Naples yellow), Cobalt (blues, violets), Chromium (greens), Mercury (vermilion). Modern pigments often use safer synthetic 'hue' versions, but traditionalists, restorers working with historical paintings, or artists using specific ceramic glazes may still encounter them. Also, keep an eye out for Nickel and Manganese pigments, which can also pose health risks. Older ceramic glazes, especially, can contain a cocktail of various heavy metals. | Highly toxic; these metals accumulate in the body over time, even with small exposures, leading to:
- Lead: Severe neurological damage (cognitive impairment, nerve damage), kidney failure, reproductive issues, developmental problems in children. Historically, lead was a major occupational hazard for artists and its effects are well-documented.
- Cadmium: Kidney damage, lung damage (if inhaled), bone fragility, and it's a known human carcinogen.
- Cobalt/Chromium: Can cause skin sensitization, respiratory irritation, and potential organ damage. Some are classified as carcinogens. | Less Common with modern synthetic alternatives, but still a risk for artists using traditional pigments, historical restoration, or certain ceramic glazes. It's crucial to check pigment labels. | Use synthetic alternatives (e.g., 'hue' versions of cadmium/cobalt), avoid ingesting/inhaling dust (never lick brushes!). No eating/drinking/smoking in the studio. Wash hands thoroughly, wear chemical-resistant gloves (like nitrile or neoprene, checking chemical resistance charts) especially when handling dry pigments or historical paints. | | Ozone (O₃) | A gas formed when oxygen molecules are broken apart, often as a byproduct of electrical discharge. | Certain types of air purifiers (ionic, electrostatic precipitators, UV-C models) can produce ozone as a byproduct. | A potent lung irritant that can worsen asthma and other respiratory conditions. It is itself a pollutant, not a 'cleaner' you want to breathe. | Uncommon with proper purifier selection (if you avoid ozone-producing types), but a serious and often invisible health risk if using uncertified or ionic purifiers. | Always choose air purifiers explicitly labeled as ozone-free. Check product specifications carefully. |
The Invisible Invaders: Ultrafine Particles (UFPs)
Beyond the dust we can see and the VOCs we might smell, there's an even more insidious threat: Ultrafine Particles (UFPs). These are particles less than 0.1 micrometers in diameter – so tiny they bypass many of your body's natural defenses and can penetrate deep into the lungs, even entering the bloodstream. Because of their incredibly small size and vast surface area, they can carry other toxic compounds, causing systemic inflammation and a range of cardiovascular and respiratory problems.
While regular dusting and sanding create larger particulates, UFPs are particularly prevalent in modern art processes involving high heat or combustion, like 3D printing (especially with plastics like ABS or resins), laser cutting, soldering, or using a heat gun extensively. I remember the first time I used a resin 3D printer – the smell, even in a supposedly 'ventilated' space, was a stark reminder of these microscopic menaces. Good ventilation, particularly local exhaust, is absolutely critical when working with any process that might generate these invisible airborne threats.
The Silent Contaminants: Mold and Mildew
And just when you thought the air couldn't get more interesting, there are also biological threats to consider. Poor ventilation, especially when combined with high humidity, creates a perfect breeding ground for mold and mildew. These can release spores, mycotoxins, and VOCs into the air, causing allergic reactions, asthma attacks, and other respiratory issues. Beyond good ventilation, controlling humidity (aim for 40-60%), promptly addressing any leaks or water damage, and regularly cleaning damp surfaces are crucial preventative measures. For particularly damp studios, a dehumidifier is a must-have, and ensuring proper ventilation in attics or crawlspaces adjacent to your studio can also make a significant difference. Because truly, a well-ventilated studio just feels better – lighter, clearer, more conducive to sustained focus and inspired creativity.
Looking at this table and these silent threats, it's easy to feel a bit overwhelmed or even a touch of artistic paranoia. I get it. But the point isn't to fear our materials; it's to respect them deeply. Understanding what's in your tubes and jars – a good definitive guide to paint types for artists can certainly help with that – is only half the battle. Knowing how to manage the fallout, to keep yourself safe, is the next critical step.
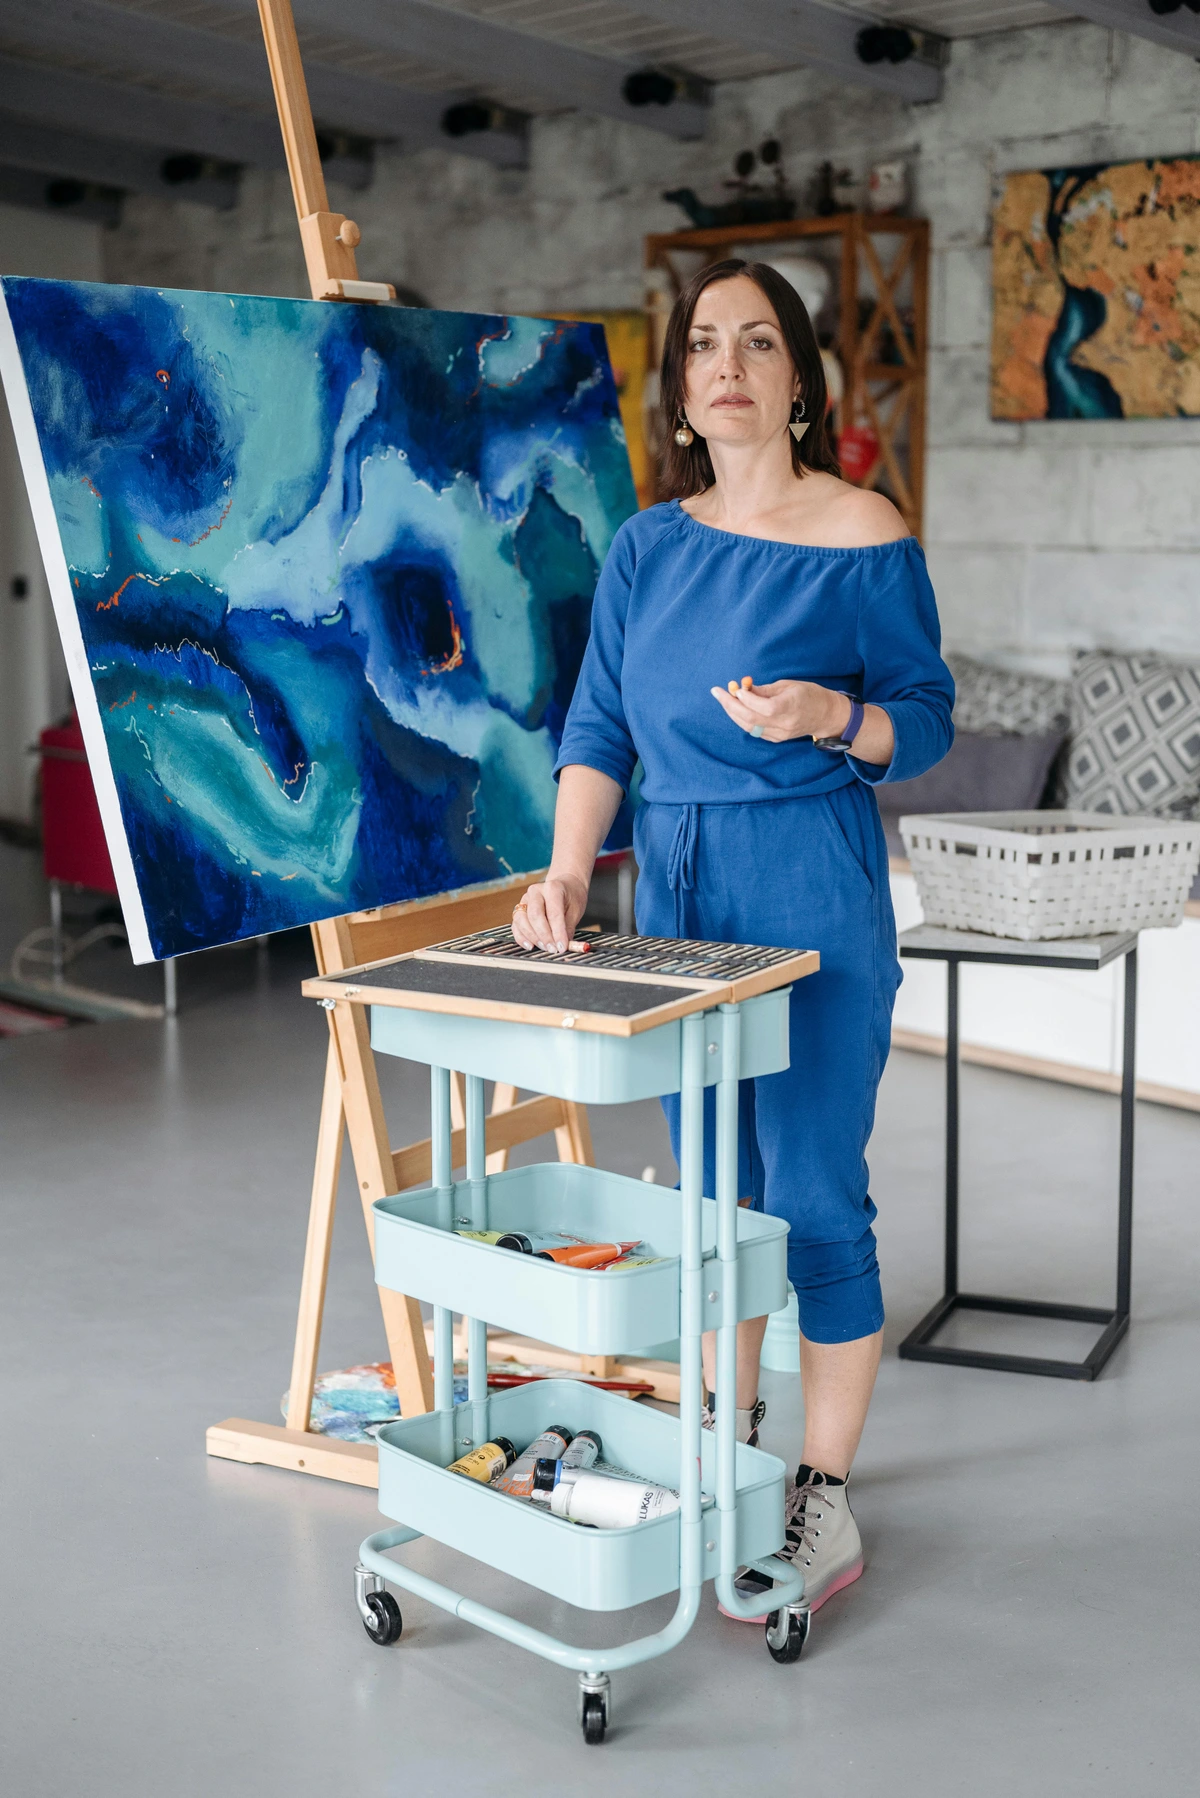

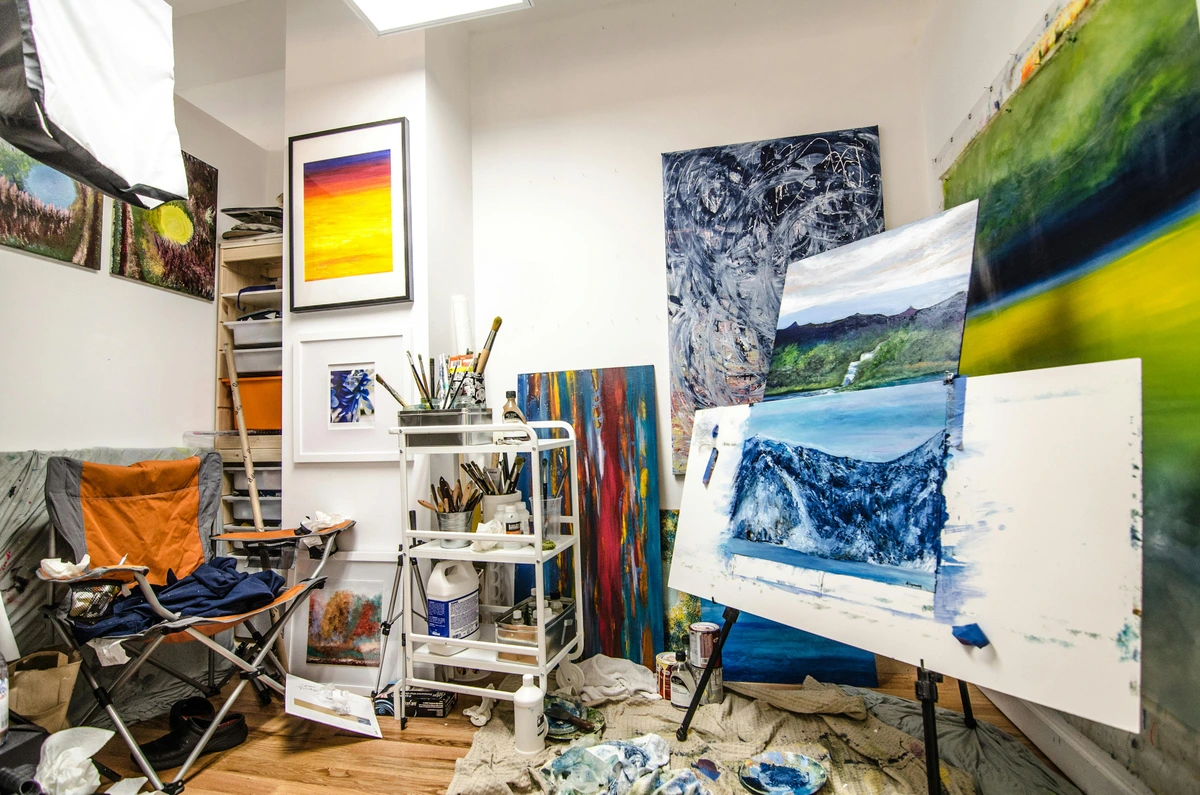
My Toolbox: Ventilation Setups for Every Budget and Space
Okay, theory's great, but let's get down to the brass tacks. How you achieve that life-saving cross-ventilation river depends entirely on your specific situation. Here’s a breakdown of setups, from a shoestring budget in a temporary space to a dedicated dream studio.
Level 1: The Budget-Conscious & Small Space Setup
This is for the dorm room, the tiny apartment corner, the space you can't modify structurally. The goal here is harm reduction and making the best of what you've got. It’s not perfect, but I promise you, it’s astronomically better than nothing. Because let's be honest, when you're an artist, your budget often looks like a dried-up tube of paint.
- The Two-Fan Trick: This is the cornerstone of budget ventilation. You need two cheap box fans.
- Place Fan #1 in one window or doorway, facing IN. This is your fresh air supply.
- Place Fan #2 in a window or doorway on the opposite side of the room, facing OUT. This is your exhaust. The further apart, the better the cross-ventilation.
- Position your workspace between them so the airflow moves across your work and then out. It’s simple, but remarkably effective. The key is dedicating one fan to intake and the other to exhaust.
- Work in Bursts & Breaks: If this is your only option, you absolutely cannot be using toxic solvents for 8 hours straight. Work for an hour, then leave the room, letting the fans run on high for 30-60 minutes to completely clear the air. This is especially crucial for tasks involving spray fixatives or strong-smelling varnishes like dammar. My personal rule: if I can smell it distinctly after five minutes, it's time for a break (and more ventilation).
- Choose Materials Wisely: This is your prime opportunity to explore genuinely less toxic alternatives. Think water-mixable oils (brands like Cobra, Winsor & Newton Artisan, or mediums like those from M. Graham) or solvent-free acrylic mediums (Liquitex, Golden, and Winsor & Newton all offer excellent ranges of acrylics and mediums, like those reviewed in our Liquitex Basics Acrylic Paint Review, that are low-odor and water-soluble). When you undertake dust-generating tasks like applying gesso to canvas and then sanding it, do that sanding part outside if at all possible. It makes a huge difference to your immediate air quality.
Level 2: The Committed Artist's Upgraded Setup
You've secured a more permanent space, perhaps a garage or a spare room, and you have a little bit of money to invest. This is where you really start investing in your artistic longevity, seeing your studio not just as a place to work, but as a long-term project in sustainable creativity.
- Window Exhaust Fan: Ditch the wobbly box fans and get a proper, reversible window fan unit designed for air exchange. Many have two fans within one unit, allowing you to set one to 'intake' and the other to 'exhaust' in the same window, or use one as a powerful exhaust in one window, drawing air from another open window. This is a significant upgrade – the difference in airflow is immediately noticeable. I remember the relief when I first installed one of these; the air actually moved.
- Local Exhaust Ventilation (LEV) - The DIY Version: This, for me, was a game-changer. Instead of trying to clear the air in the whole room, you capture the fumes right at their source, much like a kitchen range hood over your stove. It felt like a superpower unlocked – a deep sense of relief washed over me knowing I was finally pulling those nasty vapors away from my face. This is where you can truly take control.
- Components: You'll need a powerful inline duct fan (rated for your CFM needs and ideally with good static pressure for ducting – static pressure is like the fan's ability to push air through a narrow straw versus a wide pipe; you need good static pressure to overcome resistance from ducting bends, filters, and external wind), some flexible ducting (aluminum foil ducting works well for temporary setups; rigid PVC or metal ducting is better for permanent ones), and a hood or funnel. Look for ducting with a diameter of at least 4-6 inches for good airflow, and ensure all joints are well-sealed with foil tape to prevent leaks. Proper mounting of the fan (e.g., securely in a plywood board for a window, or firmly attached to a wall vent) is crucial for both safety and effectiveness.
- Assembly: Mount the fan in a piece of plywood that fits snugly into a window, or vent it through a pre-existing opening like a dryer vent. Run the ducting from the fan to a homemade hood – this could be as simple as a sturdy cardboard box lined with foil, a clear plastic storage container with a hole cut for ducting, or a cheap metal kitchen funnel taped securely. Position this hood directly over your palette or primary work area. The goal is to suck up those fumes before they ever reach your nose or lungs.
- Air Purifiers: A Complement, Not a Replacement: A high-quality air purifier with a HEPA filter is excellent for capturing particulates (like pastel dust, clay dust, sanding dust) and some larger aerosols. A HEPA (High-Efficiency Particulate Air) filter is superior to standard filters because it's designed to trap 99.97% of airborne particles 0.3 micrometers in diameter, including pollen, pet dander, dust mites, and smoke, which standard filters often miss. One with a thick activated carbon filter is decent for absorbing some VOCs (like formaldehyde, benzene, toluene). However, remember an air purifier cleans the air already in the room; it doesn't remove contaminated air and replace it with fresh air. It should be seen as a valuable supplement to your exhaust system, especially for dust, but never a primary ventilation strategy for fumes. Crucially, ensure any air purifier you buy is explicitly labeled as ozone-free, as some types (ionic, electrostatic precipitators, UV-C) can produce this harmful lung irritant as a byproduct. My advice? If an air purifier seems too cheap to be true, it probably is – especially regarding ozone production. Look for a high CADR (Clean Air Delivery Rate) and a MERV 13+ or HEPA filter for effective particle capture.
- The Myth of the Single Air Purifier: I've heard artists say, "Oh, I have an air purifier, so I'm good." Please understand: a single, inexpensive air purifier, while helpful for general dust, is absolutely not enough to handle studio-grade fumes or heavy particulate loads. It cleans the air already in the room; it doesn't exchange stale, polluted air for fresh, clean outdoor air. For serious fume or dust work, relying solely on a purifier is like trying to empty a bathtub with a sponge while the tap is still running. You need active air exchange in addition to air cleaning.

Level 3: The Ultimate Integrated Studio System
If you're lucky enough to be building a studio from scratch or undertaking a major renovation, you have the opportunity to integrate safety effortlessly into the very design of your space. This is where your studio truly becomes a healthy haven, not just a workspace – a place where functionality and aesthetics can finally meet without compromise.
- Dedicated Exhaust System: This is a more powerful, professionally installed version of the DIY LEV system. It involves creating a dedicated opening in an exterior wall for a powerful fan (properly rated in CFM for your studio's size) with appropriate rigid ducting and often a hood or articulated arm directly over your main work area. The system is designed to create negative pressure, meaning air is actively pulled out of the studio. By exhausting more air than is brought in through passive vents, the studio pressure drops slightly, effectively pulling fresh air into the space from designated intake points and preventing contaminated air from escaping into other parts of a building. It's a fundamental difference from just circulating air – it's like a gentle vacuum cleaner effect, pulling fresh air in from wherever it can find an opening and pushing the contaminated air out.
- Fume Hood: For artists working extensively with highly volatile resins, encaustics (the history of encaustic painting), strong acids (though these are rare in most art studios!), or heavy solvents, a full-fledged fume hood (like those found in chemistry labs) is the gold standard. It’s a significant investment, but it offers near-total containment and removal of hazardous fumes at the source. This is the ultimate containment strategy.
- Heat Recovery Ventilator (HRV) / Energy Recovery Ventilator (ERV): In colder climates, blasting all your expensively heated (or cooled) air outside can be a tough pill to swallow. An HRV or ERV is a clever device that transfers heat (and often moisture with an ERV) from the outgoing stale air to the incoming fresh air. This dramatically reduces energy loss while continuously providing fresh, clean air, making it the ultimate win-win for comfort, health, and your heating bill.
- An HRV (Heat Recovery Ventilator) primarily recovers heat, making it great for colder, drier climates.
- An ERV (Energy Recovery Ventilator) recovers both heat and moisture, which is particularly useful for studios where maintaining stable humidity is important (e.g., for working with paper, wood, specific clay bodies, or in very humid climates). It's an investment, yes, but for long-term health and energy efficiency, it's unparalleled.
Holistic Studio Safety: Beyond Mechanical Ventilation
While mechanical ventilation is your first and best line of defense against airborne studio hazards, a truly safe studio also involves a conscious choice about the very materials we bring into our creative space. It's not just about removing the bad stuff; it's about not inviting it in the first place. This holistic approach is often referred to as using Personal Protective Equipment (PPE) and employing engineering controls (like ventilation) and administrative controls (like scheduled breaks or material selection) to minimize risk.
Choosing Your Materials Wisely
The easiest way to reduce toxic fumes is to simply not bring them into your studio in the first place. This isn't always possible, but here are some pointers. Remember that even seemingly 'safe' new materials, like a fresh canvas or a new piece of furniture, can off-gas VOCs initially (from adhesives, finishes, or resins), so good ventilation is always a smart move.
Binders and Solvents: The Hidden Carriers
Different art media rely on different chemical structures, and knowing them helps you understand their hazards:
- Oil Paints: Traditionally use plant-based oils (linseed, safflower, walnut) as binders and petroleum-based solvents (turpentine, mineral spirits) for thinning and cleanup. The primary hazard here is the VOCs from the solvents.
- Acrylic Paints: Use acrylic polymer emulsions as binders and water as their primary solvent. Generally lower in VOCs, but it's important to remember that 'water-based' does not mean 'zero VOCs.' Even these can contain small amounts of VOCs or other irritating components, especially when airbrushed or heated, reinforcing the need for ventilation even with seemingly safe materials. Watch out for spray acrylic varnishes (like Golden MSA Varnish) and some mediums, which can be high in VOCs.
- Watercolors & Gouache: Typically use gum arabic as a binder and water as a solvent. These are generally considered very low hazard for fumes and dust.
- Pastels & Charcoal: Primarily pigment and minimal binder (like gum tragacanth) with no solvents. The main hazard is fine particulate dust.
- Printmaking Inks: Can be oil-based (binders like linseed oil, requiring solvents like mineral spirits, naphtha, or specialized printmaking solvents for thinning and cleanup) or water-based. Solvent-based inks pose significant VOC hazards and require robust local exhaust ventilation. Lithography, for example, often involves cleaning stones and plates with powerful solvents like kerosene or mineral spirits, generating considerable fumes. Water-based inks are generally much safer, cleaning up with just water, but always check their specific formulations for any hidden VOCs or sensitizers.
- Resins (Epoxy, UV-Curing): These involve a resin and a hardener (epoxy) or are activated by UV light. They are often skin sensitizers and can produce strong, hazardous fumes (VOCs), especially during mixing or curing. Artist's mediums, like those used for pour painting or adding texture, often fall into this category or contain similar volatile components. Always check labels and ventilate thoroughly.
- UV-Curing and Photopolymer Resins: Increasingly popular in 3D printing, jewelry making, and mixed media, these resins cure under UV light. While cured resin is generally inert, the liquid resins and their associated cleaning solvents (often alcohol or specific resin cleaners) can produce strong, hazardous fumes (VOCs), are potent skin sensitizers, and can cause eye irritation. Always work with dedicated local exhaust and wear appropriate nitrile gloves and eye protection.
- Water-Mixable Oils & Acrylics: If you love oil painting, seriously consider water-mixable oils. They clean up with water, eliminating the need for harsh solvents like traditional turpentine or mineral spirits. Many modern acrylic brands, like those reviewed in our Liquitex Basics Acrylic Paint Review, are formulated to be low-odor and non-toxic, though good ventilation is still advised when airbrushing or using spray acrylic varnishes which are often high in VOCs.
- Solvent-Free Mediums & Varnishes: Many manufacturers now offer excellent solvent-free mediums and varnishes for oil painting that use plant-based oils (like safflower or walnut oil) or synthetic resins instead of traditional solvents. Always check labels for "non-toxic" or "AP certified." AP certified means "Approved Product" by the Art & Creative Materials Institute (ACMI), indicating no materials in sufficient quantities to be toxic or injurious to humans, even if ingested or inhaled. However, "AP certified" does not mean zero VOCs; it means the VOCs present are not in hazardous quantities (acute toxicity). Always prioritize good ventilation, even with certified products, and understand that "odorless" mineral spirits are still petroleum distillates with VOCs, just fewer aromatic compounds. Specific examples of problematic supplies to be wary of include traditional turpentine, 'odorless' mineral spirits, many spray adhesives or fixatives, and certain epoxy resins and hardeners.
- Non-Toxic Adhesives & Sealants: For mixed media or a beginner's guide to creating collage art, look for water-based glues (like PVA glue), spray adhesives with low-VOC formulations, and brush-on sealants instead of aerosols where possible. I personally prefer brush-on options whenever possible to minimize airborne exposure. When choosing tapes, be aware that some industrial tapes can also off-gas, so opt for archival, low-acid options where art preservation is key.
- Spray Adhesives & Fixatives: These are common culprits for a blast of VOCs. Many contain highly volatile solvents like toluene, xylene, and hexane, which are directly inhaled due to their aerosolized nature. Where possible, choose brush-on alternatives or low-VOC spray versions, and always use them with maximum ventilation ( ideally a spray booth or outdoors with a respirator).

credit, licence
- Consider Dry Media: Shifting some of your work to dry media like how to use colored pencils for beginners, graphite, or even digital art can drastically reduce your chemical exposure. If using pastels or charcoal, however, remember that dust is still a major particulate concern, requiring good ventilation and a respirator.
- Heat-Related Fumes: Be mindful of processes involving heat, such as burning wood, soldering for jewelry making, welding, using heat guns for the history of encaustic painting, or even extended hot glue gun use. These can release various fumes, chemical byproducts, and ultrafine particles. Always ensure adequate local exhaust for these tasks, as heat accelerates evaporation and chemical reactions.
Monitoring Your Air Quality
Understanding the hazards and choosing safer materials are crucial first steps, but how do you know if your studio is actually safe? While dedicated industrial sensors are expensive, there are increasingly affordable consumer devices that can give you a better idea of your studio's invisible environment. Think of them as a useful diagnostic tool, not a replacement for good ventilation.

- Consumer VOC Monitors: These can give you a general sense of ambient VOC levels. They aren't lab-precise, but a consistent "high" reading (generally above 500 ppb - parts per billion, meaning 500 molecules of pollutant per billion molecules of air) is a clear indicator your ventilation needs improvement.
- Particulate Matter (PM2.5) Sensors: Useful for detecting fine dust from sanding, pastels, or even general studio activity. Again, consistent high readings (ideally below 10 µg/m³ - micrograms per cubic meter, meaning 10 millionths of a gram of particulate matter per cubic meter of air, which is a tiny amount) mean you need better dust control. When performing dusty tasks, spikes are expected; the goal is for them to drop quickly after the activity ceases.
- CO2 Monitors: While not directly measuring toxic art fumes, CO2 levels are a good proxy for general fresh air exchange. If your CO2 levels are consistently above 800-1000 ppm, it indicates poor ventilation overall, suggesting other pollutants are also building up. Air quality monitors from brands like Airthings, Awair, or Temtop offer good consumer options.
Humidity and temperature can also influence how these particles and fumes behave. High humidity can promote mold growth and make airborne particles heavier, while low humidity can increase static electricity, causing dust to cling and making it easier to disperse. Higher temperatures generally increase VOC evaporation rates. Aim for a stable environment (e.g., 40-60% humidity and comfortable room temperature) where possible.
The Silent Threat: Dust Management
Dust is insidious. It settles everywhere, gets kicked back into the air, and can cause chronic respiratory issues. Don't underestimate it.
- Wet Cleaning: Regularly wipe down surfaces with a damp cloth instead of dry dusting or sweeping, which just redistributes dust. I make this a weekly ritual; it makes a huge difference to the general 'feel' of the space.
- HEPA Vacuum: Invest in a vacuum cleaner with a HEPA filter to effectively capture fine dust particles. Regular vacuuming, especially after sanding or using dry media, is crucial.
- Respirators: For any dust-generating activity (sanding, working with dry pigments, heavy pastel use, even vigorous cleaning of a dusty studio), a properly fitted N95 or P100 respirator is non-negotiable. Don't cheap out on this; your lungs are irreplaceable. An ill-fitting respirator is as good as no respirator at all, as airborne particles will simply bypass the filter. Look for models with adjustable straps and a good seal around your nose and mouth. To check for a good fit, perform a user seal check: gently pressing your hands over the respirator and breathing in sharply; you should feel the respirator pull towards your face with no air leaking around the edges. For professional settings, "respirator fit testing" can ensure an optimal seal, though it's likely overkill for most home studios. Remember to replace your filters regularly according to the manufacturer's instructions. You might look like a post-apocalyptic artist, but trust me, it's incredibly chic for your future self.
Working with Ceramics and Other Powdered Materials
Ceramics artists, listen up. The dust generated from clay and glazes is particularly hazardous. Crystalline silica, present in many clays, glazes, and grog, is a major concern. Inhaling this can lead to silicosis, a serious and irreversible lung disease. Other dusts (plaster, dry pigments) are also irritants.
- Work Wet: Keep clay and glazes wet as much as possible. Avoid dry mixing glazes.
- Dedicated Wet Cleaning: Use a dedicated wet-mop system for cleaning floors and surfaces – never sweep dry! Dry sweeping just aerosolizes the silica.
- P100 Respirator: Absolutely essential for any dry processing of clay, mixing glazes, sanding bisqueware, or cleaning up dry clay dust.
- Downdraft Table: For extensive dry finishing or glaze mixing, consider a filtered downdraft table to capture dust at the source.
Gloves and Eye Protection
Your hands are your primary tools, so protect them! For handling chemicals, chemical-resistant gloves (like nitrile or neoprene) are essential. Avoid common latex gloves, as they offer poor protection against many art solvents and resins. Always consult a chemical resistance chart to match your glove material to the specific chemicals you're using. And don't forget eye protection – safety glasses or goggles are crucial when working with sprays, powders, or any liquids that could splash into your eyes. It’s an easy layer of defense that can prevent serious injury.
Optimizing Your Studio Layout & Maintenance
Beyond the equipment, how you set up your studio fundamentally impacts ventilation. Think about airflow from the very beginning:
- Layout for Flow: Position your primary workspace, especially your palette or fume-generating activities, between your fresh air intake and your exhaust point. Avoid creating 'dead zones' where air can become stagnant, such as corners blocked by large furniture or walls that short-circuit the airflow path.
- Regular Maintenance: Your ventilation system is only as good as its upkeep. Regularly clean fan blades of dust and grime, which can reduce their efficiency. Replace filters in air purifiers and local exhaust ventilation systems according to manufacturer guidelines – clogged filters can drastically impair performance and even become sources of microbial growth. This isn't just about functionality; it's about prolonging the life of your equipment and ensuring it keeps you safe.
Common Misconceptions About Studio Safety
It's astonishing how many well-meaning but ultimately dangerous myths circulate in artist communities about studio safety. I've heard them all, and probably believed a few myself early on. Let's debunk some common misconceptions that can put artists at risk:
- "I only use natural materials, so I'm fine." Not necessarily! Natural doesn't always mean safe. Turpentine (a natural pine distillate) is a potent VOC. Crystalline silica (from natural quartz sand, common in clays and pigments) causes silicosis. Some natural pigments contain heavy metals. Always research any material, natural or synthetic.
- "It's just a little smell, it can't hurt." This is a dangerous trap. Many hazardous chemicals have no smell at all (like carbon monoxide, though not typical in studios), or their smell is only noticeable when concentrations are already high. Odorless mineral spirits still off-gas VOCs. Your nose is not a reliable safety detector.
- "A single, inexpensive air purifier is enough." This is perhaps the most common and dangerous misconception. While an air purifier can help with some particulates and some VOCs, it's not a substitute for active air exchange. It filters the air, but it doesn't bring in fresh air or actively remove large quantities of fumes. For serious studio work, relying solely on a purifier is like trying to empty a bathtub with a sponge while the tap is still running. You need both filtration and exhaust.
- "My studio is large, so ventilation isn't a problem." While a larger volume can dilute pollutants more, without active air exchange, those pollutants will still build up over time. Pockets of stagnant, contaminated air can still form, especially near your breathing zone. Size alone is never a substitute for active cross-ventilation. Think of a swimming pool with no filter; even a huge one gets murky eventually.
- "I work quickly, so exposure is minimal." Even short, intense exposures can be harmful, especially for highly volatile substances or fine dusts. Think of it like a quick dip in acid versus prolonged exposure to a mild irritant; both can cause damage. Frequent breaks and targeted ventilation for quick tasks are still essential.
- "Ventilation is only for industrial settings or huge workshops." This is a critical misconception. While large industrial spaces have powerful systems, even a small home studio can have highly concentrated levels of hazardous fumes or dust due to confined space and specific material use. Your smaller studio means you're often closer to the source and exposed to higher concentrations much more quickly. Every artist's space, regardless of size, needs conscious ventilation planning.
FAQ: Your Ventilation Questions Answered
Q: What's the real difference between an air purifier and an exhaust fan, and can't I just use a good air purifier?
A: This is a crucial distinction! An exhaust fan creates negative pressure in your studio, physically pulling stale, contaminated air out of the room and thereby forcing fresh air to come in from designated intake points. It's all about air exchange – removing the bad stuff and bringing in the good. An air purifier, by contrast, simply circulates the air that's already in the room, running it through filters to remove particulates and some VOCs. It's about air cleaning.
So, while a good air purifier helps, truly, it’s not a complete solution for fumes. Trapping pollutants is better than nothing, especially for dust, but active removal and replacement with fresh air is always the superior goal for chemical fumes. Think of it like this: an exhaust fan opens a window to the outside, constantly refreshing your air. An air purifier is like trying to clean a stagnant pond with a filter – it makes the existing water cleaner, but it doesn't replace it with fresh, flowing water. Use a purifier as a backup, particularly for dust control, but never as your primary ventilation system for chemical fumes. And remember, make sure it's ozone-free!
Q: How do I know if my ventilation is working effectively?
A: The simplest practical test is the smoke test. Carefully light an incense stick or use a smoke pen near your workspace (and away from anything flammable, obviously!). The smoke should be visibly and quickly pulled directly towards your exhaust fan and out of the room. If it lingers, swirls around your face, or moves sluggishly, your airflow isn't strong or direct enough. This is a great visual indicator of whether your 'river of air' is flowing correctly. Alternatively, you can use a small fan to gently blow a fine, non-toxic powder (like a pinch of flour or talc) near your fresh air intake. Watch how it moves towards and out of your exhaust. If it gets sucked right out, you're doing well!
Q: I work in a basement with no windows. What are my options?
A: This is arguably the toughest scenario, and frankly, the riskiest. You absolutely must create a mechanical exhaust path to the outside. This often means installing an inline fan and ducting through a pre-existing opening like a dryer vent, or (if permitted and feasible) cutting a new, properly sealed hole through an exterior wall or rim joist. If you're considering structural modifications, always consult with professionals (e.g., HVAC technicians, building contractors, or local building inspectors) to ensure safety and compliance. If creating a dedicated exhaust path is impossible or beyond your budget, you should seriously reconsider using any materials that produce fumes or significant dust in that space. In such an environment, prioritize strictly non-toxic materials like drawing media (graphite, non-toxic how to use colored pencils for beginners), watercolors, or digital art. Your health simply isn't worth the risk.
Q: How much ventilation is "enough" for an artist's studio?
A: This isn't a one-size-fits-all answer, as it depends on your studio size, the materials you use, and how often you use them. A common metric is Air Changes Per Hour (ACH). For general workshops with light fume production, 6-10 ACH is often recommended. For heavy solvent use or dusty operations (e.g., sanding resin or extensive ceramics work), you might need 15-20 ACH or even more, focusing on local exhaust. To calculate your approximate CFM need: Studio Volume (L x W x H in feet) x ACH / 60. For example, a 10x10x8 ft studio needing 10 ACH would require (10*10*8) * 10 / 60 = 133 CFM of exhaust. Always round up if in doubt.

Q: What about small studio spaces or apartments where I can't install anything permanent or modify walls?
A: This is where Level 1 and Level 2 setups really shine. The two-fan trick is your baseline. Elevate this with a good, reversible window exhaust fan. Crucially, focus intensely on material selection. Use water-mixable oils, low-VOC acrylics, and water-based mediums as much as possible. Work in short bursts, taking frequent fresh air breaks, and always use an appropriate respirator for any risky task. And remember, a good HEPA/carbon air purifier can supplement, but not replace, the need for air exchange. Prioritize keeping hazardous materials out of your immediate living space if possible.

Q: What about fumes from 3D printing or laser cutting?
A: These modern art and fabrication processes are a growing source of studio hazards. Both 3D printing (especially with certain plastics like ABS or resins) and laser cutting can generate significant ultrafine particles (UFPs) and a complex mix of VOCs. Dedicated ventilation is non-negotiable. This often requires an enclosed unit with a powerful exhaust system vented directly to the outside, or a sophisticated multi-stage filtered system designed specifically for these emissions. Never operate these machines in an unventilated indoor space.
Q: Are there any artistic techniques that are inherently safe regarding fumes?
A: Absolutely! If fumes are your primary concern, consider focusing on:
- Drawing: With graphite, non-toxic colored pencils, or charcoal (with good dust management).
- Watercolors & Gouache: Generally very low-fume. Remember to use clean water and don't ingest pigments.
- Digital Art: No physical fumes or dust, though ergonomics are a different kind of health consideration.
- Collage: Especially with water-based, non-toxic glues and pre-printed materials. Always check adhesive labels.
- Sculpture: Using natural, non-toxic materials like wood (unburnt, unsanded excessively indoors), stone (with dust control), or air-dry clay. Even with these, proper dust management remains important.
Q: What about off-gassing from new furniture, canvases, or studio supplies? Is ventilation still needed?
A: Absolutely, yes! Many new items, even seemingly innocuous ones like new canvases, furniture, adhesives, or fresh rolls of vinyl, can release VOCs into the air, a process known as 'off-gassing.' This can continue for days, weeks, or even months, albeit at decreasing rates. Initial strong ventilation is crucial, and it’s always a good idea to let new materials 'air out' in a well-ventilated space (or even outdoors if possible) before bringing them into your main studio, especially if you're sensitive to smells. Your nose might adapt, but the VOCs are still there!
Q: Can I use essential oils or air fresheners to mask studio odors? Will they help?
A: Please don't! This is a common and dangerous misconception. Essential oils, scented candles, or chemical air fresheners don't remove pollutants; they simply add more compounds (often VOCs themselves) to the air. This can create a complex chemical cocktail that's even more irritating or harmful to your respiratory system. Masking an odor gives a false sense of security, encouraging you to stay in a polluted environment longer. The goal is always to remove the hazardous air and replace it with fresh air, not to cover up the problem with other airborne chemicals.
Q: How does ambient temperature affect ventilation needs?
A: Temperature plays a significant role! Higher temperatures cause solvents and other volatile compounds to evaporate much faster, increasing the concentration of fumes in your studio air. This means that on a warm day, or if you're using processes that generate heat (like heat guns or soldering), your ventilation system needs to work harder and be even more effective. Conversely, in colder temperatures, evaporation rates slow down, but fumes can still accumulate if ventilation is inadequate. Maintaining a comfortable and stable temperature while ensuring robust air exchange is ideal.
Quick Reference: Key Takeaways for a Safe Studio
- Prioritize Airflow: Always aim for cross-ventilation – air in, air out. Don't just crack a single window.
- Know Your Culprits: Be aware of VOCs, particulates (including fumed silica), aerosols, heavy metals (like Nickel and Manganese), ozone, ultrafine particles, and potential mold/mildew. Understand the difference between chemical gases (VOCs) and tiny solid specks (particulates).
- Match Ventilation to Budget: Simple box fans work wonders, dedicated window fans are better, and local exhaust ventilation (LEV) is a game-changer for targeted fume removal. Calculate your required CFM!
- Choose Wisely: Opt for low-VOC, water-based, or solvent-free materials whenever possible. Look for "AP certified" labels from ACMI, but understand their limitations regarding VOCs. Remember 'water-based' isn't 'zero-VOC.'
- Monitor & Clean: Use air quality monitors as diagnostic tools, wet clean surfaces, and use a HEPA vacuum regularly. Be mindful of static electricity in dry conditions. Allow new materials to off-gas.
- Wear Protection: A properly fitted N95 or P100 respirator (with user seal check) is non-negotiable for dust or spray tasks. Choose chemical-resistant gloves (nitrile or neoprene, avoiding latex) appropriate for your specific chemicals, and always use eye protection (safety glasses/goggles).
- Take Breaks: Don't work in a fume-filled space for extended periods. Step away, let the air clear. If you can smell it, it’s time to ventilate more aggressively or take a break.
- Optimize Layout & Maintain: Position your workspace for optimal airflow. Regularly clean fan blades and replace filters in all ventilation and purification systems.
- No Windows/Exhaust? No Fumes! If you cannot establish proper exhaust to the outside, strictly limit yourself to entirely non-toxic media. Your health is worth more than any artistic pursuit.
Your Health is Your Most Important Tool
Look, your art won't thrive if you don't. I look back at my 'turpentine headache' days not with nostalgia, but with a pang of regret for not taking this seriously sooner. We meticulously choose the best brushes for acrylic painting or agonize over that perfect tube of cadmium red, but the absolute best investment you can ever make is in your own well-being.
Setting up proper ventilation isn't just about avoiding a headache or a faint smell. It’s about protecting your brain, your lungs, and your long-term creative future. It's about ensuring you can walk into your studio ten, twenty, or fifty years from now with the same energy, passion, and clear-headedness you have today. So, take a moment to really assess your space, visualize that gentle, life-giving river of air, and give yourself the profound gift of a studio that truly nurtures you as much as you nurture your art. You don't need a perfectly engineered cleanroom overnight. Just start. Get two fans. Open opposite windows. Commit to safer materials. Do one thing today. Your future self, painting away at eighty without a single regret, will absolutely thank you for it. I'd love to hear your own studio safety tips or challenges – every shared experience helps build a safer community for all artists.
Perhaps even consider what you'd want your legacy to be, not just in your art, but in how you lived and created. You can always explore more of my work here or learn about my artistic journey on my timeline.