
Art Handling & Conservation: A Painter's Guide to Protecting Your Work
A comprehensive guide to art handling and conservation for artists, collectors, and art lovers. Learn essential packing, moving, and storage techniques to protect your precious artworks for years to come.
Stop Killing Your Art: A Painter’s Guide to Not Destroying Your Own Work (And Everyone Else’s)
It’s a Tuesday. You’ve just spent a week finishing a piece you’re genuinely proud of—a canvas alive with layers of color and texture. You go to move it to your drying rack and your thumb goes straight through the wet paint. We’ve all been there. That pit-of-the-stomach feeling isn't just about wasted paint; it's the violation of preservation, a core instinct for any creative person.
But here's the thing I’ve learned after years in the studio: the moment you finish a piece, its most dangerous enemy is you. Not time, not dust, not bad luck. You, with your bare hands and good intentions. This article is a confession, a cautionary tale, and a practical guide rolled into one. This is about the sacred, often invisible, art of not screwing it all up. It’s about moving from being a creator to becoming a guardian, understanding that your work isn’t just an object, but a fragile conversation waiting to happen.
The Golden Rule: From Creator to Guardian
Before we talk about bubble wrap, let's talk philosophy. We tend to think of a finished painting as a static object—a “thing.” I’d argue that’s a destructive mindset. A painting is a delicate ecosystem of materials under constant, slow-motion stress. The canvas stretches and contracts with humidity. The paint film dries, cures, and ages, creating tensions with the ground beneath it. It breathes.
Your job as the handler, and as the artist, isn't to manhandle a thing. It's to be a guardian for this fragile system. Every time you pick up a canvas, you’re not just moving it; you’re managing the forces acting upon it. Think of yourself less as a mover and more as a neurosurgeon. The stakes feel just as high to me. Every touch, every choice of storage material, every decision about light and heat is a direct dialogue with the work's future. You are no longer just the artist; you are the first in a long line of caretakers.

The Fundamentals: Touching, Lifting, and Moving
Let's get our hands dirty with the absolute basics. This is where most damage happens.
How to Actually Touch a Painting
The enemy is pressure. A casual finger-poke on the back of a canvas can create a hairline crack in the paint on the front. That’s not a theory; that’s a fact I’ve proven with my own clumsiness. The best practice is simple: if you can touch the sides, do that. Hold the painting by its stretcher bars, the wooden frame on the back.
If you absolutely must touch the front, you have to become a ghost. Lay the painting flat if possible. Use clean, dry hands (or, even better, nitrile gloves to prevent oils from your skin from transferring). Slide one open palm beneath the canvas from the side, using your other hand to steady it by the stretcher bar. You’re not grabbing. You’re cradling.
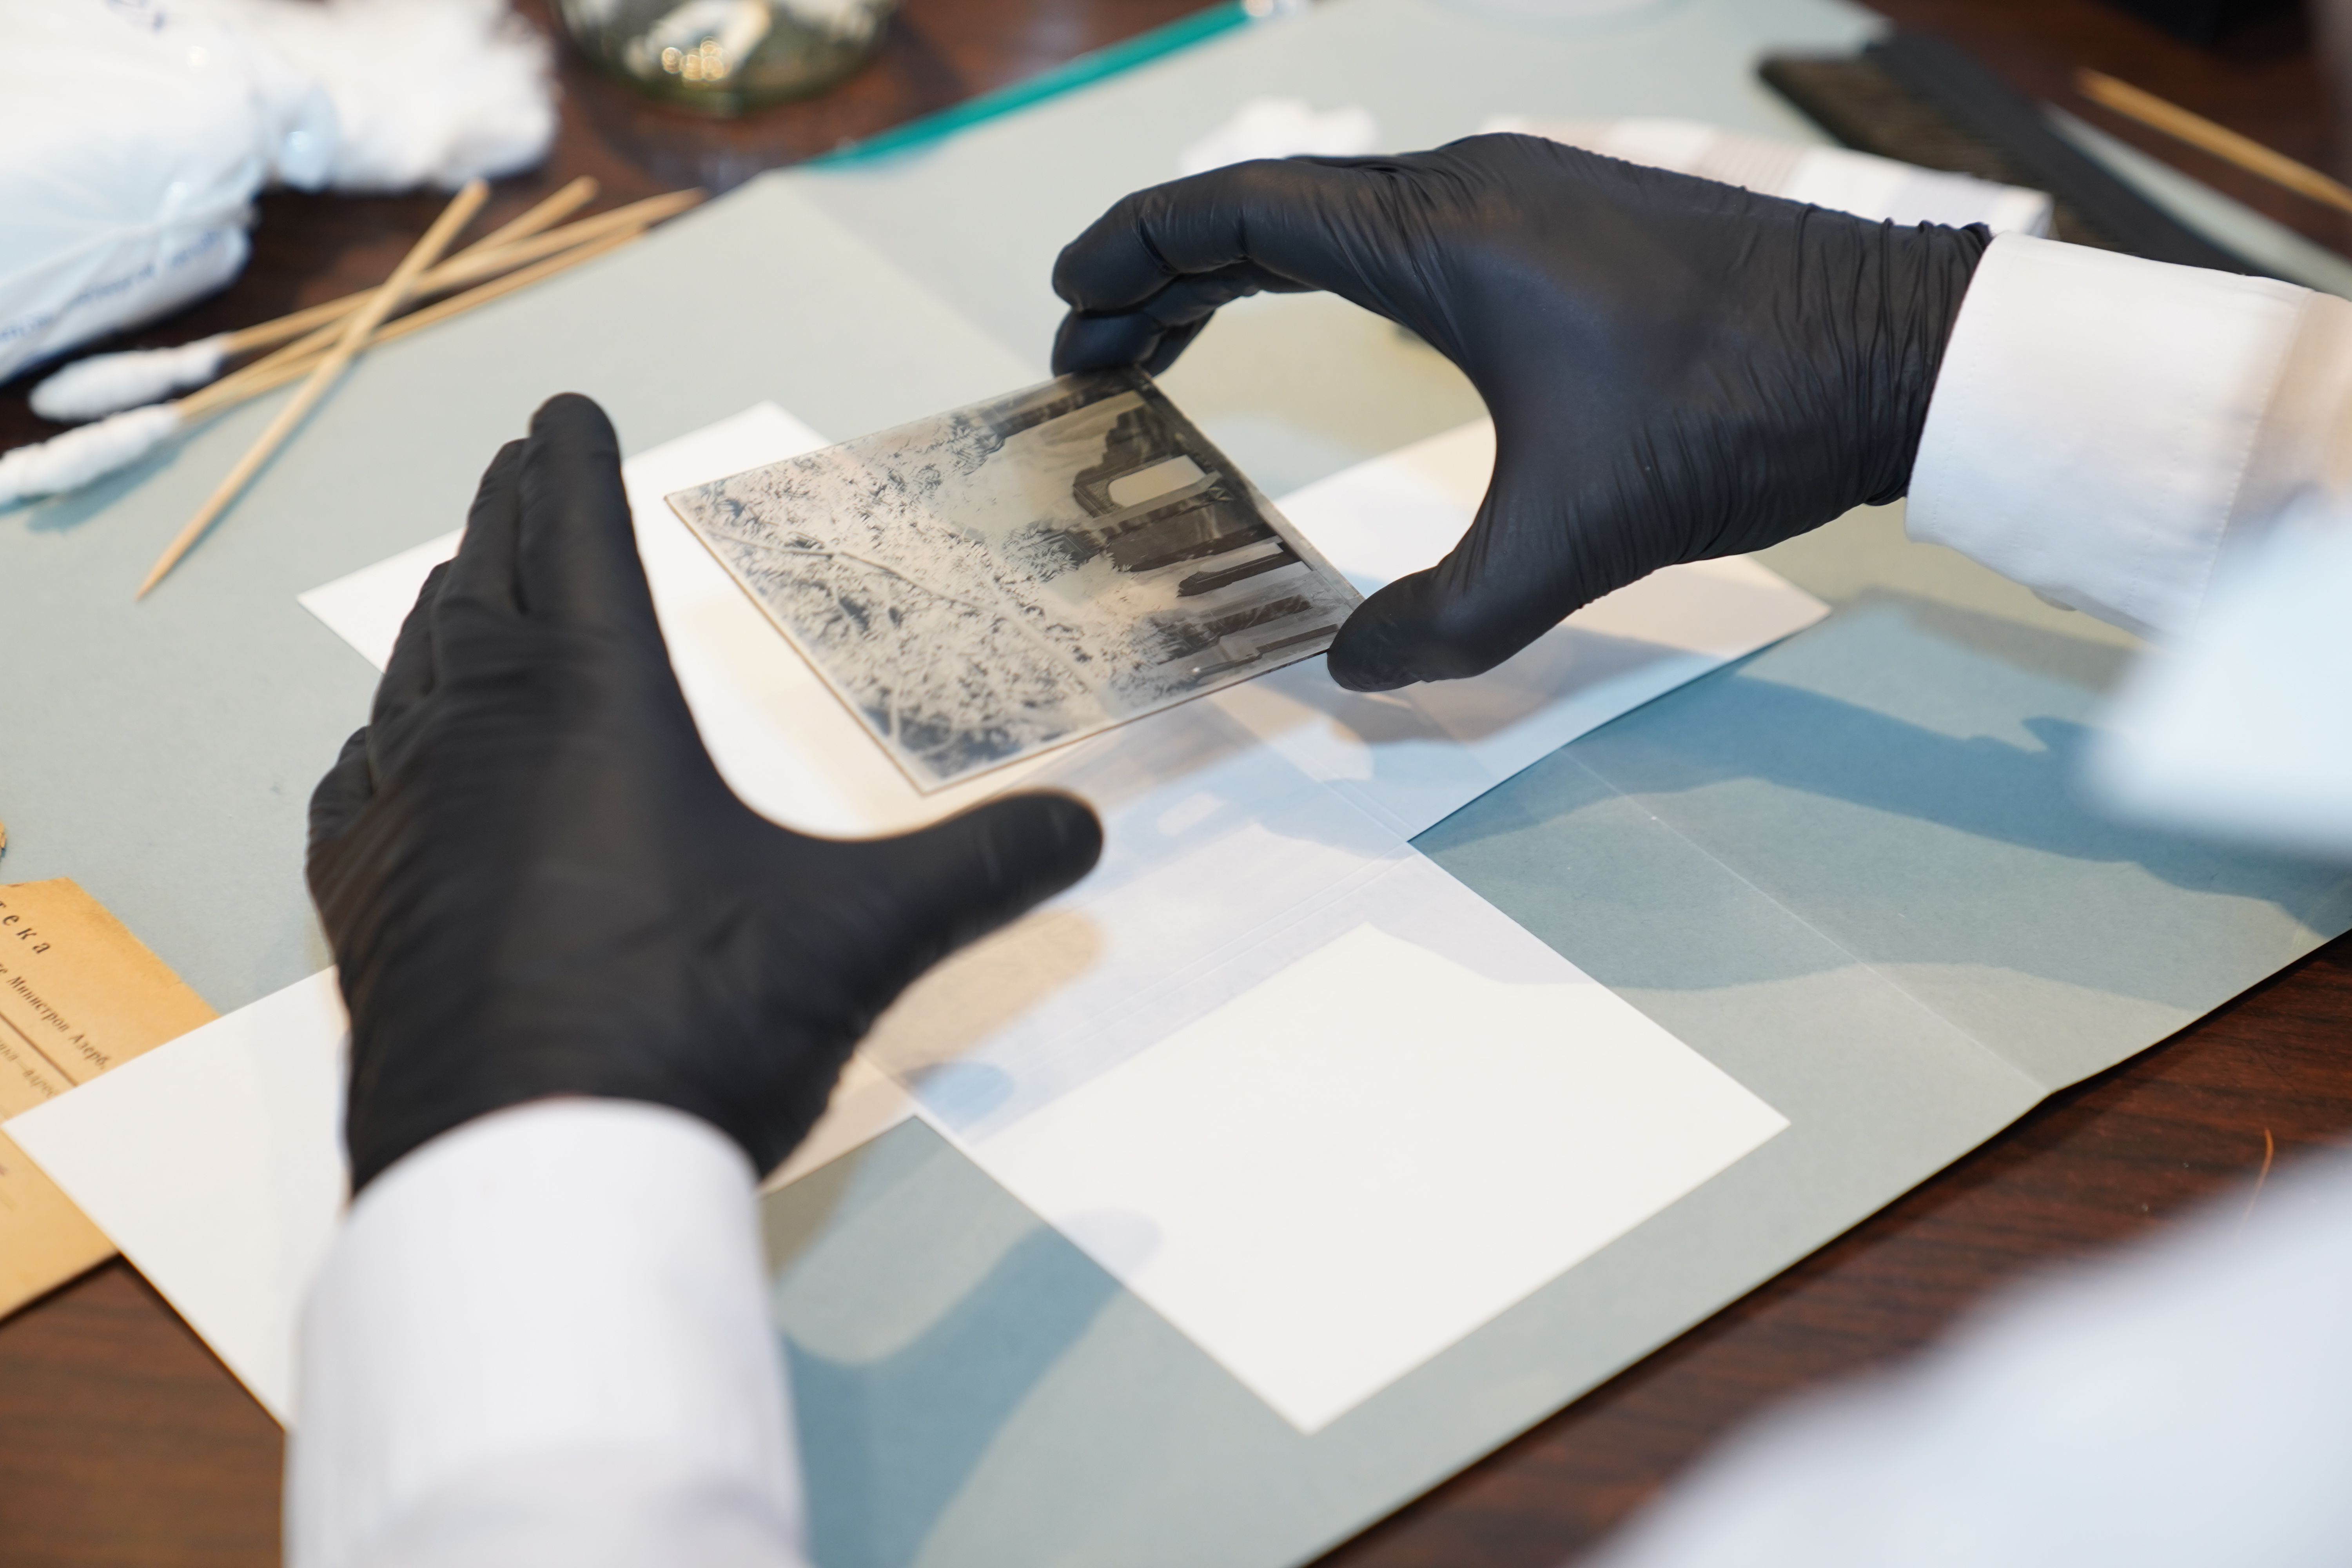
The Unique Challenge of Works on Paper
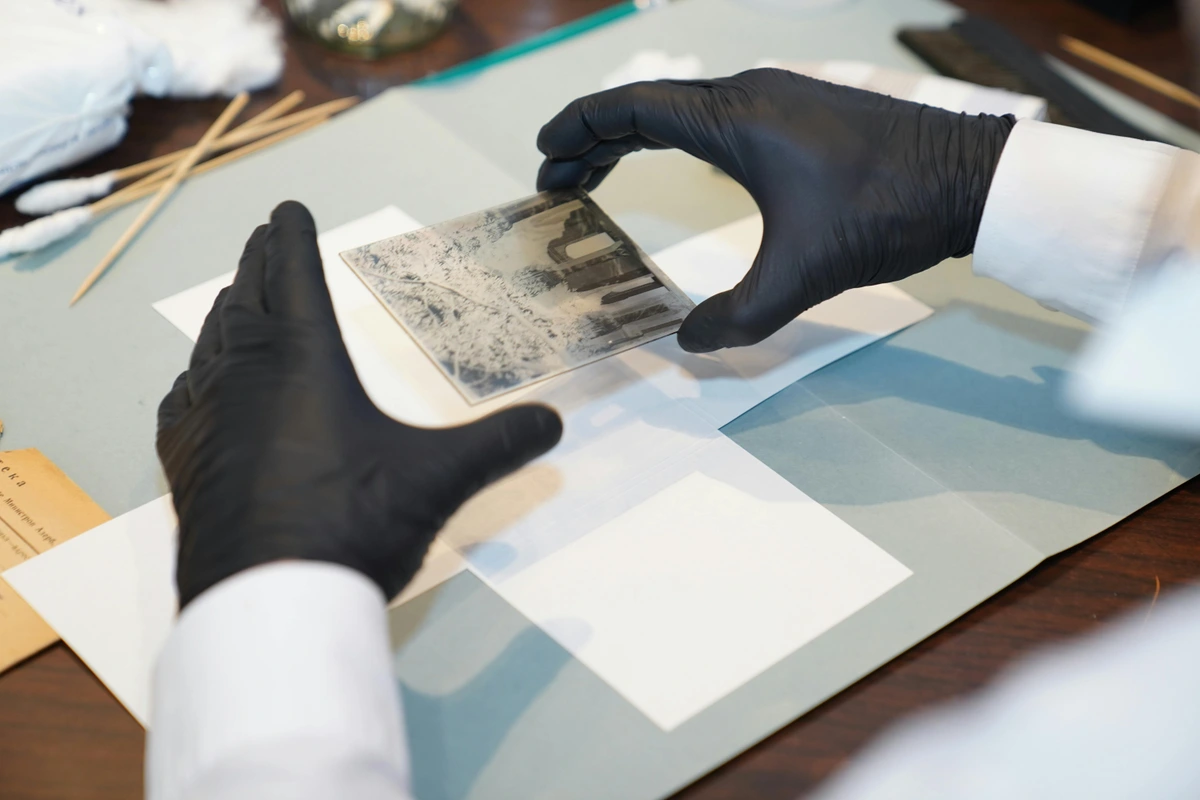
Handling works on paper requires a neurosurgeon’s touch. Paper is far more fragile than canvas; it can be torn, creased, or soiled with frightening ease. The oils and moisture from your fingertips can degrade the paper and leave visible marks over decades.
The Gold Standard: Always wear clean, white cotton or nitrile gloves. My general rule is that if you are handling a work on paper for more than just a quick peek, the gloves go on. It’s a simple habit that eliminates a lifetime of potential damage.
When lifting a sheet, support it from beneath with a clean, rigid board. Never lift it by its edges or a corner. For larger, unframed pieces, use both hands spread wide apart to distribute the weight and prevent it from buckling under its own mass. Think of it as holding a giant, brittle piece of autumn leaf.

image credit, Creative Commons Licence
The Art of the Lift
Never, ever lift a painting by the top of its frame or stretcher alone. I don't care how solid it feels. The entire weight of the canvas is hanging from a few braided tacks or staples, and that wood is under massive tension. It’s a temporary structure, not a handle. A two-handed lift from both sides is the only way to go.
For larger pieces, you need a team. And you need to communicate. It's not “1, 2, 3, lift.” It’s a slow, synchronized movement where everyone knows their role. One person isn’t just “helping”; they are one half of a single, unified lifting machine. If you’re doing it alone and a piece feels too big, or too heavy, or too awkward, it is. Stop. Get help.
The Forgotten Factor: Your Body Mechanics
An odd but crucial thought: you can damage yourself as easily as the art. Lifting a heavy, awkwardly-sized canvas is a back injury waiting to happen. Before you lift, think about your body.
- Lift with your legs, not your back. It's a cliché for a reason.
- Get close. Hold the work close to your body to minimize strain.
- Pivot, don't twist. If you need to turn, move your feet instead of twisting your torso while holding a heavy load.
Protecting the art also means protecting the protector. Your physical well-being is part of the art-handling equation.

Backstage Essentials: Packing and Preparation
This is where my DIY heart used to clash with my artist brain. I’d use whatever cardboard I could find, a wad of newspaper, and hope for the best. Professional art handlers have taught me that there’s a reason for every piece of tape and plastic.

Creating a Safe Micro-Environment
When art travels, it needs its own little traveling pod. The goal isn't just to stop it from getting hit; it’s to shield it from dust, moisture, and static. The industry standard for this is a combination of materials:
- Protective Layering: First, you often place a sheet of glassine. It’s a smooth, acid-free, and non-abrasive paper that’s been a secret weapon in conservation for a century. It won’t stick to the paint, even under pressure.
- Cushioning: Next comes the cushion. Not just any padding, but something like Tyvek, or acid-free bubble wrap. The bubbles should face away from the painting to avoid creating imprints on the surface over time.
- The Outer Shell: A custom-made cardboard box is the dream. But a box lined with rigid foam board (like Foamcore) is a fantastic, more accessible alternative. The key is that the artwork shouldn’t be able to move inside its packaging. If it can rattle, it’s a disaster waiting to happen.
Here’s a quick comparison of materials to help you choose the right armor for your work:
Material | Best For | Why It's Great | Watch Out For |
|---|---|---|---|
| Glassine Paper | Direct surface contact (for paper, prints, canvas) | Acid-free, smooth, won't stick to paint, prevents smudging. | Can tear easily; not a structural support. |
| Acid-Free Tissue Paper | Wrapping 3D objects, stuffing voids. | Soft, pliable, chemically inert. | Tears very easily; offers no structural protection. |
| Acid-Free Bubble Wrap | Cushioning between glassine and outer box. | Excellent shock absorption, lightweight. | Bubbles can leave imprints if pressed directly on a soft surface for too long. |
| Foam Board / Foamcore | Creating a rigid protective box or sandwich. | Strong, lightweight, protects against crushing and punctures. | The paper surface can scuff paintings if not used with an inner layer. |
| Cardboard Corner Guards | Protecting the vulnerable corners of frames. | Prevents the most common point of impact damage. Reusable. | Only protects a very specific part of the artwork. |
| Polyethylene Foam (Ethafoam) | Heavy-duty cushioning, lining crates, wrapping sculptures. | Incredibly shock-absorbent, chemically stable, and more durable than bubble wrap. | Can be more expensive and harder to find than other cushioning materials. |
| Tyvek | A protective, water-resistant layer. | Tough, breathable, and won't tear easily. A great in-between layer. | Can feel slick; not a primary cushioning material. |
How to Wrap a Canvas, Step-by-Step
Let’s do this together. Imagine we’re wrapping a 20x24" canvas.
- Check for Dryness: This is non-negotiable. The paint must be fully, 100% cured. Oils can take months. Acrylics can feel dry in hours but might still be releasing moisture for days. Don’t rush this.
- The First Layer (Glassine): Cut a sheet of glassine larger than your canvas. Lay the painting face-up on it. Gently fold the paper over the front, creating a smooth, protective barrier. Tape the glassine to itself on the back, not to the painting.
- The Cushion (Bubble Wrap): Cut two pieces of acid-free bubble wrap. Place the wrapped canvas face-down on one sheet. Place the second sheet on the back. The bubbles are now facing the glassine, not the canvas itself. Tape the wrap snugly, forming a padded envelope.
- The Shell (Foam Board): Cut two pieces of Foamcore about 2 inches larger than your canvas on all sides. Place your padded canvas between them. Tape all four edges thoroughly with a strong packing tape. You now have a rigid, lightweight, and protected package.
I keep a small stock of these materials in my studio at all times. It feels less like a chore and more like a ritual, a final act of respect for the piece before it leaves my hands.

The Dreaded Question: How Much Will This Cost Me?
Let's be honest, archival materials are an investment. But think of it as insurance. A ruined painting costs far more than a few sheets of Foamcore.
- On a Budget? Prioritize. If you can only buy one thing, make it glassine paper for surface protection. For cushioning, look for "low-density" bubble wrap, which has smaller bubbles and is often cheaper. You can often get free cardboard boxes from local shops.
- Going Pro? Invest in a bulk supply of acid-free bubble wrap, a roll of glassine, and a stack of Foamcore. You can often find 4'x8' sheets of Foamcore at hardware or art supply stores. The per-project cost drops dramatically when you buy in bulk.
The Fortress: Storage and Environment
So your painting is wrapped and safe. Now where does it live when it’s not on a wall? I used to think a spare room or a closet was fine. Then I learned about temperature, humidity, and the silent creep of damage.
The Invisible Enemy: Light, Heat, and Moisture
- Light: UV rays are the ultimate slow killer. They break down the chemical bonds in pigments, causing colors to fade and whites to yellow. While you can't eliminate light, you can control it. Store art in the dark. If you want to inspect a piece, use low-wattage bulbs, not a bright, sunny window.
- Temperature & Humidity: These two are a tag team. Fluctuations are what you need to prevent. High humidity can cause mold and rust on metal frames. Low humidity can make canvas brittle. A stable environment is the goal. For most mixed-media work, a consistent 60-75°F (15-24°C) and 40-50% relative humidity is the sweet spot.
Avoid these places at all costs:

- Attics and basements (extreme temperatures and humidity).
- Against an outside wall (temperature fluctuations).
- Near radiators, vents, or air conditioners.
- In a damp garage or shed.
How to Store Artworks Like a Pro
The first rule of storage for canvases is: store paintings upright, like books on a shelf. Laying them flat is fine for one or two, but stacking them is a recipe for pressure cracks, sticking, and warping. If you must lay them flat, separate each piece with a clean, acid-free board.
For prints and works on paper, the solution is a flat file or a portfolio case. A simple portfolio with acid-free sleeves is an affordable and excellent way to keep your collection organized and safe from light, dust, and mishandling. Vertical storage in a plan chest is ideal, letting gravity keep everything flat and supported. Never store paper items in a regular cardboard box, as the acid will eventually destroy them.
Space-Saving Storage Solutions for the Modern Artist
Not all of us have a dedicated, climate-controlled storeroom. Here are some practical, space-efficient storage ideas that prioritize the safety of your artwork.
- The Vertical Rack: A simple freestanding or wall-mounted rack for storing canvases upright is a game-changer. It keeps them organized, allows air to circulate, and prevents them from leaning against each other. You can build one yourself with basic lumber.
- The Flat File (Plan Chest): If you work on paper, this is your most important investment. A flat file allows you to store dozens or even hundreds of works horizontally, each separated by a sheet of acid-free barrier paper, perfectly flat and protected from light and dust. They can be expensive new, but are often found secondhand at architectural or printing office sales.
- The Portfolio Case: A fantastic, mobile alternative to a flat file. Look for a case with rigid sides and acid-free inserts. It's perfect for storing and transporting a smaller collection of works on paper.

credit, licence
The Long-Term View: Archival Quality
If you want your work to outlast you, the word you need to fall in love with is archival. This means using materials that are chemically stable and won’t degrade or harm the artwork over time.
- Acid-Free Everything: Regular cardboard and paper are acidic. Over decades, this acid will migrate to your artwork, causing it to brown and become brittle. Acid-free tissue, foam board, and mat board are essential for long-term storage.
- Inert Plastics: Polypropylene and polyethylene are considered safe, inert plastics for storage. PVC should be avoided, as it can release harmful plasticizers as it ages.
Think of it this way: every time you handle your art, you are writing its future history. An acid-rich environment is a fast-forward button for decay. An archival one is a pause button, preserving the work in its present state for as long as possible. You can see how some museums approach this on a grand scale at /den-bosch-museum.

The Journey: Transporting Artwork with Care
You’ve packed it. You’ve stored it. Now you need to move it from A to B. This is where your nerves will be tested.
The Short Haul: Moving Art in Your Own Vehicle
For any journey longer than across the studio, your wrapped and boarded painting should go into a vehicle. Not the trunk next to the groceries and the gym bag. The best practice is to transport paintings flat, face up, on a clean, padded surface where they can’t slide around. If you must transport them upright, pad the space between them so they can’t rub against each other. Use moving blankets or more foam to prevent any shifting. Remember to air-condition your car in summer and avoid leaving the art in a freezing car in winter.
The Long Haul: Shipping Your Art Across the Country (or World)
This is a whole other beast. When your art leaves your hands, you need to shift from being a handler to a logistics expert. Your packaging is the only guardian it will have.
- The Crate is King: For high-value or very fragile work, a custom-built wooden crate is the only professional option. It provides unparalleled protection against impact and crushing.
- Know Your Materials: Inside the crate, suspend the Foamcore-sandwiched artwork so it doesn't touch the crate walls. Use dense foam like Ethafoam to secure the corners and prevent any movement.
- Documentation is Your Shield: Photograph the artwork from all angles before it's crated. Take photos of the packaging and crating process. If damage occurs, this documentation is your primary evidence for an insurance claim.
- Labeling is Crucial: Clearly mark the crate with "FRAGILE - ARTWORK - THIS SIDE UP" on all six sides. Do not assume handlers will see the label on just one side.
- Investigate Shipping Options: Regular courier services (like FedEx or UPS) are fine for small, well-packed items. For large or expensive pieces, specialized fine art shippers exist. They are more expensive, but they handle your work with the care it deserves, usually employing their own dedicated climate-controlled trucks.
- Insurance is Non-Negotiable: Insure the piece for its full value. Do not skip this step.
Common Mistakes We All Make (And How to Stop)
Let’s have a moment of honest, collective self-reflection.

- Using Household Cleaners: Never, ever spray Windex or any other cleaner near a painting. The solvents can permanently damage the varnish and paint film. Dust should be removed with a soft, dry brush (like a clean shaving brush) or a microfiber cloth.
- Sticking Things to the Front: Do not put tape, Post-it notes, or sticky labels on the front of a painting, even on the very edge. The adhesive can leave a residue that is difficult or impossible to remove.
- Trying to “Fix” It Yourself: If a painting gets damaged, the temptation to dab a little paint over the scuff is overwhelming. Resist it. Amateur repairs often make a small problem much, much worse. The best course of action is to stabilize the piece, document the damage with photos, and consult a professional art conservator. They are the doctors, and you are not.
The First Line of Defense: Framing & Display
We’ve talked about touching and storing, but what about when the work is meant to be seen? The frame is not a decoration; it’s the artwork’s suit of armor. Poor framing can be more destructive than careless handling.
- The Archival Mat: For works on paper, the mat is critical. Always insist on acid-free mat board. A cheap, acidic mat will leach acid into your artwork over time, creating a permanent brown "burn" line. A proper mat also lifts the glass away from the surface of the art, preventing condensation and sticking.
- The Backing Board: The back of a framed piece needs protection too. An acid-free foam core backing board seals the frame from dust, pollutants, and moisture, creating a stable microenvironment.
- Glazing Choices: Glass is fine, but for valuable or light-sensitive work, museum-grade acrylic (like Plexiglas) is often superior. It’s lighter, shatter-resistant, and filters out 99% of UV radiation, which is a huge win for preservation. Just be aware it can scratch more easily than glass.
- Display Location: Think like a conservator. Never hang a work of art in direct, bright sunlight. Avoid spots right above a radiator or in the path of a strong draft from an air conditioner. Even the wall you choose matters; an outside wall can have fluctuating temperatures that can harm the art.
Framing is an investment in the future. It communicates the value of the work and ensures it can be enjoyed for generations.

So the next time you go to move a piece, don’t just grab it. Pause. Think about the fragile, breathing thing you're holding. And handle it with the same tenderness you’d want for yourself.
FAQ: Your Art Handling Questions, Answered
Q: How long should I wait before I can safely pack a painting I just finished? A: This is one of the most common sources of disaster. Oil paintings can take up to six months to a year to fully cure, even if the surface is dry to the touch. Acrylics dry much faster, but you should still wait at least a week after the final layer to ensure all the water has evaporated from the paint film. When in doubt, wait longer.
Q: Is bubble wrap bad for paintings? A: It’s a great question. Direct contact of bubble wrap with a painting’s surface is terrible. The bubbles can create permanent indentations, and the plastic can stick to uncured paint or varnish. However, bubble wrap is an excellent cushioning material when used correctly: place the bubbles facing away from the artwork, with a smooth barrier like glassine paper in between.
Q: What is the correct way to hang a heavy painting? A: This is a safety issue as much as a conservation one. You need to find the wall studs. A simple picture hook isn't enough. Use a heavy-duty D-ring hanging system on the back of the frame, connected to the wall with screws that go directly into the studs. For extremely large or heavy pieces (anything over about 40 lbs), hire a professional art installer. It’s worth it to prevent a disaster.
Q: How do I clean a painting? A: For dust, use a soft, clean, dry brush—like a horsehair or goat-hair brush used in photography. Gently whisk the surface. For smudges or grime, stop. It’s easy to do more harm than good. Different paints and varnishes require different, specific cleaning agents. This is a task for a professional art conservator.
Q: Can I store my paintings in a climate-controlled self-storage unit? A: Yes, a modern, climate-controlled storage unit can be a good option if your home doesn't have a suitable space. The key is “climate-controlled,” meaning it maintains a stable temperature and humidity. However, you still need to properly wrap, board, and store the paintings upright within the unit. Never just lean them against a wall uncovered. You should also check on them periodically.
Q: Does this apply to my prints and works on paper? A: Absolutely, and in some ways, paper is even more fragile. It is highly susceptible to light, humidity, and acidity. Always mat and frame them using acid-free materials. For storage, use a flat portfolio or a box specifically designed for works on paper, interleaving each piece with a sheet of glassine or acid-free tissue.
Q: What if my painting gets really hot or cold during transport? Will it be ruined? A: A brief exposure is usually not the end of the world, but it can be a problem. The main issue is condensation inside the packaging as temperatures change. Also, extreme heat can soften paint and lead to sticking. It's vital to use a climate-controlled vehicle for transport whenever possible and never leave your art in the trunk of a car in the sun.
Q: I accidentally put my thumb through a finished piece. Is there anything I can do? A: The first rule is: do not try to fix it yourself. Don't paint over it, don't try to glue it down. Amateur repairs are often much, much worse than the original damage. The best thing you can do is stabilize it. Gently press the canvas back into shape from the back. Then, photograph the damage from all angles. Put the painting in a safe place where it won't get any more damage, and consult a professional art conservator. They are the experts in making miracles happen.
Q: The cost of archival materials and professional shippers seems really high. Is this all really necessary? A: I get it. It feels like a lot. But you have to reframe it: it’s not an expense, it’s an investment. That investment is in the future life of your work. A single damaged painting represents a massive loss of materials, time, and creative energy. Paying for a professional shipper or using acid-free materials is like buying insurance. You hope you never need it, but you'll be incredibly grateful you have it when disaster strikes. Start small, build up a stock of basic materials, and use professional services for your most important pieces.