
From Sketch to Digital Master: Adobe Photoshop Tutorial for Artists
A hands-on tutorial showing artists how to transition traditional techniques to digital platforms.
From Sketch to Digital Master: Adobe Photoshop Tutorial for Artists
I remember the first time I opened Adobe Photoshop. It felt like stepping into a vast, empty studio with every tool imaginable at my fingertips—but no idea where to start. If you're an artist looking to transition from traditional media to digital, you might feel the same way. This guide is here to help you bridge that gap, offering practical steps, personal insights, and a few lessons I learned the hard way.
Digital art is not just a trend; it's a revolution in how we create and perceive art. Whether you're a seasoned artist or just starting, this guide will walk you through the essentials of Photoshop, from setting up your workspace to mastering advanced techniques. By the end, you'll have the confidence to create stunning digital artwork that reflects your unique style.
Digital art is not just a trend; it's a revolution in how we create and perceive art. Whether you're a seasoned artist or just starting, this guide will walk you through the essentials of Photoshop, from setting up your workspace to mastering advanced techniques. By the end, you'll have the confidence to create stunning digital artwork that reflects your unique style.
Why This Guide?
This guide is designed to be your companion as you navigate the world of digital art. Whether you're a complete beginner or an experienced artist looking to refine your digital skills, this tutorial will provide you with the tools and knowledge you need to succeed. We'll cover everything from setting up your digital workspace to mastering advanced techniques like custom brushes and layer management.
Who Is This Guide For?
- Beginners: If you're new to digital art, this guide will help you understand the basics and build a strong foundation.
- Traditional Artists: For those transitioning from traditional to digital, we'll explore how to adapt your skills to the digital canvas.
- Experienced Digital Artists: Even if you're familiar with Photoshop, you'll find advanced techniques and tips to elevate your work.
What You’ll Learn
In this guide, we’ll cover everything from setting up your digital workspace to mastering advanced techniques like custom brushes and layer management. Whether you’re a complete beginner or an experienced artist looking to refine your digital skills, this tutorial has something for you.
Key Topics Covered
- Setting up your digital workspace
- Understanding the Photoshop interface
- Basic and advanced brush settings
- Transitioning traditional techniques to digital
- Advanced techniques like custom brushes and filters
- Common mistakes and how to avoid them
- Exporting your artwork for print and digital use
Why Photoshop for Artists?
Photoshop isn’t just for photographers or designers. It’s a powerful tool for artists who want to explore digital painting, enhance their traditional work, or even create entirely new forms of art. Here’s why it’s worth your time:

- Versatility: Whether you’re into abstract art, portraits, or landscapes, Photoshop can handle it all.
- Non-Destructive Editing: Make mistakes? No problem. Photoshop lets you undo, redo, and tweak without ruining your original work.
- Endless Tools: Brushes, layers, filters—you name it. The possibilities are limitless.
Getting Started: Setting Up Your Digital Studio
Step 1: Choose Your Tools
Before diving into Photoshop, you’ll need a few essentials:
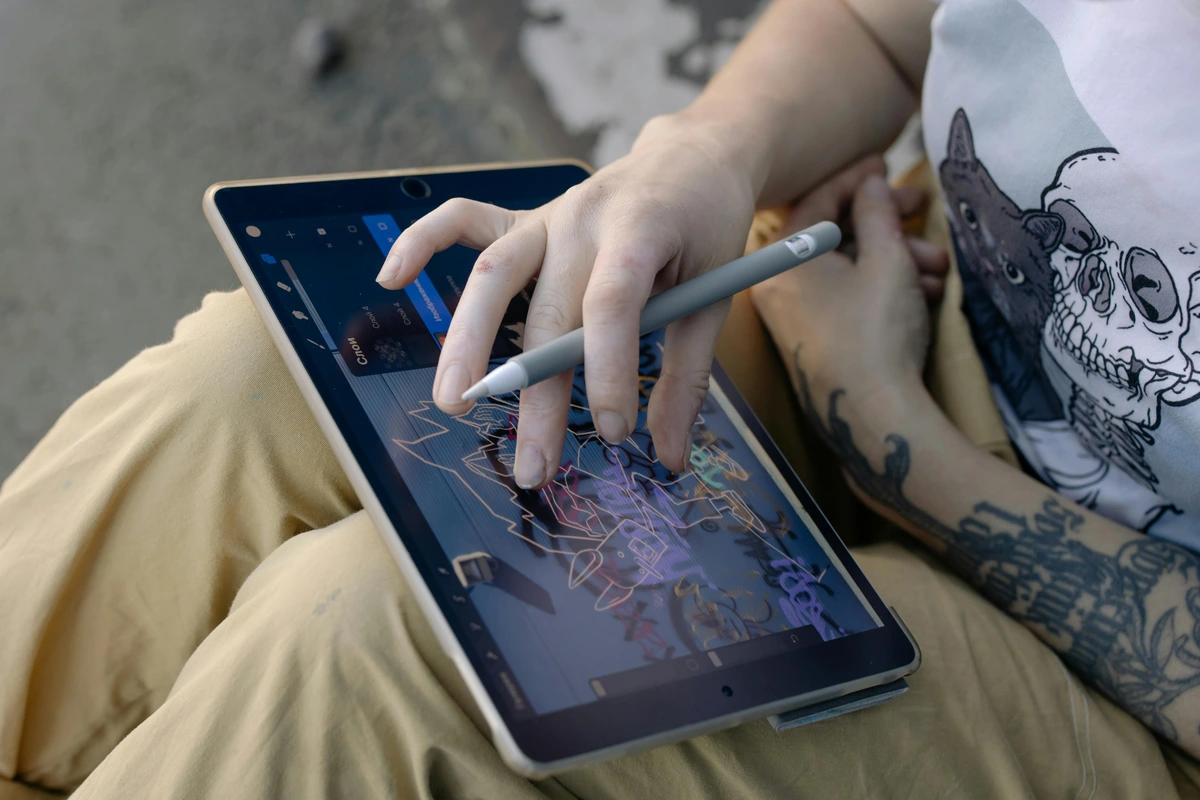
- Hardware: A graphics tablet (like a Wacom) is ideal, but even a stylus on an iPad can work.
- Software: Adobe Photoshop (obviously). If you’re on a budget, consider Photoshop Elements or even free alternatives like Krita.
- Workspace: Set up a comfortable space with good lighting. Trust me, your back will thank you later.
Step 2: Understanding Hardware Specifications
Your hardware can significantly impact your digital art experience. Here’s what to consider:
- Graphics Tablet Pressure Sensitivity: Higher sensitivity allows for more nuanced strokes.
- Screen Resolution: A higher resolution provides a clearer view of your artwork.
- Computer Performance: Ensure your computer meets Photoshop’s system requirements for smooth operation.
Step 2: Understand the Interface
Photoshop’s interface can be overwhelming at first. Here’s a quick breakdown:

- Toolbar: This is where you’ll find your brushes, erasers, and other tools.
- Layers Panel: Think of layers as sheets of acetate stacked on top of each other. You can edit each one independently.
- Properties Panel: Adjust settings for your selected tool or layer here.
credit, licence
Step 3: Basic Brush Settings
Your brush is your digital paintbrush. Here’s how to customize it:

- Brush Size: Adjust the size to fit your needs. Smaller brushes for details, larger ones for broad strokes.
- Hardness: A softer brush gives a more blended effect, while a harder brush is great for sharp lines.
- Opacity: Control how transparent your strokes are.
Transitioning Traditional Techniques to Digital
Sketching in Photoshop
If you’re used to sketching on paper, digital sketching can feel strange at first. Here’s how to make it feel more natural:
- Use a Textured Brush: This mimics the feel of pencil on paper.
- Layers: Sketch on one layer and refine on another. This keeps your initial ideas intact.
- Shortcuts: Learn keyboard shortcuts like
Bfor brush andEfor eraser to speed up your workflow.
Traditional vs. Digital Sketching
Aspect | Traditional Sketching | Digital Sketching |
|---|---|---|
| Medium | Paper, pencil, charcoal | Graphics tablet, stylus |
| Undo Function | Limited (eraser) | Unlimited (undo/redo) |
| Portability | Requires physical materials | Portable with a tablet or laptop |
| Flexibility | Fixed medium | Adjustable layers and tools |
Common Sketching Mistakes
- Over-Sketching: Avoid adding too much detail in the initial sketch. Focus on capturing the overall form.
- Ignoring Proportions: Use guidelines or grids to maintain accurate proportions.
- Not Using Layers: Always sketch on separate layers to preserve your initial ideas.
- Neglecting Composition: Pay attention to the overall composition and layout of your sketch.
- Relying Too Much on Tools: While digital tools are helpful, don't forget to practice fundamental drawing skills.
Tips for Better Sketching
- Use Guidelines: Draw light guidelines to help with proportions and composition.
- Experiment with Brushes: Try different brushes to find the one that feels most natural.
- Practice Regularly: The more you sketch, the more comfortable you’ll become with digital tools.
- Study Anatomy: Understanding anatomy will improve your sketches, especially for figures and portraits.
- Use References: Always use reference images to guide your sketches and improve accuracy.
Painting and Blending
Digital painting opens up a world of possibilities. Here’s how to get started:
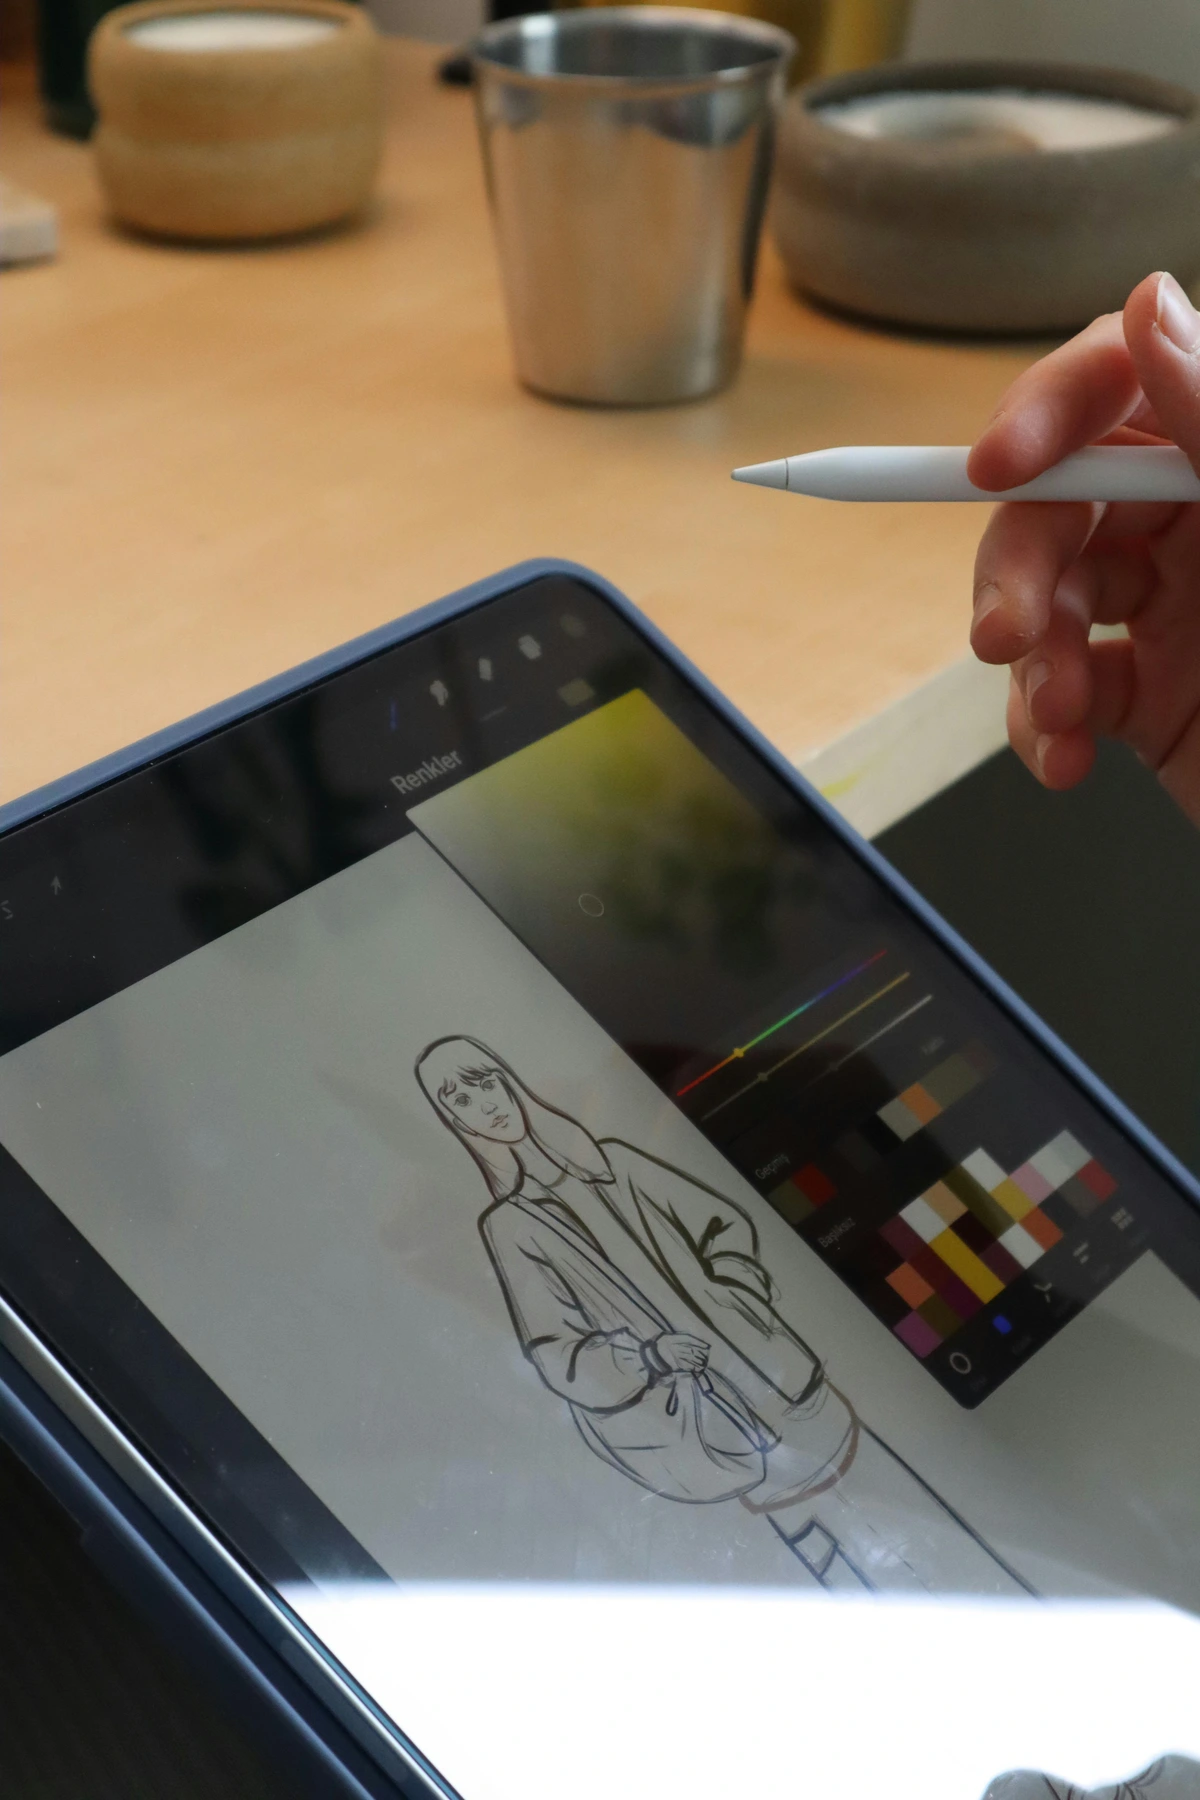
- Color Picker: Use the color picker to choose your palette. You can even sample colors from photos.
- Blending Modes: Experiment with blending modes to create different effects. Overlay, Multiply, and Screen are great starting points.
- Layer Masks: These let you hide or reveal parts of a layer without deleting anything.
Advanced Blending Techniques
- Gradient Maps: Apply gradient maps to create unique color effects.
- Clipping Masks: Use clipping masks to apply textures or effects to specific layers.
- Adjustment Layers: Non-destructive color adjustments can be made using adjustment layers.
- Color Balance: Adjust the color balance to fine-tune the colors in your artwork.
- Hue/Saturation: Use the hue and saturation adjustments to change the overall color scheme of your artwork.
Working with Layers
Layers are one of the most powerful features in Photoshop. Here’s how to use them effectively:
- Layer Organization: Name your layers and group them to keep your project organized.
- Adjustment Layers: Use adjustment layers to apply non-destructive edits to your artwork.
- Clipping Masks: These allow you to apply effects to specific parts of a layer without affecting the rest.
Digital vs. Traditional Techniques
While digital art offers many advantages, it’s essential to understand how it differs from traditional techniques:
- Undo Function: Unlike traditional art, digital art allows you to undo mistakes easily.
- Color Mixing: Digital color mixing is more precise and can be adjusted at any time.
- Texture and Brushes: Digital brushes can mimic traditional media, but they also offer unique textures and effects.
Hybrid Techniques
Many artists combine traditional and digital techniques:

- Scanning Traditional Art: Scan your traditional sketches or paintings and enhance them digitally.
- Digital Sketches for Traditional Art: Use digital tools to create sketches that you later transfer to canvas or paper.
- Mixed Media: Combine digital and traditional elements to create unique mixed-media artwork.
Advanced Techniques
Creating Custom Brushes
One of Photoshop’s most powerful features is the ability to create custom brushes. Here’s how:
- Draw Your Brush Shape: Use a black brush on a white background to draw your desired shape.
- Define Brush Preset: Go to
Edit > Define Brush Presetand name your brush. - Adjust Settings: Play with settings like spacing, shape dynamics, and scattering to get the effect you want.
Using Filters and Effects
Filters can add depth and texture to your work. Some useful ones include:
- Gaussian Blur: Softens edges and creates a dreamy effect.
- Sharpen: Enhances details.
- Liquify: Lets you push and pull pixels to reshape parts of your image.
Creative Filter Techniques
- Oil Paint Filter: Simulate the look of traditional oil paintings.
- Poster Edges: Create a stylized, graphic effect.
- Smart Filters: Apply filters non-destructively using Smart Objects.
- Noise Filter: Add texture and grain to your artwork for a more organic feel.
- Blur Gallery: Use the blur gallery to create depth of field and focus effects.
Advanced Layer Techniques
- Smart Objects: Convert layers into Smart Objects to apply non-destructive transformations.
- Layer Styles: Add effects like drop shadows, glows, and strokes to your layers.
- Blend If: Use the Blend If feature to create complex masking effects based on luminance or color.
- Layer Masks: Use layer masks to hide or reveal parts of a layer without deleting anything.
- Clipping Masks: Apply effects to specific parts of a layer using clipping masks.
Layer Blending Modes
- Overlay: Enhances contrast and color.
- Multiply: Darkens the image by multiplying color values.
- Screen: Lightens the image by inverting and multiplying color values.
- Soft Light: Creates a subtle lighting effect that enhances the overall mood of your artwork.
- Hard Light: Adds a strong contrast effect that can be used for dramatic lighting.
Working with Textures
Textures can add depth and realism to your digital artwork. Here’s how to use them:
- Overlay Textures: Use blending modes like Overlay or Multiply to apply textures to your artwork.
- Create Custom Textures: Experiment with filters and brushes to create unique textures.
- Texture Libraries: Explore online libraries for free and premium textures to enhance your work.
Common Mistakes and How to Avoid Them
- Overcomplicating Your Work: It’s easy to get carried away with layers and effects. Start simple and build up.
- Ignoring Resolution: Always work at a high resolution (300 DPI is standard for print).
- Not Saving Often: Photoshop can crash. Save your work frequently to avoid losing hours of progress.
- Overusing Filters: While filters can enhance your artwork, overusing them can make it look unnatural.
- Neglecting Color Theory: Understanding color theory is crucial for creating harmonious and visually appealing artwork.
- Skipping the Sketch Phase: Sketching is an essential part of the creative process. Don’t skip it to save time.
Additional Pitfalls
- Not Using Reference Images: Always use reference images to guide your work and improve accuracy.
- Ignoring Composition: Pay attention to composition principles like the rule of thirds and leading lines.
- Overworking Details: Know when to stop adding details to avoid overworking your artwork.
- Neglecting Color Harmony: Ensure your color palette is harmonious and visually appealing.
- Ignoring Lighting: Pay attention to lighting and shadows to create depth and realism in your artwork.
FAQ
What’s the best way to learn Photoshop for artists?
Start with basic tutorials, then experiment. The more you play around, the more comfortable you’ll get.
Can I use Photoshop for traditional art?
Absolutely! Scan your traditional work and use Photoshop to enhance or edit it.

Is a graphics tablet necessary?
Not necessary, but highly recommended. A tablet gives you more control and a more natural drawing experience.
How do I choose the right brush?
Experiment with different brushes to find what feels right for your style. Don’t be afraid to customize them.

Can I sell digital art made in Photoshop?
Yes! Many artists sell digital prints or original digital art. Just make sure you understand copyright laws.
What are the best resources for learning Photoshop?
There are many online resources, including YouTube tutorials, online courses, and forums where you can ask questions and get feedback.

How do I create a digital painting from scratch?
Start with a sketch, then refine your lines and add color. Experiment with different brushes and blending modes to achieve the desired effect.

What is the difference between raster and vector graphics?
Raster graphics are made up of pixels and are best for detailed images, while vector graphics are made up of paths and are best for logos and illustrations.

How do I export my artwork for print?
Make sure your artwork is at a high resolution (300 DPI) and in the correct color mode (CMYK for print). Save it as a TIFF or PDF file for the best quality.
Can I use Photoshop for animation?
Yes! Photoshop has basic animation tools that allow you to create simple animations and GIFs.

Conclusion
Transitioning from traditional to digital art can be challenging, but it’s also incredibly rewarding. Photoshop offers a world of creative possibilities, and with a bit of practice, you’ll find it becomes an extension of your artistic voice. Remember, every artist starts somewhere. Don’t be afraid to make mistakes, experiment, and most importantly, have fun.
If you’re ready to take your art to the next level, why not explore some of my prints and originals? Or, if you’re curious about my journey, check out my timeline.
Final Tips for Success
- Practice Regularly: The more you use Photoshop, the more comfortable you’ll become.
- Seek Feedback: Share your work with others and ask for constructive criticism.
- Stay Inspired: Follow other artists, join online communities, and keep learning new techniques.
Additional Resources
Recommended Books
- Digital Painting Techniques: A comprehensive guide to digital painting techniques and tools.
- Photoshop for Artists: A book specifically tailored to artists looking to master Photoshop.
- The Photoshop Book for Digital Photographers: A great resource for photographers and digital artists alike.
Online Communities
- DeviantArt: A platform for artists to share their work and get feedback.
- ArtStation: A professional network for artists to showcase their portfolios.
- Reddit: Subreddits like r/DigitalArt and r/Photoshop are great places to ask questions and share your work.
- Behance: A platform to showcase and discover creative work.
Tools and Plugins
- Brush Libraries: Explore free and premium brush libraries to expand your creative options.
- Plugins: Tools like Topaz Labs and Nik Collection can enhance your Photoshop experience.
- Actions: Use Photoshop actions to automate repetitive tasks and save time.
Online Courses
- Udemy: Offers a variety of Photoshop courses for all skill levels.
- Skillshare: A platform with numerous classes on digital art and Photoshop.
- LinkedIn Learning: Provides in-depth tutorials and courses on Photoshop.
Final Thoughts
The journey from traditional to digital art is a process of discovery and growth. Embrace the learning curve, and don’t be afraid to push the boundaries of your creativity. With Photoshop as your tool, the possibilities are endless.
Keep Exploring
- Experiment with New Techniques: Always be open to trying new tools and techniques.
- Join Art Challenges: Participate in online art challenges to stay motivated and inspired.
- Attend Workshops: Look for local or online workshops to learn from other artists.