Sculpture Armatures: Your Comprehensive Guide to Building Enduring Art
Unlock the secrets of lasting sculpture. This deep dive covers armature history, materials (wire, PVC, steel), techniques, and advanced tips for structural integrity, from ancient supports to modern kinetic art.
What's an Armature in Sculpture? Your Sculpture's Essential Foundation and Hidden Hero
You know that feeling when you're meticulously building something, pouring your heart into every detail, only for it to slowly, inevitably, start to sag, slump, or even just collapse under its own weight? Yeah, I know it too. Especially with sculpture. There's a particular kind of heartbreak in watching a piece you've labored over decide it prefers to be a puddle on your workbench. It’s why, after a few too many moments of despair (and maybe a few choice words directed at inanimate clay), I really started to appreciate the silent hero behind so many incredible three-dimensional works: the armature. It’s the unsung structural integrity, the core idea holding everything together. It's the essential foundation, the quiet problem-solver that I’ve come to rely on in my own sculptural journey. For someone like me, who often finds solace and expression in vibrant abstract forms, even when the final piece might not look like a traditional figure, the principle of foundational structure remains paramount.
The Unseen Backbone: So, What Is an Armature, Really?
Alright, let's get down to brass tacks. An armature in sculpture is essentially the internal support structure upon which a sculptor builds their piece. Think of it as the skeletal system for a figure, the rebar within concrete for a building, or even the hidden frame of a delicate lampshade. It's the unsung scaffolding that gives your sculpture its initial form, its enduring strength, and prevents it from succumbing to the relentless pull of gravity or the sheer mushiness of certain materials. My own ‘aha!’ moment happened early on, after a few too many clay figures decided they’d rather be modern art puddles.
It’s a foundational idea, as fundamental as understanding the elements of sculpture: form, space, and material. But how far back does this concept go? It's humbling to think that even masters like Michelangelo faced the same fundamental structural challenges we do today, albeit on a grander scale.
A Walk Through Time: Armatures in History and Evolution
This structural challenge isn't unique to the Mediterranean. Sculptors in ancient Mesopotamia used bitumen-coated reeds or wooden cores for their cult statues, while early Indian sculptors often employed internal frameworks of wood and straw, especially for large terracotta or stucco figures that wouldn't stand unsupported. It just goes to show, the human need for things to stand up is pretty universal.
Ancient Egyptian sculptors often built their figures around internal wooden pegs or shafts, especially for larger works, much like Greek and Roman sculptors did. For monumental bronze and marble pieces, they often embedded iron rods to reinforce limbs and prevent breakage – think of the complex internal structures required for a large bronze like the Colossus of Rhodes, even if now lost to history. My point? People have always known that even the grandest visions need a little help to stand tall.
Moving forward, Renaissance masters like Michelangelo faced the same fundamental structural challenges we do today, albeit on a grander scale. His colossal David, for instance, while seemingly a solid block of marble, likely incorporated internal iron armatures in critical areas like the ankles to manage the immense weight and the inherent stresses within the stone itself – marble isn't uniformly strong, you see, it has natural veins and weaknesses that can be exploited or guarded against. And for monumental bronze sculptures like Donatello’s Gattamelata, the elaborate lost-wax casting process itself demanded an internal core – often a complex structure of plaster or clay supported by a robust iron armature – which would be melted out later. It’s a testament to meticulous planning and an early understanding of engineering principles, isn't it? My own small struggles with clay feel a little less dramatic when you think of that scale.
Over the centuries, the evolution of tools and materials profoundly impacted armatures. From simple wooden pegs and iron rods, we moved to more sophisticated metal frameworks, eventually embracing modern materials like industrial wire, PVC, and even advanced composites. The development of welding, for example, transformed what was possible, allowing for incredibly strong and intricate skeletal systems. It's a quiet story of innovation, really, showing how artists continually adapted their methods to push the boundaries of what their sculptures could achieve.
Later, 20th-century artists, especially those working with new materials or exploring abstract forms, pushed the boundaries. Artists like Naum Gabo and Antoine Pevsner, part of the Constructivist movement, often made the armature itself a visible and integral part of the sculpture, sometimes incorporating actual mechanical components or industrial materials. They celebrated its structural role as an aesthetic element, blurring the lines between support and art. It just goes to show, whether hidden or celebrated, the backbone matters.
Armature vs. Maquette: Clearing Up the Confusion Early
Having seen how long the concept of support has been around, it’s also important to distinguish the armature from another crucial planning tool: the maquette. This is a common question, and it's worth clarifying right away because they're both crucial planning tools. While both are foundational to sculpture, they serve different purposes:
- An armature is the internal support structure for the sculpture. It's meant to be covered up, to provide stability and shape from the inside.
- A maquette (pronounced mah-KET) is a small-scale model of the final sculpture. It's an external study, a preliminary version that helps the artist plan the composition, proportions, and overall look before committing to the full-sized piece. Sometimes, if the maquette itself is complex or large enough, it might even incorporate a miniature armature to test structural solutions before tackling the main project – a little armature to plan the big armature, if you will!
Think of it this way: the maquette is the architect's miniature model of the building, while the armature is the steel frame inside that building. Both essential, but for different reasons. For a deeper dive, I actually have a whole piece on what a maquette is in sculpture.
Why Bother? The Indispensable Role of an Armature
So, you understand what an armature is and isn't. Now, let's delve into why this hidden framework is so critically important. Why go through the extra step? Why add a hidden framework when you just want to get to the fun part of shaping? Trust me, the fun part is a lot more fun when your sculpture isn't slowly committing harakiri. Here’s why it’s not just a good idea, but often essential:
1. Maintaining Form and Proportion
The armature acts as a blueprint in three dimensions. It helps you maintain the correct scale and proportions throughout the sculpting process, preventing features from shifting, distorting, or becoming imbalanced relative to each other. I once spent weeks on a figure, only to have its arm mysteriously droop days later because the internal support wasn't quite right – a lesson learned the hard way! It's like a constant, silent advisor reminding you of the overall vision, ensuring your work doesn't become a lopsided tragedy.
2. Structural Integrity
This is the big one. Imagine trying to build a tall, slender figure out of wet clay without any internal support. It’d just collapse into a 'mushy' heap, as I’ve experienced far too many times – that disheartening moment when your carefully crafted limb decides it's had enough and adopts the posture of a deflated balloon. An armature provides the necessary strength, preventing sagging, cracking, or outright collapse as your sculpture takes shape and dries. It bravely withstands the relentless squeeze of compression (the force pushing materials together, like the weight of a torso on legs) and the stubborn pull of tension (the force pulling materials apart, like a cantilevered arm trying to break off), holding everything together. Without it, you’re basically just fighting gravity every step of the way, and trust me, gravity always wins in the end.
3. Material Economy & Weight Reduction
Especially with materials like clay, a well-built armature means you don't need to use excessive amounts of the sculpting material just to get it to stand up. You're essentially filling out the form, not creating the entire core. This saves material, reduces overall weight (making it easier to handle, transport, or even hang if applicable), and often helps with drying evenly too, especially by facilitating the creation of internal voids or hollowing that would be impossible without a support structure. Wasted material feels like wasted inspiration, and a good armature helps me respect both.
4. Support for Weight & Longevity (and Even Drying)
For sculptures made with heavier materials (like plaster, cement, or large quantities of clay) or those intended for outdoor display, the armature supports the significant weight. Done right, it ensures the piece can endure for years, perhaps even centuries, standing strong against the elements and the relentless passage of time. For outdoor pieces, the armature choice is particularly critical, as it needs to resist UV degradation, extreme temperatures, and humidity without corroding or expanding excessively, which could destroy the outer material. For clay, a well-designed armature can also allow for strategic hollowing out, which significantly aids in even drying by promoting air circulation inside, preventing localized stress points and potential cracks. Honestly, my early attempts without armatures taught me patience, if nothing else. But mainly, they taught me that shortcuts often lead to more work in the long run. I've since learned a lot about how different sculpture materials behave, and trust me, they all appreciate a good foundation.
A Peek Behind the Curtain: Common Armature Materials & Their Uses
So, you're convinced the armature is your new best friend. Now, what will this best friend be made of? Thankfully, there's a whole spectrum of options, from humble household staples to industrial workhorses. The choice often depends on the scale, the sculpting material, the intended permanence, and of course, what you have lying around!
Material | Typical Uses | Pros | Cons | Safety Consideration |
|---|---|---|---|---|
| Wire (Aluminum, Steel, Copper) | Small to medium-sized figures, flexible forms, early structural outlines for clay, paper mache. | Aluminum: highly malleable, inexpensive, easy to bend for intricate forms, corrosion-resistant; commonly 12-18 gauge for general purpose. Steel: more rigid, immense strength for larger clay or plaster works; 10-14 gauge often used for heavier support. Copper: good rigidity and corrosion resistance. | Aluminum: less rigid for very heavy loads. Steel: can rust if exposed. Copper: more expensive. All can snap under stress. | Sharp ends; can snap under stress. Always wear gloves and eye protection. Specific twisting techniques like 'loop and twist' or 'coiling' enhance strength. |
| PVC Pipes & Fittings | Larger, robust figures, monumental clay works, plaster casting molds, temporary supports. | Lightweight, strong, relatively inexpensive, easy to assemble complex structures with connectors. Doesn't react with most sculpting materials. | Can become brittle over time with prolonged UV exposure or extreme cold. Requires cutting tools. | Requires cutting tools (saw); ensure good ventilation when cutting or gluing. Avoid prolonged exposure to extreme heat, which can cause warping. |
| Wood (Carved, Dowels, Plywood) | Supports for clay, wax, or plaster that will be cast. Permanent internal structure for some abstract forms. Temporary jigs or bracing. | Sturdy, easily shaped, holds screws well, good for anchoring. Excellent for permanent internal structures. Kiln-dried or well-seasoned wood minimizes future movement. | Moisture can cause expansion/contraction, affecting surrounding material if not sealed. Requires carving/cutting tools. | Requires carving/cutting tools. Dust from sanding can be an irritant; wear a dust mask. Seal thoroughly before use in moist mediums. |
| Metal Rods & Pipes (Steel, Rebar, Stainless Steel) | Monumental outdoor sculptures, concrete forms, permanent support for heavy materials. | Immense strength and rigidity, essential for large-scale, heavy works. Stainless Steel: highly durable, excellent corrosion resistance for outdoor display. | Heavy; requires specialized tools (welding, grinding) and safety gear. Rust can be an issue for untreated steel if not completely encased. More expensive for stainless. | Heavy; requires specialized tools (welding, grinding) and safety gear. Rust can be an issue for untreated steel; consider galvanization or full encapsulation to prevent moisture exposure. |
| Found Objects & Recycled Materials | Any scale, especially for experimental or abstract works, mixed media. | Environmentally friendly, inexpensive, sparks creative solutions, reduces waste. | Structural integrity, weight, and reactivity with sculpting material can be unpredictable. Requires careful preparation. | Ensure structural integrity and non-reactivity with sculpting material. Thoroughly clean and prepare. Be mindful of sharp edges (file down), potential flammability, and unknown chemical residues. |
Choosing Armatures for Specific Sculpting Mediums
The material you sculpt with profoundly influences your armature choices. When I'm working with a particular medium, I'm always thinking about its inherent properties – its strengths, its weaknesses, and how it will interact with its internal support:
- Clay (The Challenge of Shrinkage): Clay shrinks significantly as it dries. A rigid, fully encased armature can cause cracks because the clay has no room to contract – a common problem known as shrinkage cracks. Often, a removable armature (for hollowing out the clay) or a flexible wire armature that can 'give' a little is preferred. To create a removable armature, you might build it in sections that can be disassembled, or use a method where the clay is carefully cut, the armature removed, the piece hollowed, and then reassembled. If permanent, the armature must be closely aligned to the clay's form to prevent excessive thickness that won't dry, and carefully chosen materials (like aluminum wire) that offer some give are best. Imagine a balloon deflating – it gets smaller and tighter, and if there are rigid points inside, it can crack, or even worse, it can pull away from the armature and lead to hollow spots and structural weakness. It's a delicate dance, I tell you.
[credit]https://images.pexels.com/photos/27682065/pexels-photo-27682065.jpeg?cs=srgb&dl=pexels-dmitry-ovsyannikov-271243380-27682065.jpg&fm=jpg[/credit], [licence]https://creativecommons.org/public-domain/[/licence]
- Plaster (Embracing Weight and Brittleness): Plaster is heavy and brittle when set. Steel rods, mesh, or PVC are excellent for internal support. The armature must be robust enough to hold the plaster's weight and resist bending. Considerations for expansion/heat during setting are important for direct contact – the exothermic reaction (the heat generated as plaster cures) can affect some materials, potentially causing warping or differential expansion. Using less reactive materials or leaving small gaps can mitigate issues caused by this heat of hydration during curing.
- Wax (for Casting: Delicate, Temporary Support): Wax armatures are usually minimal wire, allowing for easy removal or melting out during the lost-wax casting process. For this investment casting method, the armature is often integrated with sprues and vents, which are channels designed to allow the molten wax to drain out and the molten metal to flow in and air to escape.
- Resins/Epoxies: These materials cure and harden around the armature. Non-reactive materials like wire or PVC are ideal. The armature can often be fully integrated, becoming a permanent part of the sculpture's internal structure.
- Paper Mache: Light and flexible, paper mache often uses wire or crumpled newspaper/cardboard for bulk. The armature needs to be strong enough to hold the wet paper but light enough not to deform under its own weight.
Crafting Your Own Backbone: A Simple Approach to Armature Building
Building an armature isn't rocket science, but it does require a bit of foresight. Here’s how I generally approach it, thinking out loud as I go:
1. Start with the Core Idea & Blueprint
Before I even touch a material, I usually have a rough sketch or a maquette – a small-scale model – that gives me a sense of the overall form. This helps me visualize the "bones" of the piece. I mean, you wouldn't build a house without a blueprint, right? I'm trying to figure out the essential pose, the balance, the overall gesture, and crucially, key measurement points to maintain proportion. An armature can act as a measuring guide, with key points marked out according to your sketch or maquette, ensuring that limbs are the correct length relative to the torso, for example. It's like giving your sculpture its internal muscle memory, guiding its growth.
2. Prioritize Stability and Anchoring
What are the weakest points? Where will gravity exert the most pressure? When designing, I always keep the center of gravity in mind – where will the weight of the finished piece naturally fall? This dictates where the strongest support and anchoring need to be. I try to create a strong, central spine or a balanced base that can support the intended weight. Often, this means extending the armature down into a sturdy base (like a wooden board or a heavy metal plate) and securing it. Screws provide mechanical grip, bolts offer strong, removable connections, and epoxy creates a durable chemical bond – each chosen for the specific material and desired permanence. For wire armatures, twisting the wire around nails driven into a base is a common, simple method. The goal is to make the entire structure, including the base, one stable unit. It’s like putting down roots for your sculpture, ensuring it won't topple over mid-creation.
3. Basic Outline First, Then Gradual Buildup
I often find myself reminding myself: don't get bogged down in intricate details too early. Focus on the main lines and volumes. If I’m doing a figure, it’s about getting the torso, limbs, and head proportions roughly right with the armature. Small adjustments are easy, but redoing a whole arm because the armature is off is a headache I try to avoid. Once the core armature is stable, I start adding bulk. This might involve wrapping it with aluminum foil or masking tape to create initial volume, then applying the sculpting material in layers. It’s a process, much like life itself – you build on what’s already there.
4. Creating a "Key" for Adhesion
For good adhesion, especially with smooth armature materials like PVC or metal rods, it's crucial to create a "key" or texture. Think of it like a handshake between your armature and your sculpting material – the more surface area for that handshake, the stronger the bond. This can be done by roughening the surface with sandpaper, using a wire brush for metal, scoring plastic with a sharp tool, wrapping it with masking tape, tying on small bits of wire or fabric, or even embedding small wire loops directly into the armature structure. Some artists even create deliberate divots or use specialized adhesives to enhance this grip. A proper key gives your sculpting material something to grip onto, preventing it from slipping or detaching later – a common frustration and a heartbreaking failure if overlooked! It's one of those small steps that makes a monumental difference.
[credit]https://images.pexels.com/photos/12863738/pexels-photo-12863738.jpeg[/credit], [licence]https://creativecommons.org/public-domain/[/licence]
Beyond the Basics: When You Might Not Need One (Or A Different Kind)
Now, before you think every sculpture needs an elaborate internal scaffold, let me tell you, there are exceptions! Sometimes, the "armature" is simply inherent in the design or the chosen material itself.
- Carving: If you're carving directly into a solid block of stone or wood, the material itself is the armature. There's no need for internal support because the material is inherently self-supporting (and usually much harder than my temper on a Monday morning). However, for very delicate extensions or projecting elements in carving, a hidden internal pin or rod might still be judiciously added for reinforcement, just in case.
- Small, Self-Supporting Works: Tiny ceramic pieces, very compact clay forms, or sculptures made from materials that hold their shape perfectly (like some plastics or metal elements joined directly) might not require a traditional armature. Think of a perfectly balanced stack of stones – the structure is the support.
- Installations & Assemblages: Sometimes, the "armature" is just the existing environment or the way pieces are connected. A sculpture made from found objects, for instance, might rely on how the various components interlock, balance, or are welded together to create its structural integrity.
Advanced Armature Techniques and Critical Considerations
An armature isn't always a magic bullet, and sometimes it calls for a bit more finesse. Here are some advanced techniques and important considerations that I've picked up along the way:
Building Volume with Mesh and Bulk
For larger or more complex forms, especially when working with lightweight materials like paper mache or certain plasters, a simple wire frame might not be enough. This is where materials like wire mesh (chicken wire, hardware cloth) come in. Finer meshes (like window screen) are great for smaller, detailed forms or when applying thin layers of material, while coarser, stronger meshes (like hardware cloth) are better for building robust volume for heavier materials or larger pieces. You can wrap it around your core armature to quickly build out general volume, giving you a strong, textured surface for your sculpting material to adhere to. It’s like building up the musculature over the skeleton, quickly and efficiently.
Creating Hollow Armatures
Reducing weight, especially for larger pieces, is always a plus. Creating a hollow armature, often with PVC pipe frameworks or lightweight foam, can significantly lighten the load and save on sculpting material. This also helps with even drying, especially for clay, by allowing air to circulate inside.
Over-Armaturing: A Hidden Pitfall
While an armature is crucial, there's such a thing as too much armature, or an armature that's too rigid for its medium. For example, using an overly stiff or bulky armature in a medium like clay that needs to shrink can cause internal stress, leading to unsightly cracks as the clay dries and contracts around the unyielding support. And an armature that’s too close to the surface, leaving too thin a layer of sculpting material, can also prevent proper adhesion or cause the armature’s outline to show through – a rookie mistake I’ve definitely made! Always ensure the armature is proportional to the intended thickness and flexibility of your sculpting material.
Addressing Limitations and Long-Term Failure
It's also worth noting that an armature isn't a set-it-and-forget-it solution. More critically for permanent works, issues like differential thermal expansion and contraction can arise. This is when the armature material (e.g., steel) expands and contracts at a different rate than the outer sculpting material (e.g., concrete or plaster) due to temperature fluctuations. Imagine trying to drive a wooden wedge into a piece of metal: if the metal heats up and expands, the wedge might loosen, but if the wood swells with moisture and the metal expands, something has to give. This differential movement can lead to internal stress, cracking, and eventual degradation of the sculpture. Similarly, if a permanent armature rusts or corrodes over time, it can swell and crack the outer material, a serious problem for long-term preservation. This is why material choice (e.g., galvanized steel, non-corrosive metals like stainless steel) and proper encapsulation are critical if the armature is meant to be permanent. It's a battle against thermodynamics and the elements, really.
Kinematic Design for Movement
For kinetic sculptures or pieces designed with specific stress points, kinematic design in armatures becomes vital. This involves designing the armature not just for static support, but to manage movement and forces without catastrophic failure, effectively creating a 'skeleton' that moves. It requires understanding pivot points, levers, and material fatigue, ensuring the armature facilitates the intended motion while maintaining structural integrity. For highly complex kinetic pieces, I've even seen artists consult with engineers or specialized fabricators – no shame in getting expert help when you're defying gravity and motion!
Testing Your Armature's Strength
Before you commit precious sculpting material, consider testing your armature. For larger or more complex pieces, this might involve applying controlled weight or pressure, or even shaking it gently, to ensure it can withstand the anticipated loads. It's far easier to reinforce or adjust an armature before it's covered in your final medium.
Integrated Armatures and Environmental Impact
For abstract or mixed-media works, the armature might be intentionally partially visible, or even become the focal point. This is an integrated armature, where the support structure is designed as an aesthetic element. Think of the exposed frameworks in some contemporary abstract pieces, or even the complex internal mechanisms of kinetic art that are meant to be seen. It challenges the traditional hidden role and opens up new creative possibilities. Also, in this day and age, considering the environmental impact of our materials is important. Choosing recycled or sustainable materials for your armature, where appropriate, not only reduces waste but can also infuse your work with a unique narrative. Just be mindful of ensuring structural integrity and non-reactivity with your sculpting material, and always handle found objects with care – check for sharp edges, potential flammability, or unknown chemical residues. And don't forget the importance of ethical sourcing for all your materials, not just the found ones – it’s part of the silent story within your work.

[credit]https://www.publicdomainpictures.net/pictures/250000/nahled/messy-colorful-artists-palette.jpg[/credit], [licence]https://creativecommons.org/publicdomain/zero/1.0/[/licence]
Wrapping Up: My Thoughts on the Unseen Foundation
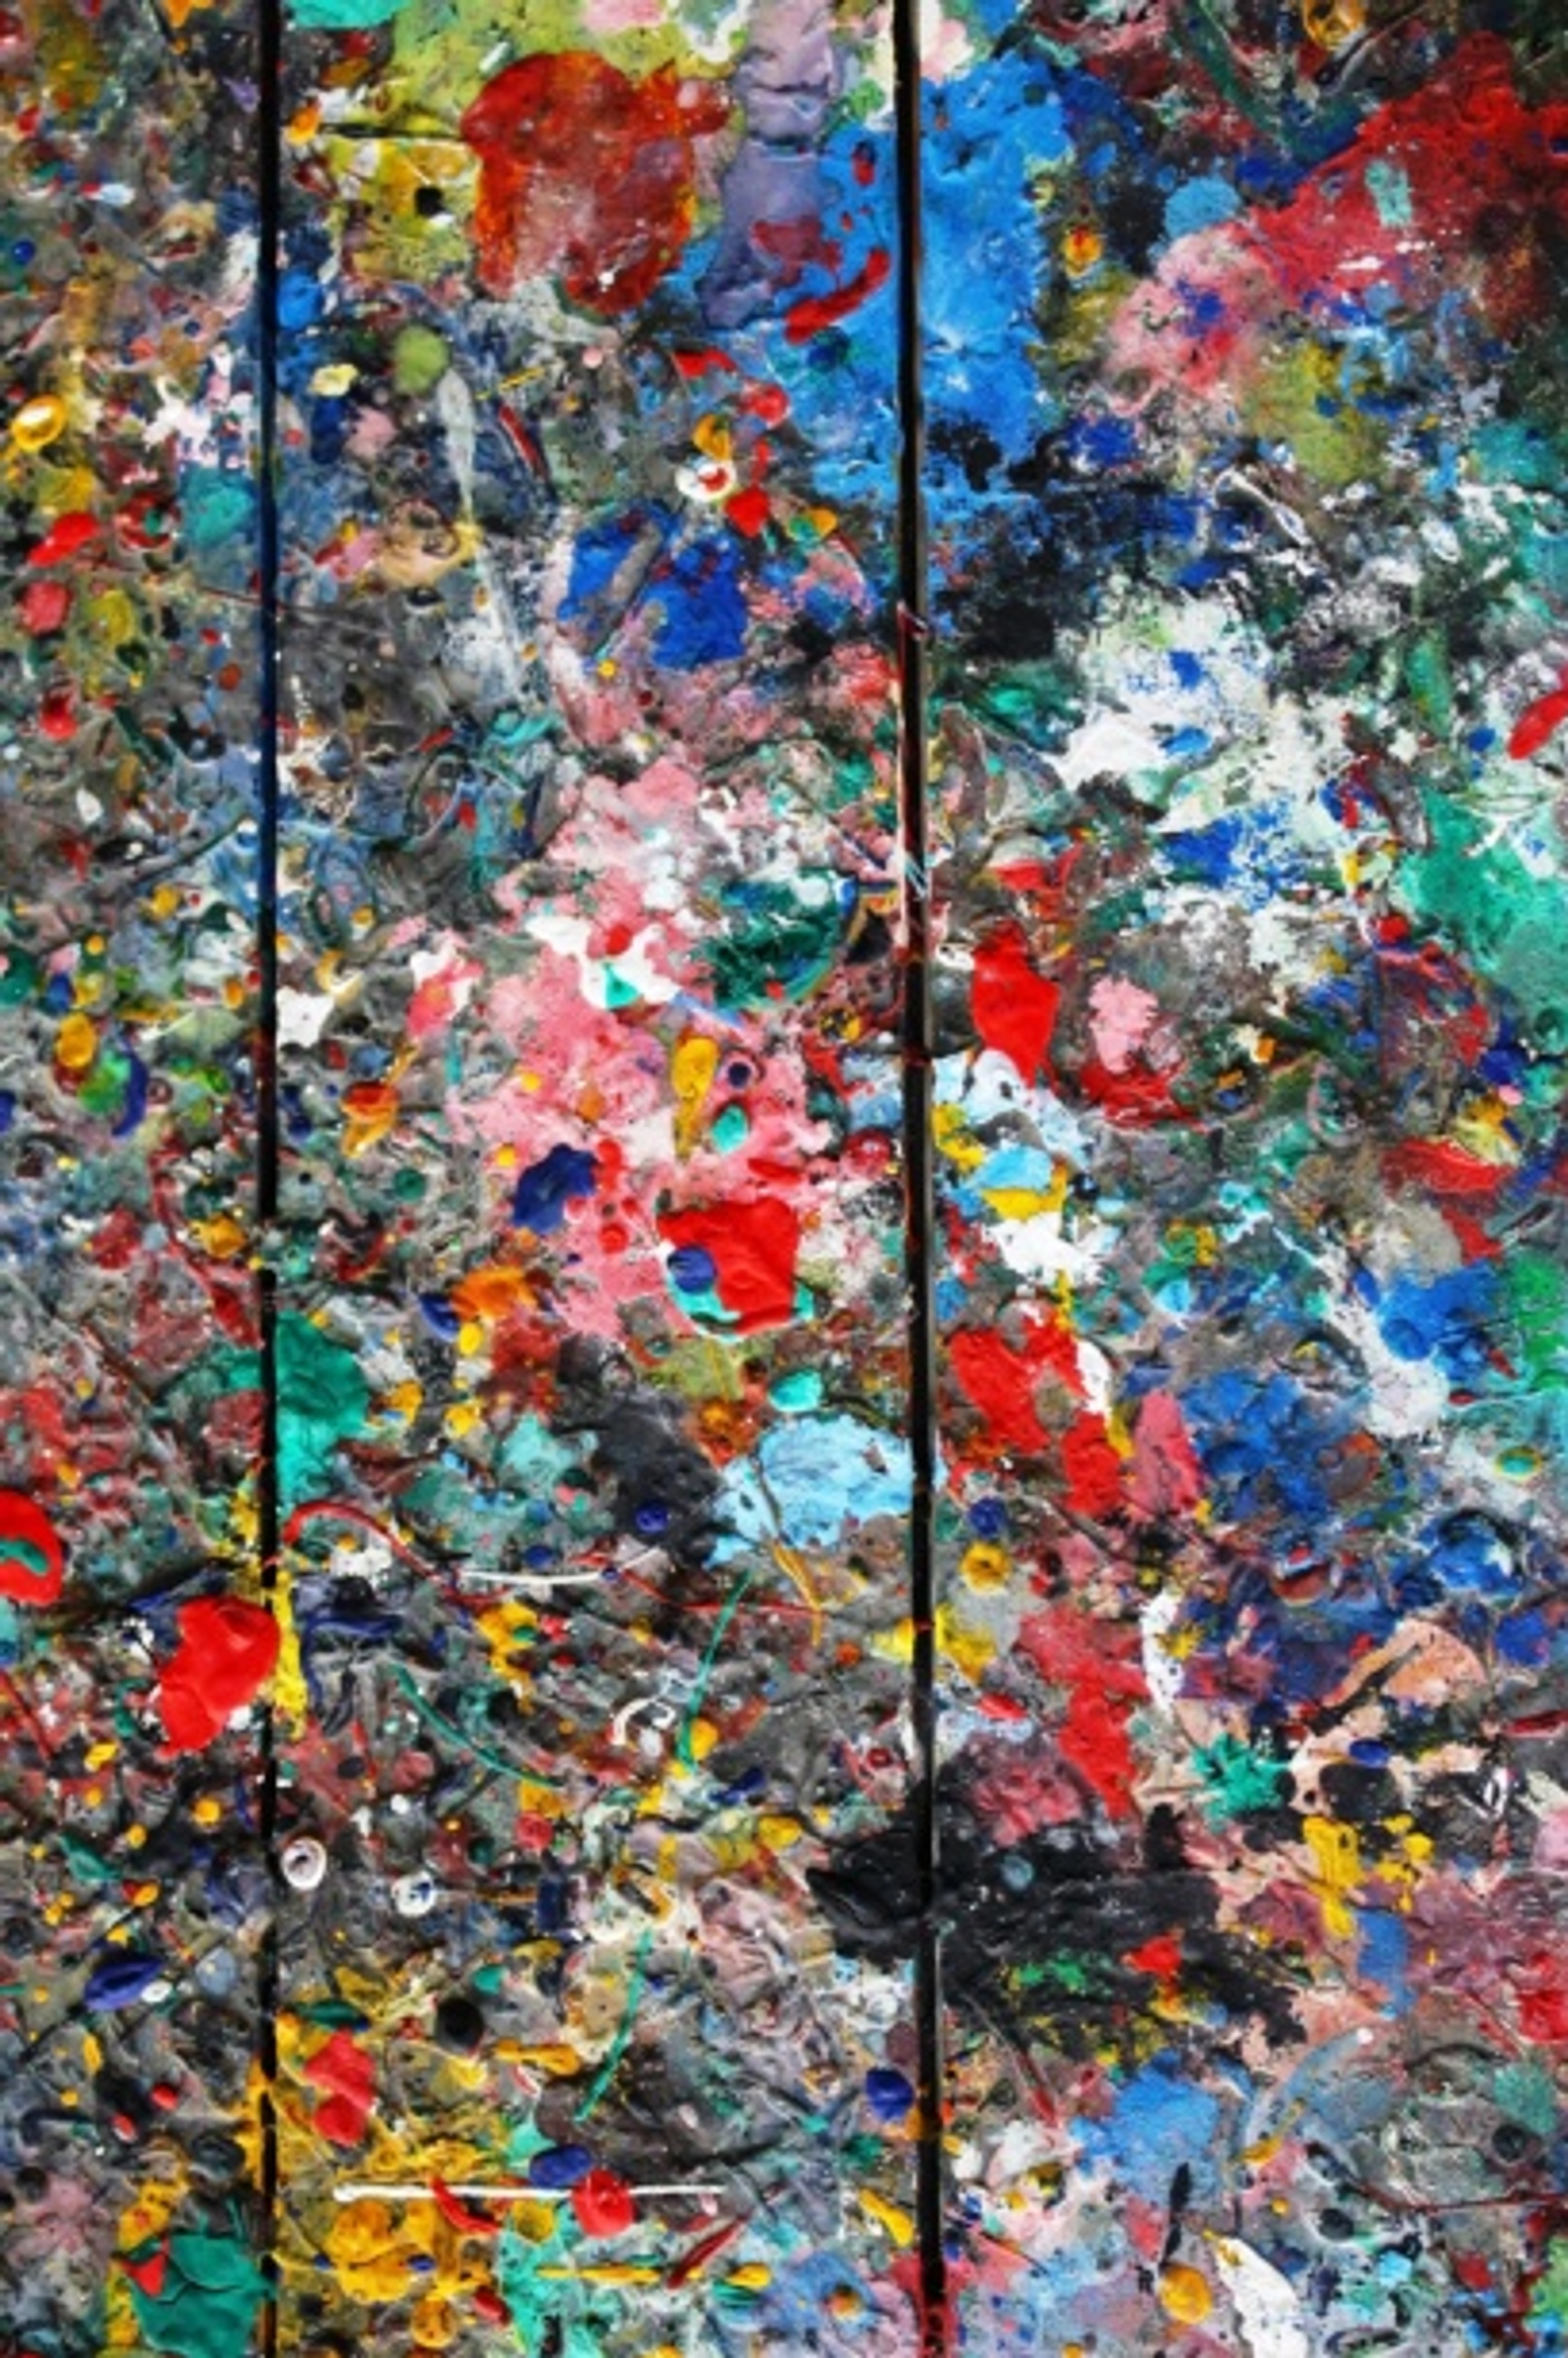
So, there you have it: the armature, often hidden, rarely celebrated, but absolutely vital for many forms of sculpture. It's a testament to the idea that true strength often lies in unseen foundations. In my own work, while I often create abstract pieces that don't always involve a traditional armature in the figurative sense, the principle of foundational structure, of a well-thought-out beginning, remains paramount. It’s about creating something that lasts, something that can stand on its own, both literally and figuratively. There’s a quiet satisfaction in knowing you’ve built something to endure, a testament to that silent hero, the armature.
And I suppose that applies to more than just art, doesn’t it? Knowing your foundations, strengthening them, and building upon them – that's a philosophy I try to bring into my life, and certainly into my art. If you're curious to see how these foundational ideas translate into vibrant, finished pieces, feel free to explore my art for sale here. Or, if you're ever in the Netherlands, you might even catch some of my bigger works at the Zen Museum in 's-Hertogenbosch, where the principles of structure and form are always on display.
What structural challenges have you faced in your own work, and what unexpected solutions have you discovered? I'd love to hear about them.
Frequently Asked Questions (FAQ)
Q: Can I reuse an armature?
A: It depends on the material and how it's integrated. Simple wire armatures used for clay can often be cleaned and reshaped. However, if the armature is permanently encased or difficult to remove without damaging it, it's usually considered single-use. For instance, if you're making a piece for bronze casting, the armature is often destroyed in the mold-making process.
Q: What if my sculpture is abstract? Does it still need an armature?
A: Absolutely! Abstraction doesn't negate gravity or the properties of materials. If your abstract sculpture has projections, thin sections, or needs to hold its form against gravity while wet or curing, an armature is just as crucial. It simply provides the internal structure for your abstract vision.
Q: How do I attach the armature to a base?
A: This is vital for stability. As I mentioned earlier, often the armature extends down into a sturdy base (like a wooden board or a heavy metal plate) and is secured with screws, bolts, or epoxy. Screws provide mechanical grip, bolts offer strong, removable connections, and epoxy creates a durable chemical bond – each chosen for the specific material and desired permanence. For wire armatures, twisting the wire around nails driven into a base is a common method. The goal is to make the entire structure, including the base, one stable unit.
Q: How do I remove an armature if it's not permanent, or what if it corrodes within a piece?
A: Removing an armature requires careful planning during the initial design. For clay, sections can be cut, the armature removed, and the piece hollowed, then reassembled. For plaster, it's much harder to remove without damage. If a permanent armature starts to corrode, it can swell and crack the outer material, a serious problem for long-term preservation. This is why material choice (e.g., galvanized steel, non-corrosive metals like stainless steel) and proper encapsulation are critical if the armature is meant to be permanent.


