My Honest Guide: How to Varnish an Oil Painting (Step-by-Step)
Feeling intimidated by varnishing your oil painting? I was too! Join me as I share my step-by-step guide to protecting your artwork, enhancing colors, and giving it that professional finish.
My Honest Guide: How to Varnish an Oil Painting (Step-by-Step)
Crickey, if there's one art task that sent shivers down my spine for ages, it was varnishing an oil painting. It felt like the final boss level – after all those hours, those layers, those moments of doubt and triumph, one wrong move here and… poof, disaster. But honestly, it's not as scary as I built it up to be in my head. In fact, it's pretty satisfying, and dare I say, crucial for your artwork's longevity and vibrancy. So, let's pull back the curtain on this mysterious process together, shall we? Consider this your personal, slightly-nervous-but-ultimately-successful guide.
Why Even Bother with Varnish? Good Question!
I remember staring at a finished painting once, feeling pretty pleased with myself. It looked great, but there was something... lacking. A bit dull in places, a bit too shiny in others, and I knew, deep down, it wasn't fully protected from the world. That's where varnish steps in, like a superhero cape for your canvas. For me, the 'why' boils down to a few core things that I've learned really make a difference:
- Protection: This is the big one. Varnish creates a clear, protective layer over your paint, shielding it from dust, grime, UV light, and even minor scratches. Think of it as a barrier that keeps the bad stuff out, letting your colors shine through. I mean, who wants their hard work slowly fading or getting grubby? Not me!
- Even Sheen: Oil paint, depending on the pigments and how much medium you've used, can dry with varying degrees of shininess – some areas matte, some glossy. Varnish unifies this, giving your entire painting a consistent finish, whether you prefer a gloriously high gloss, a subtle satin, or a sophisticated matte. It's like ironing out the wrinkles in a favorite shirt.
- Color Enhancement: This is the magic trick. Once that varnish goes on, colors often appear richer, deeper, and more vibrant. It's as if they wake up, like seeing a pebble's true color when it's wet. It's truly a transformative moment for a finished piece. It makes the final presentation pop, especially for pieces meant for display, perhaps even those available for collectors at my /buy.
The Dreaded Waiting Game: When Can You Varnish?
Ah, patience, my old nemesis. This is arguably the hardest part of varnishing an oil painting. Unlike acrylics, oil paints don't just 'dry' in the traditional sense; they cure. This is a slow oxidation process, and it takes time. A lot of time. If you varnish too early, you're essentially trapping moisture and solvents, which can lead to cracking, dulling, or even yellowing down the line. It's like putting a lid on a pot before it's finished cooking – you just end up with a mess. So, how long do you wait? This is where it gets a bit... squishy. General rule of thumb: six months to a year, sometimes even longer for very thick impasto work. Yes, really. I know, I know, it feels like an eternity when you're itching to call it 'done'. For thin washes, it might be less, but for anything with a bit of body, err on the side of caution. I usually write the date I finished a painting on the back to keep track. That little ritual helps me manage my impatience. If you absolutely must give it some protection sooner, a very thin retouch varnish can be applied after a few weeks, but remember, this is temporary and breathable; it's not a final varnish.
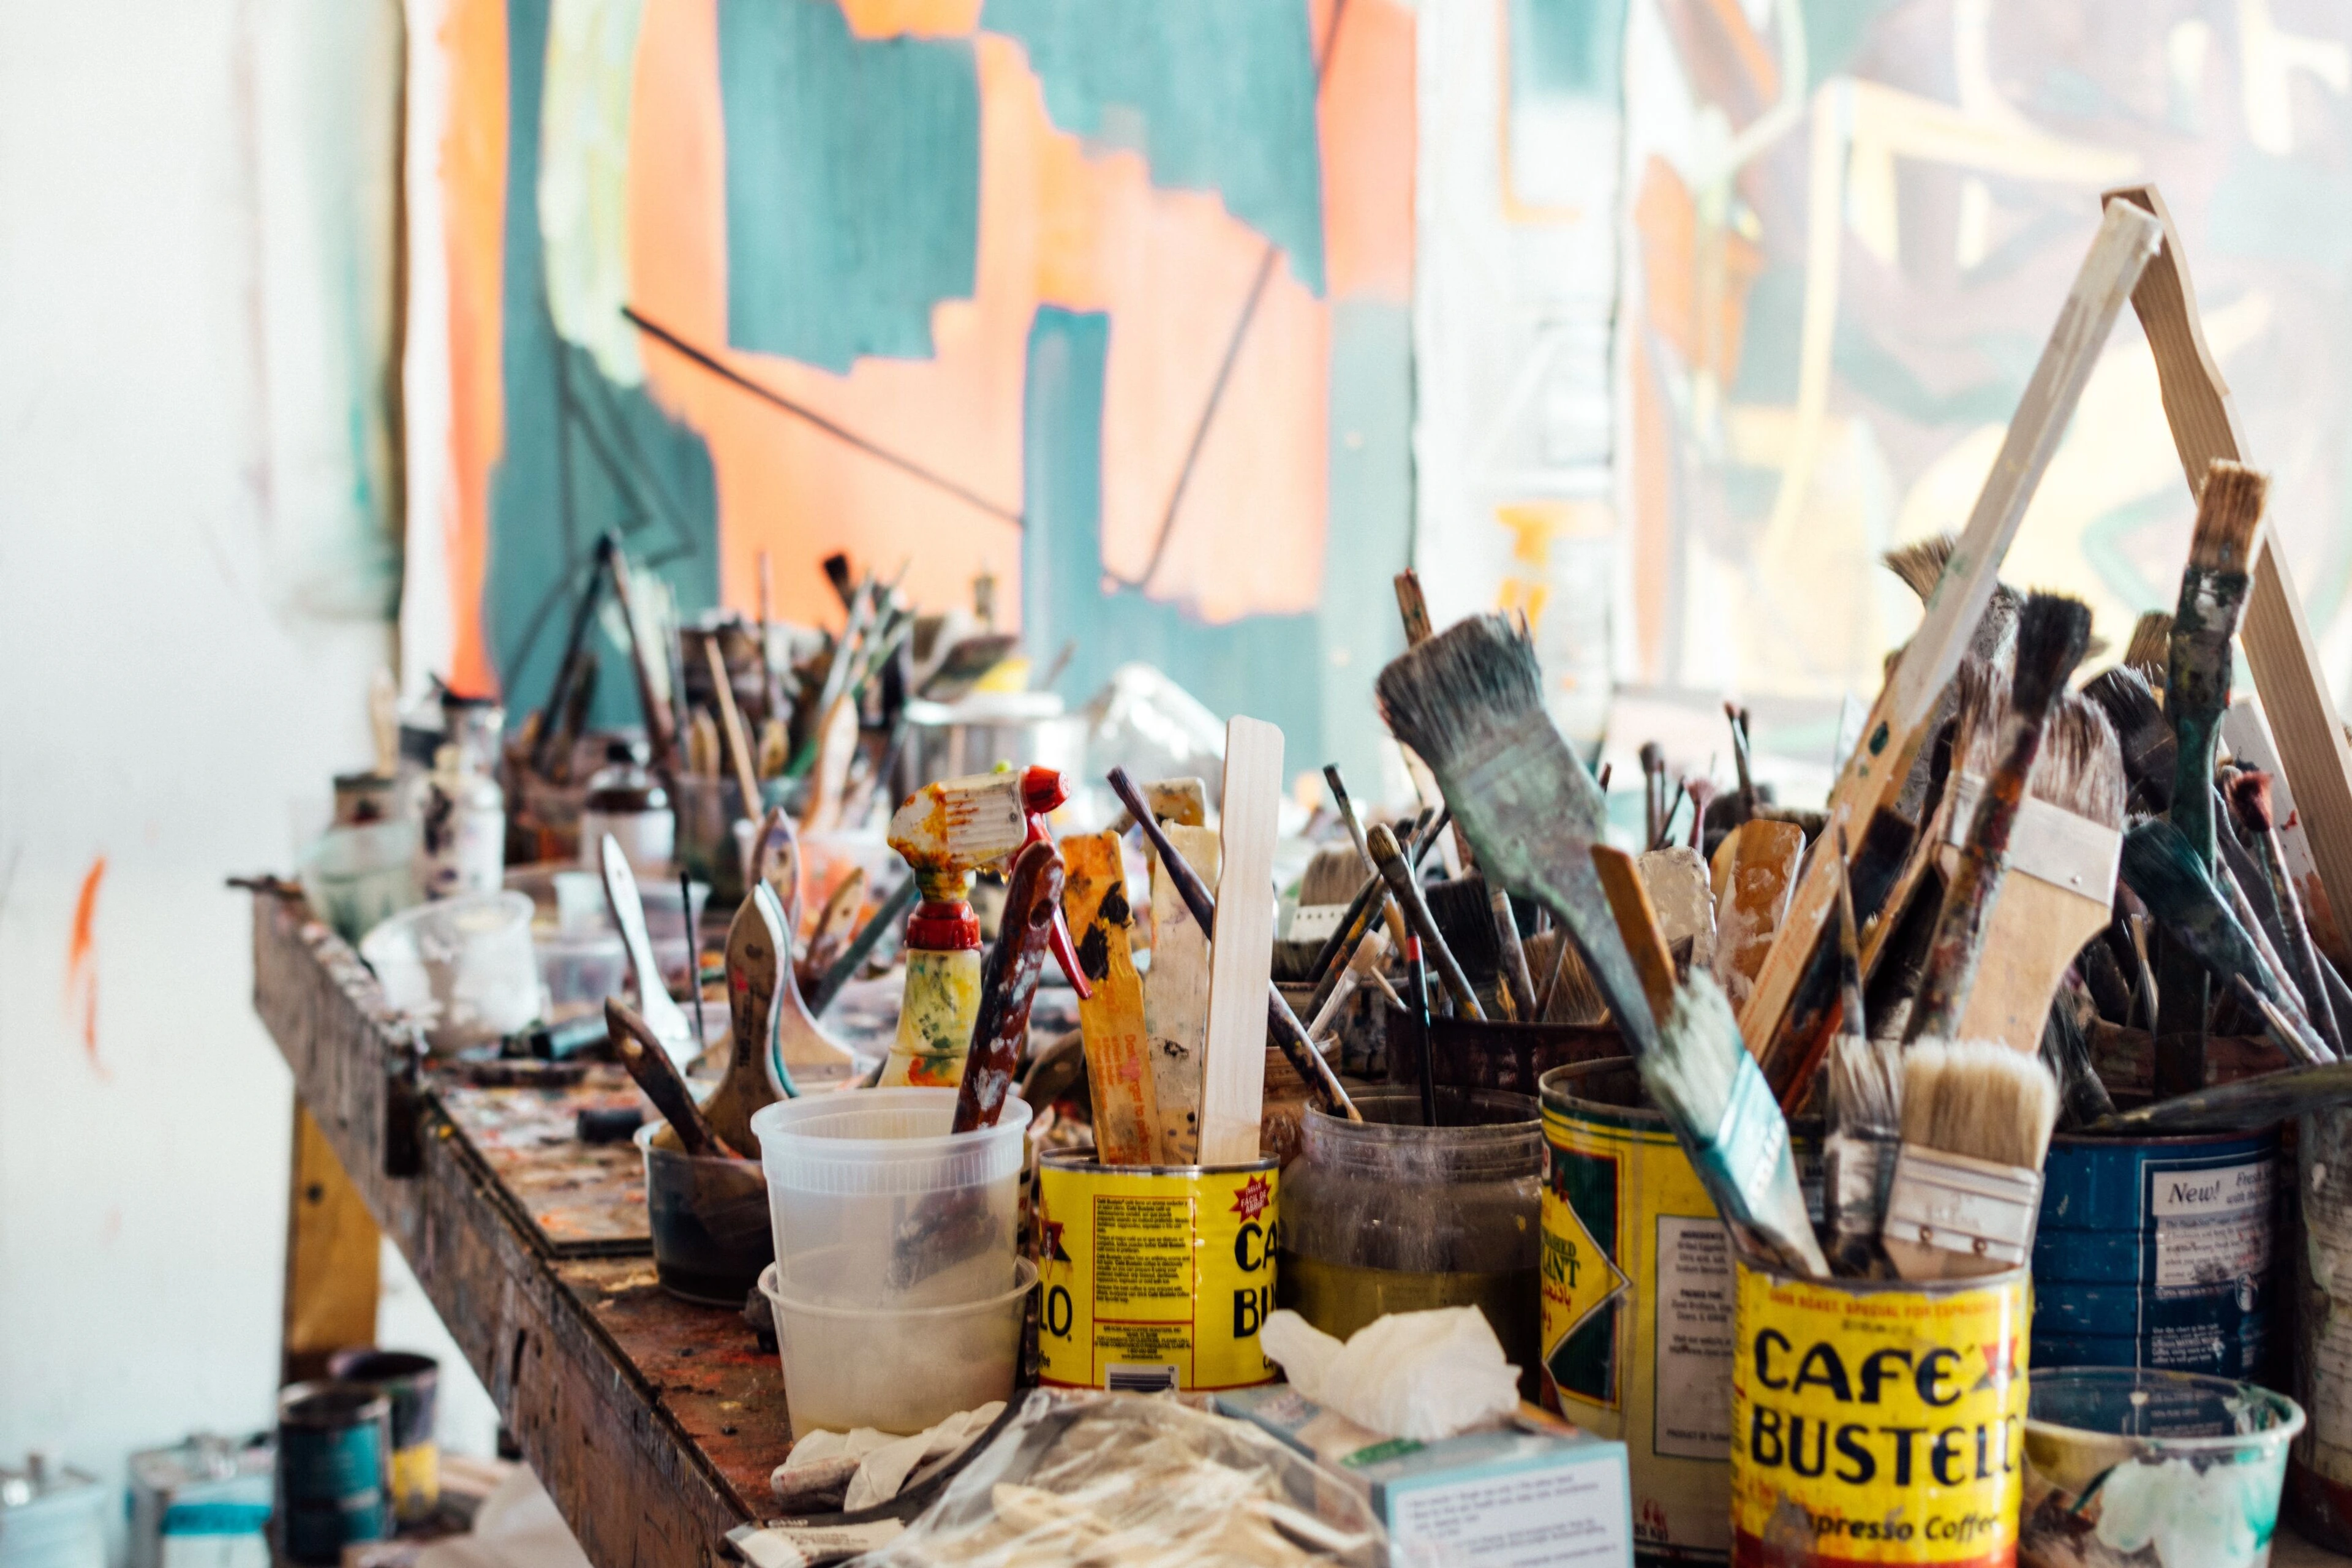
Gathering Your Varnish Arsenal: Tools of the Trade
Okay, the waiting is over (or at least, you're pretending it is for planning purposes). Now, let's talk about what you'll need. Don't worry, it's not a terribly long list, but quality matters here. If you've been following my /timeline, you'll know I'm a big believer in using good tools.
What You'll Need:
- Varnish: This is obvious, right? But the choice is important. You'll typically find solvent-based varnishes (like dammar, mastic, or synthetic resins such as Gamblin Gamvar or Winsor & Newton Professional Matt/Satin/Gloss Varnish) and sometimes water-based options, though solvent-based are generally preferred for traditional oil paintings. I tend to lean towards synthetic resin varnishes because they're non-yellowing and easier to remove later if needed. Decide on your finish: gloss (shiny, vibrant), satin (subtle sheen, my personal favorite for many pieces), or matte (no shine, good for reducing glare, but can slightly mute colors).
- Good Quality Varnish Brush: This is non-negotiable. You want a soft, wide, flat brush that won't shed bristles. Seriously, a shedding brush is a nightmare. I keep a dedicated varnish brush – it's cleaned meticulously and only used for varnishing. A 2-3 inch synthetic flat brush usually does the trick.
- Clean, Dust-Free Workspace: This is HUGE. Dust is your enemy. More on this in a moment.
- Gloves: Protect your hands from varnish and solvents. Latex or nitrile work perfectly.
- Lint-Free Cloth: For dusting your painting.
- Small Container: To pour a small amount of varnish into.
- Good Lighting: Essential for seeing what you're doing and checking for even coverage.
The Moment of Truth: Varnishing Your Masterpiece
Alright, deep breaths. You've waited. You've gathered your supplies. Now, let's apply this magical protective layer.
Step 1: Prep Your Space & Painting
First things first: cleanliness is next to varnishing-godliness. Find the cleanest, most dust-free area you can. Turn off fans, close windows if it's windy, and let any dust settle. I usually wipe down my work surface an hour before, and then again right before I start. Your painting also needs to be pristine. Gently brush off any dust or debris with a very soft, clean, lint-free cloth or a very soft, clean, dry brush. Don't use anything wet! You're just removing surface dust.
Step 2: Position Your Painting
You want your painting flat on a clean surface. This helps prevent drips and allows the varnish to self-level. If it's a very large painting, you might prop it slightly at an angle, but flat is always my preference if possible.
Step 3: Pour the Varnish
Pour a small amount of varnish into your clean container. Don't dip your brush directly into the main bottle – you'll contaminate it. Only use what you need for one coat.
Step 4: The Application (Slow & Steady Wins the Race!)
- Load Your Brush: Dip your dedicated varnish brush into the varnish, and then gently tap off any excess on the side of the container. You want a good amount, but not dripping. Too much leads to bubbles and puddles.
- First Strokes: Start at one edge of your painting (I usually pick a top corner). Apply the varnish in long, even, horizontal strokes across the surface. Think of it like you're gently sweeping. Overlap your strokes slightly to ensure full coverage. The key here is thin coats. Don't glop it on!
- Work Methodically: Continue across the entire painting in one direction. Once you've covered the whole surface, you can go back over it with light, vertical strokes to further even out the coat and pop any tiny bubbles. Be gentle, don't scrub.
- Check for Misses: Hold your painting up to the light (carefully, if it's still wet!) or move your head to catch the reflections. Look for any dull spots (missed areas) or overly shiny spots (too much varnish). Quickly and gently even them out. This is where good lighting really helps. This process reminds me of when I'm trying to figure out which colours work best together, it's all about careful observation.

Step 5: Drying Between Coats
If you're applying multiple coats (which I usually do, two or three thin ones are better than one thick one), let each coat dry to the touch before applying the next. This usually takes a few hours, depending on humidity and varnish type. Refer to your varnish manufacturer's instructions, but generally, wait until it's no longer tacky.
Step 6: Final Drying & Curing
Once you've applied your final coat, let the painting dry flat in a dust-free environment for at least 24-48 hours, or longer if recommended by the varnish brand. Then, you can prop it up to fully cure. Avoid leaning anything against the varnished surface for a good week or two, just to be safe.
Troubleshooting & Common Varnishing Woes
Even with the best intentions, things can go a bit sideways. It's happened to me, don't worry! Here are a few common issues and my thoughts on them:
- Bubbles: Often caused by overworking the varnish with your brush or applying too thickly. If you see them forming, try to gently smooth them out with light brushstrokes while the varnish is still wet. Using a good brush and thin coats is your best defense.
- Uneven Sheen/Streaks: Usually from uneven application, trying to apply too much varnish at once, or not cleaning the painting thoroughly enough. The good news is, if you've used a removable synthetic varnish, you can often remove it (with mineral spirits or turpentine, consult product instructions!) and try again after the painting has dried. This is why I prefer synthetic resins – forgiveness!
- Dust/Hairs Trapped: The absolute worst. This is why a pristine workspace is so critical. If it happens, and it's small, you might be able to very carefully pick it out with tweezers once the varnish is fully dry. Otherwise, removal and reapplication might be your only option. My advice: inspect the painting obsessedly before you start.
Frequently Asked Questions (FAQ)
Q: Can I varnish an oil painting with acrylic varnish?
A: Absolutely not! Oil and acrylic are fundamentally different. Oil varnish is designed to be compatible with oil paints and remains flexible. Acrylic varnish on an oil painting can eventually crack, peel, or prevent the oil paint from curing properly. Stick to varnishes specifically formulated for oil paintings.
Q: How many coats of varnish should I apply?
A: I usually go for two thin, even coats. Some artists prefer three. One coat is often sufficient, but multiple thin coats build up better protection and a more even finish than one thick coat.
Q: How do I clean a varnished oil painting?
A: Gently! A soft, dry brush or a very slightly damp (water only, no chemicals!) lint-free cloth can be used for light surface dust. For anything more serious, consult a professional conservator. Never use harsh cleaners.
Q: What's the difference between a removable and a non-removable varnish?
A: Most modern artist varnishes are formulated to be removable with appropriate solvents (like mineral spirits or turpentine) without harming the paint layer underneath. This is crucial for conservation, as varnish can yellow or get dirty over time and may need to be replaced. Older varnishes (like some traditional dammar) could become very difficult to remove without affecting the paint. Always choose a removable varnish if possible.
The Final Polish (Literally!)
Varnishing an oil painting is truly the final step in bringing your artwork to its full potential. It might seem daunting at first, but with a little patience, a clean workspace, and the right tools, it's a straightforward process that makes a world of difference. It's a way of saying, "This piece is complete, protected, and ready to be appreciated." Give it a try! You might find, like me, that the initial apprehension gives way to a quiet satisfaction as your colors deepen and your painting gains that professional gleam. And who knows, maybe it will eventually find a home with a collector who appreciates the craft and care you put into every detail. You can even browse some of my finished works over at my /buy to see the kind of results I aim for.


