How to Draw a Realistic Mouth: Your Step-by-Step Guide to Expressive Lips
Unlock the secrets to drawing realistic, expressive mouths with my personal guide. Learn anatomy, shading, and common pitfalls, transforming your portraits and infusing them with life.
How to Draw a Realistic Mouth: Your Step-by-Step Guide to Expressive Lips
I remember staring at my early portrait attempts, always feeling like something was… off. The eyes were okay, the nose passable, but the mouth? Oh, the mouth! It often looked like a stiff, glued-on afterthought, lacking any real life or expression. If you've ever felt that frustration, trust me, you're not alone. Drawing a truly realistic mouth – one that conveys emotion, personality, and dimension – is one of those artistic challenges that feels daunting until you break it down.
But here's the thing I've learned: once you understand the underlying structure and learn to see the subtle planes and curves, suddenly those 'fish lips' transform into something dynamic. It’s not about drawing perfect lines; it’s about understanding form and light. So, let's dive into making those mouths speak on your page.
Why the Mouth? More Than Just a Feature
To me, the mouth is a window into a person's inner world, almost as much as the eyes. It's incredibly expressive, capable of subtle shifts that convey everything from a fleeting thought to a deep emotion. A well-drawn mouth can breathe life into an entire portrait, while a poorly rendered one can make the whole face fall flat. That's why I dedicate so much time to studying it, and why I believe it's worth your dedicated practice too. It’s about capturing a moment, a feeling – and that's what art is all about, right? If you're keen to take on the entire face, you might also find my guide on [/finder/page/how-to-draw-a-realistic-face-a-step-by-step-guide] super helpful.
Essential Tools for Realistic Mouth Drawing
Before we put pencil to paper (or stylus to tablet!), let's talk about the instruments of creation. You don't need a sprawling art store, but a few key items will make a world of difference. Think of it like cooking; you need the right knife for the right cut.
Pencils and Paper
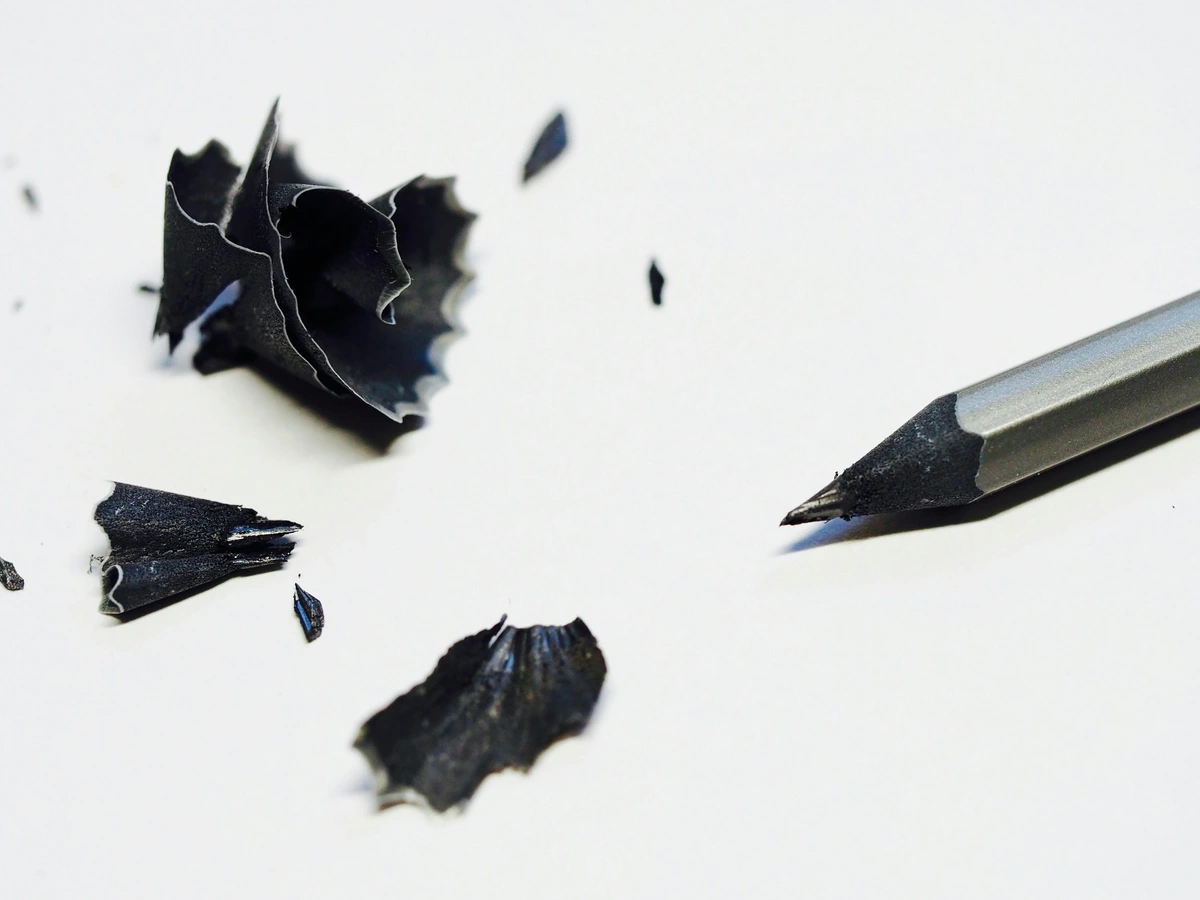
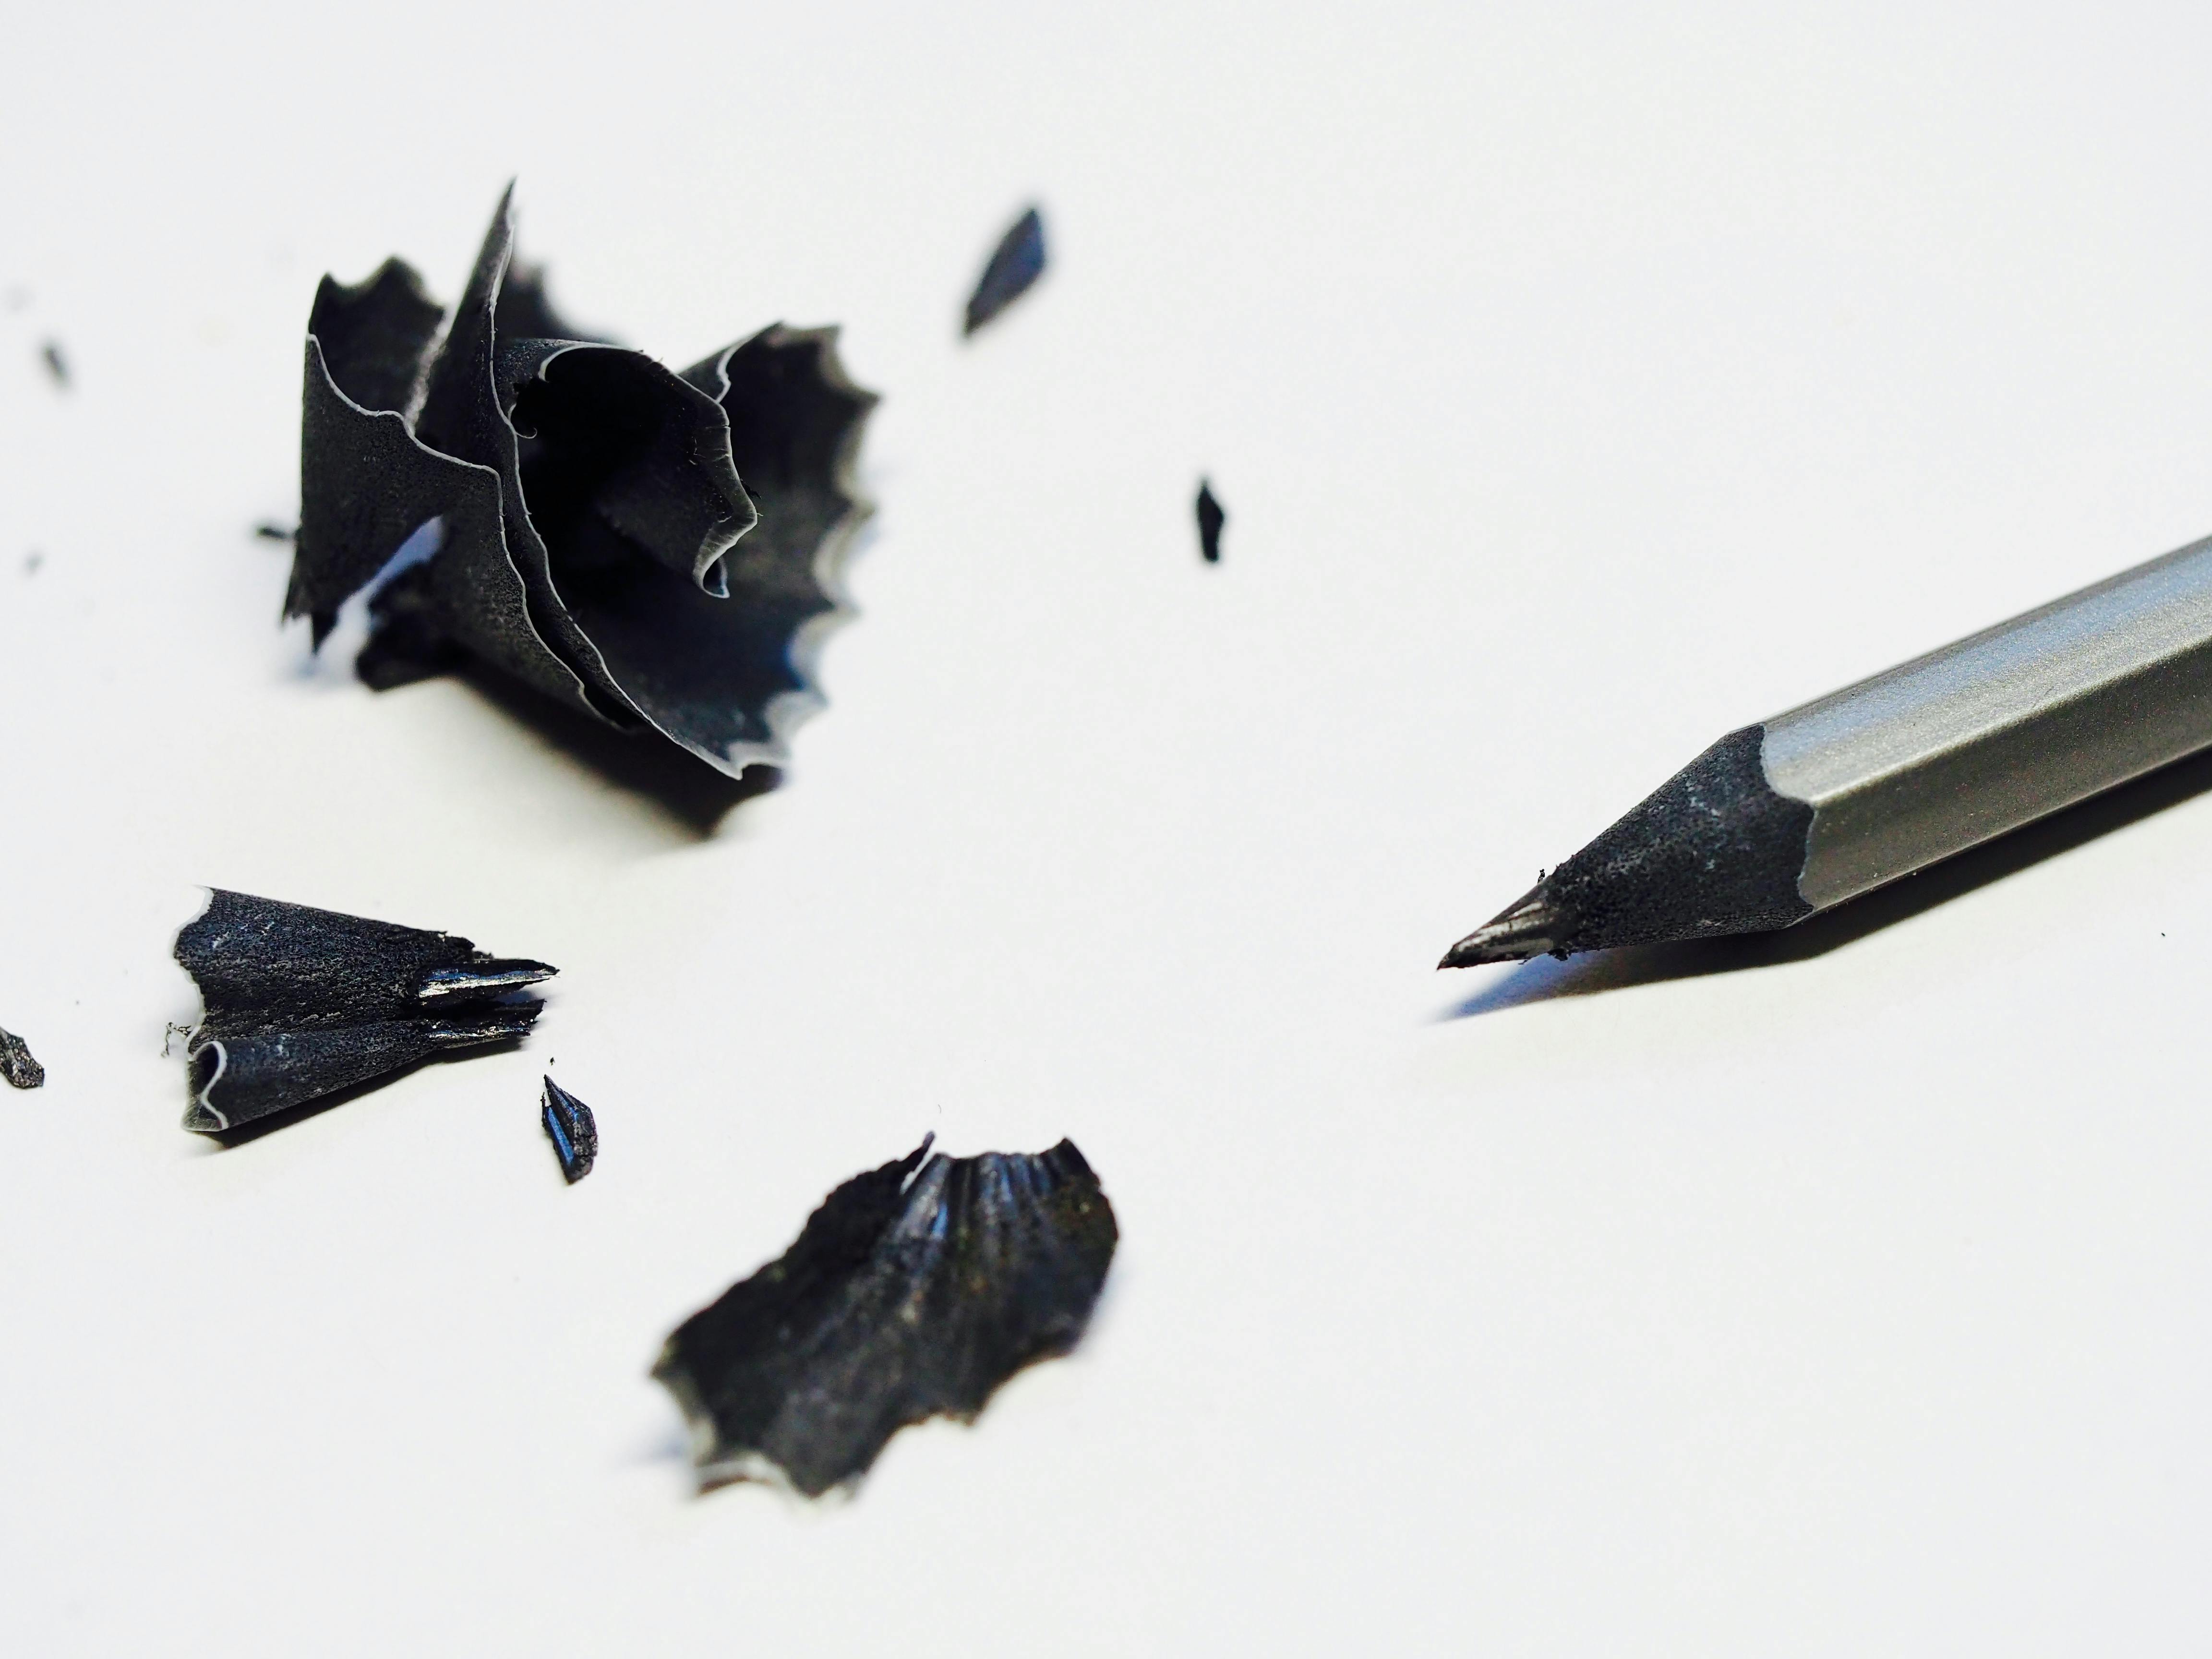
For traditional drawing, I always recommend a range of graphite pencils. You’ll want softer leads (like 2B, 4B, 6B) for dark shadows and rich tones, and harder leads (2H, HB) for lighter outlines and fine details. A good quality paper with a slight tooth will grab the graphite beautifully, allowing for smooth blends and sharp lines. If you're curious about different options, I've shared my thoughts on the [/finder/page/best-sketching-pencils-for-artists] and even some great options for [/finder/page/best-paper-for-charcoal-drawing] if you want to venture into charcoal – a fantastic medium for dramatic realism.
Erasers and Blending Tools
- Kneaded Eraser: Absolutely indispensable. It's soft, moldable, and lifts graphite without damaging the paper. Perfect for subtle highlights and cleaning up mistakes. It's like a magic wand for light.
- Pencil Eraser: For those super tiny details or cleaning up crisp edges.
- Blending Stumps or Tortillons: These are tightly rolled paper tools that help you smooth out graphite, create seamless transitions, and remove pencil strokes for a more painterly finish. Your finger has oils, so avoid that unless you're going for a smudged, grungy look (which, admittedly, sometimes I do!)
Digital Alternatives
If you're more into the digital realm, a good drawing tablet and software are your best friends. I've spent countless hours with my digital tools, and the flexibility they offer is incredible. You can achieve all the same effects – layering, blending, precise lines – without the graphite dust. Check out my thoughts on [/finder/page/essential-tools-for-digital-painting-beginners] or even a review of [/finder/page/the-best-drawing-tablets-for-beginners-a-2024-review] if you're just starting.

Understanding Mouth Anatomy: The Foundation of Realism
Before you draw a mouth, you need to understand what’s under the surface. It’s not just two lines and a curve; it's a complex set of muscles and forms. Thinking of it as a rigid structure rather than a squishy, flexible one is a common pitfall. Remember, it's alive, it moves!
The Orbicularis Oris and Lip Structure
At the core is the orbicularis oris, a circular muscle that encircles the mouth. This muscle allows us to pucker, smile, and frown. Understanding its circular nature helps you grasp the three-dimensional form of the lips. The lips themselves are essentially fleshy cushions. The upper lip generally has three distinct forms or pads, and the lower lip has two more prominent pads. Visualizing these helps you shade them correctly, giving them volume instead of just flatness.
Philtrum and Cupid's Bow
Ah, the philtrum! This is that little groove running from the base of your nose to the center of your upper lip. It's often overlooked by beginners, but it's crucial for defining the upper lip's shape and connecting it convincingly to the nose. The Cupid's bow is the double curve at the center of the upper lip, just below the philtrum. It's a key feature for personality and often catches the light.
The Corner of the Mouth
These aren't just endpoints. The corners of the mouth tuck inwards, creating a slight shadow and adding to the illusion of depth. They can also subtly wrinkle, especially with age or expression, hinting at the underlying muscle movement.
Teeth and Gums (When Visible)
If your subject's mouth is open, you might need to draw teeth and gums. Resist the urge to draw every single tooth as a distinct white rectangle. Instead, focus on the overall shape of the dental arch, the shadows between the teeth, and how they recede into the mouth. The gums are rarely bright pink; they tend to be darker in shadow. Think of teeth as cylinders or blocks, catching light at the front and falling into shadow at the sides.
My Step-by-Step Process for Drawing a Realistic Mouth
Alright, grab your pencils! This is where we put theory into practice. I like to build up my drawings in layers, moving from general shapes to specific details. It's a less intimidating way to approach complex forms, I find.
Step 1: Basic Shapes and Proportions
Start with a light sketch of the overall width and height of the mouth. Think of it as a simple horizontal line, perhaps with a slight curve, and then lightly block in the general shape of the upper and lower lips. Don't press hard! These are just guides. I often use a very light HB or even 2H pencil for this. The goal here is to get the placement and rough size right in relation to the rest of the face. (Remember, if you're drawing a full portrait, the mouth generally sits about halfway between the base of the nose and the chin).
Step 2: Defining the Lip Lines
Now, refine those initial shapes. Focus on the central line where the lips meet – this is usually the darkest and most defined line of the mouth. Then, carefully sketch in the Cupid's bow on the upper lip and the central division of the lower lip. Observe how the upper lip slightly overlaps the lower lip at the corners, creating a subtle shadow.

Step 3: Adding Form and Volume
This is where the magic of realism starts to happen: shading. Remember those lip pads we talked about? Now, we're going to use light and shadow to bring them forward. Think of the lips as cylinders or rounded forms. The upper lip often turns downwards and catches less light than the lower lip, so it usually appears slightly darker overall. The lower lip often has a prominent highlight in the center. Use a softer pencil (like a 2B or 4B) and apply light, even strokes, following the curve of the lips. Build up the shadows gradually, especially in the philtrum area and at the corners of the mouth, to push them back into the face.
Step 4: Texture and Detail
Realistic lips aren't perfectly smooth. They have subtle vertical lines and wrinkles, especially as they stretch or pucker. With a sharpened pencil (HB or 2B), lightly draw in these lines. Crucially, don't draw them uniformly or too dark. They should follow the curve of the lips and be more visible in areas of shadow or where the lip stretches. Blend them gently with your tortillon so they don't look like harsh outlines. You want suggestion, not insistence. This step truly distinguishes a realistic mouth from a cartoonish one.
Step 5: Highlighting and Refining
Grab your kneaded eraser! This is your tool for creating sparkling highlights. Gently dab or lightly lift graphite from the brightest parts of the lower lip, the Cupid's bow, and any area where light might catch the moist surface of the lips. For extra pop, a tiny dot of white gel pen or a very sharp white colored pencil can work wonders on the brightest catchlights, making the lips look truly wet and luscious. Step back and assess. Are the transitions smooth? Do the darks feel dark enough? Do the lights sparkle?
Step 6: Integrating with the Face
The mouth doesn't exist in a vacuum. It's connected to the surrounding skin, cheeks, and chin. Lightly shade the skin around the mouth, creating subtle shadows in the nasolabial folds (the lines from the nose to the corners of the mouth) and under the lower lip. This grounds the mouth in the face and prevents it from looking like it’s floating. Ensure the values around the mouth support its three-dimensional form. This whole process of connecting features is something I delve into deeper in my guide to [/finder/page/how-to-draw-a-realistic-face-a-step-by-step-guide].
Common Mistakes and How to Avoid Them
We all make mistakes, and honestly, they're the best teachers. Here are a few I've wrestled with myself and seen countless others encounter.
Drawing "Fish Lips"
This happens when the lips are drawn as two flat, disconnected shapes, often with harsh outlines. The solution? Think of the lips as forms, not just lines. Focus on the curves and volume by layering your shading, making sure the transitions are soft. The central line where the lips meet should be the darkest, not the outer contours.
Ignoring the Philtrum and Corners
Skipping these details makes the mouth look like it's been pasted on. The philtrum creates that crucial connection to the nose, and the tucked-in corners provide depth and realism. Pay attention to the subtle shadows and highlights in these areas.
Over-rendering Lip Lines
Drawing every single vertical lip line with a heavy hand will make the lips look dry and aged, even on a young subject. Remember, these are subtle textures, not deep cracks. Draw them lightly and sparingly, and always blend them slightly into the underlying tone.
Flat Shading
This is a big one. If your lips look flat, it's because you're shading them as a single tone. Instead, identify the lighter and darker planes. The upper lip is often darker, the lower lip has a distinct highlight. The areas closer to the corners and the inner edges of the lips will be darker than the center. Always follow the form with your shading strokes.
Advanced Tips for Expressive Mouths
Once you've mastered the basics, you can really start to play and infuse personality into your drawings. This is where art gets truly exciting, in my opinion!
Different Expressions
Don't just draw neutral mouths. Practice smiles, frowns, pouts, surprise. Observe how the orbicularis oris muscle changes the shape and tension of the lips. A smile lifts the corners and bunches the skin around them; a frown pulls them down. Use mirrors or reference photos to study these nuances.
Foreshortening
Drawing a mouth from different angles (like a three-quarter view or extreme close-up) introduces foreshortening, where parts of the mouth appear shorter than they actually are due to perspective. This can be tricky, but understanding how features recede is key to dynamic portraits. If you're struggling with depth, my article on [/finder/page/what-is-foreshortening-in-art] might just be the revelation you need!
Capturing Personality
Every mouth is unique. Some have fuller lips, some thinner, some a more defined Cupid's bow. Pay attention to these individual characteristics in your subject. Don't impose a 'perfect' mouth; instead, capture the quirks and individuality. This is what makes a portrait theirs.
FAQs about Drawing Realistic Mouths
How do you make lips look wet?
To make lips look wet, focus on sharp, bright highlights, especially along the edges and on the most prominent part of the lower lip. These highlights should have crisp edges. You can achieve this with a kneaded eraser to lift graphite or a tiny touch of white gel pen for extreme sparkle. The contrast between these sharp lights and the slightly darker, blended tones of the lip surface creates the illusion of moisture.
What's the best way to practice drawing mouths?
Practice, practice, practice! Sketch mouths from different angles and expressions. Use high-quality reference photos (Pinterest is a goldmine for this!). Don't be afraid to do quick studies, focusing on just the mouth. Repetition builds muscle memory and sharpens your observational skills. Drawing from life (like in a mirror) is also incredibly valuable.
Should I use reference photos?
Absolutely! Reference photos are essential, especially when you're learning. They allow you to study anatomy, light, and shadow without the subject moving. Look for photos with clear lighting that reveal the forms and textures of the lips. Over time, you'll internalize these observations, but don't hesitate to lean on references.
How do I draw different ethnic lips?
Different ethnicities often have variations in lip fullness, shape, and projection. The key is observation. Avoid stereotypes. Instead, study individual faces from diverse backgrounds. Some lips might be fuller, others thinner, the Cupid's bow more or less defined. The fundamental anatomy (orbicularis oris, philtrum, etc.) remains the same, but the proportions and emphasis change. Always draw what you see in your reference, rather than what you think you know.
Conclusion: The Journey to Expressive Art
Drawing a realistic mouth is a rewarding challenge, but it's entirely achievable with patience and practice. It's about seeing beyond the superficial and understanding the underlying forms and the dance of light and shadow. Each mouth you draw is a story waiting to be told, a moment of expression waiting to be captured. Keep observing, keep practicing, and remember that every line you draw is a step closer to making your art truly speak.
If you're interested in exploring more of my expressive abstract work, feel free to visit my studio's home at the [/den-bosch-museum] or check out my [/buy] page. There's a whole journey of art to explore!


