Acrylic Painting Care: A Comprehensive Guide to Cleaning & Preservation
Dive into my personal guide on cleaning and preserving acrylic paintings. Learn preventative habits, gentle cleaning methods, and professional tips to ensure your art stays vibrant and lasts a lifetime.
The Art of Longevity: My Personal Guide to Cleaning and Caring for Acrylic Paintings
You know, it’s funny how much energy we pour into creating something, only to sometimes forget the equally important part: keeping it alive and vibrant long after it leaves the easel. I’m talking about how to clean and care for acrylic paintings – something that often feels like a whispered secret among artists, or maybe just an afterthought for collectors. We focus so intensely on the creation, the brushstrokes, the colors, that the idea of its long-term survival can feel... well, secondary. But let me tell you, it's a conversation worth having, and a topic I've spent a fair bit of time pondering, sometimes after a minor mishap (we’ve all been there, right? Like that one time a rogue cat paw decided to explore a fresh canvas – pure panic!). In this guide, I want to walk you through my personal approach, covering everything from essential daily preventative measures and nuanced light cleaning techniques to understanding when a professional art conservator is your best ally, all to ensure your acrylic art stays pristine for generations.
Acrylics, in their essence, are remarkably durable once cured. They’re essentially plastic polymers suspended in water, and once the water evaporates, they form a flexible, stable, and water-resistant film. This makes them resistant to cracking and far less delicate in their early stages compared to, say, oil paintings. But "durable" doesn't mean "invincible." Just like my favorite old coffee mug that's survived a hundred tumbles but still needs a good wash now and then, your acrylic art needs a little love and attention to stay vibrant. For more on the material itself, I've found the history of acrylic painting quite fascinating.

https://commons.wikimedia.org/wiki/File:The_Creation_Of_The_Mountains.jpg, https://creativecommons.org/licenses/by-sa/4.0/deed.en
The Silent Enemies: Why Care Matters So Much
Before we dive into the 'how-to,' let's just quickly acknowledge the 'why.' Because if you understand the enemy, you're better equipped for the battle. What are we fighting against? Well, the biggest culprits are dust, various forms of environmental grime, the relentless UV light, mold and mildew, and sometimes, honestly, ourselves. Dust is particularly relentless; it settles on everything, and over time, it builds up into a subtle, grimy film that dulls colors. I swear, sometimes I feel like I'm in a never-ending duel with microscopic dust bunnies, especially in the studio! But it's not just dust. Think about smoke residue if your painting is near a fireplace, or cooking grease if it's in a kitchen, or even those tiny, almost invisible insect droppings – they all accumulate and demand attention. And let's not forget mold and mildew. In very humid environments, especially if the canvas or substrate isn't properly sealed, or if you've incorporated organic materials like paper or fabric into a mixed media piece, these unwelcome guests can find a home and cause irreversible damage. It's truly a nightmare scenario.
Then there's direct sunlight, which, while undeniably beautiful, is a long-term adversary. Its UV rays can slowly, irrevocably fade pigments over years. Some pigments, particularly organic ones (many vibrant reds, blues, and purples fall into this category), are much more vulnerable to light degradation than inorganic pigments like earth tones or some cadmium colors. This vulnerability often stems from the molecular structure of organic pigments, which can break down more easily when exposed to high-energy UV radiation. This is why you often hear artists talk about lightfastness ratings; it's a measure of how resistant a pigment is to fading when exposed to light. Always look for high lightfastness ratings if you're working with or collecting acrylics intended for display. You'll often find these ratings (like ASTM ratings or a star system) directly on manufacturer's paint tubes or product descriptions, so keep an eye out. And let’s not forget humidity fluctuations. They can stress the canvas or panel, causing warping or cracking over time. Remember, the support (whether it's flexible canvas or a rigid wood panel) reacts differently to these changes, but both are vulnerable to significant swings. It's all part of the universe's persistent effort to make things messy and less vibrant, I suppose. It's like nature's way of reminding us that nothing lasts forever, but hey, we can certainly fight back, right?
While many of these principles resonate with general art preservation (I’ve written a bit about taking care of all sorts of art how to take care of your art and how to take care of your painting more broadly), acrylics do have their own little quirks, which is exactly why we're focusing on them today. Understanding these silent enemies is the first step towards building a solid defense for your artwork.
Daily Habits for Long-Term Vibrancy: The Ounce of Prevention
Now that we've armed ourselves with knowledge of the silent enemies, let's shift our focus to building a robust defense through daily habits. My approach to art care, much like my approach to most things in life, leans heavily on prevention. It's far easier to keep something clean than to try and fix it once it's truly dirty or damaged. Think of it like brushing your teeth daily to avoid cavities, rather than waiting for a toothache – a little consistent effort goes a very long way in preserving your precious artworks. Since we now know what we're up against, let's talk about building those crucial daily habits.
1. The Right Spot (And the Wrong Spot)
Think about where you hang your art. Is it directly opposite a window where the sun beams in all afternoon? Maybe reconsider. Indirect light is generally best. Also, avoid extremely humid or dry areas, or places prone to sudden temperature swings (like above a radiator or in a drafty hallway). This isn't just about paint; it's about the entire canvas or panel structure. Extreme fluctuations can cause the substrate itself to warp or crack, even if the paint film is perfectly fine. Proper ventilation in a studio or storage area is also key, especially when certain mediums or varnishes are used, to prevent buildup of fumes and maintain a stable environment. Different supports, like flexible canvases versus rigid wood panels, will react differently to these environmental stressors, so choose your display location wisely based on the artwork's construction.

https://images.pexels.com/photos/1067556/pexels-photo-1067556.jpeg, https://creativecommons.org/public-domain/
2. A Gentle Dusting Routine
This is probably the most frequent thing I do. Dust accumulates, plain and simple. For a quick, gentle dust, I usually reach for a very soft, clean, dry microfiber cloth. Just a light pass over the surface. If there's any texture, a soft, natural-bristle brush (like a very clean makeup brush or a soft artist's brush, not one you've just used for painting!) can get into those nooks without abrading the surface. It’s like tending to a delicate houseplant – consistent, gentle care prevents bigger problems down the line. I once had a piece in my studio that had gathered a surprising amount of dust in just a week; it was a textured abstract, and those crevices were like tiny dust traps! Now, I make it a point to give everything a quick once-over more often.
These simple routines are your first line of defense, ensuring your art remains a vibrant part of your life.
When It Needs a Bit More: Light Cleaning Techniques
Sometimes a dry dusting isn't quite enough, especially if a painting has been hanging for a while or if there's been some accidental grime transfer (like when my cat decided to rub his cheek against a piece – a true moment of panic, I tell you). This is where a slightly more involved, yet still gentle, cleaning method comes into play. But before we even think about damp cloths, we absolutely need to consider the artwork's specific surface and materials – it’s a critical detour that ensures we do no harm.
The Texture and Materials of the Art: A Critical Preamble
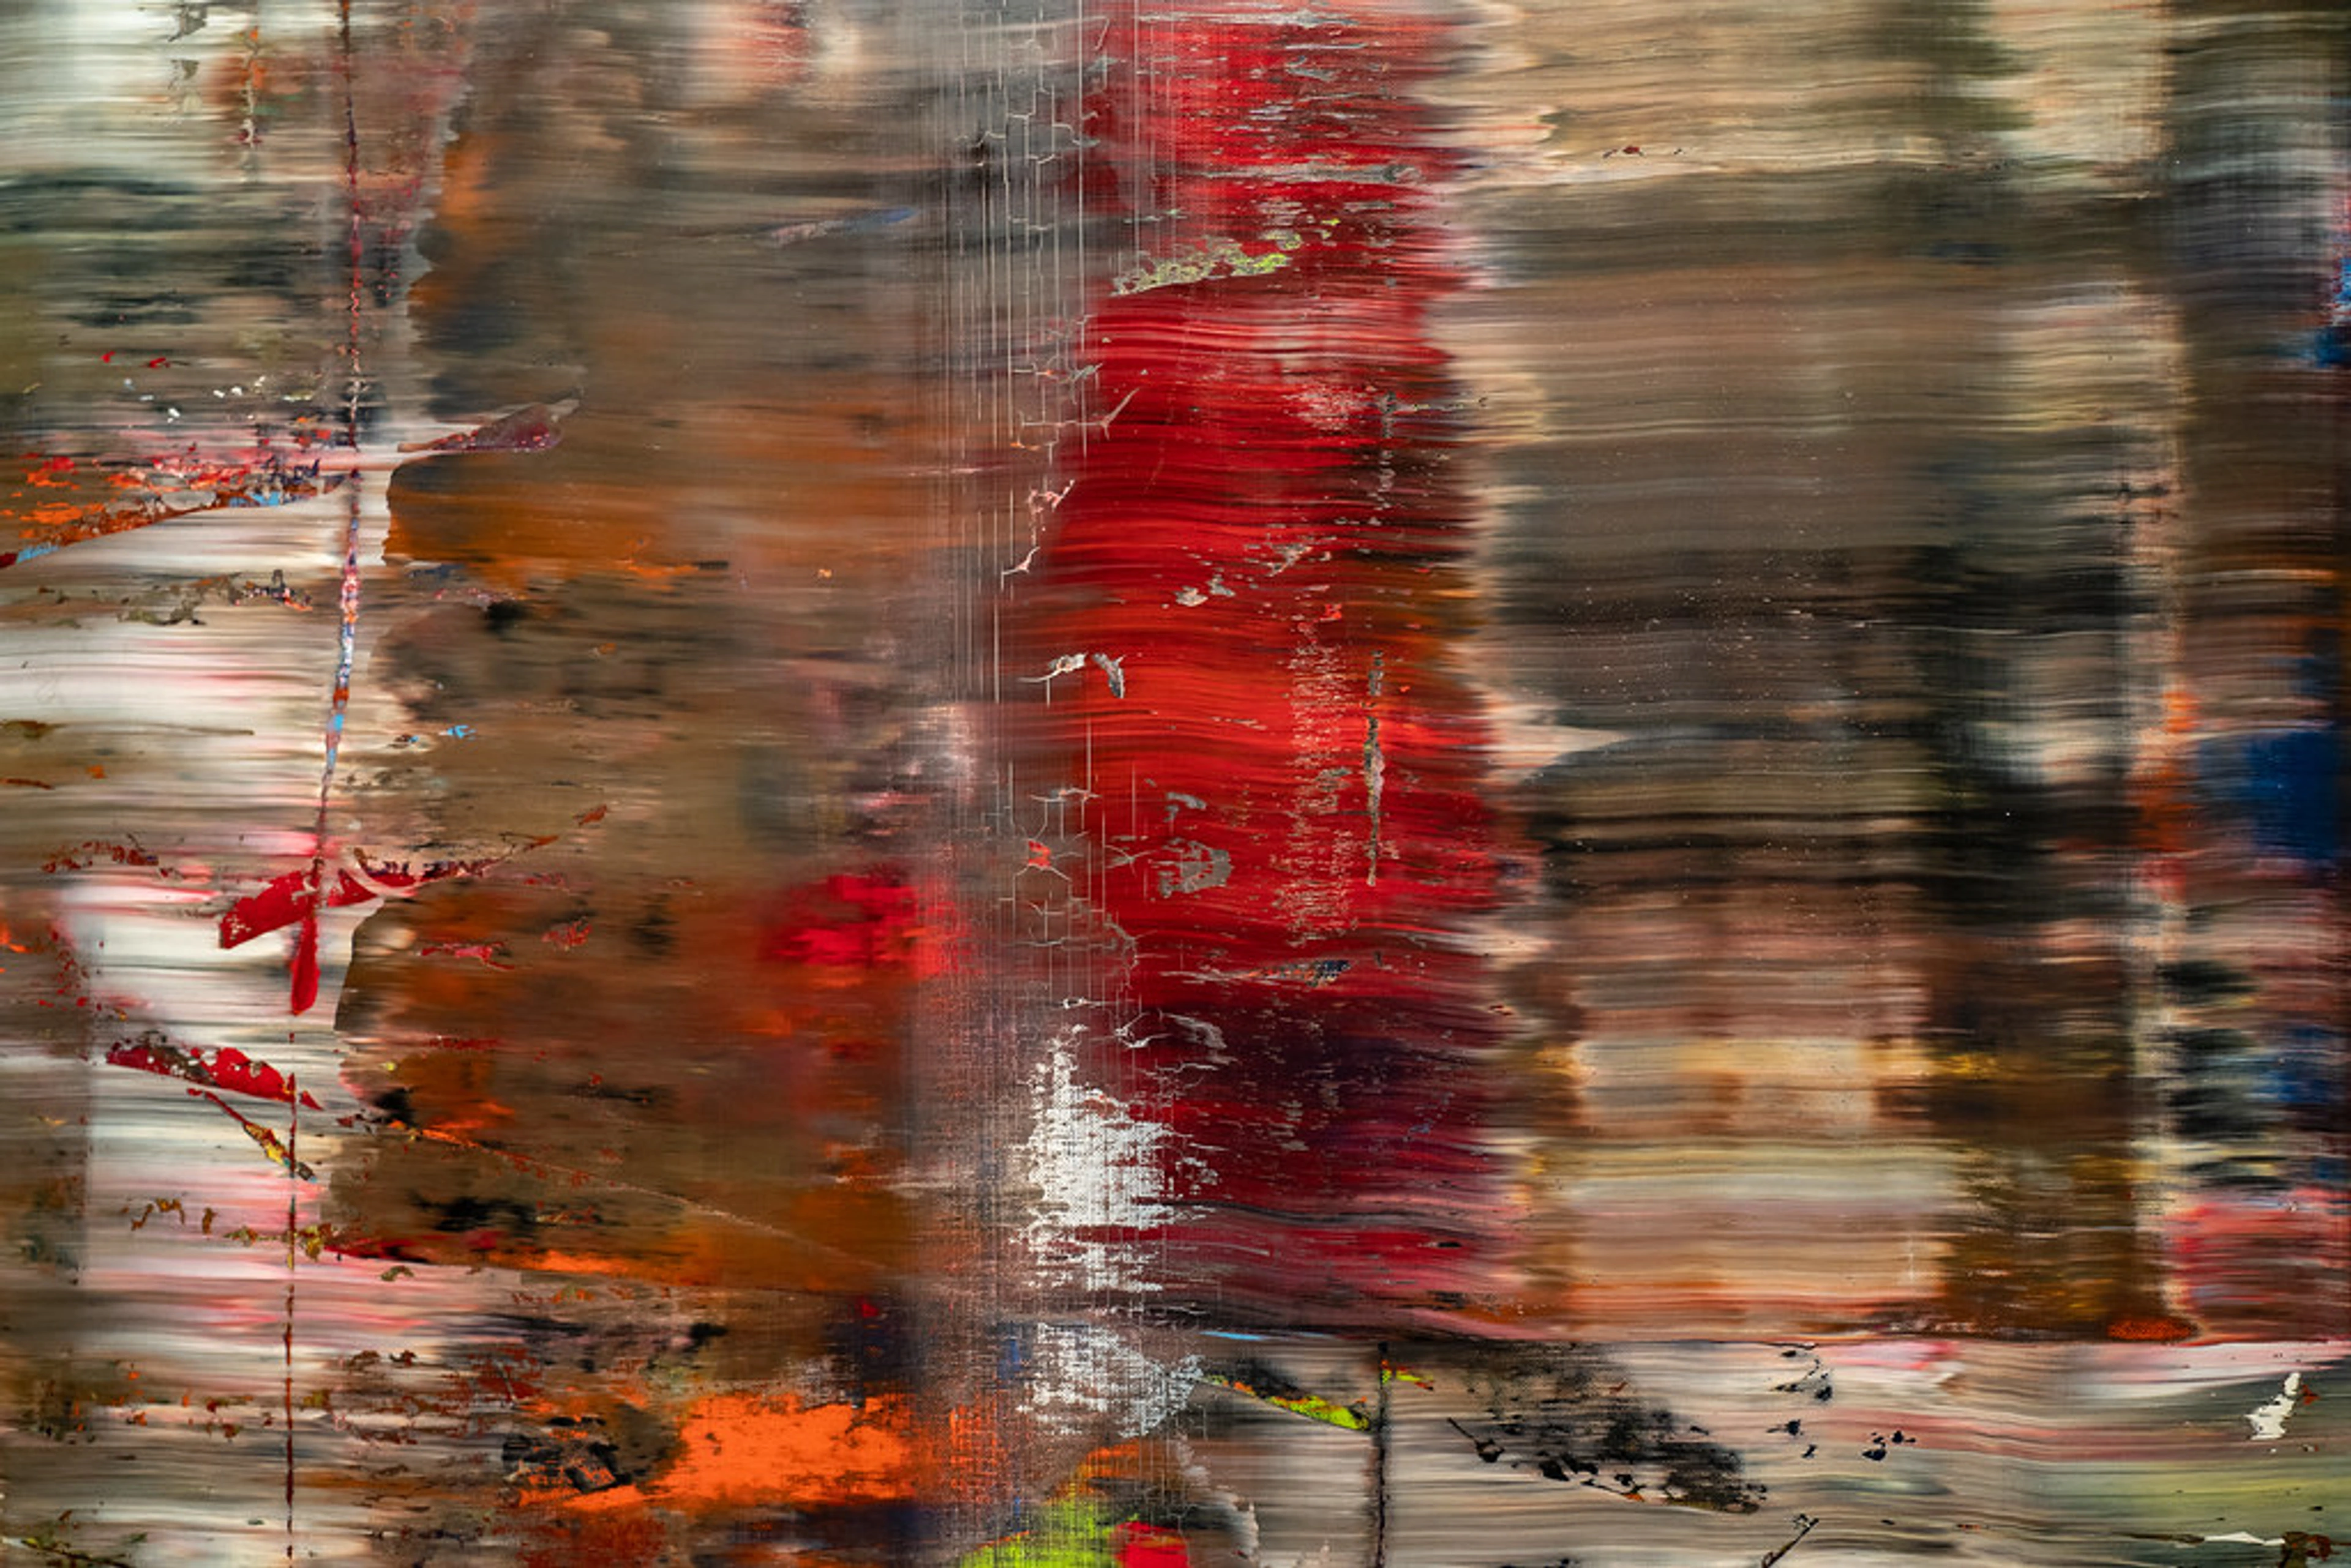
My paintings, and many others, often incorporate various acrylic mediums – gloss mediums, matte mediums, heavy gel mediums – which can create all sorts of interesting textures, from smooth, glassy glazes to thick impasto peaks. These mediums are essentially acrylic polymer emulsions themselves, and while they create specific finishes and textures, they don't fundamentally change the cleaning principles. However, these textures, while visually engaging, can also be little dust magnets and might require slightly more careful, patient cleaning. A very smooth, varnished surface will almost always be easier to wipe clean than a heavily textured, unvarnished one, which might need that soft brush to get into the crevices. When dealing with mixed media pieces, where materials like paper, fabric, pastels, or other objects are incorporated, the approach becomes even more delicate and often requires specialist advice, as these elements might not tolerate any moisture at all. Always consider the specific surface texture and materials before proceeding. This initial assessment is truly the most crucial step.
https://live.staticflickr.com/65535/53064827119_1b7c27cd96_b.jpg, https://creativecommons.org/licenses/by-nc-nd/2.0/
1. The Distilled Water Method (My Go-To)
For light surface dirt that a dry cloth can't handle, distilled water is your best friend. Why distilled? Because tap water has minerals and impurities that can leave residues or even contribute to mold growth over time. You'll need:
- Two soft, clean, lint-free cloths (microfiber again is great).
- A small bowl of distilled water.
The Process:
- Dampen: Lightly dampen one cloth with distilled water. It should be barely damp, not wet. Wring it out thoroughly – think "barely moist" rather than "wet," so that only a faint dampness transfers to your hand when you squeeze it.
- Gentle Wipe: Very gently, without applying pressure, wipe a small, inconspicuous section of the painting. Work in small, controlled areas. You're trying to lift dirt, not scrub the paint. Remember, you're interacting with the surface; any aggressive motion could potentially abrade it, especially if it's unvarnished.
- Immediate Dry: Immediately follow up with the dry cloth to absorb any remaining moisture. You don't want water sitting on the surface or seeping into the canvas.
- Observe: Look at the damp cloth. If you see grime, great, it's working! If you see color, STOP immediately. This indicates you might be dissolving paint, which is not what we want.
I always suggest starting in an inconspicuous corner first, just to test. Better safe than sorry, right? My heart rate definitely picks up a notch when I do this, even after years! Successfully cleaning a minor smudge is truly satisfying, knowing you've restored a bit of its original sparkle.
2. What to Absolutely AVOID
This list is crucial. Think of it as the artistic Hippocratic oath: first, do no harm.
- Harsh Chemicals: Absolutely no household cleaners, Windex, alcohol, solvents, or abrasive soaps. These can damage the acrylic binder, dull the finish, or worse, remove the paint. While acrylic is tough, it's not invincible to harsh chemicals. These might even lead to irreversible discoloration or embrittlement of the paint film. Using them is like trying to swat a fly with a sledgehammer – you might get the fly, but you'll certainly destroy the wall!
- Abrasive Materials: Paper towels, rough sponges, or anything that could scratch the surface. And remember, the substrate matters too – a painting on a flexible canvas might react differently to pressure than one on a rigid wood panel.
- Excessive Water: Never saturate an acrylic painting. Water can seep into the canvas or substrate, causing warping, mold growth, or other issues over time.
- Rubbing Alcohol or Acetone: These are powerful solvents for acrylic polymers and will literally dissolve acrylic paint, full stop. Don't even think about it! It's like bringing a flamethrower to a dust bunny convention – completely overkill and utterly destructive. This also goes for paint brush cleaners, as many contain strong solvents. For cleaning your actual tools, check out how to clean your paint brushes.
When Disaster Strikes: The "Oh No!" Moments
Sometimes, despite our best intentions, things happen. A rogue splash, a stubborn stain, or maybe even an actual physical incident. For anything beyond light surface dirt – and I mean anything that feels like it requires more than a gentle wipe – especially if you're dealing with a valuable or original painting, my honest advice is this: call a professional art conservator. Seriously. This isn't just about stains; conservators are equipped to handle everything from deep scratches and gouges to tears in the canvas, significant pigment loss, or even structural issues with the support. They are trained specialists with deep knowledge of materials science, art history, and restoration techniques. Attempting to fix significant damage yourself can often lead to further, irreparable harm. It’s an investment in the longevity of your art, and in your peace of mind. When looking for a conservator, seek out those with professional affiliations (like AIC in the US, or E.C.C.O. in Europe) and a strong portfolio of similar works; their expertise is truly invaluable.
This is a bit like when my car makes a weird noise – I might poke around a bit, check the oil, but if it's a serious rattle or leak, I take it to someone who actually knows what they're doing. Trust me, it's worth it. Art conservation is a highly specialized field, and those folks are true magicians when it comes to preserving our visual heritage. They’re the real unsung heroes of art history.
Proactive Protection: Varnishing and Framing
Beyond cleaning, proactive measures are essential for long-term preservation. While cleaning is about reactive care, varnishing and proper framing are about proactive defense – they're the invisible guardians of your artwork.
A good quality varnish (specifically for acrylics) provides a sacrificial, removable layer that protects the paint surface from dust, UV light, and minor abrasions. It can also unify the sheen of the painting and often deepens colors, addressing the "sinking in" phenomenon where paint can appear dull as the binder is absorbed into the canvas. If your painting isn't varnished, it's something to consider. Always opt for an archival-quality, non-yellowing varnish specifically designed for acrylics, as some older or cheaper varnishes can degrade or yellow over time, requiring complex removal.
When it comes to varnishes, you generally have a few choices in finish: gloss, satin, and matte. A gloss varnish will intensify colors and provide a reflective, vibrant surface, often making the painting "pop." Satin offers a subtle sheen, a nice middle ground that reduces glare without completely flattening the image. Matte varnish, on the other hand, will give a non-reflective, velvety appearance, which can be wonderful for certain aesthetic effects but can also slightly mute colors. I often use a satin finish for my own works because I find it strikes a perfect balance between vibrancy and minimizing reflections. You also choose between brush-on or spray-on applications. Brush-on varnishes allow for thicker, more controlled layers, but require a steady hand and meticulous application to avoid brushstrokes. Spray varnishes are great for even coverage, especially on textured pieces, but need a well-ventilated area and several light coats. My own journey as an artist, and the evolution of my techniques (you can see more about it on my timeline), has taught me the immense value of these finishing touches. Using the right mediums, like those I explore in best acrylic mediums for abstract artists, can also contribute to the final durability and aesthetic.
Framing with UV-protective glass or acrylic can offer another layer of defense, especially for works on paper or very delicate surfaces. Even for canvas, a good frame helps protect edges and keeps curious fingers at bay. Be mindful of the framing materials themselves; always use archival, acid-free mats and backing boards to prevent any acidic migration that could damage the artwork over time, even if it's a robust acrylic.

https://images.zenmuseum.com/art/262/scan.jpeg, https://images.zenmuseum.com/art/262/scan.jpeg
Storage: When Your Art Needs a Nap
Not every piece of art is on display all the time, right? For works in storage, the principles are similar: cool, dry, dark, and stable environments are key. Avoid basements or attics with fluctuating temperatures and humidity, as these can severely stress the materials, leading to warping, cracking, or mold. And speaking of unwelcome guests, pests are a real concern. Insects and rodents love quiet, undisturbed places, and they can cause irreparable damage to canvases, frames, and even the paint itself. I once discovered a silverfish colony near some older sketches I had stored in a less-than-ideal spot – talk about a wake-up call! Regular checks, keeping storage areas clean, and using pest-resistant materials (avoid cardboard directly touching art) are crucial. Proper ventilation in storage areas is also beneficial.
While acrylics are generally less prone to embrittlement than some other mediums, extreme cold over long periods can make them stiff and more susceptible to damage from impact, so maintaining moderate temperatures is wise. Store paintings vertically, ideally in purpose-built racks or boxes, separated by archival materials (like glassine or acid-free foam core) to prevent rubbing, transfer of pigment, or surface abrasion. Never stack paintings directly on top of each other, even with slip sheets, as pressure points can still cause indentations, pigment transfer, or damage to textured surfaces over time. It's a risk simply not worth taking.
I've learned a lot about this over the years, especially as my collection grew. If you're looking for more in-depth advice on keeping your treasures safe, you might find some useful ideas in articles like art storage solutions for collectors.
Handling and Transporting Your Acrylic Art
Moving your artwork, whether across the room or across the country, requires careful consideration. Treat all paintings, especially unvarnished or highly textured ones, as fragile. Always handle a painting by its frame or stretcher bars, never by the canvas surface itself, as oils from your skin can transfer and even the slightest pressure can cause damage. I've seen seemingly minor finger smudges become stubborn marks on unvarnished pieces, a tough lesson to learn.
When transporting, protect the surface with glassine paper or a smooth, non-abrasive material, then cushion it adequately in a sturdy box. Ensure the artwork cannot shift within its packaging. For larger or more valuable pieces, especially those with complex textures or unusual substrates, professional art handlers and custom crating are always the safest bet. It might feel like overkill for a short trip, but trust me, a momentary lapse in judgment can lead to a lifetime of regret for an irreplaceable piece. Consider it like packing a newborn baby for a journey – every precaution is a good precaution.
A Special Note on Mixed Media Acrylics
Many contemporary artists, myself included, love to push the boundaries of acrylics by incorporating other elements like collage, pastels, charcoal, fabric, or even found objects. While incredibly rich and expressive, these mixed media pieces present unique care challenges. The golden rule here is extreme caution. Materials like charcoal or pastel are inherently delicate and can smudge or detach with even the gentlest touch or moisture. Fabric and paper elements can be highly susceptible to humidity, mold, and insect damage. For these artworks, dry dusting with a very soft brush (like a squirrel mop brush) is often the only safe cleaning method, and even then, it must be done with the utmost care. Any attempt at damp cleaning could dissolve pastels, bleed inks, or detach collage elements. If you own a mixed media acrylic and are unsure about its care, or if it requires cleaning beyond a very light dry dusting, please, consult a professional conservator. Their expertise is paramount to preserving the integrity of these complex works.
FAQs About Cleaning Acrylic Paintings
Q: Can I use soap and water on an acrylic painting?
A: Only distilled water for very light surface cleaning, as described above. Absolutely no soap or detergents. They can leave residues, dull the finish, or damage the paint. It's a hard no from me on that one!
Q: My painting looks dull. Will cleaning it fix that?
A: Light surface dirt removal can certainly brighten a painting and bring back some of its original luster. However, dullness can also be caused by a phenomenon called "sinking in". This happens when the canvas or support absorbs some of the paint's acrylic binder, leaving the pigment looking flatter and less shiny. It's a common occurrence with unvarnished acrylics, and can be more pronounced with certain paint formulations (e.g., some student-grade paints with less binder, or very fluid acrylics) or if a very porous ground was used. The type of acrylic medium used, especially matte mediums, can also contribute to a less reflective final appearance. Other causes include uneven application of a matte medium that wasn't intended to be the final finish, or simply the natural accumulation of micro-dust and environmental film over a long period. In many cases, a proper acrylic varnish (or reapplying an old one) can revive the vibrancy and unify the sheen, effectively reversing the "sinking in" effect by creating a uniform, protective layer over the paint film. For severe cases or unknown causes, a professional conservator might be able to offer solutions.
Q: How often should I clean my acrylic painting?
A: Regular light dusting (weekly/monthly, depending on your environment) is ideal. A more thorough damp wipe with distilled water only when visibly necessary, maybe once every few years for most indoor pieces. Over-cleaning can be as harmful as under-cleaning – it's all about balance, right?
Q: What if I have an unvarnished acrylic painting?
A: Be extra, extra cautious. The paint surface is directly exposed and more susceptible to abrasion, moisture, and dirt impregnation. Follow the dusting and distilled water method, but be even gentler and more vigilant for any color transfer. Varnishing is highly recommended for long-term protection, effectively sealing and protecting the paint film and giving you that extra layer of peace of mind.
My Final Thoughts on the Art of Care
Ultimately, caring for your acrylic paintings is an ongoing conversation between you and the artwork. It's about respecting the creation, understanding its vulnerabilities, and taking small, consistent steps to ensure it brings joy for years to come. It’s not about obsessing over every speck of dust, but about being mindful and proactive – a little bit of love goes a long way.
And who knows, maybe while you're gently dusting a piece, you'll reconnect with the lines and colors, just as I often do with my own works, whether they're still in my studio or finding their way to new homes (perhaps even yours, via my art for sale). Whether you're an artist yourself, a seasoned collector, or simply someone cherishing a beloved piece, these practices empower you to be a steward of beauty. It’s all part of the journey, isn't it? Perhaps you'll even visit my museum in Den Bosch someday and see how I strive to preserve my own pieces. The art of caring for art is truly a lifelong practice, always evolving, and deeply rewarding.


