Cleaning Acrylic Paintings: An Artist's Guide to Care & Preservation
Keep your acrylic paintings vibrant! Learn the best practices for dusting, spot cleaning with distilled water, preventing damage, and knowing when to call a professional conservator, straight from an artist's personal experience.
Cleaning Acrylic Paintings: My Personal Best Practices Guide
Okay, let's talk about cleaning art. Specifically, acrylic paintings. Now, if you're anything like me, the thought of taking a cloth (or anything) to a painting you love probably sends a shiver down your spine. It feels... risky. Like trying to defuse a bomb with a feather duster.
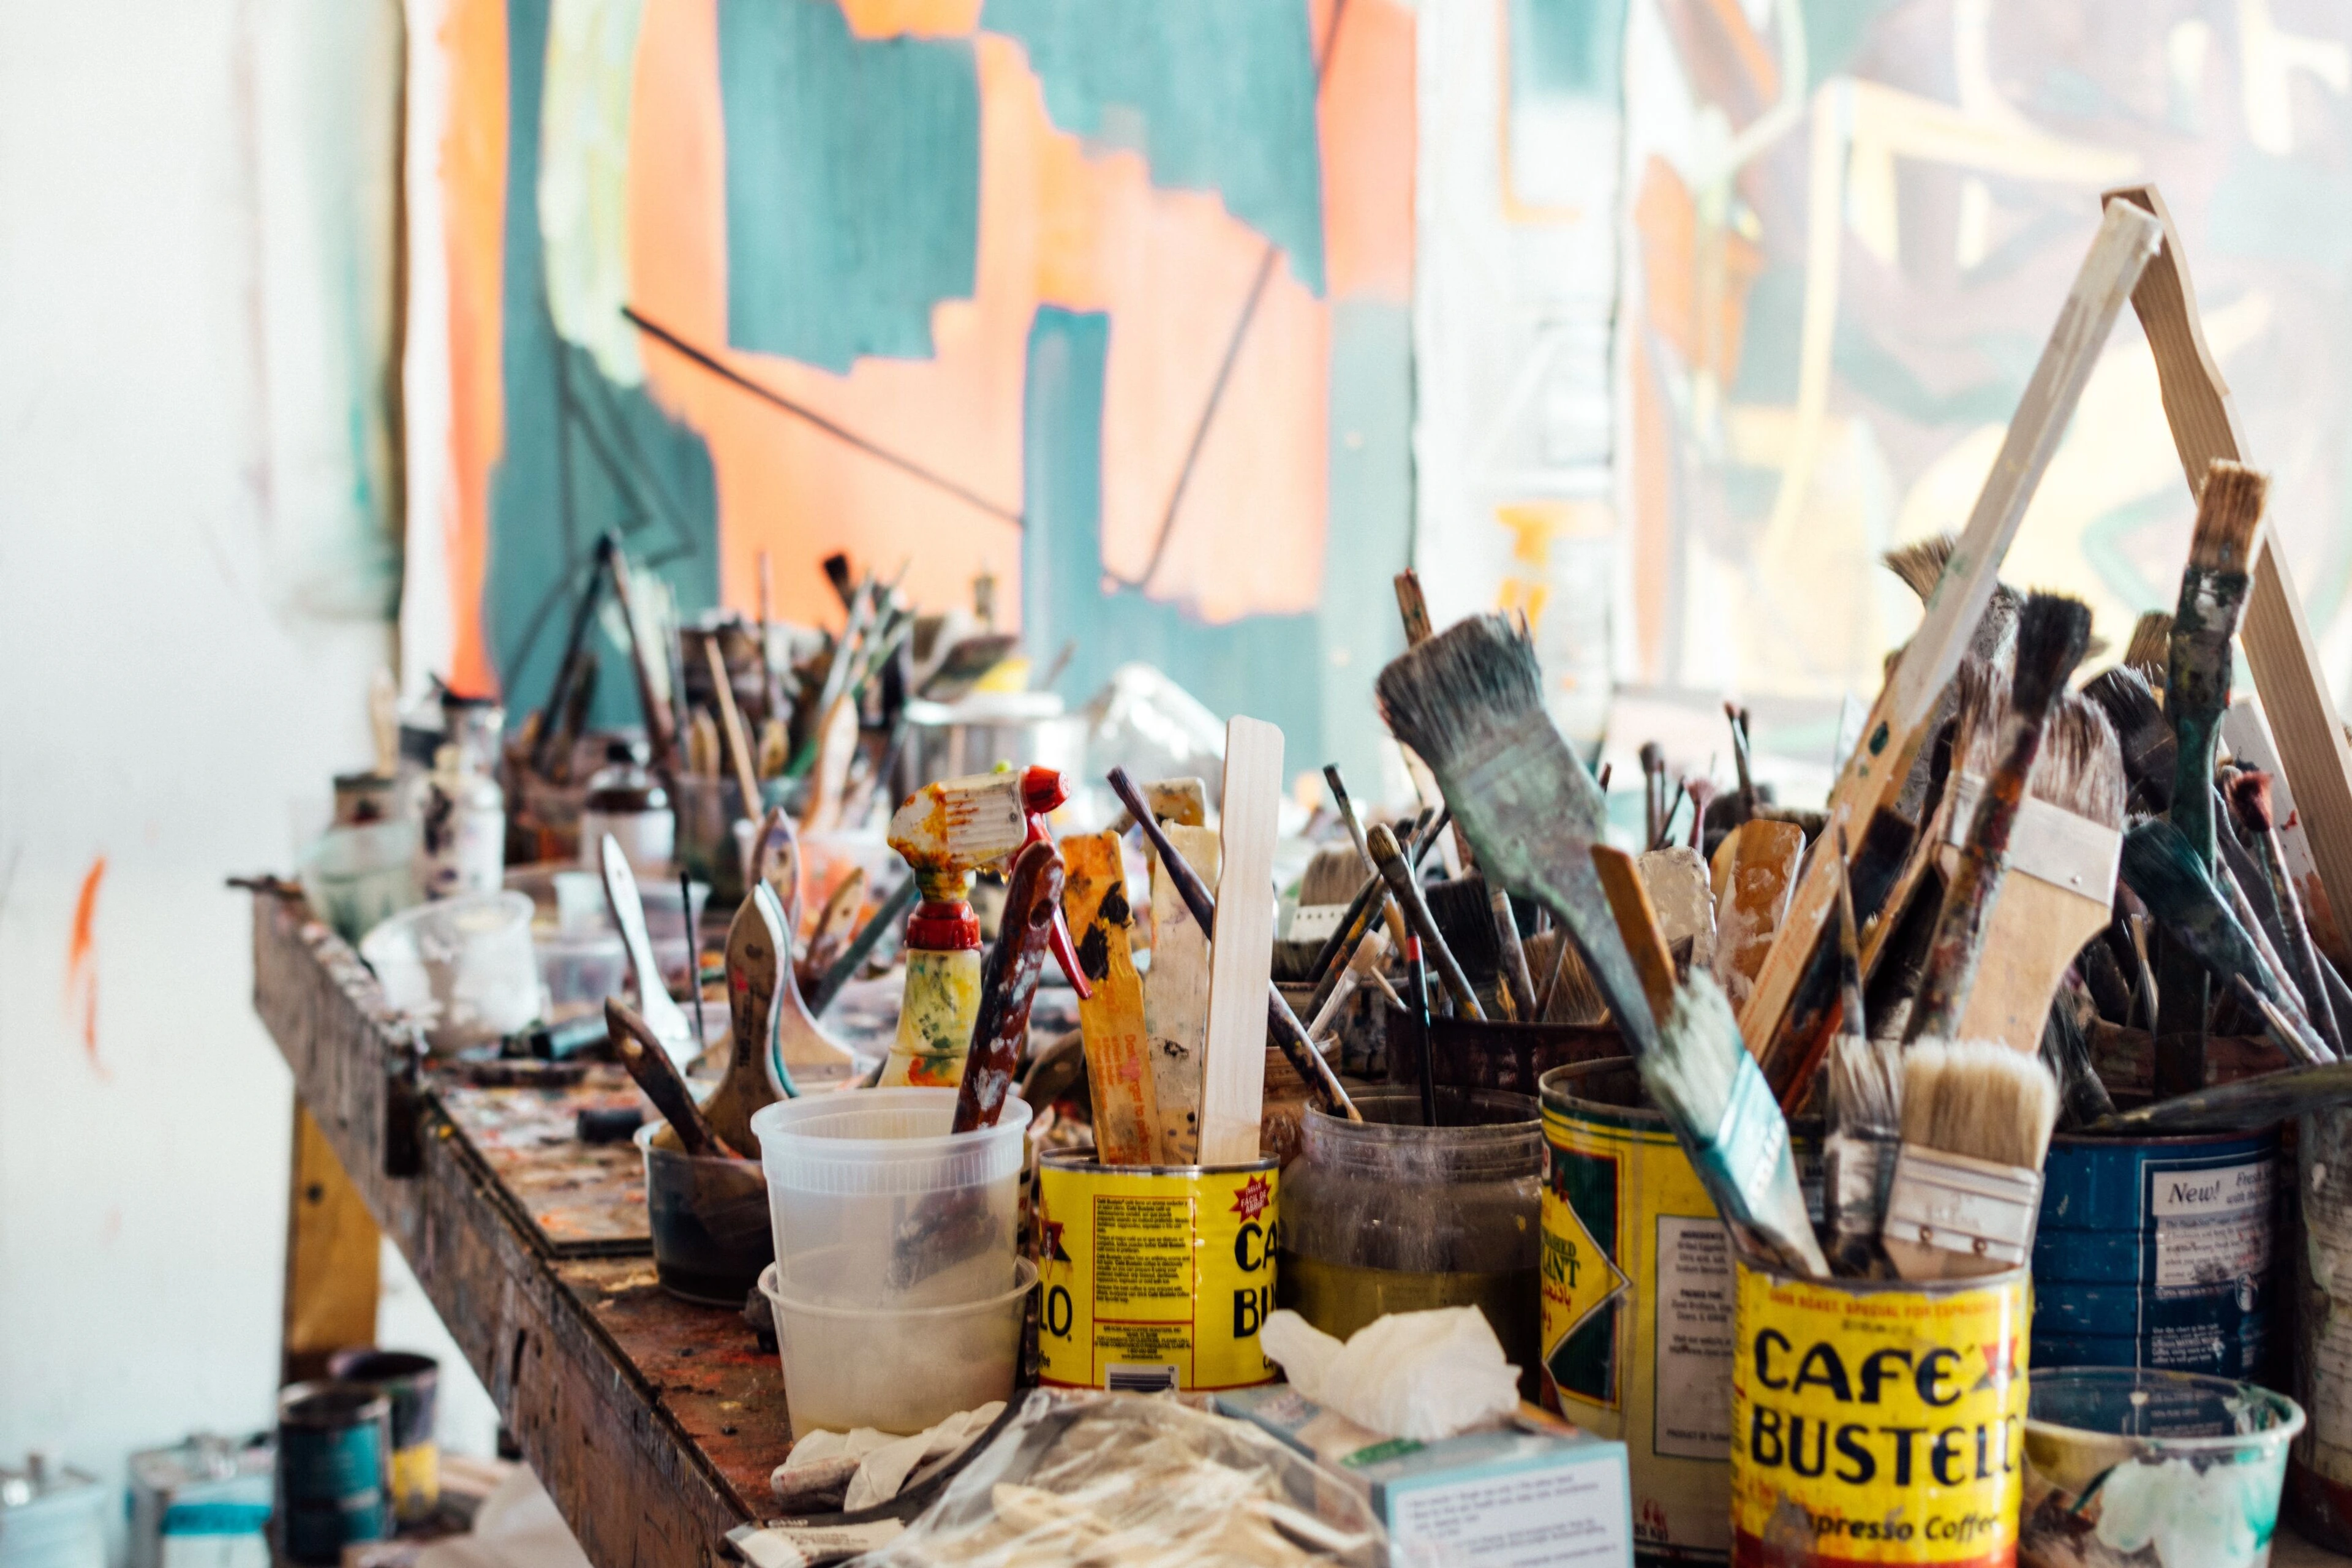
I remember the first time I had to clean one of my own acrylic pieces after it had been hanging for a while. Dust bunnies had started to gather in the texture, and a rogue splash of coffee (don't ask) had landed near the edge. My initial instinct was pure panic. "What do I do?!" I thought. "Will I ruin it? Will the paint just... peel off?" It's a surprisingly common feeling, that fear of accidentally destroying something you cherish.
Acrylics are fantastic. They're versatile, vibrant, and dry relatively quickly (a blessing and a curse, depending on the day). But they're also, in their own way, a bit delicate when it comes to cleaning. Unlike oil paint, which forms a tough, non-porous film over time, acrylics remain slightly porous and flexible. This means they can attract and hold onto dirt differently, and harsh cleaning methods can actually damage the paint layer.
So, how do you keep your beautiful acrylic paintings looking fresh without causing a disaster? It's less about aggressive scrubbing and more about gentle, consistent care. Think of it like caring for a beloved pet, not scrubbing a stubborn stain off the kitchen floor.
Why Acrylics Need Special Care (It's Not Just Me Being Paranoid)
I used to think acrylics were practically invincible once dry. After all, it's essentially plastic, right? But I learned the hard way that it's a bit more nuanced than that. Acrylic paint is essentially pigment suspended in a plastic polymer emulsion. When it dries, the water evaporates, and the polymer particles fuse together to form a stable, flexible film. But this film isn't a solid, impenetrable shield. It has microscopic pores.
These pores can trap dust, dirt, and even pollutants from the air over time. Also, because the film remains flexible, it can be susceptible to scratches or abrasions if you're too rough. And unlike oil paintings, which can sometimes be cleaned or even restored with specific solvents by experts, acrylics react differently. Some solvents can actually dissolve or damage the acrylic polymer itself. This is why you can't just grab any old cleaning product off the shelf.
Another thing I learned is that acrylics are thermoplastic. This means they can soften slightly with heat. While this isn't usually an issue in a normal home environment, it's something to be aware of, especially if you're considering placing a painting near a heat source or if it's going to be stored in fluctuating temperatures. Imagine leaving a painting pressed against a textured surface in a warm room – the texture could potentially imprint onto the paint surface because it softens slightly. It also means they can be susceptible to 'blocking' or imprinting if something is pressed against the surface for a long time, particularly if not properly varnished. This thermoplastic nature also affects how they react to certain cleaning agents and techniques.
It's a bit like how you wouldn't use the same cleaner on a delicate silk blouse as you would on a sturdy pair of jeans. Different materials, different rules.
Artist Grade vs. Student Grade Acrylics: Does it Matter for Cleaning?
Yes, it can. While the basic cleaning principles remain the same (gentle, dry dusting first, distilled water sparingly for spots), the quality of the paint can influence its durability. Artist-grade acrylics generally have a higher pigment load and use higher quality binders. This can result in a more robust, less porous paint film once dry compared to student-grade paints, which might have more fillers and a less concentrated binder. A higher quality film might be slightly more resistant to minor surface abrasion during dusting, but it doesn't make it immune to damage from harsh chemicals or aggressive scrubbing. The core rules of gentleness and using only appropriate materials still apply, regardless of the paint's grade.
Preparation & Safe Handling Before Cleaning
Before you even think about dusting or spot cleaning, make sure you're handling the painting safely. This might seem obvious, but it's easy to forget in the moment.
- Clean Hands (or Gloves): Always handle the painting with clean hands. Oils and dirt from your skin can transfer to the surface and attract more grime over time. Some conservators recommend wearing clean cotton gloves, especially for delicate or unvarnished surfaces, but clean, dry hands are usually sufficient for basic dusting if you're careful.
- Stable Workspace: Ensure the painting is stable and supported while you're working on it. If it's on the wall, make sure it's secure. If you're taking it down, lay it flat on a clean, soft surface like a clean sheet or blanket on a table or the floor. Avoid working on rough surfaces that could scratch the back or edges.
- Ensure the Painting is Cool: If the painting has been in a warm environment (like a sunny spot or near a heater), allow it to cool down to room temperature before attempting any cleaning, especially dusting or spot cleaning. This minimizes the risk related to the thermoplastic nature of the acrylic polymer.
The Golden Rules of Cleaning Acrylic Paintings (My Go-To Method)
After much trial and error (and a few nervous moments), I've settled on a few core principles. These are the best practices that help me keep my own work, and advise others on caring for theirs. Remember, gentleness is key.
Rule 1: Dusting is Your First Line of Defense
Dust is the most common culprit. It settles on the surface, gets into the texture, and over time, can become embedded or even react with the paint or varnish. Regular, gentle dusting is crucial. I've found tiny dust bunnies nesting in deep textures, and getting them out before they settle in is so much easier. It's like catching dust bunnies before they become dust monsters!
- What to use: A soft, clean, dry brush. Think a very soft bristle paintbrush (a wide, fluffy one is ideal) or a dedicated, soft dusting brush. Some people use a clean, dry microfiber cloth, but I prefer a brush, especially for textured pieces, as it gets into the crevices without applying pressure. For heavily textured works, a soft brush is non-negotiable – trying to wipe with a cloth can snag or damage the peaks and valleys.
- How to do it: Hold the painting securely (or ensure it's stable on the wall). Starting from the top and working your way down, gently brush the surface. Use light, feathery strokes. Don't press hard. You're just coaxing the dust off, not scrubbing. Avoid touching the paint surface directly with your fingers.
- Personal Tip: I often do this outside or over a drop cloth to avoid just moving the dust around my studio. And make sure the brush is spotlessly clean before you start. Any grit on the brush is like sandpaper.
Rule 2: Spot Cleaning (For Those Little Accidents)
Sometimes, dusting isn't enough. Maybe a fly left a mark (ugh), or you had your own coffee mishap. For small, specific spots, you can try a very slightly damp approach. My coffee incident was thankfully small, just a few drops near the edge, but it felt like a catastrophe at the time! This method is for surface grime or recent marks, not ingrained dirt or discoloration.
- What to use: Distilled water. Only distilled water. Tap water contains minerals like calcium, magnesium, and chlorine that can leave deposits, cause discoloration, or react with the paint or varnish over time, dulling the surface. You'll also need a clean, soft cloth (microfiber is good here, or a soft cotton).
- How to do it: Dampen a small corner of the cloth with distilled water. It should be just barely damp, not wet. Test on a tiny, inconspicuous area first (like the edge of the canvas that might be hidden by the frame). Gently dab or lightly roll the damp cloth over the spot. Do not rub. The goal is to lift the dirt, not push it in or abrade the surface. Immediately follow with a dry part of the cloth to gently blot any moisture.
- What NOT to use: Absolutely no soaps, detergents, window cleaners, solvents, or any other household cleaning products. These can damage or discolor the acrylic paint or varnish. Even seemingly mild soaps can leave residues.
- Personal Tip: If the spot doesn't come off easily with a gentle dab of distilled water, stop. Seriously. Aggressive cleaning will do more harm than good. It might be something that requires professional attention.
Rule 3: Cleaning the Back of the Canvas and the Frame
It's not just the front that collects dust! The back of the canvas, the stretcher bars, and the frame itself can gather dust, cobwebs, and even insect debris over time. This area needs cleaning too, but with a different method.
- What to use: A soft brush or a vacuum cleaner with a brush attachment. You might also need a piece of fine mesh screen (like window screen material). For the frame, a soft cloth or brush is usually sufficient.
- How to do it: Lay the painting face down on a clean, soft surface. For light dust on the back, a soft brush can work. For more stubborn dust or cobwebs, a vacuum with a brush attachment on a low setting is effective. If the canvas is particularly fragile or you're worried about suction, place a piece of fine mesh screen over the area you're vacuuming. This allows air through but prevents the canvas or paint flakes (if any) from being pulled into the vacuum. Gently vacuum over the screen. Brush or vacuum the stretcher bars as well. For the frame, gently dust with a soft cloth or brush, paying attention to crevices. If the frame is ornate or has specific finishes, research appropriate cleaning methods for that material (wood, metal, etc.) separately.
- What NOT to use: Do not use water or cleaning solutions on the raw canvas on the back, as this can cause staining, mold, or affect the tension of the canvas. Avoid harsh chemicals on the frame that could damage its finish or seep into the canvas.
Cleaning Framed Acrylic Paintings
If your acrylic painting is framed behind glass or acrylic glazing, the cleaning approach differs slightly, focusing primarily on the protective layer.
- Cleaning the Glazing: Dust the frame and glazing first with a soft brush or dry microfiber cloth. For fingerprints or smudges on the glass/acrylic, use a cleaner specifically designed for that material (e.g., ammonia-free glass cleaner for glass, a plastic cleaner for acrylic). Crucially, spray the cleaner onto the cleaning cloth first, not directly onto the glazing. This prevents liquid from seeping under the frame and potentially damaging the artwork or matting. Wipe the glazing gently.
- Cleaning the Artwork: Remember, the glazing is there to protect the artwork from dust and environmental factors. If dust or debris is behind the glazing, or if the artwork itself appears dirty, do not attempt to clean it yourself by removing the frame unless you are experienced in art handling and framing. It's often best to consult a professional framer or conservator in this case.
Cleaning Different Surfaces (Canvas vs. Panel)
Acrylics can be painted on various surfaces, most commonly canvas and rigid panels (like wood or hardboard). While the paint itself is the same, the support can influence cleaning slightly.
- Canvas: Canvas is flexible and porous. Textured canvas can trap more dust. The main difference here is the vulnerability of the canvas itself to moisture on the back (as mentioned in Rule 3) and the need for gentleness to avoid flexing or damaging the fabric support, especially with textured paint layers.
- Panel: Rigid panels are less susceptible to flexing and moisture damage on the back. However, the paint layer on a panel is still vulnerable to abrasion and chemicals. Cleaning methods remain the same – gentle dusting is primary, spot cleaning with distilled water is secondary and cautious. The rigidity of the support doesn't make the paint layer invincible.
Deeper Cleaning (Approach with Extreme Caution)
For overall grime or stubborn dirt that won't come off with dusting or spot cleaning, my personal best practice is simple: don't do it yourself. This includes things like smoke residue, significant yellowing, or widespread surface grime that has built up over years.
Acrylic paintings can accumulate layers of grime over many years, especially if they've been in smoky environments or areas with high air pollution. Removing this layer requires specialized knowledge, solvents, and techniques that only a professional art conservator possesses. While conservators do use solvents, they are specifically chosen and applied with precision to remove varnish or grime layers without damaging the underlying acrylic paint. This is not something to experiment with at home.
Trying to wash an entire acrylic painting with water or any other substance is incredibly risky. You could push dirt deeper into the pores, damage the paint layer, affect the varnish (if there is one), or even encourage mold growth if moisture gets trapped. If you notice fuzzy or discolored spots that look like mold or mildew on the paint surface itself, that's definitely a sign to call an expert, as it can quickly cause irreversible damage.
- My Advice: If your painting needs more than a gentle dust or a tiny spot clean with distilled water, it's time to consult a professional art conservator. They have the expertise and tools to assess the condition and clean it safely. Yes, it costs money, but it's an investment in preserving the artwork. Think of them as having artistic superpowers and magical potions for art emergencies. You can often find accredited conservators through professional organizations.
Cleaning Before Varnishing
If you're an artist or planning to varnish your painting, ensuring the surface is perfectly clean before applying varnish is absolutely critical. Any dust, dirt, or residue trapped under the varnish will be there permanently. A thorough, gentle dusting (Rule 1) is usually sufficient, but make sure the painting is completely dry if you've done any spot cleaning. The varnish needs a clean, dry surface to adhere properly.
What NOT to Do (Learned the Hard Way, So You Don't Have To)
Knowing what to do is half the battle; the other half is knowing what never to do. Seriously, avoid these like the plague – the potential for irreversible damage is high:
- Using Chemicals: Soaps, detergents, ammonia, alcohol, window cleaner, paint thinners, solvents (unless you are a trained conservator using specific materials) – just say no. They can react unpredictably with the acrylic polymer or varnish, causing discoloration, softening, or irreversible damage. Even 'mild' household cleaners are formulated for different surfaces and can be too harsh.
- Rubbing: Acrylic is flexible, but rubbing can still cause abrasions, especially if there's any grit on the surface or your cloth. It can also push dirt deeper into the paint's pores or damage textured areas.
- Using Too Much Water: Excess moisture can weaken the canvas, affect the stretcher bars, and potentially lead to mold or mildew growth, particularly on the back of the canvas or within the structure.
- Using Rough Materials: Paper towels, rough cloths, or stiff brushes are too abrasive and can scratch the surface.
- Cleaning Varnished vs. Unvarnished Paintings the Same Way: If your painting is varnished (and you know what type of varnish was used), the cleaning approach might differ slightly. A non-porous varnish provides a protective layer that takes the wear, making dusting slightly easier and offering a bit more resistance to minor surface grime. However, gentleness is still paramount, and harsh chemicals can still damage the varnish itself. Unvarnished acrylic is more vulnerable as you are directly interacting with the paint surface.
- Attempting to Clean Specific Grime: Trying to remove things like smoke residue, sticky substances, or significant discoloration yourself is highly likely to cause damage. These require professional assessment and specialized techniques.
- Touching the Surface: Ideally, avoid touching the surface of any painting. Oils from your skin can transfer to the surface and attract dirt over time. If you need to handle the painting, hold it by the sides of the canvas or frame.
Prevention is Always Better Than Cure
An ounce of prevention is worth a pound of cure, especially when it comes to your precious art! Wouldn't it be great if you barely had to clean your paintings? The easiest way to deal with cleaning is to minimize the need for it in the first place. A little bit of proactive care goes a long way in preserving your art.
Mind the Environment
Where you hang your painting matters. Avoid direct sunlight (which can fade pigments over time), areas with high humidity (like bathrooms, unless the art is specifically made for it - see my thoughts on Bathroom Art Guide: Style & Survival in Steamy Spaces), or places prone to grease and grime (like directly above a stove). Stable temperature and humidity are ideal. Extreme fluctuations can cause the canvas and paint layer to expand and contract, potentially leading to cracks or other damage over time. Keeping the general environment clean also helps reduce dust buildup.
Frame and Protect
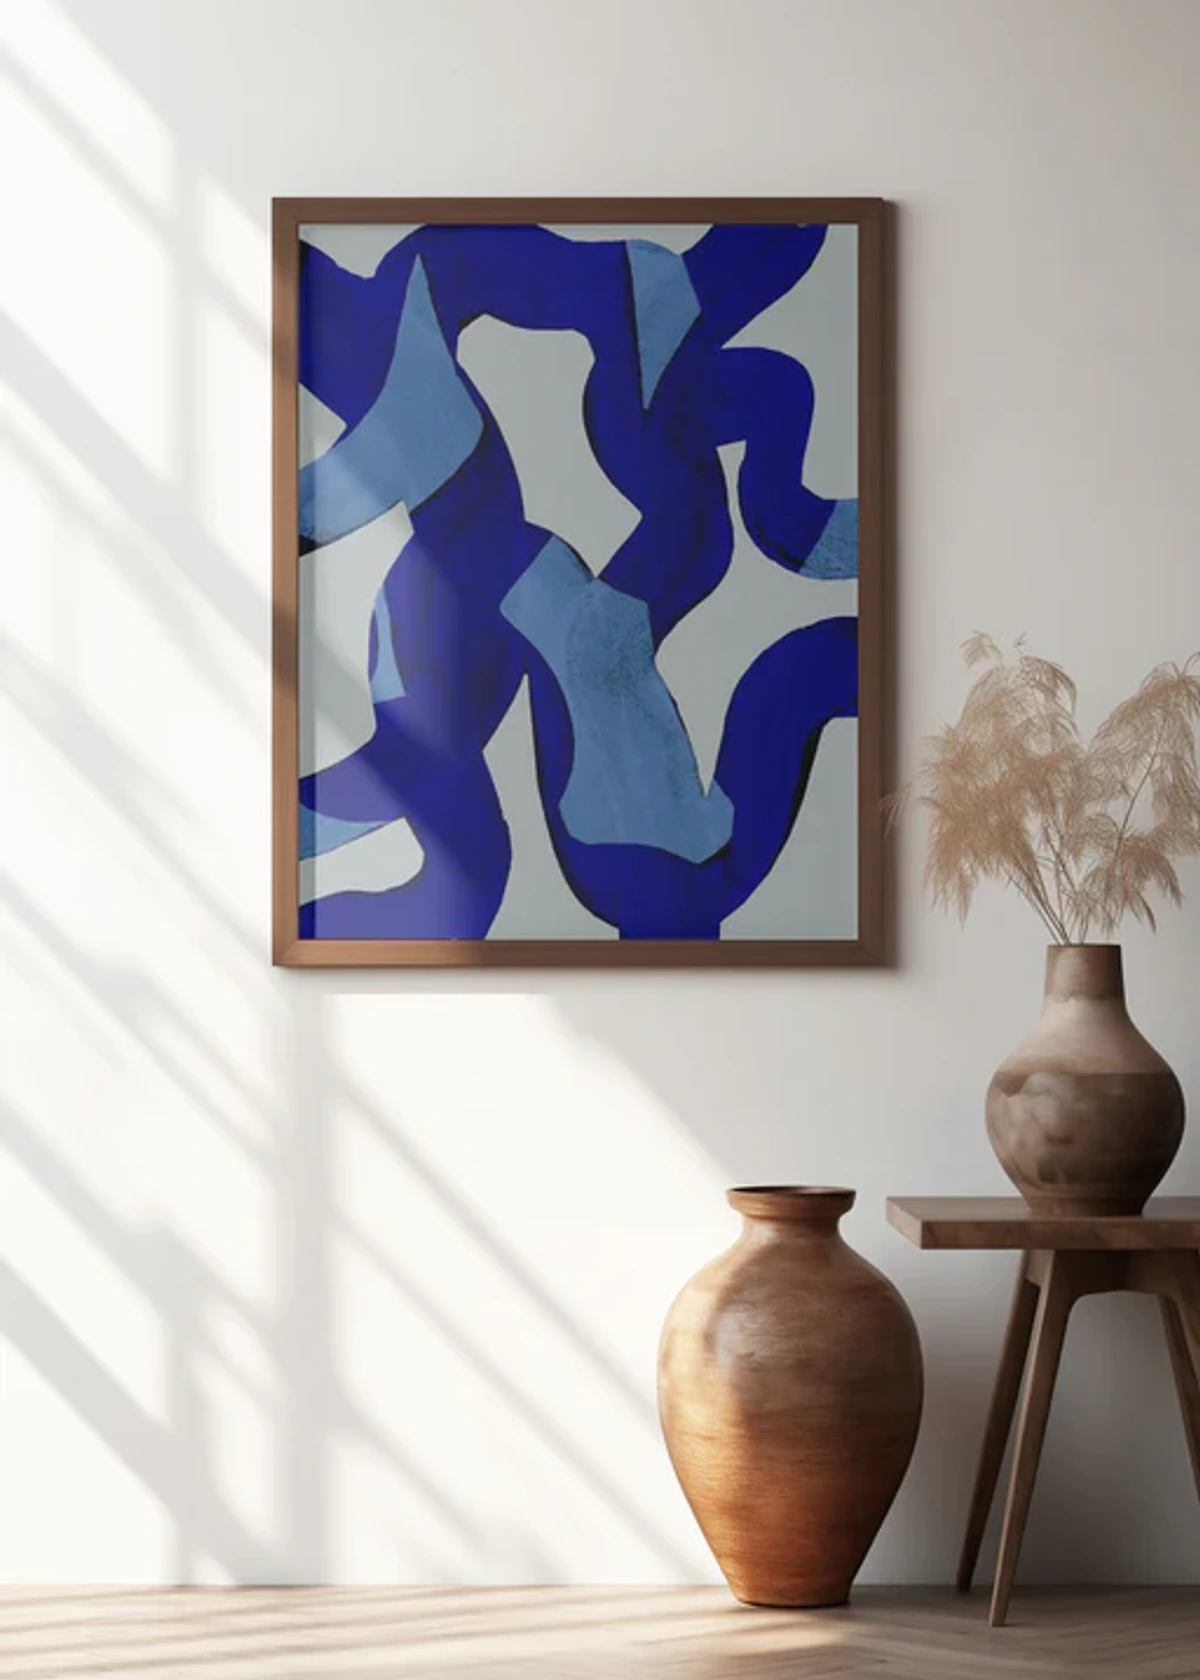
Framing can offer a layer of protection from dust and physical damage. Using conservation-grade framing materials, like UV-filtering glass or acrylic, can also protect against light damage. If you're curious about framing, I've shared my thoughts in The Ultimate Guide to Framing Your Artwork: Tips & Techniques.

Regular, Gentle Dusting
Make gentle dusting a regular part of your home cleaning routine. It only takes a minute or two per painting and prevents dust from building up and becoming a bigger problem. It's much easier to remove light dust than ingrained grime.
When in Doubt, Ask an Expert
I cannot stress this enough. If you have a valuable painting, an antique, or a piece with significant sentimental value that needs more than simple dusting or a tiny spot clean, please consult a professional art conservator. They are trained to understand the materials and apply the correct, least invasive methods. Trying to fix a problem yourself with the wrong approach can cause irreversible damage. This is especially true for complex issues like mold, smoke damage, or sticky residues.
It's like trying to perform surgery based on a YouTube video. Just... don't. You can often find accredited conservators through professional organizations.

Frequently Asked Questions About Cleaning Acrylic Paintings
Here are some common questions I hear or have had myself:
Can I use glass cleaner on my framed acrylic painting?
Absolutely not. Glass cleaner contains ammonia and other chemicals that can damage both the acrylic paint and any varnish layer. If the painting is behind glass, clean the glass carefully with glass cleaner only on the outside, spraying the cloth first, not the glass directly, to avoid liquid seeping under the frame. For the painting itself, follow the dusting and distilled water spot cleaning rules.
How often should I clean my acrylic painting?
It depends on the environment. In a typical home, gentle dusting every few months is usually sufficient. If it's in a dusty or high-traffic area, you might need to dust more often. Only spot clean as needed. Prevention (controlling the environment) is key to reducing the frequency needed.
Can I use a vacuum cleaner to dust my painting?
No! The suction can be too strong and potentially pull paint flakes or damage the surface. The brush attachment might also be too stiff or contain trapped grit. Stick to a dedicated soft brush for the front. For the back of the canvas, a vacuum on a low setting with a brush attachment and screen can be used, as described in Rule 3.
My painting has a sticky residue or smoke damage. What should I do?
This is definitely a job for a professional conservator. Sticky residues can be complex (varnish issues, environmental pollutants, etc.) and require specific solvents and techniques to remove safely without damaging the paint. Smoke damage is also notoriously difficult to remove from porous surfaces like acrylic paint without causing smearing or damage. Don't try to tackle this with household products.
What about mold or mildew?
If you see fuzzy or discolored spots that look like mold or mildew on the paint surface, do not attempt to clean it yourself. This requires immediate professional intervention as mold can quickly eat into the paint layer and cause permanent damage. If it's only on the back of the canvas or stretcher bars, gentle vacuuming (Rule 3) might help, but controlling humidity is the best prevention.
Final Thoughts: It's About Preservation, Not Perfection
Caring for your acrylic paintings doesn't have to be a stressful ordeal. It's mostly about being mindful and gentle. Regular, simple dusting is your best friend. For anything more serious, knowing when to call in a professional is key. It's about preserving the artwork's integrity and beauty for the long term.
Your art is an investment, not just financially, but in joy and personal connection. Taking a little time to care for it ensures it stays vibrant and beautiful for years to come. And hey, maybe while you're dusting, you'll notice a detail you hadn't seen before. It's a nice little bonus.
If you're looking to add more pieces to your collection, perhaps some vibrant acrylics, you can always explore my available art. Or, if you're ever near 's-Hertogenbosch, feel free to visit my museum to see how I care for my own collection (and maybe share a coffee, far away from the art!).


