
Your Ultimate Beginner's Art Supply Guide: Start Creating with Confidence
Feeling lost in the art supply aisle? This definitive guide simplifies essential drawing, painting (acrylics, watercolors, gouache), and digital tools for beginners. Learn smart buying tips, avoid common mistakes, and confidently choose your first art supplies to begin your creative journey.
Your Ultimate Beginner's Art Supply Guide: Start Creating with Confidence
I know what you're probably thinking: that electrifying urge to create is often quickly followed by the paralyzing fear of the art supply aisle. I've been there, staring blankly at shelves filled with brushes, paints, and pencils, wondering what on earth I actually needed. My mind would race, convinced I'd buy the wrong thing, or worse, miss out on the perfect tool that would unlock my inner Picasso. I even once bought an entire set of oil pastels because they looked pretty, only to realize I had no idea how to use them – talk about an expensive, albeit colorful, lesson in misdirected enthusiasm! If that sounds familiar, consider this your lifeline. This isn't just a list; it's your comprehensive blueprint to confidently step into the world of art. I've navigated the intimidating art supply aisle, made all the wrong purchases, and finally figured out what truly matters, and I'm here to share it all with you.
My whole philosophy when it comes to art, especially for beginners, is to start simple. You don't need a professional studio overflowing with every imaginable tool (though, let's be honest, it's a dream, right?). What you need are a few foundational pieces that allow you to experiment, to play, and most importantly, to just begin. The magic isn't in the expensive brush; it's in the stroke you make with it, and the joy you find in the process. This guide will walk you through the essentials for both drawing and painting, making sure you feel equipped, not overwhelmed. We're aiming to be the ultimate, most comprehensive, and engaging source for finding information on this topic, so let's get you creating with confidence!
Where to Begin? Understanding Your Artistic Journey
Before we dive into actual lists, let me tell you a little secret: there's no "right" way to be an artist. Some people adore the precision of drawing, others crave the fluidity of paint, and some (like me!) love to mix it all up. Your journey is yours alone, and the best way to figure out what you love is to simply try things. Don't get bogged down by needing to be perfect; just focus on the process and the learning. Different art movements throughout history, from the expressive brushwork of Impressionism (made possible by new tube paints, which allowed artists to leave the studio and paint en plein air, capturing fleeting moments of light and color) to the bold forms of Cubism, all started with artists exploring their materials in novel ways. You're doing the same, embarking on a creative journey that is uniquely yours!
I'm not going to throw a million things at you. Instead, I'll break it down into universal essentials, delve into popular mediums, and even touch on digital possibilities. Think of this as me holding your hand through that intimidating art supply aisle, ready to demystify it all.
Student-Grade vs. Professional-Grade: Why It Matters for Your Starter Kit
When you first start shopping, you'll inevitably encounter "student-grade" and "professional-grade" labels. Understanding the difference is your first step to smart buying, and honestly, it can save you a ton of money and frustration. For a beginner, this distinction isn't about artistic merit, but about practical learning.
- Student-Grade: This is your best friend right now. These supplies are more affordable because they generally contain less pure pigment and more fillers. This means they might offer slightly less intense color and might have slightly less lightfastness (meaning they could fade over many decades if exposed to direct sunlight). But don't let this scare you! For almost all beginner work, practice pieces, and studies, this is a minimal concern. We're talking about artwork lasting for decades, not masterpieces destined for a climate-controlled vault (yet!). Student-grade paints can also sometimes have slightly different binders, affecting flow and texture, or simpler pigment formulations. (The binder is essentially the 'glue' in paint – it holds the pigment particles together and allows them to stick to the surface). But for learning, practicing, and experimenting, they are absolutely perfect. You get good quality without the hefty price tag, freeing you to make mistakes and explore without financial stress. Seriously, don't worry about fading on your practice sketches; the goal is to learn and enjoy!
- Professional-Grade: These supplies boast higher concentrations of pure pigment, superior lightfastness (crucial for archival quality and gallery-bound work, ensuring your art can last for centuries), and often a finer, more consistent consistency and flow. They are designed for artists who need archival quality and intense, predictable color for commissioned work or gallery pieces. Lightfastness is often indicated by ASTM ratings: I (Excellent), II (Very Good), or III (Fair). You'll want to explore these later, once you've found your preferred medium and refined your techniques. Think of it like this: you don't need a Formula 1 race car to learn how to drive; a reliable family car will do just fine, and teach you all the fundamentals.
For now, stick to student-grade. It's not "lesser" art; it's simply a smart starting point that empowers you to create freely.

The Absolute Essentials: Foundation Supplies for Any Budding Artist
With a clearer understanding of your own artistic leanings and the student-grade philosophy, let's equip you with the foundational tools that will bring your visions to life. These are the things I'd tell my younger self to grab first, no matter what kind of art I thought I wanted to make. They're versatile, affordable, and just plain essential. Mastering these basics will give you an incredible foundation for any artistic direction you choose.

Paper & Sketchbooks: Your First Canvas (and Many More!)
You might be thinking, "Paper? Duh." But hear me out. Not all paper is created equal, and choosing the right surface is foundational. For a beginner, I always recommend a good quality sketchbook and some loose drawing paper. This is probably the one area where skimping will lead to immediate frustration for you. Trust me, I've had countless sketches ruined by flimsy, pilling paper – a common beginner mistake that can easily be avoided! I once spent an entire afternoon on a drawing, only to have it ruined by pilling (when paper fibers rub against each other and lift up, creating annoying little balls, typically from too much erasing or moisture on poor-quality paper) when I tried to blend a shadow. It was a stark lesson in paper quality! Buckling, on the other hand, is when paper warps or wrinkles from being too wet.
- Sketchbook: Look for something with decent paper weight (around 80-100 gsm – grams per square meter, indicating thickness). To give you a reference, standard printer paper is usually around 80 gsm, so you're looking for something that feels a bit more substantial, almost like a thick magazine page. It should be able to handle pencils, pens, and maybe even a light wash of watercolor without buckling too much. It's your safe space for ideas, mistakes, and tiny masterpieces.
- Drawing Paper: Grab a pad of versatile drawing paper. Again, don't go for the cheapest printer paper; it'll frustrate you with its lack of "tooth" and tendency to tear or pill. Tooth refers to the subtle texture or roughness of the paper's surface, much like the tread on a tire grips the road. This grip is what allows pencils and pastels to leave their mark and for paint to adhere smoothly. Different tooth levels will hold pigment differently:
- Smooth (Hot-Press for wet media): Great for fine details, ink, markers, and very delicate pencil work. Minimal texture, like a smooth eggshell. It's fantastic for precise lines and subtle gradations, but can be unforgiving if you want to build up layers with dry media, as the pigment might struggle to adhere after the first few passes.
- Medium (Cold-Press for wet media): A versatile all-rounder for graphite, charcoal, colored pencils, and even light washes. Offers enough grip without being too textured, like a subtle orange peel. This is what I usually recommend for beginners as it's the most forgiving, allowing for both smooth blending and good texture retention.
- Rough (Rough for wet media): Fantastic for capturing the grain of charcoal, creating textured washes with watercolor, and expressive dry media techniques. It has a pronounced texture, like coarse fabric. With colored pencils, for example, a rougher tooth will create a 'broken' effect, where the pigment catches only on the peaks, leaving the valleys of the paper visible for interesting textures.
A medium-weight drawing paper (around 120-160 gsm) is a great all-rounder, offering good erasability and resilience for various dry media. It will feel noticeably thicker and more robust than printer paper, providing a much more satisfying drawing experience.
Here’s a quick overview of essential paper types for beginners:
Paper Type | Recommended GSM (Weight) | Ideal Use | Key Feature for Beginners |
|---|---|---|---|
| Sketchbook Paper | 80-100 gsm | Daily sketching, ideation, light pen/pencil work | Versatile, portable, encourages experimentation without pressure, and stands up to light use. |
| Drawing Paper | 120-160 gsm | Graphite, charcoal, colored pencils, pastels | Good tooth for pigment adhesion, durable for erasing, less buckling than printer paper. |
| Watercolor Paper | 300 gsm (140 lb) | Watercolors, gouache, inks, wet media | Prevents buckling, allows beautiful washes and layering, crucial for wet techniques and preserving luminosity. |
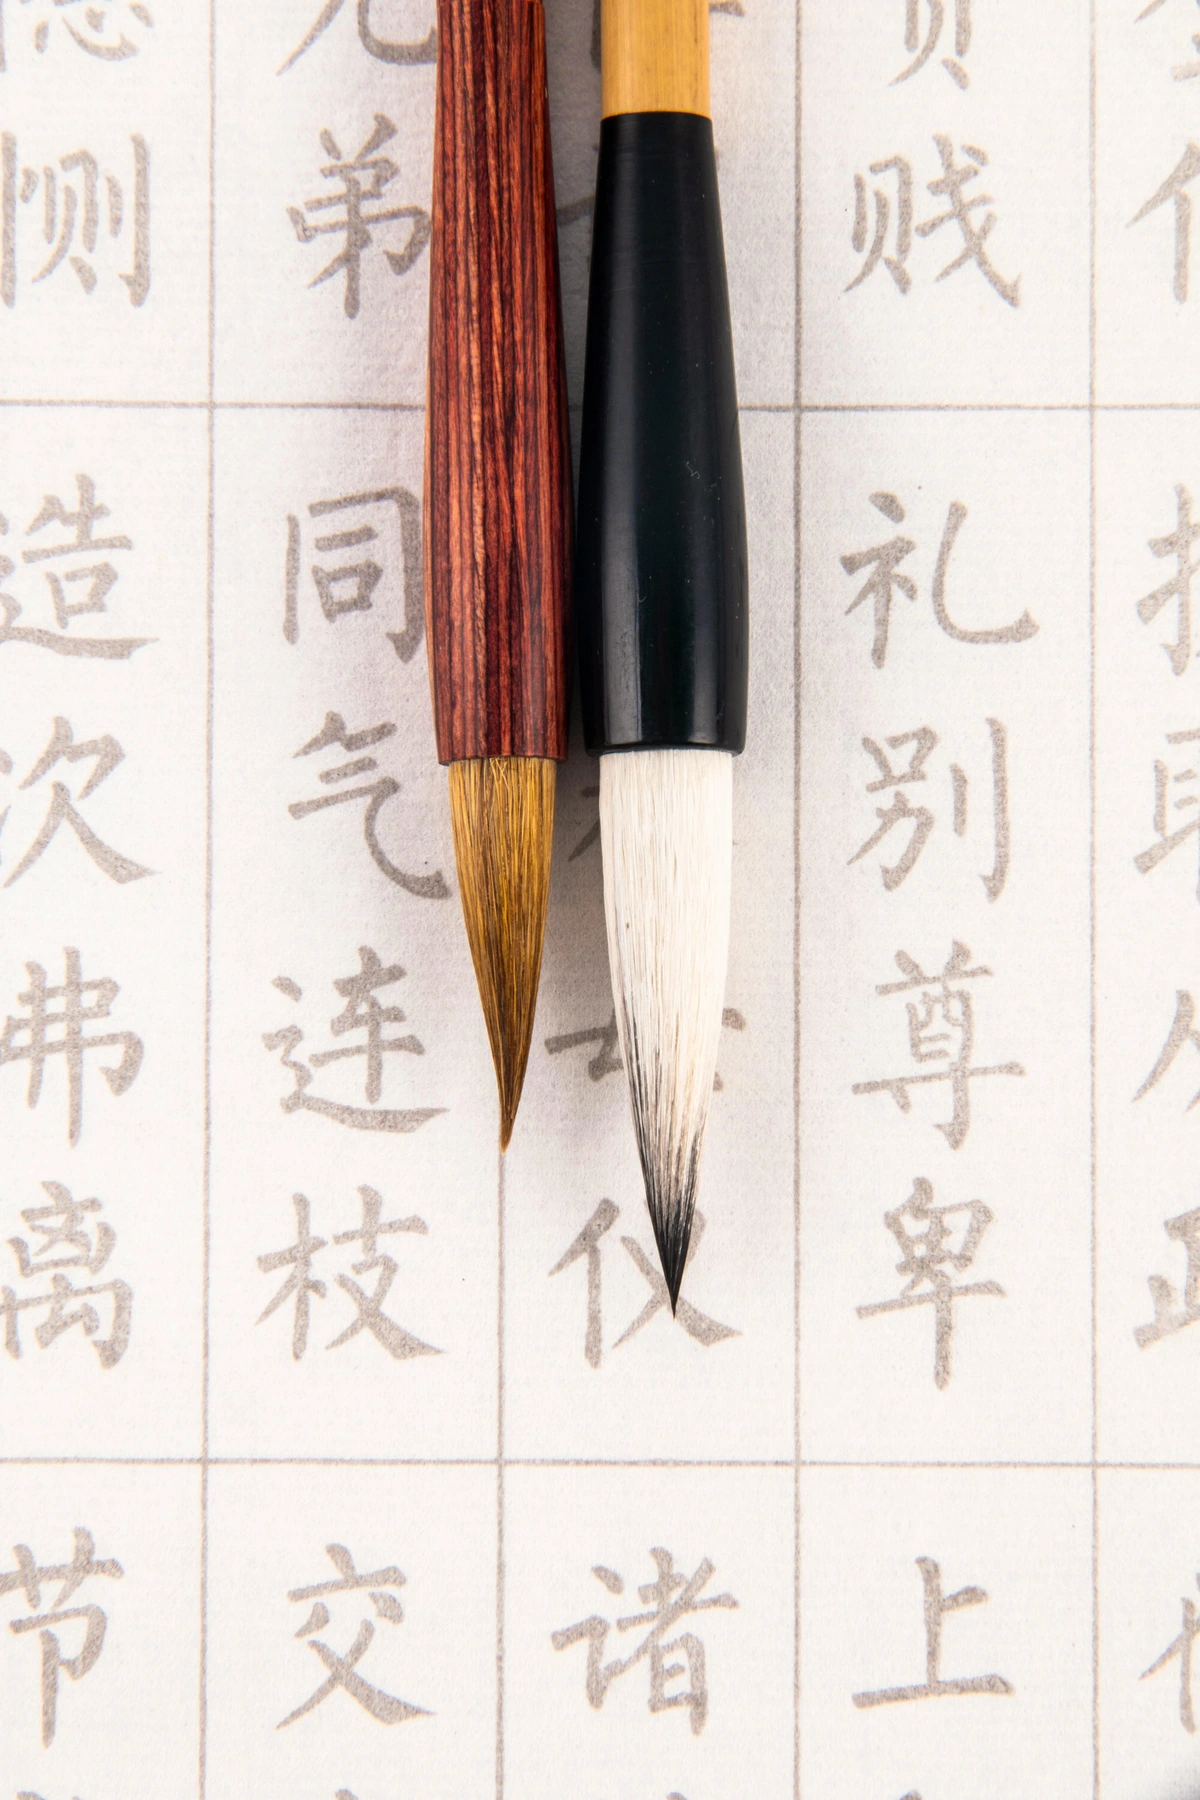
Drawing Tools: Where All Art Truly Begins
This is where the magic begins without too much mess (usually!). Drawing is the foundation of so much art, helping you understand form, light, shadow, and composition. Honestly, sometimes it's all you need to feel creatively satisfied.
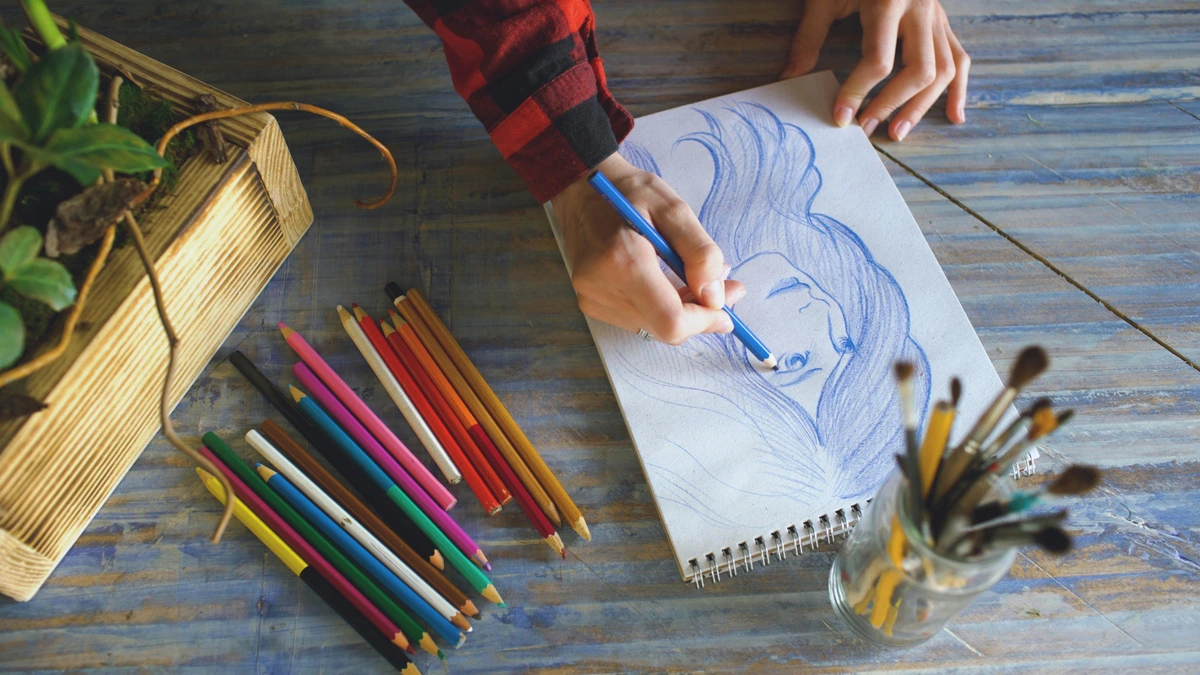
- Graphite Pencils: Get a small set of drawing pencils. I'd suggest something like a 2H (harder lead, for light sketches, fine details, and initial compositional outlines), HB (the standard, everyday pencil for outlines and general drawing), 2B, 4B, and maybe even a 6B (softer leads, for darker lines, rich shading, and expressive marks). This range, spanning from hard (H) to black (B), lets you explore different tones and textures, which is crucial for building dimension. Graphite pencils, with their controllable range and erasability, have been a staple for artists for centuries, offering a level of precision and versatility that earlier charcoals couldn't easily match.
- Erasers: A good kneaded eraser (it's soft, moldable, and lifts graphite gently without smudging, even allowing you to create highlights!) and a vinyl/plastic eraser (for tougher marks and crisp edges) are your best friends. They're the unsung heroes of the art world, patiently cleaning up your accidental masterpieces (or complete disasters). Trust me, you'll be using them often!
- Pencil Sharpener: Sounds obvious, but a decent one makes a huge difference. Avoid frustrating broken leads! Either a small metal manual one or a hand-crank sharpener will do the trick, giving you a consistent, sharp point. No one wants a stubby pencil when inspiration strikes.
Adding Color & Expression: Optional Dry Media
Once you're comfortable with graphite, you might want to venture into other dry mediums to add color or dramatic effect. This is where you start to infuse your personal style!

- Colored Pencils & Soft Pastels: If you're drawn to color but not ready for paint, a basic set of colored pencils can be incredibly rewarding. They're less messy than paint and offer a beautiful way to add vibrancy and blend colors with precision. Alternatively, soft pastels (like colorful chalk pastels) provide a more painterly, blendable experience, perfect for broad areas of color and soft transitions. Just a heads-up: while soft pastels are powdery and need fixing, oil pastels (remember my anecdote?) are known for their vibrant, creamy texture, allowing for bold marks and easy blending, often used for expressive, painterly effects. Just be aware they don't truly dry and can smudge, so careful handling is key! If crisp lines and smooth gradients are your jam, alcohol-based art markers can also be a fantastic option, though they can be a bit pricier.

- Charcoal: For a wonderfully expressive and dramatic dry medium, consider a few pieces of charcoal. Vine charcoal is soft, easy to erase, and great for loose sketching and light tonal work—perfect for quick gestures and subtle shifts in value. Compressed charcoal comes in sticks and pencils, offering much darker, richer blacks that are harder to erase but perfect for deep shadows, bold statements, and intense contrasts. It's a fantastic way to explore value and form quickly. For those worried about smudging, a fixative spray (use in a well-ventilated area!) can help set charcoal drawings.
Specialty Drawing Tools & Blending
- Blending Tools: Small tools like blending stumps or tortillons (tightly rolled paper sticks) can elevate your pencil and charcoal drawings by creating smooth gradations and softening edges, giving your work a more polished look. Don't underestimate the power of a smooth blend. You can even use a cotton swab for larger areas, but avoid using your fingers too much, as the oils from your skin can leave marks and degrade the paper over time.
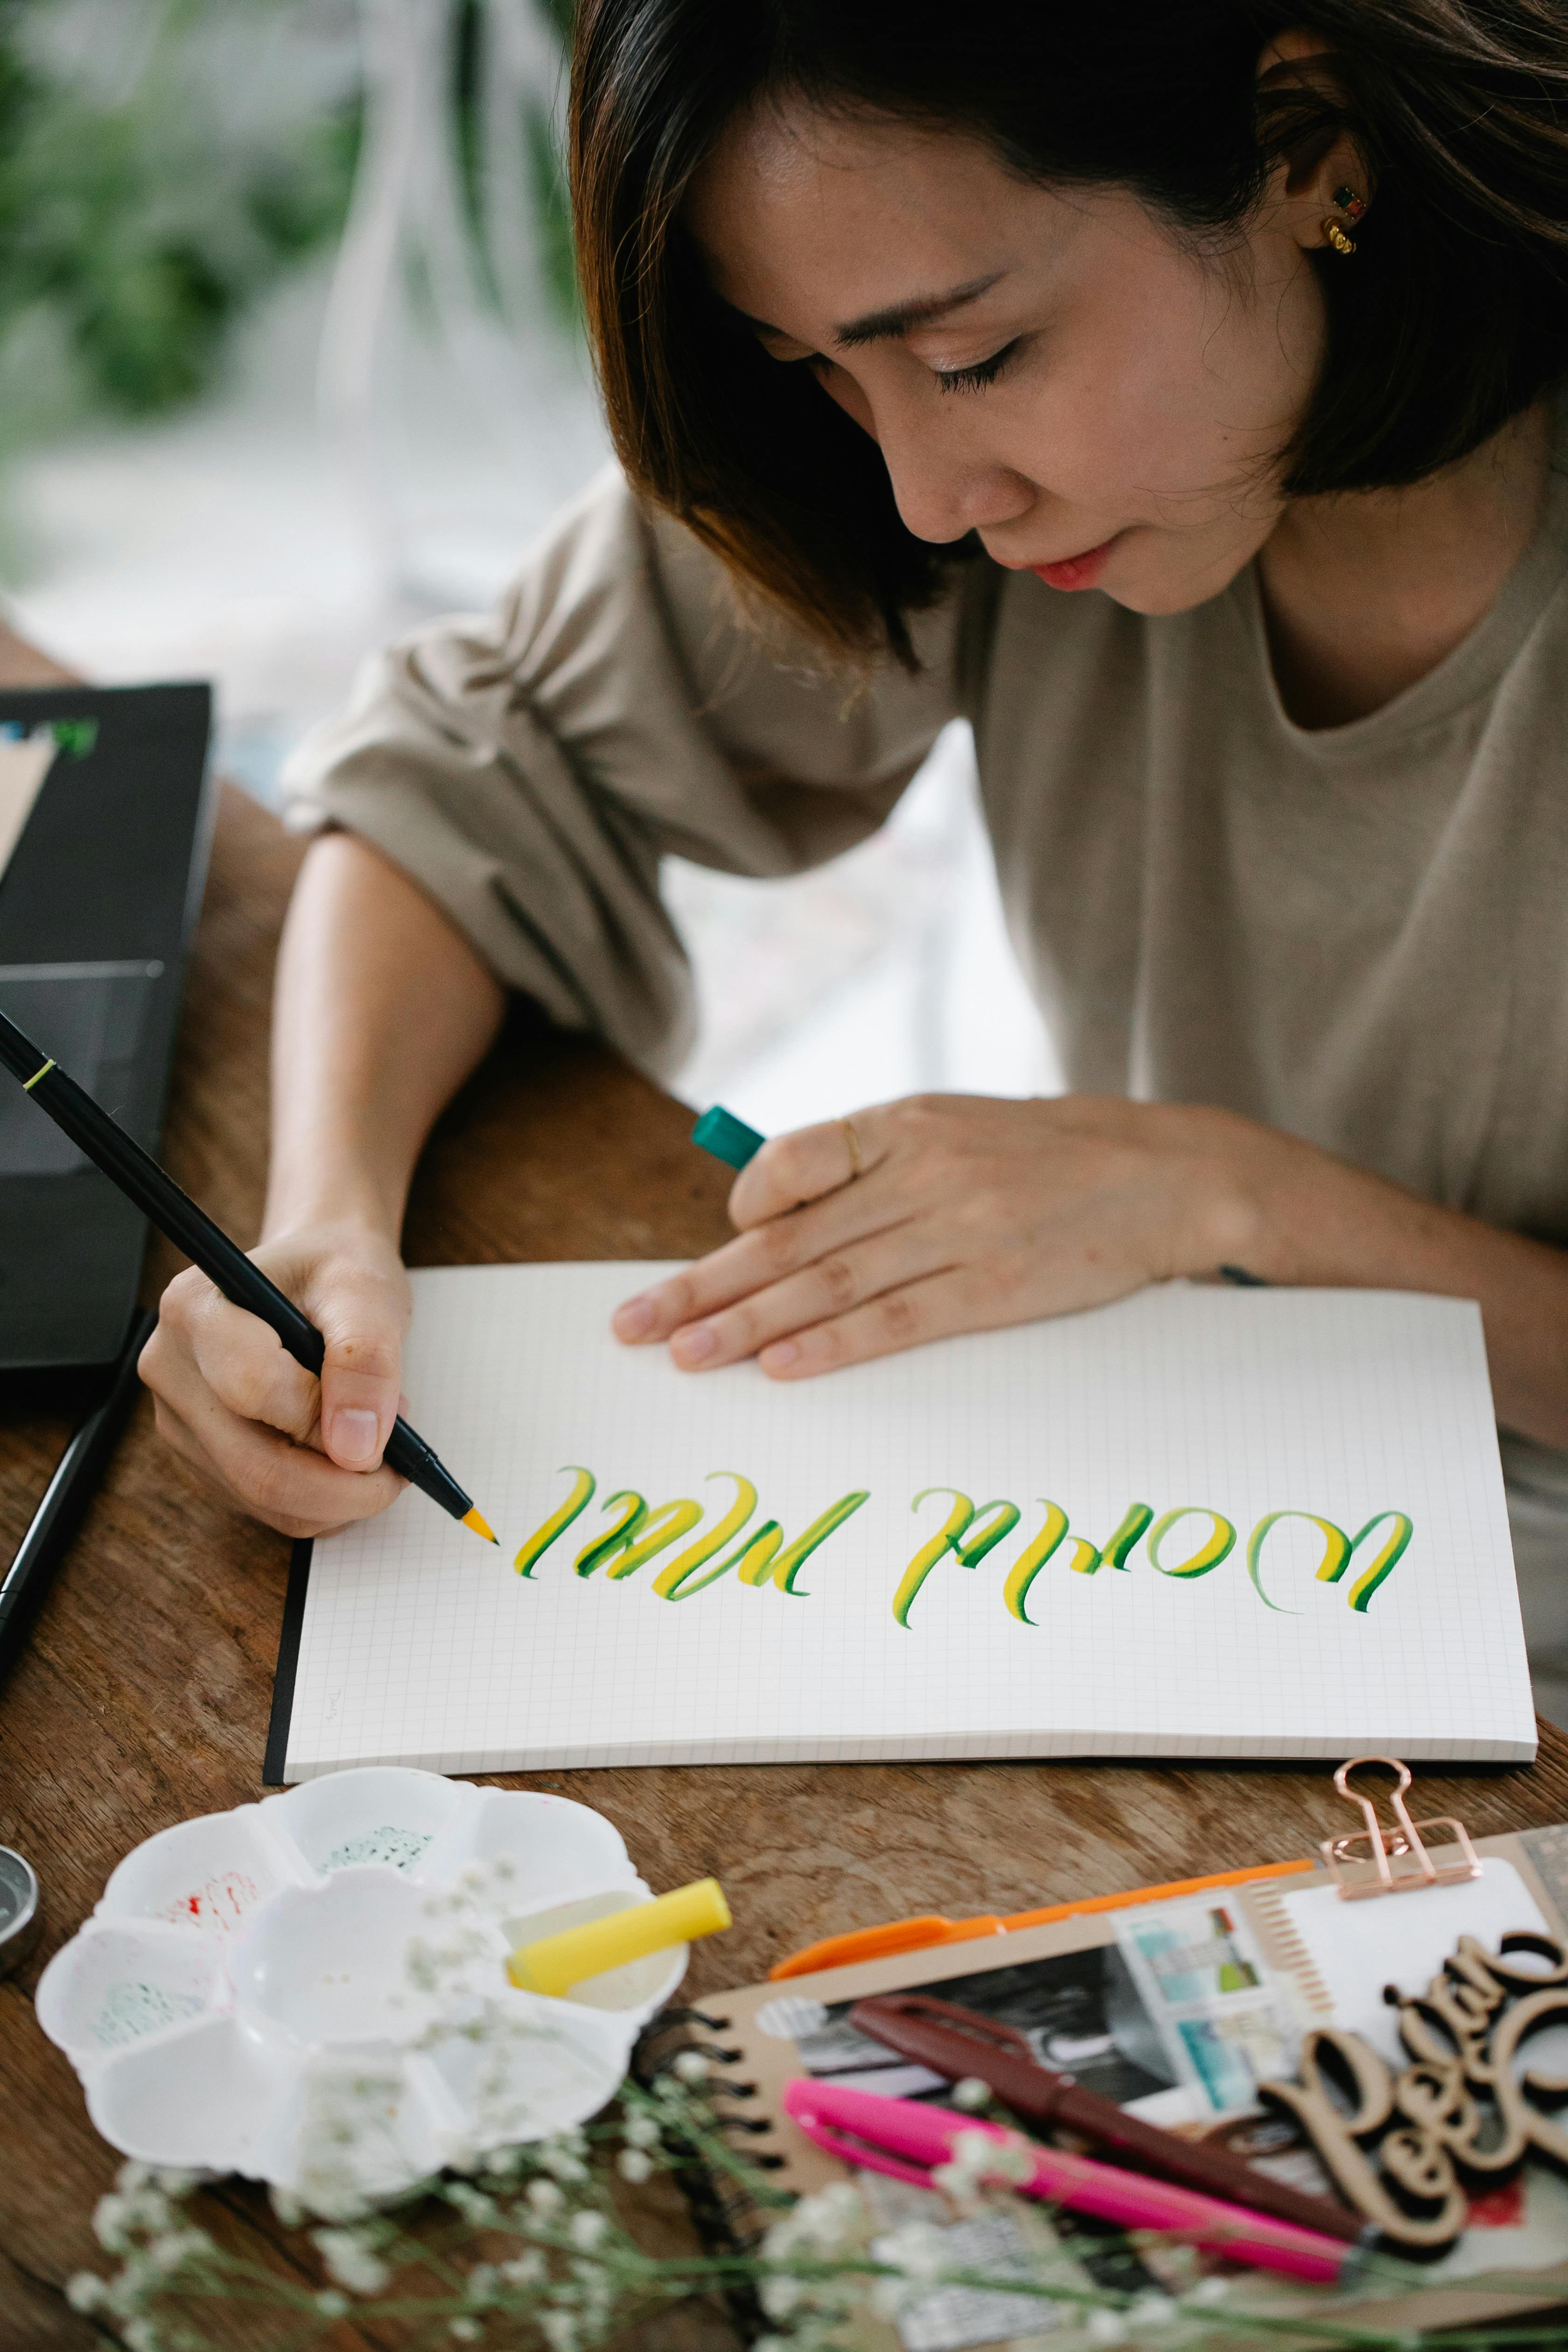
- Calligraphy Pens: If precise lines and elegant scripts appeal to you, a basic set of calligraphy pens can be a wonderful entry point into decorative drawing and lettering, combining artistic expression with a disciplined hand. For more, check out essential calligraphy supplies for beginners.
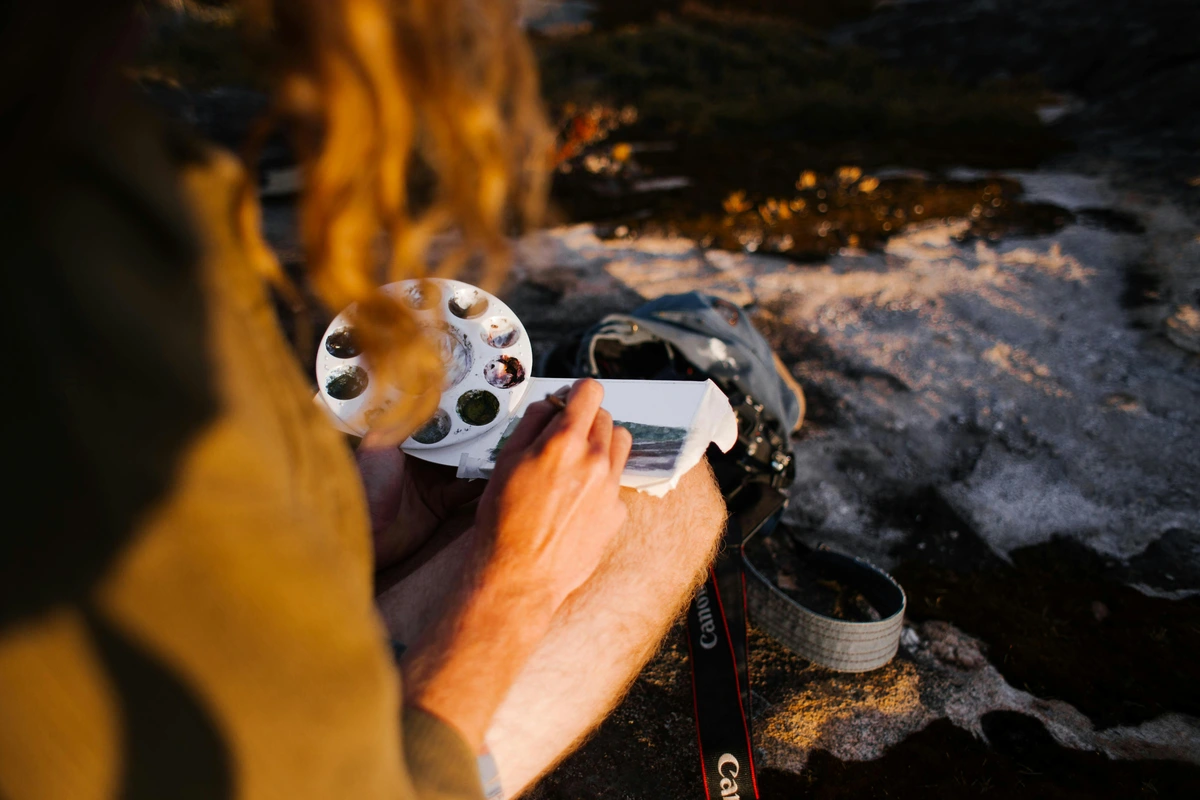
Diving Into Color: Painting Supplies for New Explorers
Alright, if you're anything like me, the vibrant world of paint is probably calling your name. It's a completely different beast from drawing, but oh so satisfying. Before we dive headfirst into tubes and palettes, let's get a foundational understanding of color itself—it's the language that paints speak, and knowing its grammar will make you a much more confident communicator. For beginners, I usually recommend either acrylics, watercolors, or gouache. They're all water-soluble, meaning easy cleanup (a huge plus!), but they offer very different experiences. For a broader overview of paint types, you might like my definitive guide to paint types for artists.
Here’s a quick comparison of these beginner-friendly paints:
Paint Medium | Key Characteristics | Pros for Beginners | Cons for Beginners |
|---|---|---|---|
| Acrylics | Opaque, quick-drying, plastic-based | Versatile, forgiving (can paint over mistakes), vibrant, works on many surfaces. | Dries quickly (less blending time), brushes need immediate cleaning to prevent hardening. |
| Watercolors | Transparent, re-activatable with water | Luminous, delicate washes, portable, easy cleanup. | Less forgiving (hard to correct), requires specific paper, can be tricky to control water. |
| Gouache | Opaque watercolor, matte finish | Vibrant, re-activatable (can lift/rework), great for illustration, dries matte. | Can look chalky if too much water (when over-diluted), dries lighter/darker than when wet (color shift), requires specific paper. |
A Quick Introduction to Color Theory: Your Mixing Toolkit
Before we grab the paints, a tiny detour into color theory will empower your mixing. You don't need to be an expert, but understanding the basics makes a huge difference in your ability to create the hues you envision.

Here are the essentials to get you started:

- Primary Colors: Red, Blue, Yellow. These are the foundational colors you can't create by mixing others. Your starter paint set will usually include these!
- Secondary Colors: Orange (Red + Yellow), Green (Blue + Yellow), Purple (Red + Blue). You create these by mixing two primary colors.
- Tertiary Colors: These are created by mixing a primary and a secondary color (e.g., Red-Orange, Blue-Green). They fill out the color wheel.
- Warm vs. Cool Colors: Reds, oranges, and yellows are "warm" (think sun, fire), often feeling energetic or advancing. Blues, greens, and purples are "cool" (think water, sky), often feeling calming or receding. Playing with this contrast can add incredible depth to your work.
- Tints, Tones, and Shades: Understanding these will unlock endless possibilities. A tint is a color mixed with white (making it lighter), a shade is a color mixed with black (making it darker), and a tone is a color mixed with grey (desaturating it). Try mixing a primary color with varying amounts of its complement (the color opposite on the color wheel, e.g., red and green) and white, just to see the incredible range of tones you can create. This teaches you invaluable color mixing skills that will serve you well no matter what medium you choose.
With just a basic set of primary colors, black, and white, you can mix an astonishing array of hues. It's truly amazing what you can achieve! I found that focusing on mixing rather than buying every tube of paint not only saved me money but also dramatically improved my understanding of color relationships.

Acrylics: My Go-To for Vibrant Expression
Acrylics are incredibly versatile and forgiving, which makes them perfect for beginners. They dry quickly (a huge plus for layering, a slight challenge for blending), you can layer them endlessly, and they work on almost any surface – from paper to canvas to wood. My personal studio is often a kaleidoscope of vibrant acrylics. The quick drying time allows for fast progress and layering, but if you want more blending time, you can use a retarder medium or simply work in smaller sections or keep a spray bottle of water handy. This rapid drying time was a game-changer for artists when acrylics became widely available in the mid-20th century, allowing for new techniques and faster production than traditional oils. The binder in acrylics is an acrylic polymer emulsion, which essentially means it's a plastic-based paint that dries into a durable, flexible film, a bit like liquid plastic, which explains its quick drying and versatility.
Essential Acrylic Supplies:
- Acrylic Paints: Start with a basic set of student-grade acrylic paints. You don't need a massive array of colors; a primary palette (a warm red, a cool blue, a warm yellow) plus black and white will allow you to mix a surprisingly vast spectrum of hues, teaching you invaluable color mixing skills.
- Acrylic Brushes: A small selection of synthetic acrylic brushes will serve you well. I'd suggest a few flats (a larger one for broad strokes and washes, a smaller one for details) and a round brush (versatile for lines and curves). Synthetic bristles are durable, hold their shape well, and are easier to clean of fast-drying acrylics than natural hair brushes. And remember, clean your brushes immediately! Letting acrylic dry in the bristles is a sure-fire way to ruin them. I learned this the hard way with many a beloved brush ending up as a stiff, useless lump. For deep dives, I have thoughts on the best acrylic paint brushes for artists.
- Acrylic Surfaces: Canvases are classic, but you can also use thick paper (like the drawing paper we mentioned earlier!), wood panels, or even primed cardboard. If you're going for canvas, consider prepping it with gesso – a primer that creates a uniform, slightly absorbent surface. This improves paint adhesion, prevents your colors from sinking in too much (making them appear dull), and helps the paint flow more smoothly. I found that gesso made a huge difference in how my paints behaved and how vibrant my colors looked. There's even a beginner's guide to applying gesso.
- Water Containers & Rags: Two containers for water (one for the initial, dirty rinse to get off most paint, one for a cleaner, final rinse) and some old rags or paper towels for drying brushes and quick cleanups are non-negotiable. This simple system keeps your colors purer and extends the life of your brushes. This is a common beginner mistake I made too often: using just one muddy water pot! Learn from my struggles.
- Optional: Acrylic Mediums: As you progress, you might discover acrylic mediums. These aren't essential for beginners, but they can alter your paint's properties:
- Gloss Medium: Increases shine, transparency, and flow.
- Matte Medium: Reduces shine for a velvety, non-reflective finish.
- Retarder: Slows drying time, giving you more time to blend and manipulate the paint on the surface.
- Gel Mediums: Adds texture and extends your paint, making it more translucent or increasing body.
- Modeling Paste: Creates sculptural, dimensional effects.
- Pouring Mediums: Designed for creating fluid art and smooth, even pours.
Just know they exist for future exploration.

Watercolors: Lightness and Flow
Watercolors are all about transparency, luminosity, and delicate layering. They can be a bit trickier to master than acrylics because once they're down, they're significantly more challenging to correct (meaning less forgiveness for mistakes!), but the results are absolutely magical. It's a medium that truly teaches you patience and control over water. Transparency means the light reflects off the white paper, through the pigment, giving watercolors their characteristic glow. This is why layering colors on top of each other creates new hues, rather than covering the previous layer entirely (which is what opaque paints do). Understanding this fundamental difference is key to loving watercolors. The binder for watercolors is typically gum arabic, which allows the pigment to be re-activated with water even after drying, offering that unique blendability when wet.
Essential Watercolor Supplies:
- Watercolor Paints: A small pan set of student-grade watercolors is ideal. Pans are convenient, portable, and less messy than tubes for beginners. For specific recommendations, I've got an article on essential watercolor supplies for beginners.
- Watercolor Brushes: You'll want some soft watercolor brushes. A good round brush (size 6 or 8) is super versatile for both lines and washes, and maybe a flat wash brush for broader, even coverage. Natural hair brushes are traditional for watercolor, but good quality synthetic brushes are excellent and more affordable to start. They are designed to hold a good amount of water and release it evenly.
- Watercolor Paper: This is crucial for watercolor. You absolutely need watercolor paper (at least 140 lb or 300 gsm) to prevent "buckling" (the paper warping and wrinkling when wet) and allow the paint to flow beautifully without soaking through. Buckling happens because the paper fibers expand when wet and contract as they dry. Thicker paper is treated to handle this, maintaining its integrity. Regular drawing paper just won't cut it; it lacks the absorbency and strength. The type of watercolor paper (hot press, cold press, or rough) also makes a big difference. My guide on best watercolor paper for artists review is a good place to start.
- Water Container & Rags: As with acrylics, two water containers and paper towels are a must for controlling water and keeping your palette clean. This simple setup is vital for achieving those clear, vibrant watercolor washes. I promise, it's a small habit with huge returns for your art!

Gouache: The Best of Both Worlds?
If you like the water-soluble nature of watercolor but crave more opacity, gouache might be your jam. It's often described as opaque watercolor, offering vibrant, matte finishes. The binder is also typically gum arabic, but with added white pigment (like chalk) that makes it opaque. Its unique quality is that it can be reactivated and blended with water even after drying. This means you can easily re-wet areas to soften edges, lift color, or even rework entire sections, offering a level of forgiveness that traditional watercolor doesn't. This makes it a fantastic middle ground if you're not sure which direction you want to lean, perfect for illustration, graphic styles, or achieving smooth, flat blocks of color where you want both vibrancy and the ability to correct or blend with water. And don't worry about it looking "chalky"; that's usually only if it's over-diluted. Used properly, gouache offers rich, vibrant, and velvety matte colors. I've even reviewed some reviewing the best gouache sets for beginners!

A Note on Oil Paints
You might be wondering about oil paints. While they offer incredible blending capabilities and rich, luminous colors, they are generally a medium that requires more dedication and often a more established workspace, best explored after gaining experience with water-soluble paints. Why? They have very long drying times (which can be frustrating for a beginner), often require specific solvents for cleanup (which can have strong fumes and require good ventilation, along with careful disposal), and tend to be more expensive. The binder in oil paints is typically linseed oil, an oil that dries very slowly through oxidation, allowing for extended blending time and rich layers. It's a fantastic medium, but one to explore after you've gained confidence with water-soluble paints and are ready for a different challenge.
Your Absolute Beginner Starter Kit: A Comprehensive Checklist
Before you head out, here's a detailed checklist of the fundamental items I'd recommend to get you going. Remember to pick and choose based on whether you want to start primarily with drawing, painting, or a bit of both! If you're unsure, I always say: start with drawing; it's the foundation of everything.
Category | Essential Item | Why You Need It (Beginner's Perspective) |
|---|---|---|
| Foundation | Sketchbook (80-100 gsm) | Your safe space for ideas, practice, and quick studies; durable enough for various dry media without tearing or buckling excessively. From my experience, it reduces the pressure to be perfect. |
| Drawing Paper (120-160 gsm, medium tooth) | Versatile, good "tooth" for dry media, and resilient for erasing, providing a better experience than flimsy printer paper. I found this makes a huge difference in the quality of my lines and blending. | |
| Drawing Tools | Graphite Pencils (2H, HB, 2B, 4B, 6B) | Explore light, shadow, and detail; this range provides varied hardness for line weights and rich tones, crucial for building dimension. I guarantee you'll appreciate the versatility! |
| Kneaded Eraser | Lifts graphite gently without smudging, perfect for highlights and subtle corrections, preserving delicate areas of your drawing. I consider this an unsung hero. | |
| Vinyl/Plastic Eraser | For tackling tougher marks and achieving crisp, clean erasures, leaving sharp edges on your work. It's your reliable cleanup crew. | |
| Pencil Sharpener | Keep your points sharp and consistent, preventing frustrating broken leads and improving precision in your lines. No one wants a stubby pencil when inspiration strikes! | |
| Painting (Acrylics) | Student-Grade Acrylics (primary colors + B/W) | Versatile, quick-drying, forgiving, and allows you to mix a wide spectrum of colors from a limited palette, teaching invaluable color theory. I found this accelerates learning without financial stress. |
| Synthetic Brushes (flats, round) | Durable, easy to clean, and hold their shape well, ideal for handling the fast-drying nature of acrylics without damage. From my struggles, I can't stress immediate cleaning enough! | |
| Canvas or Thick Paper (primed with gesso) | Provides a suitable, prepared surface for acrylics, preventing absorption, improving paint adhesion, and making your colors pop. I've seen firsthand how gesso transforms a dull surface into a vibrant one. | |
| Water Containers (x2) | One for initial dirty rinse, one for clean water; prevents muddy colors and ensures proper brush cleaning, extending brush life. Trust me, this simple trick keeps your colors pure! | |
| Rags/Paper Towels | Essential for drying brushes, controlling water, and quick cleanups during painting sessions, keeping your workspace tidy and colors pure. A messy studio is creative, but an organized messy studio is efficient! | |
| Painting (Watercolors) | Student-Grade Watercolor Pan Set | Portable, easy to use, and excellent for learning transparent layering and delicate washes; less messy for beginners, making it easy to start. I love how accessible these sets are. |
| Soft Watercolor Brushes | Designed to hold a good amount of water for washes and allow the unique flow of watercolor paint, essential for creating smooth gradients. You'll feel the difference a good brush makes! | |
| Watercolor Paper (140lb/300gsm) | Crucial for preventing "buckling" (paper warping) and allowing proper paint absorption and flow, preserving the artwork's integrity and vibrancy. I learned the hard way that regular paper just won't cut it. | |
| Water Containers (x2) | Similar to acrylics, ensures clean water for washes and prevents muddying of delicate watercolor hues, vital for clear colors. It's a small detail that dramatically impacts your finished work. | |
| Rags/Paper Towels | For controlling water on your brush, blotting, and drying, which is critical for achieving various watercolor techniques and effects. Mastering water control is key, and these are your best allies. | |
| General Studio Accessories | Simple Palette | For mixing paints, easy cleanup, and efficiently organizing your colors, preventing waste and aiding in color choices. I often use old ceramic plates – simple and effective. |
| Palette Knife (small) | Great for mixing paints without damaging brushes and for adding interesting texture directly to your artwork, opening new creative avenues. I found this tool indispensable for keeping my brushes pristine. | |
| Masking Tape (Artist's Tape) | Useful for taping paper down to prevent buckling, creating clean edges, or masking areas for watercolor, giving crisp lines and boundaries. This is surprisingly versatile for achieving crisp lines. | |
| Ruler | For straight lines, measuring, and setting up compositions, ensuring precision when needed. Sometimes, even abstract art benefits from a little structure. |
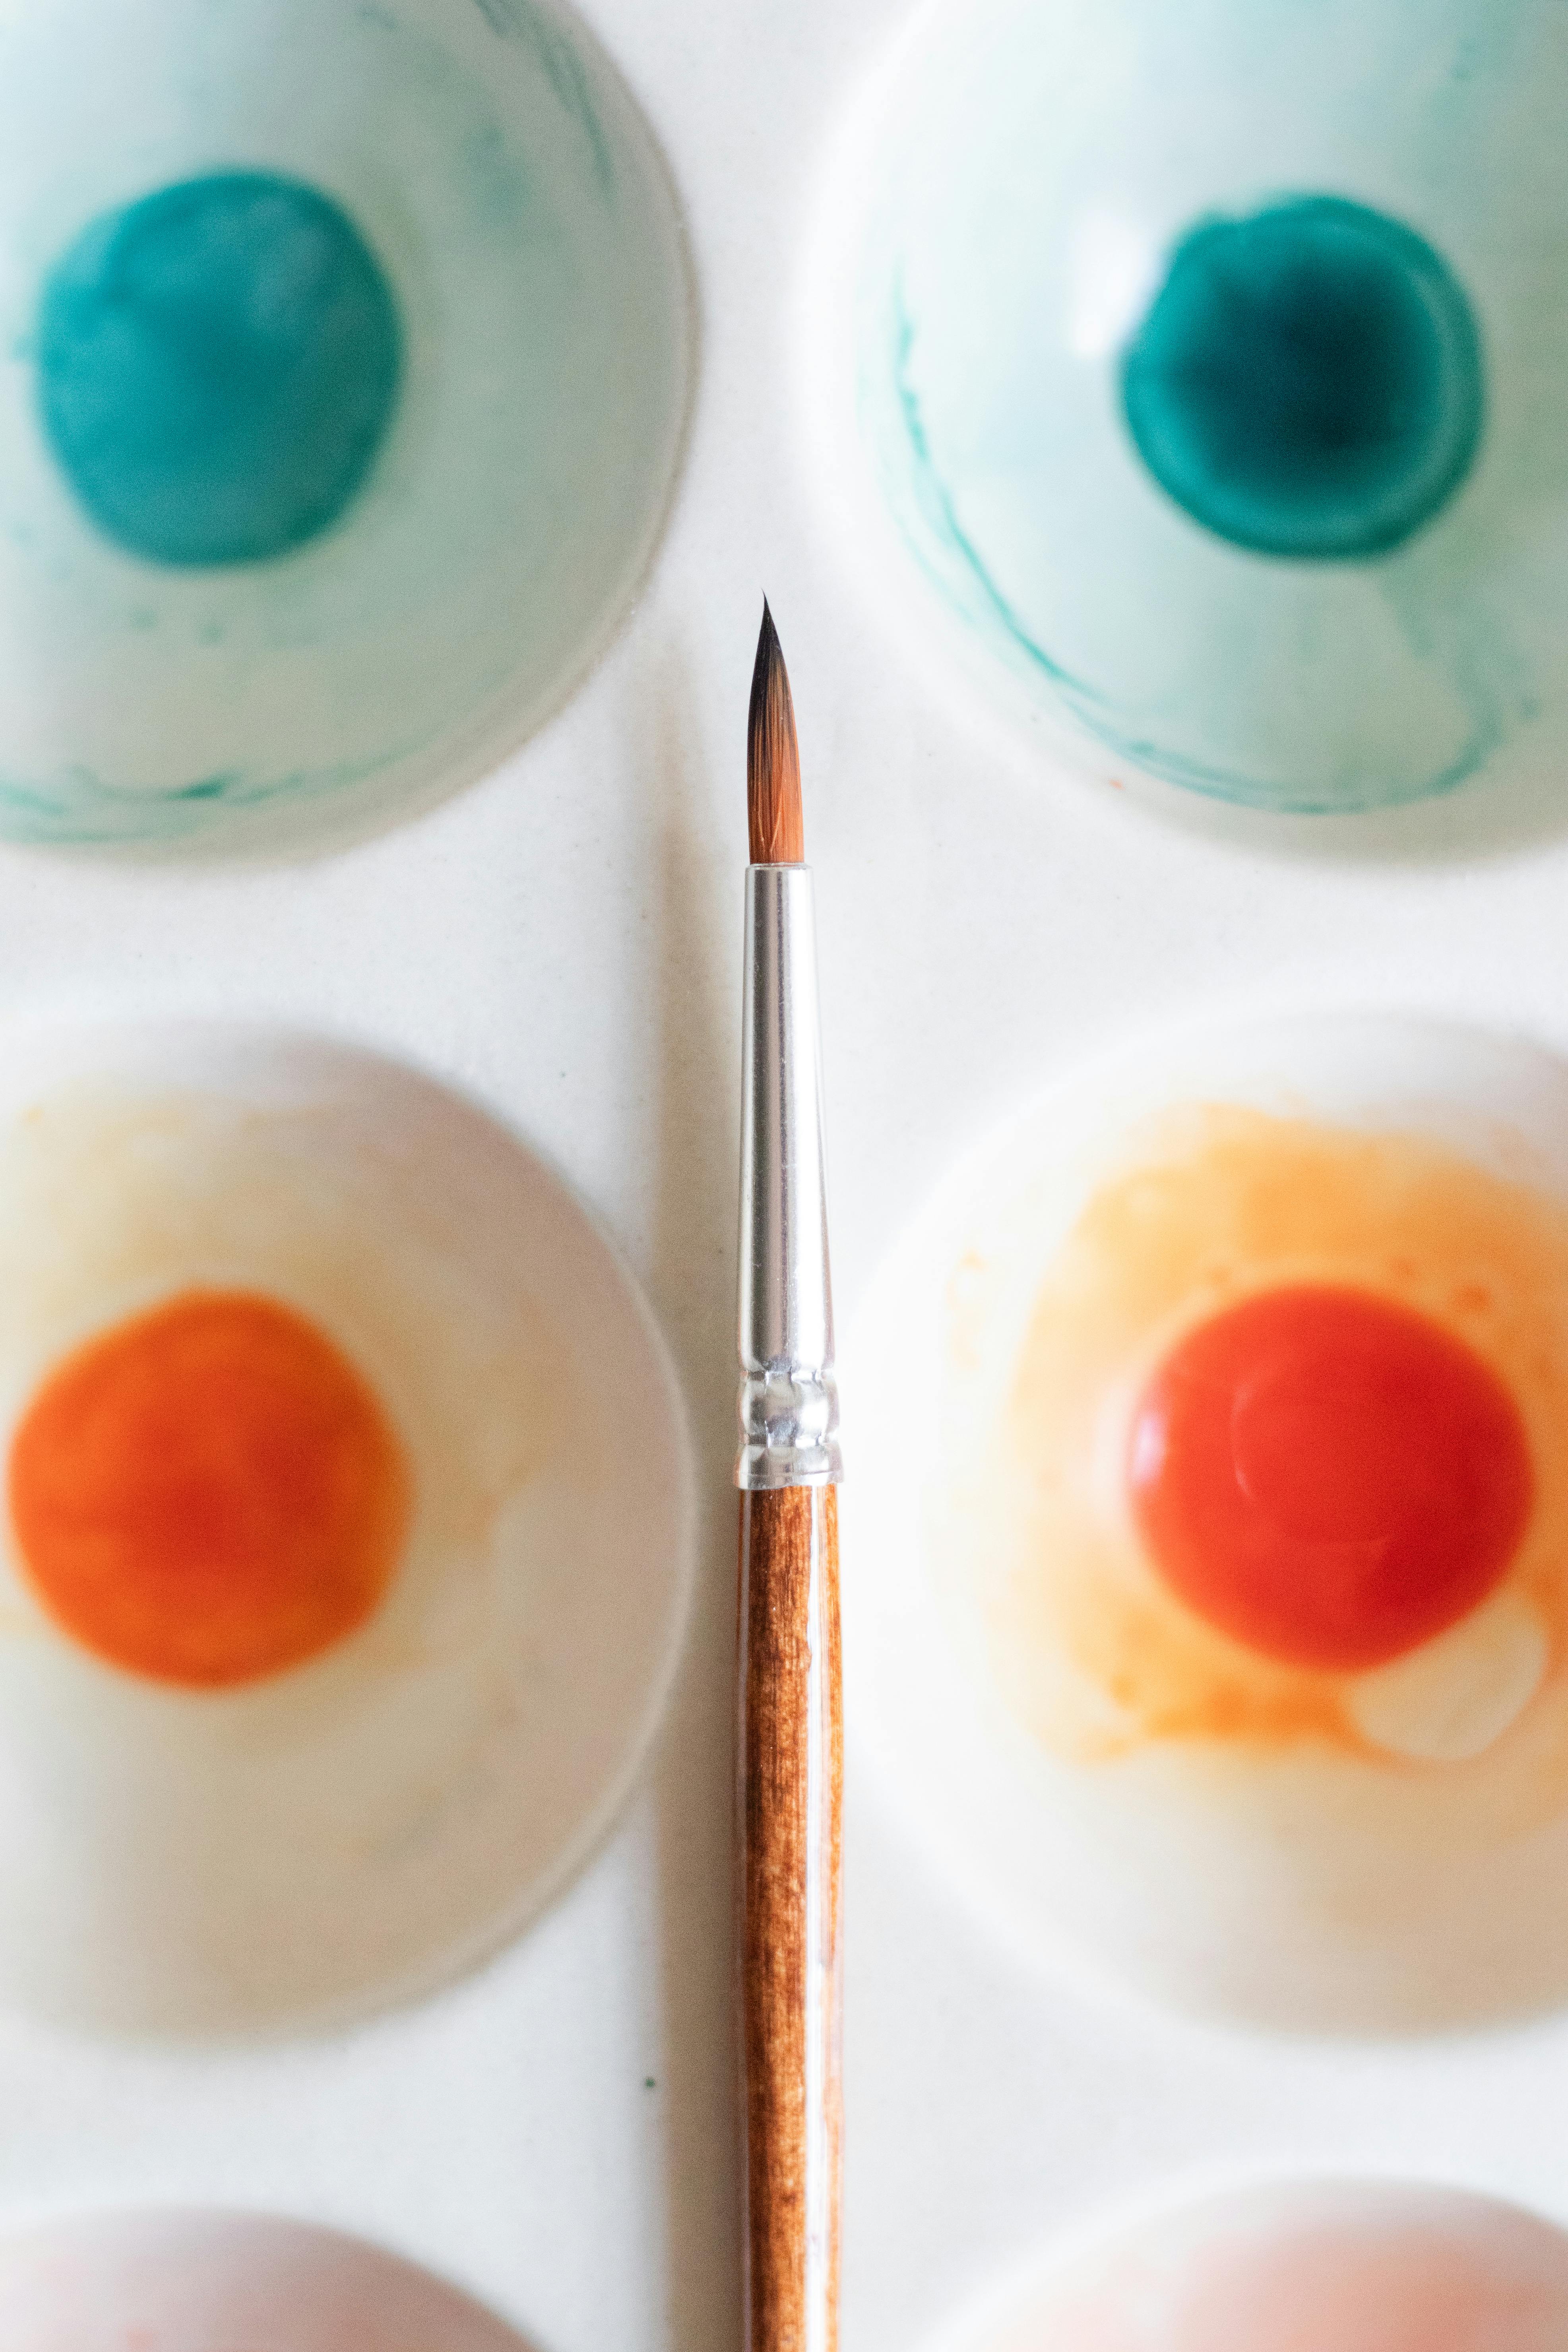
The Humble Palette and Mixing Tools
Even if you're just using pencils, having a dedicated space to mix colors (or just keep your tools organized) is great. For paint, a palette is a must. Don't overthink it: a ceramic plate, an old plastic lid, or even a piece of wax paper works perfectly well for mixing. But if you want something a bit more professional, an actual art palette is inexpensive and specifically designed for the task.
And don't forget a palette knife – it's not just for creating texture on canvas; it's brilliant for mixing paint on your palette without damaging the delicate bristles of your brushes. Palette knives come in various shapes and sizes, from small trowel-shaped ones for mixing to larger, more pointed blades for applying thick paint or creating impasto effects. Curious about those? I've got a whole article on what is a palette knife and how to use it.

Expanding Your Toolkit: What's Next on Your Artistic Journey?
Once you've got your core supplies and a few creative sessions under your belt, a few other things can make your life easier, open up new avenues, or address specific artistic needs. Think of these as next steps, not immediate necessities. After all, your artistic path will continue to unfold, and new tools will naturally present themselves.
Getting Started with Digital Art Supplies
In our modern world, "art supplies" aren't just physical anymore. Digital art offers incredible flexibility, an "undo" button (oh, the luxury!), and a vast array of brushes and textures without the mess. If you're tech-curious, here's a quick primer:
- Graphics Tablet & Stylus: This is your digital canvas and brush. Brands like Wacom, Huion, or even an iPad with an Apple Pencil are popular choices. They allow you to draw directly onto a surface, translating your hand movements into digital strokes. You'll find two main types: screen tablets (where you draw directly on a screen, like an iPad) and screen-less tablets (where you draw on a pad while looking at your computer monitor). Be prepared for a slight learning curve with hand-eye coordination if you're using a screen-less tablet, but it's incredibly rewarding! Plus, digital software comes with countless pre-set brushes and the ability to download or create custom brushes, adding another layer of creative possibility.
- Digital Art Software: Programs like Procreate (for iPad), Adobe Photoshop, or Krita (a fantastic free alternative) offer layers, custom brushes, color palettes, and endless possibilities for editing and effects. These are primarily raster-based programs, meaning they work with pixels, much like a digital photograph. They are excellent for painting, photo manipulation, and detailed rendering. The concept of layers is crucial here: it allows you to separate elements of your artwork onto different transparent sheets, so you can edit one part without affecting another. For vector-based art (scalable graphics often used in design), software like Adobe Illustrator or Inkscape (another free option) offers a different approach to digital creation, using mathematical paths that can scale infinitely without losing quality, like a blueprint. This is great for logos, illustrations, and clean lines.
Here’s a simple comparison of popular digital art software for beginners:
Software | Type | Key Strength for Beginners | Platform (Common) |
|---|---|---|---|
| Procreate | Raster | Intuitive interface, excellent brush engine, portable (iPad) | iPadOS |
| Krita | Raster | Powerful, free, open-source, great for digital painting and illustration. | Windows, macOS, Linux |
| Adobe Photoshop | Raster | Industry standard, extensive features for painting, editing, photo manipulation. | Windows, macOS (Subscription) |
| Adobe Illustrator | Vector | Industry standard for vector graphics, ideal for crisp lines and logos. | Windows, macOS (Subscription) |
| Inkscape | Vector | Free, open-source alternative to Illustrator for vector graphics. | Windows, macOS, Linux |
Digital Art vs. Traditional Art: A Quick Overview
Feature | Traditional Art (e.g., paint, pencils) | Digital Art (e.g., tablet, software) |
|---|---|---|
| Materials Cost | Ongoing purchase of consumables | Upfront hardware/software cost, then largely free |
| Mess Factor | Can be messy, requires cleanup | Clean, no physical mess |
| Portability | Can be cumbersome, depends on medium | Highly portable with tablet/laptop |
| Undo/Correction | Difficult, often requires reworking | Instant "undo" button, non-destructive editing |
| Experimentation | Limited by material cost/availability | Endless, free experimentation with brushes, colors, effects |
| Originality | Unique physical object | Digital file, often reproduced/printed |
| Storage | Physical space required for artwork | Digital storage, cloud-based options |
Digital art is a powerful medium, especially for illustration, design, or if you simply want to experiment without accumulating physical supplies. It's a different skillset but equally rewarding.
Studio & Longevity Essentials
- Easel: While not strictly essential (I painted on my kitchen table for years!), an easel can be a game-changer for posture, perspective, and stepping back to view your work properly, especially if you're painting larger pieces. You can find simple tabletop easels that don't take up much space, or more robust studio easels. For outdoor adventures, a portable easel is wonderful.
- Varnish/Sealant: When you finish a painting you absolutely love, you might want to protect it from dust, UV light, and environmental wear. A basic artist's varnish or sealant will do the trick. Just make sure it's appropriate for your specific medium (e.g., acrylic varnish for acrylic paintings) and always apply in a well-ventilated area. This is especially important if you eventually aim for archival quality in your finished pieces.
- Storage Solutions: Keeping your supplies organized not only makes them easier to find but also extends their life. Think pencil cases, brush rolls, flat files for paper, and airtight containers for paints. A messy studio is a sign of creativity, perhaps, but an organized messy studio is a sign of efficiency. (And trust me, properly cleaning and storing your brushes bristles-up is a lesson learned from many ruined tools!).
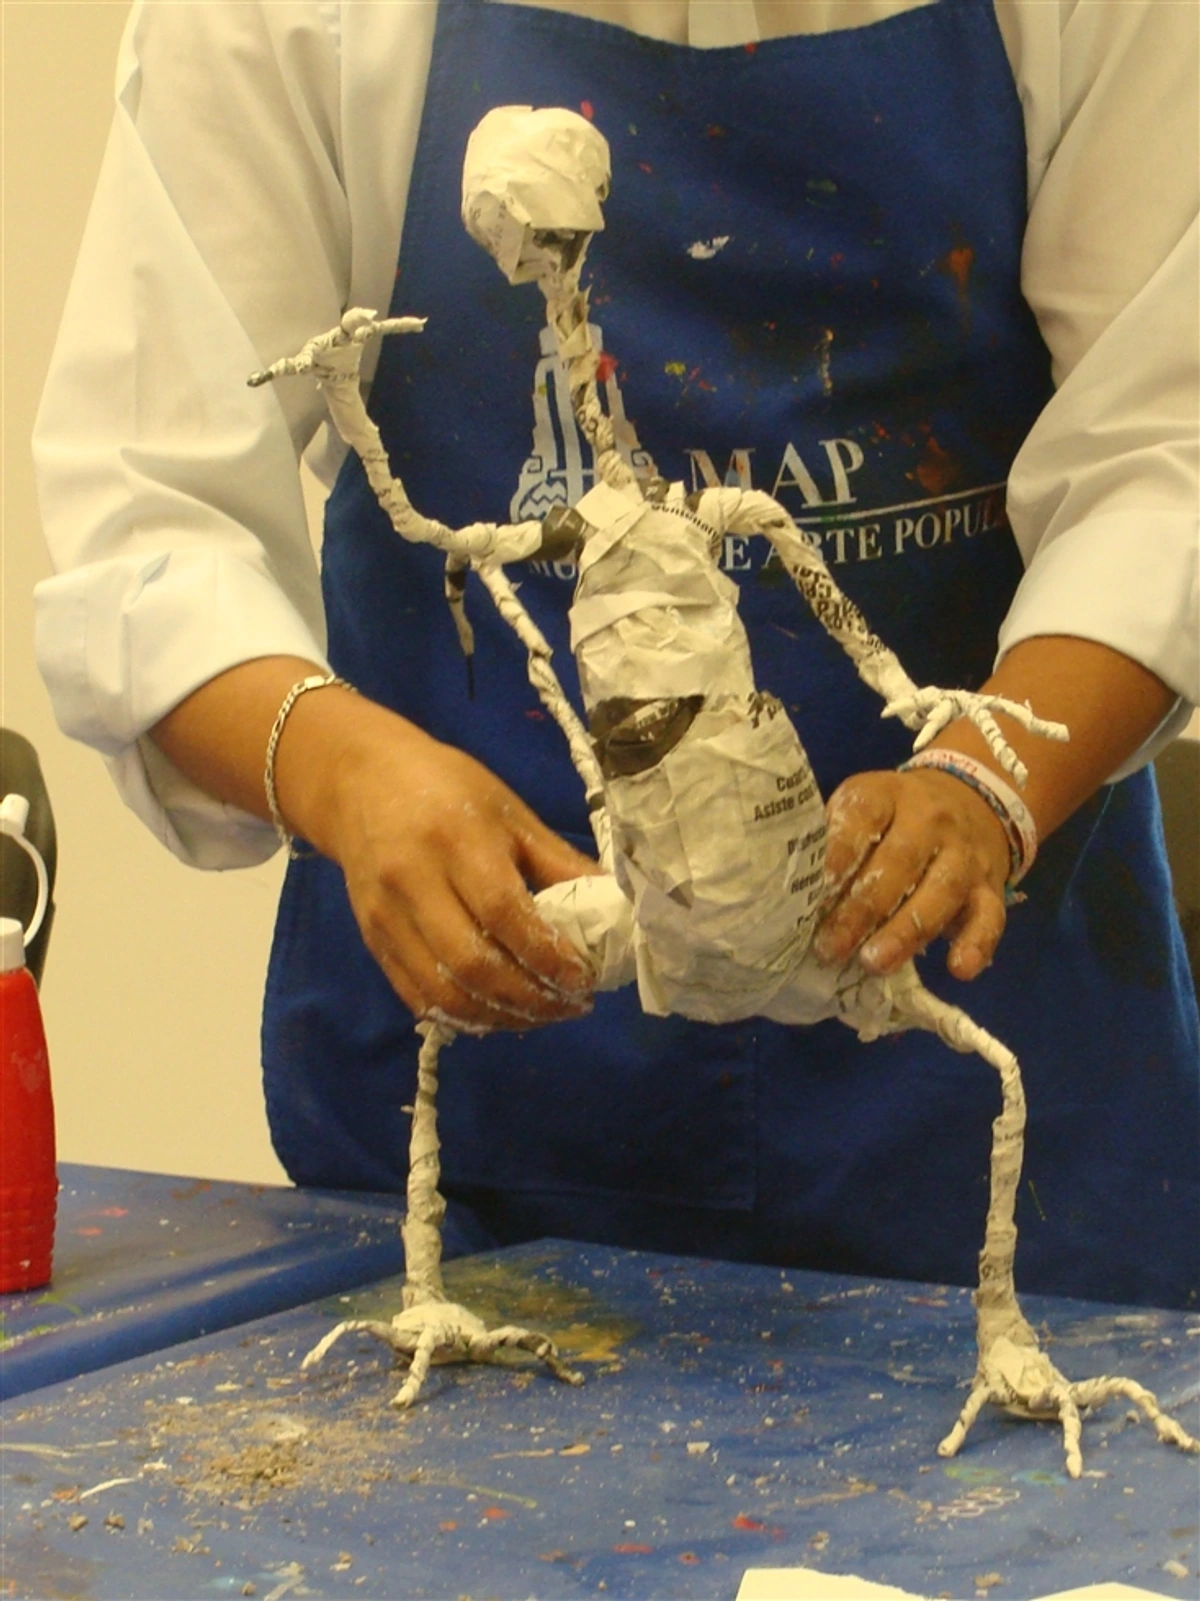
- Basic Sculpture or Mixed Media: If you're itching to explore beyond 2D, even simple air-dry clay, cardboard, wire, yarn, or a box of found objects (like old buttons for texture, torn book pages for collage, or wire for sculptural elements) can open up a world of sculpture or mixed media experimentation. You could try papier-mâché, create small wire armatures for figures, collage found objects onto a canvas, or combine drawing with paint. Don't feel confined to a flat surface forever! For insights into sculpture foundations, check out what is an armature in sculpture.
- Eco-Friendly Options: For the environmentally conscious artist, look for recycled paper, paints with non-toxic pigments, and brands offering refillable pens or brushes made from sustainable materials. Small steps can make a difference! I believe it's important to consider our impact, and there's a growing market of great sustainable art supplies available. For a deeper dive, explore best eco-friendly art supplies for conscious artists.
- Introduction to Printmaking: If you're looking for another way to create multiple pieces from a single design, consider exploring basic printmaking like linocut (carving into a soft linoleum block to create bold, graphic imagery) or screen printing (pushing ink through a stencil on a mesh screen for flat color areas and multiples). These are accessible entry points into a rich artistic tradition.

Common Beginner Mistakes to Avoid with Art Supplies
I've made almost all of these, so learn from my slightly chaotic journey! Avoiding these common pitfalls can save you frustration and money, and keep your creative flow going. Trust me, these are lessons hard-won.
- Buying Too Much, Too Soon: The "kid in a candy store" syndrome is real! It's tempting to buy every color and every brush. Resist! Start with the basics outlined here, truly get to know them, and expand only as your needs and preferences develop. Overwhelm often leads to paralysis; a limited palette, for example, forces you to learn invaluable color mixing. I used to buy massive sets, only to find myself using the same 5-6 colors over and over. My art supply closet still groans under the weight of my early, enthusiastic (and expensive!) over-purchases. Start small, then ask yourself, "What do I really need next to achieve this effect?" before buying more.
- Skimping on Paper: This is probably the biggest one. Using cheap, flimsy paper (like printer paper) for anything beyond very light pencil sketches will lead to buckling, pilling, and utter frustration, especially with wet media. Invest in decent quality paper specific to your chosen medium. Your paper is your canvas, treat it well! I've lost so many promising pieces to paper that just couldn't handle the enthusiasm.
- Neglecting Brush Care: Your brushes are your most important tools. Not cleaning them immediately after use (especially acrylics!), leaving them soaking bristle-down, or letting paint dry in the ferrules (the metal part holding the bristles) will quickly ruin them. Clean gently with water and mild soap, reshape, and store horizontally or bristles-up. I learned this the hard way with several beloved brushes ending up as stiff, useless lumps, a tragic end for a good tool. A little care goes a long way to extending their life and your enjoyment.
- Buying Professional-Grade Too Early: While tempting, professional-grade supplies are expensive and often overkill for a beginner. You won't appreciate the subtle differences in pigment load or lightfastness until you've developed your skills. Stick to student-grade; it's designed for learning and offers fantastic value. I promise, the joy is in the process, not the price tag of your paints.
- Forgetting Water Containers (for paint): Seriously, I've used coffee mugs, old takeout containers – anything! But consistently having two dedicated water pots (one dirty for the initial rinse, one clean for the final rinse) makes a massive difference in keeping your colors vibrant and your brushes truly clean. Don't underestimate this simple trick for maintaining clarity in your work. My work became so much cleaner once I adopted this simple habit.
- Not Using a Dedicated Palette for Mixing: Mixing colors directly on your paper or canvas can muddy your work and waste paint. Even a simple plastic tray or ceramic plate as a dedicated palette will help you control your mixes, understand color relationships better, and keep your artwork cleaner. It’s a small habit that yields big results and saves precious paint.
- Ignoring Ventilation (especially for some mediums): While this guide focuses on water-soluble mediums, if you venture into oil paints, spray fixatives, or certain varnishes, proper ventilation is crucial. Always read product labels and ensure good airflow in your workspace. Safety first, always! I learned this one by getting a headache from fumes—not fun.
- Expecting Instant Masterpieces: Art is a journey, not a destination. Embrace the learning process, the experimentation, and yes, the "mistakes." Each stroke, each color mixed, is a step forward. Focus on enjoying the act of creation, not just the finished product. Your unique vision will emerge through practice, not perfection on day one.
My Personal Tips for Shopping for Supplies
Navigating the art supply store can still feel a bit like decoding an ancient language, even with a guide. Here are my non-negotiable tips, honed from years of happy and sometimes regrettable purchases:
- Support Local if You Can: Your local art supply store often has knowledgeable staff who can offer personalized advice and let you see materials firsthand. Plus, it's nice to support community businesses, and sometimes they have hidden gems. You might even discover a new favorite medium just by chatting with someone! Think of it as a creative adventure in itself, and a great way to connect with other artists.
- Buy a Little, Not a Lot: Resist the urge to buy every single color or brush. Start with the basics, see what you actually use and enjoy, and expand your collection slowly. This is a journey, not a sprint to the finish line, and your preferences will evolve. Less truly is more when you're starting out; a limited palette forces you to learn color mixing, which is an invaluable skill that will serve you well in the long run. I truly believe that fewer choices can lead to greater creativity.
Frequently Asked Questions (FAQ)
Got more questions swirling around your head? You're not alone! Let's tackle a few common ones that frequently pop up in my DMs and conversations. Remember, there's no such thing as a silly question when you're starting out!
What are the absolute must-have art supplies for a total beginner?
For any medium, I'd say a sketchbook, a basic set of graphite pencils (2H, HB, 2B, 4B, 6B), a kneaded eraser, and a pencil sharpener are non-negotiable. If you want to paint, add a small set of student-grade acrylics or watercolors, a few synthetic brushes, and appropriate paper/canvas. That's a solid, comprehensive start that won't break the bank and will empower you to try almost anything.
How much should I spend on beginner art supplies?
You can absolutely get started for under €50, especially if you focus on drawing or a small watercolor pan set. For a decent acrylic setup, you might spend a bit more, say €75-€100. The key is to prioritize quality over quantity for those core items, but always stick to student-grade. Think of it as an investment in your creative journey, not a one-time purchase. Remember, the passion is free, the tools just help you express it.

Should I start with drawing or painting?
That's entirely up to you! Drawing provides a fantastic foundation for understanding form, light, and composition – essential skills that translate to all art forms. Painting allows for immediate color exploration, expressive freedom, and a different kind of tactile experience. Many artists (myself included!) bounce between both, finding inspiration in each. If you're unsure, try picking up a few pencils and a sketchbook first. It's a low-cost, low-mess way to dip your toes in and build confidence, and honestly, sometimes a simple sketch is all you need to feel creatively satisfied.
How do I know which medium is right for me?
Experiment! The only way to truly find your artistic voice and preferences is to try different things. Grab a small watercolor set one week, then a basic acrylic set the next. Watch videos, read articles (like my definitive guide to paint types for artists), and see what sparks joy and curiosity for you. Don't be afraid to try, fail, and try again. It's all part of the process – I still surprise myself sometimes with what I enjoy!

What's the difference between student-grade and professional-grade paint?
Student-grade paints typically contain less pure pigment and more fillers, making them more affordable and ideal for learning. They might have slightly less lightfastness, but for beginners, this is rarely an issue for practice pieces. Professional-grade paints have higher pigment concentration, superior lightfastness (often with ASTM ratings like I for excellent, II for very good, or III for fair) for archival work, and a finer consistency. For learning and practice, student-grade is perfect; save professional-grade for when your skills are more developed and you require archival quality for longevity.
What art supplies do I need for watercolor painting specifically?
For watercolor, you'll specifically need a student-grade watercolor pan set, soft watercolor brushes (a round and a flat are a great start), and crucially, watercolor paper that's at least 140 lb (300 gsm) to prevent buckling. Don't forget two water containers and some rags for proper cleanup and water control!
Where can I find affordable art supplies?
Online retailers (like Amazon, Blick Art Materials, Jackson's Art), large craft stores (e.g., Hobby Lobby, Michaels), and even some discount stores often have good beginner sets. Don't forget to check out sales and coupons! As I mentioned, local art supply stores can also be surprisingly competitive and offer invaluable, personalized advice from knowledgeable staff. Comparison shopping is always a good idea, but remember, the best deal isn't always the cheapest; it's the one that enables you to create joyfully.
What does "archival quality" mean for art supplies?
Archival quality refers to art materials that are stable, durable, and designed to last a long time without degrading, discoloring, or harming the artwork. This includes factors like lightfastness (resistance to fading), acid-free paper (prevents yellowing), and stable pigments. For beginners, it's not a primary concern, but it becomes important if you create a piece that's meant to be a family heirloom, or if you plan to create pieces for display or sale that need to last for generations.
Can I use regular printer paper for drawing and painting?
You can, but it's generally not recommended for anything beyond very light, temporary pencil sketches. Printer paper is usually too thin (around 80 gsm), lacks sufficient "tooth" for most dry media, and will buckle, pill, or tear easily with wet media like watercolors or even heavy pencil pressure. Investing in proper drawing or watercolor paper will significantly improve your experience and the quality of your results. Trust me, you'll thank yourself later.
What is 'tooth' in paper?
"Tooth" refers to the subtle surface texture or roughness of the paper. Think of it like the tiny peaks and valleys on the paper's surface. This texture is what grips the pigment from pencils, charcoal, or pastels, allowing them to deposit color. For wet media like paint, it provides a surface for the liquid to adhere to and can influence how washes spread and dry. Different levels of tooth (smooth, medium, rough) are suited for different techniques and desired effects.
What is gesso and why do I need it?
Gesso is a primer, typically white, used to prepare a surface (like canvas, wood, or paper) for painting. It creates a uniform, slightly absorbent surface that allows paint to adhere better, prevents your colors from sinking into the substrate and looking dull, and can also protect the canvas fibers. While not always strictly necessary for every surface or paint type, I've found it dramatically improves paint flow and vibrancy, making for a much more satisfying painting experience, especially for acrylics and oils.
How do I clean oil pastels?
Oil pastels generally don't require "cleaning" in the same way brushes do, as they are solid sticks of pigment. However, if they get dirty or cross-contaminated with other colors, you can gently wipe the surface with a soft, lint-free cloth or a tissue. If a color is deeply embedded, you can lightly scrape off the very top layer with a craft knife (carefully!) or use the edge of a clean piece of paper to rub off the excess. Always store them separately or with wax paper between layers to prevent mixing and smudging.
Are oil paints dangerous?
Modern oil paints themselves are generally non-toxic, especially if made with artist-grade pigments (always check labels for specific warnings). The main concern with oil painting often comes from the solvents used for thinning paint and cleaning brushes, such as turpentine or mineral spirits, which can emit strong fumes and require good ventilation. Some pigments, historically, were toxic (like cadmium or lead white), but most contemporary brands offer safer alternatives. With proper ventilation, good hygiene (don't eat or drink while painting, wash hands), and careful disposal of solvent-soaked rags, oil painting can be a safe and enjoyable medium. My advice: read the labels, stay ventilated, and you'll be fine!
What is the difference between pastels and chalk?
While they might look similar, pastels and chalk have key differences. Artist's pastels (like soft pastels, oil pastels, and pastel pencils) are made with pure pigment and a minimal binder. This gives them vibrant colors and a smooth, rich application. Soft pastels are dry and powdery, while oil pastels have an oily/waxy binder, making them creamy and blendable but never fully drying. Chalk, on the other hand, is primarily made from calcium carbonate (a mineral) or gypsum, often with less concentrated pigment. It's typically drier, more crumbly, and has a less intense color payoff than artist's pastels. Classroom chalk is a good example; it's very different from a professional artist's pastel. So, while you can draw with both, pastels offer far superior artistic quality, blendability, and permanence.
My Final Piece of Advice: Just Start!
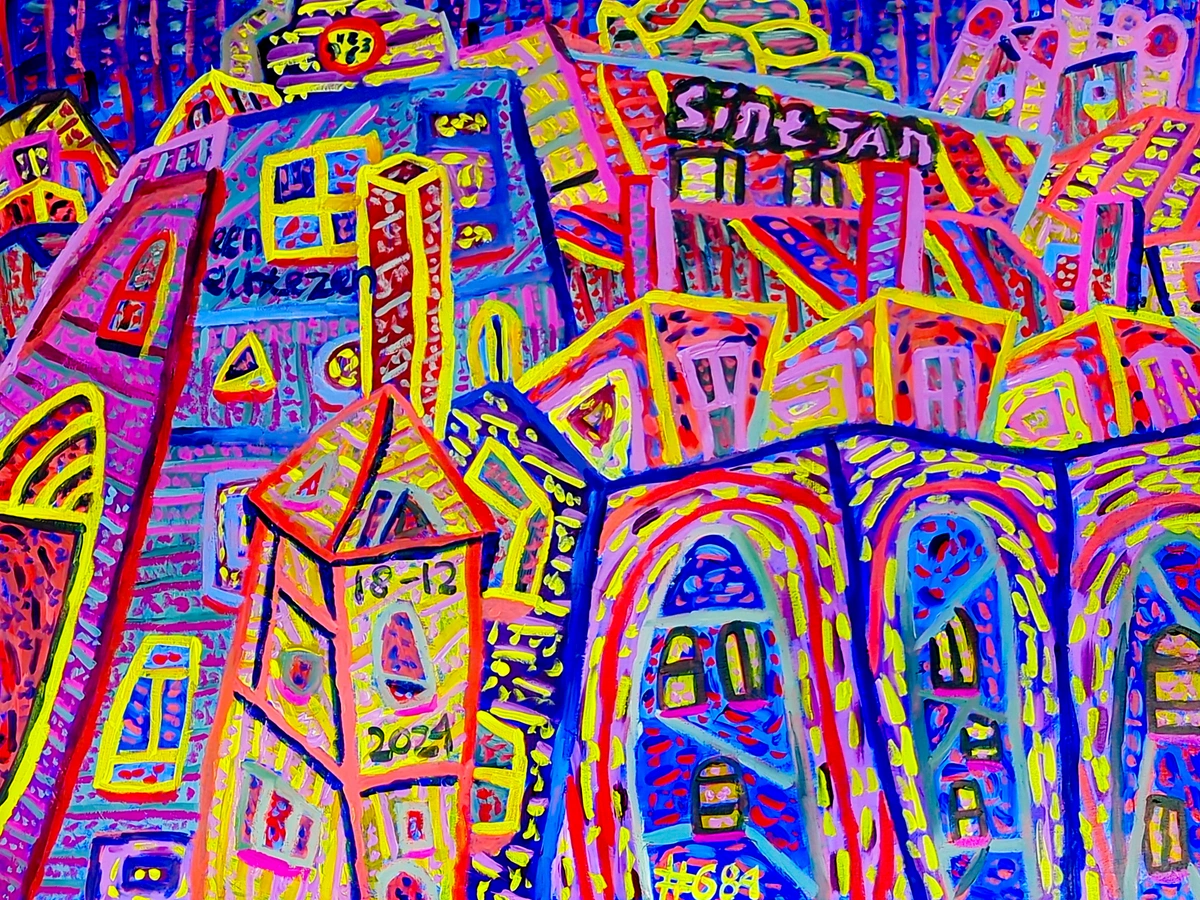
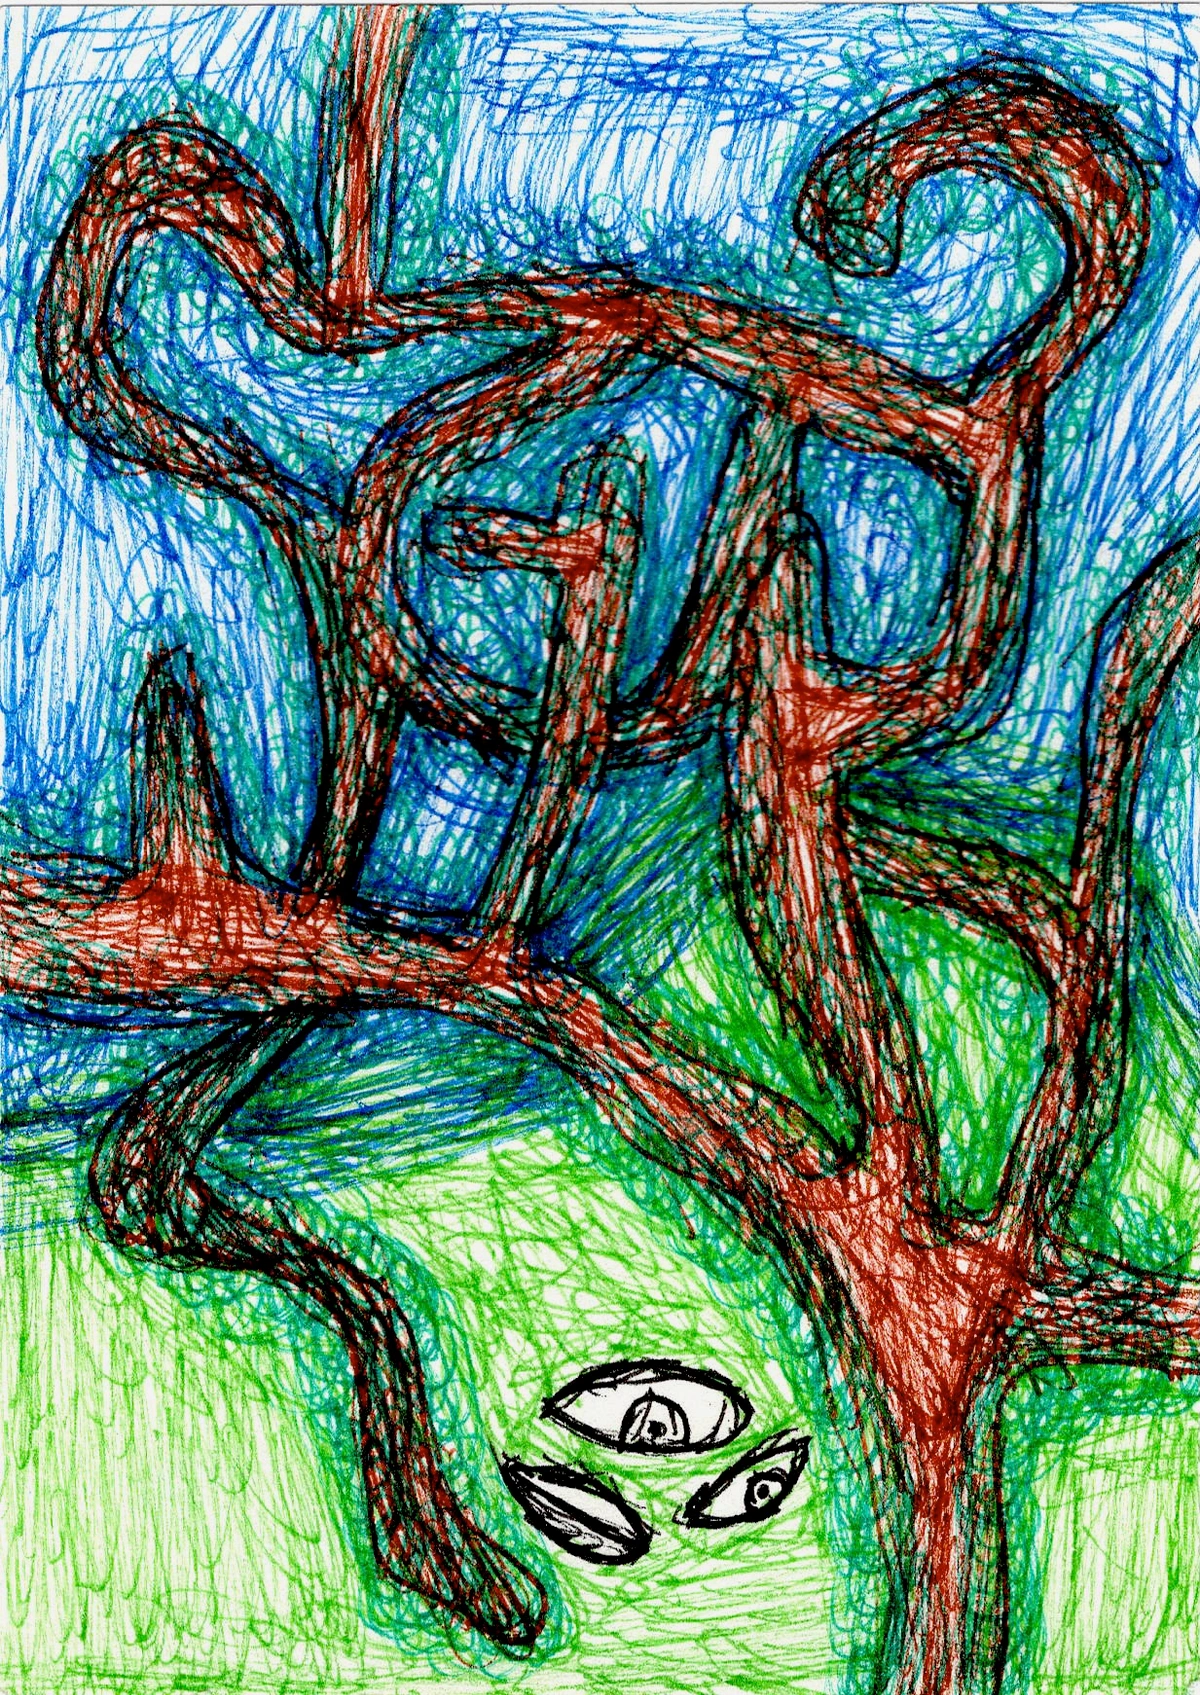
Honestly, the best "art supply" on this list isn't anything you can buy. It's your curiosity, your willingness to experiment, and the sheer courage to just begin. Don't let the fear of not having the "right" tools stop you. Grab what you can, put pencil to paper, or brush to canvas, and see what happens. Embrace the mistakes as learning opportunities – they're not failures, they're just information, guiding you to your next discovery. The world needs your unique vision, and trust me, your supplies will find you along the way. Your artistic journey is less about gathering all the tools and more about the ongoing conversation you have with your materials and yourself. Now go make something beautiful, something wild, something uniquely you! What will be the first tool you grab? If you're curious about how these tools can translate into tangible art, perhaps some of my own art can offer a little inspiration, or you could explore art history at the Den Bosch Museum.


