
How to Draw Hands Holding Objects: An Artist's Guide.
Struggling with drawing hands? This is your best, most human-sounding tutorial.
Your Ultimate Guide to Drawing Hands Holding Objects (It's Easier Than You Think)
Ever tried to draw a hand holding a coffee cup? I have. It ended up looking like a melted jellyfish trying to give a high-five. The trick, I've learned, isn't just about copying lines; it's about understanding the logic beneath the skin, how the hand becomes an extension of the object and the person both.
This is the guide I wish someone had handed me. We're not just sketching; we're thinking. By the end of this, you'll see hands differently—not as impossibly complex puzzles, but as beautifully logical structures that make perfect sense once you understand the architecture underneath.
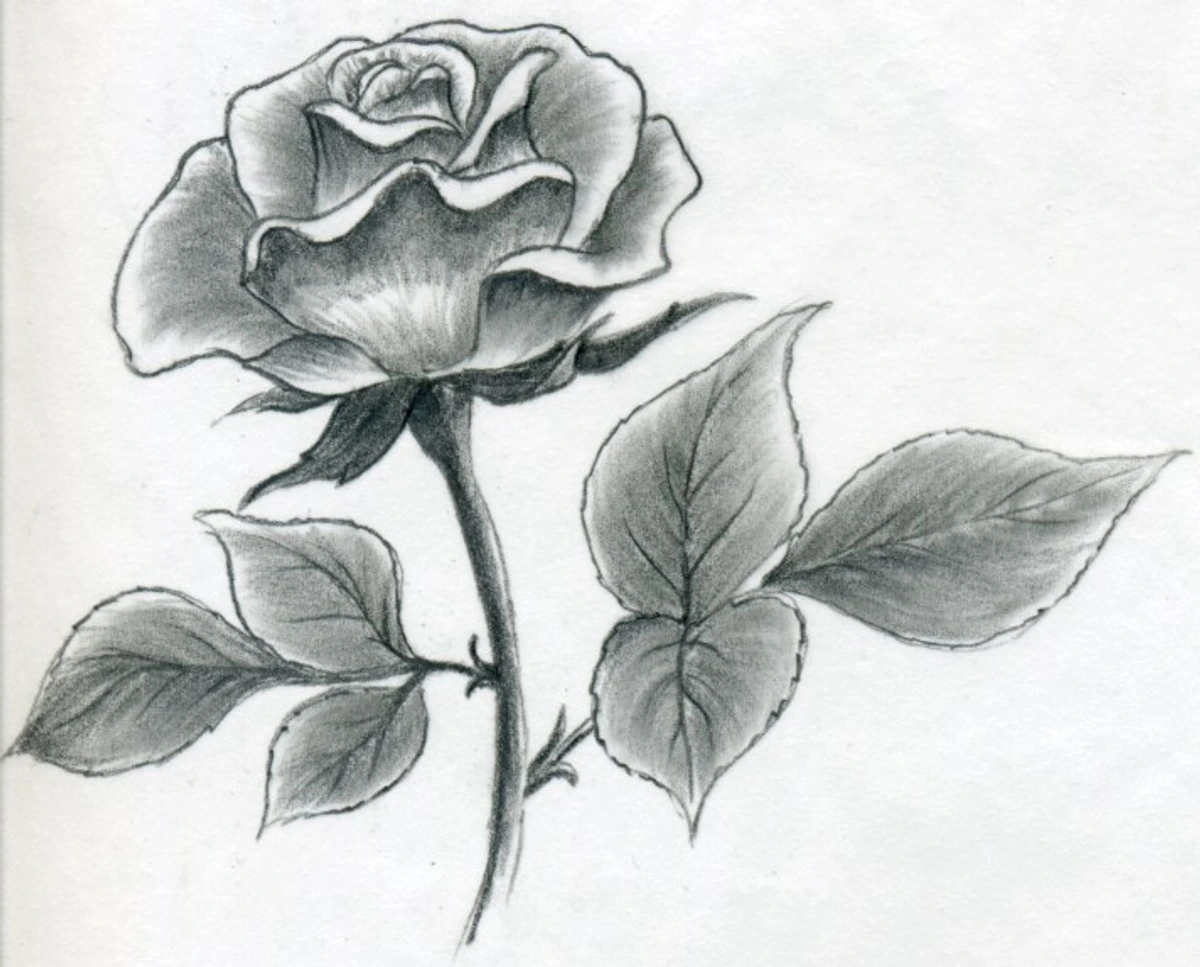
Whether you're working with pencil, charcoal, or digital tools, the principles remain the same. And if you're looking to expand your skills even further, exploring different mediums like watercolors can add new dimensions to your artistic practice.
The Struggle is Real: Why Hands Are a Nightmare to Draw
If you’ve been drawing for more than a minute, you already know this: hands are hard. It's a cliché for a reason. Mine looked like lumpy mittens for years. The problem is a mental one. Our brains have this high-resolution, detailed idea of what a hand looks like, but our pencils just can't seem to keep up. We try to draw the idea of a hand, not the actual arrangement of shapes and planes in front of us.

I had a kind of realization. I was struggling with a drawing of someone holding a paintbrush, and I thought, why am I even trying to draw a hand? I should be drawing a structure that's wrapping around a cylinder. That shift in perspective changed everything for me.
The Psychology of Grip: Before You Even Draw
Hold on—before we put pencil to paper, let's talk about intent. What is this hand doing? Is it delicately pinching a flower stem, or firmly grasping a heavy dumbbell? Is it cradling something fragile, or aggressively gripping a weapon?
The psychology behind the grip changes everything. A hand holding a beloved book feels different from one clutching a protest sign. The tension in the tendons, the pressure of the fingertips, even the subtle angle of the wrist—all of these communicate emotion and purpose. When you understand why the hand is holding something, you can infuse your drawing with genuine narrative power.
Think about it: when you hand someone a cup of coffee, your grip is entirely different than when you're drinking from it yourself. One says "here, take this," the other says "ah, my precious caffeine." The object might be the same, but the psychology transforms the entire pose.
Try this experiment right now: pick up your phone. Really feel it. Notice how your fingers naturally find their positions, how your thumb hovers over the screen, how your palm cradles the weight. Now imagine you're showing a photo on your phone to a friend versus hiding a text message from someone. See how the intent changes everything? The bones and muscles are following orders from your brain. Your drawing needs to capture that invisible command.
The #1 Rule: The Object Dictates the Form
This is the most important thing I can tell you. Don't start with the hand. Start with the object.
Think about it. If you ask a friend to hand you a book, their hand doesn't just form a random shape. It anticipates the book's weight, its thickness, the length of its spine. The hand morphs to accommodate the object. So, your drawing process should mirror this reality.
- Draw the object first. Get its proportions, perspective, and weight down. Is it heavy like a dumbbell or light like a feather? Is it wide like a tablet or narrow like a pencil? That feeling of weight and dimension needs to be in your drawing before a single finger even appears.
- Think of the hand as a custom-made “wrap.” Your job now is to design a structure that conforms perfectly to the object you just drew. The object is the armature, the skeleton, for your hand.
- Forget the fingers (for now). Isolate the main masses. I see three: the thumb mass, the palm mass, and the finger mass. How do these three big blocks of flesh and bone need to arrange themselves to securely grip the object?
Seriously, try this right now. Grab a nearby object—a remote, a mug, your phone. Don't just look at your hand. Feel the pressure points. Notice how your thumb's base pushes in one direction while your fingertips push in another. You're not just holding it; you're solving a physics problem with your body.
This photo perfectly illustrates the concept. Notice how the hand is entirely subservient to the form of the bottle. The fingers curve around it, the thumb counter-balances, and the palm provides a foundational platform. The object is the star.
The Artist's Toolkit: What You Really Need
Let's pause for a moment and talk about tools. I know artists who can create masterpieces with a ballpoint pen on a napkin, and others who feel paralyzed without their full arsenal of pencils, charcoal, and blending stumps. Here's my honest take: the tool matters less than your understanding, but having a few reliable options can make the journey smoother.
Essential Drawing Tools for Hands
For studying and sketching hands, I keep it pretty simple:
- A soft pencil (2B-6B): Great for blocking in masses and creating rich darks. The softer lead lets you build up tone quickly.
- A harder pencil (H-2H): Perfect for clean construction lines and light initial sketches that you can easily erase or build over.
- A good eraser: I prefer a kneaded eraser for lifting out highlights and a white vinyl eraser for clean removal. The kneaded one is especially magical for creating those subtle tendon highlights on the back of the hand.
- Toned paper (optional but recommended): Working on gray or tan paper with white charcoal for highlights is a game-changer. It forces you to think about light and shadow from the very beginning, not just line.
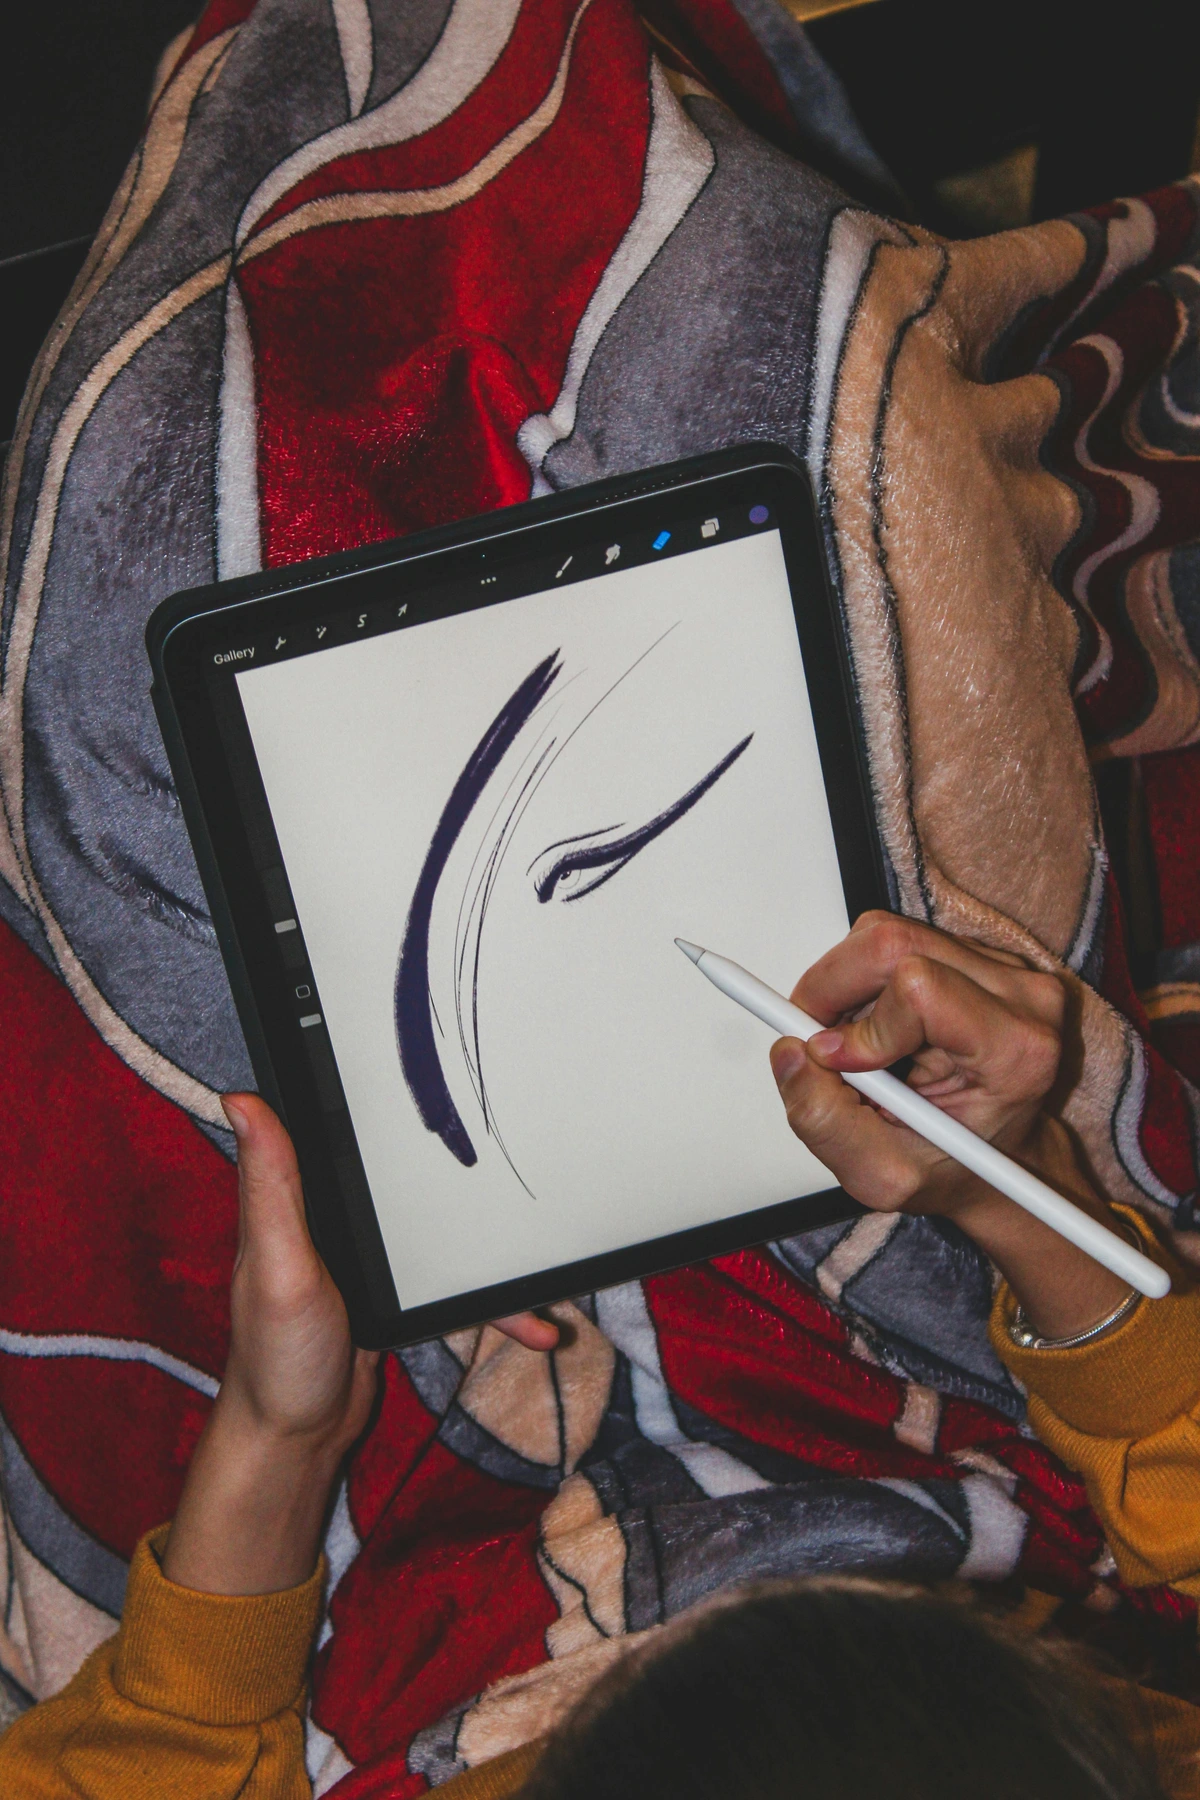
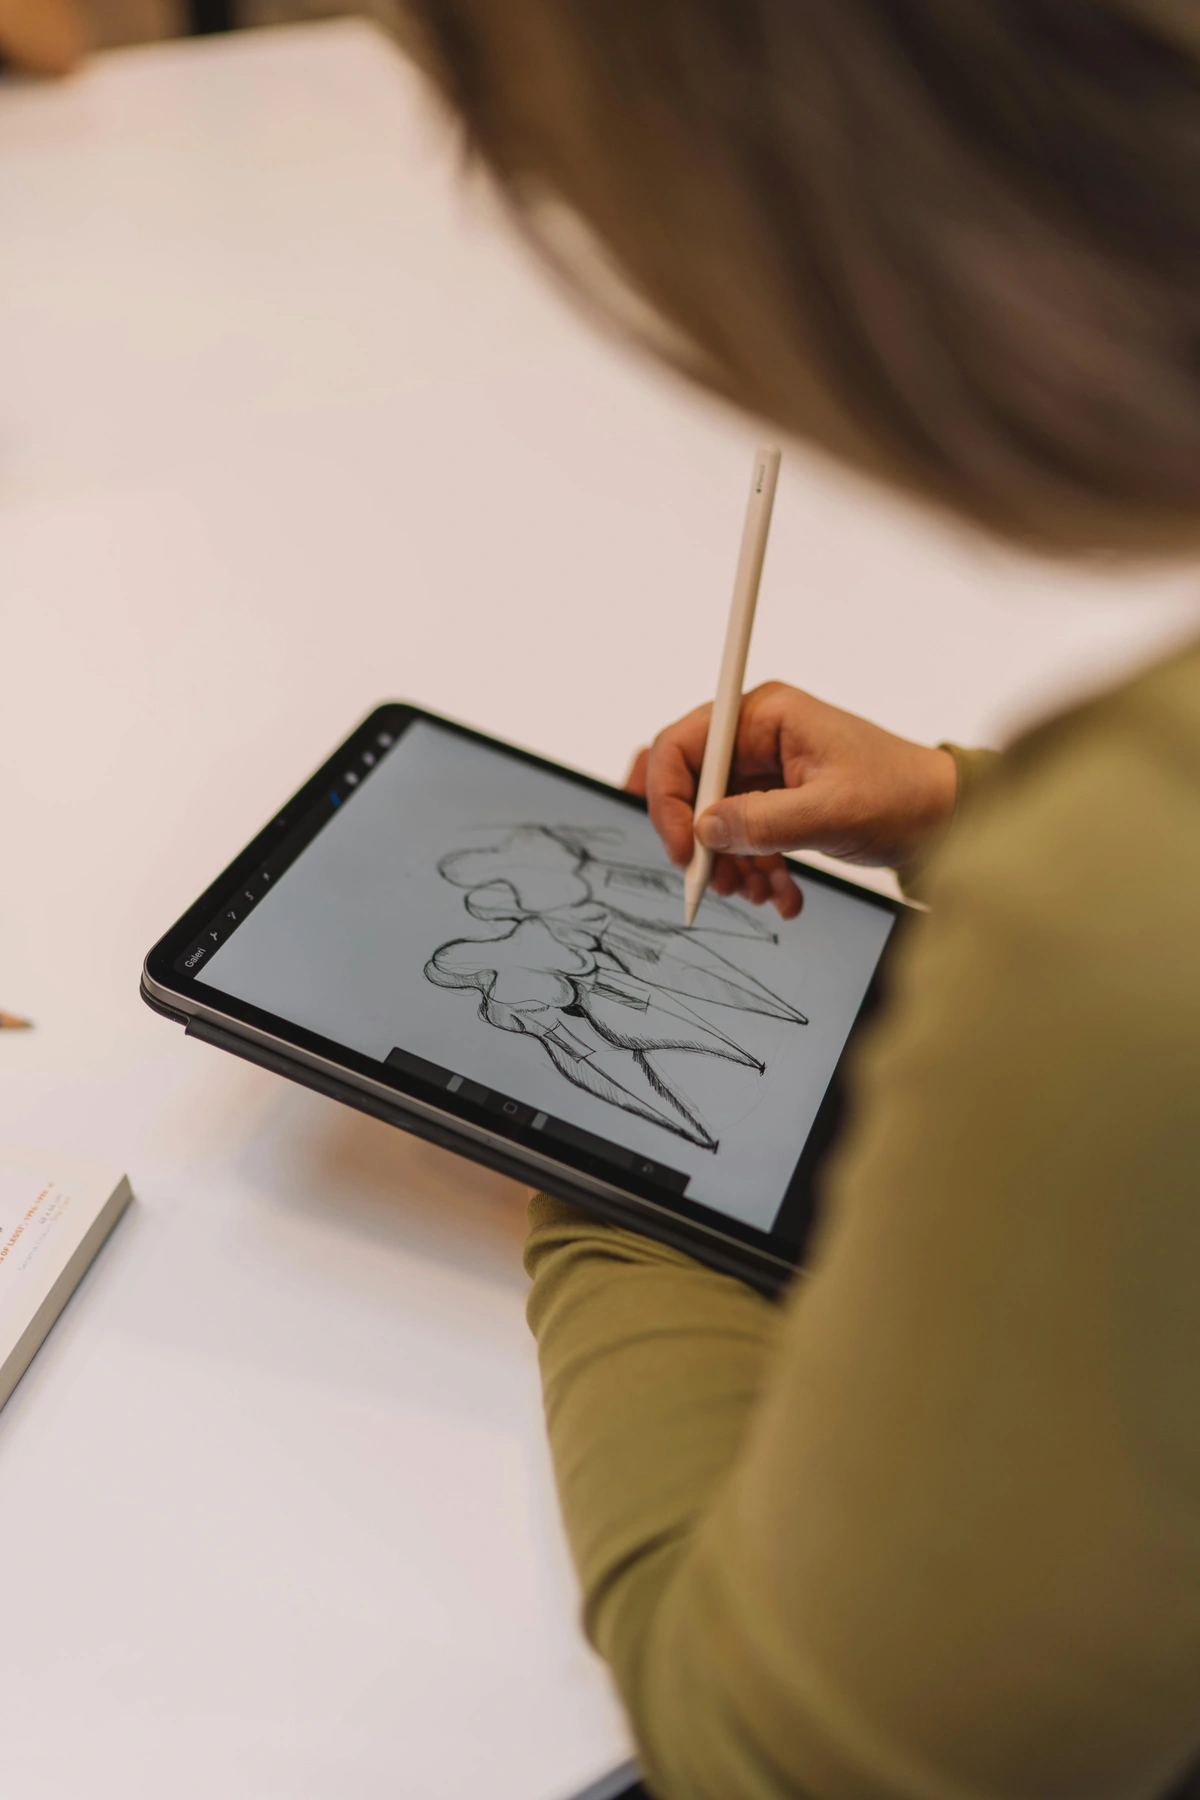
If you're working digitally, most of these translate beautifully. A good pressure-sensitive tablet with a textured screen protector can replicate that traditional feel remarkably well. For digital artists exploring traditional mediums, understanding these tools can enrich your practice—just like understanding colored pencil techniques can enhance your digital color work.
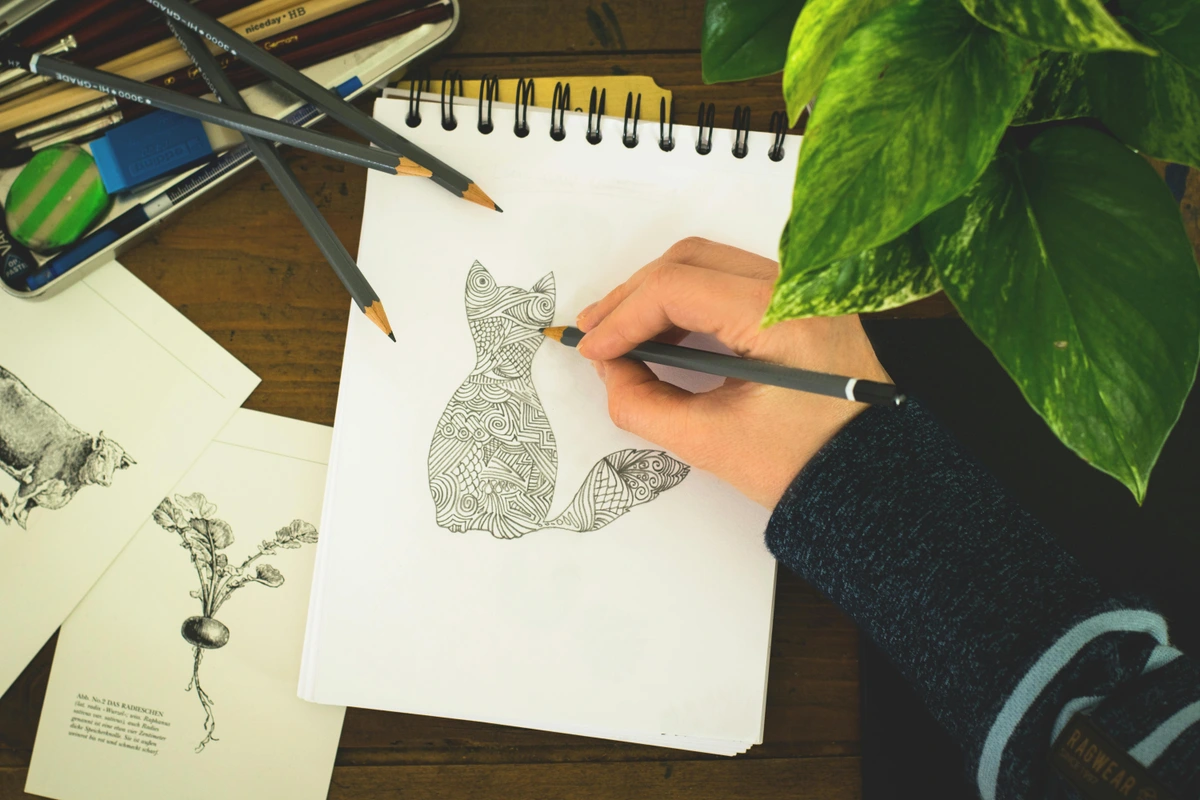
The Power of Your Sketchbook
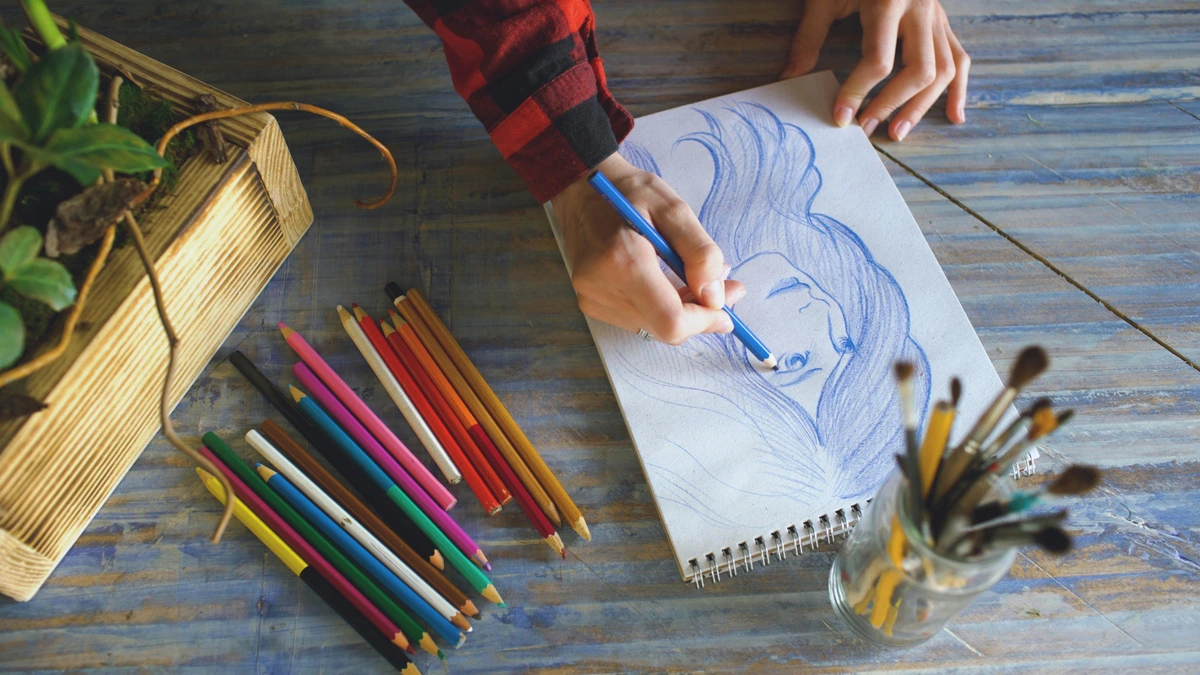
Your sketchbook is your laboratory. It's where you make mistakes, experiment, and build visual memory. I have two going at any time: a pocket-sized one for quick gesture studies of hands in cafes or on the bus (yes, people might think you're weird—embrace it), and a larger one for more developed studies at home with proper lighting and references.
The key is consistency. Drawing one hand study every day for a month will do more for your skills than one marathon weekend session. Hands, like faces, have infinite variety, and the more you observe and draw, the more intuitive they become.
A Simple, Foolproof Method for Any Object
Okay, let's get practical. This is the basic framework I use every single time. It's not a magic trick; it's a way of thinking that builds the hand logically from the inside out.

Step 1: Block Out the Object and Palm
Start simple. Draw the object. I can't stress this enough—the object is your anchor, your North Star. Get its perspective absolutely solid, like it could exist in space independent of any hand holding it. Use light construction lines to establish its basic form, then clean it up.
Next, rough in the basic shape of the palm. Don't even think about fingers yet. The palm is almost never a flat square; it's more of a trapezoid or a wedge, especially in perspective. Think of it as a slightly flexible block that the fingers and thumb are attached to. This block is the foundation of your entire hand drawing. I like to visualize it as similar to the solid blocky forms you'd study when learning foreshortening in art.

Step 2: Map the Thumb and Finger “Mitten”
Now, where does the thumb come from? Visually trace the line from the wrist up into the base of the thumb. The base of the thumb is a separate, meaty mass from the palm. Draw a simple shape for the direction and mass of the thumb.
For the fingers, imagine a mitten, or a boxing glove. Draw a single, unified shape that represents the direction and flow of all four fingers together. Are they curling under? Spreading out? Gripping tightly? This is where you capture the main gesture of the grip. You can even draw a centerline down this mitten shape to help with perspective.
Here’s a breakdown of how it looks:

Step | What to Draw | Why it Helps |
|---|---|---|
| 1. Object First | The object itself, in correct perspective. | You are building the armature of the drawing first. The hand becomes secondary. |
| 2. Palm Block | A simple 3D shape (trapezoid, wedge) for the palm. | Establishes the core mass and orientation of the hand without detail. |
| 3. Thumb Mass | A simple shape (often triangular) for the thumb's base and direction. | Positions the most important digit for opposing the fingers. |
| 4. Finger Mitten | A single shape representing the combined direction of the four fingers. | Captures the hand's main gesture quickly and avoids drawing fingers one-by-one too early. |
Step 3: Carve Out the Individual Fingers
This is where the magic happens. You have your solid structure. Now, you're just refining it. Look at your “finger mitten.” Where does the index finger naturally separate from the middle finger? Where does the pinky curl under? Gently “carve” these separations into your mitten shape.
Start with the most prominent finger, usually the index finger. Then, work your way through the others. Remember, fingers are not flat; they are cylinders. For realism, think about their thickness and how they taper towards the tip. The joints aren't lines; they are planes where the cylindrical segments meet.

Step 4: Add the Flesh and Tension
We're almost there. Now, look for the flesh. This is where your hand stops being a construction and starts feeling alive. Where is the skin being stretched thin over the knuckles? Where is it bunching up in the creases? Around the knuckles, across the back of the hand when the fingers curl (creating those characteristic tension lines), and in the webs between the fingers.
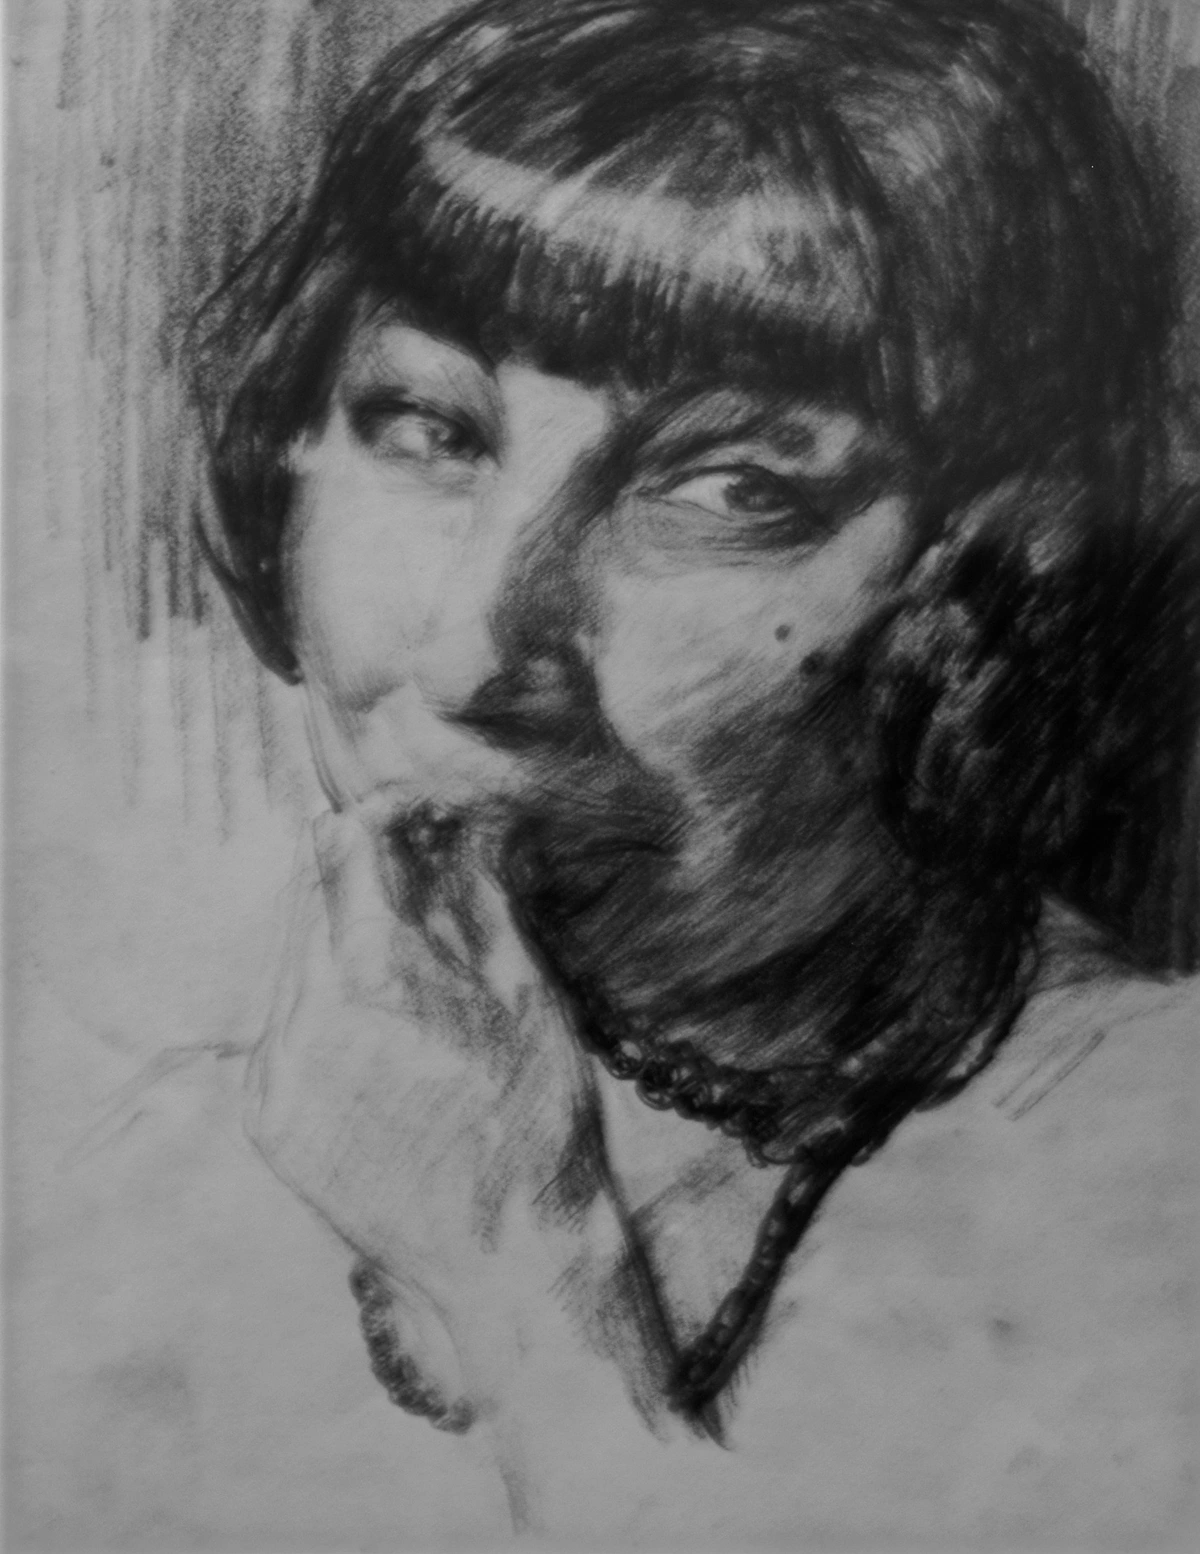
I like to add just a few suggestive lines for these wrinkles—less is almost always more here. Over-rendering can make a hand look ancient and leathery. Think of them as punctuation marks, not entire sentences. You might notice that certain expressions, like the intensity shown in charcoal portraits, rely heavily on capturing tension and skin texture.
Pay attention to the tendons and veins. On the back of a tense hand, you'll see the extensor tendons running from the knuckles toward the wrist—they create subtle ridges beneath the skin. These are especially visible when gripping firmly. A few well-placed lines suggesting these structures add immense anatomical credibility.

Finally, add the nails. They're tiny, but incredibly effective at making a hand look real. Draw them as simple, curved shapes. Pay attention to their perspective—if the finger is pointing away from you, you'll barely see the nail. I like to draw a subtle crescent shape to suggest the nail bed and the white tip.
The Finishing Touch: The Wrist Connection
Don't just let your hand float in space! How does the wrist connect? Is it bent back, creating stretch on the palm side? Is it held straight and strong? The wrist anchors the entire gesture and tells the viewer about the arm's position and the overall posture. A few simple lines establishing the wrist and lower forearm complete the construction convincingly.

Tips and Tricks from My Sketchbook
Over the years, I've stumbled upon a few things that really work. Maybe they'll help you, too.

- The “Lazy” Way to Learn Anatomy: You don't need to memorize every bone. Just know the big three: the carpals (wrist bones), the metacarpals (the palm bones that extend into the fingers), and the phalanges (the finger bones themselves). When you draw, just be aware that there's a solid structure under there. The metacarpals are what give the back of the hand its relatively flat plane.
- Watch the Negative Space: This is a game-changer. The shapes of the “air” between the fingers and the object are often much easier to draw than the fingers themselves. If you can nail the shape of that empty space, the fingers around it will be forced to be correct.
- Squint at Your Reference: It’s the oldest artist trick in the book, and it works. Squinting simplifies the hand into its essential light and shadow masses. It helps you see the hand as a single, cohesive form instead of getting lost in a million tiny details.
FAQ: Your Hand-Drawing Questions, Answered
Here are some of the questions I get asked the most.
How do I make fingers look 3D and not flat? It's all about thinking in cylinders. Draw a centerline down the length of the finger first. Then, build the cylindrical shape around it. I like to draw tiny ovals at the joints to remind myself of the bone structure underneath. Shading should follow the curved surface of these cylinders.
Why do my hands look stiff and unnatural? This happens when you draw the fingers one at a time, like separate sticks being glued to a palm. The solution is what I described above: start with the gesture of the entire finger group (the “mitten”). This ensures they are all working together as a single, coordinated unit, which is how hands actually function.
What are common mistakes to avoid? The big ones are: starting with fingers instead of the object, making the palm too square, forgetting that the thumb originates from a different point on the wrist than the fingers, and drawing fingernails from the wrong perspective.
What’s a good exercise to get better? Do blind contour drawings of your own non-drawing hand. Don't look at the paper, just slowly trace the edges with your eyes while your pencil follows on the page. It sounds weird, but it totally retrains your brain to see the actual shapes instead of the symbols it wants to draw.
The Final Grip
Drawing hands holding things isn't about memorizing a formula. It's about understanding the relationship between two things: the stable object and the adaptable hand. By reversing the process and building the hand around the object, you stop fighting the complexity and start working with a clear, logical structure.

The next time you sit down to draw, grab your favorite mug. Hold it. Feel its weight in your own hand. Then, draw the mug. And when you draw the hand, don't just draw a hand. Draw that feeling of contact, that subtle negotiation between flesh and ceramic. You might just surprise yourself with what appears on the page.