From Brush to Byte: Your Ultimate Tech Guide for Aspiring Artists
Demystify digital art tools! Hardware, software, and practical tips to help beginners confidently choose their creative tech stack.
# From Brush to Byte: Your Ultimate Tech Guide for Aspiring Artists
You know that moment when you're staring at a blank canvas, charcoal stick in one hand, and suddenly realize your entire artistic future might live inside a glowing rectangle? I was 27, standing in a narrow Brooklyn apartment, surrounded by half-finished oil paintings gathering dust while a brand-new drawing tablet sat unopened on my cluttered desk—a reluctant [digital](/finder/page/new-technologies-digital-art) pilgrim at the altar of technological progress.
This [digital](/finder/page/new-technologies-digital-art) transition isn't about abandoning traditional roots – it's about expanding your toolkit. Modern artists don't choose *between* analog and [digital](/finder/page/new-technologies-digital-art); they blend them. We'll demystify the tech maze together, with zero jargon and maximum practicality.
Think of technology not as something that replaces your hands, but as something that gives you superpowers. When you first held a charcoal stick, it felt foreign too—now it's an extension of your thoughts. Digital tools work the same way, just with more buttons to accidentally click.
Ready to transform that "I'm clueless" stare into confident creativity? Let's dive in.
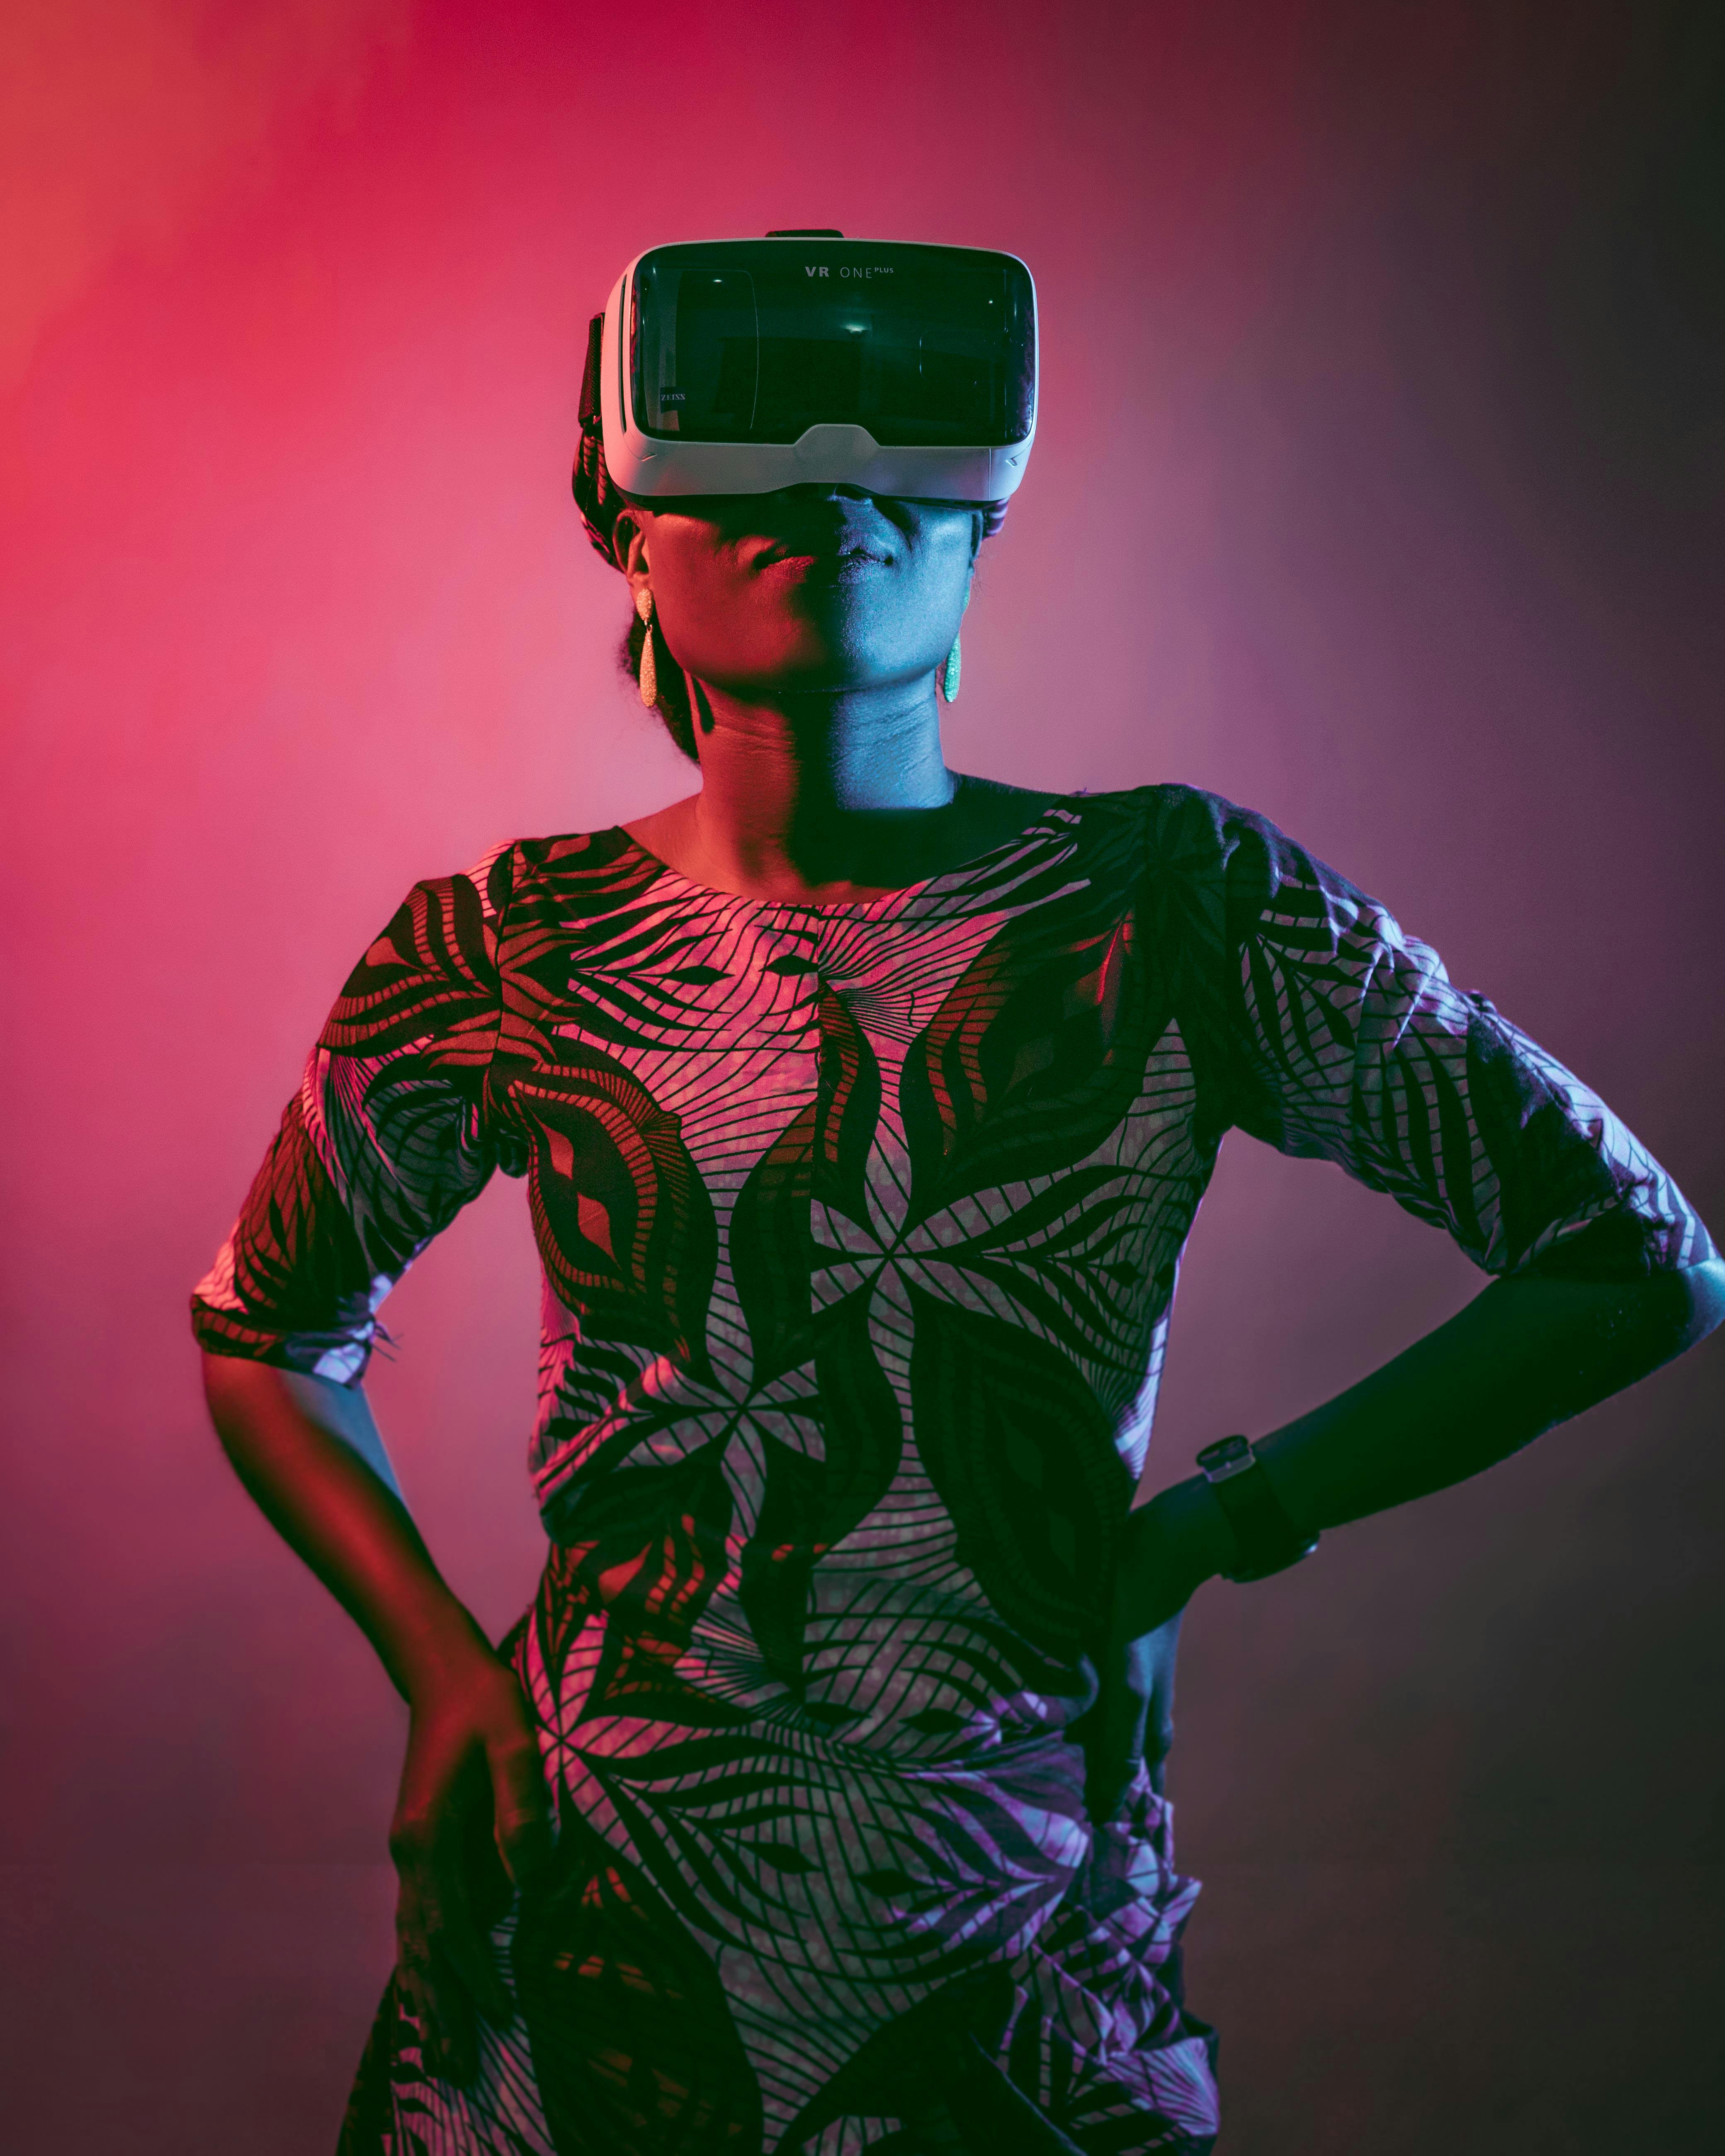
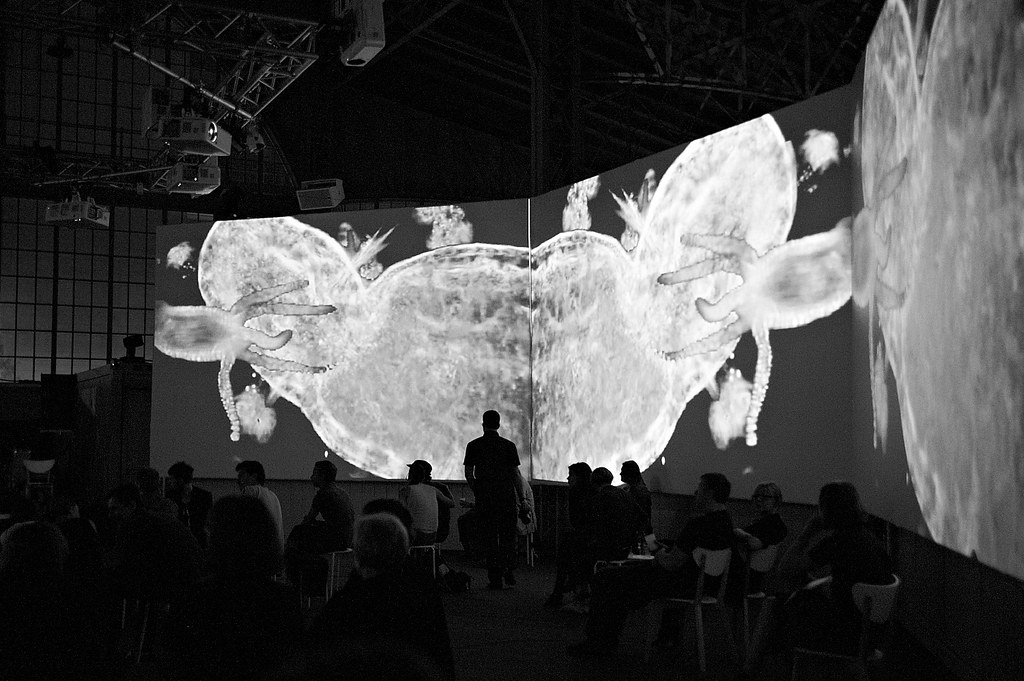
[credit](https://images.pexels.com/photos/14785826/pexels-photo-14785826.jpeg),
[licence](https://creativecommons.org/public-domain/)
## Why Art Tech Isn't Just Gimmickry (It's Empowerment)
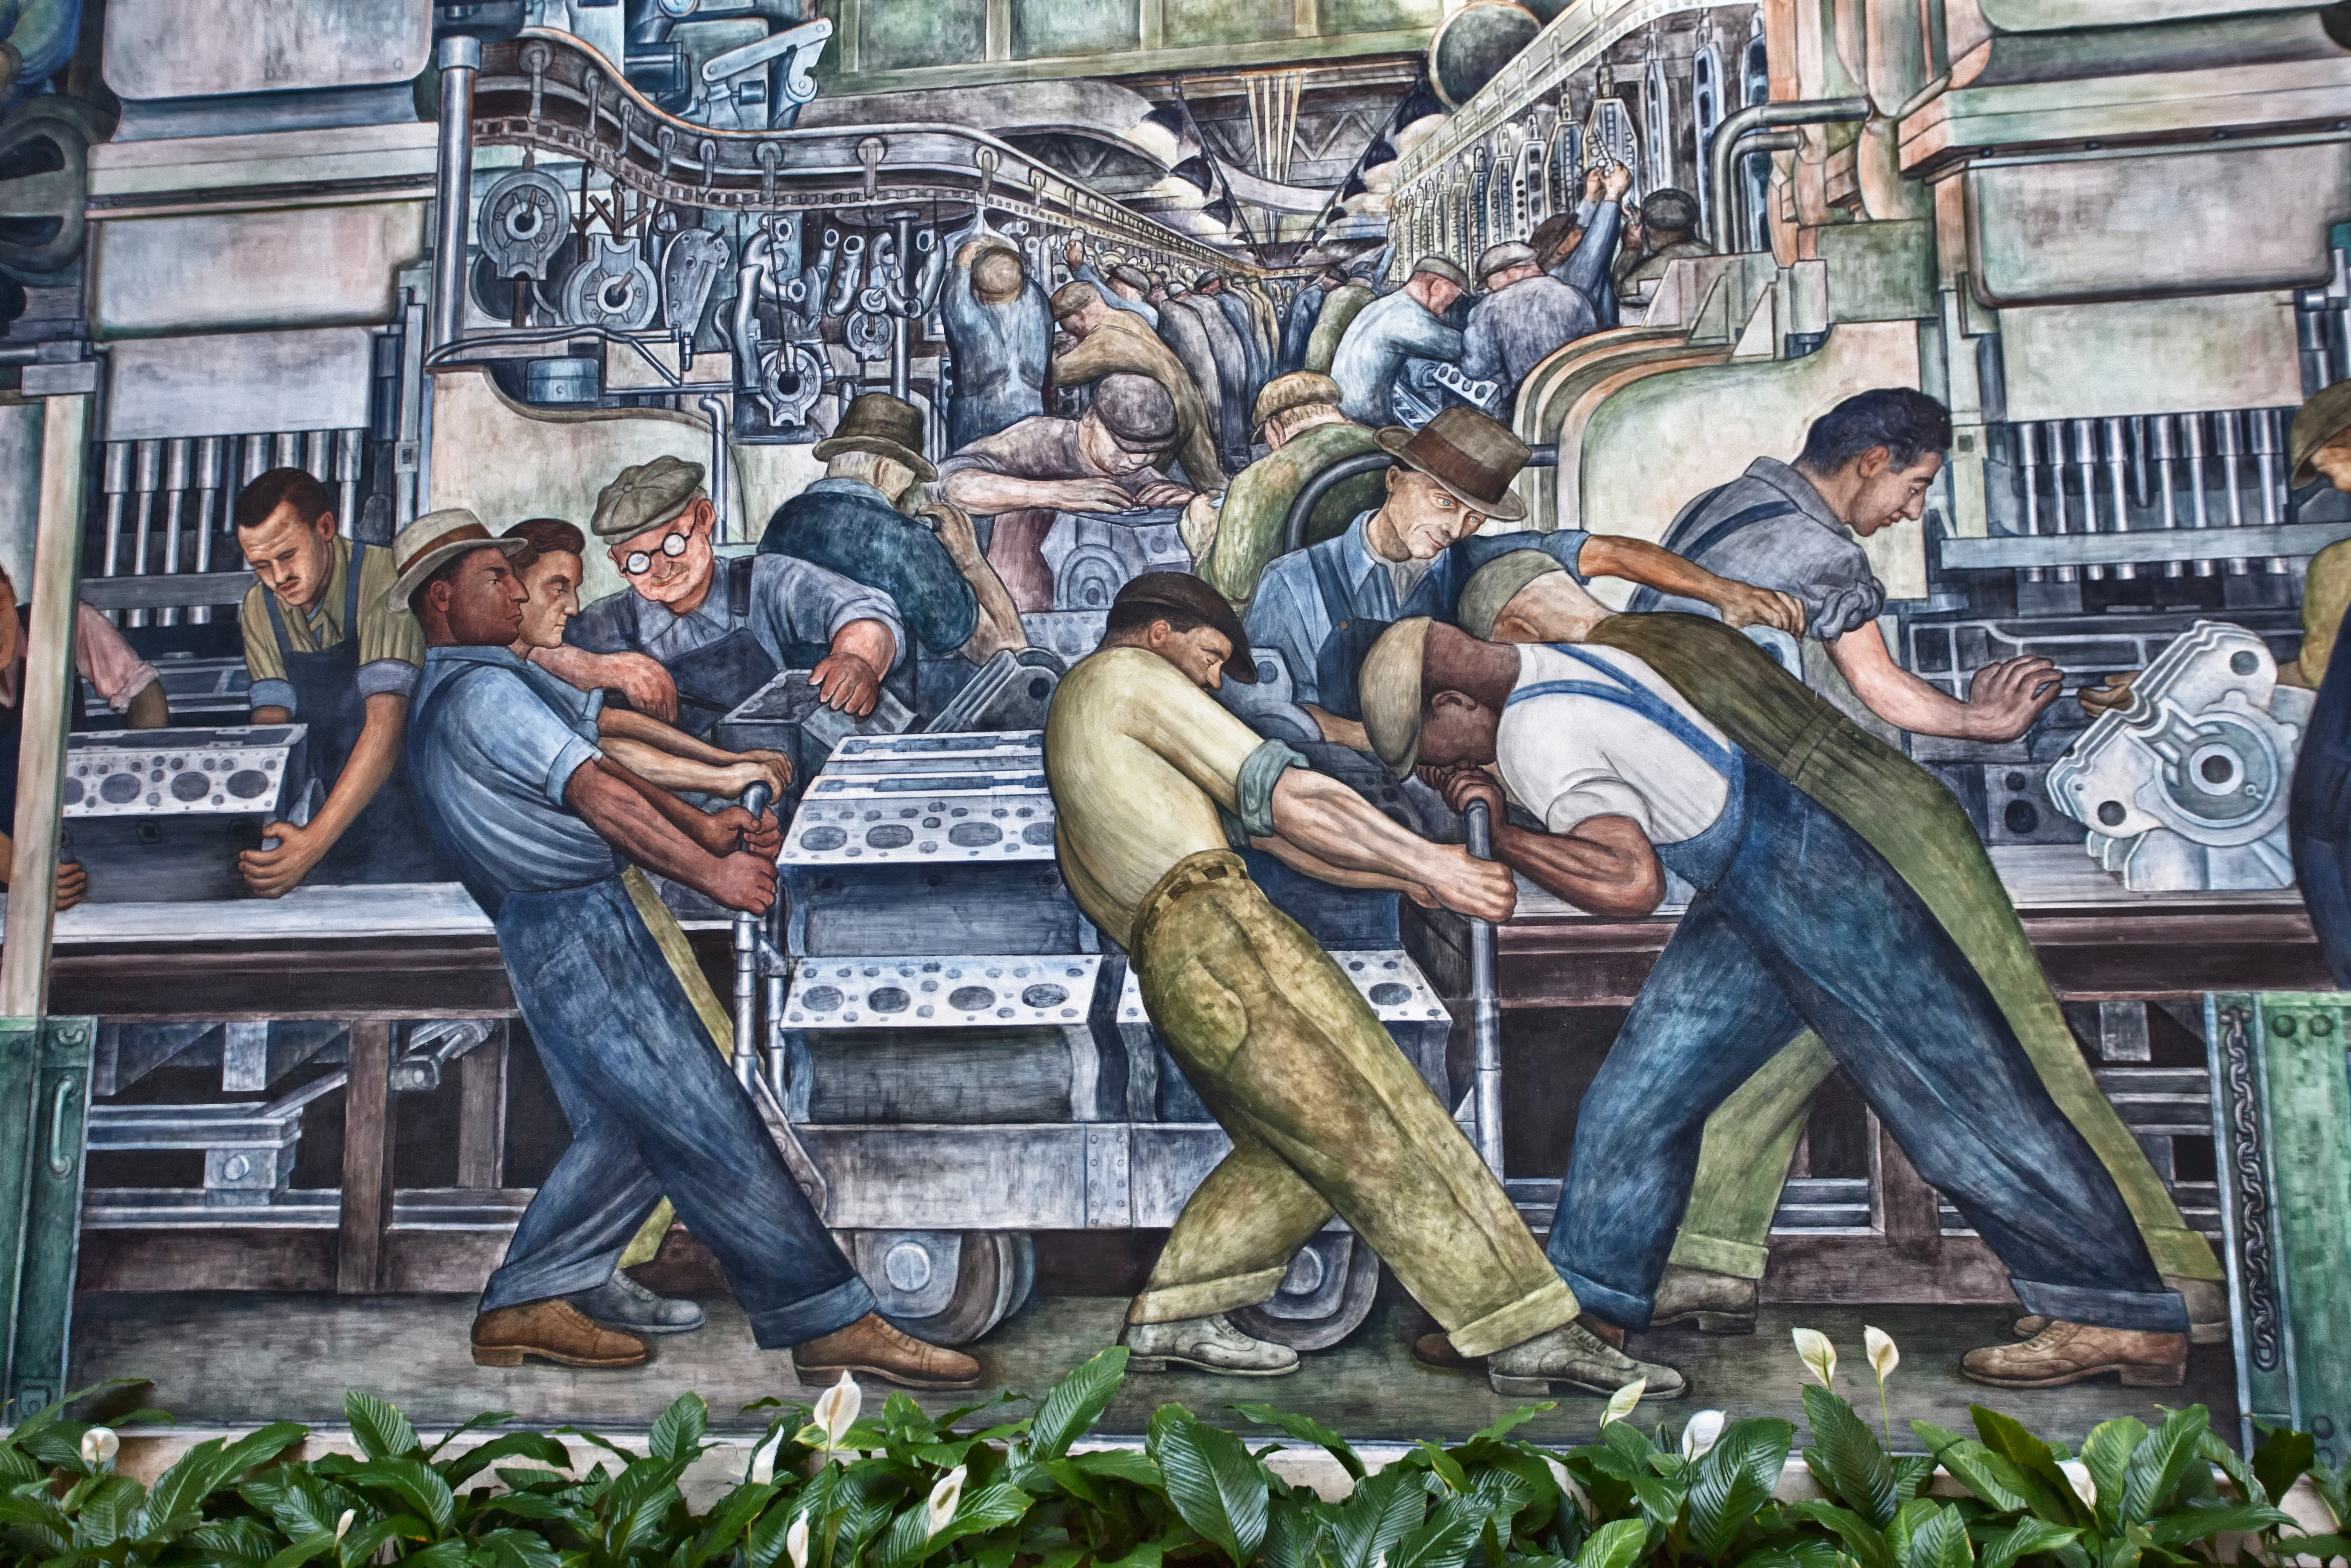
History's full of artists who transformed tools into transcendence. When oil paint replaced [egg tempera](/finder/page/the-history-of-tempera-painting-from-ancient-egypt-to-modern-revival) in the 15th century, critics called it "cheating"—too easy, too forgiving. Yet would [Van Gogh](/finder/page/ultimate-guide-to-van-gogh)'s swirling stars exist without those forgiving layers? [Michelangelo](/finder/page/ultimate-guide-to-michelangelo) wouldn't have sculpted David without his revolutionary bronze claw chisels—his "cutting-edge tech" of 1504. Today's digital tools aren't departing from tradition; they're continuing [art](/finder/page/history-of-art-guide)'s oldest conversation: how can new tools help us see the world differently?
[credit](https://images.pexels.com/photos/10988020/pexels-photo-10988020.jpeg),
[licence](https://creativecommons.org/public-domain/)
### The Real Psychological Shift
What happens in your brain when you switch from physical to digital is fascinating. Traditional mediums force sequential thinking—you build from dark to light, background to foreground, in careful stages because mistakes are permanent. Digital tools introduce nonlinear creativity. You can paint the eyeball before the face, change the entire [color](/finder/page/who-is-josef-alber-interaction-of-color) scheme in five seconds, or completely rearrange your composition mid-painting without starting over.
This is deeply unnerving at first. We're wired to think of [art](/finder/page/history-of-art-guide) as a committed act—you don't get to "undo" a brushstroke in oils. But when you embrace digital's flexibility, something magical happens: you become braver. That terrifying experimental technique? You try it because the undo button exists. That wild [color](/finder/page/who-is-josef-alber-interaction-of-color) combination you'd never commit to physically? You test it instantly.
I remember my first [digital painting](/finder/page/essential-tools-for-digital-painting-beginners). I spent forty minutes on a single brushstroke because I was treating the stylus like it was permanent ink. The moment I realized I had infinite revisions at my fingertips, I started painting with the freedom I'd always wanted but never allowed myself with expensive traditional materials.
They don't replace your vision – they amplify it. Ever spend hours mixing the perfect purple only to have it dry slightly different? A [color](/finder/page/who-is-josef-alber-interaction-of-color) picker gives you *exact* precision. Want to experiment with 20 compositions in an hour? Undo buttons make that possible. Technology lets us fail safely, iterate quickly, and refine endlessly – all while keeping the original magic of creation intact.
But here's the psychological shift that happens: traditional mediums force you to commit. Every brushstroke feels permanent, weighted with consequence. Digital creation feels weightless, temporary—which is exactly why it's so powerful for learning. You can try a hundred variations of the same composition without a single sheet of wasted paper. That 'permanent' feeling in [traditional art](/finder/page/traditional-art-concepts) isn't actually about the medium—it's about your relationship with experimentation.
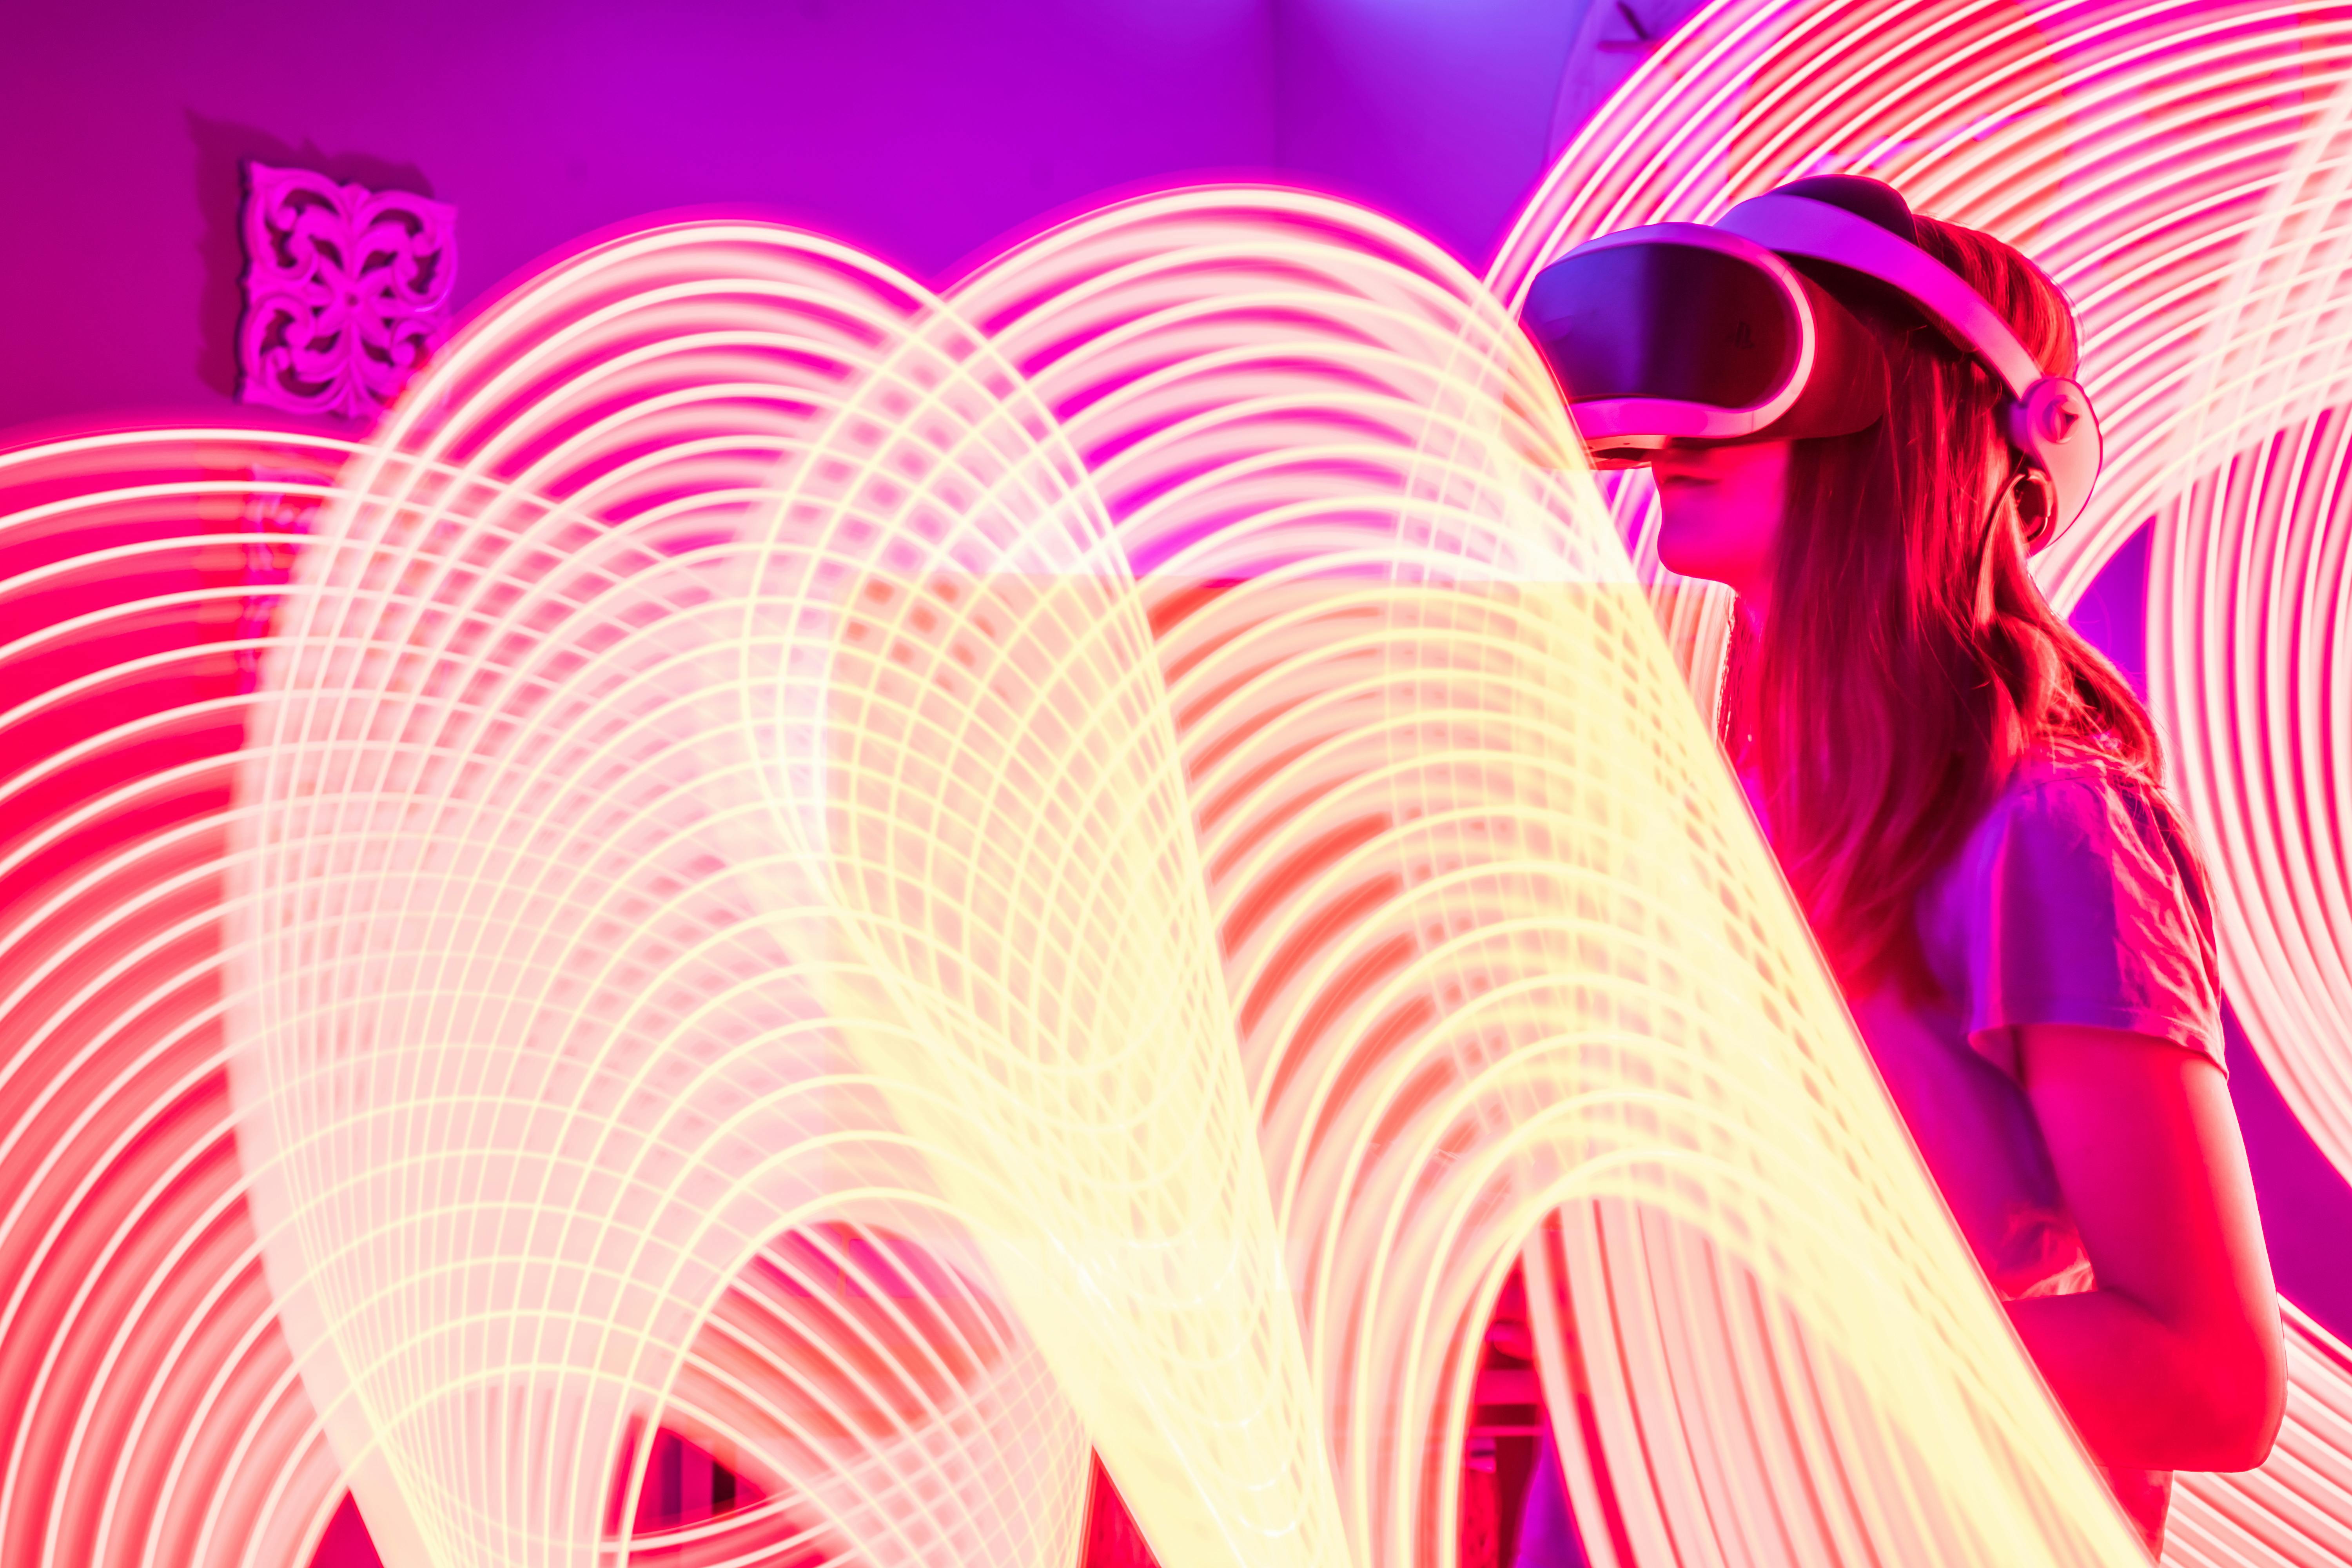
[credit](https://images.pexels.com/photos/7117274/pexels-photo-7117274.jpeg),
[licence](https://creativecommons.org/public-domain/)
But here's what nobody talks about: this isn't just about convenience. It's about fundamentally rewiring how we think about making art. Remember spending weeks on a painting only to realize the composition was fundamentally flawed? Digital tools let you discover that in 20 minutes, not 20 days. That's not cheating—that's accelerating the learning curve so you can focus on what actually matters: your vision.
[credit](https://images.pexels.com/photos/8037022/pexels-photo-8037022.jpeg),
[licence](https://creativecommons.org/public-domain/)
The real magic happens in what I call the 'iteration gap.' Traditional artists might [create](/finder/page/how-to-create-siqueiros-inspired-murals) three finished pieces in a month. Digital artists can iterate through thirty variations of the same piece in a week. That's not just quantitative difference—it's a fundamentally different relationship with [creative exploration](/finder/page/a-day-in-my-abstract-art-studio-from-morning-rituals-to-creative-breakthroughs). You're not just making finished art; you're exploring the entire possibility space of an idea.
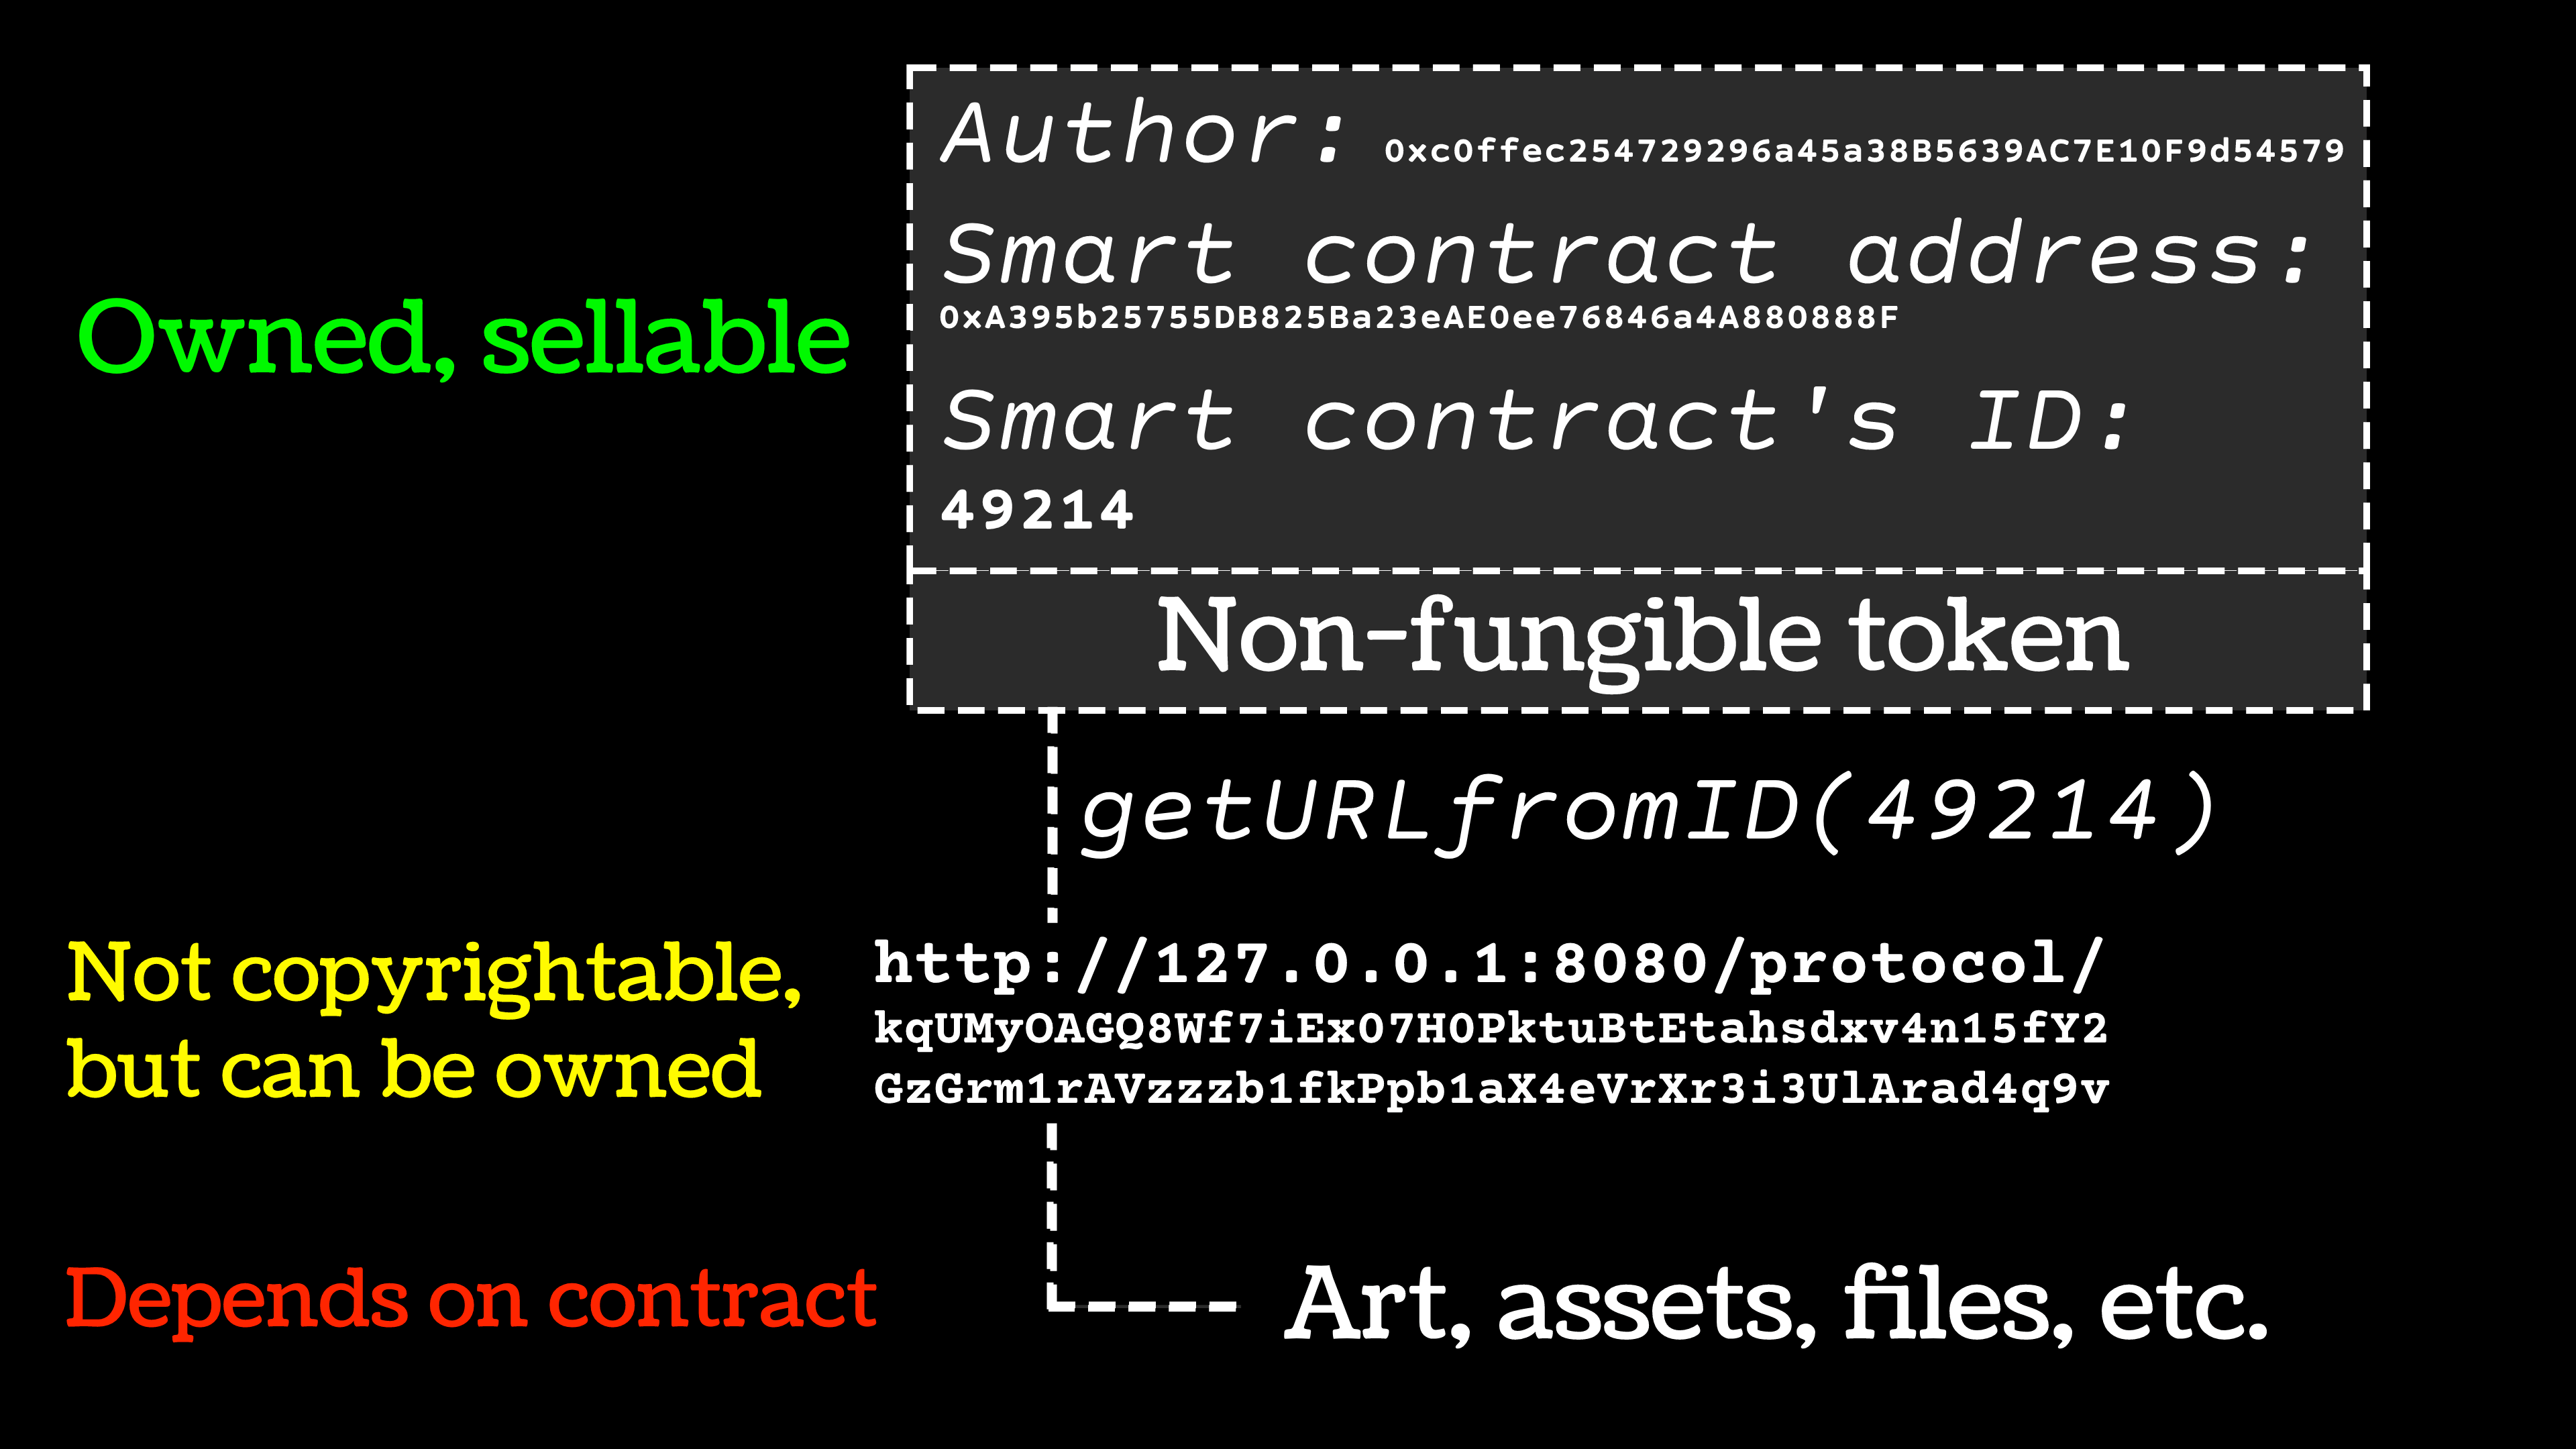
[credit](https://upload.wikimedia.org/wikipedia/commons/7/78/NFT_ownership_diagram.png),
[licence](http://creativecommons.org/publicdomain/zero/1.0/deed.en)
## The Core Trinity: Hardware, Software, Workflow
Think of your artistic tech setup like an orchestra: hardware is your instrument, software is your sheet music, and workflow is your conducting style. All three must harmonize.
Most beginners make the same mistake I did: they think 'better tools = better art.' So they spend months researching the perfect tablet, the ideal software, the most powerful computer—and never actually [create](/finder/page/how-to-create-siqueiros-inspired-murals) anything. The truth is much simpler, and much harder to accept: your first [digital art](/finder/page/history-of-digital-art) will look awkward regardless of your tools. The key is starting with something simple enough that you can focus on learning, not troubleshooting.
But here's the thing nobody tells you: you can have mediocre versions of all three and still make incredible art. I've seen artists [create](/finder/page/how-to-create-siqueiros-inspired-murals) masterpieces with ten-year-old tablets and free software, while others with the latest everything produce lifeless technical drawings. The tools don't make the artist—but the right tools for *you* can unlock creativity you didn't know you had.
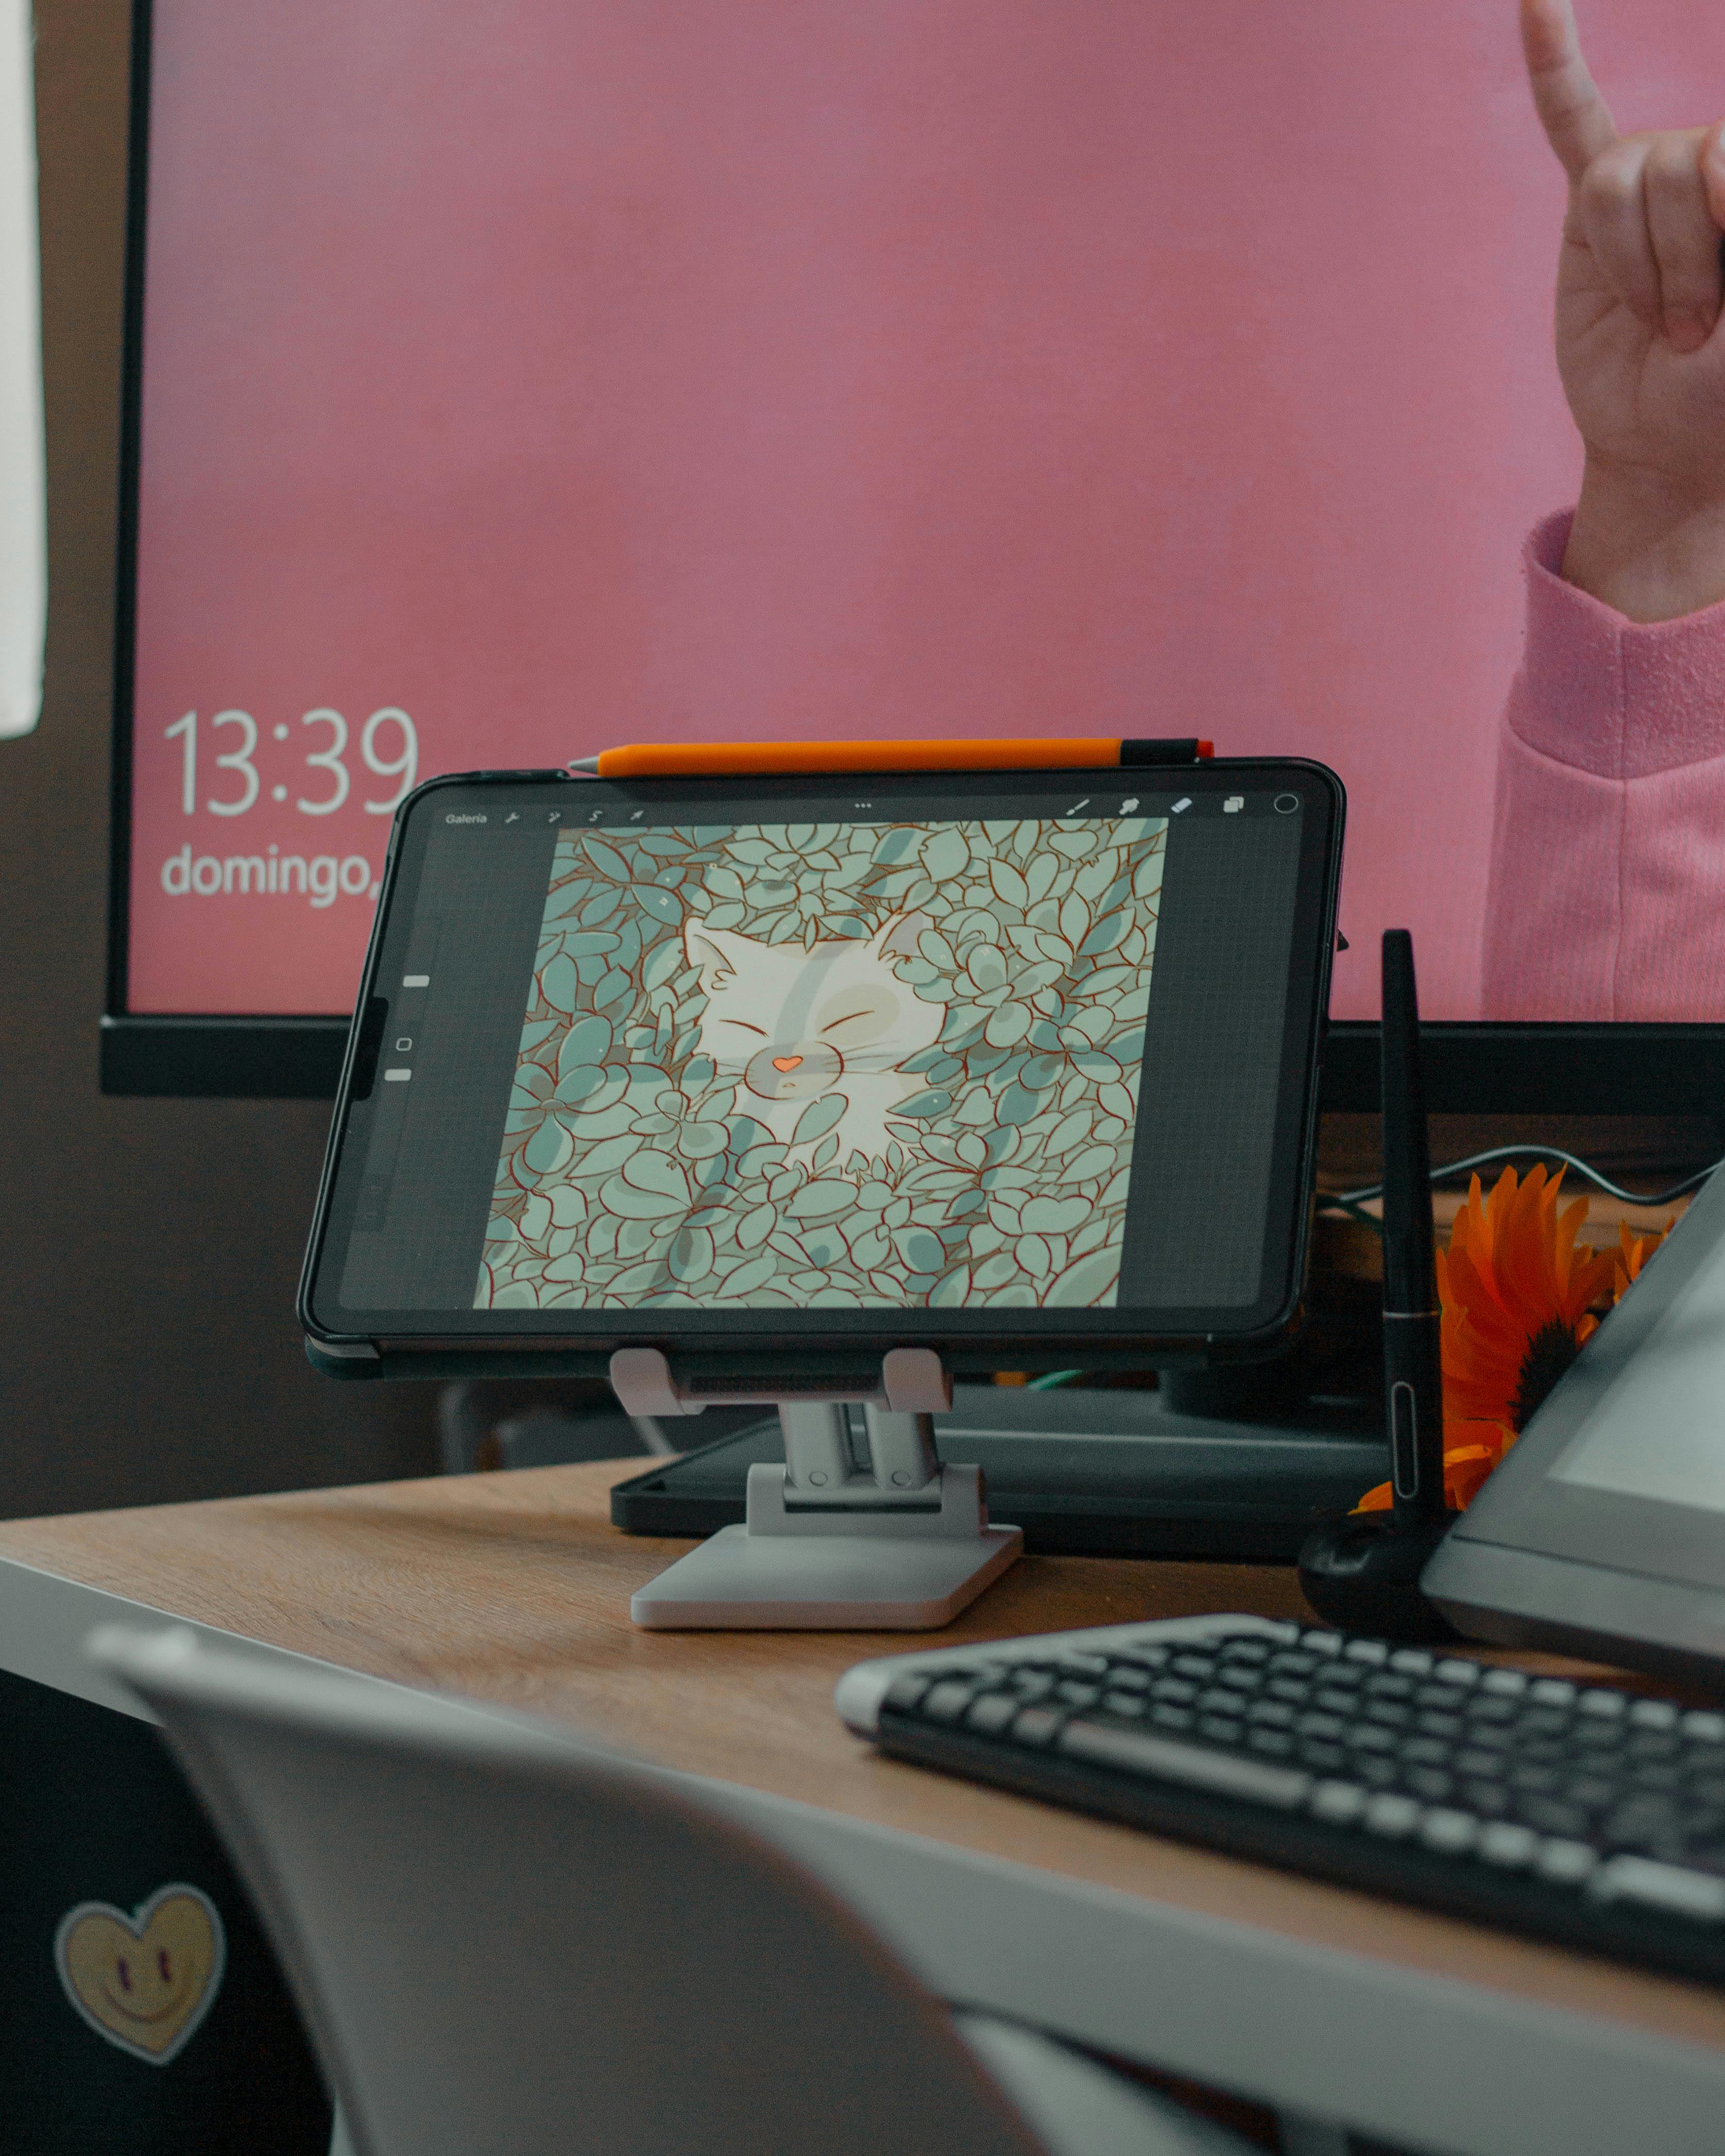
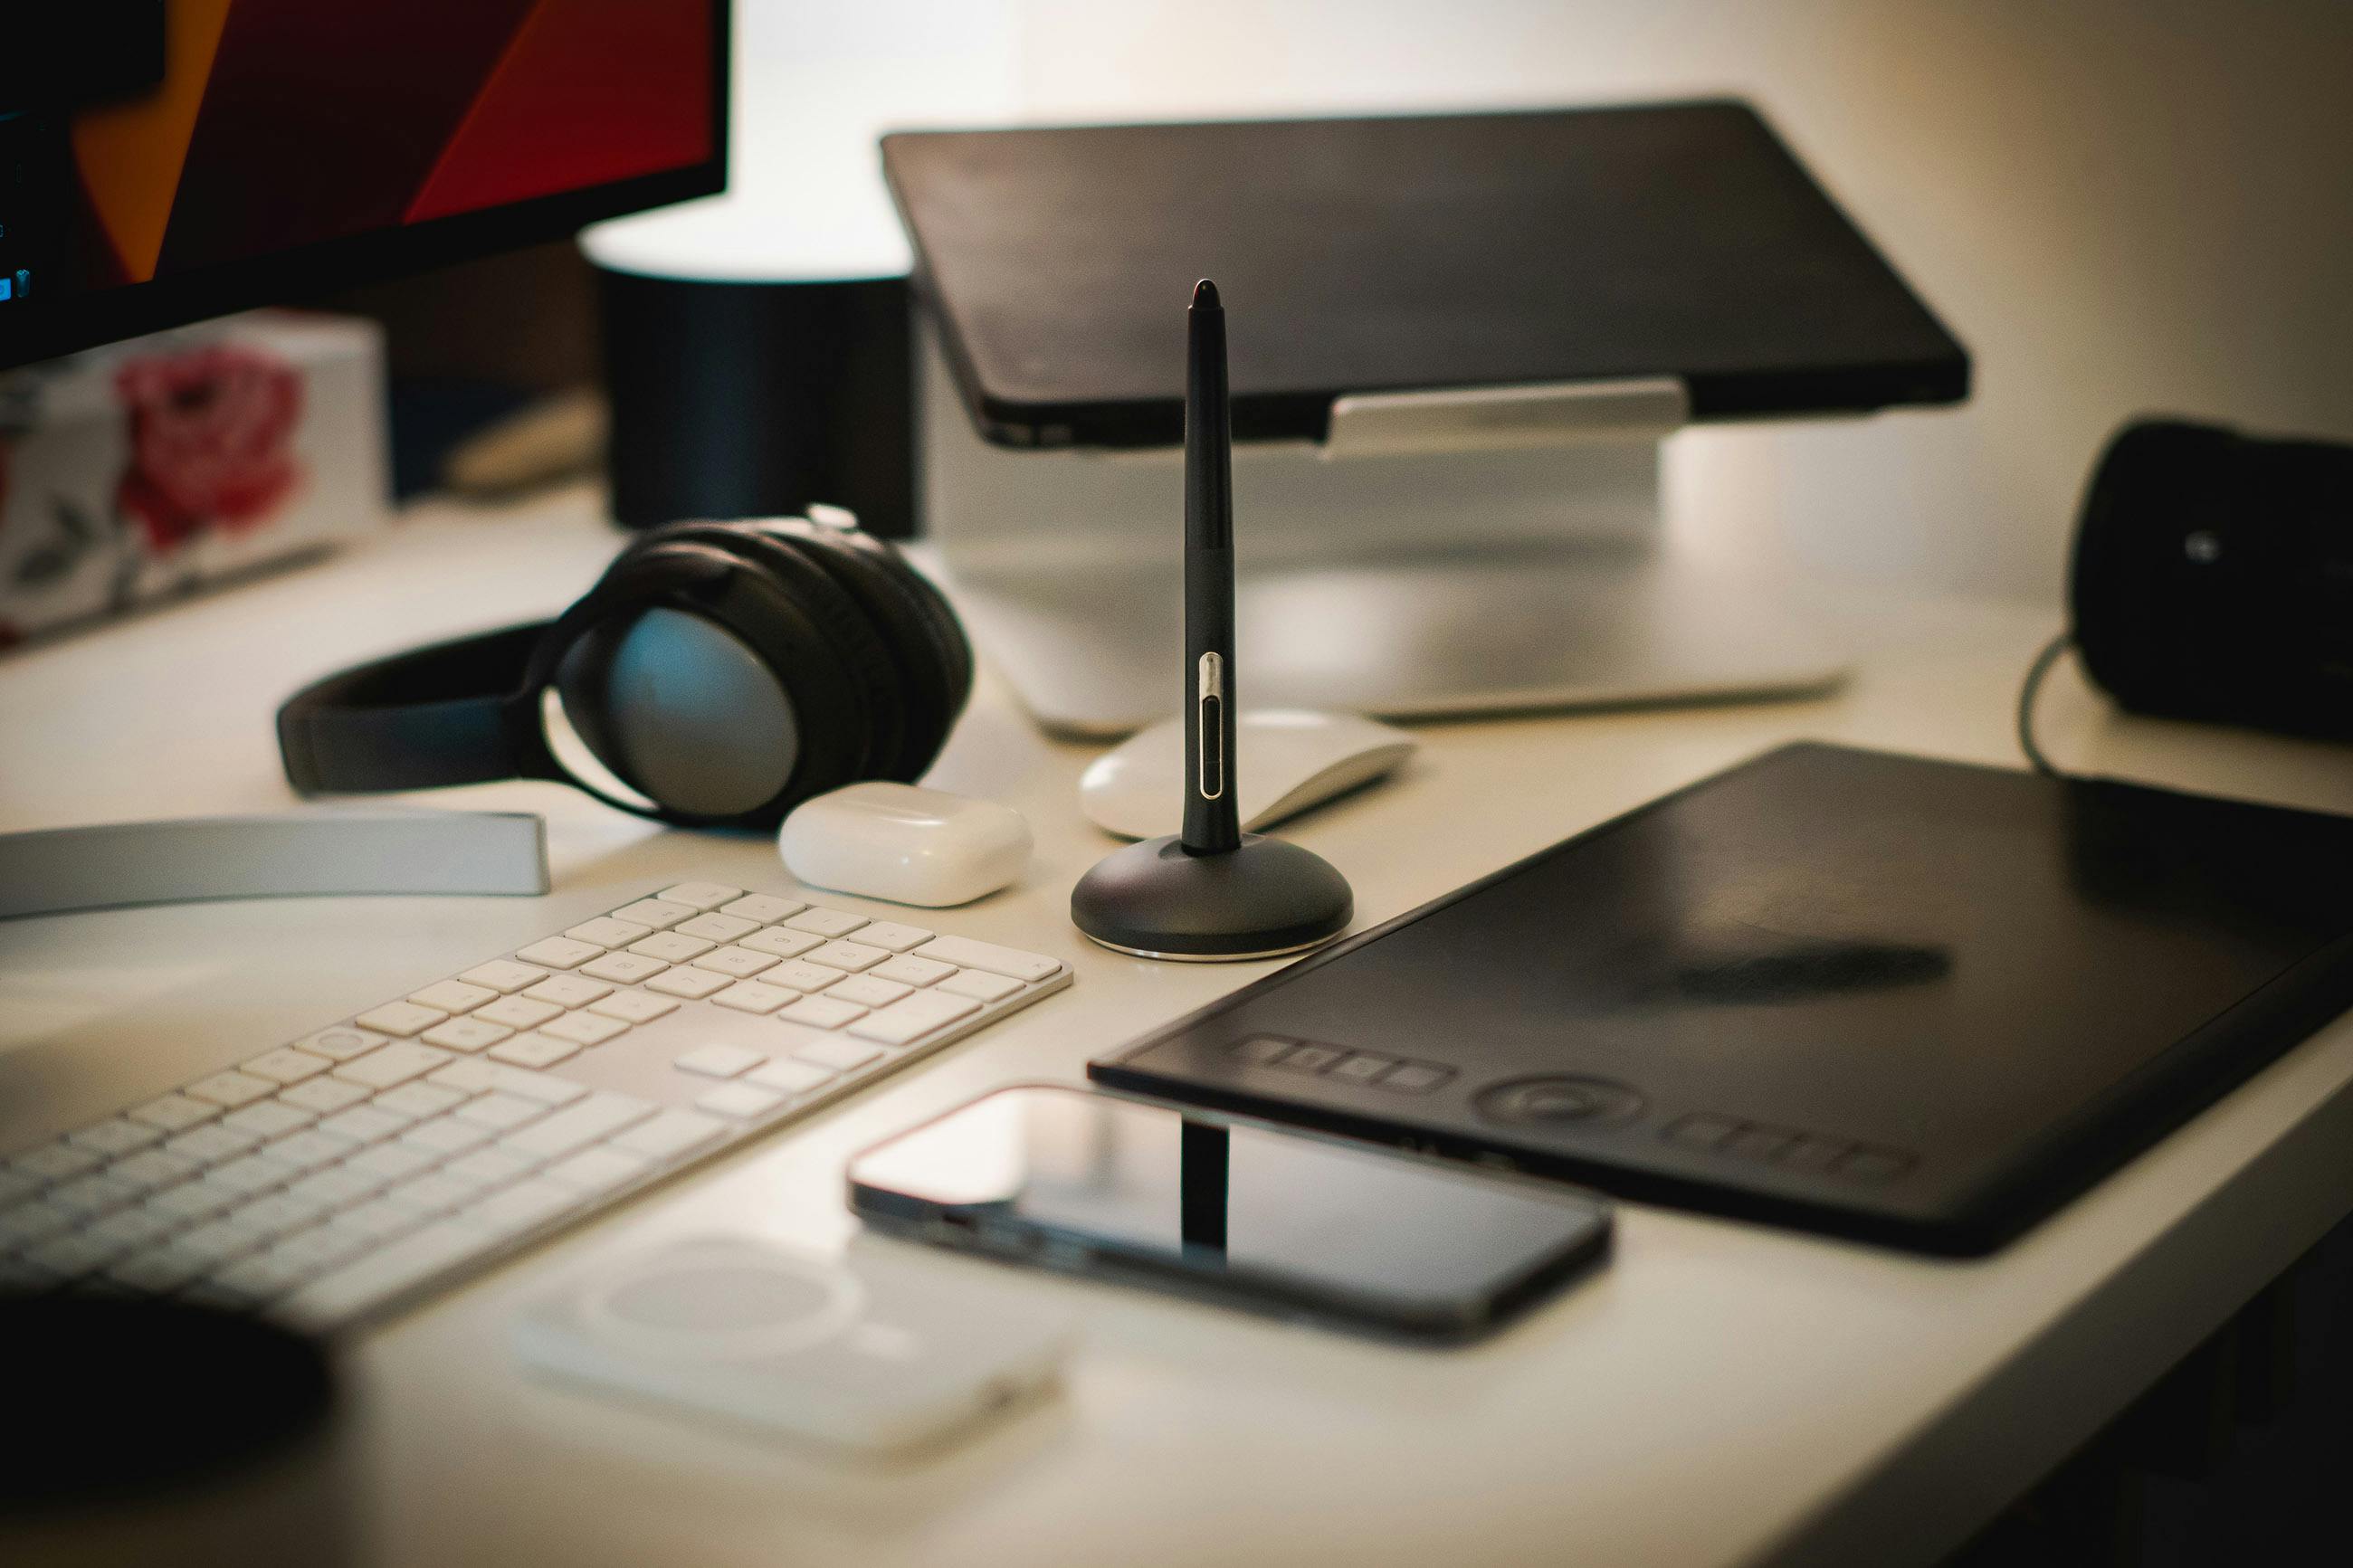
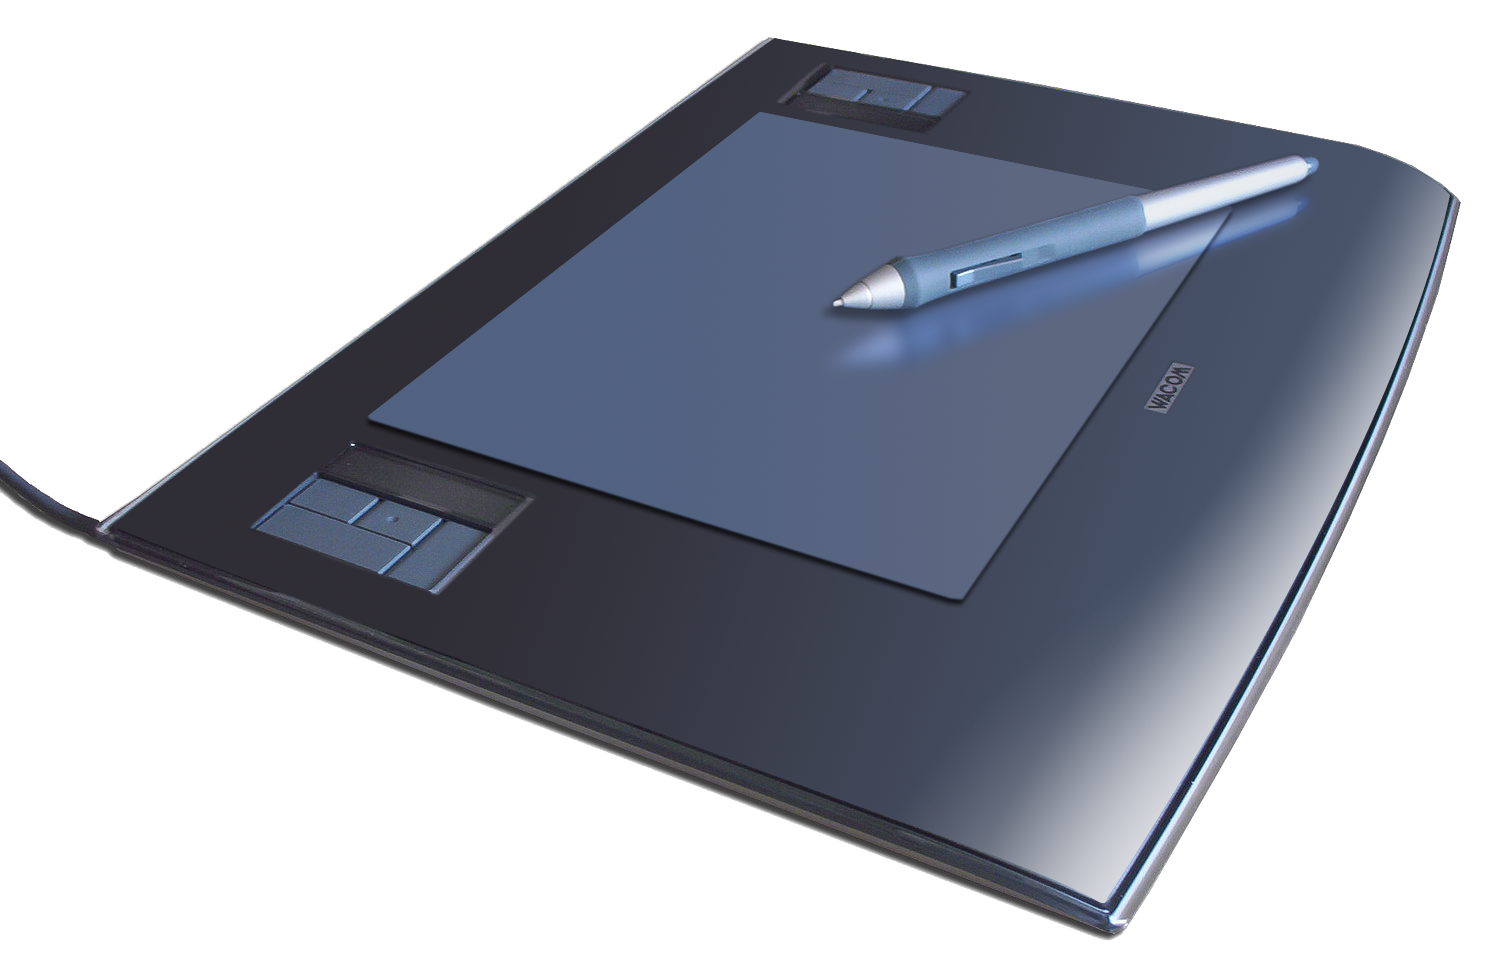
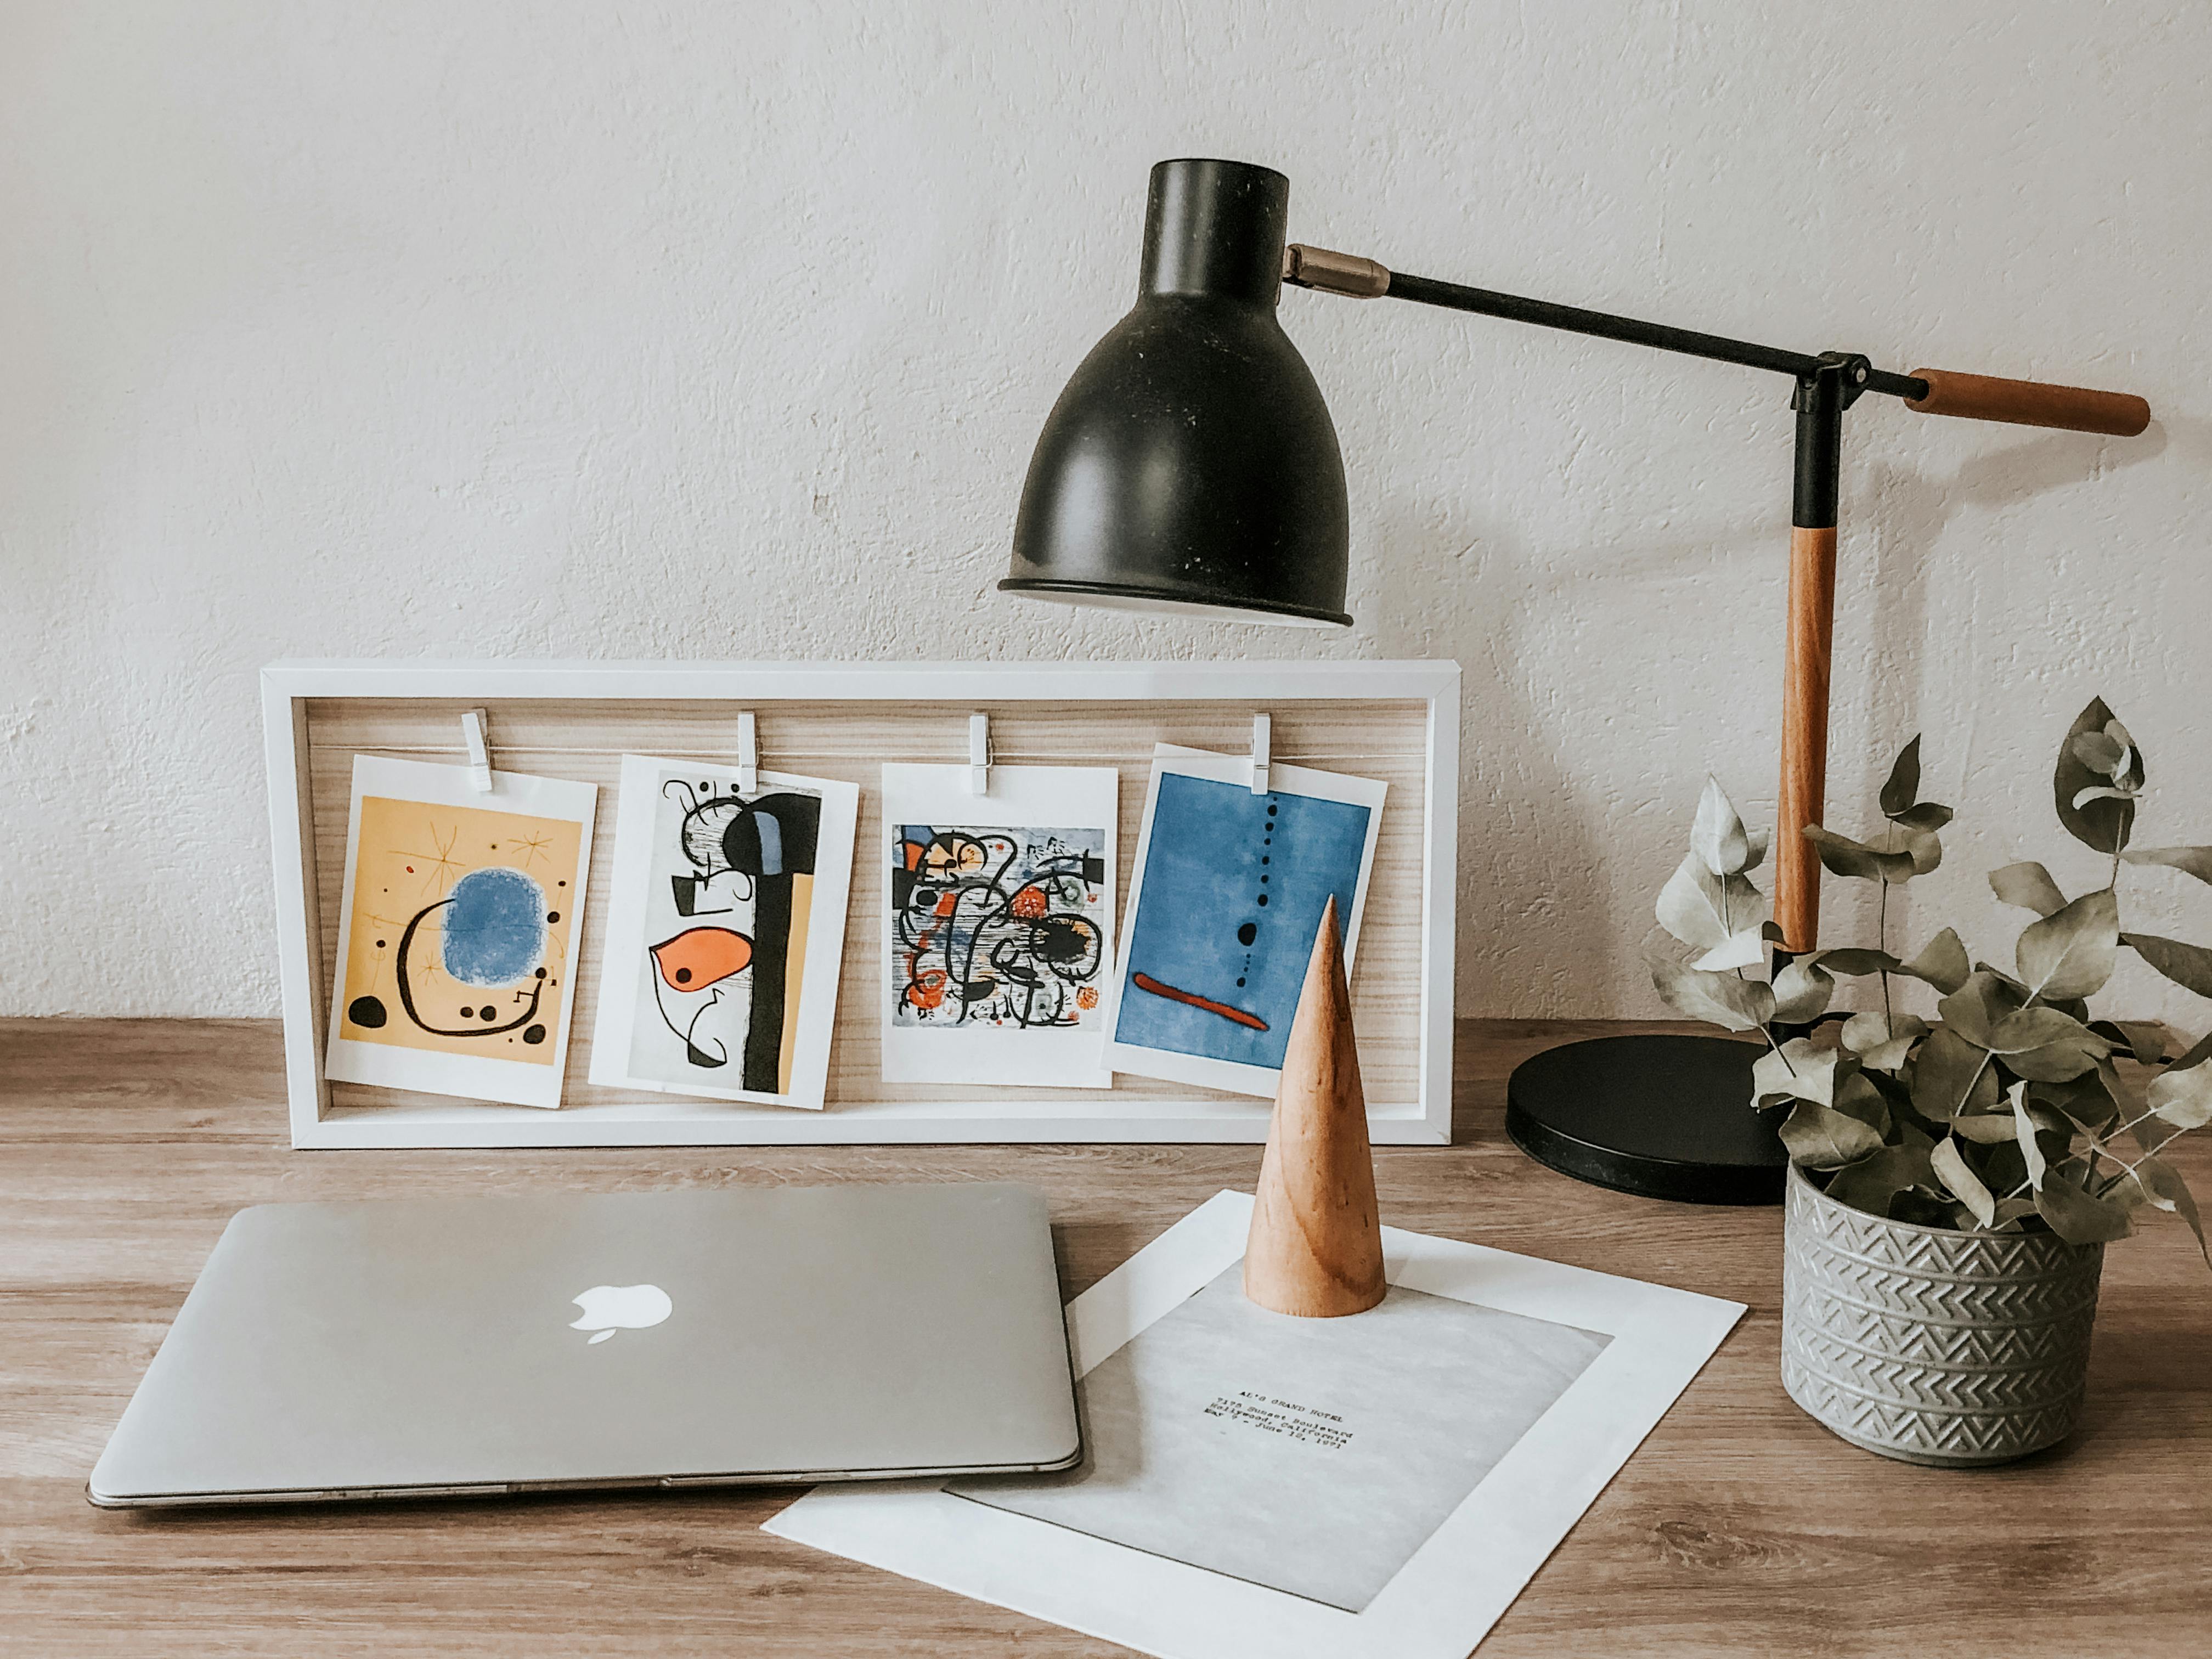
### Hardware Foundations: Your Physical Canvas
Let's start with tangible tools – the stuff you can touch and spill coffee on (pro tip: buy a spill-proof travel mug immediately). Hardware isn't about having the most expensive gadgets; it's about choosing tools that become invisible extensions of your creative intuition.
Something weird happens when you've been drawing on a tablet for a few months. At first, it feels like trying to write with your non-dominant hand while looking in a mirror. Awkward, frustrating, and your brain hurts. Then one day, you realize you're no longer consciously thinking about pressure sensitivity or stylus angle—you're just *drawing*, and the tool has become transparent between your intention and the mark.
That transparency is what you're chasing. Not the highest specs or the shiniest gadget, but the moment the technology stops feeling like technology and starts feeling like a pencil or a paintbrush.
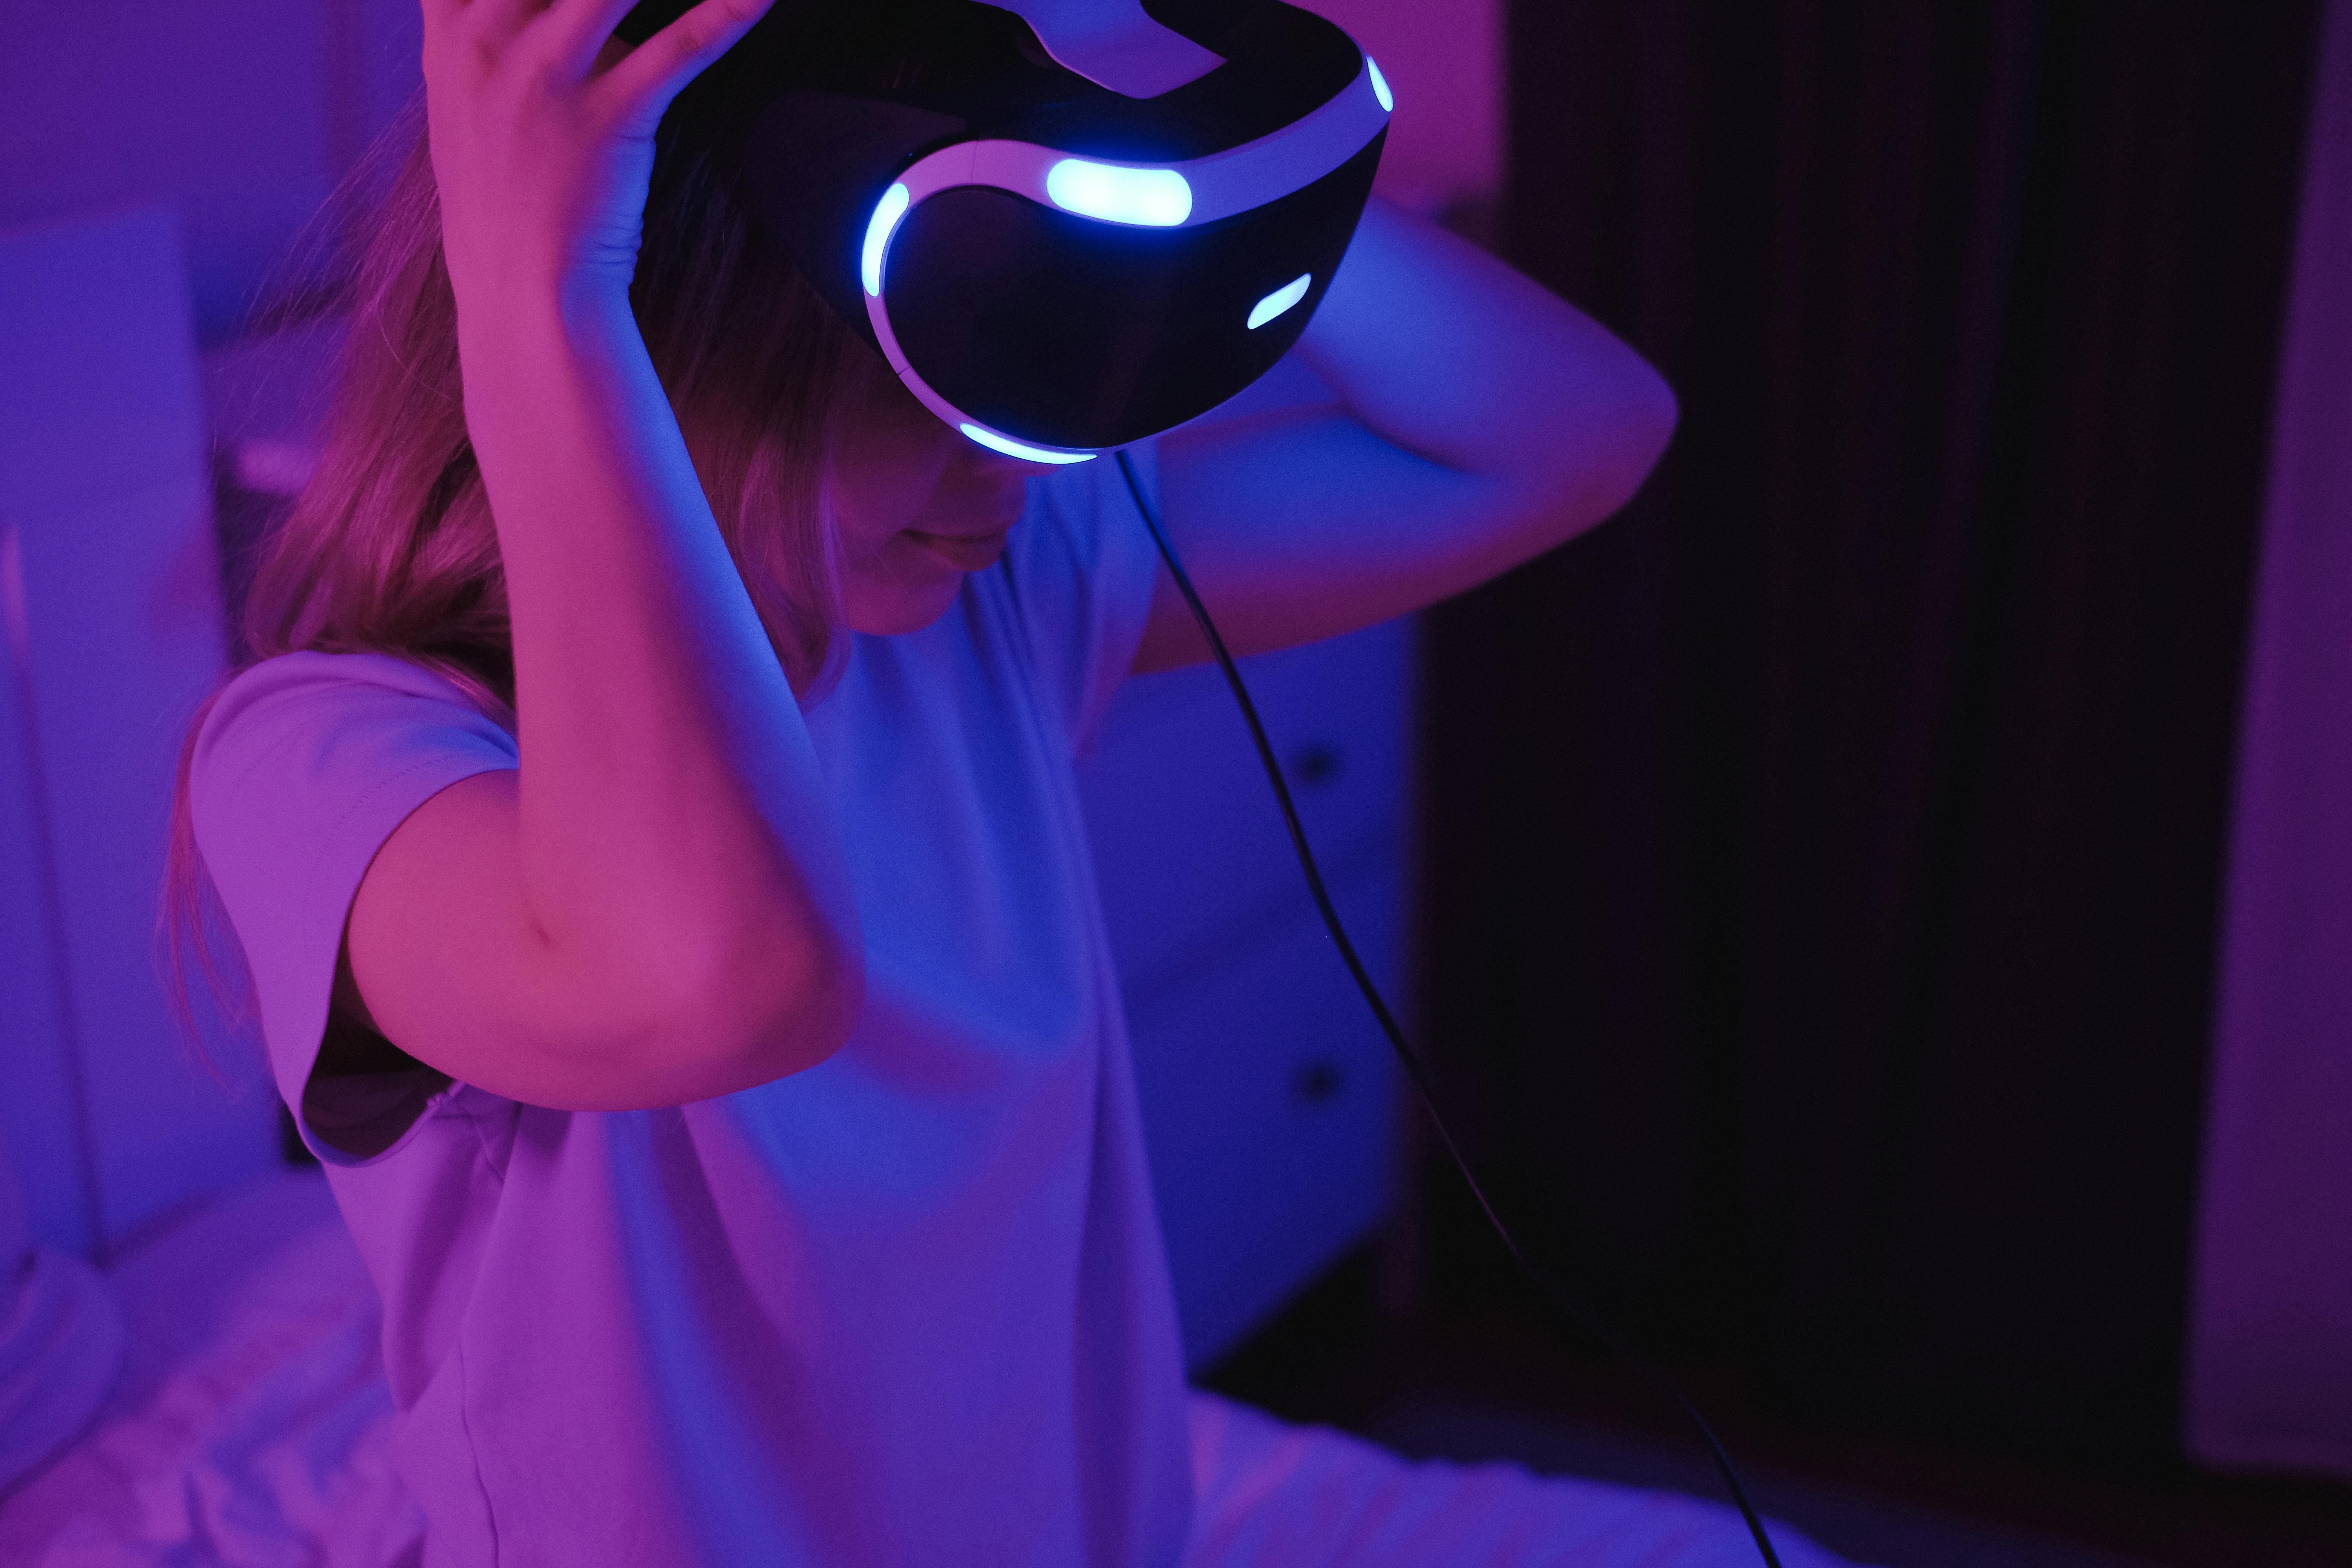
[credit](https://images.pexels.com/photos/12863738/pexels-photo-12863738.jpeg),
[licence](https://creativecommons.org/public-domain/)
| Tool Category | Beginner-Friendly Options | Key Considerations |
|---------------|----------------------------|-------------------|
| **Drawing Tablets** | - **Budget**: Huion HS611 ($60-80)<br>- **Mid-range**: Wacom Intuos Medium ($180-250)<br>- **Premium**: Wacom Cintiq 16" ($650-800)<br>- **iPad Alternative**: iPad Air + [Apple Pencil](/finder/page/apple-pencil-review-for-artists) ($600-750)<br>- **Budget iPad**: iPad (10th gen) + Apple Pencil ($450-550)<br>- **Premium iPad**: iPad Pro 12.9" + Apple Pencil ($1200-1500) | - **Pressure sensitivity**: 8,192 levels is standard; 8,192+ matters for professionals<br>- **Active area**: Match your natural drawing motion (6x4" minimum for sketches)<br>- **Screen vs non-screen**: Non-screen builds eye-hand coordination; screen tablets reduce learning curve<br>- **Connectivity**: USB-C preferred; check compatibility with your computer/device |
| **Styluses** | - **Wacom Pro Pen 2**: Industry standard, charges wirelessly, 8192 pressure levels<br>- **[Apple Pencil](/finder/page/apple-pencil-review-for-artists) (iPad)**: Seamless iPad integration, magnetic charging, tilt and pressure sensitive<br>- **Surface Pen**: Microsoft ecosystem integration, replaceable batteries, palm rejection<br>- **Huion PW517**: Budget-friendly, 60° tilt support, 8192 pressure levels | - **Tilt recognition**: Essential for natural shading; 60° minimum sensitivity recommended<br>- **Battery life**: 15+ hours for wireless styluses; wired options never die mid-project<br>- **Palm rejection**: Non-negotiable for comfortable drawing sessions<br>- **Eraser button**: Game-changer for workflow efficiency; some pens have rear eraser tip |
| **Computers/Devices** | - **Budget Desktop**: Custom AMD Ryzen 5/i5 build ($600-800)<br>- **Mid-range Desktop**: AMD Ryzen 7/i7 with dedicated GPU ($1200-1800)<br>- **Mac Studio**: Apple ecosystem integration ($2000-4000)<br>- **Gaming Laptop**: ASUS ROG, MSI Stealth ($1500-3000)<br>- **Surface Laptop Studio**: Hybrid tablet/laptop ($1600-2800) | - **RAM**: 16GB minimum for Photoshop/Affinity; 32GB optimal<br>- **CPU**: Multi-core processor (8+ cores ideal for rendering)<br>- **GPU**: Dedicated graphics card essential for 3D work<br>- **Storage**: 1TB SSD minimum for application + project files<br>- **Cooling**: Proper ventilation prevents thermal throttling |
| **Storage & Backup** | - Portable SSD (1TB+)<br>- Cloud services (Google Drive, Dropbox)<br>- NAS (Network Attached Storage) for home<br>- SD cards for immediate backup | - Auto-save EVERYTHING (set hourly cloud backups)<br>- Store original files uncompressed (PSD, TIFF)<br>- Use external drives for archival – cloud services vanish<br>- RAID 1 configuration for critical backups |
### Understanding the Paper vs. Screen Paradox
There's a psychological barrier every [traditional artist](/finder/page/qa-with-an-ai-artist-exploring-the-intersection-of-algorithms-and-creativity) hits with tablets—the hand-eye coordination disconnect. When you draw on paper, your hand and eyes occupy the same physical space. When you draw on a non-screen tablet while looking at a monitor, you're training your brain to work with spatial separation.
Here's the truth: this feels terrible for about two weeks, then suddenly it clicks. Your brain rewires itself to treat the tablet surface like a transparent window directly onto the screen. I almost quit [digital art](/finder/page/history-of-digital-art) because of this disconnect until another artist told me, "It's like learning to drive a car—awkward at first, then you forget you're doing it."
[credit](https://upload.wikimedia.org/wikipedia/commons/3/3b/Pen_Tablet.jpg),
[licence](http://creativecommons.org/licenses/by-sa/3.0/)
**The secret trick**: Don't look at your hand. Force yourself to watch only the screen cursor. Within a week, your hand automatically adjusts to match what your eyes see on screen.

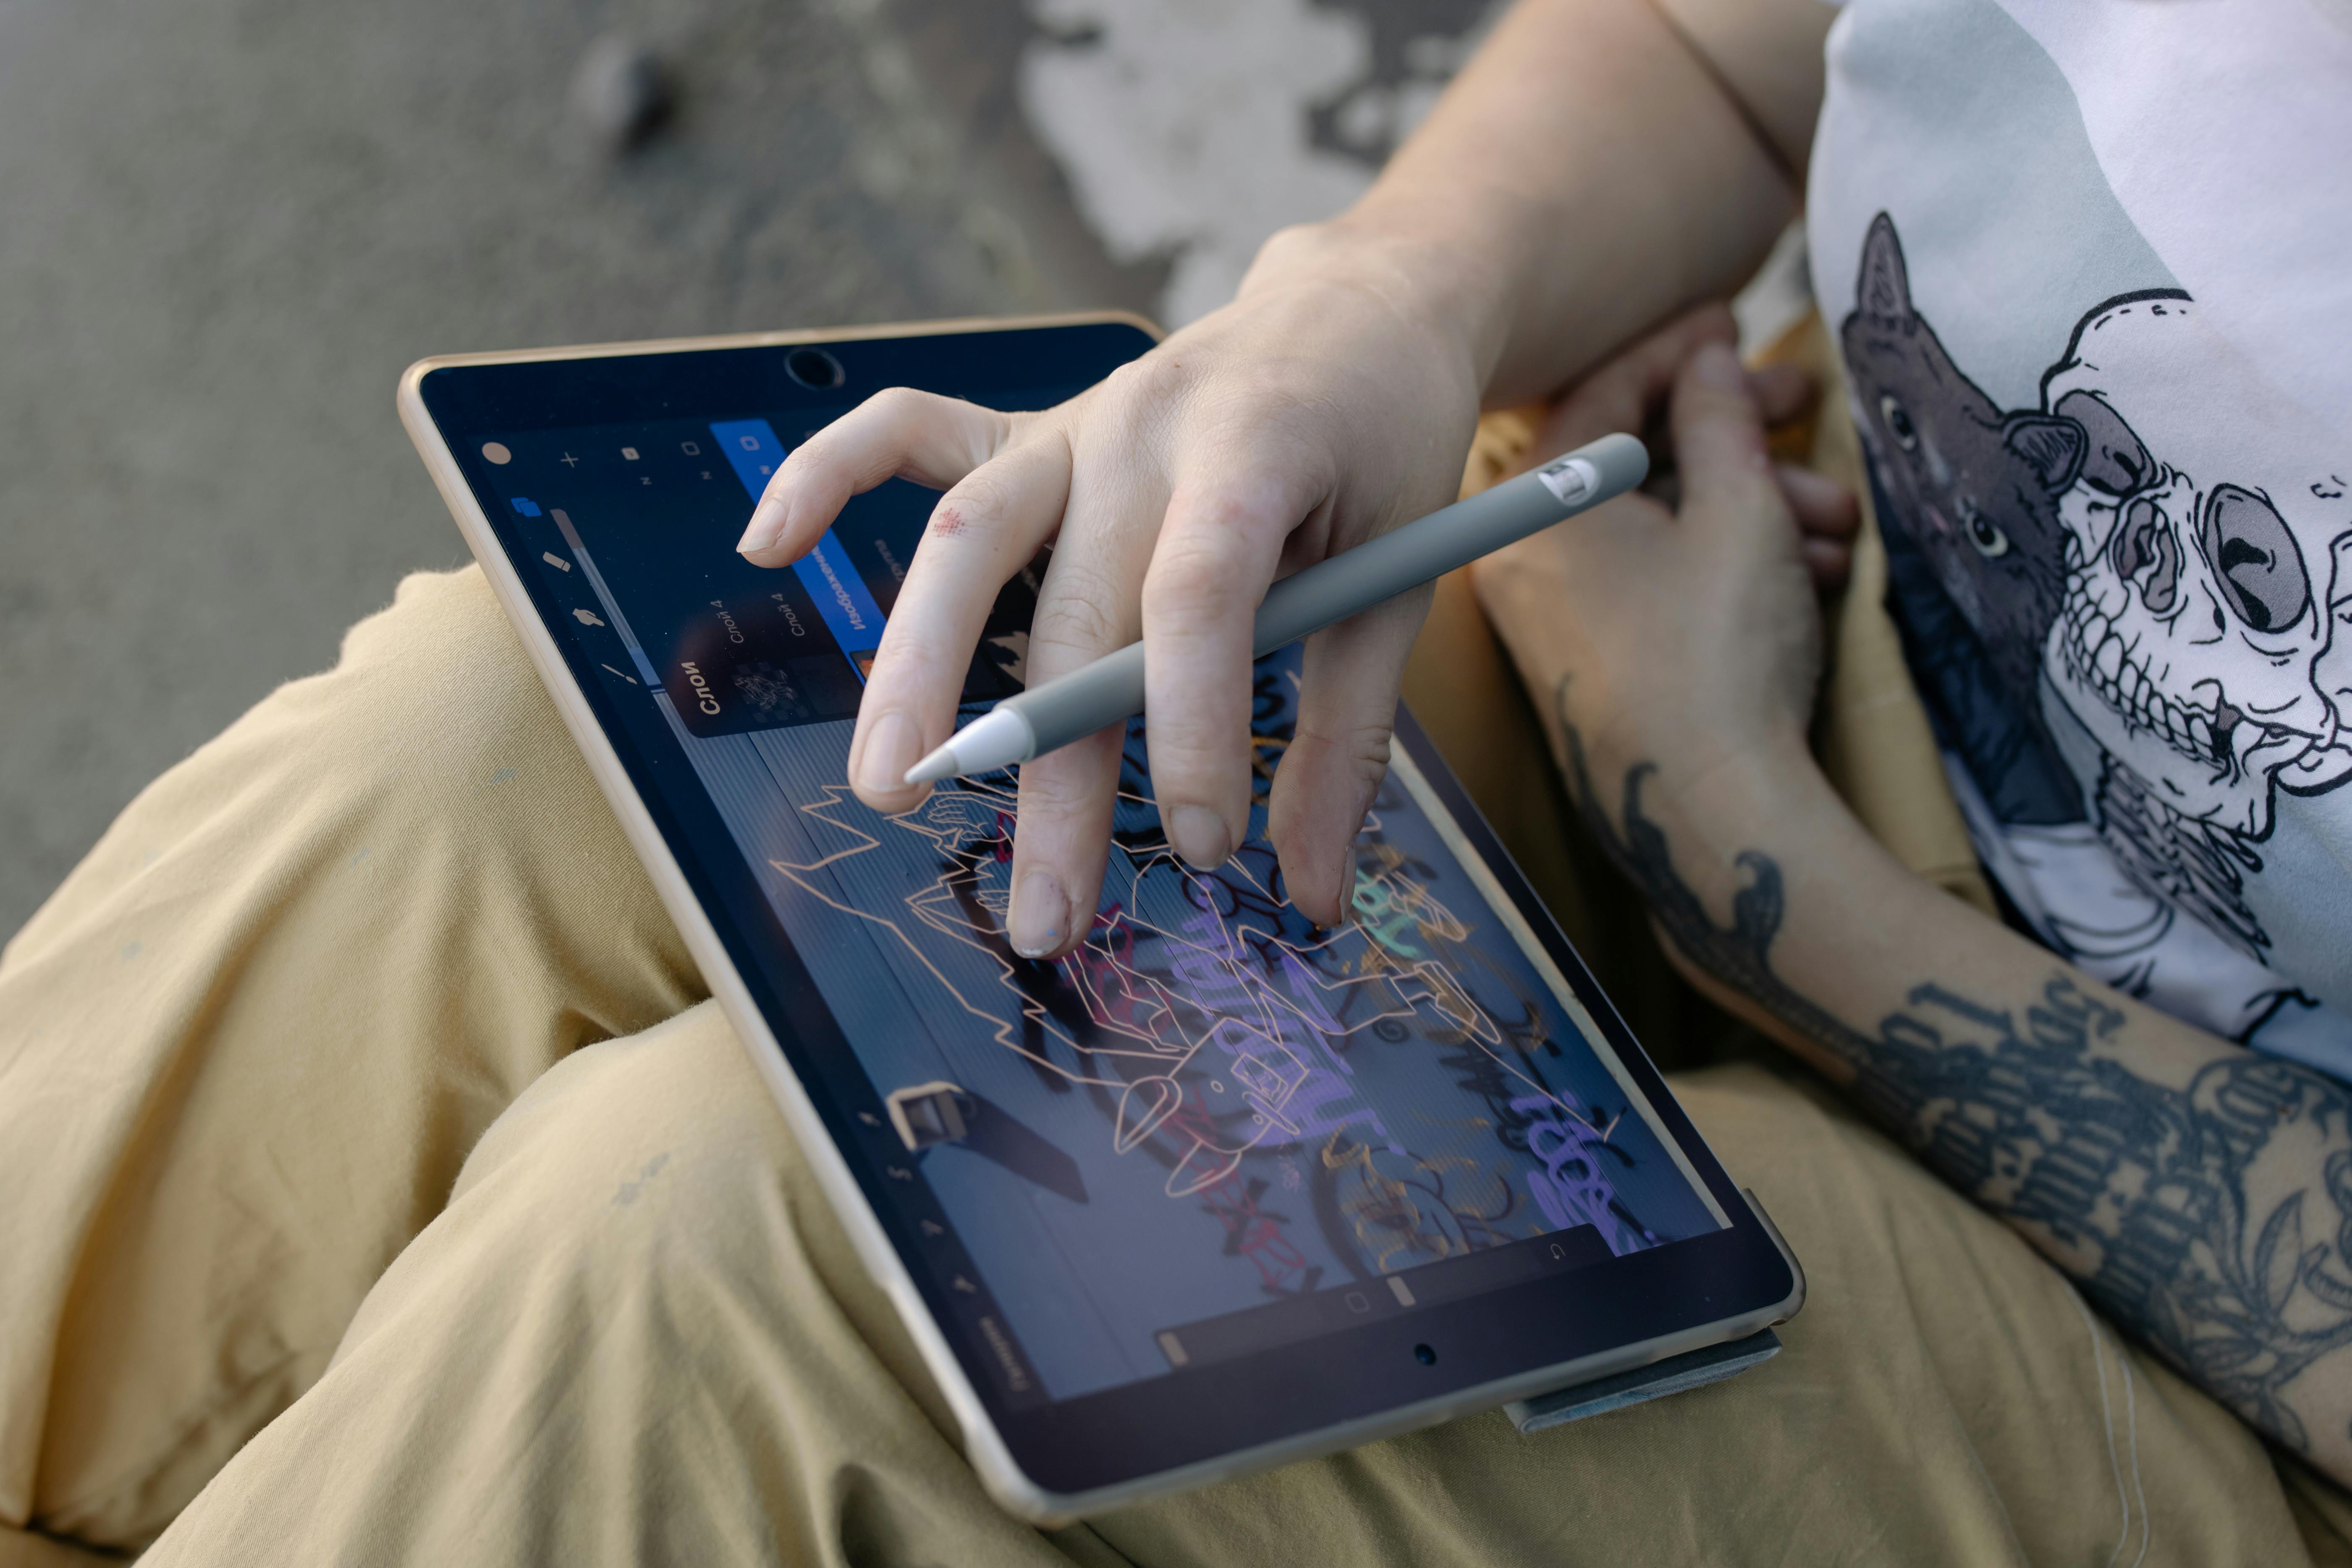
[credit](https://images.pexels.com/photos/11977112/pexels-photo-11977112.jpeg),
[licence](https://creativecommons.org/public-domain/)
I learned storage lessons the brutal way. Picture this: 3 AM, final deadline looming for a gallery show, and my external drive makes a sound resembling a dying lawnmower. Six months of client work—gone. The client was...understanding (not really). The gallery director was...patient (absolutely not). Now I live by the **3-2-1 rule**: 3 copies on 2 different media types, with 1 offsite. Your future self will thank you when technology inevitably fails spectacularly.
**File naming is your friend**: `painting_final_v3_really_final_USE_THIS_ONE.psd` is how you lose your mind. Instead, use this system: `[ProjectName]_[Date]_[Version].[filetype]`. Example: `SunsetPortrait_2024-03-15_v02.psd`. Your future self will thank you for this tiny act of sanity.
But let me tell you about the time I learned the hard way about version control. I was collaborating with another artist on a children's book project. We were both editing a file named `Bear_FINAL_FOR_REAL.psd`. You can guess what happened. We ended up with six different "final" files and spent three hours trying to figure out which version had the approved bear illustrations. Now I use **project management software** for anything collaborative—Trello to track progress, and version control systems for shared files.
[credit](https://images.pexels.com/photos/20456575/pexels-photo-20456575.jpeg?cs=srgb&dl=pexels-jakubzerdzicki-20456575.jpg&fm=jpg),
[licence](https://creativecommons.org/public-domain/)
### Software Ecosystems: Where Ideas Take Shape
Hardware is half the battle. Without intuitive software, you're holding a paintbrush with no paint. Let's explore your creative palette:
**The software paradox**: The more powerful the software, the more tempted you'll be to use every feature. Resist this. Professional digital artists typically use about 10% of their software's capabilities for 90% of their work. Find your essential tools and ignore the rest until you need them.
I fell into the Photoshop feature trap early. I spent months learning every filter, every adjustment layer, every obscure menu option. Meanwhile, artists using [Procreate](/finder/page/procreate-for-beginners-guide)—with far fewer features—were creating superior work because they'd mastered their core tools instead of collecting feature trivia.
[credit](https://images.pexels.com/photos/16284696/pexels-photo-16284696/free-photo-of-graphic-designer-home-office-studio.jpeg),
[licence](https://creativecommons.org/public-domain/)
#### **Beginner-Friendly Powerhouses**
- **Krita**: Free, open-source painting software with brush engines that make traditional artists feel right at home. If oils feel familiar, Krita's texturing tools will feel like magic.
- **[Procreate](/finder/page/procreate-for-beginners-guide) (iPad)**: The undisputed king for iPad artists. Simple enough for doodle sketches, powerful enough for professional illustrations. That "wet” watercolor effect? Jaw-dropping.
- **Adobe Fresco**: Free with Adobe account. Unique "live oil” brushes that blend realistically. Great if you already use Photoshop/Bridge.
- **Autodesk Sketchbook**: Surprisingly robust basic tools, customizable interface, and – importantly – no subscription pressure.
#### **Advanced (But Worth Knowing)**
**Adobe Photoshop** ($20.99/month, Desktop)
- **The elephant in every studio**: Industry standard for professional illustration, photo manipulation, and concept art
- **Steep learning curve**: Yes, but the investment pays dividends in career opportunities
- **Best for**: Professional illustrators, photo-editing heavy workflows, complex compositing
**Learning resources**: Adobe's official tutorials, Phlearn on YouTube, Schoolism's Photoshop courses
- **Essential skills**: Layer masks, adjustment layers, clipping masks, smart objects
- **My 2024 hot take**: Photoshop is overkill for pure [digital painting](/finder/page/essential-tools-for-digital-painting-beginners); Fresco or [Procreate](/finder/page/procreate-for-beginners-guide) often more efficient
- **Critical plugins**: Lazy Nezumi Pro (line stabilization), Topaz Labs suite (AI enhancement), Nik Collection ([color](/finder/page/who-is-josef-alber-interaction-of-color) grading)
**The Photoshop reality check**: Every [professional artist](/finder/page/copic-markers-review-for-professional-artists) I know uses Photoshop because clients expect PSD files, not because it's their favorite tool. If you're making art for yourself, don't feel obligated to use the industry standard. If you want professional illustration work, Photoshop is non-negotiable.
**[Clip Studio Paint](/finder/page/best-drawing-apps-for-apple-pencil)** ($49.99 one-time, Desktop/Tablet)
- **Manga/comic powerhouse**: Preferred by 90% of comic artists for paneling, lettering, and screentone tools
- **3D model integration**: Pose and light 3D figures as reference directly in software—huge time-saver
- **Animation features**: Surprisingly robust timeline animation tools included
- **Best for**: Comic artists, manga creators, animators, character designers
- **Killer feature**: Vector layers for infinitely scalable line art without quality loss
**Learning resources**: Clip Studio Paint official tutorials, "How to Draw Manga" style guides
**The unexpected power**: Even if you don't make comics, Clip Studio's 3D reference tools alone justify the price. You can import 3D models, pose them exactly how you want, set up lighting, and paint directly over them—saving hours of reference gathering.
**Affinity Photo** ($54.99 one-time, Desktop)
- **Photoshop alternative**: Powerful raster graphics editor without subscription model
- **Strengths**: Excellent RAW development, non-destructive editing, one-time purchase
- **Best for**: Photographers transitioning to [digital painting](/finder/page/essential-tools-for-digital-painting-beginners), budget-conscious professionals
- **Integration**: Works well with Affinity Designer (vector) and Publisher (layout)
**Learning resources**: Affinity Spotlight tutorials, official YouTube channel
**The subscription rebellion**: Affinity represents a growing movement against the subscription model. For artists who don't need constant updates, buying once and owning forever feels liberating. I know professional photographers who switched from Photoshop to Affinity and never looked back.
**Corel Painter** ($429 one-time, Desktop)
- **Traditional medium emulation**: Unmatched simulation of real-world paints, brushes, and canvas textures
- **Strengths**: Particle brushes, realistic watercolor flow, [traditional artist](/finder/page/qa-with-an-ai-artist-exploring-the-intersection-of-algorithms-and-creativity) workflow
- **Best for**: Traditional artists who want the most authentic digital experience
- **Consider**: Serious hardware requirements; you need a powerful graphics card
**Learning resources**: Painter official forums, traditional art communities transitioning to digital
**The most realistic digital experience**: If you come from oil painting, Corel Painter will feel like home. I've watched traditional painters cry (happy tears) the first time they use Painter's particle brushes because it finally feels like actual painting instead of digital approximation.
**Blender** (Free, Desktop)
- **3D powerhouse**: Yes, it's 3D software, but essential for modern concept artists
- **Why artists need it**: [Create](/finder/page/how-to-create-siqueiros-inspired-murals) detailed 3D backgrounds, character models, lighting reference
- **Integration**: Grease Pencil feature lets you draw directly in 3D space
- **Learning curve**: Vertical cliff face, but worth the climb for expanded creative possibilities
**Learning resources**: Blender Guru, CG Cookie, Ian Hubert's lazy tutorials
**The 3D-for-2D secret**: Most concept artists I know don't actually create final art in Blender—they use it to build 3D reference scenes, set up perfect lighting, then paint over the renders in Photoshop or [Procreate](/finder/page/procreate-for-beginners-guide). This gives you realistic lighting and perspective without the struggle of figuring it out manually.
My recommendation? **Start with one free tool exclusively** for 30 days. Switching between apps early creates confusion. Learn [Procreate](/finder/page/procreate-for-beginners-guide)'s gesture shortcuts? Those'll serve you anywhere.
**The 30-day mastery rule**: You can't judge software until you've used it for at least 100 hours. I don't care if Krita feels clunky on day three—commit to 30 days. By day 15, muscle memory kicks in. By day 30, you'll either love it or have solid reasons why it's wrong for your workflow. Either way, you'll have learned fundamental [digital art](/finder/page/history-of-digital-art) principles that transfer to any software.

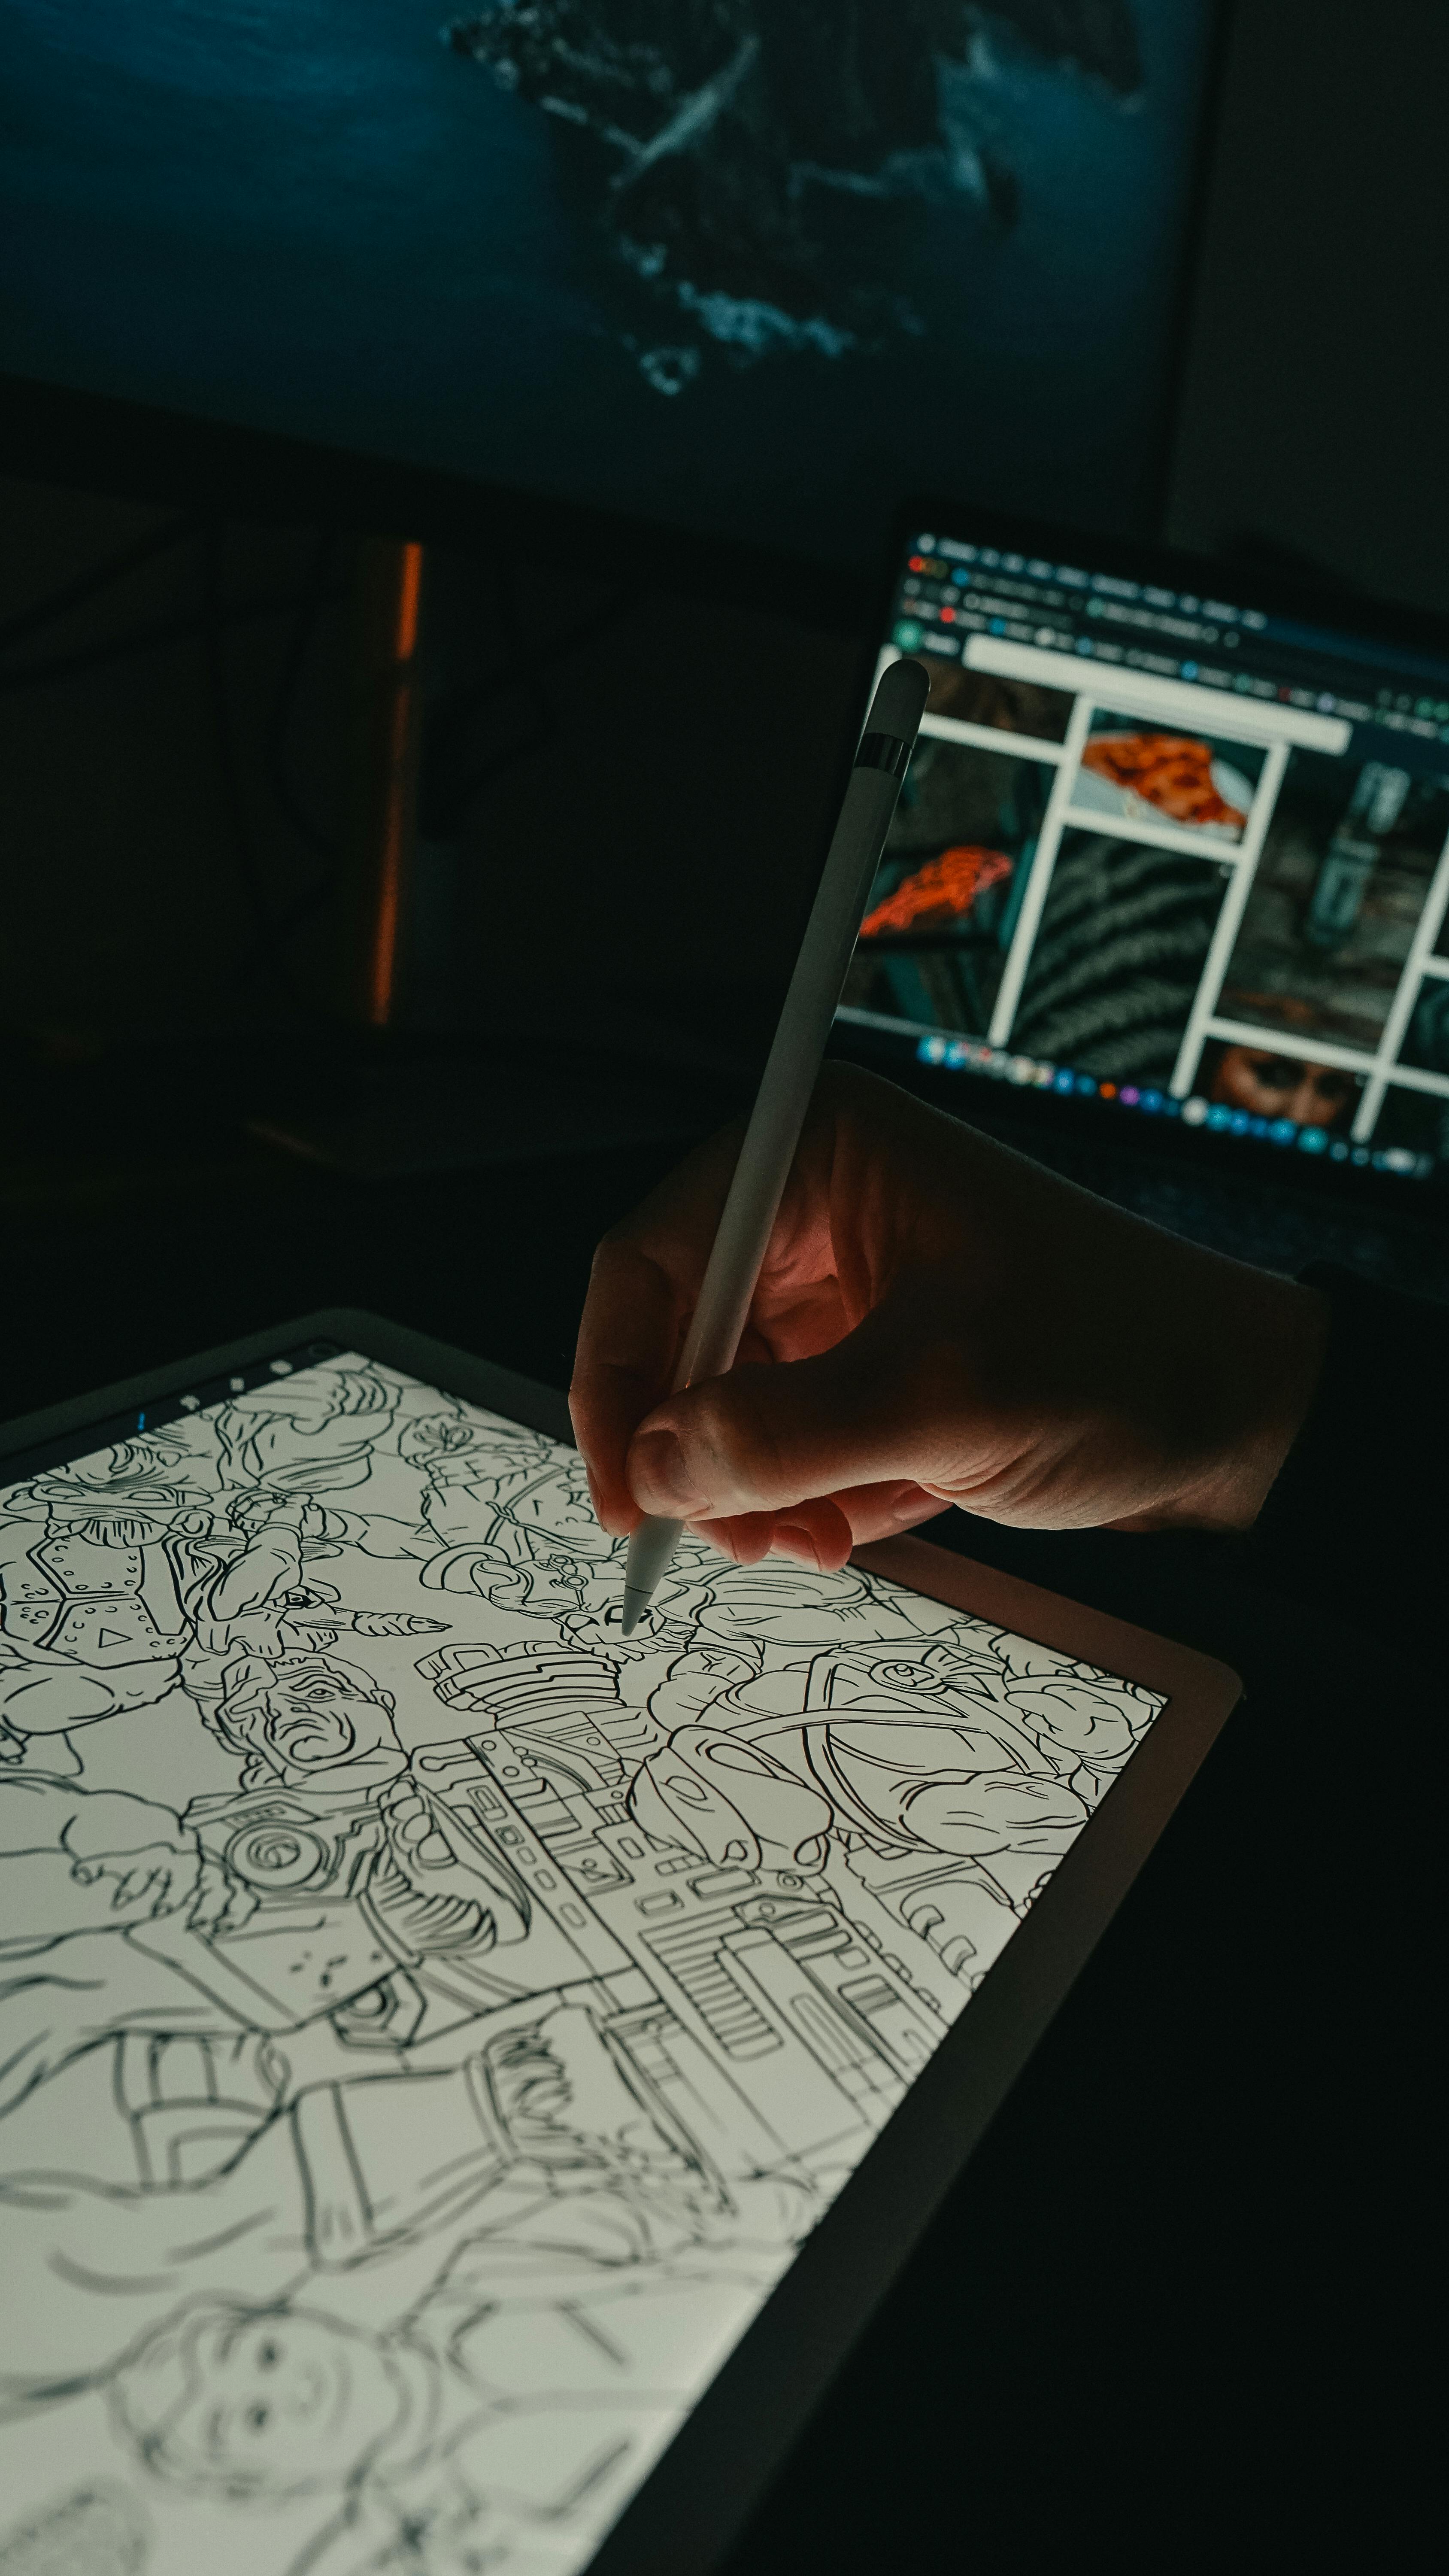
[credit](https://images.pexels.com/photos/30438451/pexels-photo-30438451.jpeg?cs=srgb&dl=pexels-dipto-arjun-2149118878-30438451.jpg&fm=jpg),
[licence](https://creativecommons.org/public-domain/)
### The Workflow Sweet Spot
Here's what separates tech from art: how you actually use it. A messy workflow is death to creativity. My chaotic desk taught me this system—after I accidentally deleted a 40-hour painting project because I didn't understand version control. Don't be me.
[credit](https://upload.wikimedia.org/wikipedia/commons/d/d4/Wacom_graphics_tablet_and_pen.png),
[licence](https://creativecommons.org/licenses/by-sa/3.0)
**The dirty secret about digital art**: Bad workflow habits compound over time. That "quick project" where you skipped file naming conventions becomes ten projects, then a hundred. Suddenly you have a thousand unnamed files and no idea which project contains that portfolio piece you need tomorrow. Good workflow from day one is like flossing—boring but essential.

[credit](https://images.pexels.com/photos/11977112/pexels-photo-11977112.jpeg),
[licence](https://creativecommons.org/public-domain/)
I've watched brilliant artists spend more time hunting for files than creating them. I've seen portfolios built from low-res screen captures because no one thought to save originals. Let me save you those disasters right now.
**The efficiency tipping point**: Everything changes when your workflow becomes automatic. You stop thinking "how do I do this?" and start thinking "what do I want to create?" That shift from technical struggle to creative flow is the whole reason we're learning technology in the first place.
[credit](https://live.staticflickr.com/8208/8185829539_c527bed5af_b.jpg),
[licence](https://creativecommons.org/licenses/by-nc/2.0/)
```mermaid
graph TD
A[1. Rough sketch traditional/digital] --> B[2. Scan/photograph if traditional]
B --> C[3. Import + basic cleanup]
C --> D[4. Block in major shapes + values]
D --> E[5. Refine with layers + details]
E --> F[6. Color correction + effects]
F --> G[7. Export master + social sizes]
G --> H[8. Backup 3-2-1 method]
H --> I[9. Archive + document settings]
I --> J[10. Client delivery versions]
J --> K[11. Portfolio documentation]
```
**Why this workflow matters**: Following this exact sequence prevents 90% of common beginner mistakes. The artist who skips straight to details before establishing values ends up with muddy paintings. The artist who forgets export documentation can't recreate their work for print later. Think of this workflow as your safety harness—boring but essential.
**Layering is everything—and I mean everything.** In traditional art, your final painting *is* your process. Digitally, every decision lives on its own layer, like an archaeological dig of your creative choices. Want to change the sky color at 3 AM on deadline day? Don't repaint everything—just adjust that sky layer's hue/saturation. This safety net lets you audibly gasp and say 'I can try ANYTHING' without the cold-sweat panic of irreversible decisions.
But here's what nobody teaches you: layer organization isn't just about keeping things tidy—it's about preserving your sanity six months from now when you need to revise a piece. I've opened old files and spent hours just figuring out what I was thinking.
**The layering philosophy breakthrough**: I used to create paintings with 3-5 layers maximum because that's how [traditional painting](/finder/page/digital-painting-vs-traditional-painting-pros-cons-and-artistic-expression) works. Then I watched a professional [digital artist](/finder/page/the-rise-of-digital-abstract-art-a-new-frontier-for-collectors) work with 50+ layers on a single illustration. The difference? He could adjust any element independently—change the background without affecting the figure, adjust lighting without repainting shadows, experiment with colors without committing.
That's when I realized: layers aren't just organizational tools. They're creative freedom tools.
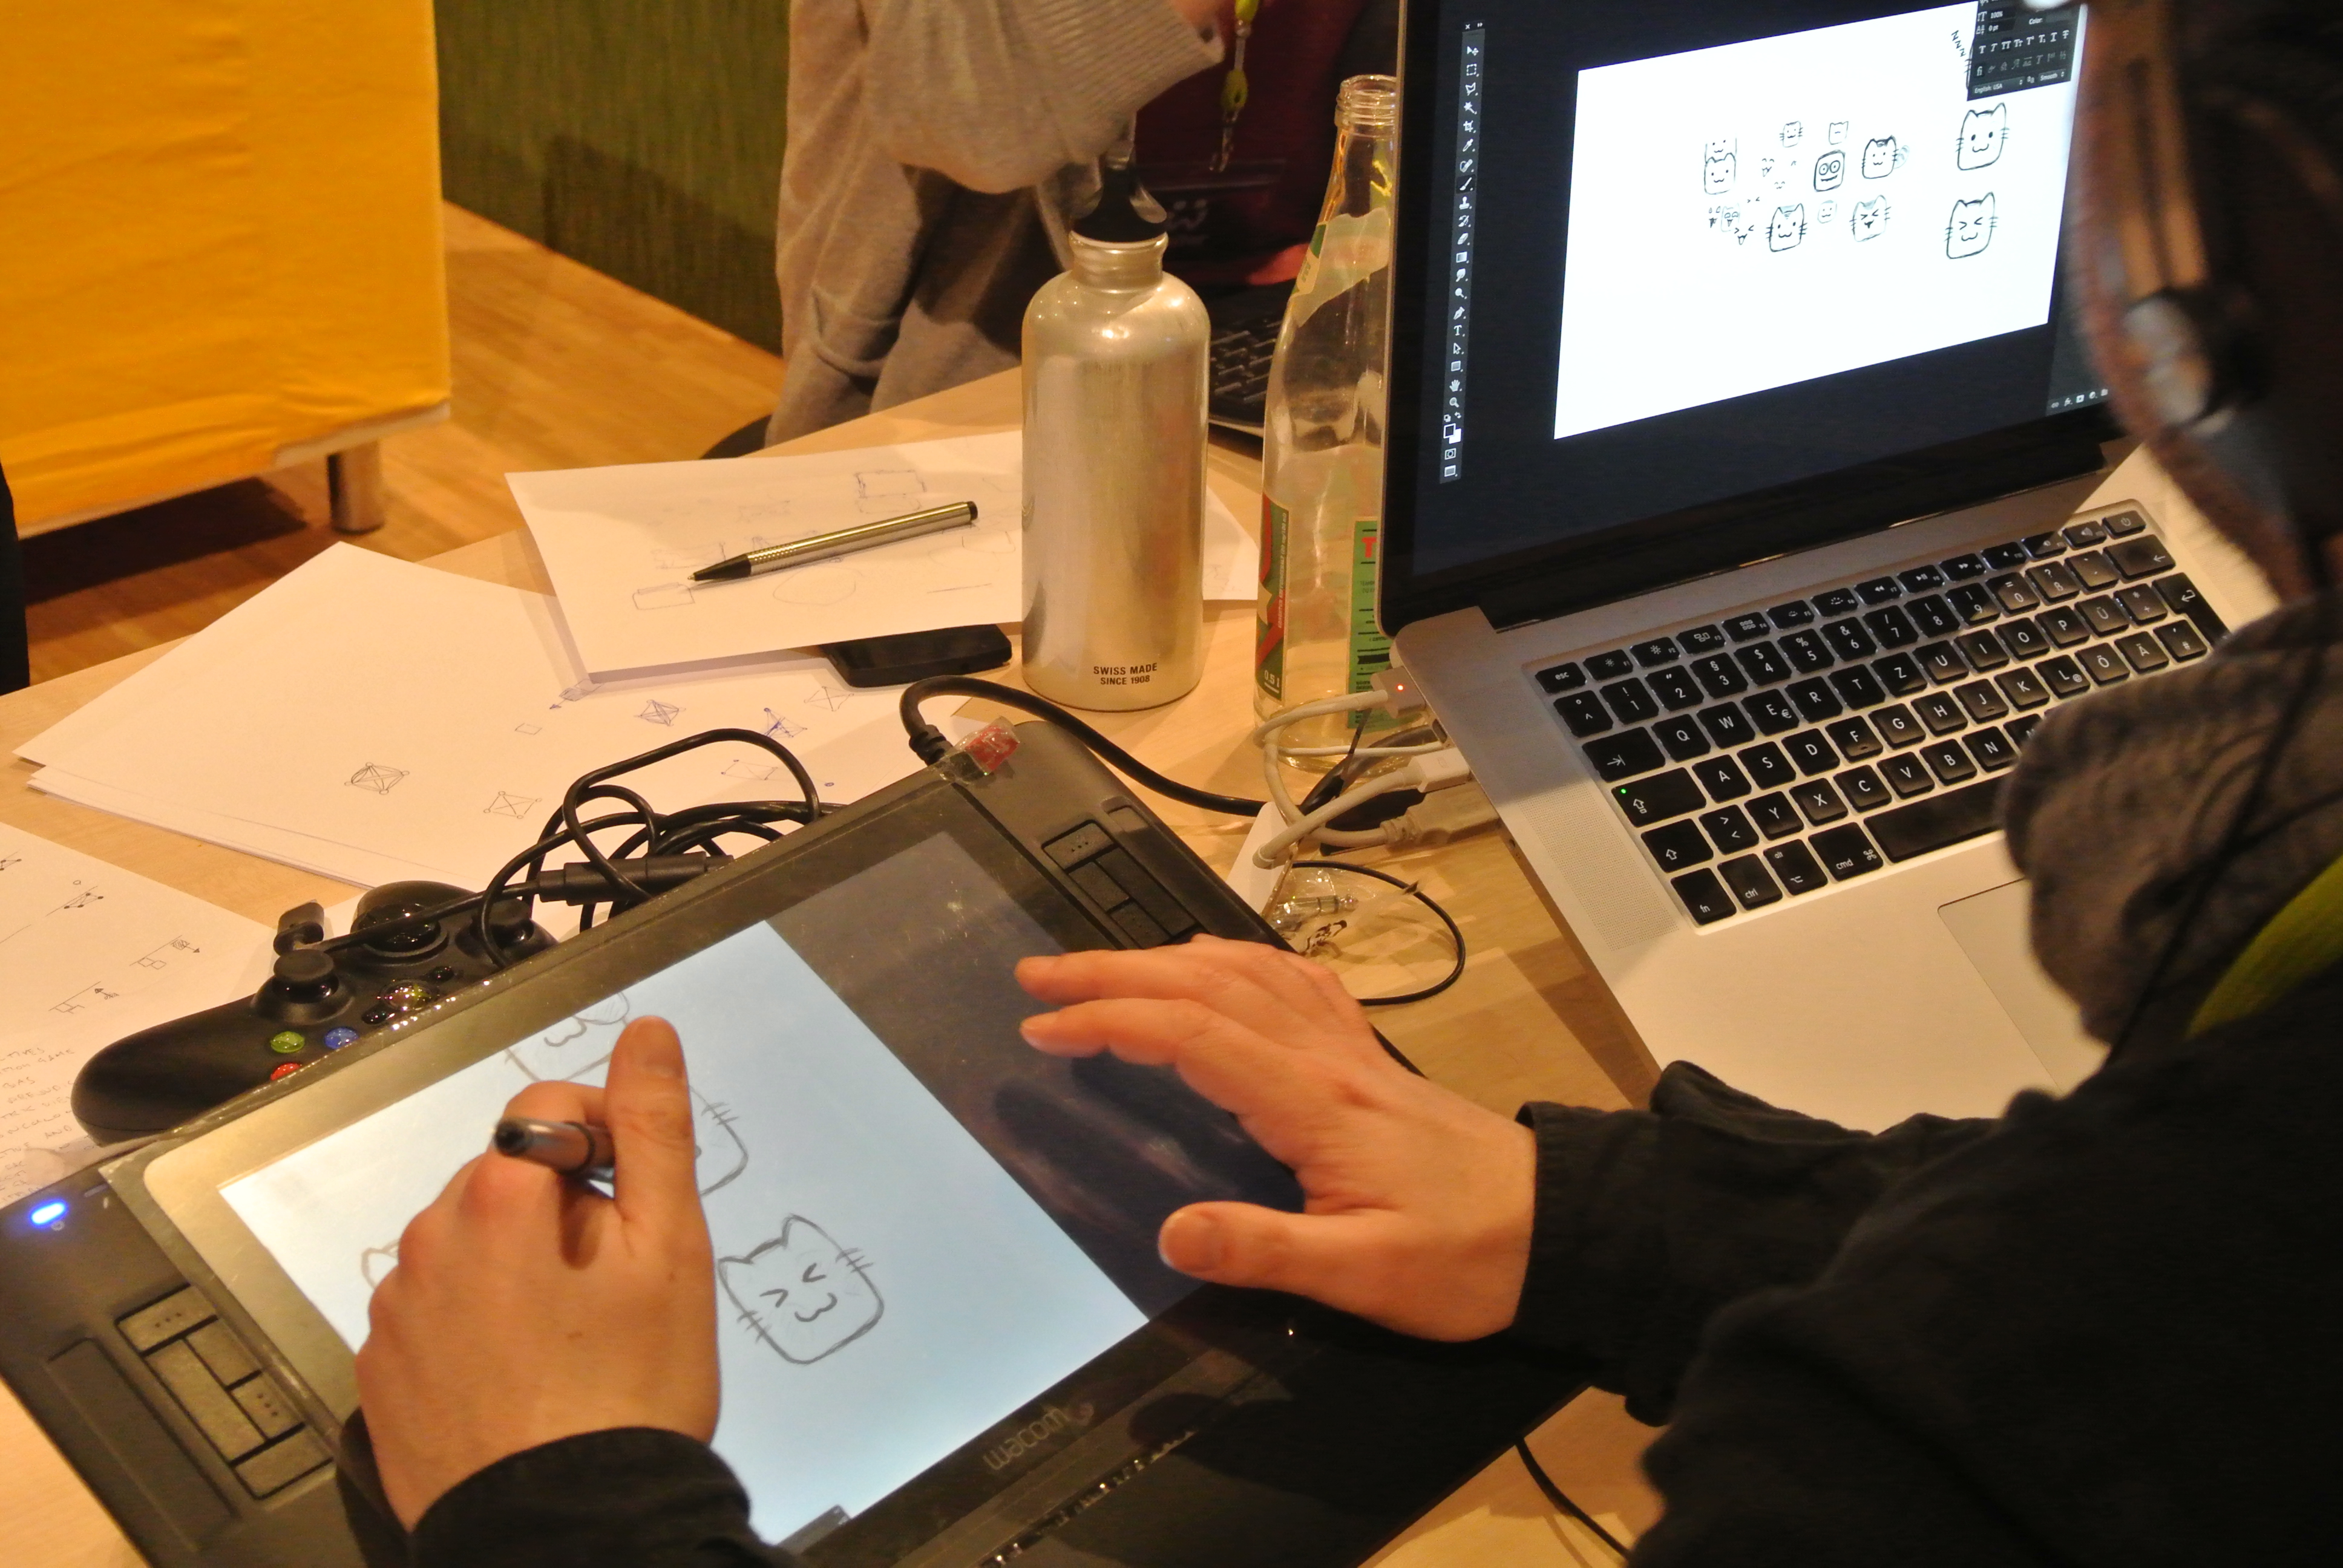
[credit](https://upload.wikimedia.org/wikipedia/commons/d/da/Drawing_Cats_on_Wacom_Intuos3_A5_graphics_tablet_-_Global_Game_Jam_Berlin_2014.jpg),
[licence](https://creativecommons.org/licenses/by/2.0)
**My layer organization system (steal this):**
- **Background/Sketch** (bottom layer, 50% opacity)
- **Base Structure** (perspective guides, grids locked at 10% opacity)
- **Flat Colors** (separate layer for each major element)
- **Shading** (multiply blending mode, often multiple layers)
- **Highlights** (screen/overlay blending mode)
- **Texture Overlay** (grain, paper texture, canvas)
- **Effects** (glow, atmospherics, gradients)
- **Color Grading** (color balance, hue/saturation, photo filters)
- **Final Polish** (sharpening, noise reduction, signature)
**Advanced layer management:**
- Use **layer groups** religiously—group all character layers, all background layers, all adjustment layers separately
- **Color-code layers** by function (blue for sketch, green for flats, red for corrections)
- **Name everything descriptively**—"rough sketch v3" not "Layer 47"
- Use **layer comps** or save multiple versions when exploring radically different directions
**Pro tip: Layer folders**: When your layer count hits 20+, create folders. I organize mine by major elements: "Character" folder, "Background" folder, "Effects" folder. Within each folder, I follow the same structure above. This keeps your layer panel from becoming an anxiety-inducing scroll-fest.
**Blending modes you'll actually use:**
- **Multiply**: Perfect for shadows and shading. Think of it as laying transparent ink over paper
- **Screen**: Ideal for highlights and light effects—the opposite of multiply
- **Overlay**: Adds contrast and vibrance without blowing out highlights
- **Color**: Changes hue without affecting how light or dark something is
- **Soft Light**: Gentler version of overlay for subtle effects
- **Color Dodge**: Creates intense, glowing light effects (use sparingly)
- **Linear Burn**: Deep, rich shadows with more control than multiply
- **Hard Mix**: Creates graphic, posterized effects for bold illustration
- **Luminosity**: Adjusts brightness without shifting colors—perfect for final adjustments
**Pro tip**: Layer opacity is just as important as blending modes. Sometimes 30% overlay beats 100% multiply.
**The blending mode mindset shift**: Traditional artists often struggle with blending modes because they seem "unnatural." Here's the secret: they're just mathematical operations that simulate real-world light behavior. Multiply layers darken as if you're layering transparent paint. Screen layers brighten as if you're adding light. Once you understand what each mode *does* physically, they become intuitive tools rather than mysterious filters.
## Getting Started: Your Practical 30-Day Action Plan
Before diving in, let's be honest about something: most artists abandon their digital tools within two weeks. Not because the tools are bad, but because they expect instant mastery. You wouldn't expect to play Chopin after one piano lesson. [Digital art](/finder/page/history-of-digital-art) is the same—it's a new instrument. This plan is designed around building actual neural pathways, not just ticking boxes.
[credit](https://live.staticflickr.com/6153/6201878402_04427939a3_b.jpg),
[licence](https://creativecommons.org/licenses/by-nc-sa/2.0/)
**The brutal truth about learning curves**: Digital art has two learning curves that happen simultaneously: technical skills (software knowledge) and motor skills (hand-eye coordination with a stylus). You can't rush either. Both require hundreds of hours of practice before they feel natural.
The artists who succeed long-term aren't the most talented—they're the ones who show up daily for the first 90 days while their brains literally rewire themselves to integrate this new tool into their creative practice.
[credit](https://images.pexels.com/photos/30767247/pexels-photo-30767247.jpeg?cs=srgb&dl=pexels-rostislav-30767247.jpg&fm=jpg),
[licence](https://creativecommons.org/public-domain/)
### Phase 1: Week 1 (Foundation Building)
**The reality check**: This week will feel like learning to write with your opposite hand while wearing mittens. Everything feels wrong. Your lines are shaky, you keep hitting the wrong buttons, and you're wondering why you spent money on this frustration device. This is completely normal. Your brain is building entirely new neural pathways.
**Day 1-3: Setup & Orientation**
1. **Unbox and calibrate your tablet**: Install drivers, adjust pressure sensitivity to medium firmness (too soft causes shaky lines), test all buttons
2. **Install ONE software**: Resist the temptation to download everything. Choose based on your primary device (Krita for desktop, [Procreate](/finder/page/procreate-for-beginners-guide) for iPad)
3. **Learn the interface**: Spend 2 hours just exploring menus, understanding layer panel, discovering where brushes live
4. **Set up your workspace**: Position tablet beside monitor at comfortable arm height, ensure good lighting, declutter your physical desk
**Day 4-7: Basic Motor Skills**
1. **The same object challenge**: Draw your coffee cup, phone, or houseplant daily. Focus not on perfection but on:
- How pressure affects line weight (press harder = thicker line)
- How tilt changes brush shape (essential for shading)
- How speed impacts line smoothness (slower = more control)
2. **Gesture drawing practice**: 30-second poses from YouTube (search "gesture drawing practice")
3. **Basic brush exploration**: Test 5 different brushes, understand how each feels and when to use it
4. **Layer experiments**: [Create](/finder/page/how-to-create-siqueiros-inspired-murals) a simple drawing with 3 layers (sketch, flat colors, shading) to understand layer workflow
**Week 1 Goal**: Feel comfortable holding the stylus and making intentional marks on the digital canvas. You should be able to draw basic shapes with varying line weights.
**The daily practice secret**: Don't aim for "good" drawings during week one. Aim for *completed* drawings. Even if your coffee cup looks like a deformed potato, finish it fully. Every completed drawing builds your confidence that you can actually finish things digitally—a surprisingly common mental block for traditional artists.
**The reality check**: Your first week drawings will look like they were made by a drunk octopus. This is not failure—this is your brain learning a completely new motor skill. Celebrate the awkward marks. They're proof you're building new neural pathways.
### Phase 2: Weeks 2-3 (Skill Integration)
This is where most artists hit the frustration wall. The initial excitement wears off, and you realize this digital thing actually requires work. Welcome to the messy middle—where real skill gets forged.
**The motivation trap**: Your initial excitement has worn off, and you're not yet seeing results that match your traditional work. This is where 90% of artists quit. Push through these two weeks, and something magical happens around day 18-21: you suddenly have your first "aha!" moment where everything clicks.
**Week 2: Hybrid Workflow Mastery**
1. **Analog-to-digital pipeline**:
- Sketch 3-5 thumbnails traditionally (paper size: 3x4" maximum)
- Scan at 300 DPI using phone scanner app (Adobe Scan, Microsoft Lens)
- Import scans, create new layer above, lower sketch opacity to 30%
- Paint/color using sketch as guide
- Notice: How digital tools enhance your traditional line quality
- **Time investment**: 2-3 hours total for your first pipeline project
2. **Brush customization deep-dive**:
- Take one default brush (start with a simple round brush)
- Spend 1 hour tweaking every setting: spacing, texture, opacity, flow, dual brush, wet edges
- Create variations: chisel tip, soft airbrush, textured gouache, dry media, wet oil
- Save your custom brushes with descriptive names (e.g., "Pencil 2B Custom," "Oil Flat Chisel")
- Build a personal brush library of 10 essential tools you actually understand
- **Pro tip**: Less is more. Master five brushes rather than downloading fifty.
3. **[Color theory](/finder/page/what-is-color-theory) practice**:
- Create 5 color schemes: monochromatic, complementary, analogous, triadic, split-complementary
- Paint the same simple subject (like an apple) using each scheme
- Document which schemes create which moods
- Save palettes you love for future projects
- **Advanced**: Create a master palette document with your signature colors organized by temperature and saturation
**Week 3: Study & Reference System**
1. **Artist workflow research**:
- Choose one professional [digital artist](/finder/page/the-rise-of-digital-abstract-art-a-new-frontier-for-collectors) (start with Loish, Ross Tran, or Ahmed Aldoori)
- Watch their process videos, noting:
- Brush choices for different stages
- Layer organization strategy
- Color adjustment techniques
- Export settings for different platforms
- Implement ONE technique from their workflow in your next piece
**The single-technique rule**: This is crucial. Don't try to absorb everything from professional artists. Pick ONE thing—their brush choice for initial blocking, or their layering strategy—and focus solely on integrating that single technique. You'll learn more from deeply understanding one new method than from superficially trying ten.
2. **Reference library organization**:
- Create folder structure: `/References/Photos/Poses`, `/References/Photos/Textures`, `/References/Art/Color Palettes`
- Use Pinterest, PureRef, or ArtStation for inspiration collection
- Organize brushes, textures, and palettes within your software
- Tag everything with descriptive keywords for easy searching
3. **Project completion**:
- Complete one [finished piece](/finder/page/how-to-know-when-an-artwork-is-finished) from sketch to final export
- Focus on implementing all learned techniques (layers, brushes, color)
- Document your process: save sketches, intermediate stages, and final piece
### Phase 3: Week 4 (Refinement)
**The breakthrough week**: If you've followed the plan through weeks 1-3, you'll feel something shift this week. Frustration gives way to curiosity. Confusion becomes competence. You start thinking about *what* you want to create rather than *how* you'll create it.
This doesn't mean you're suddenly a master. It means your foundational skills have finally solidified enough that creativity can flow through the technology instead of fighting against it.
By now you should have a love-hate relationship with your tablet. Some days it feels like magic. Others, you want to throw it out the window. Both are normal. This final week is about making peace with the process.
**The feeling you're chasing**: There will be a specific moment—maybe on day 24, maybe day 29—where you're working and realize you haven't thought about the technology for ten minutes. You're just creating, and the tools have become invisible. That's when you know you've crossed the threshold from "learning digital art" to "making art digitally."
**Days 22-25: Small Project Sprint**
1. **Postcard-size final project** (6x4" at 300 DPI):
- Create original [digital painting](/finder/page/essential-tools-for-digital-painting-beginners) using sketch-to-finish workflow
- Implement intentional layering strategy (minimum 8 layers)
- Use custom brush you created in week 2
- Apply color scheme from your reference library
- Focus on completing project, not perfection
2. **Process documentation**:
- Screenshot major workflow stages (sketch, flats, shading, final)
- Note time spent on each phase
- Identify pain points in your workflow
- List what worked smoothly and what frustrated you
**Days 26-28: Feedback Collection**
1. **Share your work and process**:
- Post on Reddit r/DigitalArt, r/learnart, or art Discord servers
- Request feedback specifically on your PROCESS, not just the final image
- Ask questions like:
- "Does my layer organization make sense to other artists?"
- "Are there more efficient brush techniques I'm missing?"
- "How would you approach this workflow differently?"
**The vulnerability problem**: Posting early work online takes courage. You'll feel exposed. Do it anyway. The feedback you receive during these early stages prevents you from developing bad habits that become harder to break later. Find a supportive community, share authentically, and remember: every [professional artist](/finder/page/copic-markers-review-for-professional-artists) was once a beginner posting shaky first attempts.
2. **Technical quality check**:
- Export at multiple resolutions ([social media](/finder/page/impact-of-social-media-on-emerging-artists-careers), print, archive)
- Test print your postcard project (home printer or local print shop)
- Compare screen colors to print colors
- Note any color management issues for future improvement
**Days 29-30: Reflection & Planning**
1. **Document your wins**:
- What made you feel powerful and in control?
- What techniques clicked and became intuitive?
- What shortcuts or workflows saved significant time?
- When did the digital tools enhance rather than hinder your creativity?
2. **Identify ongoing challenges**:
- What still feels awkward or unintuitive?
- What technical limitations are you hitting?
- What skills need more focused practice?
3. **Form your personal tech philosophy**:
- Write down your goals: "I want digital tools to help me..."
- Define your boundaries: "I will not use technology to..."
- Plan next steps: "In the next 30 days, I will focus on..."
4. **Set up for sustainable practice**:
- Schedule weekly art sessions (minimum 3 hours per week)
- Join one art community (Discord, local meetup, online class)
- Plan your next project with specific learning goals
- Celebrate your progress—you've just built a new creative skill!
## Red Flags & Pitfalls Every Artist Should Avoid
Let's talk about the hidden traps that waste your time, money, and creative energy. I've fallen into every single one of these—so you don't have to.
[credit](https://images.pexels.com/photos/7429230/pexels-photo-7429230.jpeg),
[licence](https://creativecommons.org/public-domain/)
**The hidden cost of bad decisions**: These aren't just minor mistakes. Each pitfall I'm about to discuss has cost me or artists I know months of progress, thousands of dollars, or in some cases, actual physical pain. Learn from our suffering.
[credit](https://images.pexels.com/photos/17485679/pexels-photo-17485679/free-photo-of-an-artist-s-illustration-of-artificial-intelligence-ai-this-image-depicts-how-ai-could-be-used-in-the-field-of-sustainability-from-biodiversity-to-climate-it-was-created-by-nidia-dias.png),
[licence](https://creativecommons.org/public-domain/)
1. **The Gear Acquisition Syndrome (GAS)**: That moment you convince yourself you *need* a $2000 tablet to create "real" art? I've been there—staring at a Wacom Cintiq Pro like it's a holy relic that will somehow transform my mediocre skills into masterpiece magic. News flash: [Van Gogh](/finder/page/ultimate-guide-to-van-gogh) painted "The [Starry Night](/finder/page/what-is-the-meaning-of-the-starry-night)" with basic oil paints on a canvas stretcher. Your phone's camera plus free Krita created stunning art. Good tools matter, but they amplify existing skills—they don't create them.
**The psychology trap**: Every artist I know (including me) has fallen into this. You see stunning professional work and think, "If only I had their tools..." What you're actually seeing is 10,000 hours of practice. The tools just captured it.
**Alternative approach**: Set a skill-based upgrade rule. "I'll only buy that $500 tablet AFTER I've completed 50 serious digital paintings with my current setup." More often than not, you'll discover your current tools were perfectly sufficient.
**My personal rule**: I only upgrade when my current tool physically prevents me from doing something I can clearly envision. Not when I *think* a new tool might help, but when I'm literally fighting my hardware/software to execute my vision.
2. **Permanence Illusions**: I was devastated when a favorite art tutorial platform suddenly shut down overnight—taking my "lifetime access" $120 course with it. Cloud services disappear (remember the panic when Megaupload went down?), companies fold regularly, and that "permanent" online gallery you love might get acquired and dismantled. **Always keep originals locally**—your hard drive is still the most reliable archive. Rule of thumb: if you can't access it without internet, don't consider it a permanent part of your workflow.
**The cloud isn't backup**: I've seen artists lose everything because they treated Google Drive as their only backup. Cloud sync is convenient collaboration, not archival. The moment you stop paying, or the company changes policies, or you accidentally delete something, it's gone forever.
3. **Ignoring Ergonomics**: That vague wrist pain from marathon [digital painting](/finder/page/essential-tools-for-digital-painting-beginners) sessions? It's called repetitive strain injury, and it ended my art career for three miserable months in 2021. Your body is as much part of your toolkit as your tablet. **Basic ergonomic setup**:
- **Chair**: Your feet should rest flat on the floor, knees at 90° angle
- **Desk**: Tablet should sit at elbow height when sitting upright
- **Posture**: Sit back in your chair, don't hunch over the tablet
- **Breaks**: 5-minute break every 25 minutes (follow the Pomodoro technique)
- **Wrist stretches**: Flex and extend wrists, rotate gently—every hour
- **Strap**: Consider a drawing glove with wrist support for long sessions
**Warning signs**: Tingling fingers, persistent wrist/forearm pain, difficulty gripping. Stop immediately if these occur and see a doctor.
5. **The [Social Media](/finder/page/impact-of-social-media-on-emerging-artists-careers) Obsession Trap**: I need to talk about something uncomfortable. [Instagram](/finder/page/how-to-sell-art-on-instagram), TikTok, Twitter—they feel essential for artists today. But I've watched brilliant creators spend more time optimizing their posting schedule than actually creating. You start painting for the algorithm instead of yourself.
**The dopamine trap**: Every like feels like validation. Every comment feels like connection. But chasing viral moments is a creative death spiral. I've seen artists completely change their style to match trending aesthetics, only to lose what made them unique.
**My boundary**: [Social media](/finder/page/impact-of-social-media-on-emerging-artists-careers) is for sharing finished work, not for validation. I post when I have something to show, not because I need external approval. Protect your creative time like it's sacred—because it is.
**My controversial take**: I avoid blockchain-based art speculation entirely. The volatility and environmental concerns outweigh any potential benefits. Focus instead on building a loyal collector base through traditional galleries, print-on-demand, and direct sales. I've seen too many talented artists spend months optimizing for speculative markets instead of honing their craft.
**The real issue**: When your creative energy goes toward market speculation instead of skill development, you're borrowing from your artistic future to pay for today's hype. Invest in your hand, not in algorithmic volatility.
## The Missing Chapter: Color Management and You
Nobody talks about this until it's too late: the perfect sunset you painted on your tablet will look like neon mud on [Instagram](/finder/page/how-to-sell-art-on-instagram). Why? Color management. Or the lack of it.
**The invisible problem**: Every screen you own displays color differently. Your tablet, your phone, your laptop, your TV—each device has its own color profile. What looks vibrant and saturated on your tablet might appear washed out or overly saturated on someone else's screen. This isn't a technical nitpick—it's the reason your carefully mixed digital colors look "wrong" when you share them online.
Your tablet displays sRGB color space. Your iPhone shows P3. [Instagram](/finder/page/how-to-sell-art-on-instagram) compresses everything. Printers work in CMYK. Each device speaks a different color language, and without translation, your art gets lost in the conversation.
[credit](https://live.staticflickr.com/4386/36250121724_e8122444f7_b.jpg),
[licence](https://creativecommons.org/licenses/by-nc-nd/2.0/)
**The practical solution (without getting technical)**:
1. **Work in sRGB**: Set your canvas to sRGB color profile. It's the internet standard and will look most consistent across devices.
- In Photoshop: Edit > Color Settings > Working Spaces > RGB: sRGB
- In Procreate: Canvas > Color Profile > sRGB
- In Krita: Settings > Configure Krita > Color Management > RGB: sRGB
**Why sRGB matters**: 99% of your audience will view your art on devices that display sRGB. If you work in Adobe RGB or ProPhoto RGB (larger color spaces), your art will look desaturated or incorrect when viewed on most devices.
2. **Calibrate your monitor**: A $100 calibration tool is worth every penny. Right now, you don't know if the colors you're seeing are accurate.
3. **Export for web wisely**: Save a copy at 72 DPI, resize to platform specs, and use "Save for Web" in Photoshop to embed the color profile. Don't just drag and drop.
- For [Instagram](/finder/page/how-to-sell-art-on-instagram): 1080px wide, sRGB, JPEG quality 85-95%
- For Twitter/X: 1200px wide, sRGB, JPEG quality 90-100%
- For portfolio: 2000px wide, sRGB, PNG for crisp lines
**The upload trap**: [Social media](/finder/page/impact-of-social-media-on-emerging-artists-careers) platforms automatically compress your images, stripping color profiles and reducing quality. By starting with properly formatted files, you give yourself the best chance of maintaining color accuracy.
4. **For print**: Work in RGB, then convert to CMYK only when sending to the printer. Let the printer handle the conversion.
5. **Expect variation**: Accept that your art will look different everywhere. Focus on making it look great on the device where your audience sees it most.
I learned this the hard way when a client rejected my work because it looked "too orange." Turns out their uncalibrated laptop was the problem, but I was the one who had to redo everything. Color management isn't just technical—it's professional survival.
[credit](https://live.staticflickr.com/2514/3898760672_6dc94328a1_b.jpg),
[licence](https://creativecommons.org/licenses/by-sa/2.0/)
**The client reality**: Professional clients expect color-accurate work. If you can't deliver consistent color across devices, you'll spend countless hours making revisions based on "this looks wrong on my screen" feedback from clients using uncalibrated monitors. Proper color management from day one prevents these nightmares.
## FAQ: Your Tech Questions, Honestly Answered
**Q: Can I start digital art with just a laptop and mouse?**
A: Technically yes—I've seen incredible pixel art made with just a mouse—but practically, you're fighting physics. Imagine trying to paint with a brick tied to your hand: that's mouse painting. A basic $70 Huion tablet instantly unlocks pressure-sensitive brushstrokes, tilt shading, and natural hand-eye coordination. It elevates your capabilities more than any RAM upgrade ever could.
That said, if budget is truly zero, start with mouse practice while saving for a tablet. Better to create imperfect art now than wait for perfect tools. Some artists actually prefer mouse work for specific styles like hard-edge geometric art or detailed technical illustration where pressure sensitivity isn't needed.
**Q: How do I choose between iPad and desktop tablet?**
A: iPad if you value portability and want a self-contained device. Desktop tablet if you need maximum software power and already have a capable computer. I own both, and here's the real difference: iPad is for spontaneous creativity anywhere, desktop is for serious work sessions where screen real estate and software depth matter.
**The deeper question**: Where do you create best? If you thrive in coffee shops, parks, or while traveling, iPad wins. If you create best in a dedicated studio setup where you can spread out with multiple monitors and reference materials, desktop tablet wins. Most professionals eventually have both, but start with what matches how you actually work.
**The hidden iPad advantage**: Procreate on iPad costs $13 once. Photoshop on desktop costs $21 monthly forever. For budget-conscious artists, iPad can actually be more cost-effective long-term.
**Q: How important is high-resolution for beginning artists?**
A: Less important than you'd think, more important than experienced artists will admit. Here's my resolution philosophy:
- **Learning/practice**: 72-150 DPI at reasonable size (2000-3000 pixels longest side)
- **Social media**: 72 DPI at your platform's optimal size (Instagram: 1080px wide)
- **Print (home)**: 300 DPI at print size (8x10" print = 2400x3000 pixels)
- **Professional print**: 300-600 DPI depending on printing method
**Why you shouldn't obsess early**: High-resolution files are enormous, slow down your computer, and make every brushstroke agonizingly slow. Working at lower resolution builds speed, confidence, and experimentation—you can always work bigger later when you're comfortable with the tools.
**The exception**: If you're painting something you know you'll want to print large later, work at print resolution from the start. Scaling up never looks as good as working natively at the target resolution. I learned this after creating a painting I loved at 72 DPI, then realizing it would never print well larger than postcard size.
**However**: If you ever plan to sell prints, start working at print-ready resolution for important pieces from day one. You can't go back and recreate that magic painting from three years ago in higher resolution.
**Q: Should I invest in courses or experiment freely?**
A: Both—but with strategy. Here's my 50/30/20 learning rule:
**50% Structured Learning**:
- Free YouTube tutorials (Proko, Aaron Blaise, Sinix Design)
- Paid platforms like Schoolism, New Masters Academy, or Udemy
- Focus on fundamentals: anatomy, perspective, [color theory](/finder/page/what-is-color-theory), composition
**30% Technical Skill Practice**:
- Software-specific tutorials (Krita, Procreate official channels)
- Brush technique videos
- Workflow optimization guides
**20% Unstructured Experimentation**:
- No tutorials, no references—just create
- Try "bad" techniques, break rules intentionally
- Discover your personal aesthetic through play
That 20% experimentation is where your unique voice emerges. I learned more about color from "messing up" intentionally than from any [color theory](/finder/page/what-is-color-theory) course.
[credit](https://live.staticflickr.com/65535/48517261092_1f4383baba_b.jpg),
[licence](https://creativecommons.org/publicdomain/mark/1.0/)
**The course trap**: Don't collect courses like trading cards. Buy one, complete it fully, practice for at least a month, then consider another. I have $2000+ of unopened courses gathering digital dust because I fell into the "buying = progress" fallacy.
**Q: Will digital skills make me a better [traditional artist](/finder/page/qa-with-an-ai-artist-exploring-the-intersection-of-algorithms-and-creativity)?**
A: Absolutely, but not in the ways you expect. [Digital work](/finder/page/digital-painting-vs-traditional-painting-pros-cons-and-artistic-expression) won't magically improve your traditional drawing skills, but it will fundamentally change how you think about composition, color, and iteration.
**The transferable skills**:
- **Compositional bravery**: Testing 20 compositions digitally teaches you to experiment without fear of "wasting" materials
- **Color confidence**: Seeing exact RGB values demystifies color theory and makes you more confident mixing pigments
- **Systematic thinking**: Digital layering forces you to think in terms of visual hierarchy—a skill that transfers to any medium
- **Iteration speed**: Digital tools let you fail fast and learn faster
**The unexpected benefit**: My traditional paintings got better when I stopped treating each one as precious and started treating them like digital iterations—experimental, disposable, focused on learning rather than perfection.
**Q: I'm overwhelmed by options. Where do I even begin?**
A: Stop researching. RIGHT NOW. Close this article. Here's your immediate action plan:
1. **Hardware**: Buy ONE mid-range tablet—Wacom Intuos Medium if you're serious, Huion HS611 if budget-tight
2. **Software**: Install Krita (free) if you have a computer, or buy Procreate ($13) if you have an iPad
3. **Month 1 goal**: Draw one simple object every day—a coffee cup, your hand, a houseplant
4. **Forbidden activities**: No watching tablet reviews, no downloading 20 different software, no obsessing over specifications
Mastery comes from doing, not from researching the perfect setup. The painters you admire didn't become masters by watching brush reviews—they painted, badly at first, then less badly, then eventually beautifully. Start painting badly right now.
**The only advice that matters**: Everything you need to know about digital art can be learned using a $70 tablet and free software. If you're not creating with basic tools, you won't suddenly start creating with expensive ones. The quality of your work depends on your skill, not your technology budget.
[credit](https://upload.wikimedia.org/wikipedia/commons/e/e8/Wiki_exampled_Logic_Model.png),
[licence](https://creativecommons.org/licenses/by-sa/3.0)
**Q: What about AI art generators? Should I use them?**
A: Controversial opinion incoming: AI tools can be useful for reference generation, mood boards, or overcoming creative blocks, but they're actively harmful for artists learning fundamentals.
Relying on AI art while learning is like learning to cook by ordering takeout. You're not developing your eye, your hand, or your problem-solving skills. Use AI as a brainstorming partner, never as a crutch.
[credit](https://live.staticflickr.com/1679/25230769303_9b38b97a3f_b.jpg),
[licence](https://creativecommons.org/licenses/by-nc-nd/2.0/)
**The learning paradox**: Real artistic skill comes from struggle. Every time you fight with perspective, wrestle with color theory, or struggle through anatomy, your brain builds permanent problem-solving pathways. AI tools remove that struggle—which feels good short-term but prevents learning long-term.
I use AI tools for two things only: generating reference poses for difficult angles, and testing color schemes on grayscale compositions. Beyond that, AI does more harm than good for developing artists.
[credit](https://live.staticflickr.com/65535/50026452843_8ae80cf0a8_b.jpg),
[licence](https://creativecommons.org/licenses/by-nc-sa/2.0/)
## Your Canvas Awaits: Final Thoughts
Remember that time you were terrified of your first [charcoal stick](/finder/page/how-to-use-charcoal-for-drawing-basics)? Now gliding it across paper feels intuitive. Digital tools are just your next artistic language. They won't steal your soul or dilute your authenticity – they'll give you new ways to whisper it into the world.
[credit](https://live.staticflickr.com/4091/5062279194_83f7cf81e6_b.jpg),
[licence](https://creativecommons.org/licenses/by/2.0/)
Technology isn't the destination here; it's the compass. Your unique vision is the north star. The confusion you're feeling now? That's just the thrilling chaos of any meaningful beginning. I still sometimes stare at my tablet like an idiot fumbling with chisels, but the joy when a brushstroke finally *sings*? That's universal.
[credit](https://upload.wikimedia.org/wikipedia/commons/4/42/MPS_Adoption_Model.jpg),
[licence](https://creativecommons.org/licenses/by/3.0)
Now go make something messy, beautiful, and brilliantly *you*. The pixels are ready.
## The Hidden Economics: Budgeting for Your Digital Transition
Let's talk about the unsexy truth nobody mentions: digital art isn't free. Yes, you can start with free software, but the hidden costs add up fast—and I'm not just talking hardware. The real investment is in time, learning resources, and the inevitable upgrades that come when your skills outgrow your starter tools.
I've watched too many talented artists burn out because they underestimated the financial reality. You don't need a gallery's budget, but you do need a realistic plan. Let's break down what digital art actually costs over your first year.
### The True First-Year Budget Breakdown
Most beginners think: "Tablet + software = done." Here's what they don't tell you:
**Essential Upgrades Most Artists Need:**
- **Better stylus nibs**: The cheap plastic ones wear down fast ($15-30 every 6 months)
- **Drawing gloves**: Prevents oil buildup and improves glide ($8-20)
- **Color calibration tools**: Essential if you want work-for-hire clients ($80-150)
- **Portable backup drives**: You'll need multiple as your portfolio grows ($40-120)
- **Software plugins**: Brushes, textures, and tools that accelerate workflow ($50-300 total)
- **Online courses/skill development**: You can't learn everything from free tutorials ($100-500)
- **Print test runs**: Checking color accuracy before client delivery ($20-80 annually)
- **Website/portfolio hosting**: Professional presentation requires professional tools ($120-200 annually)
**The Real Math of Going Professional:**
Let's say you start with "cheap" setup:
- Huion HS611 tablet ($70)
- Krita software (free)
- Basic laptop you already own ($0)
- **Total: $70 startup cost**
Seems manageable, right? Here's what happens month 6:
- You've improved significantly and need better pressure sensitivity
- Clients expect specific software (Photoshop, usually)
- Your laptop can't handle large files efficiently
- You need professional brush packs for efficiency
- **Month 6-12 additional costs: $400-800**
That "$70" setup becomes $470-870 by year one. And that's assuming you don't need equipment repairs, don't travel to workshops, and don't invest in advanced training.
### Budget-Conscious Shopping Strategy
**Never pay retail**: I buy all my hardware refurbished or used. Here's where to shop:
- **Refurb.io** (certified refurbished with warranties)
- **B&H Photo Used Department** (professional gear, reliable testing)
- **Facebook Marketplace/Craigslist** (local pickup, cash negotiation)
- **Reddit r/hardwareswap** (community-vetted sellers)
- **eBay** (sort by "Sold Listings" to gauge real market value)
I got my Wacom Cintiq 16" for $450 this way—retails $650-800—and it came with original packaging and warranty transfer. The secret? Most creatives upgrade constantly and want quick sales. You can save 30-50% on barely-used professional equipment.
**The Certification Trick**: Professional tablets often come with certification codes for software bundles. Artists reselling barely touch these codes because they already own the software. I've gotten $200+ software bundles included with $600 tablets purchased for $400 used.
**When to Buy New**: Never for tablets (unless specific warranty concerns), always for computers (battery degradation and component wear matter). For storage, new only—you can't trust used hard drives.
### Subscription vs. One-Time Purchase Decisions
**The Adobe Dilemma**: Photoshop costs $21 monthly ($252/year). Clip Studio Paint costs $50 once. Procreate costs $13 once. The math seems obvious, but there's nuance.
**When Adobe makes sense**:
- You're actively pursuing professional illustration/comic work
- Clients expect PSD file delivery
- You need industry-standard collaboration tools
- You'll use multiple Adobe apps (Lightroom, After Effects, Illustrator)
**When alternatives win**:
- You're exploring digital art as a hobby
- Budget is your primary concern
- You prefer working on iPad
- You hate subscription models on principle
**My Philosophy**: Start free/low-cost. Invest subscription money only when you're earning money from your art. I used Krita for two years before switching to Adobe—and only because paid client work demanded it.
### Building Your Upgrade Path
Don't think about your "final" setup. Think progression:
**Stage 1: Exploration (Months 1-6)**
- **Budget**: $150-300 total
- **Hardware**: Huion HS611 ($70) OR used iPad 8th gen + Apple Pencil ($250)
- **Software**: Krita (free) if desktop, Procreate ($13) if iPad
- **Focus**: Skill development, not equipment optimization
**Stage 2: Commitment (Months 6-18)**
- **Budget**: $500-1200 additional
- **Hardware**: Professional tablet (Wacom Intuos Pro, Huion Kamvas) OR iPad Pro
- **Software**: Photoshop subscription OR Clip Studio Paint + Affinity Photo
- **Focus**: Workflow efficiency, professional file management
**Stage 3: Professional (Years 2+)**
- **Budget**: $1000-3000+ (often earned back through client work)
- **Hardware**: iPad Pro 12.9" + Mac Studio OR high-end PC + Wacom Cintiq 27"
- **Software**: Full Adobe Creative Cloud + specialized tools (ZBrush, Blender, etc.)
- **Focus**: Maximum efficiency, client compatibility, studio-quality output
**The Breaking Point Test**: When should you upgrade? Answer these questions honestly:
1. Is my current tool physically preventing me from creating what I envision? (Not "would this be easier," but "is this physically impossible?")
2. Have I completed at least 50 finished pieces with my current setup?
3. Would selling artwork created with the upgrade pay for the upgrade within 6 months?
If all three are "yes," upgrade. If any are "no," keep practicing with what you have.
[credit](https://images.pexels.com/photos/34636338/pexels-photo-34636338/free-photo-of-modern-workspace-with-laptop-and-art-decor.jpeg),
[licence](https://creativecommons.org/public-domain/)
### Hidden Costs You Should Budget For
**The Support Ecosystem**:
- **Quality furniture**: Basic drawing ergonomics save you thousands in medical bills later
- **Eye strain prevention**: Anti-glare screen protectors, proper lighting, blue light glasses
- **Noise-canceling headphones**: Focus costs more than you think in shared spaces
- **High-speed internet**: Uploading massive client files, streaming tutorials
- **Legal/business setup**: LLC formation, accounting software, contract templates
**Ongoing Education**:
- **Online courses**: The best investment you'll make ($100-500 annually)
- **Art books**: Reference materials aren't cheap ($200-600 annually for serious collectors)
- **Conference/workshop attendance**: Networking and skill building ($300-2000 annually)
**Professional Presence**:
- **Domain name + hosting**: Professional portfolio ($120-200 annually)
- **Print-on-demand samples**: Testing print quality before offering to clients
- **Business cards/promo materials**: Old-fashioned but still effective
### When to Invest vs. When to Save
**Always Invest In**:
- Ergonomic setup (your health is non-negotiable)
- Quality tablet/stylus (your primary tools)
- Color calibration (essential for professional work)
- Backup systems (data loss is career-threatening)
- Ongoing education (skills appreciate, equipment depreciates)
**Always Save On**:
- Cables and adapters (functionality is binary)
- Generic accessories (gloves, screen cleaners)
- "Productivity" gadgets (most are distractions)
- Trendy software plugins (master your core tools first)
- Expensive courses you won't finish (audit free content first)
### The Freelancer's Reality Check
If your goal is freelance income, here's the uncomfortable truth: your art alone isn't enough. You're running a small business.
**Startup Budget for Freelance Digital Artists**:
- **Hardware**: $600-1500
- **Software**: $250-600 annually
- **Business setup**: $200-500
- **Marketing/portfolio**: $300-1000
- **Emergency fund**: $1000 minimum
- **Total realistic budget**: $2350-4600
Most artists don't account for the business side. You need contracts, invoicing software, client communication tools, professional email addresses, and marketing materials. I've seen brilliant artists fail professionally because they invested $2000 in equipment but zero in business infrastructure.
### Building Sustainable Artist Economics
The goal isn't just buying tools—it's building a sustainable creative practice that doesn't bankrupt you. Here's my strategy:
**Monthly Budget Allocation (if pursuing professional work)**:
- 40% core living expenses
- 20% equipment/skill development
- 15% marketing/client acquisition
- 10% emergency fund
- 10% professional presence (website, portfolio updates)
- 5% experimentation/fun projects
**Revenue First, Upgrade Second**: Never upgrade equipment using savings. Upgrade using art income:
1. Create with current tools
2. Sell work to build capital
3. Reinvest profit into upgrades
4. Use upgraded tools to increase earning potential
5. Repeat progression
This model keeps you financially stable while steadily improving your capabilities. I financed my entire professional setup this way over three years—never touching personal savings, never going into debt for equipment.
**The Debt Trap**: I've watched artists finance $3000 setups on credit cards while having zero clients. This creates desperate energy that kills creativity. Don't finance art equipment unless you're already earning consistent income from your work and need the upgrade to increase production capacity.
### Alternative Revenue to Fund Your Practice
Traditional "art sales" take time to build. Meanwhile:
- **Teaching**: Offer online tutorials, 1-on-1 mentoring, or local classes
- **Asset creation**: Sell brush packs, textures, or templates
- **Print-on-demand**: T-shirts, stickers, phone cases with your art
- **Commission work**: Pet portraits, fan art, book covers
- **Stock art**: Submit to Adobe Stock, Shutterstock
- **Art licensing**: Greeting cards, editorial illustration
- **Skill-based services**: Photo editing, color correction, lettering
The artist who taught me [digital painting](/finder/page/essential-tools-for-digital-painting-beginners) funded her entire professional setup by creating and selling custom brush packs for $5-15 each. She made $20,000 her first year while still learning—investing every dollar into better equipment.
### Reality vs. Expectation: Your Financial Roadmap
**Year 1 Expectations**: Break even on costs, build foundational skills
**Year 1 Reality**: Invest $1000-3000, earn $0-2000 (if actively pursuing sales)
**Year 2 Expectations**: Profit from art sales, upgrade equipment
**Year 2 Reality**: Earn $3000-8000, reinvest most into business growth
**Year 3 Expectations**: Professional income, studio equipment
**Year 3 Reality**: $8000-25000+ income possible for focused artists
The artists who succeed long-term aren't the most talented—they're the most financially disciplined. Treat your art practice like the small business it is, and you'll have resources to create exactly what you envision.
## The Support System: Building Your Digital Art Community
Here's something nobody tells you: learning digital art is intensely lonely at first. You're alone with your tablet, wrestling with software, staring at hours of bad drawings, wondering if you made a terrible mistake. Traditional artists at least have physical classes, community studios, live model sessions. Digital artists? We're often isolated in our bedrooms, lit only by screen glow.
I nearly quit three times during my first year because of this isolation. The difference between giving up and breaking through wasn't better tutorials or equipment—it was finding my people.
[credit](https://upload.wikimedia.org/wikipedia/commons/e/e2/Rivera_frescos_02.jpg),
[licence](https://creativecommons.org/licenses/by-sa/3.0)
### Why Community Matters More Than Software
Your choice of software matters. Your choice of community matters more. Here's why:
**The Accountability Factor**: Without external deadlines or classmates, it's too easy to "practice tomorrow." I promised myself daily practice for months, consistently failing. Then I joined a Discord server with daily drawing prompts. Suddenly, people expected my work. I've now posted daily for 847 consecutive days.
**The Feedback Loop**: Professional artists have art directors providing feedback. You need that too—not just "nice drawing," but real critique. The difference between 100 hours of solo practice and 100 hours with expert feedback is the difference between reinforcing mistakes and correcting them.
**The Invisible Knowledge**: The best techniques aren't in tutorials. They're in casual conversation. I learned more about efficient brush organization from a 3 AM Discord chat than from any course. I discovered my favorite canvas texture through a forum post by someone testing paper scans.
**The Emotional Support**: When you spend five hours on something that looks like a preschooler's finger painting, you need someone to say "we've all been there"—and mean it. Digital art has unique frustrations (crashed files, corrupted drivers, accidental layer deletion) that non-digital artists don't understand.
### Finding Your Digital Art Tribe
Here are the communities I've found most valuable, organized by personality type:
**For the Structured Learner**:
- **Schoolism Student Community** (paid, professional-level)
- **New Masters Academy Forum** (paid, traditional focused)
- **Ctrl+Paint Discord** (structured, fundamentals-oriented)
**For the Casual Creator**:
- **r/DigitalArt** (huge, beginner-friendly)
- **r/learnart** (traditional fundamentals with digital crossover)
- **Procreate Folio forums** (platform-specific, supportive)
- **Digital Art Community Discord** (general, active)
**For the Career-Focused**:
- **Concept Art Association Discord** (industry professionals)
- **Artists and Clients Facebook Group** (business focus)
- **Level Up! Art Community** (career development)
- **Creative Allies Discord** (job opportunities)
**For the Social Creator**:
- **Twitch Art Community** (live streaming, real-time interaction)
- **ArtStation Community Forums** (portfolio-focused, industry presence)
- **DeviantArt Groups** (various interests, massive user base)
- **Instagram art challenges** (#Inktober, #Mermay, etc.)
### Making Community Work for You
Joining isn't enough. Here's how to actually benefit:
**The 30-Day Engagement Rule**: Join a community and commit to 30 days of active participation:
- Week 1: Introduce yourself, share your work-in-progress
- Week 2: Comment on 3-5 other people's work thoughtfully
- Week 3: Ask specific questions about your challenges
- Week 4: Offer help to someone newer than you
Most people join, post once, get discouraged by lack of instant response, and leave. Community building takes time. Show up consistently for a month before judging a group's value.
**Quality Over Quantity**: I'm active in three communities. That's it. Any more and I'd spend all my time socializing instead of creating. Depth of relationships matters more than breadth of connections.
**Reciprocity Principle**: Don't just post your art expecting praise. Leave thoughtful comments on others' work. Answer questions you know the answer to. Share resources. The artists who get the most support are the ones who give the most support.
I have a rule: for every piece of my own work I share, I leave five thoughtful comments on others' work. This builds genuine relationships instead of transactional ones.
### Choosing Your Mentors Wisely
Online art communities are full of self-appointed experts. How do you find real guidance?
**Red Flags**:
- Teacher focuses more on their success than your growth
- "Secrets" or "methods" they won't share openly
- Expensive courses promising guaranteed success
- Condescending responses to beginner questions
- Focus on equipment over fundamentals
**Green Flags**:
- Artist regularly shares free tutorials/advice
- Students show demonstrable improvement over time
- Encourages experimentation over rigid rules
- Admits when they don't know something
- Offers specific, actionable feedback
- Creates supportive learning environment
**My Mentorship Red Flag Story**: I once paid $400 for a course from an artist whose work I admired. The course consisted of him painting while rambling vaguely, saying things like "you just... feel it." Zero teaching structure, zero actionable advice. Later I learned he had no teaching experience—just social media success.
Contrast that with a $150 Schoolism course I took from a working professional. She assigned weekly homework, provided detailed individual feedback, created structured lessons, and had actual teaching credentials. Guess which one improved my skills?

[credit](https://upload.wikimedia.org/wikipedia/commons/1/10/Mural._El_hombre_en_el_cruce_de_caminos._Diego_rivera_%281934%29.JPG),
[licence](https://creativecommons.org/licenses/by-sa/3.0)
### Local Community: The Forgotten Resource
Online communities are amazing, but don't neglect local connections:
**Where to Find Local Artists**:
- Community college continuing education classes
- Local gallery openings (free wine + networking)
- Meetup.com art groups
- Libraries hosting art workshops
- Comic conventions (artist alley)
- Maker spaces with digital art equipment
- Coffee shops with artist meetups
I found my longest art friendship at a local library watercolor class. Neither of us ended up pursuing watercolor seriously, but we both transitioned to digital art around the same time. Three years later, we still meet weekly to exchange feedback and keep each other accountable.
**The Local Advantage**: In-person feedback sessions are irreplaceable. Screen sharing doesn't capture subtle hand movements, the way you hold your stylus, or the frustrated sigh when something isn't working. Local artists also know local opportunities—galleries, clients, jobs, and events.
### When to Leave a Community
Not every community serves you forever. Here's when to move on:
**The Toxicity Test**:
- Does interaction leave you energized or drained?
- Is critique constructive or destructive?
- Are beginners welcomed or mocked?
- Does the group encourage growth or gatekeep knowledge?
I left a popular art forum after realizing every post devolved into equipment arguments. The community cared more about owning expensive tools than making good art. My current group? They celebrate creativity regardless of tools.
**The Stagnation Test**:
- Are you still learning new things?
- Are members progressing in their skills?
- Is the advice evolving with industry changes?
- Are you challenged to improve?
Communities that served you at beginner level might not serve you at intermediate. That's normal. Thank them for what they gave you and find groups matching your current skill level.
### Building Your Personal Advisory Board
Professional artists don't have one mentor—they have a network. Assemble yours:
**The Skill Mentor**: Someone significantly more advanced technically. This person challenges your abilities and introduces new techniques. You might find them in advanced Discord channels, professional courses, or local art groups.
**The Industry Mentor**: Working professional who understands the business side. This person advises on client management, pricing, contracts, and career strategy. Often found through freelance communities, industry associations, or cold emailing artists you admire (politely, with specific questions).
**The Peer Accountability Partner**: Someone at your skill level, equally committed to growth. This person understands your daily struggles because they're experiencing them too. Found through beginner communities, local classes, or online study groups.
**The Beginner You Mentor**: Someone slightly newer than you. Teaching solidifies your own knowledge. Explaining concepts reveals gaps in your understanding. Plus, it feels good to help someone avoid mistakes you made.
I have one of each. My skill mentor is a professional concept artist I met through an online course. My industry mentor is a freelance illustrator who responded to a thoughtful email I sent. My accountability partner is an artist I met in a Discord server. And I mentor two beginners I met through Reddit.
This network didn't appear overnight. It took two years of consistent community participation. But now I have expertise, business guidance, peer support, and teaching opportunities—all from intentionally building relationships.

[credit](https://www.publicdomainpictures.net/pictures/570000/nahled/image-17049552394vC.jpg),
[licence](https://creativecommons.org/publicdomain/zero/1.0/)
### The Loneliness Antidote: Real Connection
Digital art will always involve solitary screen time. But it doesn't have to be lonely. The difference is connection—knowing that across town, across the country, or across the world, other artists are sitting at their tablets too, fighting the same battles, celebrating the same breakthroughs.
Your community becomes the chorus that drowns out your inner critic. They're the ones who say "that brush technique you hate? It's actually working" when you can't see it yourself. They're the ones who remind you that everyone's early work looks awkward, that technical struggles are temporary, that creative blocks are universal.
I've never met my closest art friend in person. We live on opposite sides of the country, met in a Discord server three years ago, and now video call weekly. We've watched each other grow from shaky first attempts to professional-level work. That relationship is as real as any in-person friendship.
Your art community is out there. Find them. Build with them. Grow with them. Create with them. The pixels feel less cold when you're not staring at them alone.
## Advanced Integration: When Traditional and Digital Collide
After three years of digital practice, something unexpected happened. I started missing the smell of charcoal, the resistance of canvas, the happy accidents of wet media. I assumed this meant I was betraying my digital journey. Turns out, I was discovering hybrid artistry—the true sweet spot where traditional technique and digital tools create something neither could achieve alone.
### The Hybrid Artist's Toolkit
Hybrid workflows aren't about choosing sides—they're about having more options. Here's what a modern hybrid toolkit looks like:
**Traditional Beginning, Digital Finish**:
1. **Thumbnail sketching** (pen/paper, spontaneous)
2. **Detailed drawing** (graphite on toned paper)
3. **Scan at 600 DPI** (high resolution for detail preservation)
4. **Digital inking** (vector tools for clean lines)
5. **Digital color/flatting** (perfect gradients, easy corrections)
6. **Digital effects** (glows, textures, atmospheric perspective)
7. **Traditional texture overlay** (scan real paint textures, overlay digitally)
**Digital Beginning, Traditional Finish**:
1. **Digital planning** (thumbnails, color comps, composition testing)
2. **Digital projection** (project composition onto canvas with a pico projector)
3. **Traditional execution** (paint with oils/acrylics following digital guide)
4. **Digital documentation** (scan/photograph [finished piece](/finder/page/how-to-know-when-an-artwork-is-finished))
5. **Digital marketing** (online portfolio, social media presentation)
**Back-and-Forth Workflow**:
- Paint traditional underpainting
- Scan and digitally glaze/color-balance
- Print revised version as reference
- Add traditional details
- Scan and digitally refine edges
- Final traditional signature, then digital documentation
This isn't theoretical—I watched a professional concept artist create a finished book cover this way, and the efficiency was mind-blowing.
### Physical Tools for Digital Enhancement
Certain analog tools solve digital problems beautifully:
**For Texture**:
- **Real canvas/paper scans**: Photograph textured surfaces, use as overlay layers
- **Ink washes**: Create organic gradients, scan at high resolution
- **Charcoal dust**: Apply to paper, scan for natural grain
- **Watercolor blooms**: Let paint dry naturally, scan variations
I keep a "texture library" folder with scans of everything: concrete, rust, fabric, wood grain, crumpled paper. These add physical authenticity to digital paintings.
**For Line Quality**:
- **Fountain pens**: Scan ink drawings for organic line variation
- **Brushes with India ink**: Capture natural bristle texture
- **Colored pencils**: Layer different pressures, scan for texture
Nothing digital perfectly mimics a real fountain pen's flexible nib. So I don't try—I use the real thing, scan it, and incorporate it digitally.
**For Color**:
- **Real paint mixing**: Mix physical colors, photograph, use eyedropper tool to sample exact RGB values
- **Gouache studies**: Paint small color thumbnails, scan for palette decisions
- **Natural light reference**: Set up still life, photograph in natural light, use as color guide
Digital color can feel sterile. I often paint a quick gouache study to establish color relationships, then use those decisions in my digital painting.
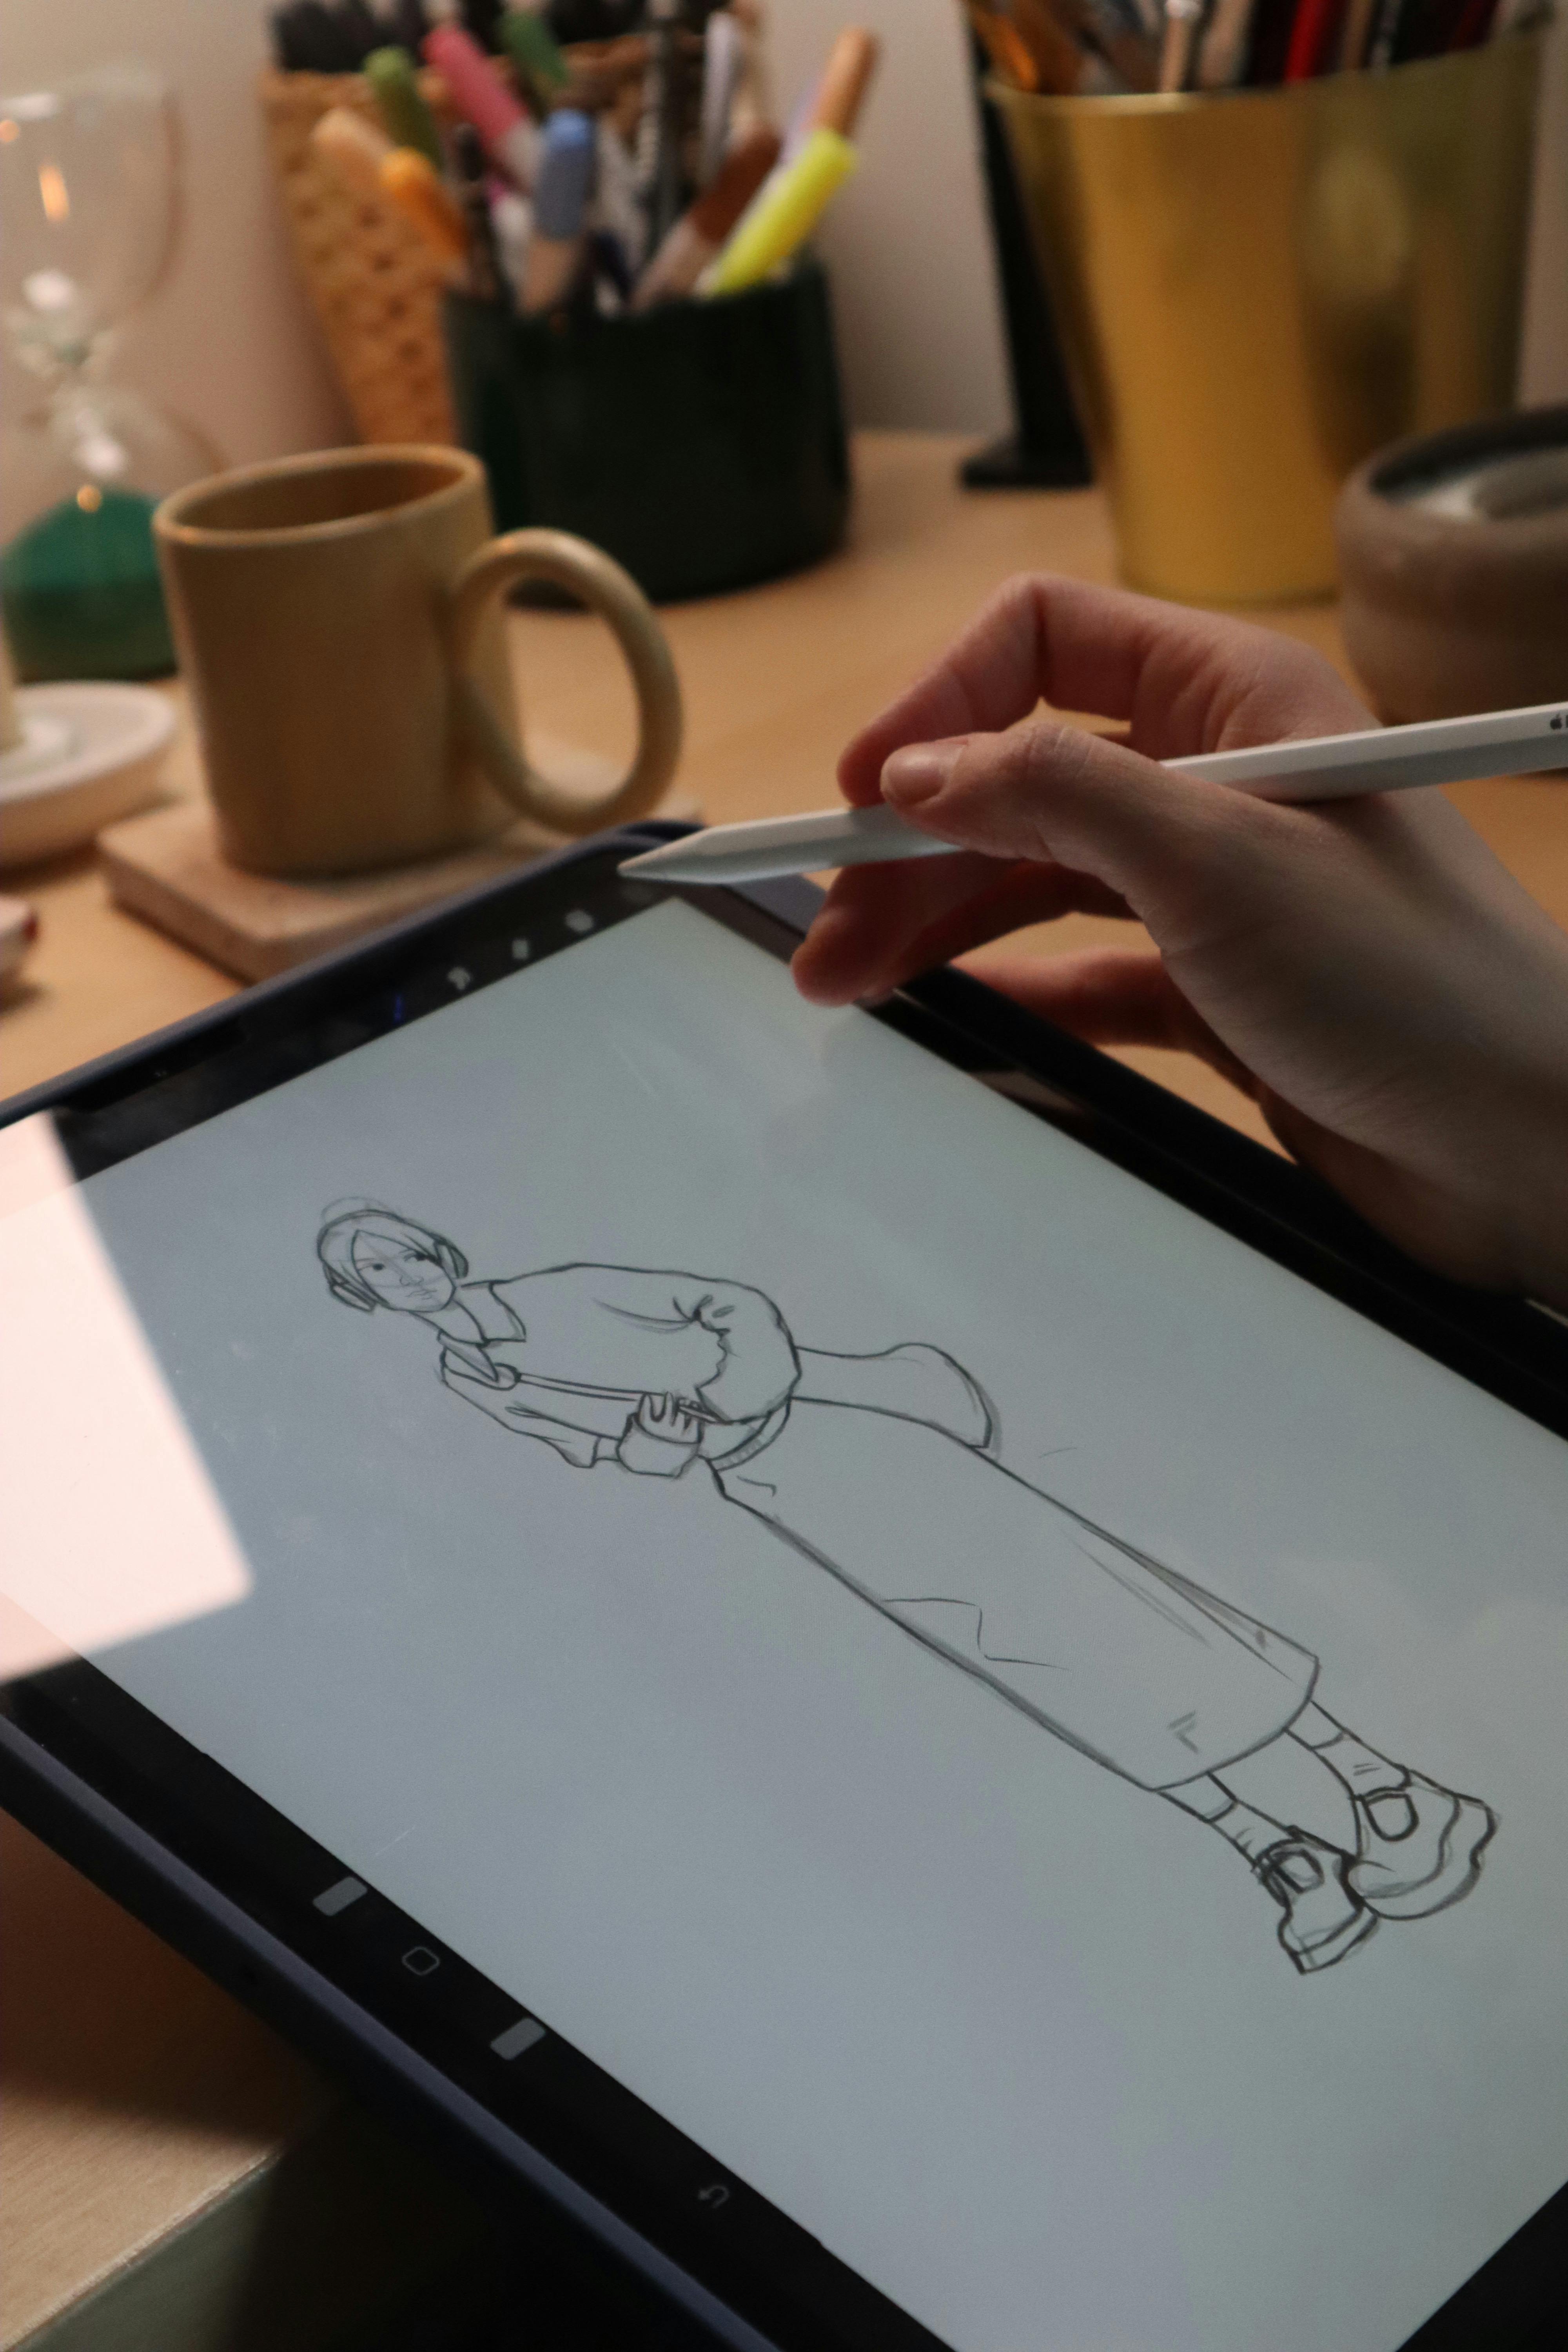
[credit](https://images.pexels.com/photos/30693625/pexels-photo-30693625/free-photo-of-digital-sketching-on-tablet-at-cozy-workspace.jpeg),
[licence](https://creativecommons.org/public-domain/)
### Digital Tools for Traditional Enhancement
Technology also supercharges traditional work:
**Planning & Reference**:
- **Digital perspective grids**: Use Photoshop guides to create perfect perspective, print as underdrawing guide
- **Color palette apps**: Capture color schemes from photos, test combinations digitally
- **Composition testing**: Do 20 composition thumbnails in five minutes digitally
- **Reference compilation**: Use PureRef to organize photo references for painting
**Documentation & Presentation**:
- **Scanning workflow**: DSLR copy stand setup for perfect artwork documentation
- **Color correction**: Match digital photo to actual artwork using calibration
- **Digital backgrounds**: Photograph artwork, remove background, place on professional digital presentation
**Print Integration**:
- **Giclée preparation**: Create digital file optimized for professional printing
- **Merchandise creation**: Test traditional paintings on t-shirts, stickers via print-on-demand
- **Pattern creation**: Use traditional painting elements to create digital repeating patterns
### Case Study: The $15,000 Commission
I want to share a real project that demonstrates hybrid workflow power. A client commissioned a large-scale mural for their office. Here's how traditional and digital collaborated:
**Phase 1: Digital Planning (8 hours)**
- Created 30 quick digital composition thumbnails
- Tested 10 color schemes against reference photos of actual space
- Used 3D modeling in Blender to visualize mural in actual room lighting
- Presented client with three polished digital mockups
**Phase 2: Traditional Execution (40 hours)**
- Projected final digital design onto primed wall
- Painted mural using traditional acrylics and brushes
- Captured organic texture and brushstroke variation impossible digitally
- Made on-the-fly adjustments based on physical space realities
**Phase 3: Digital Enhancement (4 hours)**
- Scanned/photographed finished mural at multiple exposures
- Stitched images together digitally for perfect alignment
- Color-corrected to match actual mural appearance (cameras lie)
- Created digital portfolio pieces and promotional materials
- Generated social media content showing process from digital to traditional
Total efficiency gain: 20+ hours saved through digital planning, higher quality through traditional execution, professional presentation through digital documentation. The client got a mural that perfectly fit their space because we tested it digitally first. I got paid $15,000 because I could guarantee results before touching the wall.
### Tools for Hybrid Artists
**Hardware Investments**:
- **Quality scanner**: Epson Perfection V600 ($250) for scanning traditional work
- **Good camera setup**: DSLR with macro lens ($500-1200) for artwork documentation
- **Pico projector**: For projecting digital designs onto traditional surfaces ($150-400)
- **Lighting kit**: Proper lights for photographing traditional work ($100-300)
**Software Investments**:
- **Adobe Creative Suite**: Bridge for file management, Photoshop for integration
- **Scanning software**: Vuescan ($40) for professional scanning control
- **Photography software**: Adobe Lightroom for artwork documentation workflow
- **PureRef**: For organizing reference materials ($)
**Physical Tools**:
- **Mixed media paper**: Paper that accepts both traditional and digital printing
- **Lightbox/tracing station**: For transferring digital designs to traditional surfaces
- **Variety of scanning papers**: Different textures and weights for various effects
### The Efficiency Paradox
You'd think hybrid workflows take more time. They don't. Here's why:
**Digital prevents traditional mistakes**: I used to waste so much canvas starting paintings with flawed compositions. Now I test digitally first. My canvas success rate went from 60% to 95%.
**Traditional prevents digital sterility**: Pure digital work can feel soulless. Introducing traditional texture and accident keeps work authentic.
**The Right Tool Philosophy**: Use traditional for spontaneity, texture, and happy accidents. Use digital for precision, repetition, and correction. Match the tool to the task.
### Mental Models for Hybrid Artists
**The "Best of Both" Mindset**: Don't see traditional and digital as competitors. See them as collaborators. What does each do exceptionally well?
**Traditional Excellences**:
- Spontaneous mark-making
- Physical texture and dimensionality
- Happy accidents and discovery
- Material interaction (paint mixing, surface response)
- Tactile satisfaction
**Digital Excellences**:
- Perfect precision and correction
- Experimentation without waste
- Efficient repetition (patterns, symmetry)
- Complex color manipulation
- Non-destructive editing
- Easy documentation and sharing
**The Phased Approach**: Certain projects benefit from phased integration:
- **Planning phase**: Pure digital (speed, experimentation)
- **Execution phase**: Pure traditional (authenticity, craft)
- **Refinement phase**: Hybrid (digital enhancement, traditional texture)
- **Presentation phase**: Pure digital (documentation, marketing)
### Breaking the False Dichotomy
The art world loves binaries: "traditional vs. digital," "authentic vs. artificial," "craft vs. technology." These are marketing constructs, not creative reality.
The most innovative contemporary artists I know work hybrid. They don't apologize for using projectors instead of freehand drawing, or for enhancing traditional paintings digitally. They focus on final results, not ideological purity.
The question isn't "traditional or digital?" The question is "how can all available tools help me express this specific vision?" Sometimes the answer is pure traditional. Sometimes pure digital. Often, it's both.
Your toolkit should match your vision, not your ideology. If that means scanning charcoal dust to overlay on digital paintings, do it. If that means projecting digital designs onto canvas, do it. If that means creating entirely digitally then screen-printing traditionally, do it.
Art isn't about limiting your options. It's about having every possible tool available when inspiration strikes.
## The Business of Pixels: Monetizing Your Digital Art
Let's address the elephant in every aspiring [digital artist](/finder/page/the-rise-of-digital-abstract-art-a-new-frontier-for-collectors)'s room: can you actually make money doing this? Short answer: yes. Longer answer: it's complicated, requires business skills most artists ignore, and looks nothing like what you probably imagine.
I spent two years creating art I loved but earning nothing before learning what actually sells. The gap between "good artist" and "successful working artist" isn't talent—it's strategy.
### Different Monetization Models
**Freelance/Commission Work**:
- **Book cover illustration**: $500-8000 per cover (advance + royalties possible)
- **Character design for games**: $200-2000 per character sheet
- **Editorial illustration**: $300-1200 per magazine illustration
- **Album cover art**: $500-3000 per project
- **Tattoo design**: $50-300 per custom design (often includes licensing)
- **Portrait commissions**: $100-2000+ depending on complexity and clientele
- **Fan art commissions**: $25-500 per piece (subject to intellectual property concerns)
**Passive Income Streams**:
- **Print-on-demand stores**: Redbubble, Society6, Printful ($10-500 monthly, varies dramatically)
- **Stock art sales**: Adobe Stock, Shutterstock, iStock ($0.25-50 per download)
- **Digital asset sales**: Brushes, textures, templates on marketplaces ($5-50 per item)
- **NFT markets**: Highly speculative and volatile, I avoid personally
- **Course creation**: Teaching what you've learned ($500-5000+ per course)
- **Subscription content**: Patreon, Ko-fi ($1-10+ monthly per supporter)
**Professional Services**:
- **Concept art (gaming/film)**: $300-800 daily rate or $2000-5000 weekly
- **Storyboarding**: $50-150 per panel
- **Matte painting**: $1500-5000 per painting
- **Architectural visualization**: $500-3000 per rendering
- **Medical/scientific illustration**: $75-150 hourly
- **Advertising illustration**: $1500-10000+ per project
**Licensing & Royalties**:
- **Art licensing**: $500-3000 advance against 3-10% royalties on products
- **Merchandise deals**: $1000-10000+ for apparel, accessories, home goods
- **Book illustration**: $5000-15000 advance against 3-5% royalties
### How to Actually Get Paying Clients
Your portfolio doesn't speak for itself. Here's the uncomfortable truth: most artists spend 95% of their time creating and 5% on business, then wonder why they can't find clients.

[credit](https://images.pexels.com/photos/17910786/pexels-photo-17910786.jpeg?cs=srgb&dl=pexels-macxconverge-17910786.jpg&fm=jpg),
[licence](https://creativecommons.org/public-domain/)
**The Marketing Reality**:
- Cold emailing: 1-3% response rate
- Social media marketing: 0.1-2% engagement
- Networking events: 5-20% lead conversion
- Referral business: 50-70% conversion rate
This is why networking matters more than your portfolio quality (once you reach professional minimum skill level).
**Effective Client Acquisition Strategies**:
**Strategy 1: Niche Specialization**
Don't be "a digital artist." Be "the artist who creates gothic romance book covers" or "the character designer for indie games" or "the pet portrait artist using vibrant watercolor style." Specialization makes you findable.
When I positioned myself as "digital portrait artist for authors and musicians," my client quality and rates both increased. Why? Because specialty clients pay specialty rates, and they find you through keyword searches.
**Strategy 2: Content Marketing**
Don't just post finished art. Post your process:
- Time-lapse videos of your painting
- Tutorials for techniques you've mastered
- Behind-the-scenes of client projects (with permission)
- Answer common questions in blog posts or videos
Content marketing positions you as an expert, not just a creator. Experts charge expert rates. I've gotten $3000+ projects from clients who found my free tutorials and decided I was the right artist for their project.
**Strategy 3: Relationship Building**
Follow this 90-day plan for any target industry:
Days 1-30: Research and follow 50 key people/companies in your target industry. Comment thoughtfully on their content.
Days 31-60: Reach out to 10 people with specific, helpful information (not sales pitches). Example: "I saw your game needs character art—here's a resource I think might help."
Days 61-90: Pitch 5 warm leads with specific project ideas. "I've been following your work and created this concept specifically for your brand..."
Conversion rates using this approach: 20-40% instead of 1-3% cold outreach.
**Strategy 4: Portfolio Optimization**
Your portfolio should be a sales tool, not an art gallery:
- Lead with work you want to be hired for (if you want book covers, show book covers first)
- Include case studies showing process from sketch to final
- Show diversity within your specialty (different genres, moods, subjects)
- Include client testimonials prominently
- Make contact information impossible to miss
### Pricing Your Work Realistically
Most artists undercharge dramatically. Here's how to price strategically:
**The Time-Budget Method** (for beginners):
1. Calculate your monthly expenses (rent, food, insurance, etc.)
2. Add 30% for business costs (taxes, equipment, software)
3. Add 20% for profit/investment
4. Divide by billable hours available (typically 20-25 hours weekly)
5. This gives your minimum hourly rate
6. Estimate project hours and multiply
Example: $3000 monthly expenses + $900 business costs + $600 profit = $4500 monthly need. Divided by 80 billable hours = $56.25 hourly minimum.
**The Market Rate Method** (for established artists):
Research what successful artists in your niche charge:
- Art director forums (Creative Allies, Art Directors Club)
- Professional organizations (Society of Illustrators, Graphic Artists Guild)
- Transparent artist communities (Level Up! Art, Concept Art Association)
**The Value-Based Method** (for experienced professionals):
Price based on value delivered, not hours worked:
- How much revenue will this art generate for the client?
- How important is this project to the client's success?
- What's the client's budget range?
- What exclusivity/licensing are they getting?
A book cover that sells 50,000 copies generates $100,000+ revenue. $800 for the cover art is a bargain, not an expense.
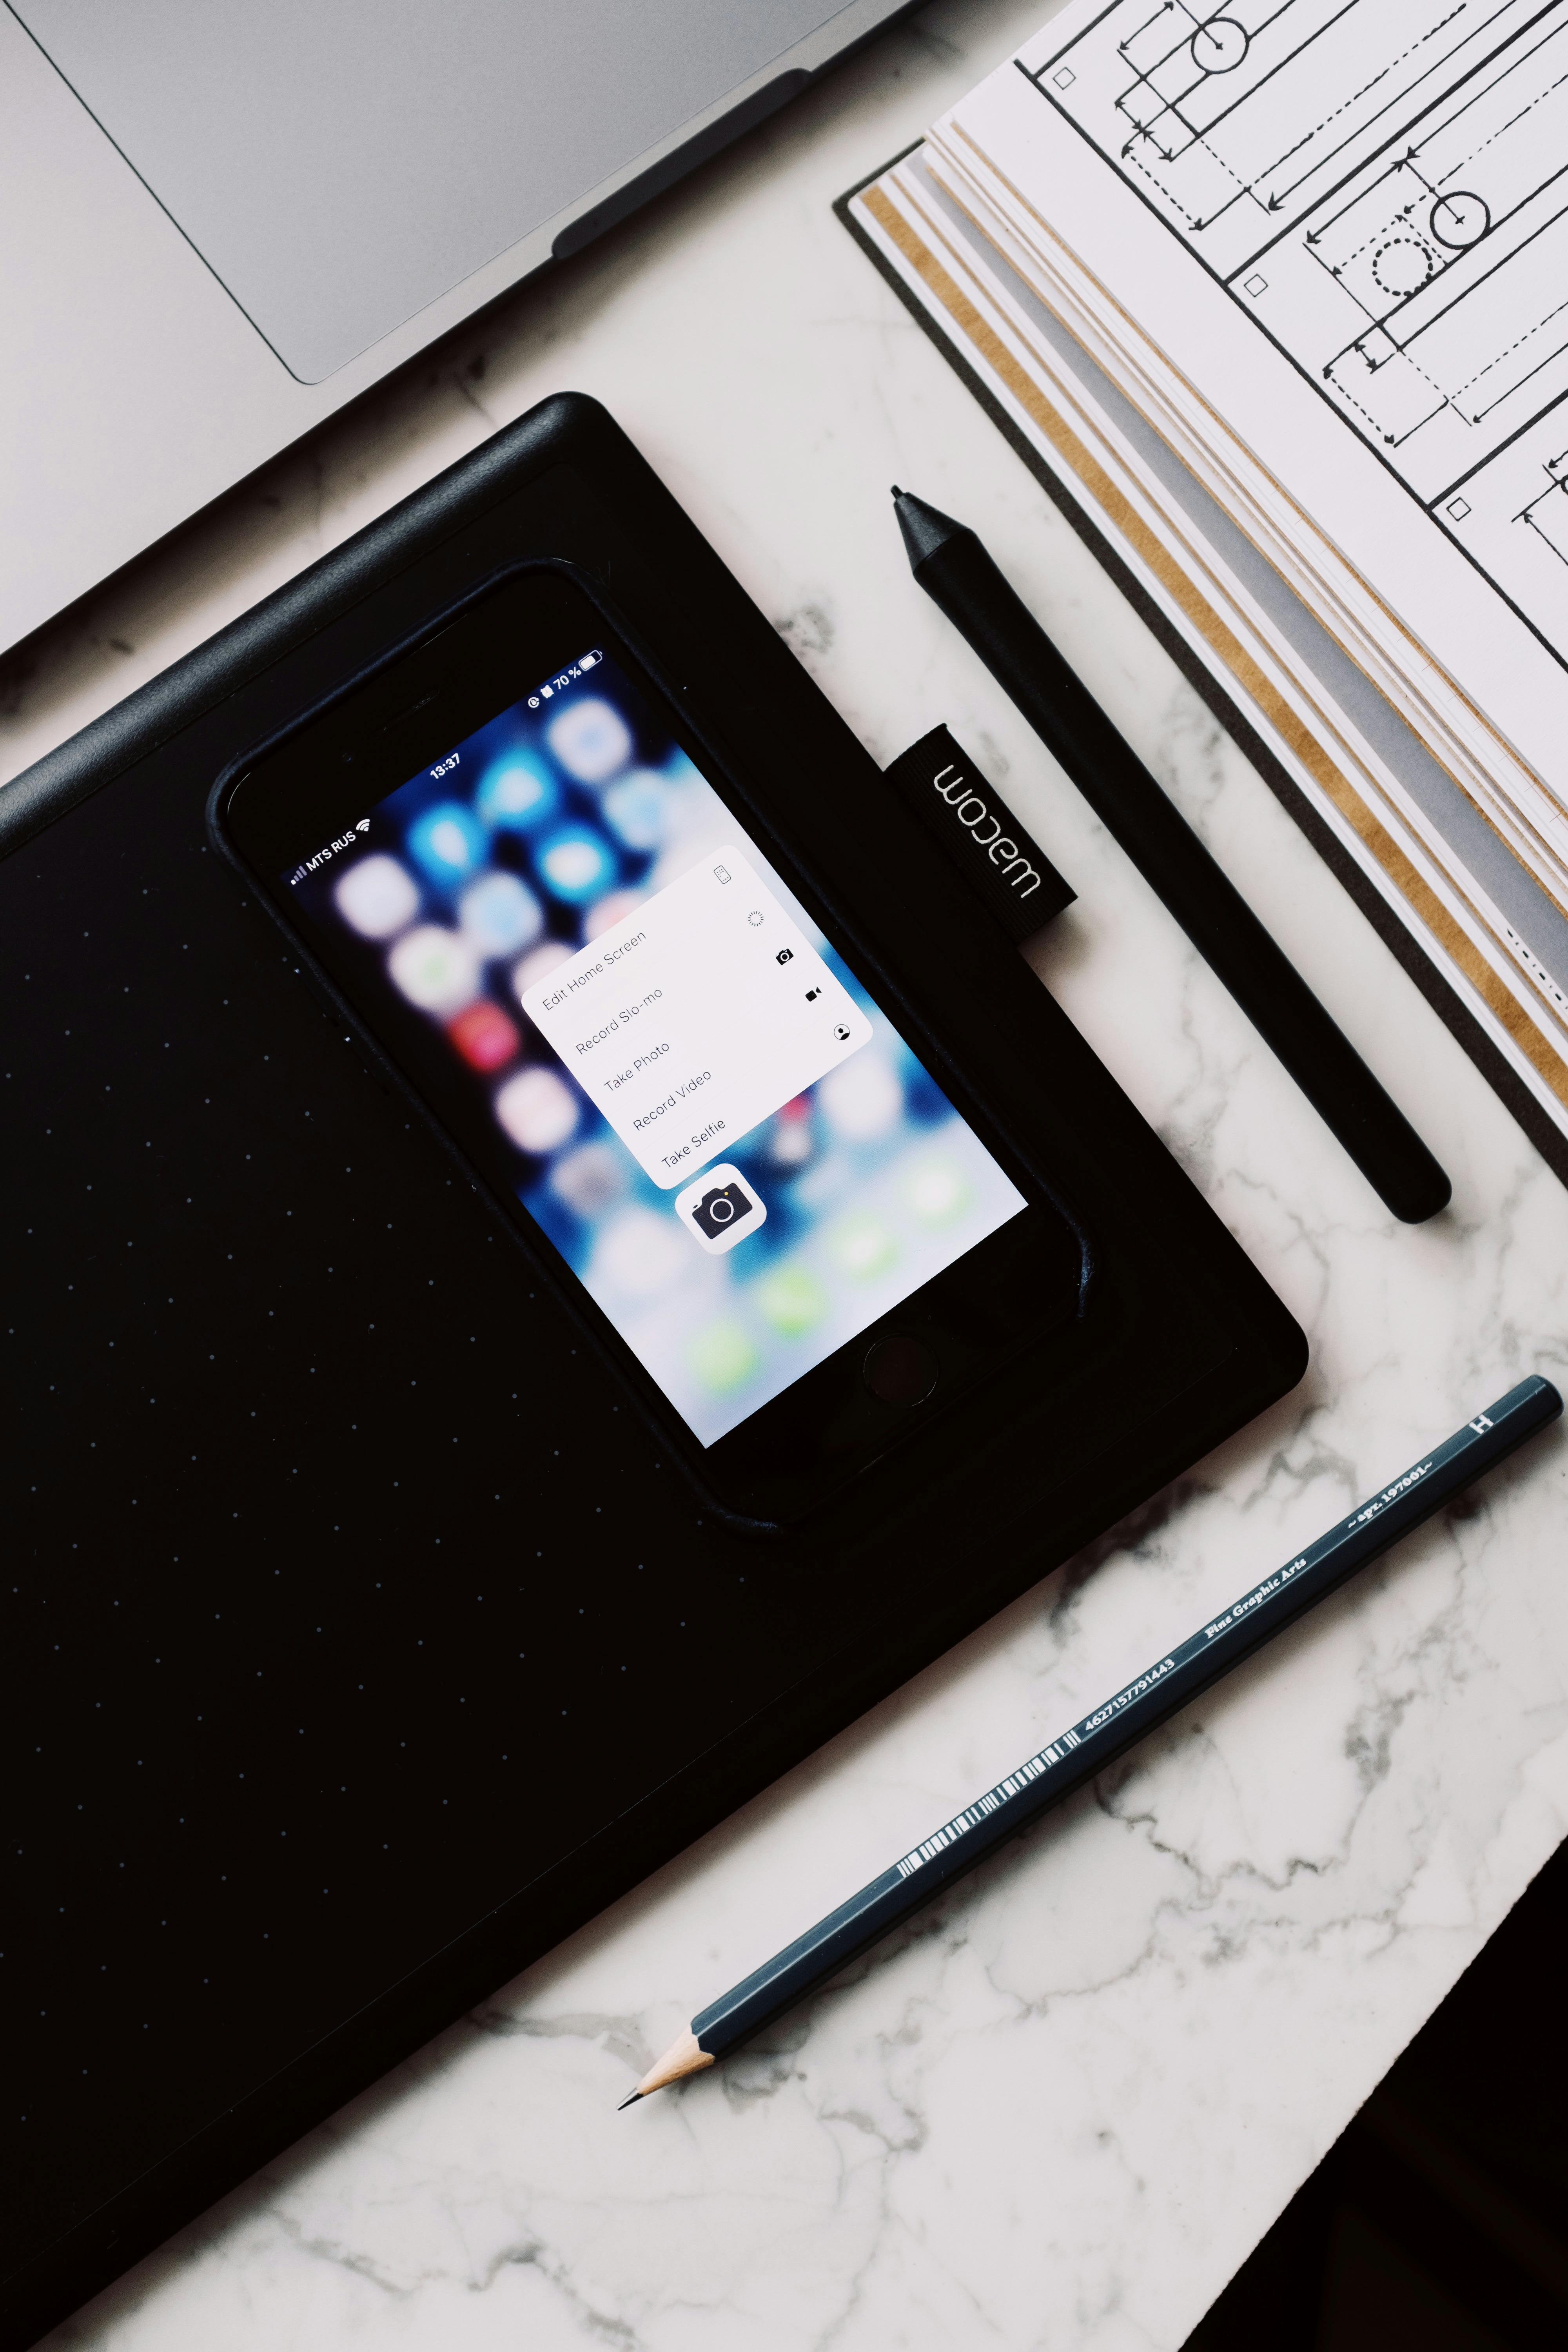
[credit](https://images.pexels.com/photos/3850227/pexels-photo-3850227.jpeg),
[licence](https://creativecommons.org/public-domain/)
### Building Multiple Income Streams
Relying solely on client work is unstable. Smart artists diversify:
**Income Portfolio Strategy**:
- **50% Client Work**: Primary income source, reliable
- **25% Passive Income**: Print-on-demand, stock art, asset sales
- **15% Teaching/Consulting**: Courses, mentoring, portfolio reviews
- **10% Experimental Revenue**: Licensing deals, merchandise, new opportunities
This diversification protects you during slow client periods and creates long-term wealth building.
**The Passive Income Reality Check**:
Passive income requires active upfront work. Creating a successful print-on-demand store means:
- Initial design creation (40-100 hours of work)
- Store optimization and marketing (10-20 hours monthly)
- Customer service and updates (5-10 hours monthly)
Expect $0-200 monthly for the first six months, then gradual growth. Most artists earn $50-300 monthly from print-on-demand long-term. The ones earning $1000+ monthly treat it like a serious business, not passive income.
### Common Money Mistakes Artists Make
**Mistake 1: Undervaluing Time**
"It only took me three hours, so I should charge $150." No—you should charge based on the 300 hours it took you to develop the skill to create it in three hours.
**Mistake 2: Working Without Contracts**
50% of freelance artists have been stiffed by clients. Use contracts for everything over $200. Include:
- Project scope and deliverables
- Payment schedule (50% deposit standard)
- Revision limits
- Kill fee if project is cancelled
- Rights/licensing specifications
**Mistake 3: Ignoring Rights Management**
Understand these licensing terms:
- **Work-for-hire**: Client owns everything, you keep nothing
- **Exclusive license**: Only that client can use the work
- **Non-exclusive license**: You can license to multiple clients
- **Limited license**: Client can use for specific purposes/duration
Work-for-hire should cost 300-500% more than non-exclusive licensing because you're selling all future use rights.
**Mistake 4: Not Tracking Business Metrics**
Successful artists know their numbers:
- Monthly revenue by source
- Average project value
- Client acquisition cost
- Time investment per income stream
- Profit margin per project type
Track these religiously. They tell you where to focus your energy.
### Scaling Beyond Solo Work
Once you establish income, consider expansion:
**Building a Team**:
- **Outsource tasks you hate**: Bookkeeping, social media, administrative work
- **Collaborate on large projects**: Partner with writers, designers, other artists
- **Hire assistants**: Background artists, colorists, production support
**Creating Scalable Products**:
- **Digital courses**: Create once, sell repeatedly
- **Asset bundles**: Brushes, textures, templates
- **Physical products**: Books, toolkits, merchandise
- **Subscription content**: Ongoing value for recurring revenue
**Licensing Your Skills**:
- **Brand partnerships**: Long-term relationships with companies
- **Art licensing**: Systematic placement of art on products
- **Teaching/workshops**: Scalable through online platforms
### The Million-Dollar Question: Can You Make a Living?
Yes, but it requires treating art like a business, not a hobby. Here's what living-wage art income looks like:
[credit](https://live.staticflickr.com/1661/24568771764_cd9e97ed40_b.jpg),
[licence](https://creativecommons.org/licenses/by/2.0/)
**Realistic Income Progression**:
- **Year 1**: $3000-10,000 (part-time effort, learning business skills)
- **Year 2**: $15,000-30,000 (developing client base, multiple income streams)
- **Year 3**: $30,000-50,000 (established reputation, referral business)
- **Year 5+**: $50,000-100,000+ (specialized expertise, team management, scalable products)
These aren't guarantees—they're realistic projections for artists who treat their practice as a serious business, consistently market themselves, and continuously develop their skills.
**The Success Formula**:
Skill Development (1000+ hours) + Business Acumen + Consistent Marketing + Multiple Income Streams + Professional Reliability = Livable Art Income
Missing any element? You'll struggle. Hitting all five? You'll thrive.
The artists earning six figures aren't 10x more talented—they're 10x more strategic. They understand that art careers aren't built on inspiration alone. They're built on showing up daily, treating clients professionally, diversifying income, and never stopping marketing just because they're busy.
[credit](https://images.pexels.com/photos/9123581/pexels-photo-9123581.jpeg),
[licence](https://creativecommons.org/public-domain/)
Your art deserves to support you. But it won't unless you learn to support your art with business fundamentals. The good news? Business skills are learnable. Creativity isn't. You already have the hard part. Now develop the rest.
## Troubleshooting: When Technology Fights Back
Every digital artist has experienced it: you're flowing creatively, everything's working perfectly, and suddenly your tablet stops responding, your software crashes, or your file corrupts beyond recovery. Technology feels personal in these moments—like it's actively sabotaging your creativity.
I've lost count of how many times I've wanted to throw my equipment out the window. But over the years, I've learned that most technical problems have predictable causes and systematic solutions. More importantly, I've learned that preventing problems is always easier than fixing them.
### The Most Common Technical Issues (And How to Fix Them)
**Problem 1: Tablet Not Responding/Inaccurate Cursor**
**Symptoms**: Cursor jumps around screen, pressure sensitivity stops working, stylus movements are delayed or inaccurate.
**Likely Causes**:
- Outdated drivers (most common)
- Interference from other USB devices
- Physical damage to tablet or stylus
- Software conflicts
**Immediate Solutions**:
1. **Update drivers immediately**: Go to manufacturer website, download latest drivers, uninstall old ones completely before installing new
2. **Try different USB port**: Avoid USB hubs, use direct motherboard connection
3. **Restart everything**: Computer, tablet, software (in that order)
4. **Check for physical damage**: Inspect stylus tip, tablet surface for cracks
5. **Calibrate tablet**: Use built-in calibration tool to reset cursor accuracy
**Prevention**: Set monthly calendar reminder to check for driver updates. Keep backup stylus on hand.
**Problem 2: Software Crashes/Memory Errors**
**Symptoms**: Software closes unexpectedly, "out of memory" warnings, files won't open, brush lag becomes unbearable.
**Likely Causes**:
- Insufficient RAM for file size
- Corrupted preferences or cache files
- Too many applications running simultaneously
- Software bugs in specific versions
**Immediate Solutions**:
1. **Purge cache files**: Delete temporary files (Photoshop: Edit > Purge > All)
2. **Reset preferences**: Hold Shift+Ctrl+Alt while launching (Photoshop)
3. **Increase scratch disk allocation**: Assign multiple hard drives
4. **Reduce canvas size or resolution**: Work smaller until you upgrade RAM
5. **Close unnecessary applications**: Especially web browsers (Chrome is a RAM hog)
**Prevention**: Upgrade to 32GB RAM minimum for professional work. Get into habit of purging cache weekly. Never work on critical files with unreleased software versions.
**Problem 3: Pen Pressure Not Working**
**Symptoms**: All lines appear at same thickness regardless of pressure, or pressure response is inconsistent.
**Likely Causes**:
- Driver communication error
- Worn-out stylus nib
- Incorrect software settings
- Physical damage to stylus pressure sensor
**Immediate Solutions**:
1. **Test with different software**: If pressure works elsewhere, problem is software-specific
2. **Replace stylus nib**: Worn nibs prevent proper pressure transmission
3. **Check software brush settings**: Ensure "pressure" is selected for size/opacity dynamics
4. **Reset to default brushes**: Corrupted brush settings can disable pressure
5. **Disable Windows Ink**: Incompatibility with some software (Wacom Tablet Properties)
**Prevention**: Replace stylus nibs monthly if you draw daily. Keep backup stylus available.
**Problem 4: Files Won't Open/Are Corrupted**
**Symptoms**: "File format not recognized," files won't open, important project seemingly lost.
**Likely Causes**:
- File saved with incompatible format
- Save process was interrupted
- Storage device failure
- Software version incompatibility
**Immediate Solutions**:
1. **Try opening in different software**: Photoshop files sometimes open in GIMP, etc.
2. **Check for backup files**: Many programs auto-save backups (.psd becomes .psd~)
3. **Use file recovery software**: Recuva, PhotoRec for accidentally deleted files
4. **Try opening on different computer**: Sometimes it's local software corruption
5. **Search for temporary files**: Temp folders sometimes contain recoverable data
**Prevention**: This is where the 3-2-1 backup rule saves careers. Multiple backups on multiple media types means you never lose critical work.
### Hardware Diagnostics You Should Know
**The Tablet Autopsy**: Determining if your tablet is actually broken:
**Test 1: Response Test**
- Open text document
- Try to write signature with stylus
- If cursor follows but no marks appear: software issue, not hardware
- If cursor doesn't follow stylus: hardware communication problem
**Test 2: Physical Inspection**
- Look for cracks in tablet surface (especially along active area edges)
- Check USB cable for fraying or bent connectors
- Inspect stylus for cracks, loose parts, or worn nib
- Test tablet on different computer (isolates whether problem is tablet or computer)
**Test 3: Pressure Grid**
- Open pressure-testing software (manufacturer websites provide these)
- Test full pressure range systematically
- Look for dead zones or inconsistent response areas
- Results determine whether repair is needed
**When to Repair vs. Replace**:
- **Repair**: Professional tablets under warranty, expensive equipment where repair costs under 50% of replacement
- **Replace**: Consumer tablets, equipment out of warranty where repair approaches replacement cost, older models where newer features justify upgrade
### Software-Specific Solutions
**Photoshop Issues**:
- **"Scratch Disk Full"**: Assign multiple drives (Edit > Preferences > Scratch Disks)
- **Brush lag in large files**: Increase RAM allocation (Preferences > Performance)
- **Tools behaving strangely**: Reset preferences (launch with Shift+Ctrl+Alt)
- **Export problems**: Often font-related—rasterize text layers before export
**Procreate Issues**:
- **Canvas size limitations**: iPad RAM is limited—stick to reasonable dimensions (6000px max for older iPads)
- **Brush lag**: Close other apps, enable "High Performance" mode in iPad settings
- **Import/export problems**: Check storage space—iPad needs 10% free space minimum
- **Layer count limits**: Depends on canvas size and iPad model—consolidate layers regularly
**Krita Issues**:
- **Crashes during brush use**: Usually specific brush-related—switch to default brushes
- **Interface disappearing**: Tablet mode sometimes causes this—switch to desktop mode
- **Performance problems**: Enable OpenGL in settings (Settings > Display)
- **Saving failures**: Use "Save As" instead of "Save" to avoid overwrite corruption
### Network and Cloud Troubleshooting
**Cloud Sync Problems**:
- **Files not syncing**: Check internet speed (cloud sync needs 5mbps+ minimum)
- **Upload failures**: Often file size-related—compress large files before upload
- **Version conflicts**: Cloud services sometimes create conflicting copies—check timestamps carefully
**Collaboration Issues**:
- **File compatibility**: Always agree on file formats before collaborating
- **Version control**: Use clear naming conventions and share only final versions
- **Software versions**: Ensure all collaborators use same software versions
### Emergency Preparedness: The Artist's Tech Kit
Every digital artist should have this emergency toolkit:
**On Your Computer**:
- **System monitoring software**: Task Manager (Windows) or Activity Monitor (Mac) to identify resource hogs
- **Driver updater utility**: Manufacturers' update checkers for automatic notifications
- **File recovery software**: Recuva, Disk Drill, or PhotoRec
- **Backup verification tools**: Automatically verify that backups are working
**Physical Tools**:
- **Extra cables**: USB-C, HDMI, power adapters for your setup
- **Replacement stylus**: Every artist should own two (eventually you'll lose or break one)
- **Screen cleaning kit**: Proper solution and microfiber cloths
- **Portable backup drives**: For emergency backups when working remotely
**Documentation**:
- **System configuration screenshot**: Your current driver versions, settings, preferences
- **Serial numbers list**: All equipment serial numbers for warranty claims
- **Contact spreadsheet**: Support numbers and emails for all hardware/software manufacturers
- **Backup verification log**: Weekly check that backups are actually working
**Emergency Contacts**:
- **Manufacturer support**: Wacom, Huion, Apple, Microsoft
- **Software support**: Adobe, Savage Interactive (Procreate), Krita Foundation
- **Local repair shops**: For when equipment needs physical repair
### When to Call Professionals
**Call tech support when**:
- Hard drive makes clicking or grinding sounds (immediate backup and replacement needed)
- Tablet has visible physical damage or water exposure
- You've tried all troubleshooting and problem persists
- Error messages reference hardware failure specifically
**Take to repair shop when**:
- Equipment is under warranty (manufacturer repair is usually free)
- You're not comfortable opening equipment yourself
- Problem requires soldering or component replacement
- You need data recovery from failed storage
**Replace immediately when**:
- Smoke or burning smells emerge from equipment
- Equipment has electrical issues (sparks, shocks, power fluctuations)
- Hard drive failure is confirmed (backup everything immediately, it's dying)
### The Psychology of Technical Problems
Here's what nobody tells you: technical problems will make you question your entire artistic identity. When your tablet fails during a paid commission deadline, when a corrupted file loses 20 hours of work, when software updates break your entire workflow—these moments hit harder than normal tech frustrations because your creative expression is blocked.
**The Frustration Cycle**:
1. **Immediate panic**: "I've lost everything"
2. **Anger at technology**: "Why does this always happen to me?"
3. **Self-doubt**: "Maybe I'm not meant to be a digital artist"
4. **Helplessness**: "I don't know how to fix this"
**Breaking the Cycle**:
**Acceptance**: Technical problems are normal, not personal. Every digital artist deals with them. It's not a sign you're doing something wrong—it's a sign you're using complex technology.
**Preparation**: Having emergency procedures ready reduces panic. When you know exactly what to do when files corrupt, the fear diminishes.
**Perspective**: Technical problems are temporary. The skills you've built don't disappear when equipment fails. Creativity isn't in your tablet—it's in your brain.
**Documentation**: Keep a "problems solved" log. When you encounter issues and fix them, write down the solution. Most technical problems are repeatable, and your personal troubleshooting guide becomes invaluable.
I keep a notebook called "Tech Problems I've Solved" with sections for each piece of equipment, software, and common scenarios. Any time something goes wrong and I figure it out, I document it. Three years later, this notebook has solved hundreds of repeat problems in minutes instead of hours of troubleshooting.
### The Backup Reality Check Redux
I need to stress this one more time because artists still lose work regularly: **Automated backup isn't optional.**
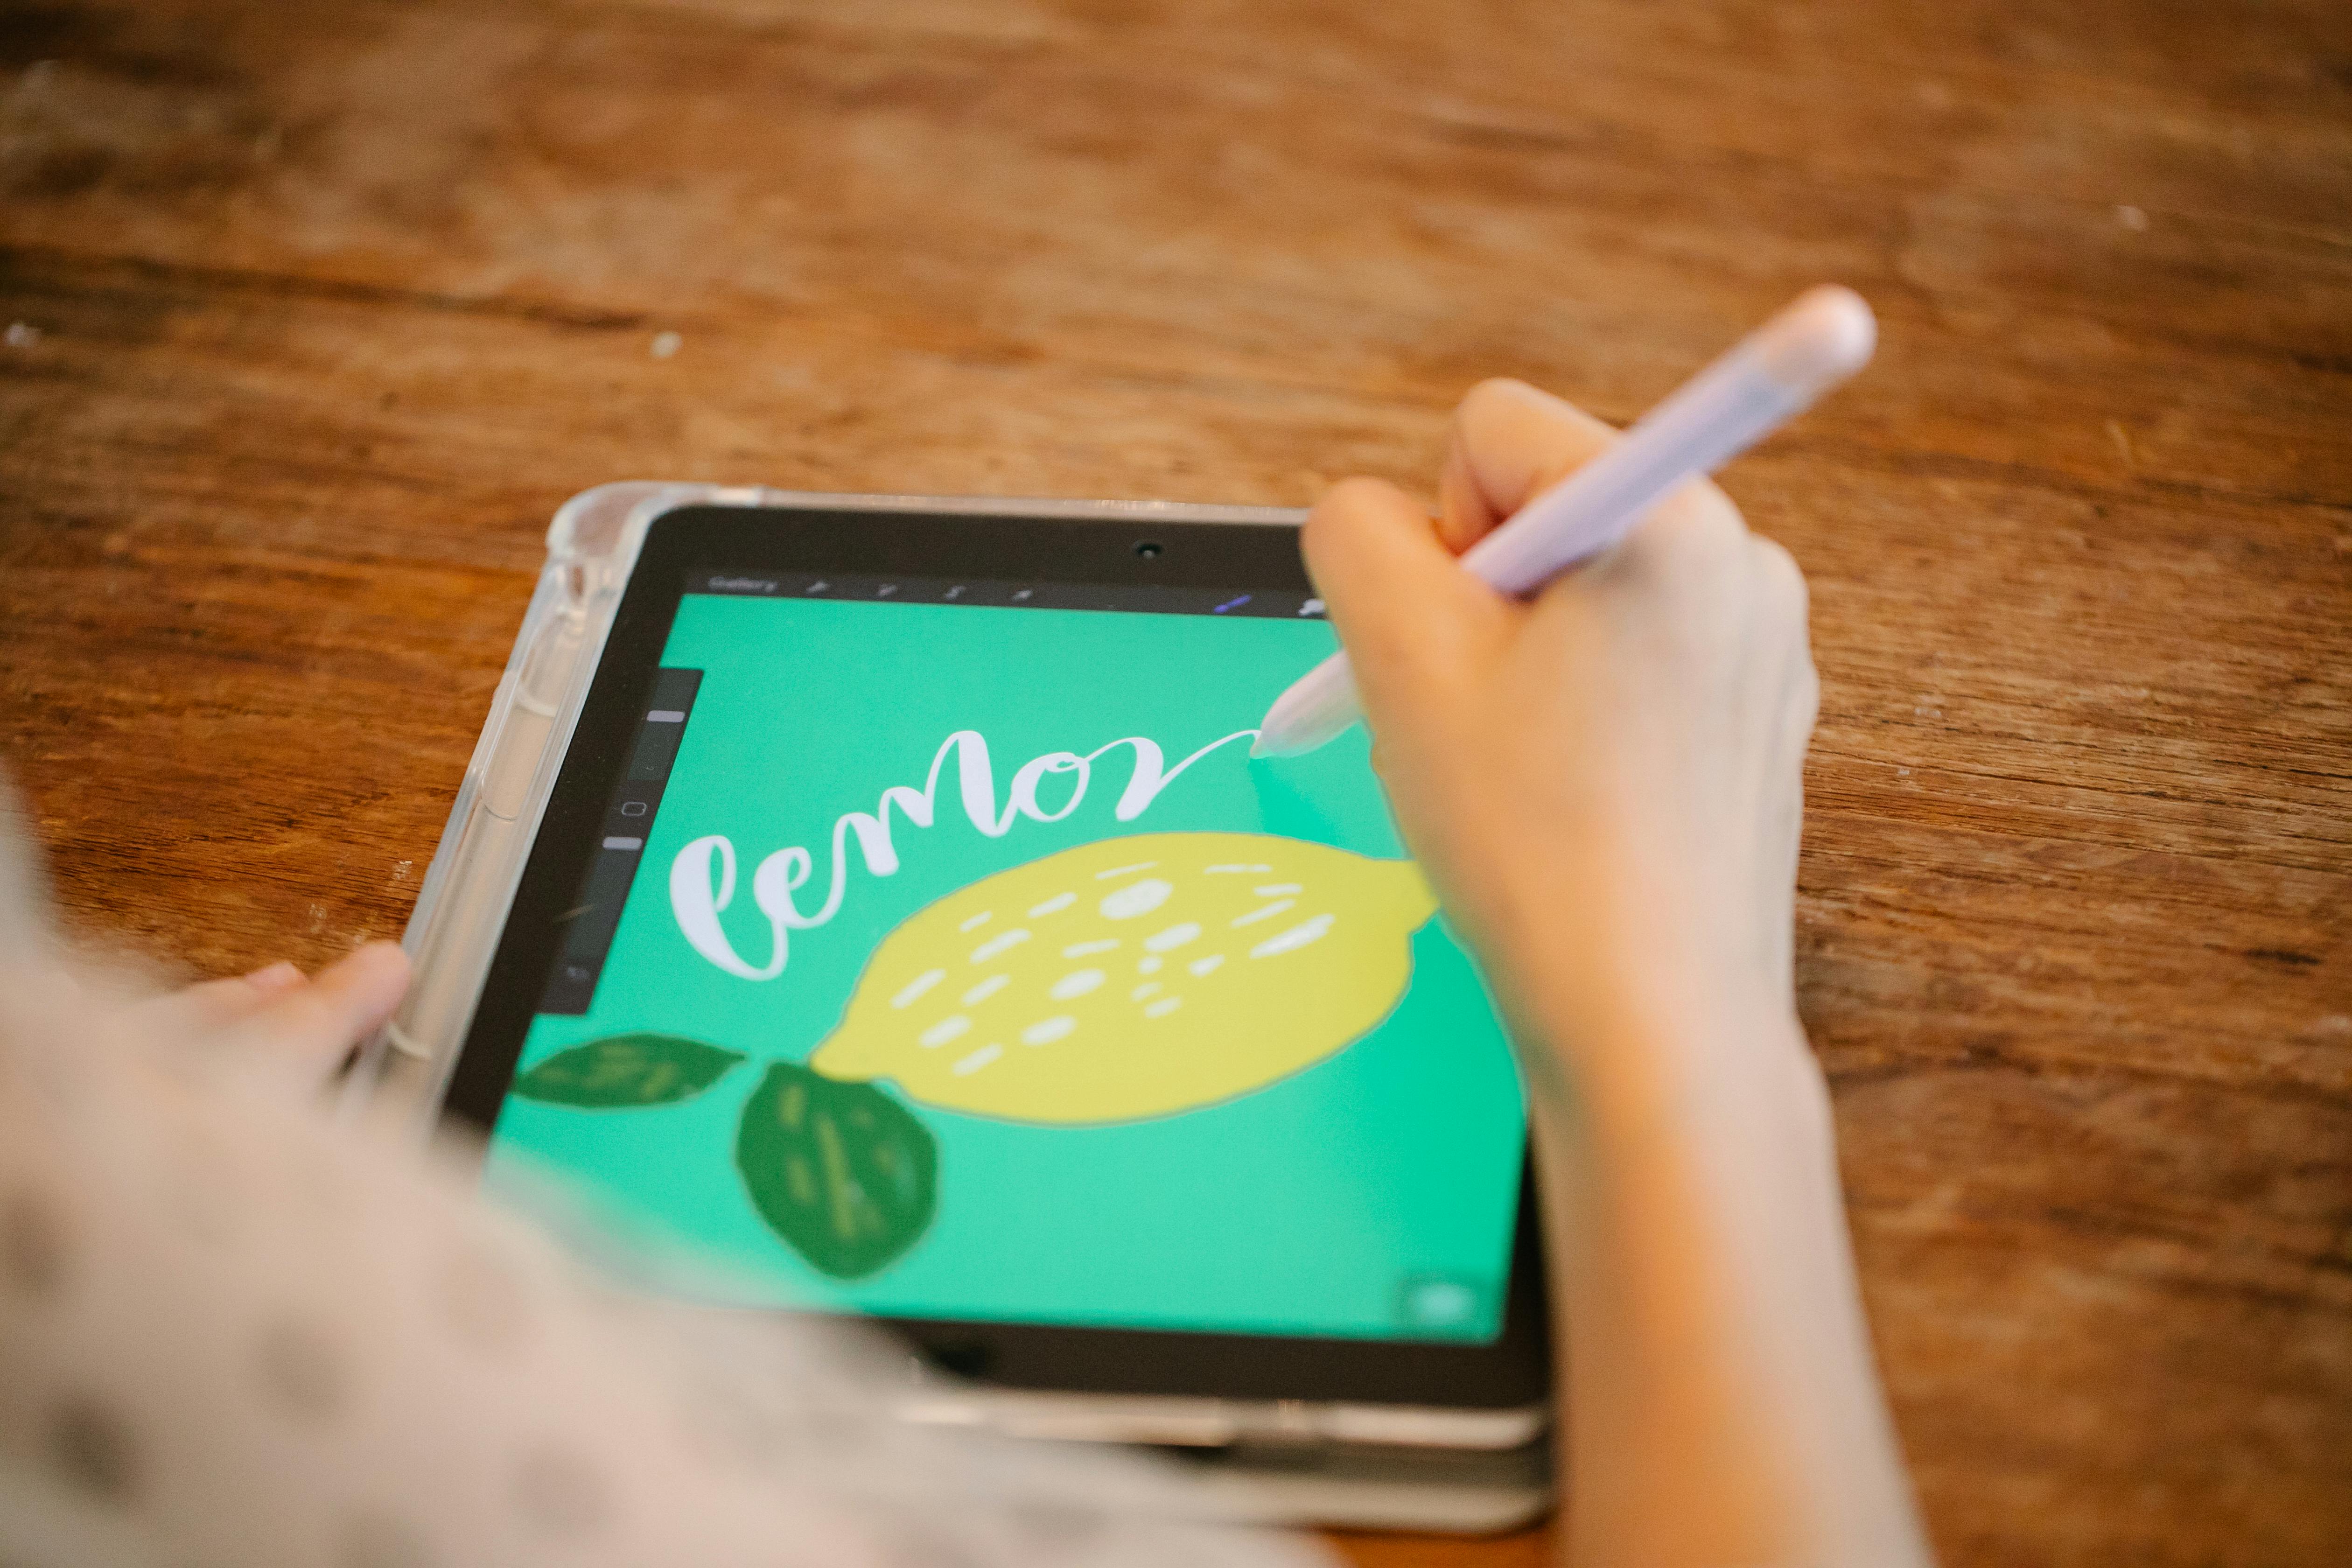
[credit](https://images.pexels.com/photos/8715881/pexels-photo-8715881.jpeg),
[licence](https://creativecommons.org/public-domain/)
**The Setup That Actually Works**:
- **Primary storage**: Fast SSD for working files
- **Immediate backup**: External drive connected always (Time Machine on Mac, File History on Windows)
- **Offsite backup**: Cloud service (Backblaze, Carbonite, iDrive) that runs automatically
- **Archive backup**: Second external drive stored at different location
**The Test**: Right now, if your computer died, how many places is your current work saved? If the answer isn't "at least three," you're playing Russian roulette with your art career.
**Automatic Everything**: Manual backup fails. Set up automatic cloud backup that runs continuously. Set up automatic external drive backup that runs hourly. Set calendar reminders for monthly archive backups to offsite location.
Technology will fail. Files will corrupt. Equipment will break. But with proper systems, these become minor inconveniences instead of career-ending disasters. Build redundancy before you need it, not after you've lost everything.
Your creativity is too valuable to trust to a single hard drive. Protect it like you would protect your most precious traditional painting—because in digital art, the file is the painting.
## The Final Canvas: Making Technology Serve Your Vision
We've covered hardware, software, workflow, community, business, and troubleshooting—but I want to end where we began: with the fundamental relationship between you and your tools. Because ultimately, none of this technical knowledge matters if it doesn't serve your creative vision.
I've watched too many artists become obsessed with mastering technology while forgetting why they started creating in the first place. They collect courses like trading cards, chase the latest equipment releases, optimize every workflow efficiency—and somewhere along the way, the joy of creation gets buried under technical perfectionism.
The tools aren't the point. The art is the point. The tools just help you get there faster, more efficiently, with fewer limitations.
### The Technology Trap
**Signs you're focusing on tools instead of vision**:
- You spend more time watching equipment reviews than actually creating
- You delay starting projects until you have "the perfect setup"
- You jump between software constantly, believing the next one will unlock your potential
- You know every feature of your software but rarely finish a piece
- You compare your setup to other artists' instead of comparing your progress to your past work
I fell into this trap hard in year two. I believed if I just had a better tablet, faster computer, more expensive software, I'd finally create the art I envisioned. So I upgraded everything—and my art didn't improve. Because the limitation wasn't my tools. It was my skills and my courage to create imperfect work while learning.
**The Escape**: Remind yourself daily: "Technology enables creativity; it doesn't create it." Your tablet doesn't make you an artist. Your software doesn't make you creative. YOU make art using tools as helpers.
### Rediscovering Why You Started
Take a moment right now to remember:
- What made you want to create art in the first place?
- What feelings do you want to capture or communicate?
- What stories do you want to tell visually?
- What would you create if no one else would ever see it?
These questions matter more than your choice of tablet or software. Because when technology frustrates you (and it will), when files corrupt (and they will), when your equipment feels inadequate (and it will), remembering your WHY gives you the resilience to keep creating.
I create because I love the feeling of getting lost in flow state, of wrestling an idea into visual form, of capturing emotion in color and light. I create because it's how I process the world. The technology just makes that process more efficient. When I forget this and start obsessing over technical details, my work suffers even if my tools improve.
### The Balanced Digital Artist
The healthiest digital artists I know have a balanced relationship with technology:
**They see tools as enablers, not solutions**:
- Technology solves logistical problems (undo buttons, layer organization, easy color changes)
- It doesn't solve creative problems (composition weakness, color theory gaps, drawing fundamentals)
**They upgrade strategically**:
- Not because they believe better tools will make them better artists
- Because their current tools physically prevent them from executing their vision
- And they've maximized learning from current tools before upgrading
**They maintain offline creativity**:
- Still sketch on paper
- Still visit museums and galleries
- Still observe the real world for reference
- Still create art without screens sometimes
**They prioritize skill over software**:
- Invest more money and time in education than equipment
- Master fundamental skills regardless of tools
- Understand that principles transfer across any software
### Your Technology Philosophy Statement
I want you to write this down. Keep it somewhere visible:
"Technology serves my creative vision. It doesn't define it. I will master my tools so they become invisible extensions of my creative intent. When tools frustrate me, I'll troubleshoot systematically but remember the goal is creating art, not collecting technical knowledge. I will upgrade only when current tools physically limit my vision, not because I believe new tools will magically improve my art. I will use technology to enhance my creativity, never letting it replace the fundamental work of learning and practice."
Read this when you're tempted to spend $500 on a software plugin to solve a skill problem. Read this when you're paralyzed by learning new features instead of creating. Read this when you're comparing your setup to professionals and feeling inadequate.
Your tools matter. But you matter more.
### The Future-Proof Artist
Technology changes constantly. What's cutting-edge today becomes obsolete in three years. But fundamental artistic skills are eternal. Here's how to future-proof your art practice:
[credit](https://images.pexels.com/photos/25322873/pexels-photo-25322873/free-photo-of-painting-of-pelican-in-dining-room.jpeg),
[licence](https://creativecommons.org/public-domain/)
**Invest in timeless skills**:
- Drawing fundamentals (perspective, anatomy, composition)
- Color theory and light behavior
- Visual storytelling and emotional communication
- Creative problem-solving and experimentation
These skills transfer to any technology, any software, any medium. I can pick up tools I've never used and create something decent within hours because I'm not learning to create—I'm learning to operate new tools.
**Stay curious but grounded**:
- Explore new technologies with curiosity
- Adopt tools that genuinely improve your workflow
- Ignore industry hype about "essential" new features
- Focus on creating work, not mastering every innovation
**Build adaptable workflows**:
- Learn principles, not just specific software steps
- Understand what different tools accomplish conceptually
- Maintain flexibility to switch tools when needed
- Document your processes so you can recreate them with new software
### The Generational Shift
I'm part of the first generation of artists who grew up analog but transitioned to digital as adults. We remember charcoal smudges, the smell of turpentine, the fear of making permanent mistakes on expensive paper. We appreciate digital tools because we remember life before them.
The next generation of artists won't have that memory. They'll grow up with tablets in their hands. The challenge for them will be different: not learning technology, but remembering to develop fundamental skills that technology can sometimes obscure.
I teach occasional workshops, and I consistently see this pattern: young digital artists can execute complex technical effects but struggle with basic perspective. They know every Photoshop filter but haven't studied how light actually behaves. They can replicate any art style they see online but haven't developed their own visual voice.
Technology makes many things easier. But it can't replace the hard work of developing fundamental skills and personal vision. The most successful digital artists of the future will be those who embrace technology while refusing to let it substitute for foundational artistic development.
### Your Legacy Beyond Pixels
When you look back on your creative journey years from now, here's what will matter:
- The art you created, not the tools you used
- The emotions you captured, not the software versions you mastered
- The stories you told, not the resolution you worked at
- The growth you experienced, not the equipment you owned
Technology facilitates creation. But the creation itself—that comes from you. Your unique way of seeing the world, your emotional response to experience, your imagination and vision—these are what make art meaningful. Technology just provides the canvas.
I started this journey intimidated by glowing rectangles and bewildered by software interfaces. I'm writing this now on a device that would have seemed magical to my younger self, in a world where digital tools are so integrated into creative practice that the boundary between analog and digital feels increasingly irrelevant.
What I've learned isn't primarily about technology. It's about creativity, resilience, continuous learning, and the humbling process of mastering any craft. The digital tools just provided the context for those lessons.
Your creative journey will have different challenges and different tools. But the fundamental work remains the same: see the world clearly, feel deeply, think originally, and communicate your vision with whatever tools serve it best.
The pixels are ready. The tablet is calibrated. The software is installed. But the real magic—the vision, the emotion, the creative spark—that comes from you.
Go make something only you can make. The tools are waiting.